Huzzah! It’s my birthday! Well, technically it was last week but I’m still celebrating. I’m a whopping 32 years old now, and although I usually dread birthdays because of the whole getting older thing, this year I’m feeling pretty content. I’ve gotten to spend a lot of time with my very most favorite people, and I’m feeling so truly loved that I just can’t complain.
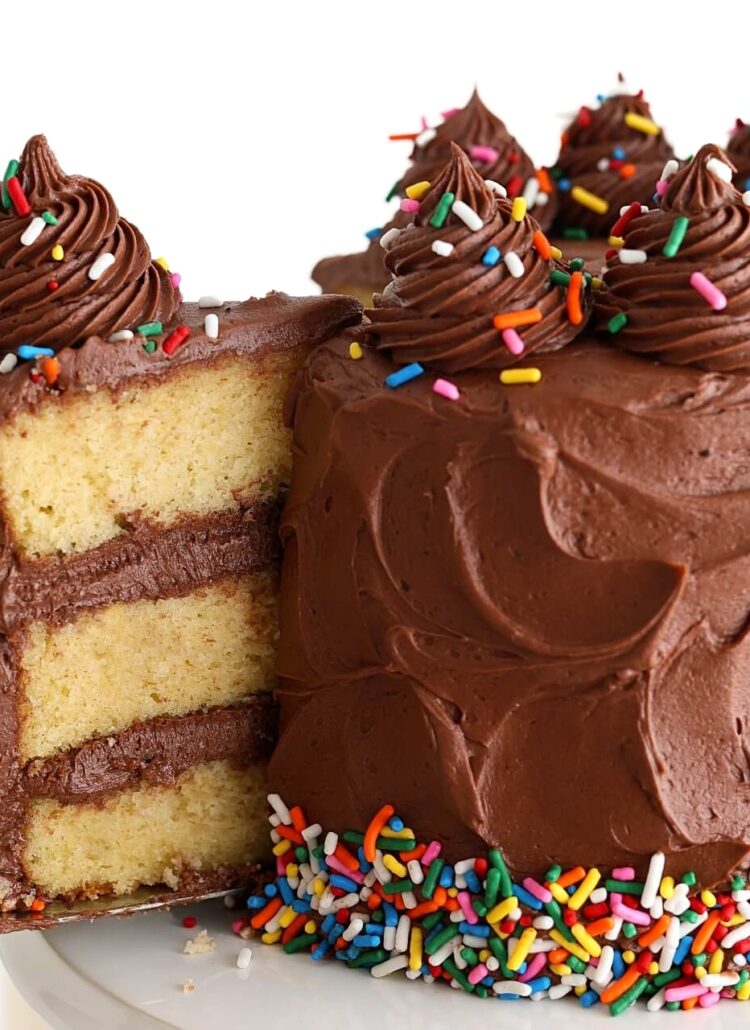
When you’re a caker it’s quite common to make your own birthday cakes, and this year was no exception. I thought about making something classic and reminiscent of my childhood (like yellow cake with chocolate frosting, the all-time favorite of my youth) but then I thought, why not use my birthday as an excuse to pair some flavors I love in a way that I’ve never done before? Even if it didn’t turn out right, it could be a good laugh. But spoiler alert: it turned out real good!

One of my all-time favorite desserts is Baked Alaska from a restaurant called Papa Haydn. The dessert is about a foot tall, and it involves layers of dulce de leche and banana ice creams, chocolate ganache, and vanilla sponge cake, all topped with toasted Italian meringue. It’s different than a traditional Baked Alaska because of the ice cream flavors – the classic Baked Alaska involves Neapolitan ice cream instead of the dulce de leche and banana combo that Papa Haydn has created. I love what they’ve done with the flavor pairings though, and I get the same thing almost every time I go.
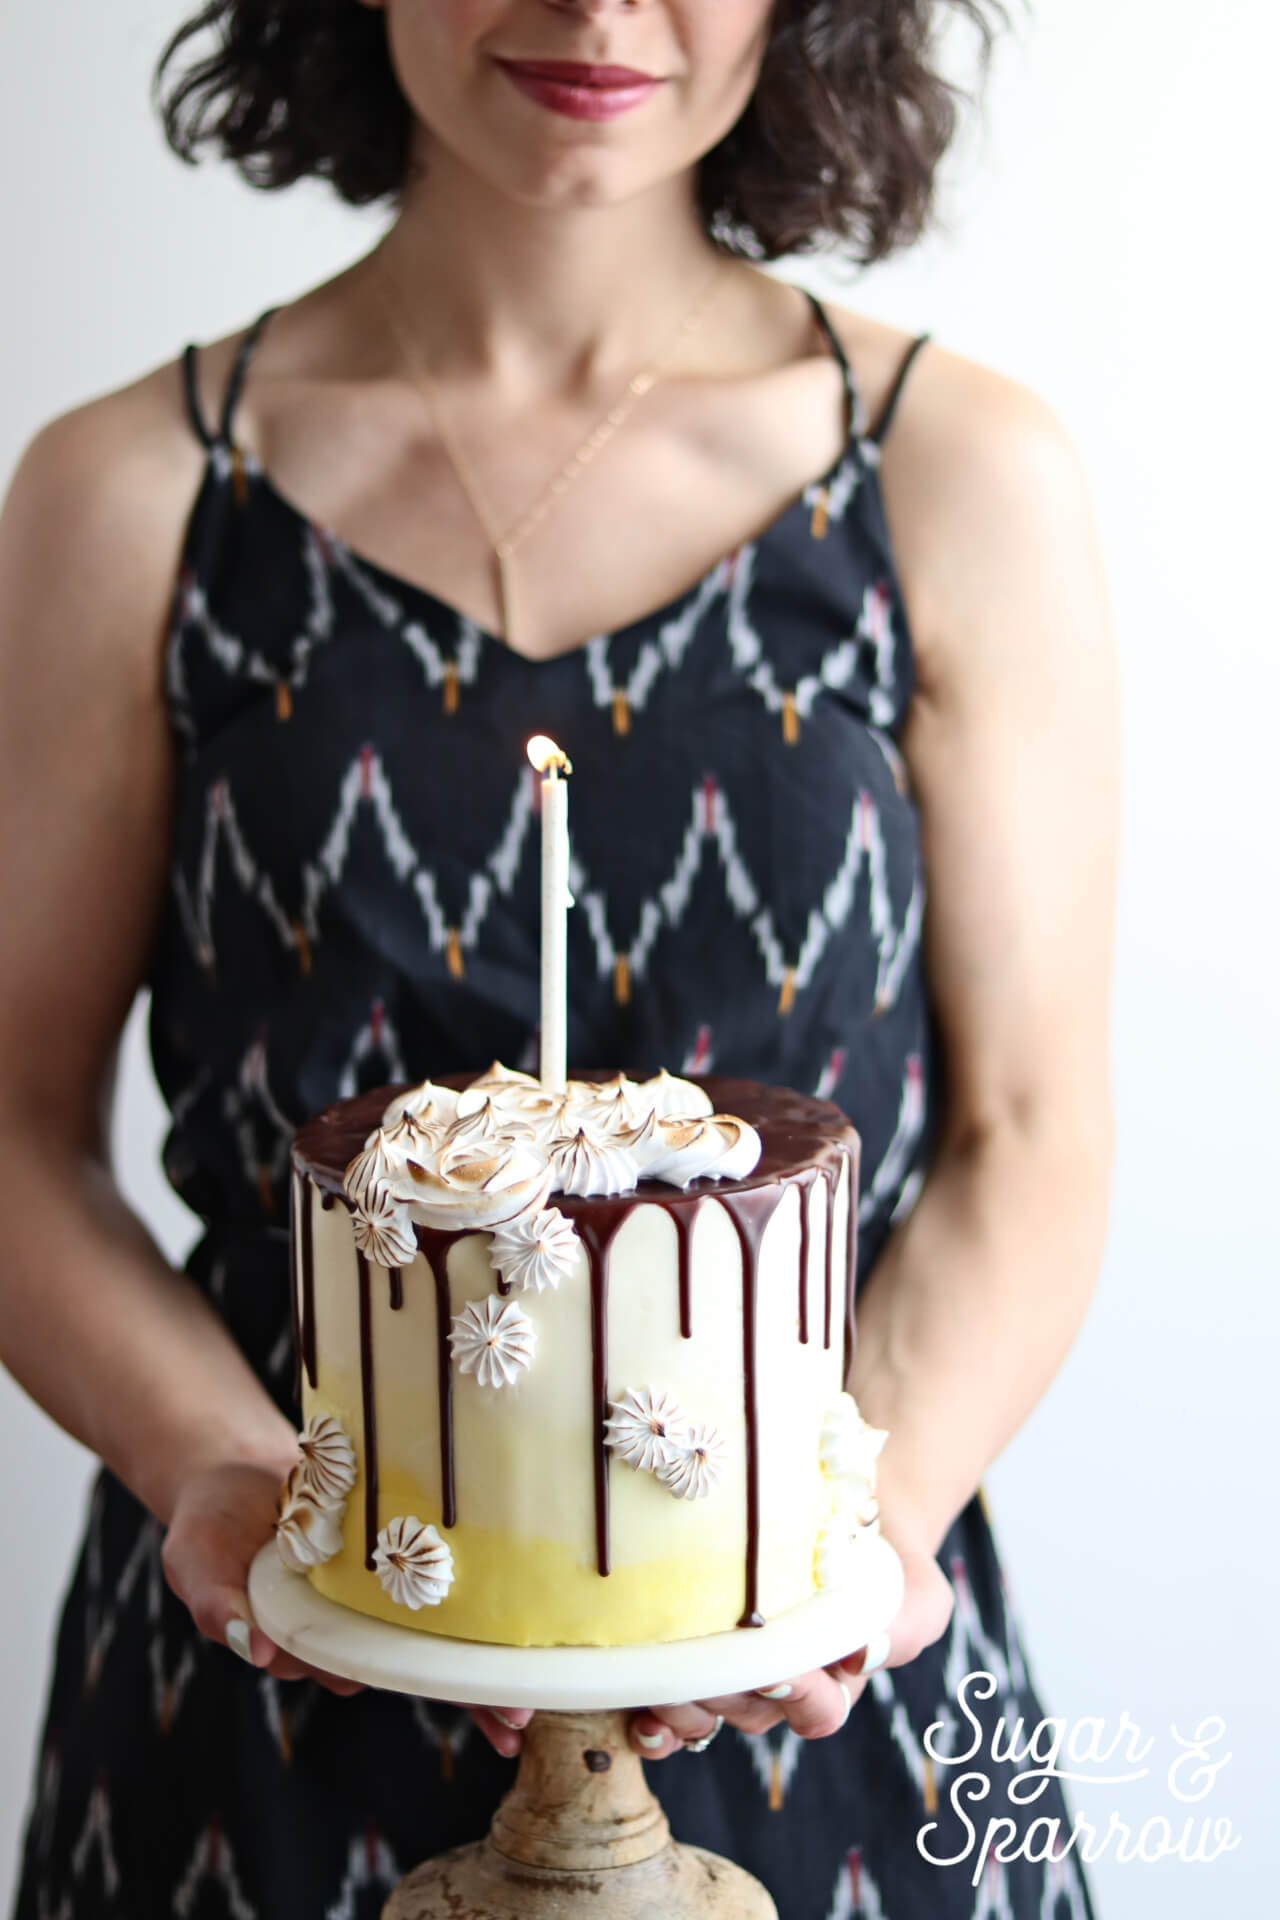
I thought about trying to replicate the Baked Alaska in it’s true form, but since I’ve never actually made ice cream and don’t really have the right equipment yet, I decided to pull some inspiration from the flavors of my favorite Baked Alaska and then add some new ones. What I ended up with was a spiced banana cake with vanilla buttercream, drizzled with Nutella ganache and topped with toasted meringue flourishes. It ended up being real pretty and so tasty! Pair it with a little ice cream if you’re feeling fancy and you’ll have yourself a time.

To get the perfect banana flavor, you’ve got to start with bananas that are nice and spotted. That means you either have to plan ahead and buy your bananas about a week before making this cake, or store some spotted bananas in the freezer until the time is right. The more over-ripe (spotty) the bananas are, the more banana flavor will come through in the cake.

To get the full effect of this toasted masterpiece, you’ll need a culinary torch to toast the meringue. Trust me, I’ve tried with everything from matches to one of those lighter gun thingys and nothing will give you the look and taste of toasted goodness quite like a good culinary torch. You can use some piping tips to pipe unique designs with the meringue (I’ve used Wilton 4B for the open stars and 1M for the rosettes) or keep with the traditional look of swirling the meringue with an offset spatula before toasting to perfection. Whatever you decide for the final look, I can promise these flavors are sure to please.


Banana Nutella Birthday Cake
Ingredients
Banana Spice Cake
- 3 cups (414g) all-purpose flour
- 1 tsp baking powder
- 1 tsp baking soda
- 1/2 tsp nutmeg
- 3/4 tsp cinnamon
- 1/2 tsp kosher salt
- 1 1/2 cups mashed banana (about 3 large)
- 3/4 cup (169.5g) unsalted butter, room temperature
- 1 cup (205g) granulated sugar
- 1/2 cup (94g) packed light brown sugar
- 3 eggs, room temperature
- 2 tsp vanilla extract
- 1 1/2 cups (360ml) buttermilk, room temperature
Nutella Ganache
- 1 cup (300g) Nutella
- 3/4 cup (180ml) heavy whipping cream
Vanilla Buttercream
- 2 cups (452g) unsalted butter, room temperature
- 7 cups (840g) powdered sugar
- 4 Tbsp (59ml) whole milk, room temperature
- 4 tsp vanilla extract
- 1/4 tsp kosher salt
Meringue Topping
- 3 large egg whites, room temperature
- 3/4 cup (150g) granulated sugar
- 1/4 tsp cream of Tartar
- 1 tsp vanilla extract
Instructions
Make the Banana Cake
- Preheat oven to 350ºF and prepare three 6-inch cake pans by spraying the sides with cooking spray and placing a pre-cut wax or parchment paper circle in the bottom. In a medium bowl, whisk together the flour, baking powder, baking soda, nutmeg, cinnamon, and salt and set aside.
- Mash the bananas by hand or use a stand mixer with a paddle attachment to whip them until they’re nice and mashed (about 30 seconds on medium). Set them aside.
- Using a stand mixer with the paddle attachment, whip the butter until it’s fluffy and creamy, about 2 minutes, scraping down the bowl and paddle halfway through. Add the white granulated sugar and the brown sugar and cream on medium for another 2-3 minutes. Scrape down the bowl and paddle, turn the mixer to low, and add the eggs and vanilla before beating on medium for one minute.
- Add the mashed banana and beat on medium for a full minute before scraping down the bowl and paddle again. Turn the mixer to low and alternate adding the dry ingredients in three additions and buttermilk in two additions, starting and ending with the flour mixture. Mix each addition until just incorporated before alternating. As soon as the last addition of the flour mixture is incorporated, turn the mixer off and give it a few stirs by hand to make sure there’s no flour lurking at the bottom of the mixing bowl.
- Fill the cake pans with batter no more than 2/3 full and bake for 45-55 minutes (baking times will vary). The cakes are done when they spring back to the touch and a toothpick inserted comes out clean. Cool the cakes in the pan for five minutes before turning out to cool on a baking sheet or wire rack for several hours.
Make the Nutella Ganache
- Measure Nutella into a heatproof bowl and set aside. In a saucepan over medium-high, heat the heavy whipping cream until small bubbles form (just before the start of a rolling boil), stirring constantly with a whisk. Once the cream begins to boil, remove the pan from the heat and pour the cream over the Nutella. Let sit for about 30 seconds before whisking together until the consistency is uniform and well blended. Let it sit at room temperature until it reaches room temperature.
Make the Vanilla Buttercream
- In a stand mixer with the paddle attachment, beat butter on high for until it’s fluffy and almost white in color, about 7 minutes, scraping down the bowl and paddle a few times during the process. Add the powdered sugar a few cups at a time and mix on medium until incorporated. Scrape down the bowl and paddle before each addition.
- Turn the mixer to low and add the vanilla extract, milk, and salt. Beat on medium for another minute until well incorporated, scraping down the bowl and paddle as needed.
Make the Meringue Topping
- Whisk the egg whites, sugar, and cream of tartar together in a small heatproof bowl. Set the bowl over a saucepan filled with an inch or two of simmering water, making sure the bottom of the bowl doesn’t touch the water (or else it will cook your eggs!). Whisk the mixture constantly until the sugar has dissolved, about 4 minutes.
- Once the sugar has dissolved, pour the mixture into the bowl of your stand mixer fitted with the whisk attachment. Add the vanilla and whisk the mixture on high for 6 full minutes, until stiff peaks form. You should be able to dip the whisk into the meringue and it forms a peak that maintains its shape when turned right side up and upside down.
Assembly
- Wait until Nutella has reached room temperature. Starting with your first cake layer, spread a good amount of Vanilla Buttercream as a filling and drizzle a little Nutella Ganache before placing your second cake layer on top. Repeat the process before placing the final cake layer on top.
- Crumb coat the cake with Vanilla Buttercream and place in the refrigerator for 15-20 minutes to firm up before frosting with a final layer of Vanilla Buttercream. In the cake pictured, I colored a little Vanilla Buttercream yellow with food color gel and created an ombrè finish. Place the cake back into the refrigerator for another 20 minutes or more to chill before dripping with Nutella ganache.
- For the meringue topping, you can either use a piping bag with piping tips (I used Wilton 4B for the open stars and 1M for piping rosettes) or swirl the meringue onto the cake with a spatula. Feel free to get creative! Use a culinary torch to toast the meringue as a finishing touch.
Notes
What do you other cakers do on your birthdays? Do you make your own cake or let someone else make one for you for a change? Honestly, this year was a both/and/and situation, meaning I made my own cake, and let someone make me a cake, and went to Papa Haydn and got that Baked Alaska. Because hey, I do what I want on my birthday.


Hi
can you make this cake using 4inch pas. Making a smash cake for a baby who loves bananas.
thank you,
kathy
Hi Katherine! You can totally make this cake as a 4-inch layer cake. How cute! You’ll want to make 1/3 of the recipe (divide each ingredient by 3) to have just enough batter for three 4-inch layers. Hope that helps!
I love all of your cake recipes…..I was wondering if instead of round cake pans, can it be done in a Bundt pan?
Hi Valorie! I’ve never tried my recipes in a bundt pan but I have heard of others successfully doing that. Here’s an article that explains how to adjust a layer cake recipe to bake in a bundt pan: https://www.tasteofhome.com/article/layer-cake-to-bundt-cake/
Hi Whitney I just wanted to get back with about using cake flour for your banana cake. I made it with the cake flour instead of all purpose flour; and it came out delicious, light and fluffy. Thank you again
That’s amazing, Gina!! Thank you so much for getting back to me with the results!
Thank you Whitney for helping with the adjustments for the 8 inch cake I will let you know how it turns out. I’m sure it will be wonderful, I tell everyone about your Beautiful work you are a true artist!!! Keep up the good work! And congratulations on your Beautiful baby boy! God bless! Gina
Hi Whitney a friend wants me to make your banana cake for a birthday there is about 15 people I’m thinking I need to use 3, 8 inch cake pans, but I don’t know how to adjust the ingredients from your 6 inch cakes, can you give me some guidance? Much appreciated Thank you Gina
Hi Gina! To make three 8-inch layers I would make 1.5x the recipe, so multiply each ingredient by 1.5. For the eggs, use 4 eggs and 1 egg yolk (since the eggs would end up being 4.5). Hope that helps!
Hi Whitney I have to say your work is BEAUTIFUL!!! I recently made your banana spice cake, ( mine came out very dense) can I use cake flour instead of all purpose flour? Will that make a less dense cake? Thank you Gina
Hi Gina! Thank you so much for the kind words about my cakes. I’ve never tried this recipe with cake flour, but you can certainly give it a try! It seems like it would work. If you do try with cake flour, let me know how it goes!
For step 2 of the banana spice cake. What cream do we use?
Hi Trinity! There isn’t any mention of cream in step 2 of the banana cake recipe (where it talks about mashing the bananas). For that part, just place the bananas in your stand mixer and turn it on to whip them into mashed bananas with the paddle attachment. It’s just meant to save you from having to mash them with a fork by hand. Hope that helps!
Hi! Love the blog. What blow torch do you use? Thanks!
Thanks so much, Elizabeth! The blow torch I use can be found on my Tools page here: https://sugarandsparrow.com/tools/
Thanks!
Wow! So happy to have stumbled onto your website-right before the holidays! I made the Espresso cake twice…so good and it’s so beautiful people can’t believe I made it myself. YOU make it so easy.
My plan is to re-create all of your cakes throughout the year. Our friends will be thrilled!
One question….on this one. If I bring it to a party, should it be refrigerated until served or can it be left out for a couple hours? Wondering how the meringue will hold up(actually have the same questions w/ the s’mores cake!)
Thanks and Happy New Year!
Hi there! I’m so happy to hear you loved the Espresso cake and I’m so honored that you want to recreate all of my recipes throughout the year!! For the meringue topped cakes – what I do is pipe the meringue onto the cake immediately after whipping it up, toast it after piping, and then you can either serve it immediately or refrigerate it for up to two days without any issues. Once you’re ready to serve it, just bring it back to room temperature and the meringue has been fine when left out for a few hours in the past. Can’t wait for you to try this and let me know if you have any other questions as you go through the recipes!
I love your recipes! I have a question, how many ingredients do I have to use to make a cake with diameter 20 cm? Do I have to double the ingredient?
Hi Joan! Thanks so much for the kind words about my recipes 🙂 If you’re making a two layer cake, the recipe should be fine as-is for a 20cm pan. If you’re planning on making three cake layers, I would double the recipe just to be safe.