
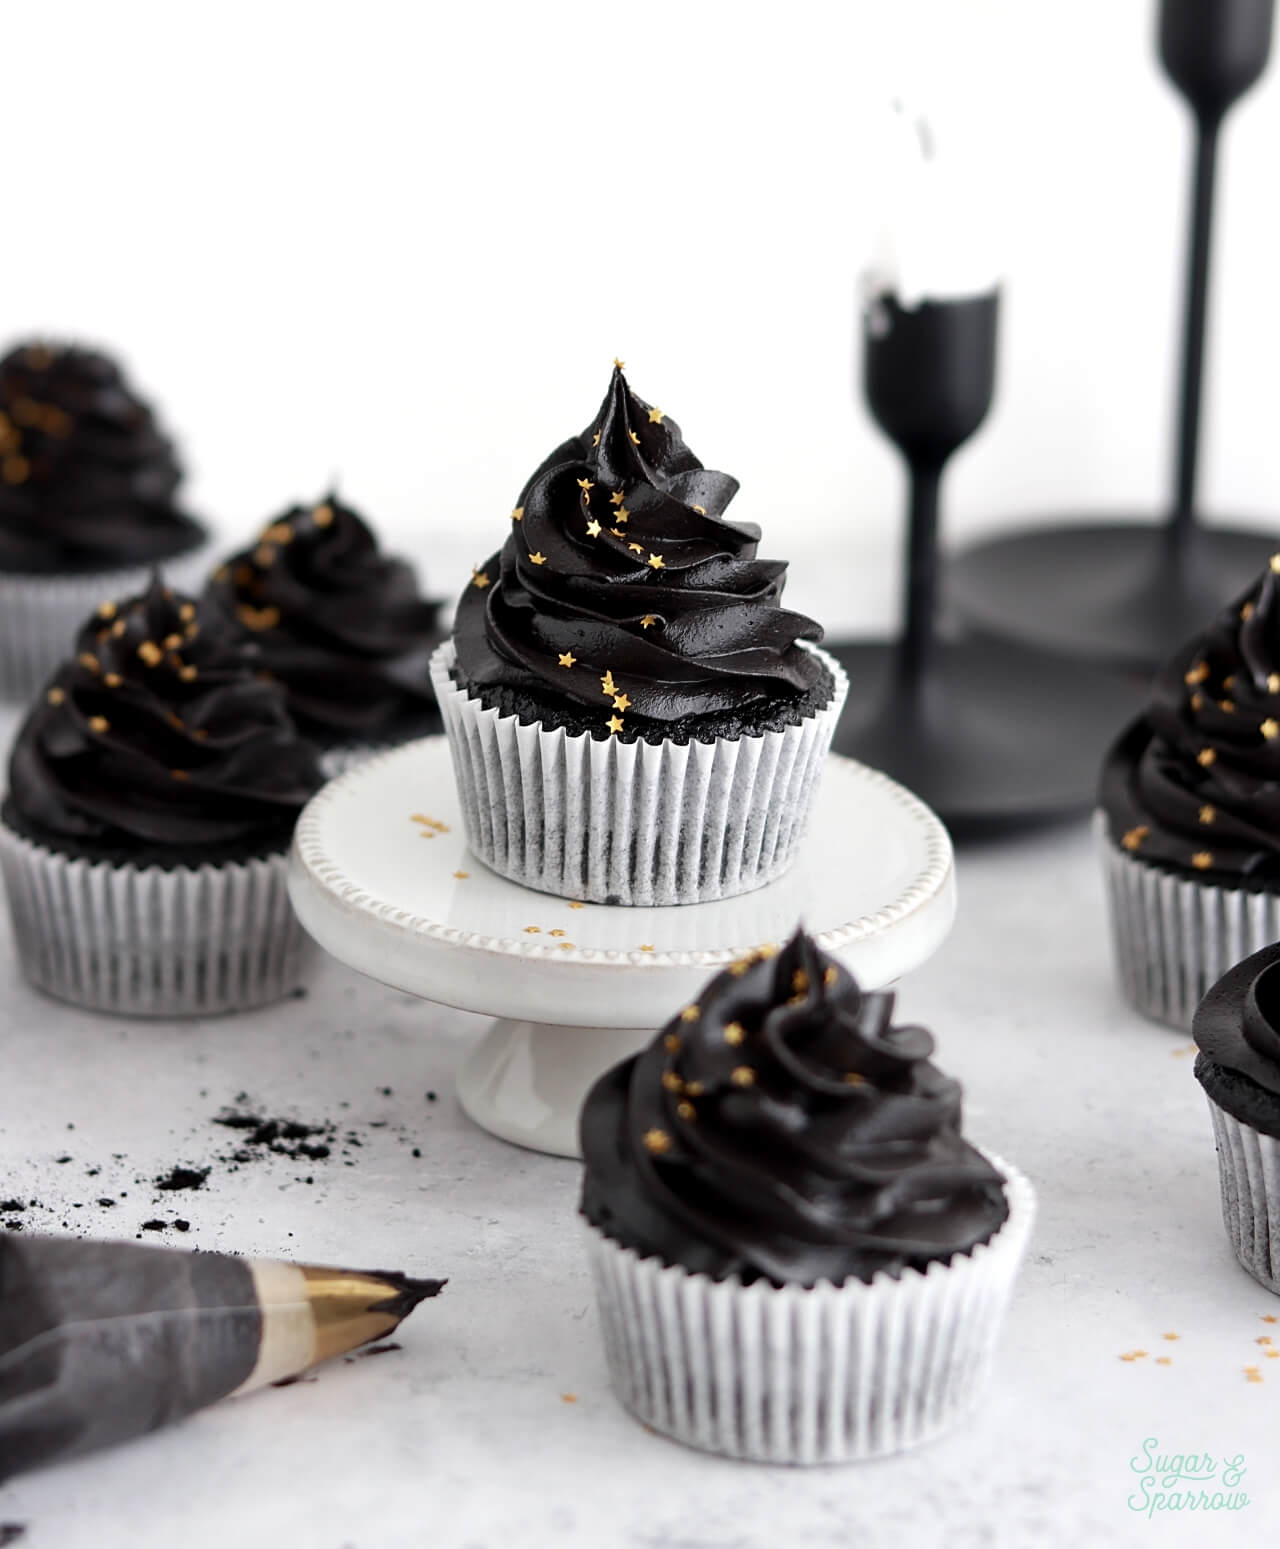
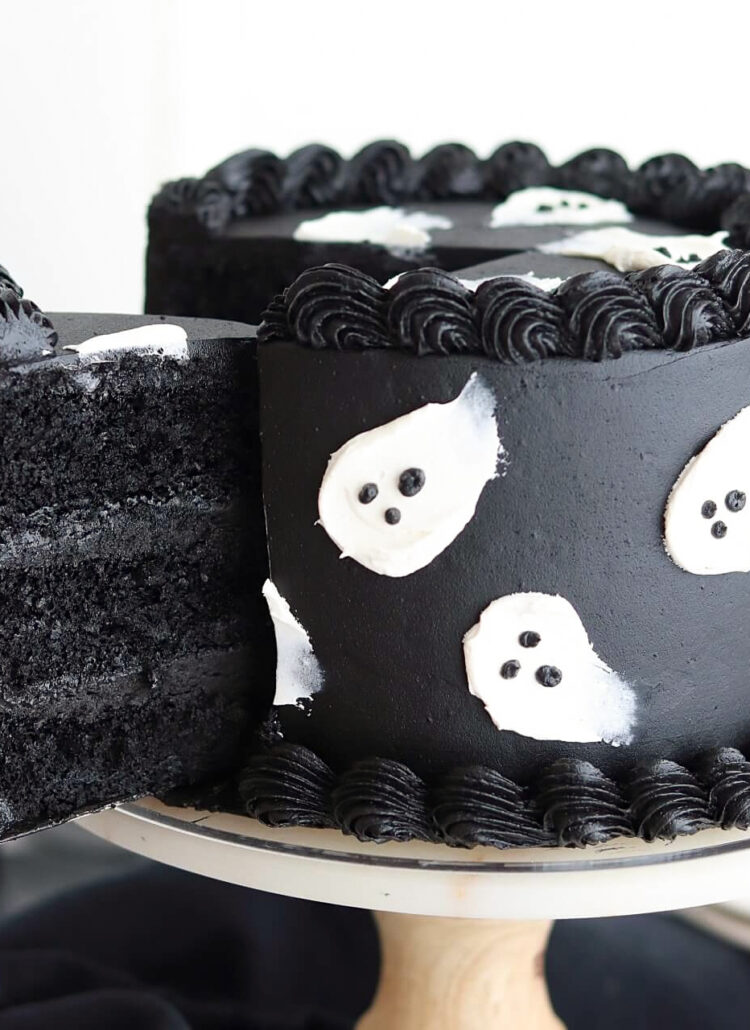
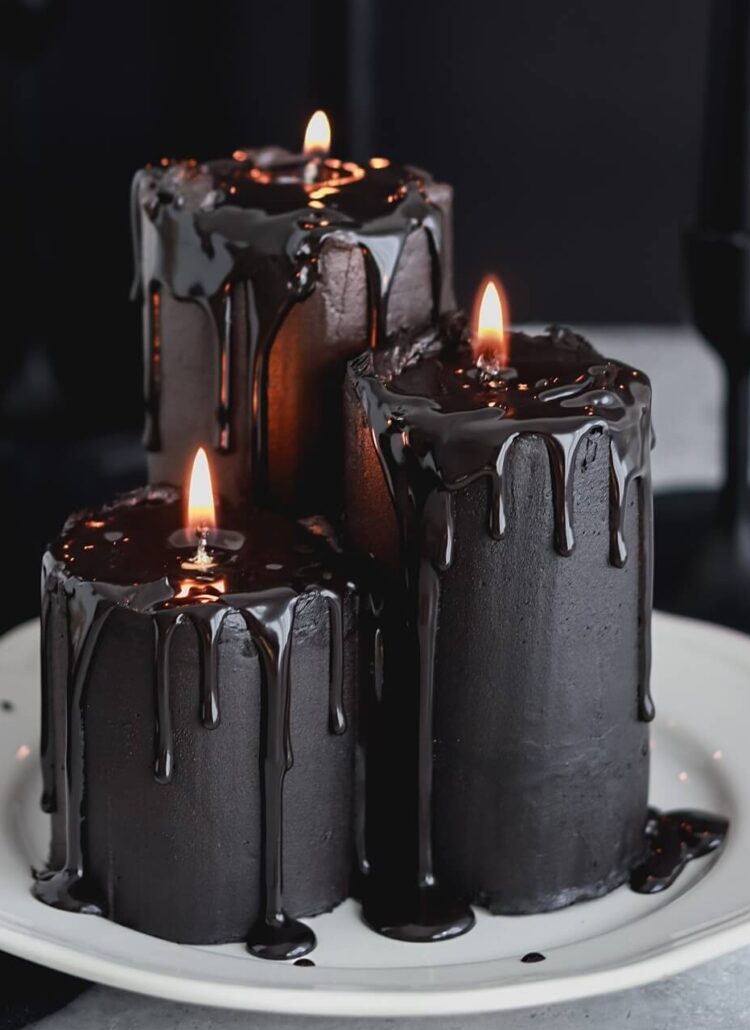
I made this striking black velvet cake last Halloween and it has since become one of my most popular recipes (and a personal favorite of mine as well)! I love it for so many reasons. The cake layers are naturally pitch black, super moist, and have the flavor profile of an Oreo cookie. And since I recently discovered a way to make black buttercream without food color gel, the entire cake is 100% dye-free! So this year I knew I had to whip up a cupcake version in time for your Halloween party planning.
This post may contain affiliate links. For more information, see our disclosure policy.
One Reader, Emily, says: “These were a huge hit! I ended up making the icing the day before, storing in the fridge, and re-constituting it the next day. It did indeed get darker! I ended up icing my cupcakes with a palate knife, and putting two candy eyes on each to look like little monsters for my Halloween party. The guests raved about how moist and soft the cupcakes were. I love that they taste like Oreo cookies. Fantastic recipe, especially with the lack of dye!” ★★★★★
One of the most wonderful things about these black velvet cupcakes is that they will NOT stain your mouth black or kick off any startling bathroom experiences (iykyk). The beautifully dark color of the cupcakes and buttercream comes from black cocoa powder, which doesn’t contain any dye. I was so thrilled when I realized I could make the entire recipe dye-free that I ate far too many of these cupcakes and kept checking my mouth in the mirror in amazement!

What is Black Cocoa Powder?
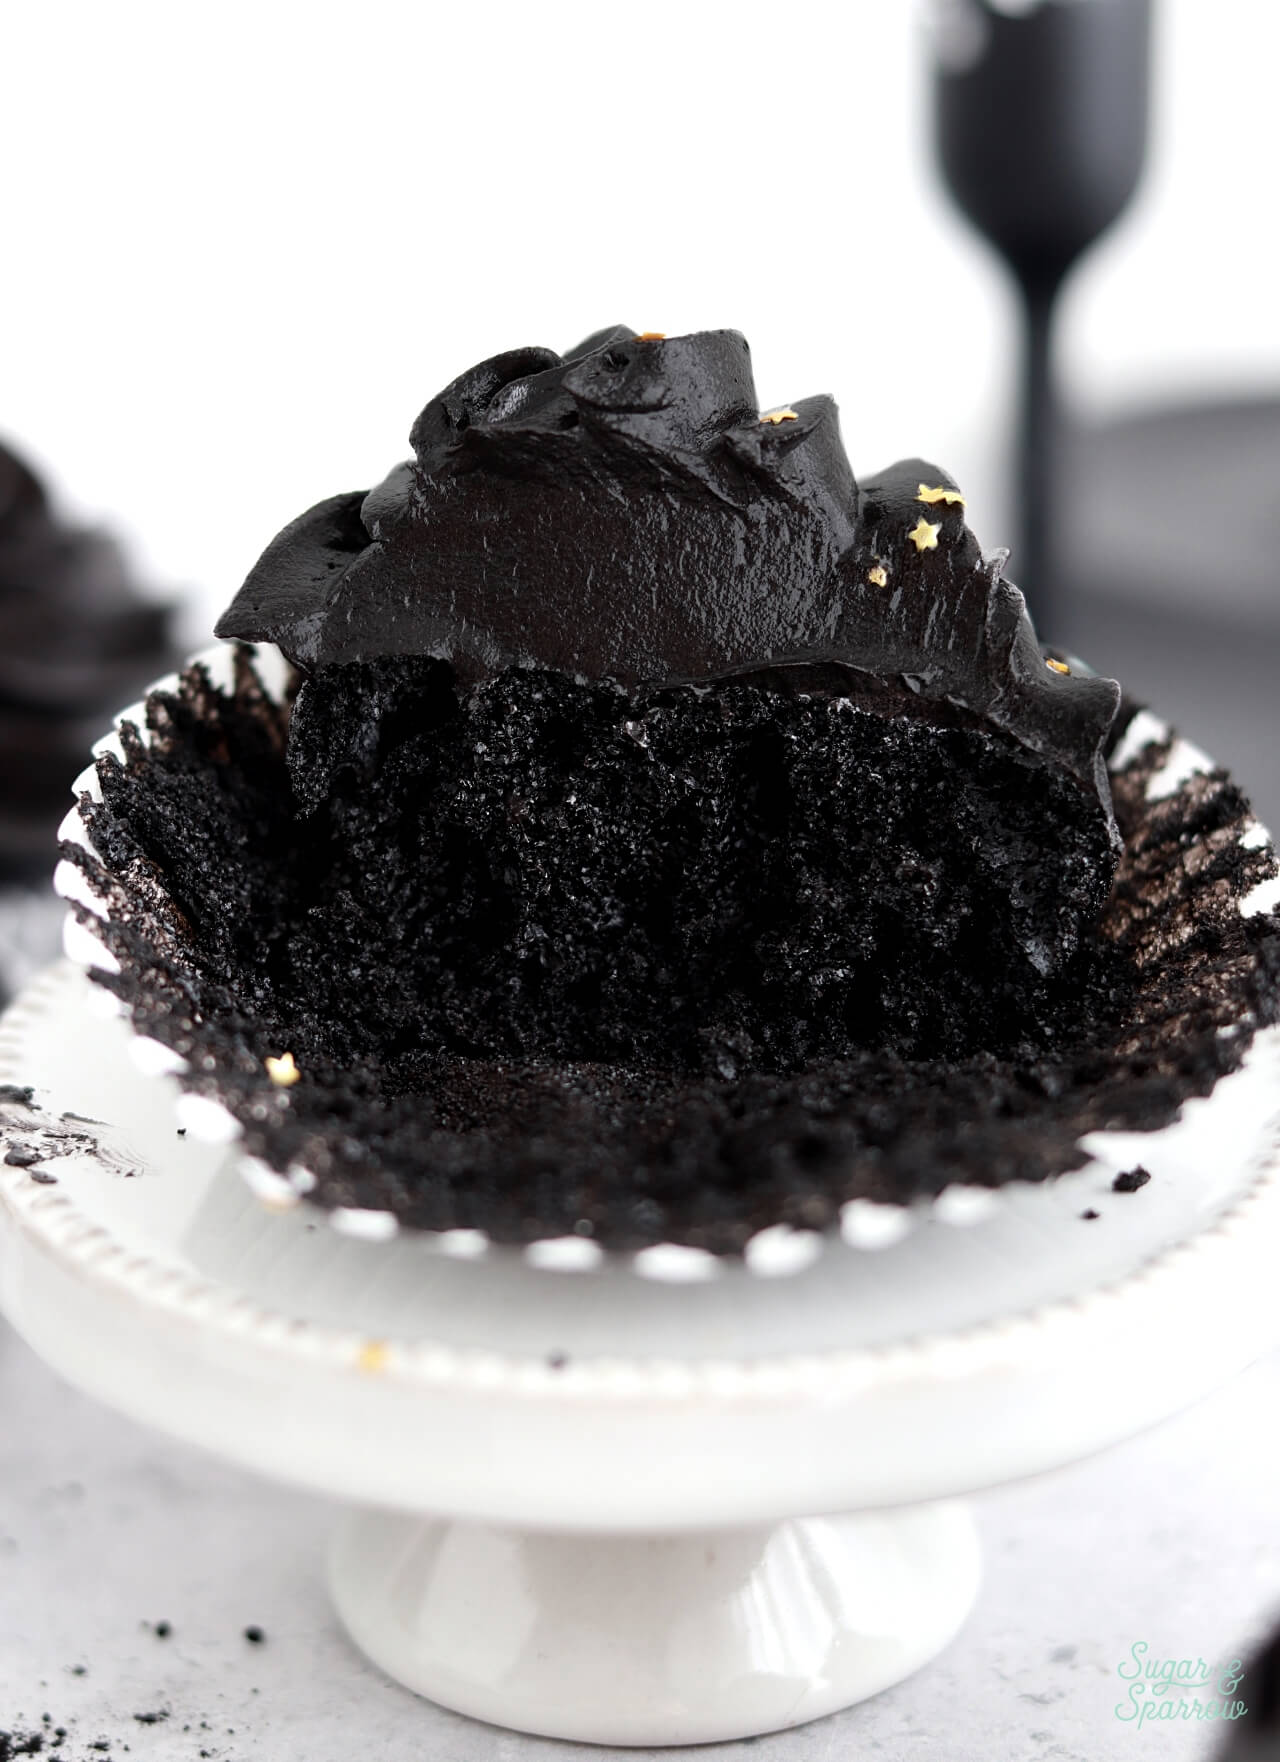
Black cocoa powder is an ultra-Dutched cocoa powder, meaning it’s been treated with an alkaline solution to reduce its acidity. It’s very dark in color and while it isn’t as chocolatey as regular cocoa powder, it does have amazing flavor. It’s the main ingredient in Oreo cookie shells, and that’s basically what the cake layers end up tasting like. The best part about black cocoa powder is it gives the cake layers a rich black color without having to add any additional food coloring! That means it won’t turn your mouth crazy colors.
Where to Find Black Cocoa Powder
You probably won’t be able to buy black cocoa powder at your local grocery store, but you might have some luck at a dedicated cake decorating supply shop. There aren’t many of those around me, so I get my black cocoa powder on Amazon. This brand is the darkest black cocoa powder I’ve found, and it makes a huge difference in the final results of the buttercream specifically. Other black cocoa powders aren’t as Dutched, but any brand of black cocoa powder will work in this recipe (see the recipe notes for more info on that).

If you don’t want to get black cocoa powder online, you can substitute it with an equal amount of Hershey’s Special Dark Cocoa Powder, which can be found at most grocery stores. It’ll make the cake batter and buttercream dark brown, so if you’re going for black colored cupcakes you’ll need to add some black food color gel to take it all the way.
How to Decorate Black Velvet Cupcakes
You can decorate these black velvet cupcakes any way you want, but I went for a super simple yet elegant theme here. I used Wilton Tip 1M to pipe the black buttercream in a swirl and then sprinkled some metallic gold stars on top.

Other design ideas: topping them with galaxy buttercream for a space-themed party, filling them with vanilla buttercream to go all the way with the Oreo cookie flavor, or keeping it creepy with some edible spiderwebs. However you decorate, these cupcakes will be a true crowd pleaser!
Black Velvet Cupcakes
Equipment
Ingredients
Black Velvet Cupcakes
- 1 Cup (132g) all purpose flour
- 3/4 Cup (150g) granulated sugar
- 1/3 Cup (38g) black cocoa powder* see notes
- 1 tsp baking soda
- 1/2 tsp baking powder
- 1/4 tsp salt
- 1/4 Cup (60ml) vegetable oil
- 1 large egg, room temperature
- 1/2 tsp pure vanilla extract
- 1/2 Cup (120ml) full-fat buttermilk*, room temperature DIY recipe in notes
- 1/2 Cup (120ml) hot coffee or hot water
Dye-Free Black Buttercream
- 1 Cup (226g) unsalted butter, room temperature
- 2 1/2 Cups (300g) powdered sugar
- 1/2 Cup (56g) black cocoa powder* Use The Cocoa Trader brand for best results here
- 1 tsp pure vanilla extract
- 2 Tbsp whole milk, room temperature
- pinch of salt
Instructions
Make the Black Velvet Cupcakes
- Preheat the oven to 350°F (177°C). Line a 12-cup muffin pan with cupcake liners. Line a second pan with two more liners—this recipe makes about 14 cupcakes. Set aside.
- Place all of the dry ingredients into the bowl of a stand mixer and stir on low for 30 seconds to fully combine them. Add the vegetable oil, eggs, vanilla, and buttermilk and mix on low until just combined. With the mixer still on low, add the hot water in a slow stream, then turn the mixer to medium and beat until smooth, about 2 minutes. The batter will be very thin.
- Pour the batter into the prepared cupcake liners (no more than ⅔ full) and bake for 15-18 minutes, until a wooden toothpick inserted comes out with just a few moist crumbs on it. Cool completely before frosting.
Make the Black Buttercream
- In a stand mixer fitted with a paddle attachment, whip the butter on medium speed until creamy and light in color, about 4 minutes. Scrape down the bowl and paddle, then add half of the powdered sugar. Mix on low speed until just incorporated, then add the rest of the powdered sugar. With the mixer still in the off position, sift in the black cocoa powder and add the vanilla, milk, and salt. Mix on low until all ingredients are thoroughly combined, about 2 minutes, scraping down the bowl and paddle as needed.
- The buttercream will look dark brown at this point, but the color will darken significantly over the next several hours. See the recipe notes for storage instructions if you're not planning on piping the cupcakes the same day.
Assembly
- Once the black velvet cupcakes are completely cooled, frost them with the black buttercream. To create the look pictured, place the black buttercream into a piping bag fitted with Wilton Tip 1M and pipe a swirl onto each cupcake. Top with edible metallic gold stars.
Notes
- The black velvet cupcakes can be made ahead and stored at room temperature, covered with plastic wrap, for up to two days. Alternatively, they can be stored in an airtight container in the freezer for up to two months.
- The black buttercream recipe can be made ahead and stored in an airtight container in the refrigerator for up to two weeks. It will get significantly darker after 24 hours. When you’re ready to use it, bring it back to room temperature and re-mix with your stand mixer on low speed to bring it back to frosting consistency.
These black velvet cupcakes are sure to be a hit at your next gathering! I hope you love them as much as I do. Let me know what you think in the comments below and feel free to tag @sugarandsparrowco on Instagram if you post a pic! I love to see what you create.
Is the texture conducive to coring for adding strawberry preserves as a filling?
Hi! Yes, absolutely. That would taste lovely!
First time I’ve made velvet anything. The cupcakes were delicious, although they needed substantially longer to cook. It may be the difference in cupcake sizes in other countries; I’m in Australia, and I doubled the mix but it only made 21 cupcakes.
Anyway, they looked a treat decorated as penguins (inspired by CakedByRach).
Hi Katie! I’m so happy you loved this recipe and I bet they were so cute as penguins! I didn’t realize that Australia cupcakes were larger than the ones in the US, that’s for sure the reason why they would take longer to bake and why you didn’t get as much when doubling the recipe.
Hi! These cupcakes are the best!! Made them last year but I wanted to ask if these could be made gluten free? I plan on making two batches, one just as your recipe states and one as gluten free, as my niece has a gluten allergy. This allergy is new to us and didn’t want her to miss out when celebrating her mom.
Hi Valeska! I’m so happy this recipe was a hit! You can absolutely make these GF by swapping the all purpose flour for an equal amount of GF all purpose flour. Hope that helps!
Thank you so much!
Hello,
I want to make cupcakes for my birthday but some of my friends are lactose-intolerant. Can I substitute the whole milk and buttermilk with plant milk?
Hi Michelle! Yes, you can absolutely replace the milk portion of the recipe with plant based milk. Soy is my favorite substitute flavor wise. I recommend making the DIY buttermilk with the plant based milk for best results. Hope that helps!
Question: If I use the DIY buttermilk recipe, do I still use 1/2 cup of the mixture as if I had put in true buttermilk or the entire cup of whole milk with white vinegar?
Hi Mary! I’ll change this in the notes section but you can half the DIY buttermilk recipe! Just use 1/2 Cup whole milk + 1 1/2 tsp white vinegar. Hope that helps!
I can’t wait to try this recipe. The reviews and pictures stopped my search for a Black Velvet Cupcake recipe and with a Black Buttercream frosting recipe too. Love that! Can’t wait to try that recipe as well.
Hi. I have 2 questions…
1. Can I follow this recipe of 14 cupcakes to make 12 jumbo cupcakes?
2. Can I use the given butter creme as a filling for these cupcakes?
Hi Stella! I’ve never tried making jumbo cupcakes so I’m not sure what the baking time will be but if you want 12 jumbo cupcakes I would double the cupcake portion of the recipe to make sure you have enough batter. And yes, you can use the buttercream as filling. Enjoy!
So delicious and amazing that these are dye free! They were a hit at my Halloween party. Thank you!
Yay, Shevaun! I’m so happy to hear that!
Thank you for this awesome cake and frosting. I live in Ontario and Cocoa Traders is not available in Canada. After a long search I finally found a place in the US that will ship to me. I’m excited and can’t wait to receive my order!
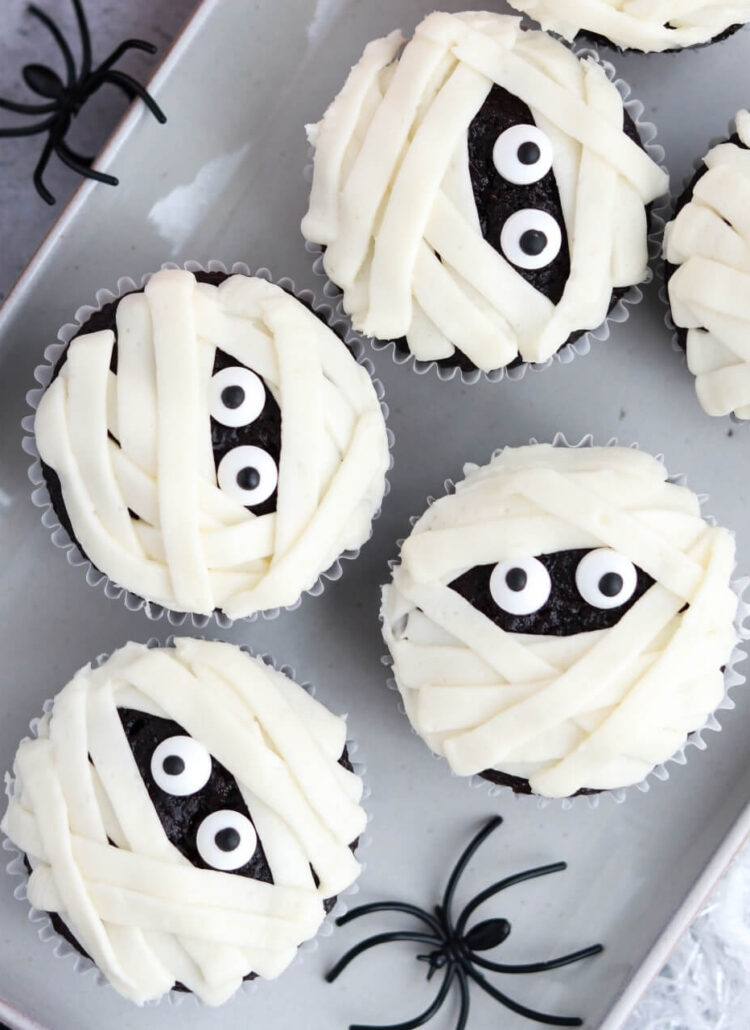
These were a huge hit! I ended up making the icing the day before, storing in the fridge, and re-constituting it the next day. It did indeed get darker! I ended up icing my cupcakes with a palate knife, and putting two candy eyes on each to look like little monsters for my Halloween party. The guests raved about how moist and soft the cupcakes were. I love that they taste like Oreo cookies. Fantastic recipe, especially with the lack of dye!
I do have one question. How long will the cupcakes last if left in a sealed container on the counter, fully iced?
I’m so happy to hear that these cupcakes were a hit, Emily! Thanks so much for letting me know! They should last in an airtight container at room temp for up to five days. Enjoy!
Hi
Thanks for this fun recipe! I printed the Black Velvet Cake recipe that you sent earlier and I noticed that in the main recipe where you include both the cake and frosting, you include in the frosting 1/2 cup unsweetened cocoa powder along with the black cocoa powder. However, in the Black Buttercream recipe you left out the unsweetened cocoa powder. I was wondering which way you suggest?? Thanks!
Hi Carolyn! I recently changed the frosting recipe to be 100% dye free, which is why the regular cocoa powder isn’t included in this recipe. If you’d prefer the older black frosting recipe with minimal food coloring, it’s here: https://sugarandsparrow.com/black-buttercream-recipe/