One of the biggest reasons why I started blogging about cake is because I fell in love with helping people. It totally makes my day when I read messages from you guys talking about how one of my recipes has become your go-to or how a tutorial helped you make the perfect cake to celebrate your loved one. Cake is one of my favorite ways to spread joy, and I feel like teaching you how to make pretty cakes spreads that joy even further – from my kitchen to yours and beyond. I consider it an honor! And while I love sharing cake decorating tutorials and recipes, there’s one thing I’ve been dreaming about teaching for a long time, what I like to call Cake Basics.
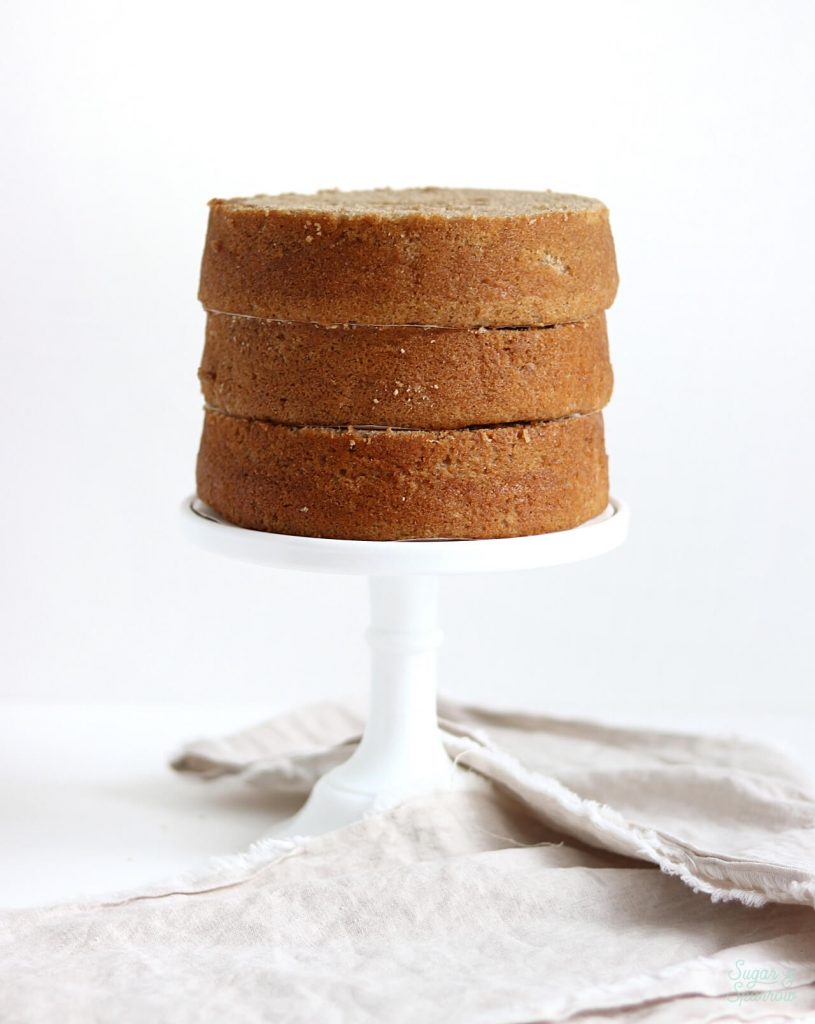
Cake Basics is just what it sounds like: the very basics of cake making. It’s everything you need to know about making perfect cake layers, timelines for making and storing cakes, filling and stacking cakes (without said filling bulging out of the sides), tinting buttercream, and so much more! And to teach you, I’ve filmed a series of in-depth videos to serve as a guide for all of it. They’ll be coming to my blog and YouTube channel very soon, so consider this post your official teaser trailer!
Everything in this Cake Basics series stems from my own cake journey – years of bumbling around the kitchen, learning from my own cake catastrophes, and researching different methods of making and decorating cakes. While I know there are a thousand methods for building a cake from start to finish, this series will give you an in depth look at how I do it. I’m hoping that above all else, these videos and blog posts will help build your confidence in the kitchen and answer any questions you might have about the fundamentals of cake making.

I’ll be releasing new Cake Basics videos and blog posts as frequently as I can edit them, which is hopefully every week. My goal is to get them all out into the world before baby boy gets here, but since I am about 31 weeks pregnant (and a bit slower with everything these days!) I may need a little grace with the timeline. It’s my passion to teach you this stuff, so just know that it’s in the works and be sure to follow along on my Instagram and subscribe to my YouTube for all the updates!

In the meantime, I do have my favorite basic recipes and tutorials here for you to learn and enjoy.
And one last thing: if you have any requests for Cake Basics topics, I would love to know them! Leave a comment below with your topic suggestions and I’ll add them to the list if they’re not already there. So excited for this!


I have a potentially silly question. Actually, two! I noticed on another post, you did the baking one day, the icing the next, and them served it on the third day. How do you store the cake in between? In the fridge with plastic wrap? I wasn’t sure. Also, do you have any tips on moving the cake from the turntable to a platter? Thanks!
Not silly questions at all, Lindsey! I’m actually working on some Cake Basics posts about storing cakes and making the elements ahead + how to move the cake from the turntable to a cake stand, so stay tuned for those! Here’s what I do: 1) after baking the cakes and bringing the layers to room temperature, I wrap them in plastic wrap and store them at room temperature 2) After filling and crumb coating the cake, I store it in the refrigerator (no plastic wrap) for about 30 minutes before frosting the final layer. 3) after frosting and decorating the cake, I store it in the refrigerator (no plastic wrap) until about 1-2 hours before serving. The refrigerator helps preserve the details of the cake decorating, but the cake tastes better at room temp. 4) to move the cake to a turntable, I make sure it’s cold (just removed from the fridge) and run a heated angled stainless steel spatula around the bottom edge to create a clean separation, then I slide the spatula underneath and balance the cake with my hand to move it. Hope that helps!
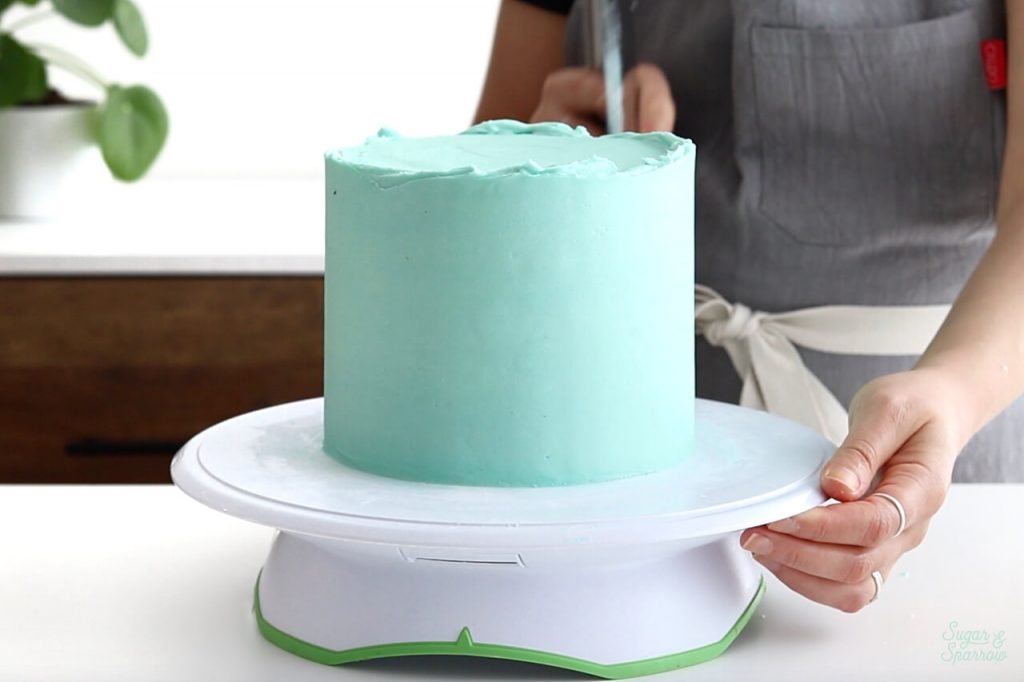
I may have missed it but what color is that frosting?
Hi Mary! I used Americolor Turquoise and Fuchsia for this color scheme.
Please make a tutorial on basic baking tools and devices..it helps us to practice and try out all your recipes
Hi Srivalli! Thanks for the suggestion – I think that’s a great idea! In the meantime, I do have a tools page that lists all the basic cake tools I swear by: https://sugarandsparrow.com/tools/
How about baking for high altitude?? Moved from Ca to North Arizona (5,000) feet above sea level. Nothing turns out as it did in Ca! Lol
Thanks so much for the topic idea, Diana! I’ll have to do some research on that one before I can speak to it (I’ve never lived at high altitude before), but I will add it to my list!
Hello Whitney!
I’ve recently began baking and have found your blog VERY helpful. My family and friends have actually began asking me to make them their cakes! I’ve got A LOT to learns and I can’t wait until your basics vids come out! I am very appreciative of you for sharing your knowledge of baking! Can’t wait! Take care
That’s so awesome to hear, Hilda! I’m cheering you on in your cake journey and can’t wait to launch these Cake Basics soon. I’m super close to launching (thanks for your patience!) and hoping they help out a ton!
Yay!! So exciting – can’t wait to learn loads of new skills from you…thanks a mil in advance!!!
Can’t wait to share! Thanks, Angel!
Hi Whitney! I find you totally inspiring and refreshing. Can’t wait to see and learn more.
Thank you so much for helping us! We adore you ♥️
Aw thank you! So excited for this!
I can’t wait, may the Lord bless your heart for sharing your abilities with us. ❤
Thanks so much, Lourine! So excited to share!
Amazing… I cannot wait. Your cakes are so so lovely and always a source of inspiration. I really struggle with sprinkles sticking to the cake without looking like they’ve been applied with a clenched fist . Do you cover any photography tips. Your pictures are so beautiful (I know not cake related)… Oh and thank you x x c
Yay, Terri! I can’t wait to share my tips and I’ve got a detailed video/blog post on how to apply sprinkles coming soon. And I have been meaning to write a post on food photography for years, I’ll be sure to follow through with that!
Excited for Cake Basics!! Sounds fun 🙂 And by the way, this cake looks beautiful-I really love the colors, and of course the sprinkles. What cake layers did you use?
Thanks so much, Erin! I’m super excited about this! I used my vanilla cake layers for the video 🙂 https://sugarandsparrow.com/vanilla-cake-recipe/
I am much more excited to learn from you Whitney!Please specify about OTG mode as well!Would like to know the Purpose of each ingredient in cake baking and also about the accurate ingredient measurements .For eg what will happen if we add the extra ml of buttermilk or extra butte. Above all I am very big fan of urs!! Anything u give us it’s always bliss…Waiting for your post!!!Stay safe!!
Thanks so much, Benazir! Great topic suggestions for sure, I’ll add them to the list!