• Cake
  • Frosting
  • YouTube
  • My Favorite Tools
  • Nav Social Icons

  • Skip to primary navigation
  • Skip to main content
  • Skip to primary sidebar
  • Skip to footer
  • Recipes
    • Cake
    • Cupcakes
    • Frosting
    • Ice Cream
    • Vegan
  • Cake Basics
  • Tutorials
  • Blog
  • About
  • Mobile Menu Widgets

    Connect

    Search

Sugar & Sparrow logo in script font

Sugar & Sparrow

Lifestyle and Cake from Portland Oregon

  • Cake Basics
  • Recipes
    • Cake
    • Cupcakes
    • Cookies & Bars
    • Filling
    • Frosting
    • Ice Cream
    • No-Bake
    • Small Batch
    • Vegan
  • Tutorials
  • Book
  • Blog
  • About

Edible Gold Crown Cake Topper Tutorial

August 31, 2022 · In: Decorations & Garnishes, Recipes, Tutorials

This summer, I got to make the cutest princess birthday cake for my neighbor. While brainstorming the design, I thought it would be so fun to top the cake with an edible gold crown and since it turned out so well (and was super easy) I wanted to share the process with you! Maybe you’ve got a little one at home who is princess-obsessed or you’re needing this tutorial for a client’s cake. This tutorial will walk you through everything you need to know for crown topper success!

edible crown cake topper

I made this cake topper using a silicone mold I found on Amazon, some ready-made gum paste, and this edible gold paint. It’s about 10 minutes of actual work plus a few days of drying time, so you’ll want to plan ahead for this one. The best part about this crown cake topper is seeing the look on a kid’s face when you tell them they can eat it. Sure, it might not taste as great as the cake itself, but an edible cake topper is a hot commodity at a kid party. 

silicone crown mold for cake decorating

Fondant vs. Gum Paste

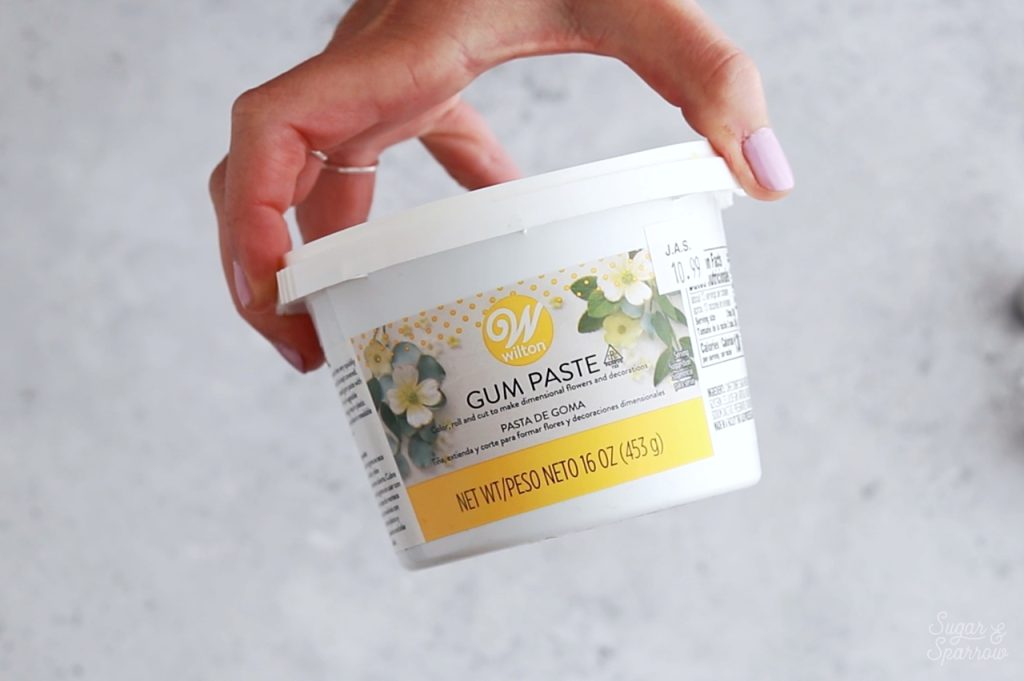
You might be wondering why I used gum paste instead of fondant for this. Let me start by saying I’ve had a few bad experiences with fondant cake toppers – they just don’t dry as firmly as gum paste. Fondant will work with this tutorial, but know that you might have to let it dry for a full week and even then, it might still be a little fragile. I chose gum paste because it dries super firm in a fairly short amount of time (48 hours), plus it’s extremely easy to work with. This is the gum paste I used. 

gum paste vs fondant

Here’s a quick video of the whole process before you read all about it below:

If you want to see more videos like this one, check out my YouTube Channel. I’ve got a growing collection of recipe videos, cake decorating tutorials, and my Cake Basics series in video format. Click subscribe while you’re there so you never miss a new video! 

You Will Need

  • 3 inch ball of gum paste 
  • 1-2 drops yellow food color gel
  • 1 Tbsp vegetable shortening 
  • Small rolling pin 
  • X-Acto knife
  • Paring knife 
  • Silicone crown mold
  • Wax paper
  • Round can or tin that’s about 4 inches in diameter
  • Edible Art Paint in Glamorous Gold 
  • Food Grade Paint Brush

Step 1: Tint the Gum Paste

Coat your hands (even if they’re gloved) in a little bit of the vegetable shortening, then add 1-2 drops of yellow food color gel to the ball of gumpaste. Knead the food color gel into the gum paste until it’s uniform in color.

how to color gum paste

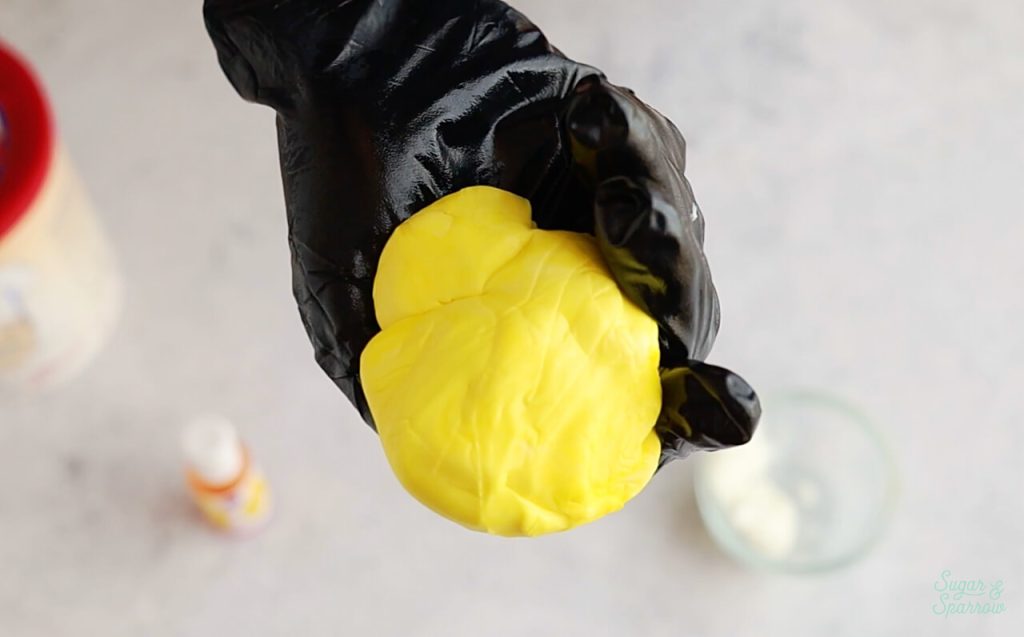
The reason I like to tint the gum paste yellow is because it will hide any imperfections in the painting process better than if you were to use white gum paste. It will look uniformly gold and not patchy in any way. 

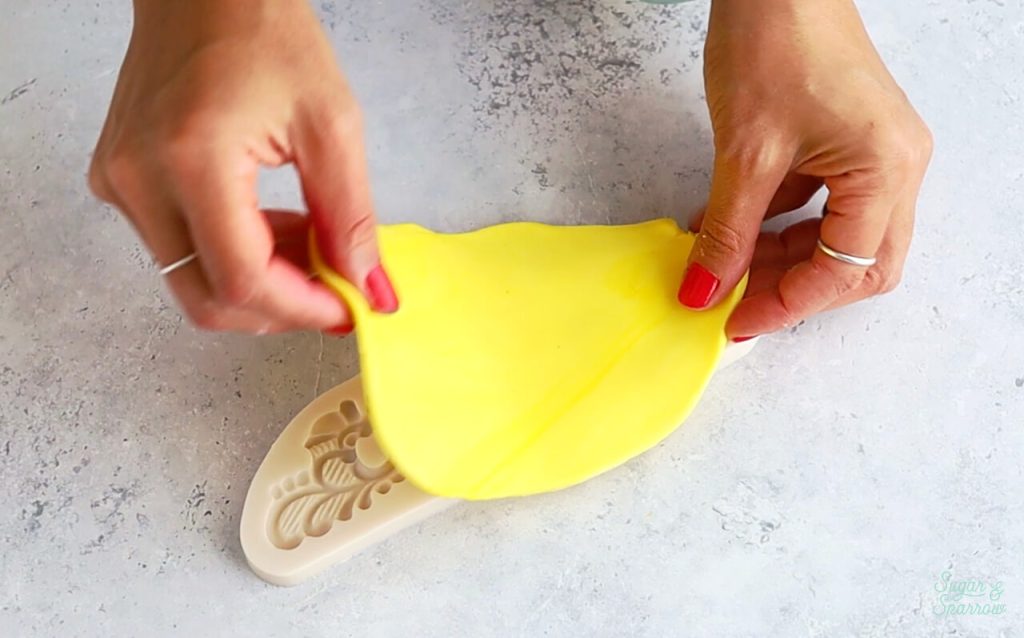
Step 2: Fill the Crown Mold

Coat your work surface in more vegetable shortening to prevent the gum paste from sticking, then use the small rolling pin to roll out the gum paste until it’s as long and wide as the crown mold. 

gum paste crown mold

When it reaches this size, place the rolled out gum paste on top of the silicone crown mold and press it into the crevices. Feel free to fold the edges of the gum paste over and press them inside to fill the crown mold until it’s just about overflowing with gum paste. 

how to make a gum paste crown
gum paste crown cake topper diy

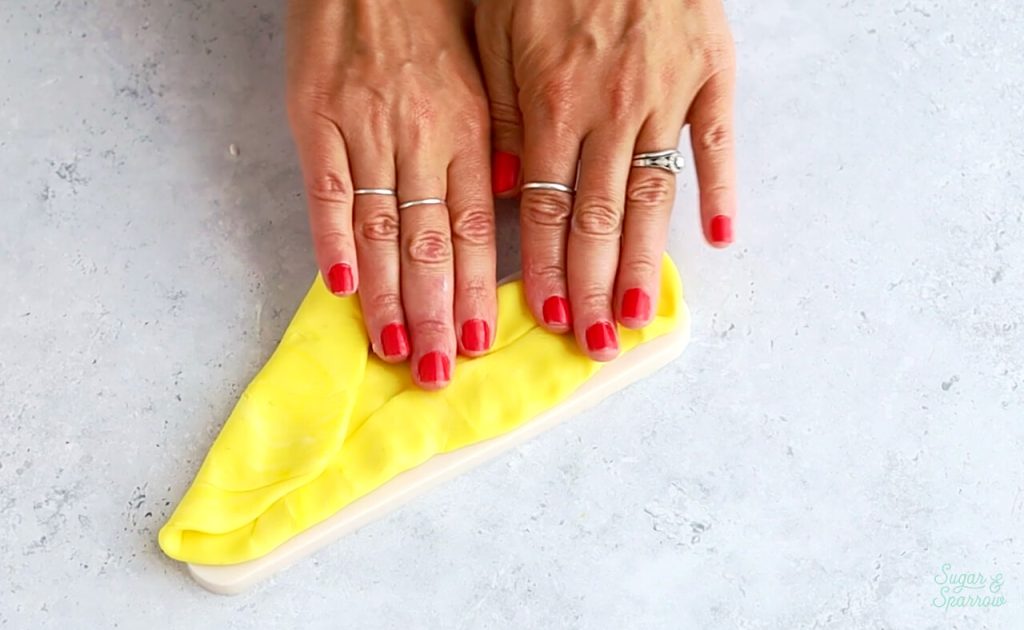
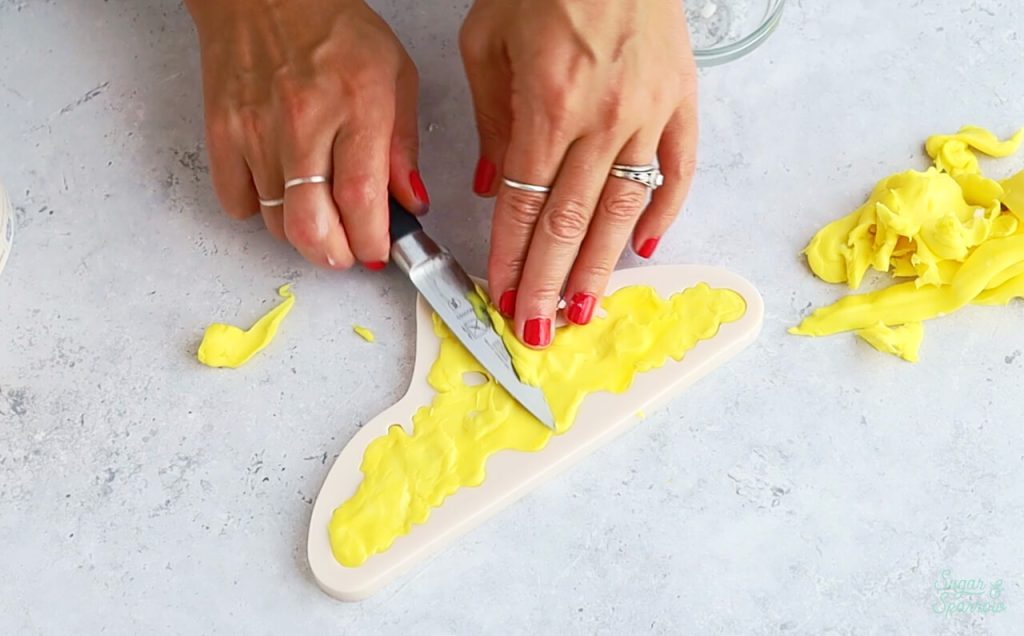
Hold a paring knife parallel to the crown mold and carefully trim away the excess gum paste. 

how to use a silicone mold with gum paste

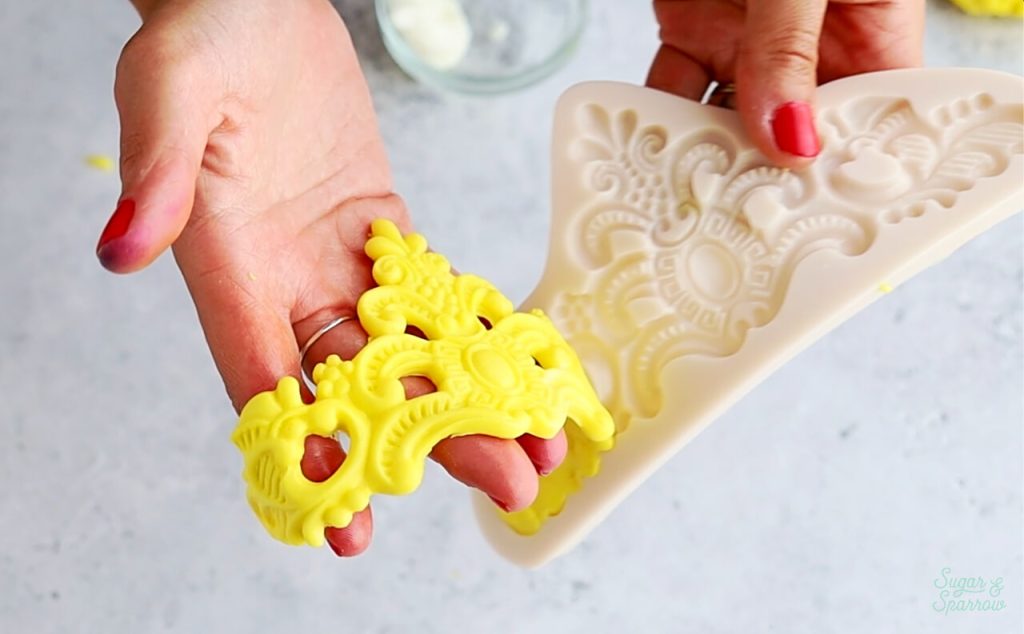
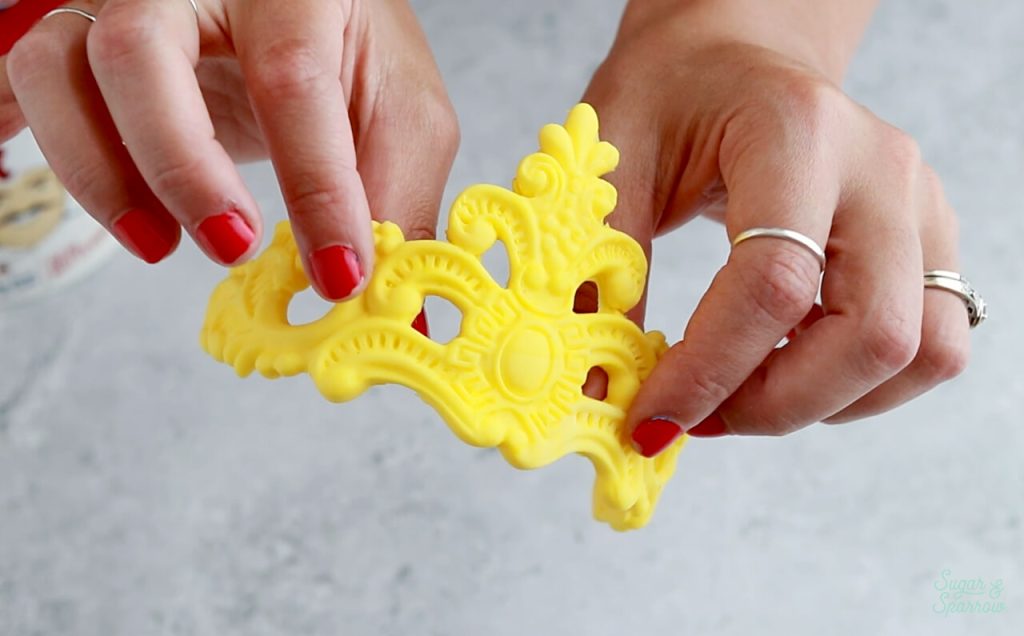
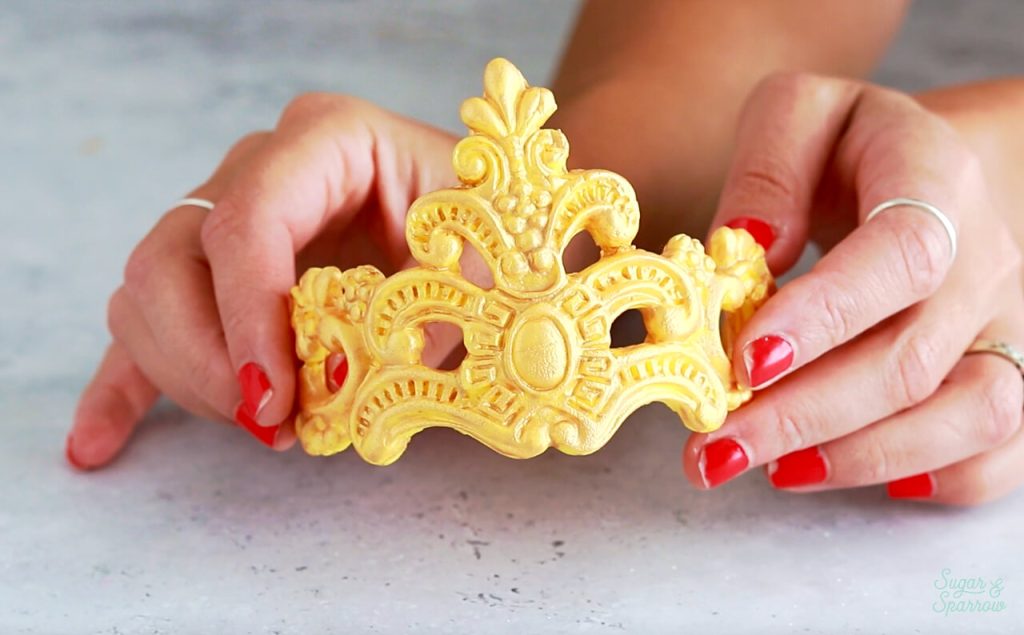
Step 3: Release the Crown

Carefully bend the silicone mold to release the gum paste crown, then use an X-Acto knife to trim away any excess gum paste around all the detailed edges.

fondant crown mold cake topper

Step 4: Shape and Dry the Crown

Tape a piece of wax paper around a round can or tin that’s at least 4 inches in diameter (or whatever diameter you want the crown to end up). Wrap the gum paste crown around the wax paper and gently press it down to adhere it. 

how to create a princess crown cake topper

Allow the gum paste crown to dry like this for 24 hours, after which you can slide the crown off of the wax paper lined can and allow it to dry for an additional 24 hours. The first 24 hours will dry the outside while the second will dry the inside. 

princess crown cake topper tutorial

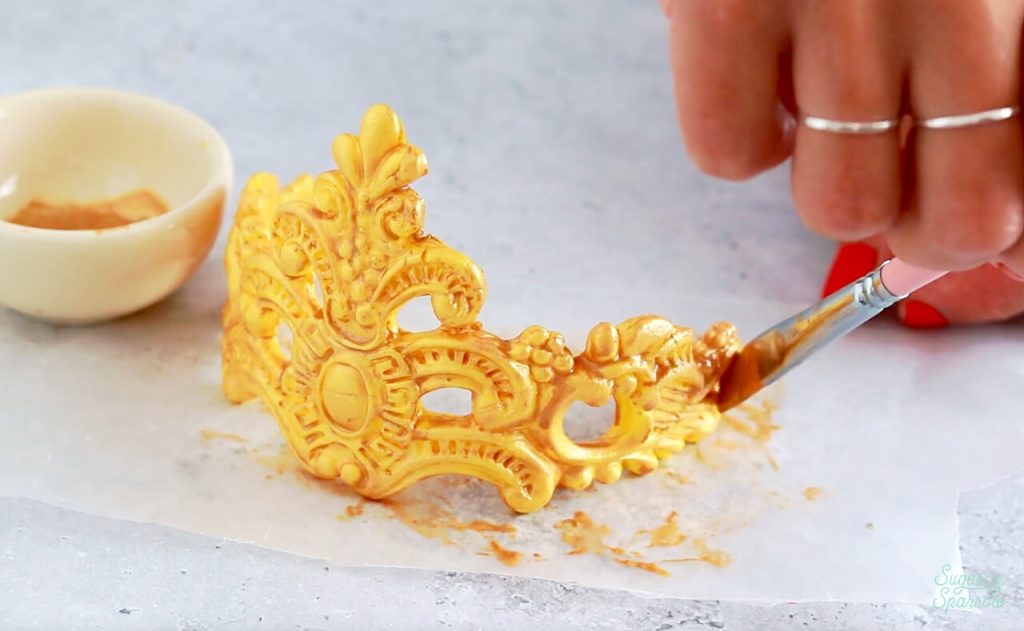
Step 5: Paint it Gold

Add several drops of the Edible Art Paint to a small dish and use the food grade paint brush to add one coat of paint onto the dry crown. This first coat will look patchy, but don’t worry – the second coat will work some magic! 

gold edible paint for fondant

Allow the first coat of paint to dry for 30+ minutes, after which you can add the second coat. Let the crown air dry some more, until it’s dry to the touch, then top your cake with it and be amazed! 

how to make a gold crown cake topper
gold crown cake topper tutorial

This crown cake topper is sure to impress party goers of all ages. There are other styles of crown silicone molds on Amazon, so head there if you want to see other options and feel free to use whatever you find with this tutorial! 

princess cake with crown cake topper

Did you make this crown cake topper? I want to know how it went! Leave me a comment below and feel free to tag @sugarandsparrowco on Instagram to show me. I love to see what you create!

By: Whitney · In: Decorations & Garnishes, Recipes, Tutorials · Tagged: birthday cake, cake topper tutorial, crown, crown cake topper, edible art paint, gum paste, gum paste cake topper, princess cake

you’ll also love

baymax birthday cake tutorialBaymax Birthday Cake
funfetti birthday cake recipeDouble Funfetti Birthday Cake
yellow cupcake recipe with chocolate buttercream frostingClassic Yellow Cupcakes with Chocolate Frosting

Join the List

Stay up to date & receive the latest posts in your inbox.

Reader Interactions

Comments

  1. Kate Johnson says

    April 4, 2025 at 5:51 am

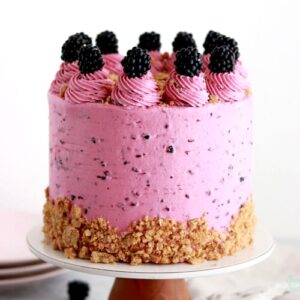
    Hi! Can you tell us what color you used for the base color of this cake and for the true purple decorative piping?

    Reply
    • Whitney says

      April 11, 2025 at 9:48 am

      Hi there! I used AmeriColor “Soft Pink” for the base color: https://amzn.to/4j5EwOx and AmeriColor “Regal Purple” for the purple piping: https://amzn.to/3EiSTzS

      Reply
  2. Nicola Howe says

    September 29, 2024 at 3:48 am

    Hi, what colour is the darker pink buttercream?

    Reply
    • Whitney says

      September 30, 2024 at 9:10 pm

      Hi Nicola! It’s this AmeriColor Fuchsia: https://amzn.to/3TOKnNA

      Reply

Leave a Reply Cancel reply

Your email address will not be published. Required fields are marked *

Recipe Rating


Next Post >

Blackberry Crisp Layer Cake

Primary Sidebar

Welcome to Sugar & Sparrow

Welcome to Sugar & Sparrow

Helping you whip up pretty desserts with confidence and creativity. And hopefully sharing a few laughs with you along the way!

Learn More

Connect

let’s bake!

Get my very best recipes, baking tips, and decorating tutorials sent to your inbox

Featured Posts

chocolate cupcakes recipe by sugar and sparrow

One Bowl Chocolate Cupcakes with Chocolate Buttercream

strawberry cake recipe by sugar and sparrow

The Tastiest Strawberry Cake Recipe

Our Sweet Baby Boy is Here!

Search

Archives

Follow Along

@sugarandsparrowco

TOP 10 BIRTHDAY CAKES 🥳 These are just a few of my TOP 10 BIRTHDAY CAKES 🥳 These are just a few of my favorite birthday cake recipes that will make anyone feel special! 

Comment “BIRTHDAY” and I’ll send you all 24+ of my favorite birthday cake ideas –  classics like funfetti cake and yellow cake with chocolate frosting, plus ice cream cakes, sheet cakes, and more complex flavor combos like Snickers cake and Millionaire cake. 

https://sugarandsparrow.com/best-birthday-cake-recipes/

#birthdaycake #partycake #birthdaycakeideas #cakeinspiration #cakeideas
BERRIES & CREAM SHEET CAKE 🍓🫐 deliciously light, n BERRIES & CREAM SHEET CAKE 🍓🫐 deliciously light, naturally stunning, and the easiest cake you’ll want to make all Summer long!! It’s my favorite bakery-style vanilla sheet cake that’s so soft and moist, topped with silky whipped cream cheese frosting and fresh berries. I love how quickly this cake comes together with simple ingredients + doesn’t require any fancy cake decorating techniques to make it a showstopper✨

Grab the recipe link in my bio or find it at https://sugarandsparrow.com/berries-and-cream-sheet-cake/

#berrycake #berriesandcream #sheetcake #whippedcreamfrosting #cakedecorating
FUNFETTI SHEET CAKE 🥳 the most celebratory flavor FUNFETTI SHEET CAKE 🥳 the most celebratory flavor of all and so perfect for a crowd. It’s extra soft and moist vanilla cake speckled with rainbow sprinkles + captures that box mix texture but it’s 100% homemade and EASY! Top it with vanilla buttercream and rainbow sprinkles for the perfect party cake 🎉
 
Full recipe (w/ frosting) at the link in my bio or at https://sugarandsparrow.com/funfetti-sheet-cake/ 

INGREDIENTS 
2 1/2 Cups (265g) sifted cake flour 
2 tsp baking powder 
1/2 tsp baking soda 
1 tsp salt 
3/4 Cup (170g) unsalted butter, room temp 
1 3/4 Cup (340g) granulated white sugar 
3 large eggs, room temp 
1/2 Cup (120g) sour cream, room temp 
1 Tbsp pure vanilla extract 
1 Cup (240ml) whole milk, room temp 
1/3 Cup (60g) rainbow sprinkles, coated in 1 tsp flour 
 
INSTRUCTIONS 
1. Preheat the oven to 325°F (163ºC). Grease and line a 9×13 baking pan. 
2. In a medium bowl, whisk together the sifted cake flour, baking powder, baking soda, and salt. Set aside.  
3. In the bowl of your stand mixer fitted with the paddle attachment (or with a large bowl and hand mixer), beat the butter and sugar on medium-high speed until light and fluffy, 4 min. Add the eggs one at a time, then add the vanilla and sour cream and mix for one minute on high speed. 
4. Turn the mixer off and add the dry ingredients all at once. Mix on low speed until just combined, then add the milk and mix until just incorporated.  
5. Coat the rainbow sprinkles in 1 teaspoon of flour, then gently fold them into the cake batter. Pour the batter into the prepared baking pan and bake for 30-35 minutes, or until the cake springs back to the touch and a toothpick inserted into the middle comes out clean. Let the cake cool in the baking dish until room temperature, then decorate with vanilla buttercream + rainbow sprinkles (full recipe link in bio!) 
 
#funfetti #funfetticake #sheetcake #cake #birthdaycake
COOKIE DOUGH ICE CREAM CAKE 🍪🍦this is the birthday COOKIE DOUGH ICE CREAM CAKE 🍪🍦this is the birthday cake of my DREAMS and I’m so excited to share the recipe with you!! It’s chocolate and vanilla no-churn ice creams with homemade cookie dough chunks in every bite, swirled together and set on a delicious Oreo cookie crust 😍 easy, perfectly sliceable, and ideal for making ahead! I’m already dreaming about when I can make it again ✨

Get the recipe link in my bio + at https://sugarandsparrow.com/chocolate-chip-cookie-dough-ice-cream-cake/

#birthdaycake #icecreamcake #cakedecorating #nochurnicecream #icecreamlover
My kitchen in May 💛 some of these recipes had me f My kitchen in May 💛 some of these recipes had me feeling CRAZY with how many tests they took 🤪 but in the end I am so happy with these ones I got to hit the publish button on + I made my DREAM birthday cake that I can’t wait to share ASAP!!

Comment “MAY” to get all the recipes that are available now:

-Strawberry Shortcake Sheet Cake
-Lemon Cupcakes
-Lemon Cream Cheese Buttercream
-Orange Poppyseed Cake
-Whipped Mascarpone Frosting
-No-Bake Marbled Strawberry Cheesecake
-Chocolate Chip Cookie Cake

https://sugarandsparrow.com/everything-i-baked-in-may
 
#dessert #bakersofinstagram #baking #bakinglove #dessertlovers

Footer

On the Blog

  • Cake Basics
  • Recipes
  • Tutorials

Info

  • About
  • Privacy Policy & Disclosure

stay in the know

Copyright © 2026 · Theme by Sugar & Sparrow