
Have you ever had a fiasco with your cake filling? I have. Between it bulging out between layers or straight up oozing out of the sides because it’s just too thin to withstand the weight of gravity, I’ve seen it all. The thing is, the filling and stacking process is arguably the most essential part of building your cake’s foundation. If your cake filling is unstable in any way it can throw off the entire outcome of your cake, and if you’re anything like me (perfectionistic to a fault), that can be totally devastating.

Over the years, I’ve come to depend on two different approaches to filling and stacking cakes, since in my opinion, there are two different types of cake fillings. There are stable fillings like buttercream and then there are less-stable fillings like soft consistency chocolate ganache, salted caramel, jam, lemon curd, etc. Whatever you’re using to fill your cakes these days, I’m about to show you my way of filling and stacking layer cakes. Here’s a quick video to show you the methods I’ve come to love before you read all the details below:
Before we move on to details, if you’re wanting to see more Cake Basics videos like this one, you should definitely check out my YouTube Channel and watch more of this series! You’ll even find cake recipes and decorating tutorials there to help broaden your skill set and inspire you. Be sure to hit the Subscribe button so you never miss a new video!
Before You Start Filling & Stacking
No matter what kind of filling I’m using, I always start by placing a cardboard cake circle that’s the same diameter as my cake layers onto the turntable. Then, place a small dab of buttercream onto the cake circle before adding the first cake layer on top. The little swipe of buttercream acts as “glue” to keep the bottom layer in place.
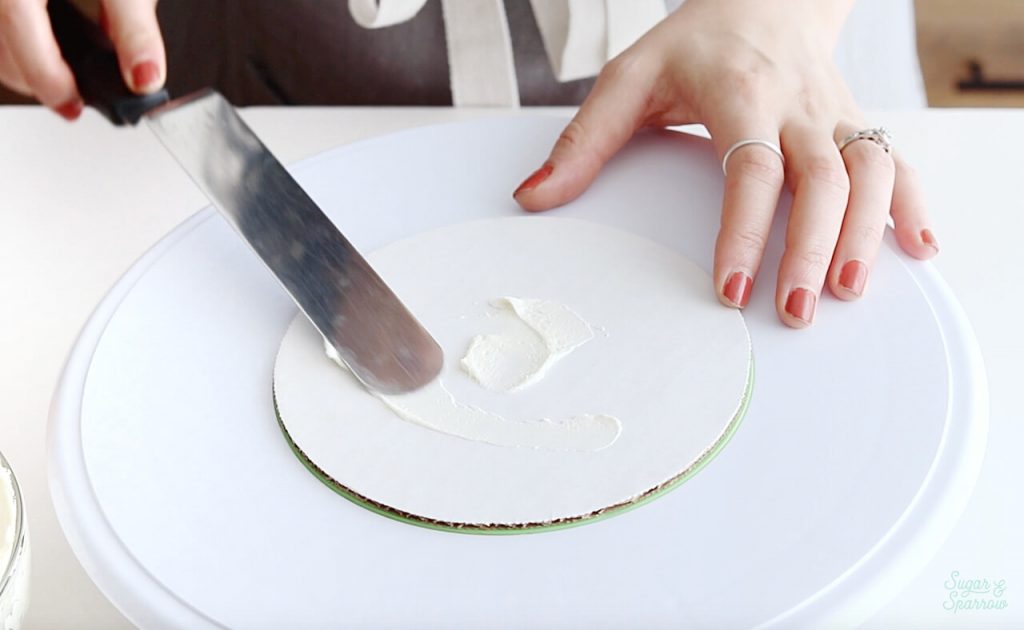
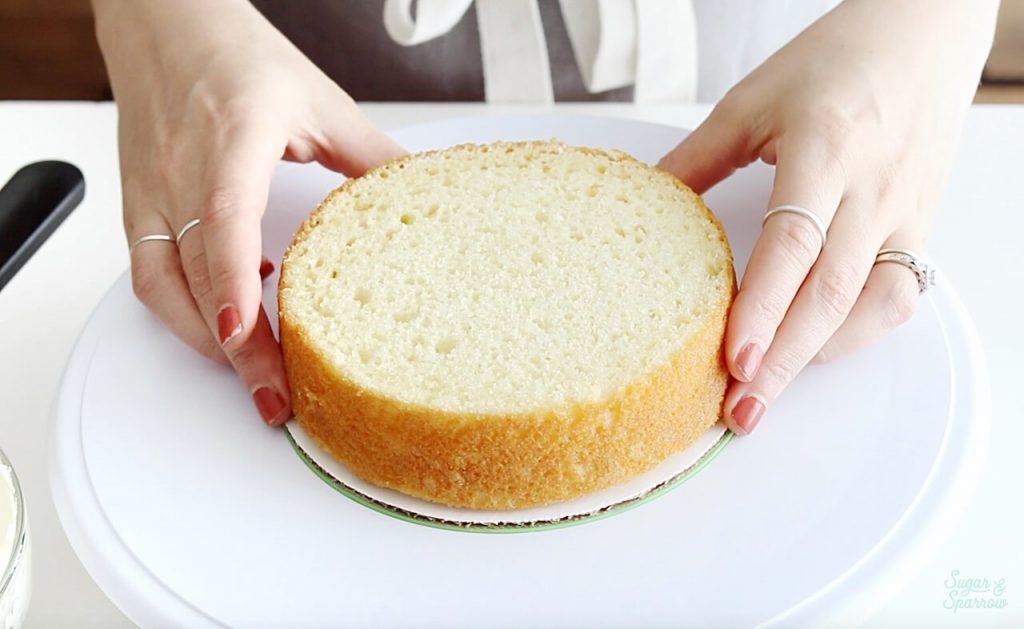
Using this cardboard cake circle method not only keeps your bottom layer in place, it makes your cake easier to work with overall and easier to transport from the turntable to a cake stand or box once it’s finished.
After you’ve got your bottom layer secured to the cake circle, follow either of the methods below depending on the type of filling you’re using.
Filling Cakes with Buttercream
Filling a cake with buttercream is super straightforward as long as you’re working with the right consistency of buttercream. My vanilla buttercream recipe is the perfect consistency for filling and frosting cakes as-is, but if you find that your buttercream collapses underneath the weight of the above cake layer and starts oozing out of the sides, it will need to be made thicker. That could mean adding extra powdered sugar to your buttercream or cooling it in the refrigerator before whipping it back up, depending on the type of buttercream you’re using.
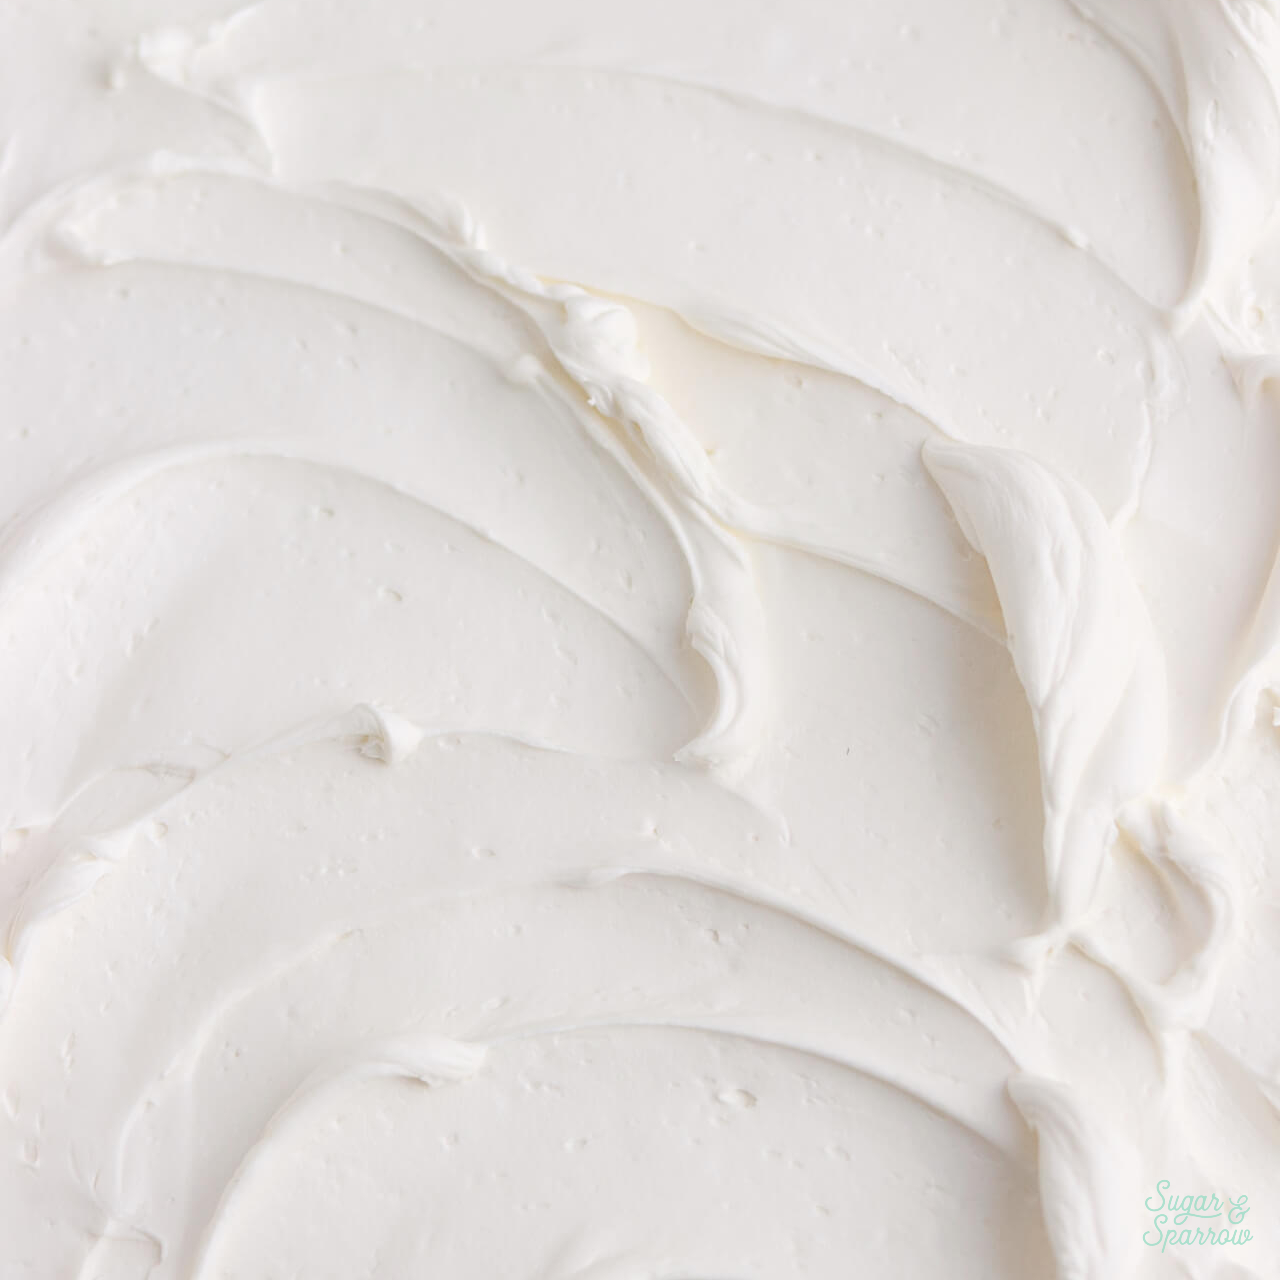
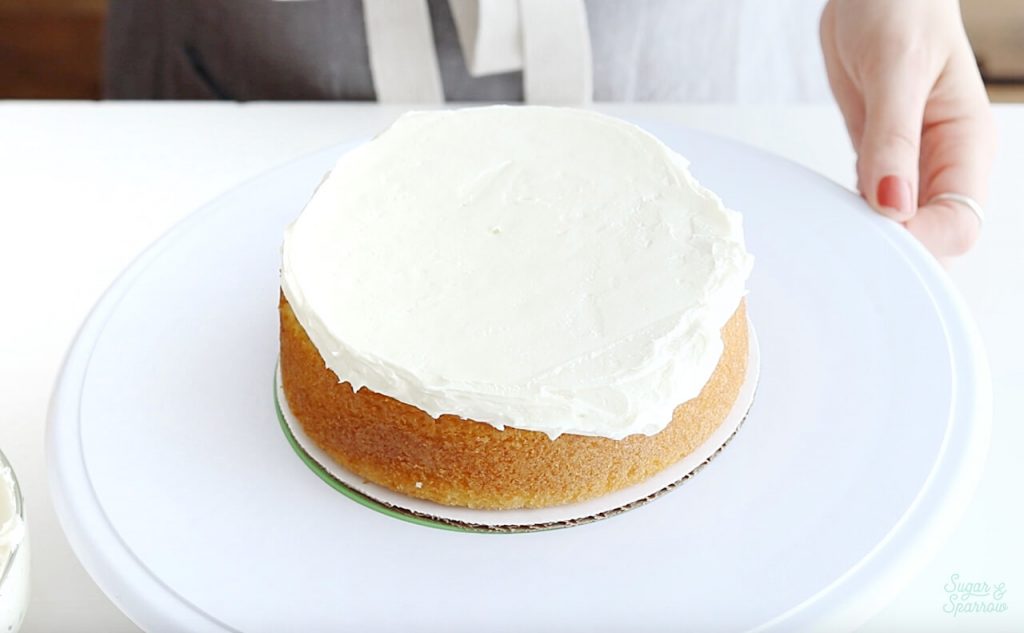
To fill a cake with buttercream, simply add a few spatula scoops full onto your cake layer and smooth it down with an angled spatula until it’s about ½ inch thick (or however thick you prefer your filling to be).
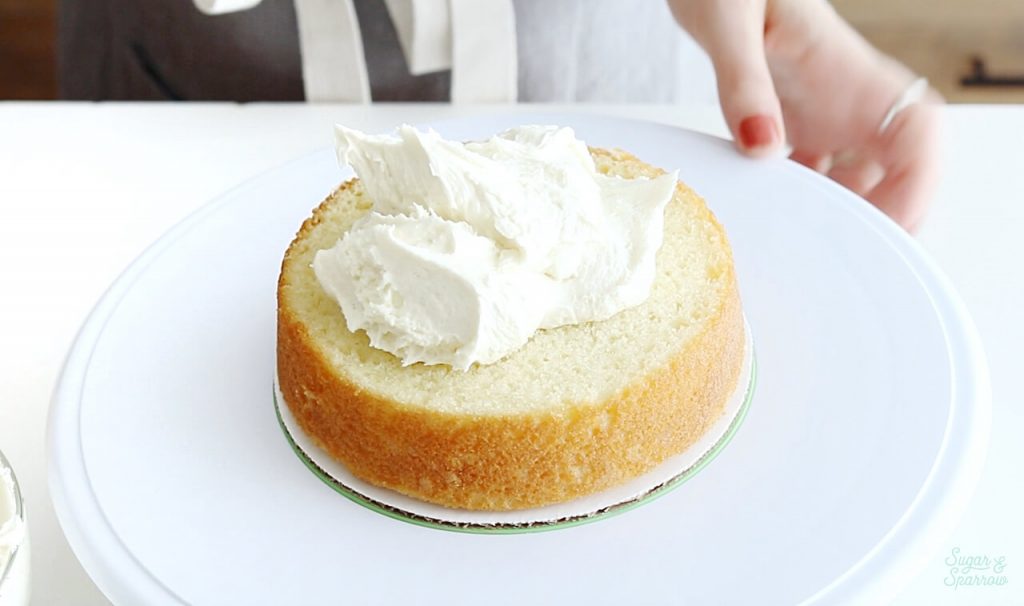
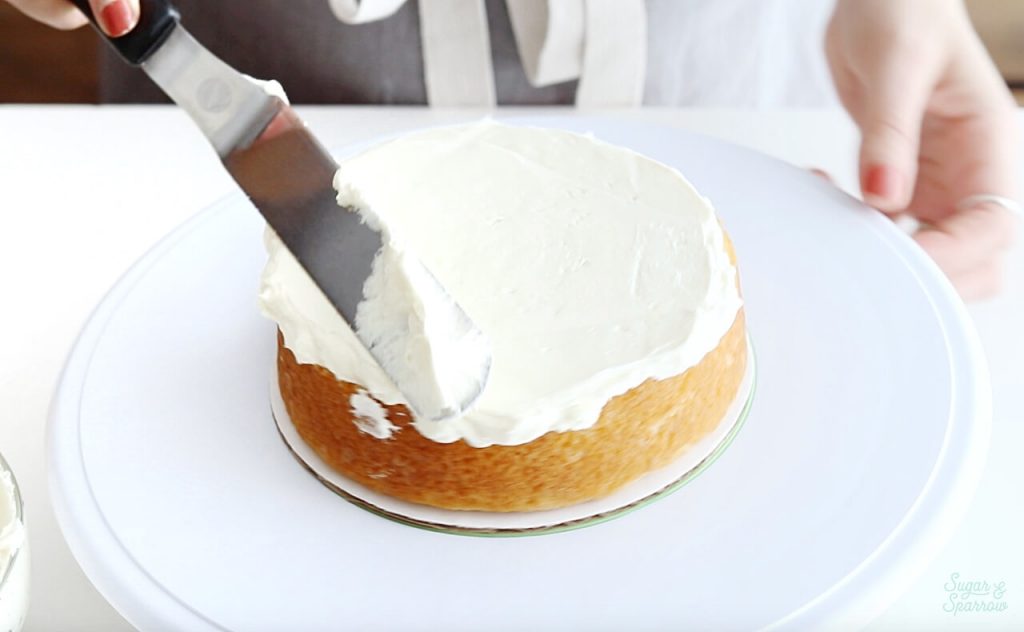
It’s super important to make sure your buttercream filling is as level as possible, so be sure to get down to eye level and check to see that it’s nice and even before adding your next cake layer.
Filling Cakes with Soft Fillings (Ganache, Caramel, Jam, etc)
If you’re using a softer filling, like chocolate ganache, lemon curd, salted caramel, or really anything that could easily ooze out under the weight of a cake layer, I recommend creating a buttercream dam around the edge of your cake layer before adding your filling to the center.
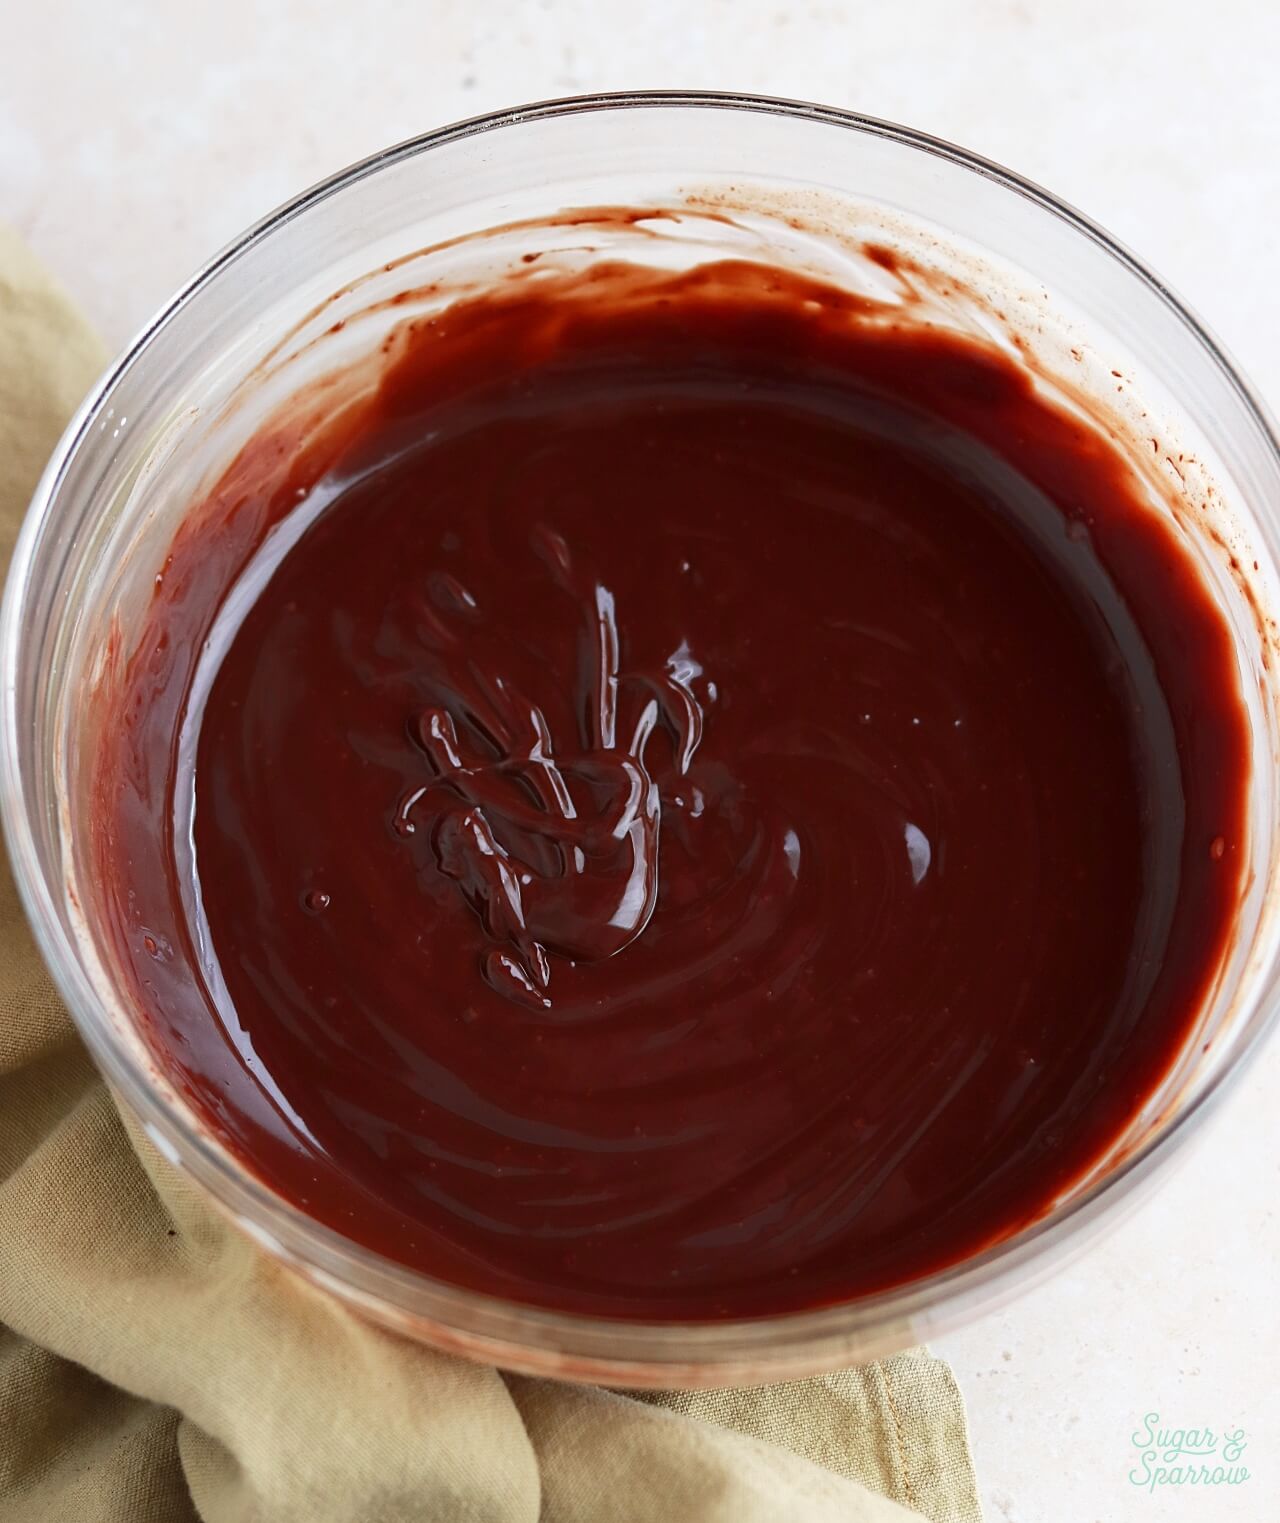
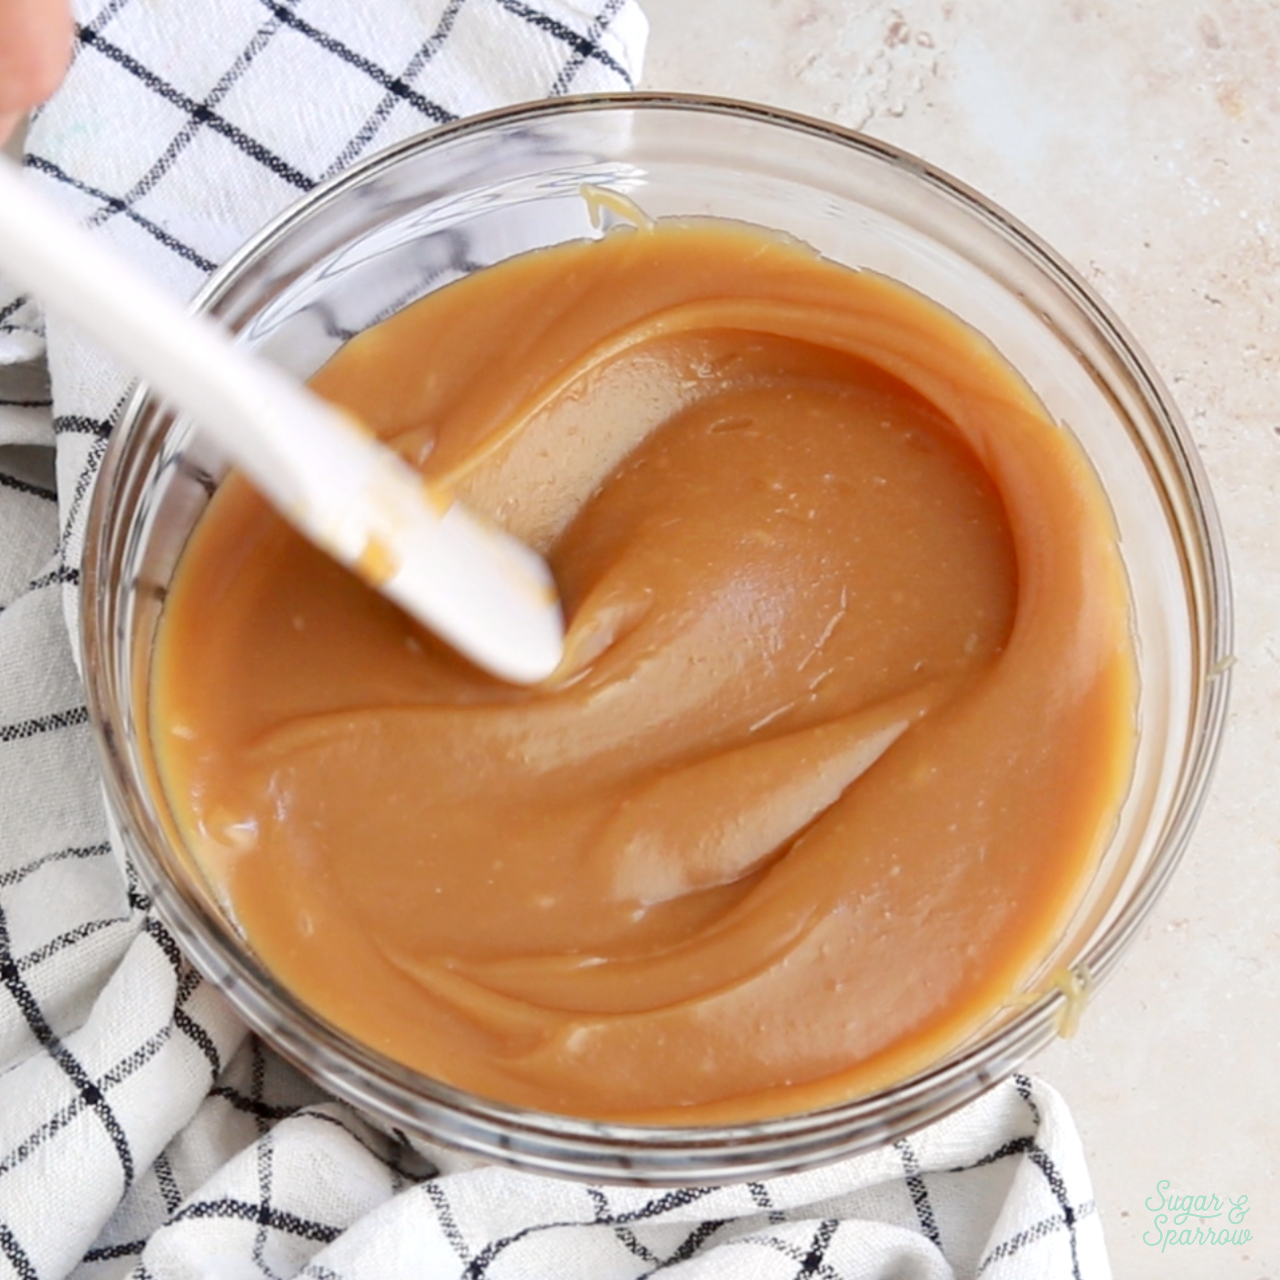
To create the dam, you’ll want to use a medium or stiff consistency buttercream (these notes after my vanilla buttercream recipe detail how to create those consistencies). Add the buttercream into a piping bag and snip off about ½ inch opening, then pipe a dam around the cake layer that’s about ¼ inch from the edge of the cake.

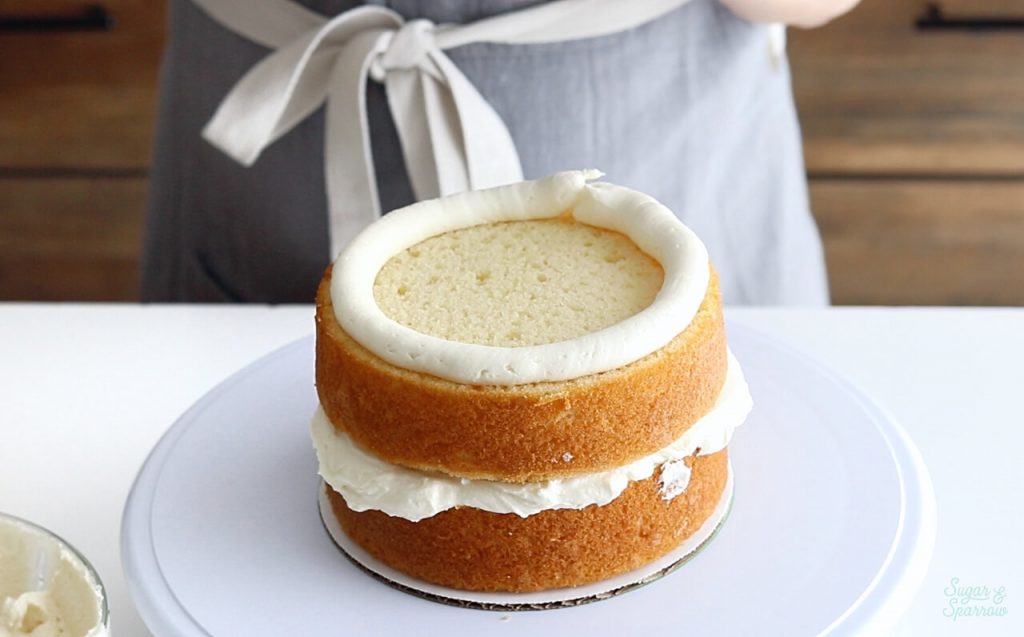
Fill in the center of the dam with your filling. This method basically gives your filling a nice bumper to hold up the weight of the cake layer, keeping your softer filling nice and secure inside.
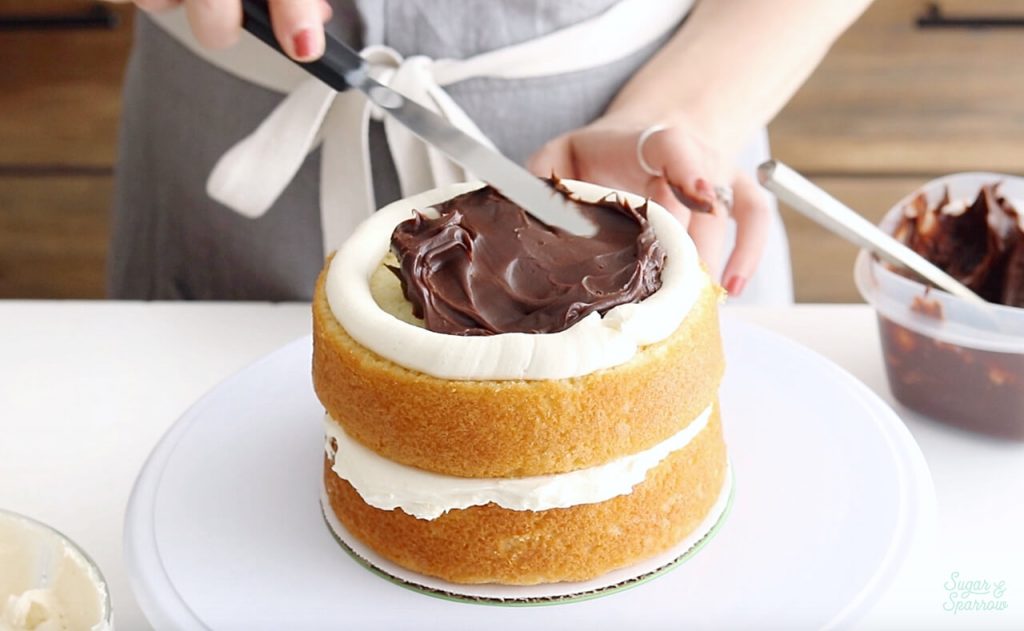
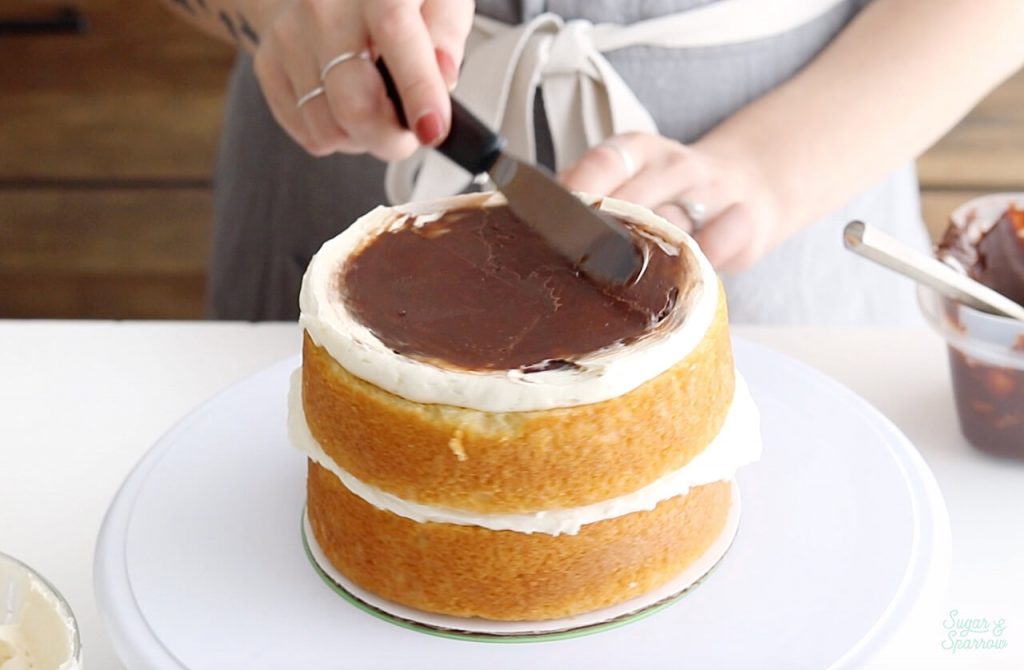
Smooth down your filling until it’s level with the top of the dam, then place your next cake layer on top.
Stacking Cake Layers
After placing your cardboard cake circle down and filling the bottom layer of your cake using either of the above methods, place your next layer of cake right side up on top. Be sure to get down to eye level to make sure it’s centered with the bottom layer.
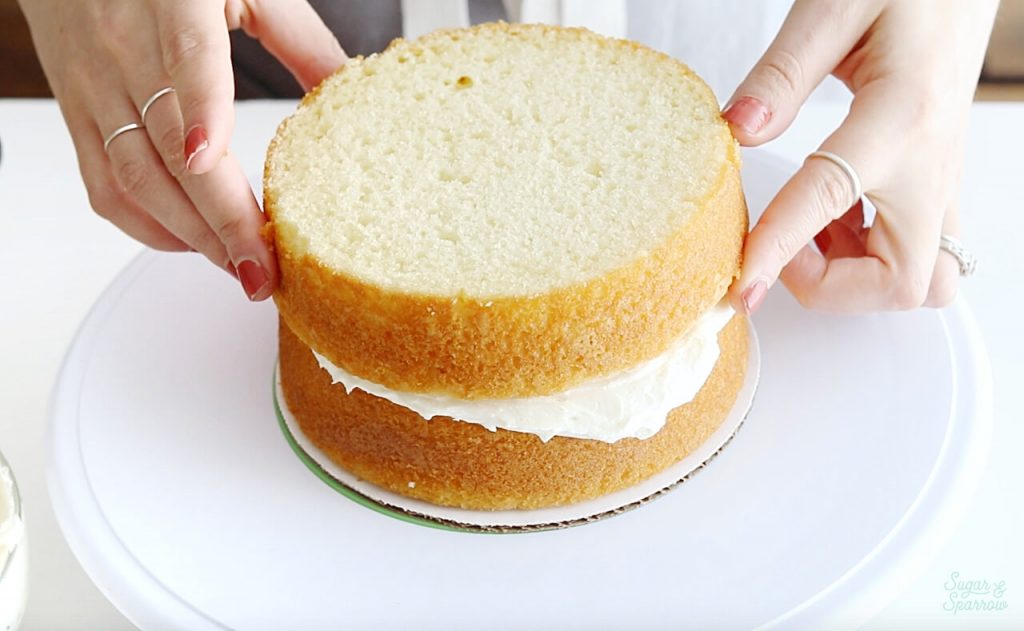
Then, repeat the process of adding and smoothing the filling before placing the next layer on top.

When adding your top layer, flip it upside down (so that the bottom of the cake layer is the top).
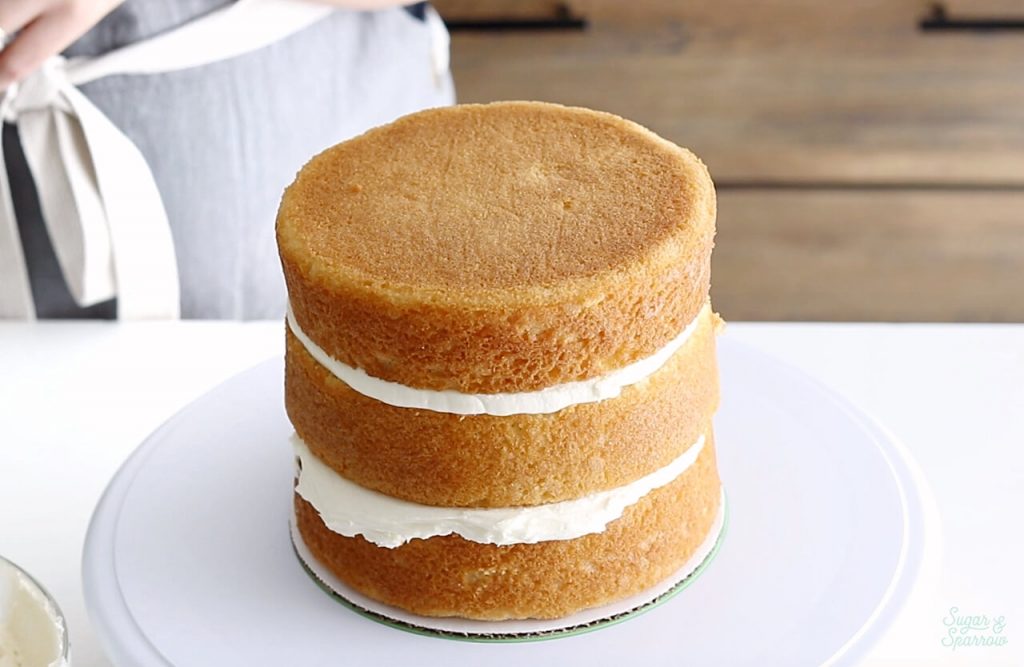
By adding it cut-side down, it greatly reduces the amount of loose crumbs that end up in your crumb coat and final cake finish.
Creating Structure for Tall Cakes
My go-to cake height is 3 layers, typically 6-inches in diameter. Between the filling and frosting, my cakes end up being between 5 and 6 inches tall. The higher you fill and stack your cakes, the less sturdy they will become due to the weight of the above layers and the nature of gravity. If you want to make an extra tall cake, you’ll want to use the barrel method to add extra structure. This involves adding supports via dowels/boba straws and extra cardboard cake circles to even out the weight of the cake. While I don’t yet have my own tutorial on this method, this is the method I’ve used with success and point readers to all the time.
What to Do Next
Now that you have perfectly filled and stacked cake layers, it’s time to crumb coat! Here’s a rundown of all the steps to building and decorating your layer cake:
- Crumb coat your cake
- Frost a smooth buttercream finish, a rustic buttercream finish, or any kind of frosting texture!
- Add sprinkles, a ganache drip, or other finishing touches
Want more Cake Basics? Head here to see all of the posts and learn the methods of caking I’ve come to love over the years. I’m cheering you on every step of the way!



I’m embarking on making my daughter’s wedding cake. I’m an amateur and have lots of time to practice.
QUESTION – she wants white cake, raspberry filling and buttercream. I have a wonderful raspberry reduction (from Berenbaum’s Cake Bible) but it is more like a syrup consistency, not a custard or jam. I’m planning a buttercream dam but I think it will soak into the cake. Should I put a layer of buttercream down, then raspberry, then more buttercream? Thinking I will find a thicker one, but even then, doesn’t it gradually soak into the cake? THanks!
Hi Connie! Congrats on making your daughter’s wedding cake – that is so special! If you don’t want the reduction to soak into the cake layers I would definitely put down a thin layer of buttercream, then the raspberry reduction. Fruit fillings do tend to soak into the cake slightly (even thicker ones) without a layer of buttercream underneath. Hope that helps!
I’m making a 9” diameter cake with 3 2-inch layers with butter cream between the layers. I’m planning g to cover with fondant. Do you think I need to put in fowls for support? Do you usually use dowels for your standard 3-layer cakes? Thank you!
Hi Nitnelion! I don’t think you need dowels for a cake of that size. I only dowel the cake if it’s four layers and up (or tiered). Hope that helps!
Thank you so much for the great recipes and tips, can I use your cream cheese buttercream recipe for filling between cake layers or it won’t be stable enough? I will use the vanilla buttercream cream recipe for coating.
Thanks again
Hi Simone! So happy you’ve been loving my recipes and tips! You can absolutely use my cream cheese frosting recipe as filling between layers. It’s perfectly stable as long as you use the block style cream cheese (not the spread).
Hello Whitney,
I just received my mini (4 inch) cake pans that I am planing on using more often for our family of 4. If I want to do one of your recipes, do you think I can adapt the quantity (for the cake and for the frosting) and just calculate with the rule of three?
I am planing on baking my own birthday cake this Monday 😉
Hi Marie! You can absolutely alter my recipes for four 4-inch pans. If the recipe yields 3 6-inch layers, you can halve the recipe for four 4-inch layers. Enjoy!
Hi! Would you recommend the cake layers being chilled in the fridge before the crumb coat or room temperature? I made your vanilla cake today, wrapped up the layers, and I plan to crumb coat tomorrow (Thursday). I would think colder cake would help, but I wanted to ask!
Hi Sarah! Since the refrigerator tends to dry out exposed cake layers, I don’t recommend refrigerating them before crumb coating. Instead, I like to fill and stack my cakes, add a crumb coat, and then refrigerate. Hope that helps!
Hi! I love how it looks the vanilla cake. Do you have the recipe for the cake? Thank you!
Hi Sofia! I do: https://sugarandsparrow.com/vanilla-cake-recipe
Would I need to double the buttercream recipe for a double layer 8” cake? To fill and frost?
Hi Heather! I would make 1.5x the recipe for a cake of that size. Enjoy!
I just found you website and have never even attempted such a beautiful cake. Question…I am tasked with making a red velvet cake this weekend. Should I use the butter cream recipe?
Hi Jennifer! You can fill/frost a red velvet cake with buttercream! I’d recommend a cream cheese buttercream (like the one in this recipe: https://sugarandsparrow.com/pumpkin-cupcakes-recipe/) or my vanilla buttercream recipe: https://sugarandsparrow.com/vanilla-buttercream-recipe
I want to do 4 eight inch layers. I’m using your buttercream recipe for the filling and the rest. Should I make one recipe for the filling and the crumb coat. Should I make a fresh batch while it’s chilling to ice the final coat?
Hi Pam! I would make 2.5x the recipe for filling, crumb coating, and frosting a cake of that size. You can make it all at once. After crumb coating the cake you can leave the remaining buttercream out at room temp covered with a kitchen cloth. You may need to give it a few stirs with your stand mixer before continuing on with the frosting.
Hi Whitney
Thanks for this article, your blog is really very useful and informative.
After staking my cake layers when I try to crumb coat they move alot, my layers are not steady. They are not breaking but the move. Do you have any tip.
Thanks
Hi Maria! If your layers are shifting around while you’re crumb coating, it could mean that the filling you’re using is not super stable. If it’s buttercream you’re working with, try stiffening it up a little more by using less liquid or more powdered sugar (be sure to balance that with a little salt so it doesn’t get too sweet). Once you make your filling more stable, the cake layers shouldn’t move a whole lot. After you crumb coat, try refrigerating the cake for 20 minutes to let everything firm up before moving on in the frosting process. This way, you’ll have a really stable foundation to frost the cake. Hope that helps!
Wow this is so nicely done, not sure what I’m doing wrong, I stack my cakes and then I decorate and the. Put it in the cake holder and my cake starts to split and fall apart, I let my cakes cool overnight before I begin to stack and decorate and still falls apart, idk what I could be doing wrong, do u know what I could be doing wrong ?
Hi Nikki! Without knowing what recipe you’re using I can’t say what the problem might be. Perhaps the cake you’re using is too dry?
Or maybe your layers aren’t even across the top. I’ve had issues in the past with a small amount of doming on any one layer would cause them to split.
Hi Whitney
Thank you for sharing the double barrel method that you use for your tall cakes. Once you place the cake board on the top of the 1st tier and you then add the other cake on top, do you just put the cake straight onto the board without any buttercream to glue it in place?
Thanks
Vicky
Hi Vicky! I always put a dab of buttercream onto the cake board to glue the cake down and make it more secure.
I love your reading your blog even though I have watched dozens of cake basics videos! I plan on selling cakes (in 2022 or so because I I don’t have the funds) but I always wondered… when you add a filling –fruit based especially– does that mean that the cake has to stay refrigerated?
Hi Shanice! So happy to hear you’re loving my blog and Cake Basics series! Yes – a fruit based filling typically needs to stay refrigerated until the day you serve the cake, although it will depend on what the filling recipe requires. Some fillings (like certain buttercreams) don’t require refrigeration for a few days and can be left at room temperature. Hope that helps and cheering you on in your future cake business!
It’s amazing to see how can I do this I like it but I want to now to decorate the cake it’s the better to use butter cream or unther cream thx
Hi there! I use American buttercream for decorating all of my cakes: https://sugarandsparrow.com/vanilla-buttercream-recipe/ but there are many kinds of buttercream recipes out there (swiss meringue, italian, german, etc) so feel free to give mine a try but also know there are other options!