• Cake
  • Frosting
  • YouTube
  • My Favorite Tools
  • Nav Social Icons

  • Skip to primary navigation
  • Skip to main content
  • Skip to primary sidebar
  • Skip to footer
  • Recipes
    • Cake
    • Cupcakes
    • Frosting
    • Ice Cream
    • Vegan
  • Cake Basics
  • Tutorials
  • Blog
  • About
  • Mobile Menu Widgets

    Connect

    Search

Sugar & Sparrow logo in script font

Sugar & Sparrow

Lifestyle and Cake from Portland Oregon

  • Cake Basics
  • Recipes
    • Cake
    • Cupcakes
    • Cookies & Bars
    • Filling
    • Frosting
    • Ice Cream
    • No-Bake
    • Small Batch
    • Vegan
  • Tutorials
  • Book
  • Blog
  • About

Golden Milk Latte Cake Recipe

September 30, 2020 · In: Cake, Fall, Featured, Recipes, Seasonal, Winter

Jump to Recipe

I have an ongoing list of cake flavors I want to make, and this golden milk cake recipe has been on it for two whole years! I just love golden milk lattes and thought a layer cake version would be a fun flavor to try in cake form. So when I was killing time on baby watch in my final weeks of pregnancy, I decided to break out the turmeric and get a little creative in the kitchen. Not only did I learn some surprising things in the testing process, but the end result was so tasty and timely for Fall baking. Whether you’re a turmeric tea lover or just looking for something different than your average tea cake, this one’s for you!

golden milk cake recipe with turmeric

The thing I love most about a golden milk latte is the spice blend, so I made sure to incorporate a good amount of spice in this recipe with turmeric, cinnamon, and ginger. And since my milk of choice for a golden milk latte is always coconut milk, I decided to use it as the liquid in this cake and the buttercream. Not only did coconut milk complement the flavor profile perfectly, it added a great amount of moisture to the cake without making it dense at all. I usually add sour cream to my cake recipes for moisture, but with the coconut milk, this recipe doesn’t need any extra moisture! From the taste to the texture, this Golden Milk Cake is exactly what I was hoping for. 
golden milk cake recipe

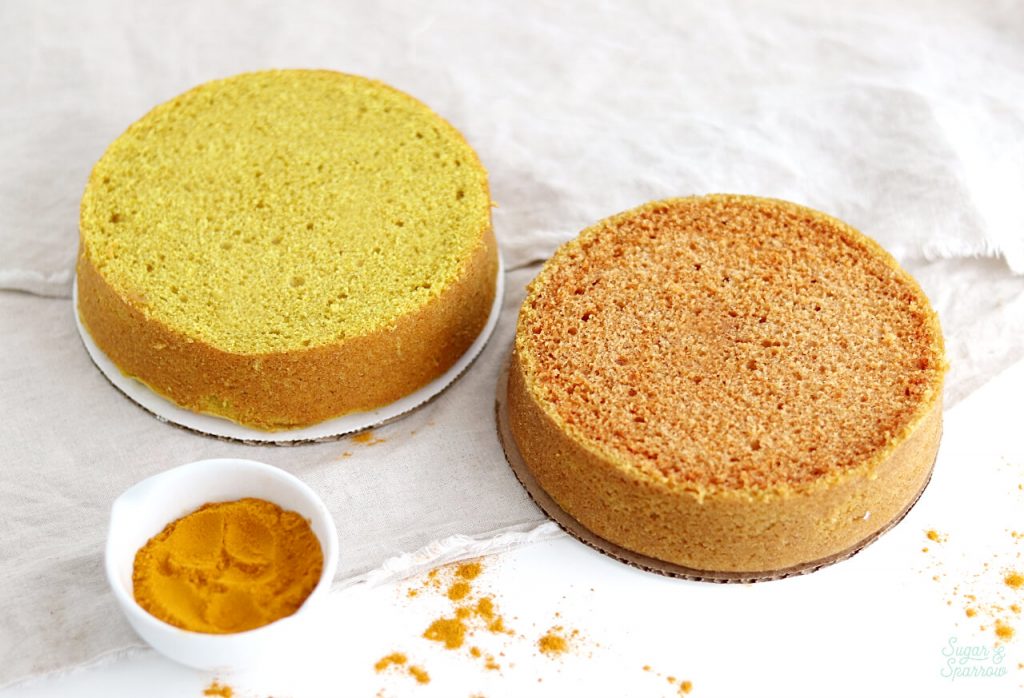
Let’s talk about the color of this cake, because I learned some science-y things about that in my recipe testing. In my first trial, I used baking powder and baking soda as leavening agents, and while the cake rose beautifully and tasted great, the color was reddish orange instead of the classic turmeric yellow color I was envisioning. It looked like a sweet potato cake!
why does turmeric turn red when baked

After doing a little research, I realized that when turmeric comes into contact with alkaline (or base) solutions like baking soda, it turns the end result red. Being the perfectionist I am, I just couldn’t settle for a Golden Milk Cake that was not a golden yellow color, so I tweaked the recipe to omit the baking soda and include more baking powder. The result: a tasty Golden Milk Cake that is perfectly turmeric colored!
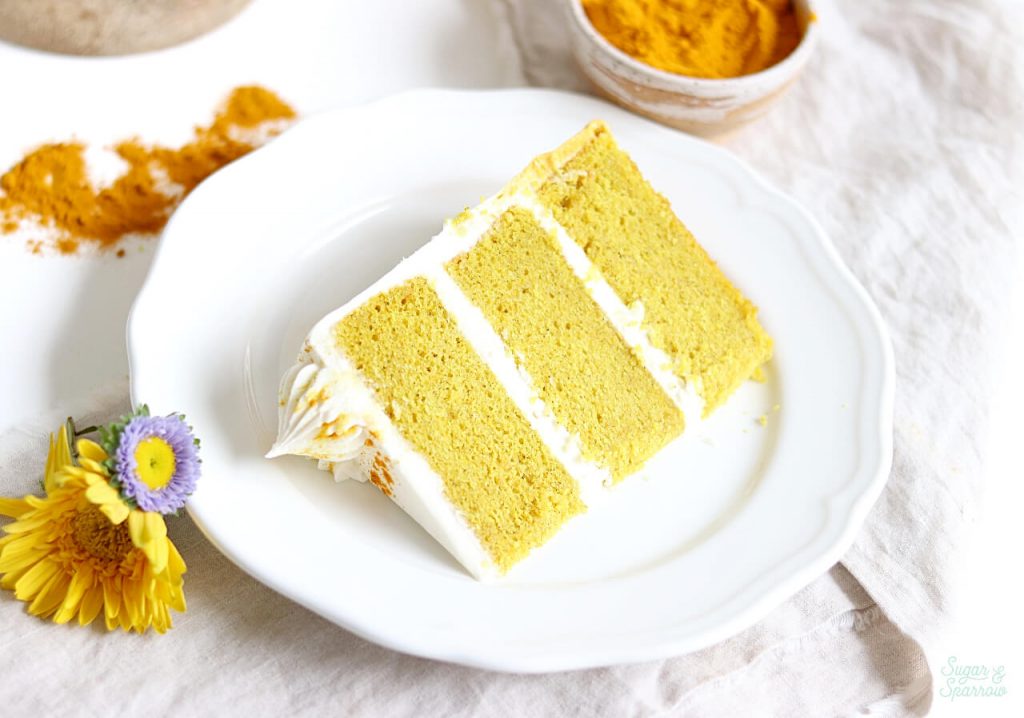
One important side note about turmeric though: it can stain things. Be careful not to get it on your clothes or kitchen towels! 
turmeric layer cake recipe
turmeric layer cake recipe with coconut buttercream by sugar and sparrow

I decided to fill and frost this Golden Milk Cake with Coconut Buttercream just because the sweetness of the coconut pairs so perfectly with the spices in the cake. Like I mentioned before, coconut milk is my milk of choice when it comes to an actual golden milk latte, so incorporating the flavor of coconut was a no-brainer for me. If you’d rather use my Vanilla Buttercream recipe, I’m certain that it would be a great flavor pairing as well. But trust me, the Coconut Buttercream takes this cake beyond. 

turmeric latte cake recipe by sugar and sparrow

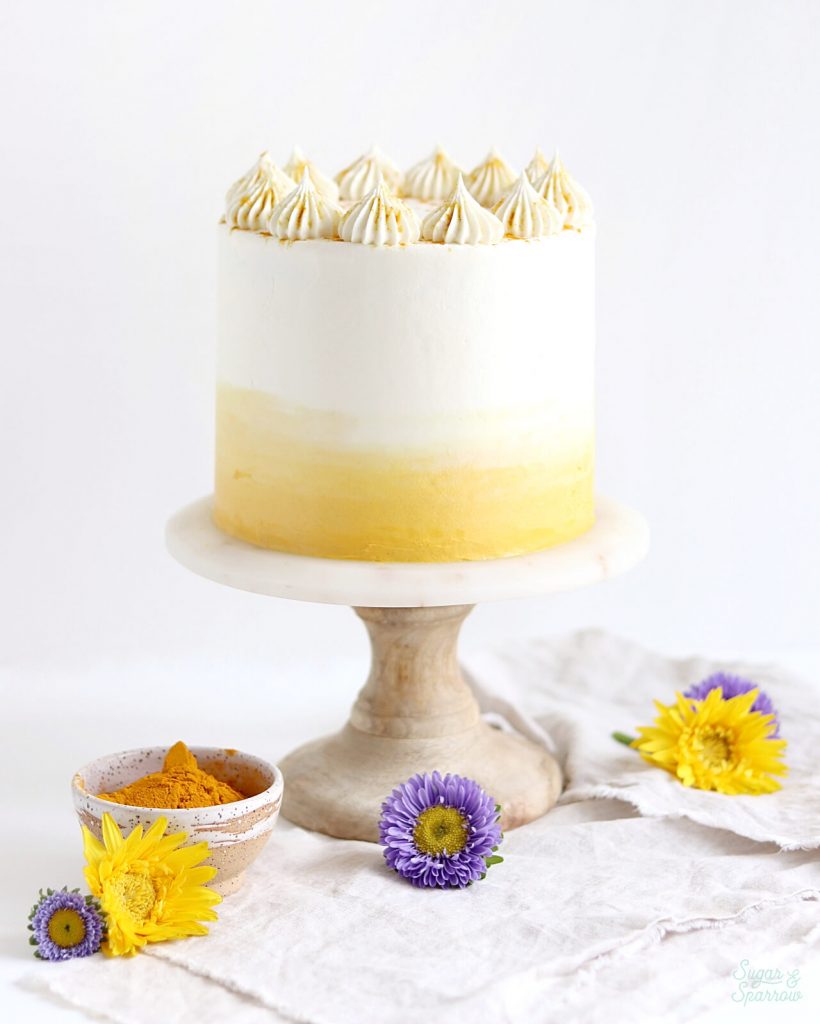
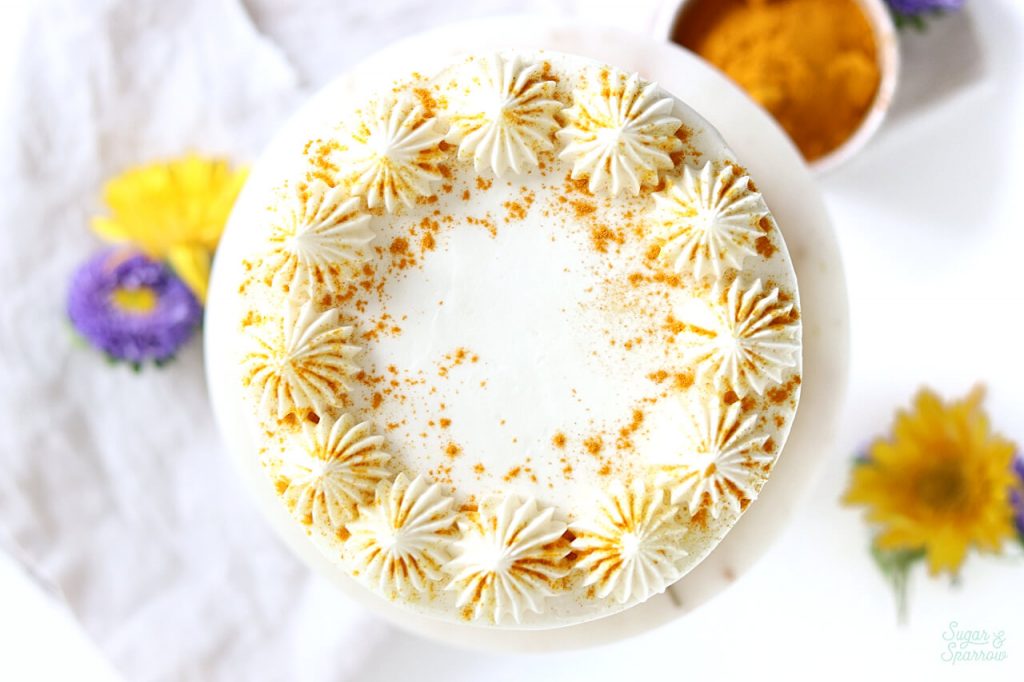
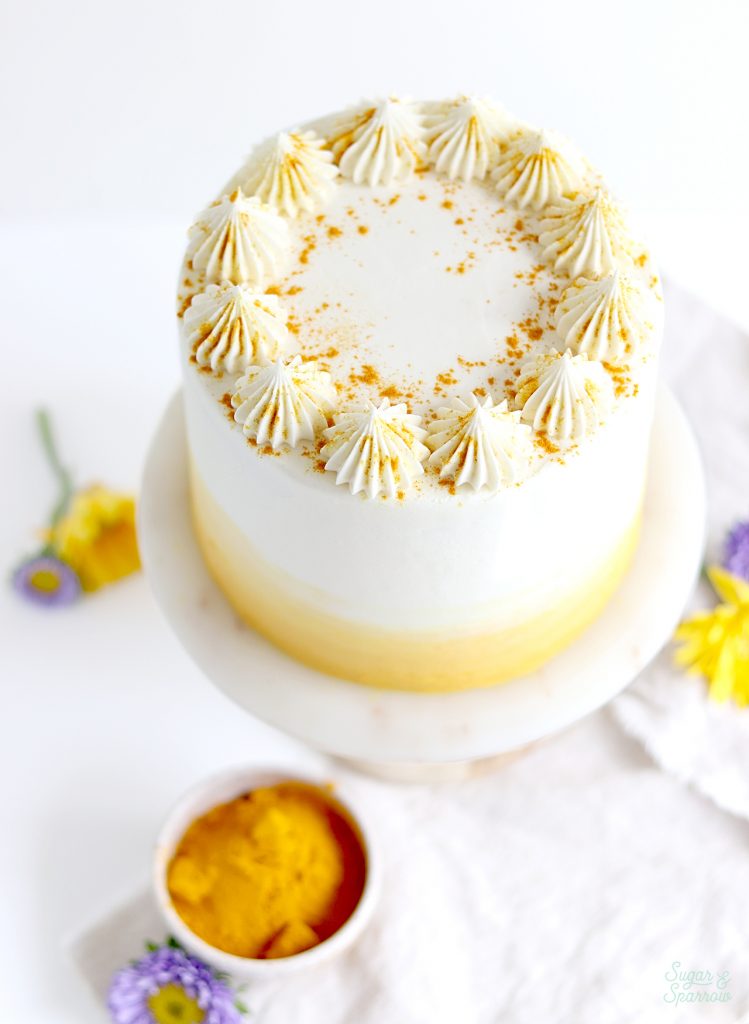
Since I love the color of turmeric so much, I tinted some of the Coconut Buttercream with a custom mix of Americolor Dijon + Lemon Yellow + Orange until I ended up with the perfect turmeric hue. Then, I used it to create an ombrè of color that goes from turmeric to white, piped an open star border with Wilton Tip 6B, and sprinkled some turmeric over the top for an extra pop of color. Any way you end up decorating this cake, I can assure you that it’s delicious if you’re a golden milk latte lover like me! Enjoy! 
golden milk latte cake recipe

Golden Milk Latte Cake

5 from 4 votes
Inspired by one of my favorite Fall treats: the golden milk latte! Layers of moist, fluffy golden milk flavored cake (spiced with turmeric, cinnamon, and ginger), filled and frosted with decadent coconut buttercream.
Print Recipe Pin Recipe
Prep Time:45 minutes mins
Cook Time:35 minutes mins
Cooling Time:3 hours hrs
Total Time:4 hours hrs 20 minutes mins

Ingredients

Golden Milk Cake

  • 2 3/4 Cups (290g) cake flour, sifted before measuring
  • 2 3/4 tsp baking powder
  • 1 Tbsp ground turmeric
  • 1 1/2 tsp ground cinnamon
  • 1/2 tsp ground ginger
  • 1 1/4 tsp salt
  • 1 Cup (226g) unsalted butter, room temperature
  • 1 3/4 Cups (360g) granulated white sugar
  • 3 large eggs, room temperature
  • 1 Tbsp pure vanilla extract
  • 1 1/4 Cups (296ml) full fat coconut milk

Coconut Buttercream

  • 2 Cups (452g) unsalted butter, room temperature
  • 7 Cups (840g) powdered sugar
  • 2 tsp pure vanilla extract
  • 1 1/2 tsp pure coconut extract
  • 3 Tbsp coconut milk, room temperature
  • 1/4 tsp salt

Instructions

Make the Golden Milk Cake

  • Preheat the oven to 350°F. Prepare three 6-inch or two 8-inch cake pans by spraying the sides with a cooking spray (Baker's Joy is my favorite) and fitting a wax or parchment paper circle to the bottom of the pan. Alternatively, you can grease and lightly flour the pans.
  • Sift the cake flour and then measure by spooning and leveling it in your measuring cup. Add the cake flour, baking powder, turmeric, cinnamon, ginger, and salt into a bowl and whisk to combine. Set aside.
  • In the bowl of your stand mixer (a handheld mixer works fine too!), cream the butter for on high for two minutes until it's light and fluffy. Add in sugar and continue to mix on medium-high for another two minutes, scraping down the bowl and paddle as needed. Add the eggs one at a time, mixing thoroughly after each addition. Add the vanilla and mix for one minute on high, scraping down the bowl and paddle once more. 
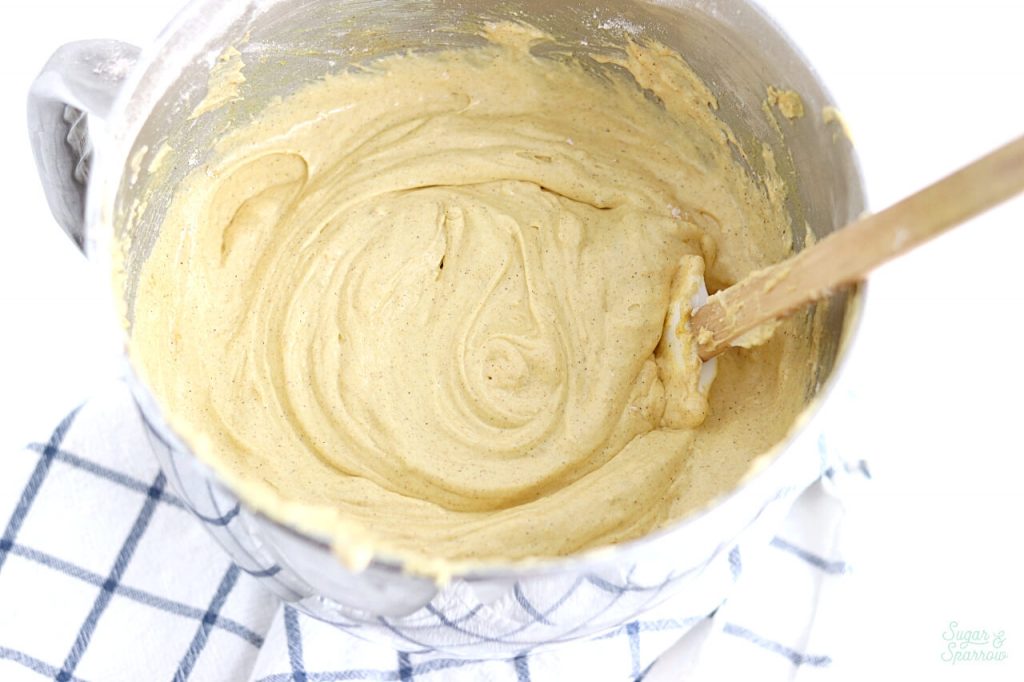
  • With the mixer on low speed, add in the dry ingredients and mix until just combined. Then, add the coconut milk slowly and mix until just incorporated. Scrape down the sides and bottom of the bowl and give it a few stirs to make sure there are no lumps (without over-mixing). The batter will be slightly thick, but pourable. 
  • Pour batter evenly into prepared cake pans (no more than 2/3 of the way full) and bake for 30-35 minutes. They're done when they spring back to the touch and a toothpick inserted into the middle comes out clean. Let the cakes cool in the pan for five minutes before turning them out onto a wire rack for an additional few hours of cooling. Make sure they're entirely room temperature before applying any frosting. 

Make the Coconut Buttercream

  • With a hand mixer or paddle attachment on your stand mixer, cream the butter on medium-high until it’s creamy and light (almost white) in color. About 7 minutes. 
  • With the mixer on low, add the powdered sugar a few cups at a time, scraping down after each addition and making sure each addition is fully incorporated before adding the next one. 
  • Add vanilla extract, coconut extract, coconut milk, and salt and mix on medium-low for another two minutes until fully incorporated. 

Assembly

  • Once the Golden Milk Cake layers have cooled completely, fill and frost with Coconut Buttercream. To create the design pictured, tint one cup of buttercream a deep yellow color with the food color gels of your choice (I used a mix of Americolor Dijon + Lemon Yellow + Orange until I ended up with the perfect turmeric hue). Mix a lighter yellow shade by combining the darker yellow with some uncolored buttercream and create a messy ombrè by adding the darkest yellow on the bottom third of the cake, followed by the lighter yellow until finally adding the uncolored buttercream to the top third and top of the cake. Keep adding and smoothing until you like what you see.
  • Pipe a star border around the top of the cake with the uncolored Coconut Buttercream using Wilton Tip 6B, then sprinkle with ground turmeric.

Notes

Make Ahead Tips:
  1. The Golden Milk Cake layers can be made ahead and stored, wrapped in plastic wrap, at room temperature for up to two days. Alternatively, you can store the wrapped cake layers in the freezer for up to 2 months before thawing and frosting.
  2. The Coconut Buttercream can be made ahead and stored in an airtight container in the refrigerator for up to two weeks. When you’re ready to use it, bring it back to room temperature and re-whip in your stand mixer to bring back to smooth buttercream consistency. 
To Make As Cupcakes: fill cupcake tins no more than 2/3 of the way full and bake at 350ºF for 15-17 minutes, until a toothpick inserted comes out clean. Yields about 24-30 cupcakes. 

Did you make this cake recipe? I want to know how it went! Let me know in the comments below and feel free to tag @sugarandsparrowco in a photo on Instagram to show me – I love to see what you create with my recipes!
By: Whitney · In: Cake, Fall, Featured, Recipes, Seasonal, Winter · Tagged: coconut buttercream, coconut frosting, fall cake recipes, golden milk cake, golden milk layer cake, ombre, spice cakes, tea cake, tea cakes, turmeric cake

you’ll also love

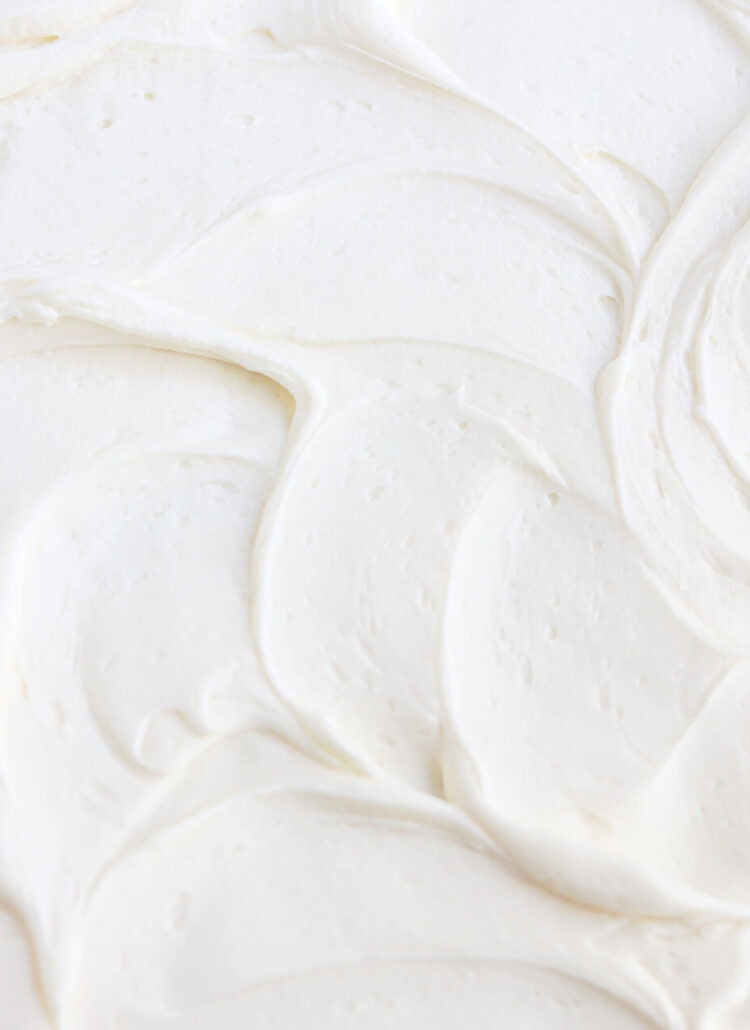
Coconut Buttercream
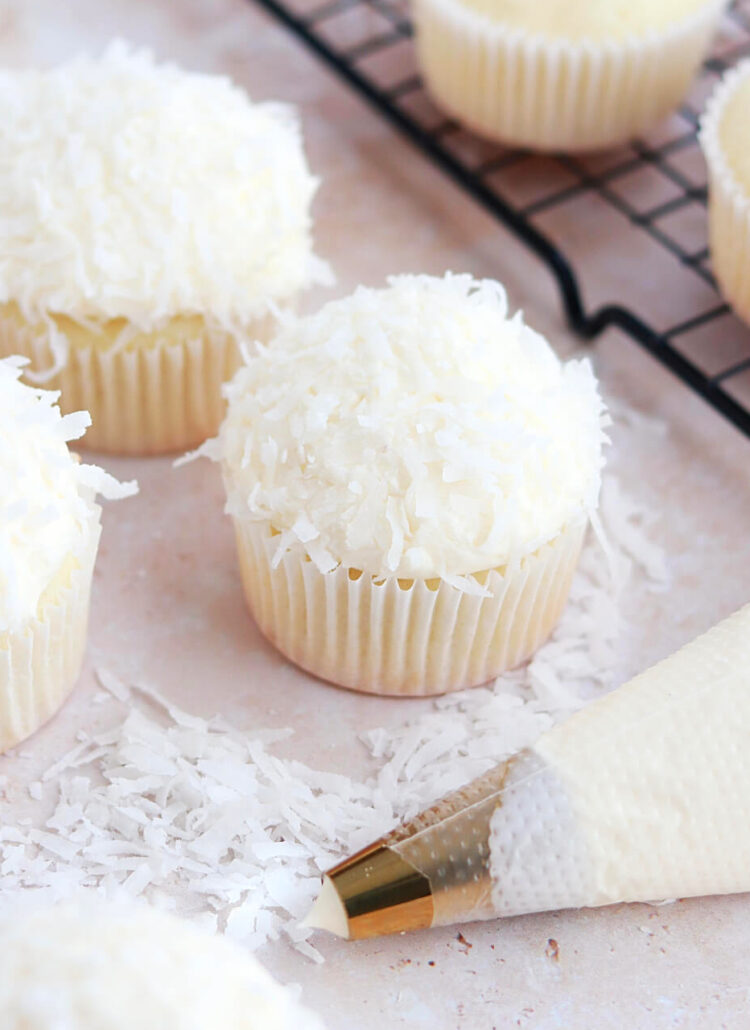
coconut cupcakes recipe by sugar and sparrowCoconut Cupcakes Recipe
fluffy moist coconut cake recipeThe Dreamiest Coconut Cake Recipe

Join the List

Stay up to date & receive the latest posts in your inbox.

Reader Interactions

Comments

  1. LEE says

    November 17, 2024 at 8:09 am

    5 stars
    Even made it with 1:1 gluten free flour and it turned out amazing!

    Reply
    • Whitney says

      November 17, 2024 at 3:38 pm

      That is so wonderful to hear! Thank you for letting us know a GF version worked!

      Reply
« Older Comments

Leave a Reply Cancel reply

Your email address will not be published. Required fields are marked *

Recipe Rating


Next Post >

Chocolate Ganache Drip Cake Recipe + Tutorial (with Video!)

Primary Sidebar

Welcome to Sugar & Sparrow

Welcome to Sugar & Sparrow

Helping you whip up pretty desserts with confidence and creativity. And hopefully sharing a few laughs with you along the way!

Learn More

Connect

let’s bake!

Get my very best recipes, baking tips, and decorating tutorials sent to your inbox

Featured Posts

woven tapestry inspired cake tutorial by sugar and sparrow

Woven Tapestry Cake Tutorial

candy cane cake with red and white cake layers and striped buttercream

Striped Candy Cane Cake Recipe

cranberry orange cake by sugar and sparrow

Cranberry Orange Cake Recipe

Search

Archives

Follow Along

@sugarandsparrowco

EASY FUDGE BROWNIE ICE CREAM 🤎 (recipe below) the EASY FUDGE BROWNIE ICE CREAM 🤎 (recipe below) the easiest no-churn chocolate ice cream with gooey brownies + ribbons of fudge in every bite!! Even if you’ve never made ice cream before, you’ll be amazed at how easy this is to make without an ice cream maker 

🍦Full recipe at https://sugarandsparrow.com/no-churn-fudge-brownie-ice-cream/ + more no-churn ice cream recipes linked in my bio 

INGREDIENTS
2 cups (480ml) heavy whipping cream, cold
3/4 cup (4oz, 135g) semi-sweet chocolate chips
14 oz sweetened condensed milk
1/3 cup (30g) cocoa powder 
1 tsp vanilla
pinch of salt
2 cups brownie chunks (store bought or homemade) 
6 oz hot fudge sauce

INSTRUCTIONS
1. In a large chilled bowl, beat the heavy whipping cream with a hand mixer (or stand mixer w/ whisk attachment) until stiff peaks form, about 2-4 minutes. Place into refrigerator.
2. Heat the chocolate chips in the microwave in 30-second increments, stirring after each one, until melted and smooth.
3. In a separate medium bowl, whisk together the sweetened condensed milk and melted chocolate, then whisk in the cocoa powder, vanilla, and salt. 
4. Fold 1 cup of the whipped cream into the chocolate condensed milk mixture. Then, pour the chocolate mixture into the remaining whipped cream and fold together until combined. Fold in the brownie chunks. 
5. Scoop large spoonfuls of the brownie ice cream mixture into a loaf pan along with a few smaller spoonfuls of the hot fudge sauce. Use a wooden skewer or butter knife to swirl the hot fudge and create ribbons as you go. Continue adding and swirling until all of it is in the loaf pan.
6. Press the reserved brownies into the top of the ice cream, then cover with plastic wrap or aluminum foil. Freeze for 6-8 hours, after which the ice cream should be semi-firm, scoop-able, and ready to enjoy!

#nochurnicecream #brownieicecream #chocolateicecream #nobake #icecreamlover
KEY LIME PIE CAKE 💚 everything I love about key li KEY LIME PIE CAKE 💚 everything I love about key lime pie, in layer cake form! It’s soft key lime cake filled with homemade key lime curd and buttery graham cracker crumble, frosted with tangy key lime buttercream. The IDEAL summer cake and it honestly might be better than the pie if you ask me 🙃

Get the full recipe link in my bio or at https://sugarandsparrow.com/key-lime-pie-cake/ 

#keylimepie #keylimecake #keylime #cakedecorating #layercake
LEMON RASPBERRY CAKE 🍋♥️ this cake has the dreamie LEMON RASPBERRY CAKE 🍋♥️ this cake has the dreamiest layers: soft and zesty lemon cake with raspberries baked into every bite, thick homemade raspberry filling, and lemon raspberry buttercream with the prettiest natural color 😍 
 
✨recipe linked in my bio or at https://sugarandsparrow.com/lemon-raspberry-layer-cake/
 
#lemonraspberry #lemoncake #raspberrycake #pinkcake #layercake
SALTED CARAMEL BUTTERCREAM ✨I could eat this salty SALTED CARAMEL BUTTERCREAM ✨I could eat this salty-sweet caramel frosting by the spoonful but it’s absolutely delicious on cakes, cupcakes, macarons, and more 🙌🏽 I use my homemade EASY salted caramel recipe here but you can use any salted caramel sauce that you love.⁣

✨Full recipe (including homemade salted caramel) + cake pairing suggestions are on my blog at https://sugarandsparrow.com/salted-caramel-buttercream-recipe/ 
⁣
SALTED CARAMEL BUTTERCREAM⁣
Yield: 2.5 Cups ⁣
⁣
INGREDIENTS⁣
1 Cup (226g) unsalted butter, room temperature⁣
3 1/2 Cups (420g) powdered sugar⁣
2 tsp vanilla extract⁣
1/2 Cup (120ml) salted caramel sauce, room temperature⁣
Pinch of salt⁣
⁣
INSTRUCTIONS:⁣
1. In a stand mixer fitted with the paddle attachment, whip the butter on high until it’s creamy and light in color, 5-6 minutes. ⁣
2. Turn the mixer to low and add the powdered sugar a few cups at a time, scraping down the bowl and paddle after each interval.⁣
3. With the mixer still on low, mix in the vanilla extract, salted caramel, and a pinch of salt. Continue mixing on low speed until fully combined. ⁣
⁣
#saltedcaramel #caramel #cakedecorating #frosting #buttercream
NO-CHURN BERRY CRISP ICE CREAM✨you don’t need any NO-CHURN BERRY CRISP ICE CREAM✨you don’t need any fancy equipment to whip up this delicious ice cream that tastes JUST like berry crisp a la mode! I layered my favorite 3-ingredient no-churn vanilla ice cream base with ribbons of homemade berry filling + buttery oat streusel in every bite. Even if you’ve never made ice cream from scratch before, I promise you can master this recipe!! 
 
🍦Full recipe linked in my bio or find it at https://sugarandsparrow.com/no-churn-berry-crisp-ice-cream/

#nochurnicecream #icecream #icecreamlover #berries #summerdessert

Footer

On the Blog

  • Cake Basics
  • Recipes
  • Tutorials

Info

  • About
  • Privacy Policy & Disclosure

stay in the know

Copyright © 2026 · Theme by Sugar & Sparrow