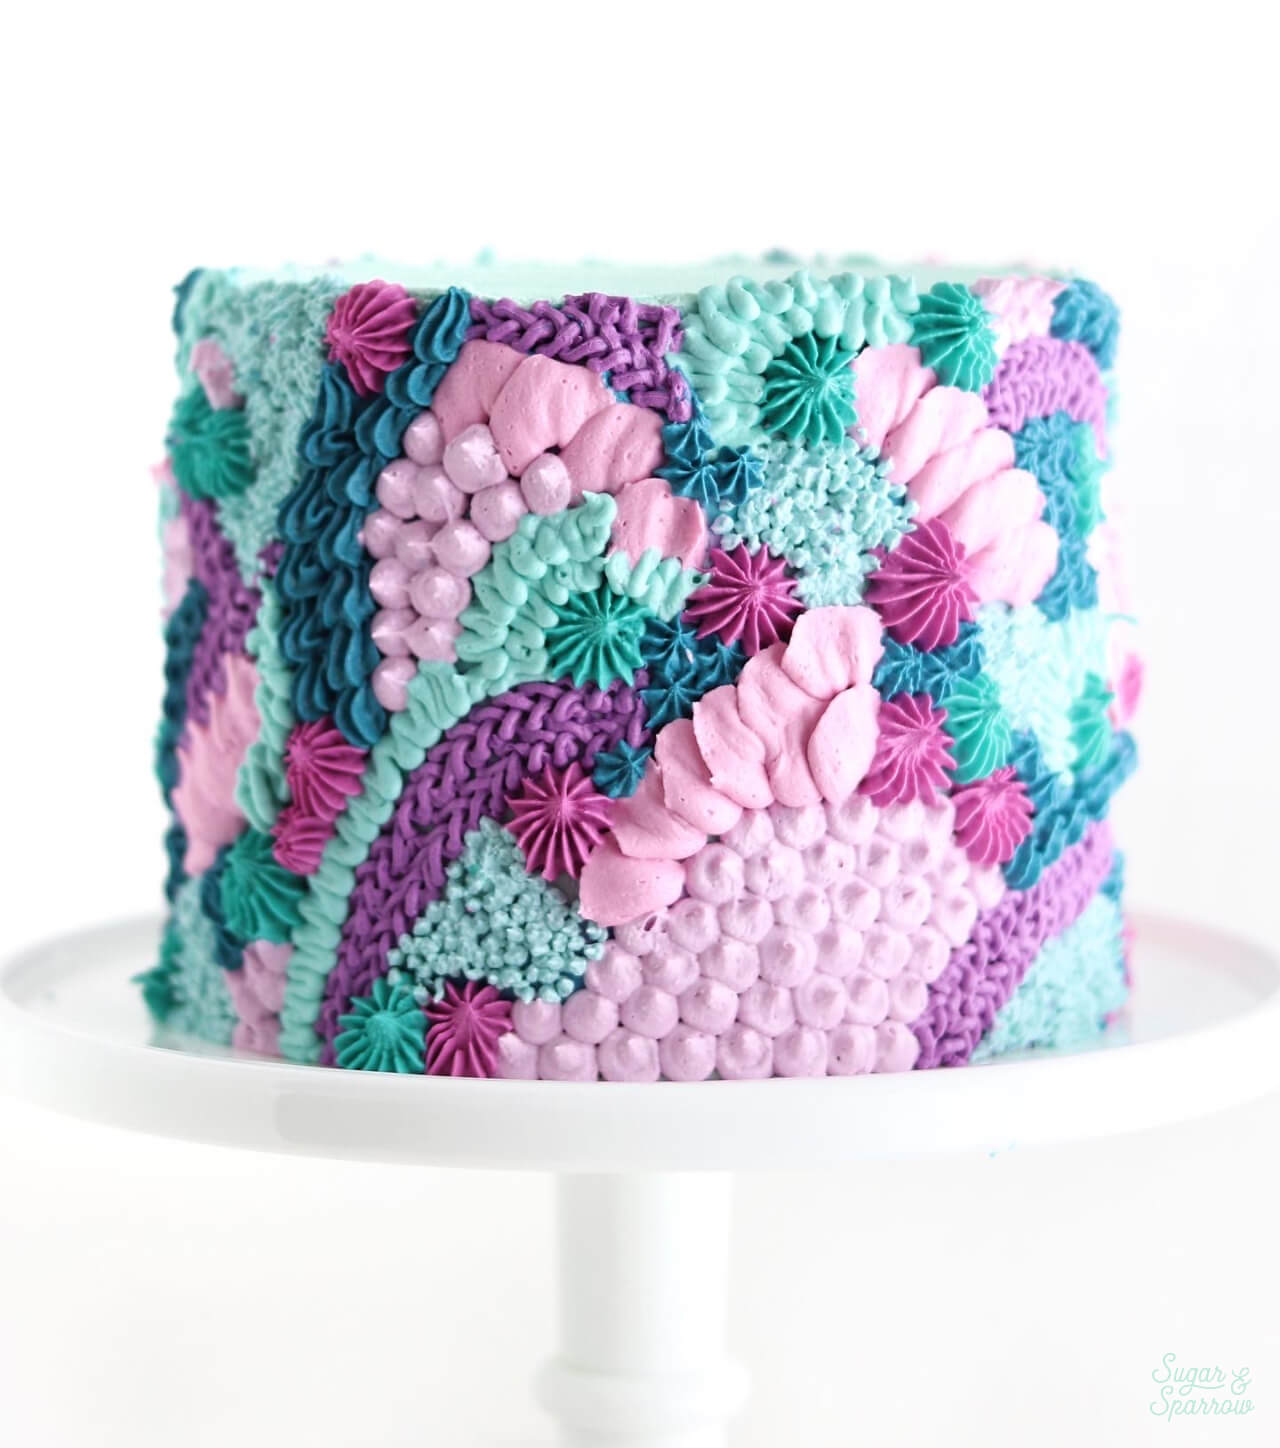
I think one of the coolest things about cake is how artistic it can be, and a big part of that comes from the freedom to create any buttercream color you could possibly imagine! In fact, when planning out my cakes I love to nerd out on the color palette and get a real thrill when the colors turn out exactly how I pictured. As with anything, getting my buttercream shades just right has come with tons of practice and finding products I love to help make it happen.
I’m excited to share everything I know about coloring buttercream with you, especially because how I achieve buttercream colors has been one of my most frequently asked questions over the years. I’ve got all the info you need below, but first, here’s a video to walk you through all of the products I love and helpful tips for getting those colors spot on:
Want to see more Cake Basics videos like this one? Head to my YouTube Channel to see the growing collection. You’ll also find tons of cake recipes and decorating videos there to inspire you and broaden your skill set – be sure to hit the subscribe button so you never miss a new one!
My Favorite Products:
Although I definitely started out with those liquidy primary food colors you can get in the baking aisle of any grocery store, over the years I’ve learned that using gel-based food colors make a world of difference. Here are the ones I have come to depend on and will be taking about throughout this post:
Americolor Soft Gel Paste Kits: these water-based gels are the best there is (in my opinion). They’re super concentrated, so you don’t need to use a whole lot to get rich colors. They also don’t affect the taste or consistency of your buttercream, and they come in pretty much every color you could imagine – you won’t ever have to worry about mixing custom colors.
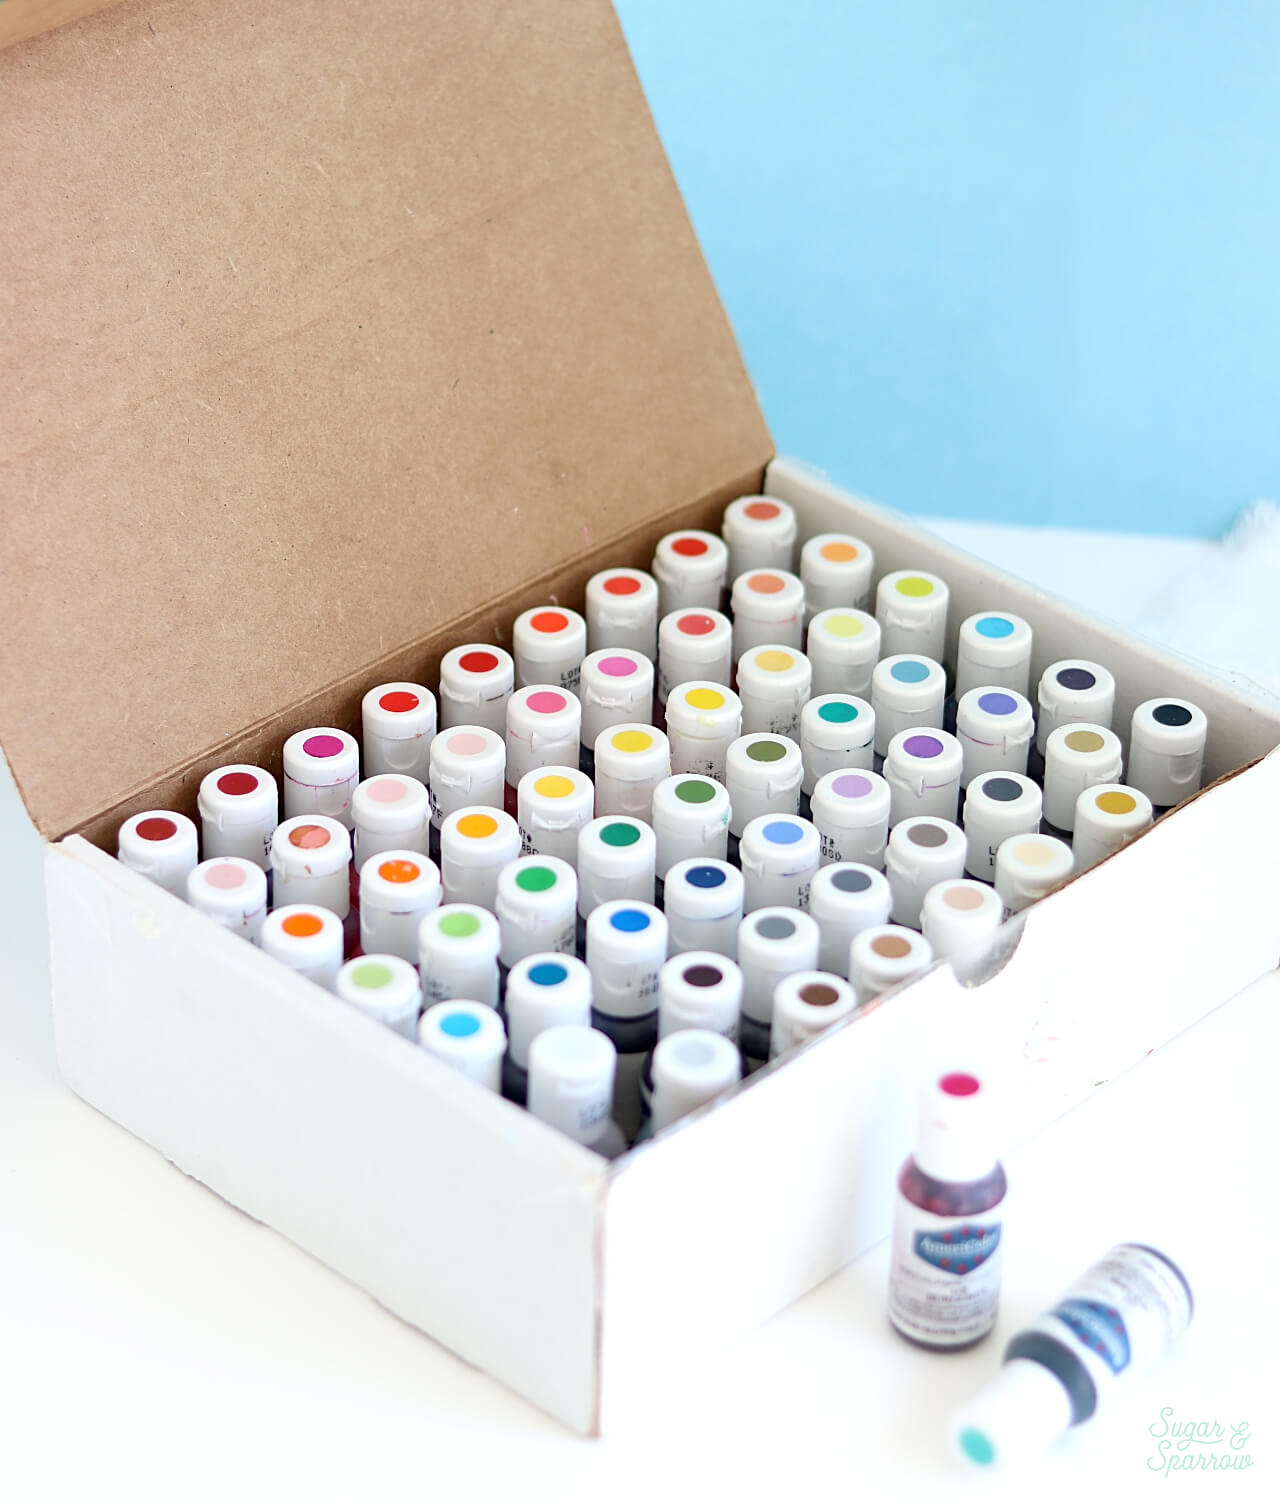
If you’re serious about your buttercream color palettes, I highly recommend getting either the Nifty Fifty Kit or Heavenly Seventy Kit. Like the names suggest, the Nifty Fifty comes with 50 gel colors and the Heavenly Seventy comes with 70 gel colors. Of course, you can purchase any Americolor gel on its own (they come in a few different sized bottles), but it’s always ideal and inspiring to have an entire kit full of color gels on hand.
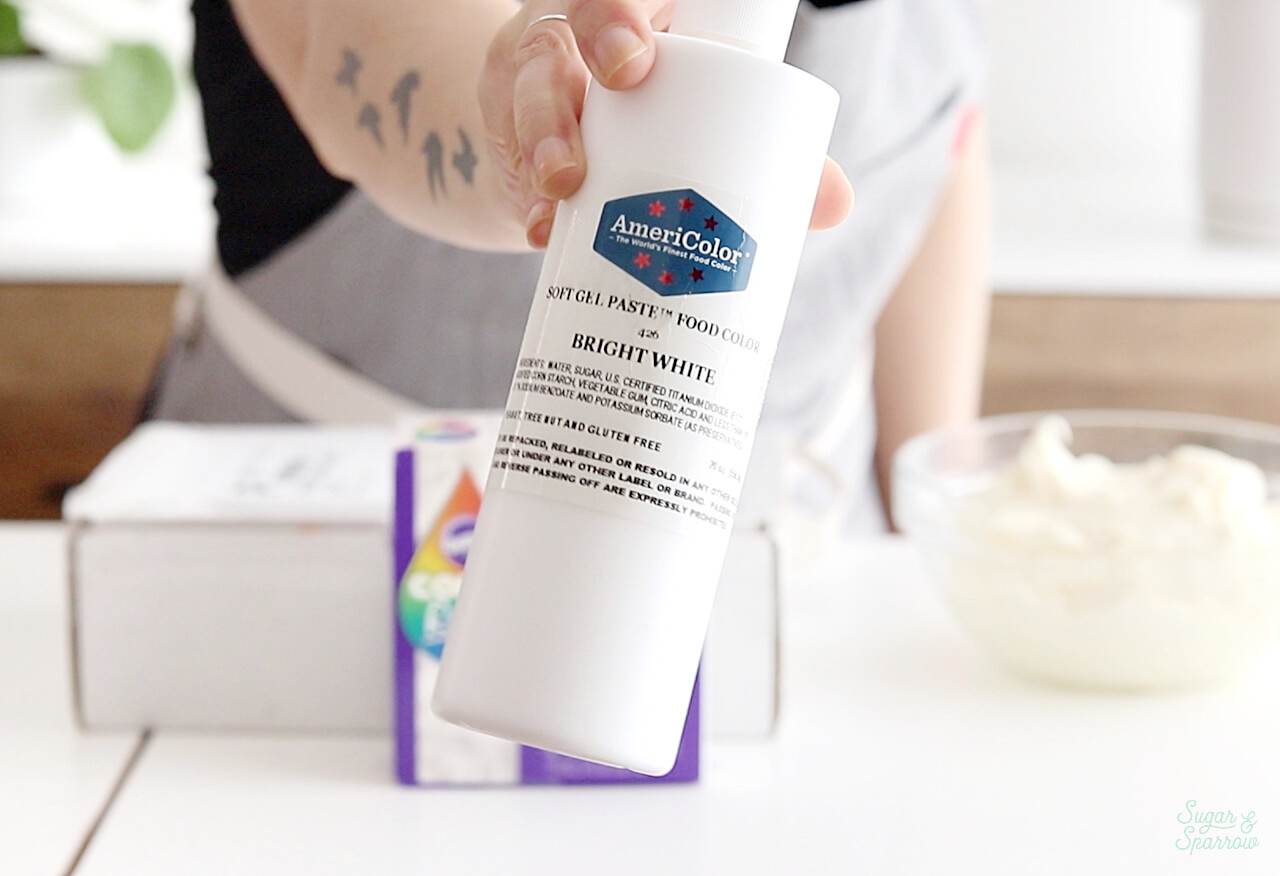
Americolor Bright White: whether I want my buttercream to be extra white for frosting a cake or I need to whiten it before adding color (we’ll get to the importance of that below), my favorite icing whitener is hands-down Americolor Bright White. If you’ve ever struggled with buttercream that is too yellow for your liking, I recommend keeping a big bottle of this on hand.
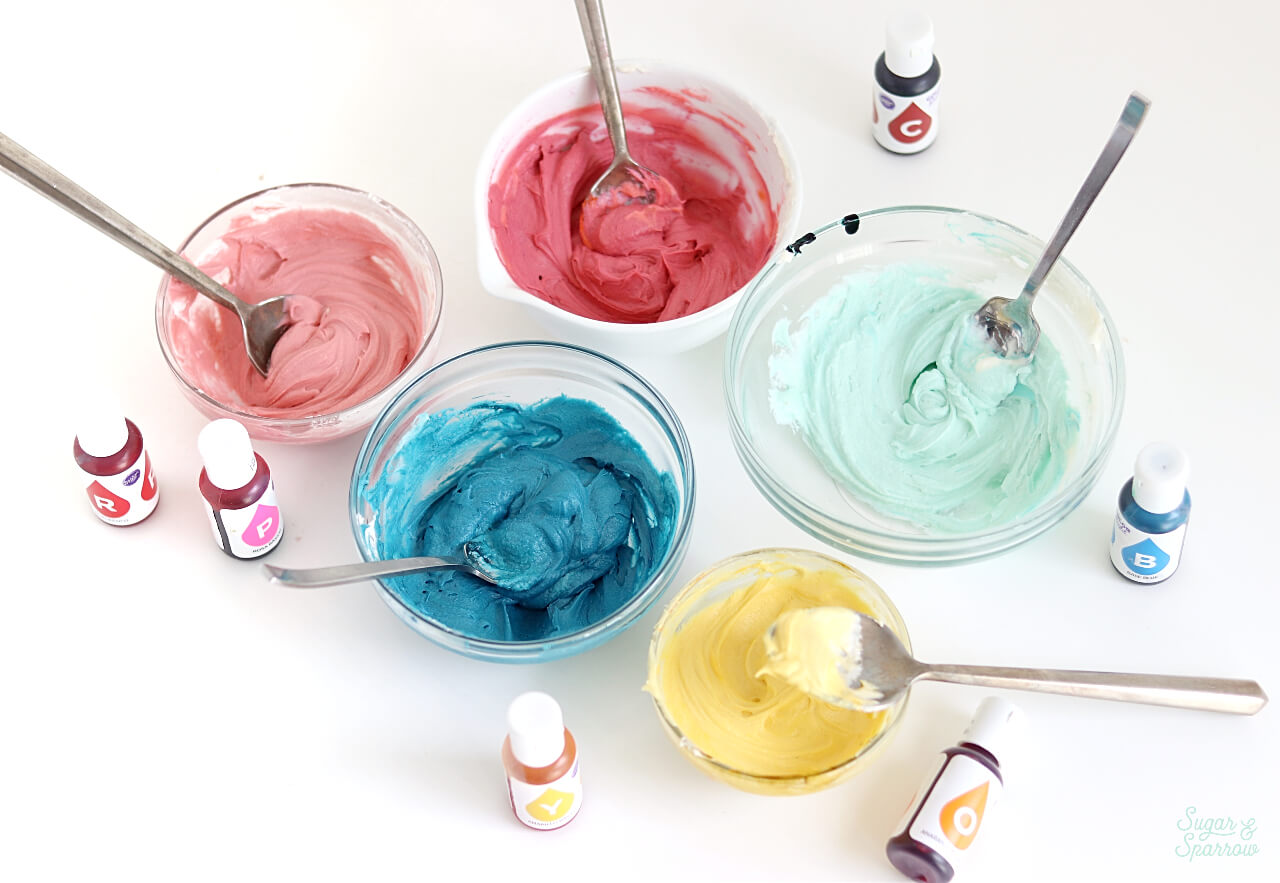
Wilton Color Right Food Coloring System: If you’re not ready to invest in a big kit of Americolor gels and don’t want to keep buying colors one-by-one, the Wilton Color Right Food Coloring System is wonderful. It comes with eight water-based gels that you can mix with one another to create custom colors. Again, these are super concentrated and don’t affect the taste of your buttercream. The only thing I’ll mention with these is that you’ll need to know some basic color theory to achieve the colors you want (I’ll give you a mini lesson below!).
I do realize there are other brands and types of food coloring products out there, but the ones above are the ones I reach for on the daily and are responsible for all the color palettes I’ve been able to create. So with these in mind, read on for everything I know about creating colorful buttercream.
My Best Tips for Getting the Colors You Want:
1. Consider Your Buttercream Type
First, let’s talk about the type of buttercream I’m using, because that makes a huge difference in the outcome of the color. I use this buttercream recipe for everything I do, which is an American buttercream. Of all the buttercream types, American buttercream is the easiest to color and achieve rich, dark hues with minimal product.

Other types of buttercream, such as Swiss Meringue or other meringue-based buttercreams, don’t take color as easily due to the high fat content not being as compatible with water-based gels. This may mean either the need to use more product, use different types of product (such as oil-based gels), wait longer for the color to develop and deepen, or use alternative methods of coloring the buttercream. I’ve never worked with any other type of buttercream before, so if Swiss Meringue (or another type) is your go-to, you may need to research the best methods and products to use for what you’re working with.
2. Start with the Right Base Color
Remember those elementary school lessons about colors? Yellow + blue = green and so on? Well along these same lines, when coloring buttercream it’s important to know that whatever color your buttercream is to start with (aka the base color) will mix with any color you add, which has a huge effect on the final color. To get the purest color palettes, you’ll want to start with a white buttercream, because white + any color = that same color (which intensifies as you add more color).

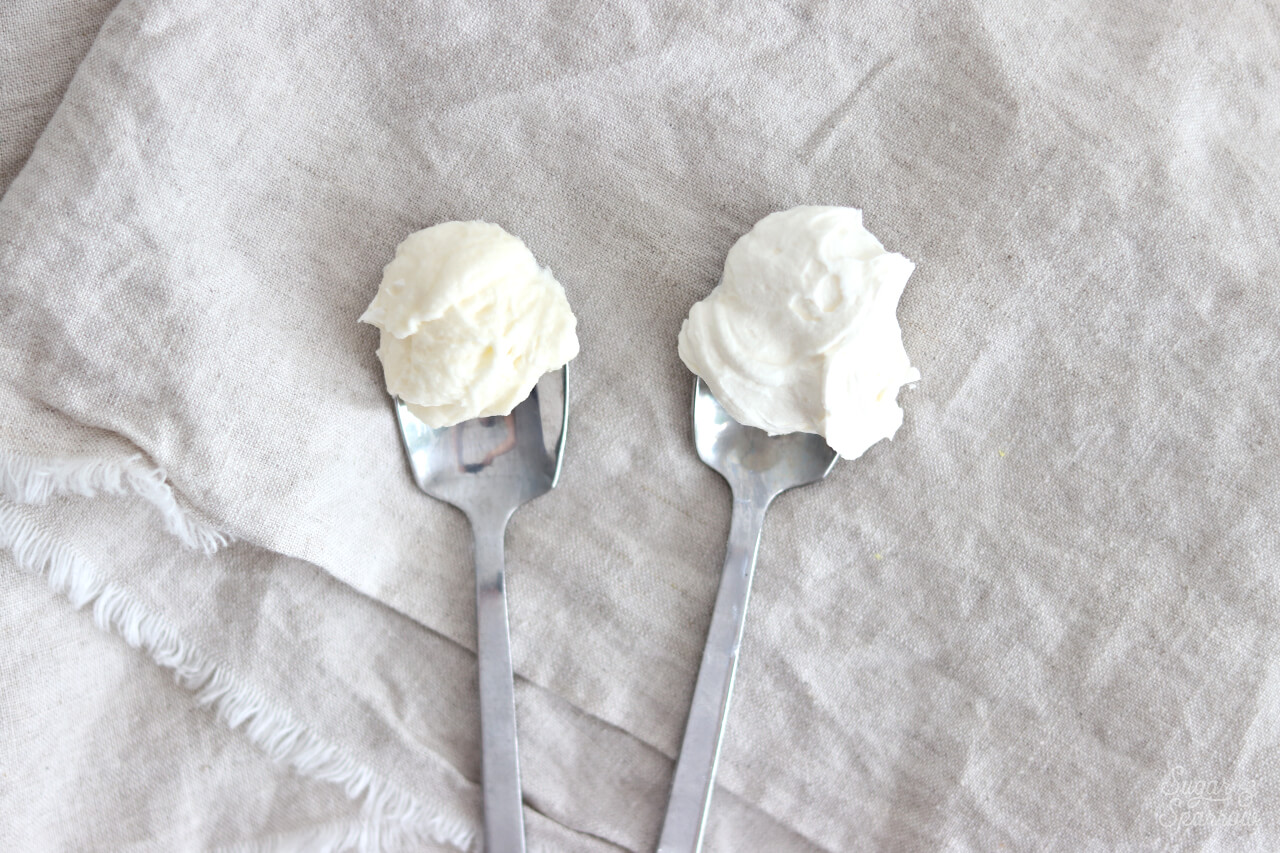
My go-to vanilla buttercream recipe is pretty pale in tone to begin with and easy to mix with colors, but if you’re starting with a more yellow-toned buttercream, that yellow color will mix with whatever color you add to it. To combat this, you’ll need a good icing whitener like the Americolor Bright White mentioned above. I add a teaspoon or two to each batch of my buttercream at the very end of the recipe, make sure it’s mixed in well, and just look at the difference it makes:
It’s totally fine to start with yellowish buttercream if the end result of your coloring session will be in the yellow-toned family (yellow, orange, lime green, etc), but just keep in mind that the base color will affect the end result. Other than that, the only time I recommend not starting with white buttercream is if you need to achieve the colors black, deep burgundy, or dark brown. In those cases, always start with chocolate buttercream because it’s much easier to go from brown to black (and so on) than it is to go from white to black.
3. Start Small
It takes practice to know how much buttercream you’ll need for different scenarios – what amount is ideal for filling and frosting a cake? Or for the final frosting layer on top of a crumb coated cake? Or for just a few buttercream flowers? Because those amounts vary so greatly, it’s almost impossible to come up with a “recipe” (or how many drops to use) for different color intensities.

I will say that the smaller the amount of buttercream you start with, the smaller the amount of color gel you’ll need to use to get a rich color. That being said, if you’re going for a pastel color and starting with a small amount, it’s also easy to add too much color gel and go overboard. Once you have the amount of buttercream measured out, the best way to approach coloring buttercream is start with a small amount of gel to see what color you end up with and go from there.
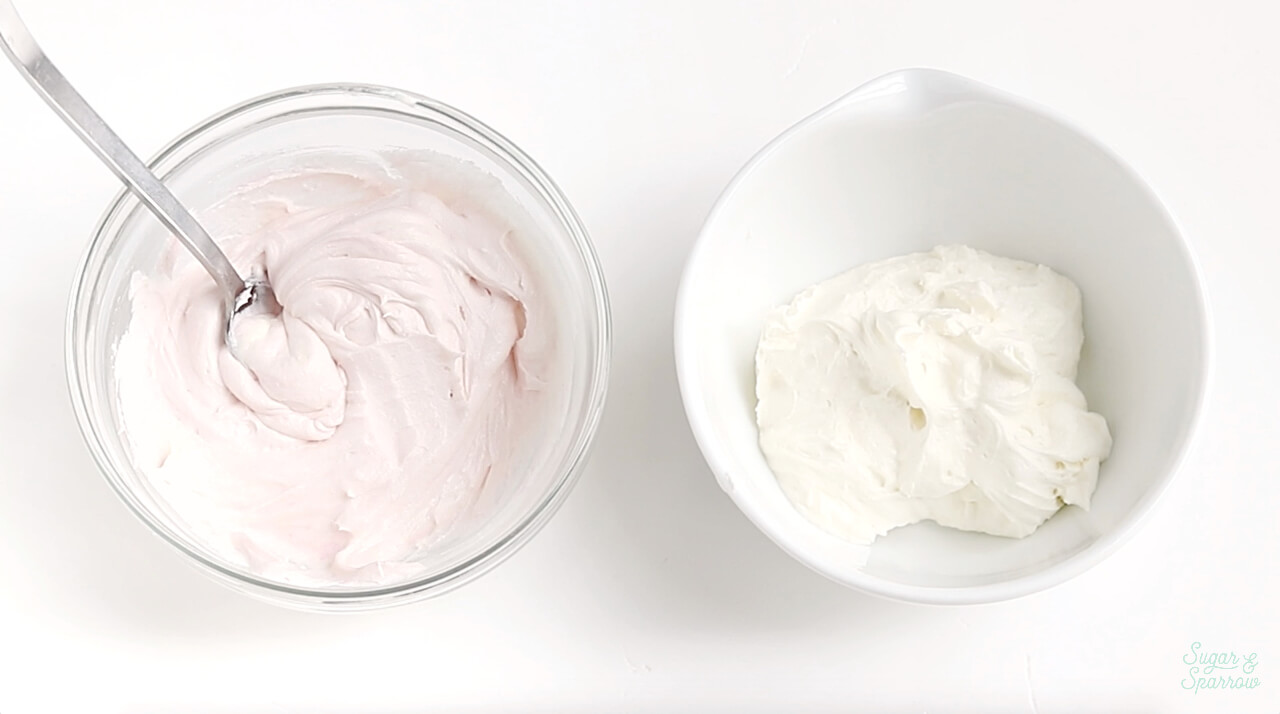
To demonstrate, I’ve got two bowls here with about ½ Cup of buttercream each. I’ll start by adding about half a drop of Fuchsia color gel to the bowl on the right and mixing it all together.
After mixing it all together, I can see we end up with a super slight pink color and can feel more comfortable adding one more drop to achieve a Fuchsia pastel.

Now I’ll double the amount (so, three drops) to the bowl on the left to show you how quickly this color can intensify.
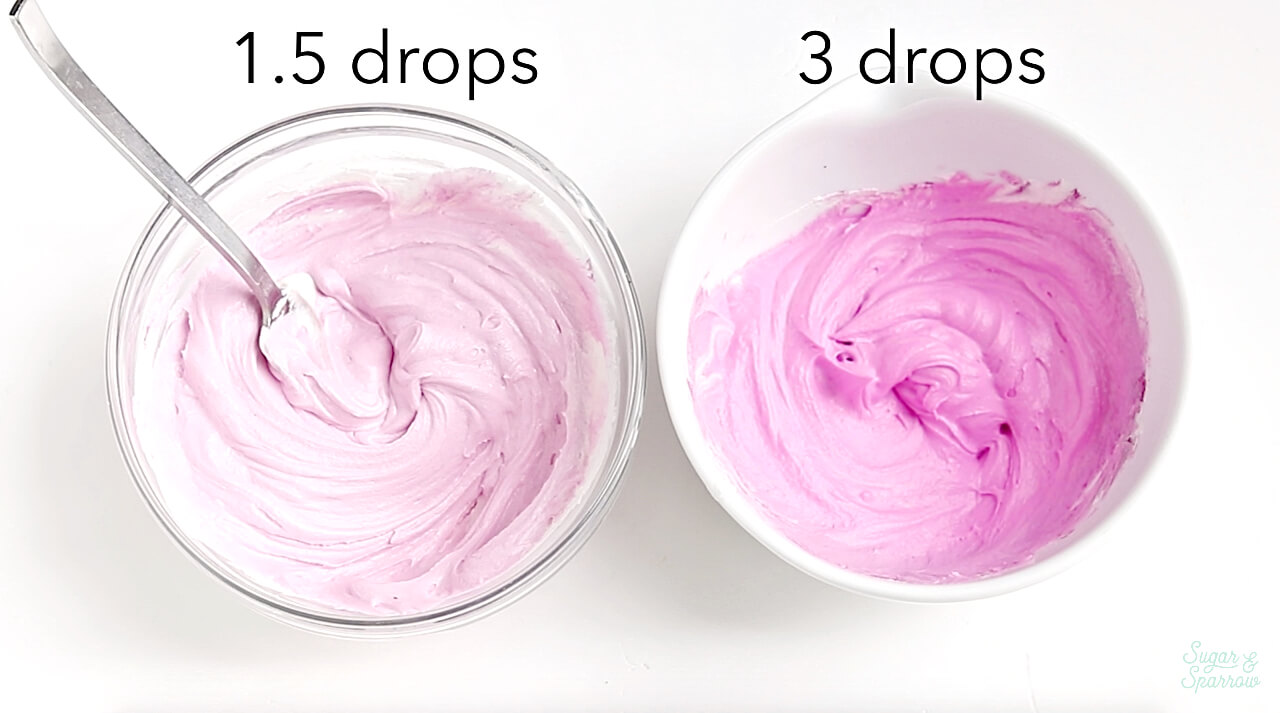
The more buttercream you have, the more drops you’ll need to use to intensify or darken the color. Because of this, you’ll just need to practice and be sure to always start with a tiny bit of gel unless you want a super dark color to begin with.
4. Allow Time for Colors to Deepen
Not only does the color get richer and richer the more color gel you add, it’s also important to know that these colors will actually darken a little more over time. Again, this is going to take some practice and patience, but just look at how these Fuchsia colors from the above example have darkened after 15 minutes:

And then after 30 minutes:

So whether you’re going for a dark color or not, be sure to factor in that the color will most likely get a little bit darker over time.
5. Study Up on Color Theory
Especially if you’re mixing custom colors, knowing a thing or two about color theory will make you so much more confident. Here’s a great article that covers the basics, like what happens when you mix certain colors together and how to make a color warmer or cooler. The Wilton Color Right Food Coloring System that I mentioned in my “favorite products” section above comes with eight different color gels that you can mix together to create certain shades. It even comes with a handy little guide on how to make certain colors, but I still think it’s really important to know color theory, because sometimes the color you mix up is just a little off and knowing color theory will help you learn how to fix it.
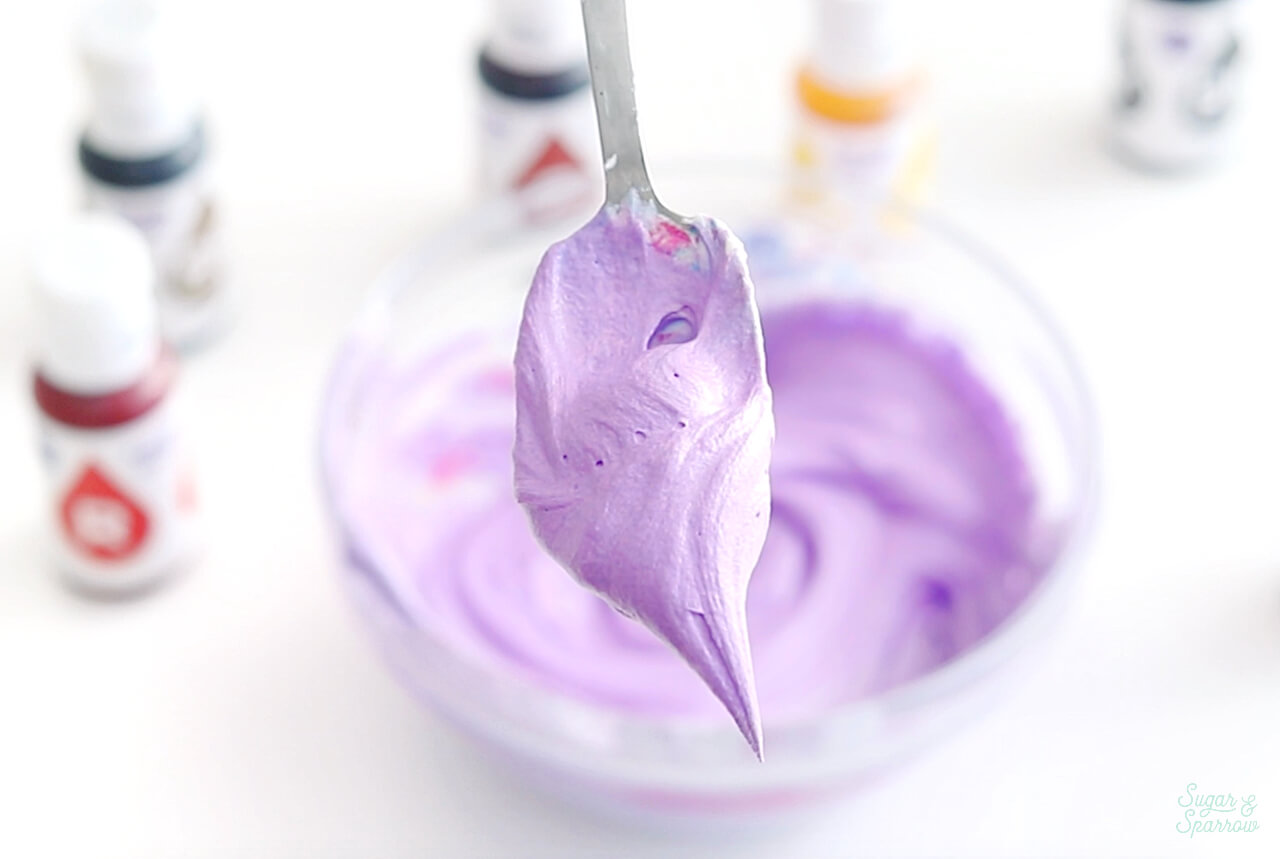
To demonstrate, I’ll show you how I would create a few different variations of purple buttercream starting with one drop of pink and one drop of blue. Notice that we end up with a cool-toned purple pastel color:

The more blue you add to this color, the cooler it will be and the more pink you add, the warmer it will be. I want a warmer toned purple, so I’m going to add another drop of pink. See how the tone of the color changes?

Now that I have a sort of “recipe” for this color, I can darken it by adding another round – one drop of blue and two drops of pink. I’ll keep doing this, adjusting the tone as necessary, until I end up with the color I’m going for – all the while knowing that time will intensify the color.
If you’re ever stumped on how to mix a certain color, you can always Google how to make it as well. There are a lot of painting and art websites that will note the different colors that make up a turquoise blue or a forest green, so if you just Google things like “how to mix (name of color)” the results may be art-related but so helpful!
6. Learn How to Lighten Colors
Just in case you made a color and realized that after time it’s too dark or not right in some other way, having a little extra white buttercream or Americolor Bright White around is a life saver. Mixing in a little bit of white buttercream or icing whitener will help lighten the color so you can achieve the shade you were wanting to begin with instead of having to start from scratch.
I hope all of this is helpful for your buttercream color palettes! It really does open up a whole new world of creativity when you have a great buttercream recipe, the right products, and know how to use them. So excited for you to explore some new possibilities with colors!
Want more Cake Basics? Head here to see all of the posts and learn the methods of caking I’ve come to love over the years. I’m cheering you on every step of the way!


I recently made your vanilla cake with vanilla buttercream and I had to use A LOT of americolor to get the buttercream remotely close to white. And I’m not sure if that’s why, but my buttercream developed air bubbles. My butter was on the yellower side so definitely was starting from a more yellow base than how your un-colored vanilla buttercream looks. Do you have a go-to butter that will produce a lighter buttercream color? And could the heavy amount of americolor white have controbuted to the air bubbles or just overmixing?
Hi Elizabeth! Did you whip the butter on high speed for the full 7 minutes before adding the powdered sugar? That is the first secret to getting whiter buttercream. The whipping process should significantly lighten the color to almost white. The butter brand I use is any generic unsalted butter (Costco, Kroger, etc). As for the air bubbles, it’s most likely from overmixing or mixing on too high of a speed after the powdered sugar step. Everything from that point on should be the lowest speed. To fix it, you can let your buttercream rest in an airtight container for about 30 minutes or more, then re-mix it on low speed in your stand mixer. Hope that helps!
I did whip the butter for the full 7 minutes, maybe longer? Could longer have been a problem? The butter I used was pasture raised organic stuff so definitely on the yellower side. Regarding air bubbles: I incorporated sugar on low. I have a kitchenaid stand mixer, by low do you mean “stir” (I.e. level 1) or level 2? I just tried your bubble removal method for another batch I had air bubbles with too but it didn’t work. I will try again when I bring the buttercream back to room temp when I frost in a couple days. It’s still very tasty though 🙂 might just have to cover the cake in sprinkles if I can’t get it smooth
Hi Elizabeth! Yes, by low I do mean the “stir” setting. It shouldn’t be a problem to whip the butter for longer than 7 minutes, although that might be incorporating more air into your buttercream from the get go. The color must be a matter of the butter you’re using, that’s the only variable that is different than what I use.
I left a response on your other comment regarding the air bubbles but will leave it here too: If you’re still finding air bubbles in your frosting after letting it rest and remixing it on low (stir), it might need more milk added to thin out the consistency. Try adding room temperature whole milk, 1 tsp at a time, while the buttercream mixes on low/stir. That should get rid of any remaining air bubbles and leave you with a smooth buttercream frosting.