• Cake
  • Frosting
  • YouTube
  • My Favorite Tools
  • Nav Social Icons

  • Skip to primary navigation
  • Skip to main content
  • Skip to primary sidebar
  • Skip to footer
  • Recipes
    • Cake
    • Cupcakes
    • Frosting
    • Ice Cream
    • Vegan
  • Cake Basics
  • Tutorials
  • Blog
  • About
  • Mobile Menu Widgets

    Connect

    Search

Sugar & Sparrow logo in script font

Sugar & Sparrow

Lifestyle and Cake from Portland Oregon

  • Cake Basics
  • Recipes
    • Cake
    • Cupcakes
    • Cookies & Bars
    • Filling
    • Frosting
    • Ice Cream
    • No-Bake
    • Small Batch
    • Vegan
  • Tutorials
  • Book
  • Blog
  • About

Baking Cakes That Never Stick To The Pan

March 26, 2018 · In: Cake Basics

Call me a perfectionist, but I am always smitten by cakes that come out of the pan so perfectly baked that the sides are straight and sharp. Maybe it’s because I’ve seen so many cake pan horror shows in my day (my own in the early days, and every now and then via photos my friends share with me). Just a few months ago a friend texted a photo of her husband’s birthday cake post-oven and it was a doozy. Even though she greased and floured the sides of the pan, for some reason the cake decided to stick to bottom of the pan and leave her with a crumbled mess. All the buttercream in the world couldn’t hide it’s imperfections. 

To spare you from such a common cake-tastrophe as this, allow me to tell you about my method for preparing cake pans that I’ve found to work every time, no matter the recipe. I’ve tried the whole grease-and-flour deal, but honestly, I feel like every time I prepare my pans that way the cake edges end up baking inward and away from the pan, making the sides look crooked. Since I like a nice, straight edge on my cakes, here’s what I do:

You will need:

  • Cake pans
  • Baker’s Joy (preferred) or another type of baking spray, like Pam
  • Wax paper
  • Pencil
  • Scissors
  • Cake batter of choice
  • Paring knife
  • Two plates or cardboard cake circles  

Step 1: Make Some Wax Paper Circles

Placing your cake pan over a clean sheet of wax paper, use a pencil to trace the edge. Cut out your circle and you’ll have a perfectly-sized barrier for the bottom of your cake pan.

how to prepare cake pans

Step 2: Spray

Over a sink, spray the sides of your cake pan so they’re lightly coated.

best spray for preparing cake pans

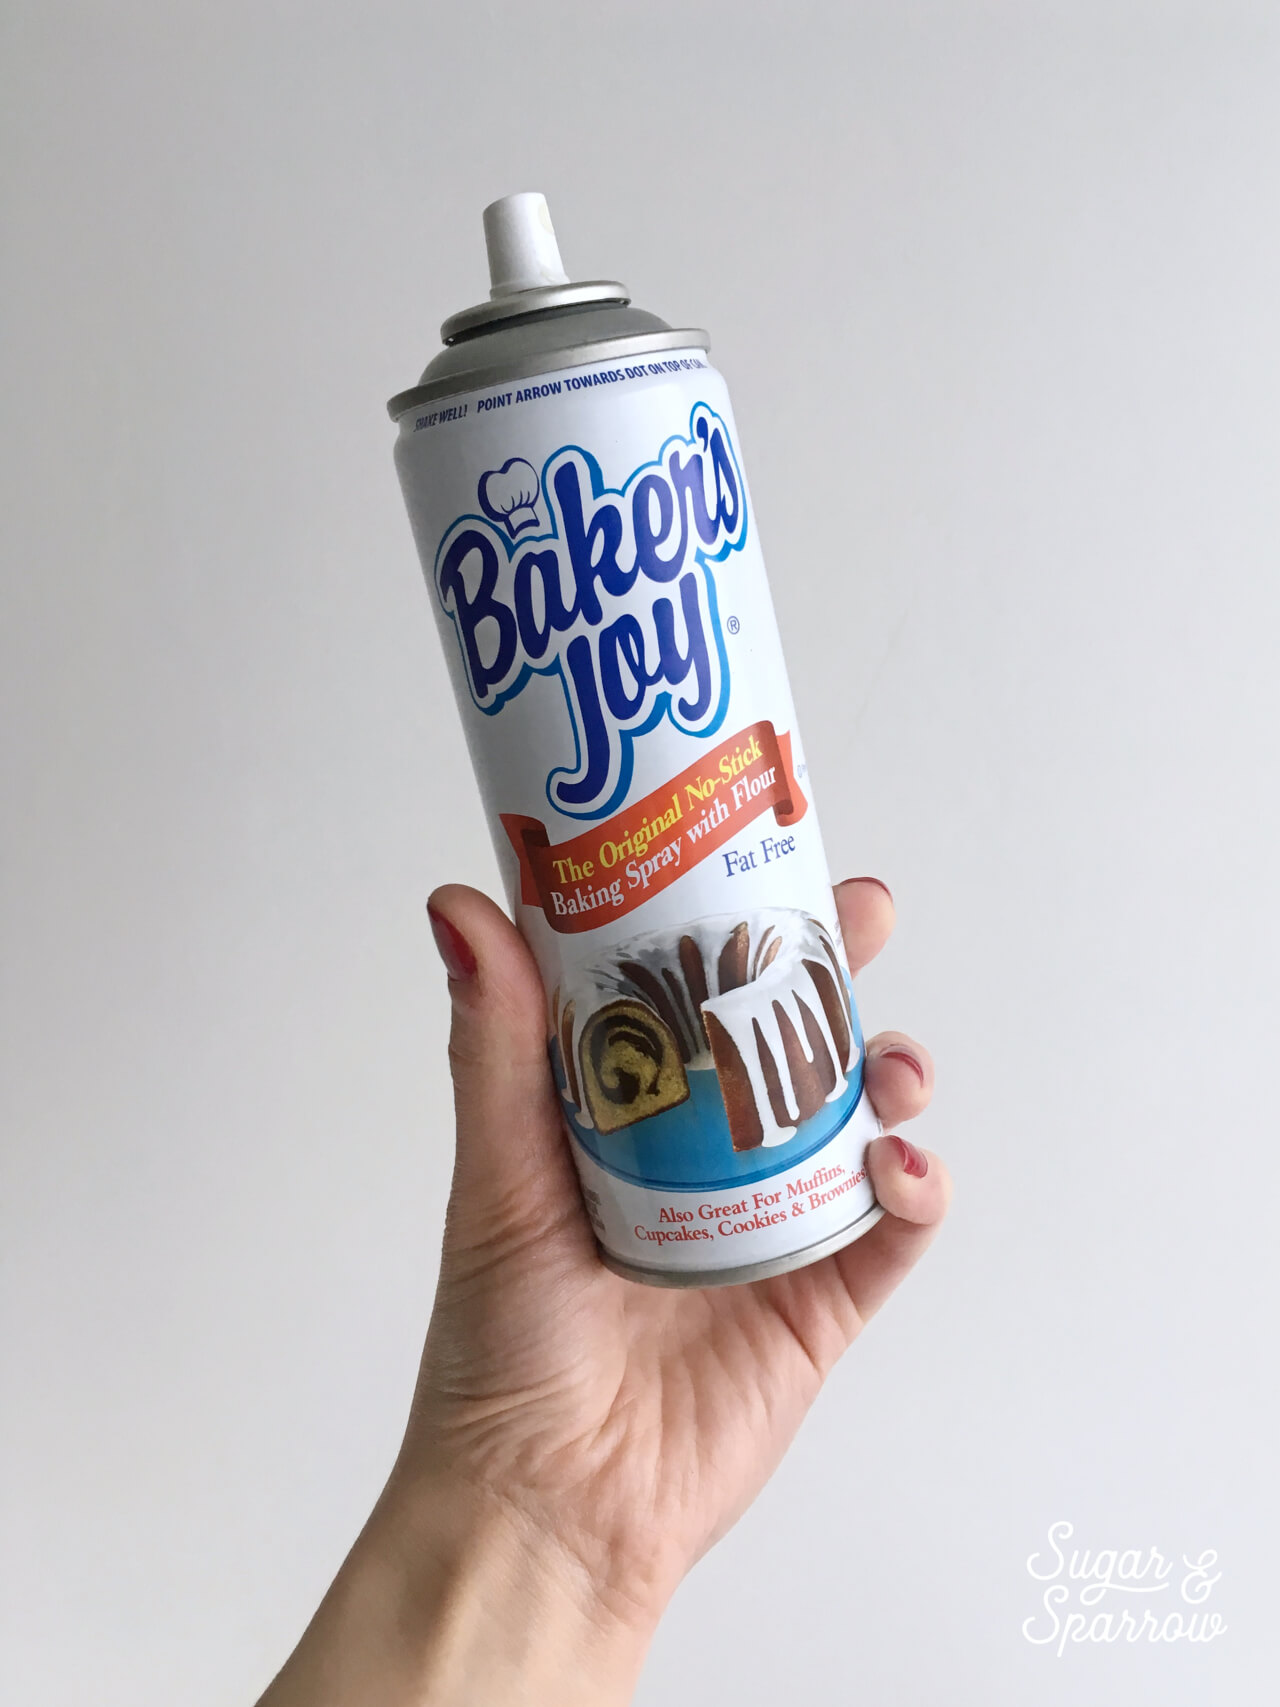
Baker’s Joy is my favorite, but you can use canola oil, Pam, or any sort of oil/spray designed for greasing a cake pan.
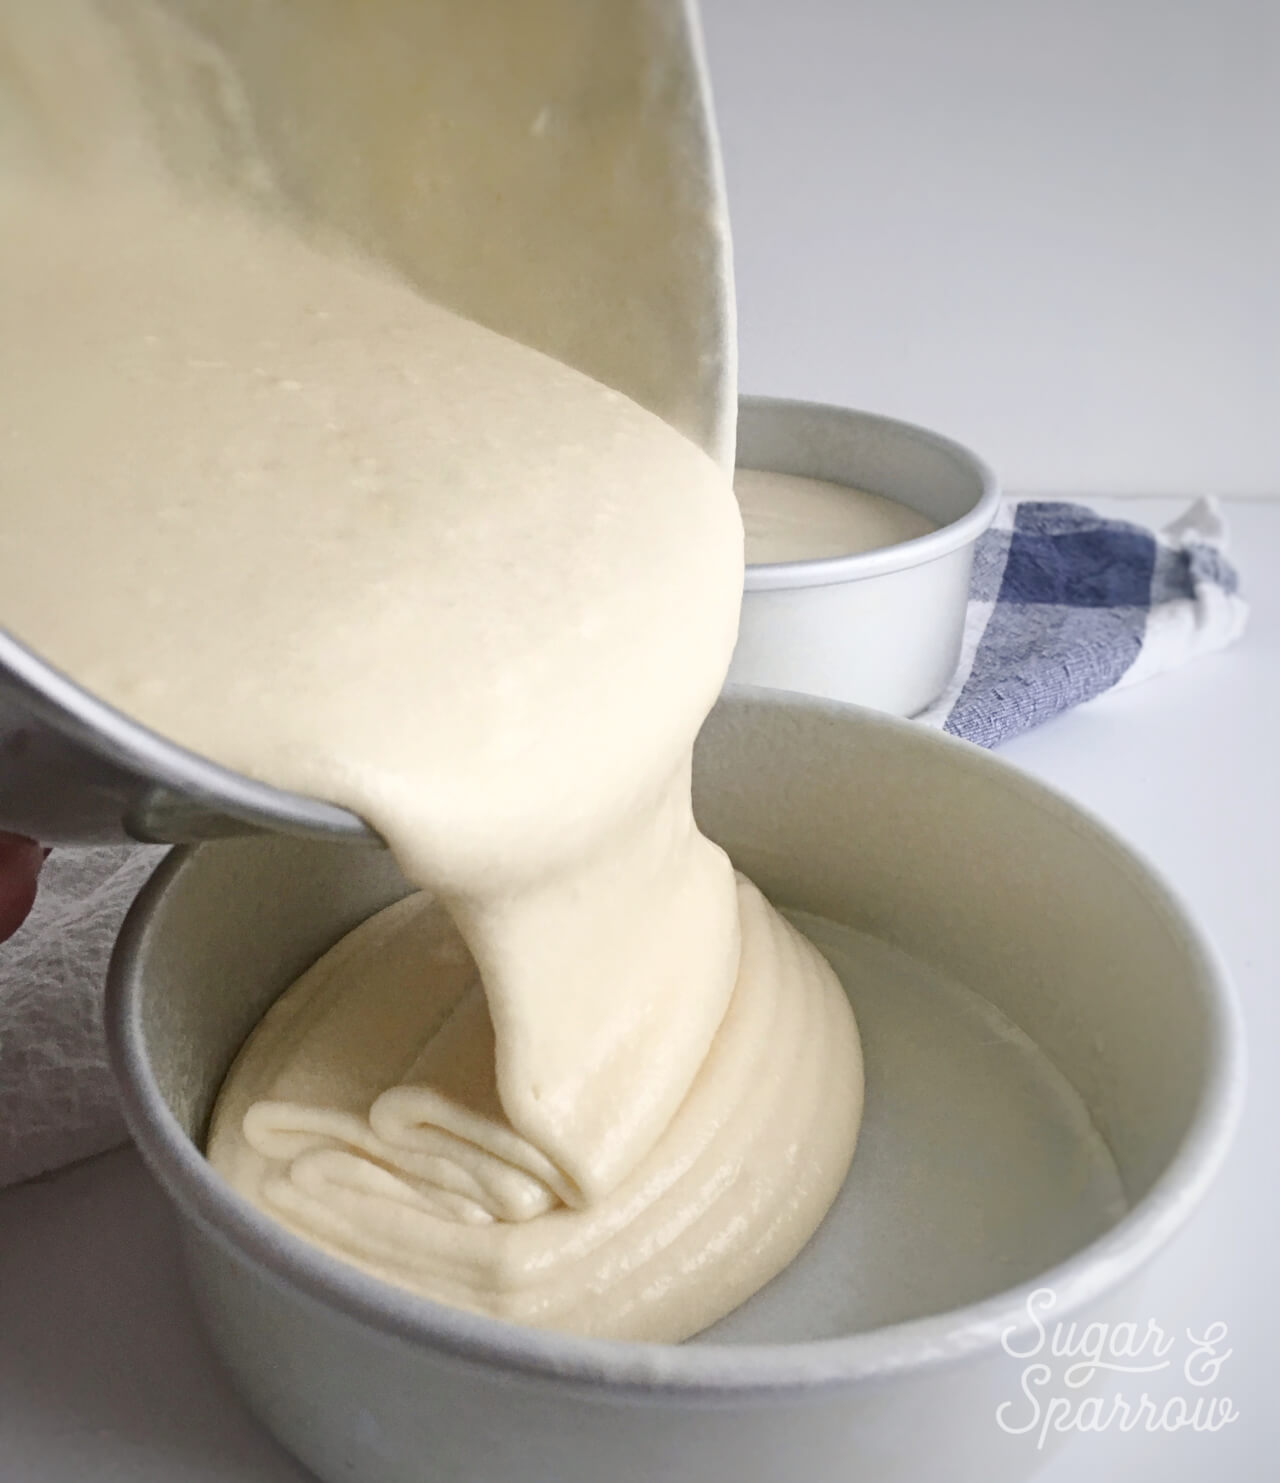
Step 3: Assemble

After your sides are sprayed, place your wax paper circle on the bottom of the cake pan before pouring your batter in. Depending on the recipe, I usually fill my cake pans ⅔ of the way full to ensure a nice, tall layer that doesn’t overflow during the baking process.
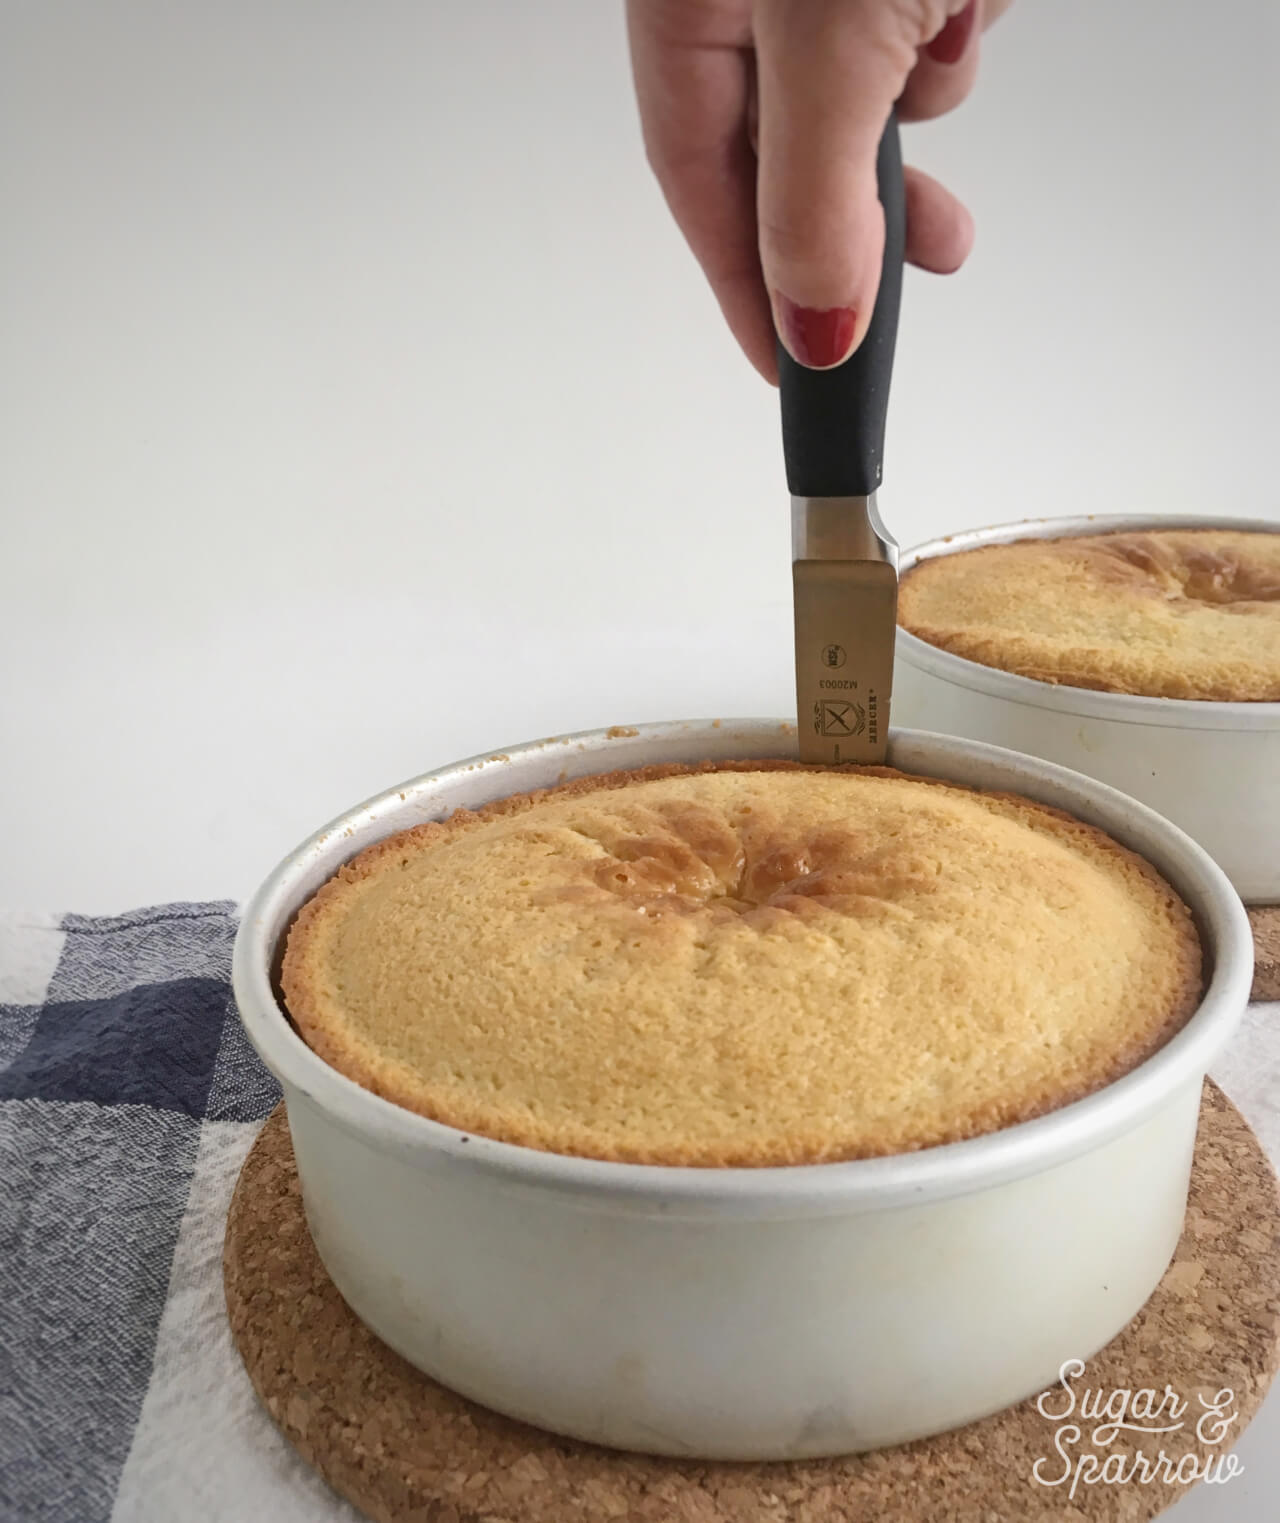
how full to fill cake pans

Step 4: Release

After you’ve baked your cake and confirmed that it’s thoroughly baked by inserting a toothpick into the center, remove it from the oven and let it cool in the pan for about five minutes. Using a paring knife, gently wedge between the cake and the side of the cake pan and carve around, making sure you don’t puncture the sides of the cake.

how to release cake from pan

Place something flat, like a plate or a cardboard cake circle, over the top of the cake and flip the whole pan so that it’s upside down. Make sure you’re wearing oven mits so you don’t burn your fingers on the pan!

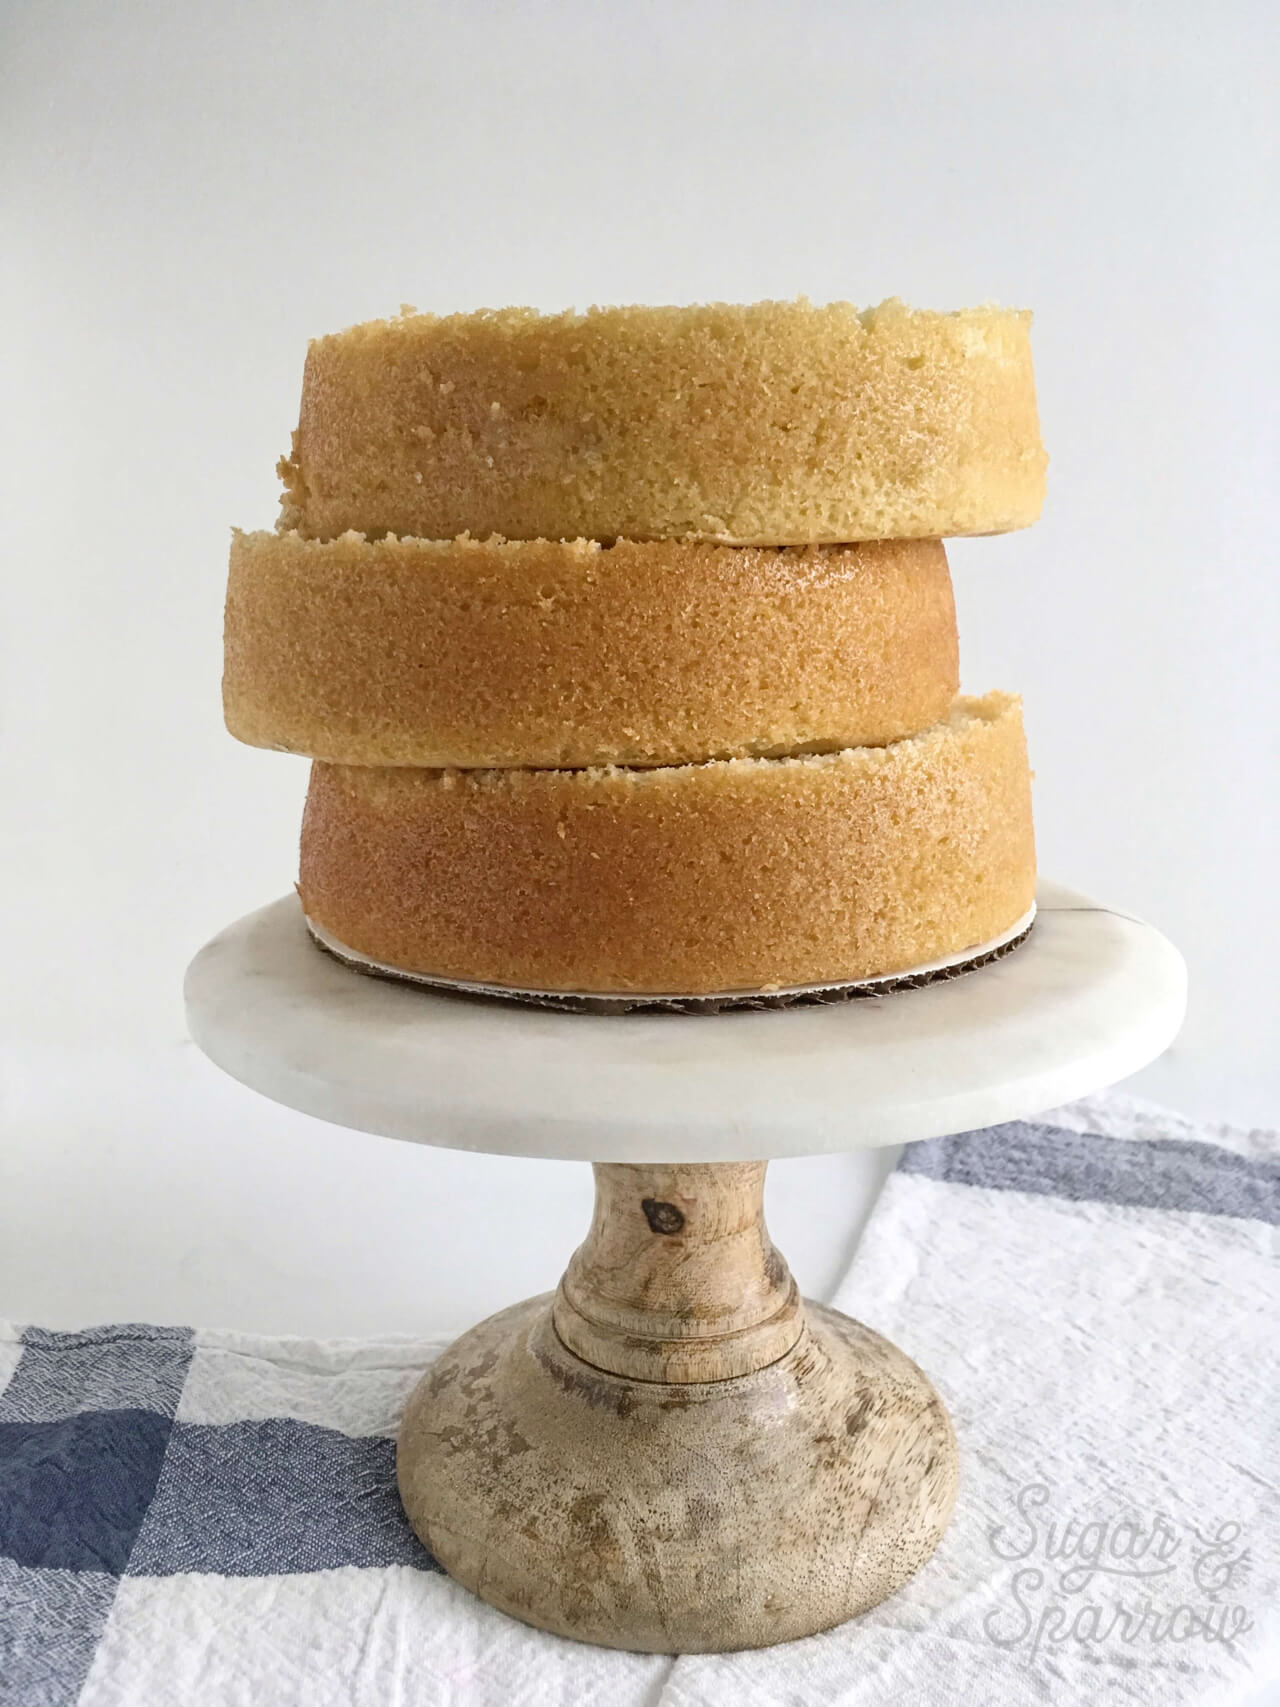
Gently slide the pan away from the upside-down cake layer. Place another plate or cardboard cake circle on the bottom of the cake layer and flip it upright. From here, continue to cool the cake until it’s room temperature before torting, frosting, or whatever you’d like to do next!

how to bake even cake layers

By: Whitney · In: Cake Basics · Tagged: bakers joy, baking, baking 101, baking tips, cake, cake baking tips, cake pan, preparing cake pans

you’ll also love

how to scale a cake recipeHow to Scale a Cake Recipe Up or Down
how to convert layer cake recipes into cupcakesHow to Bake My Layer Cake Recipes as Cupcakes
raspberry buttercream frosting recipe by sugar and sparrowFreeze Dried Raspberry Buttercream Recipe

Join the List

Stay up to date & receive the latest posts in your inbox.

Reader Interactions

Comments

  1. Marilza Pereira says

    January 29, 2021 at 2:26 pm

    Amei

    Reply
  2. Dina Scarber says

    July 14, 2020 at 4:36 pm

    I bought 12 in pans to make a 3 layer naked cake. Are those too big? And can you help me figure the recipe you have for that.

    Reply
    • Whitney says

      July 14, 2020 at 5:08 pm

      Hi Dina, it depends on how many servings you’re planning on making. I usually make all of my cakes in three 6-inch pans, and that size serves about 15 people comfortably. Three 12 inch layers will feed quite a lot of people. You’ll need to double any of my cake recipes to make enough batter for three 12 inch pans: https://sugarandsparrow.com/category/recipes/cake/

      Reply
  3. Aashiqui Viera Ramith says

    July 12, 2020 at 2:46 pm

    Hi there! I was just wondering what the recipe is for the cake in the pictures attached to this post?

    Reply
    • Whitney says

      July 12, 2020 at 4:05 pm

      Hi there! That is my vanilla cake recipe: https://sugarandsparrow.com/vanilla-cake-recipe/

      Reply
      • Aashiqui Viera Ramith says

        July 13, 2020 at 5:14 am

        Thank you so much! I’ve been looking for a nice vanilla sponge recipe that will stand firmly in a tall cake, I will be trying it out for my birthday next week!

        Reply
  4. Shildrey says

    June 7, 2020 at 7:28 am

    where can i get the cake stand?

    Reply
    • Whitney says

      June 7, 2020 at 10:18 am

      Hi Shildrey! The cake stand was a gift from my sis in law years ago and it’s no longer available on Amazon :/ BUT there are tons of similar ones on Amazon if you search for “wood marble cake stand”

      Reply
  5. Lisa says

    December 17, 2019 at 6:10 pm

    This was my first time not using a box mix, so I was super excited to find this recipe!

    I followed everything exactly, using three 6” pans. After 30-35 min, they were no where near done. I had to bake an extra 15 min for the toothpick to come out clean. My oven was definitely preheated. Any thoughts on why this happened?

    Reply
    • Whitney says

      December 19, 2019 at 2:39 pm

      Hi Lisa, the only thing I can think of is to check your oven temperature using an oven-safe thermometer. Sometimes the display will read one temperature, but the oven itself is not the correct temperature (which leads to a longer bake time). I hope the cake ended up being tasty regardless!

      Reply
  6. HR says

    May 2, 2018 at 9:46 pm

    Your website is beautiful and your pictures are so great! Congrats!

    Have you ever had any issues with wax transfer to your cakes using this method? I’ve read that this can happen if wax paper is exposed to high temps (and can also smoke!). Wax paper seems to be more available and cheaper than parchment, but I have been reluctant to use it for baking!

    Reply
    • Whitney says

      May 2, 2018 at 10:14 pm

      Hi there! Thank you so much for your kind words!

      I’ve been using wax paper to line my cake pans for many years and have never had an issue with wax transfers, ever. I think I started using it because I ran out of parchment paper at one point and since there has never been an issue, I never looked back 🙂

      Reply

Leave a Reply Cancel reply

Your email address will not be published. Required fields are marked *

Recipe Rating


Next Post >

White Chocolate Brushstroke Cupcakes Tutorial

Primary Sidebar

Welcome to Sugar & Sparrow

Welcome to Sugar & Sparrow

Helping you whip up pretty desserts with confidence and creativity. And hopefully sharing a few laughs with you along the way!

Learn More

Connect

let’s bake!

Get my very best recipes, baking tips, and decorating tutorials sent to your inbox

Featured Posts

funfetti sheet cake slices with pink frosting

The Best Funfetti Sheet Cake

The best easter dessert recipes

24+ Best Easter Dessert Recipes

white chocolate ganache recipe for drip cakes

White Chocolate Ganache Drip Cake Recipe + Tips [Video Included!]

Search

Archives

Follow Along

@sugarandsparrowco

POV: you ask for a construction truck birthday cak POV: you ask for a construction truck birthday cake (and I’m your mom) 🚜🥳 I took inspiration from @beyondfrosting for this design to celebrate my littlest turning three! Details: 

👩🏽‍🍳 Cake Recipe: my easy chocolate sheet cake (you’ll find it on my blog!) 
🤎 Dirt: Oreo cookie crumbs
🚜 Construction trucks + cones: @amazon 
🥳 Sprinkles: @fancysprinkles 
✨ Piping tip for the border: @wiltoncakes 4B 

#birthdaycake #partycake #constructiontruckcake #cakeideas #constructioncake
TOP 10 BIRTHDAY CAKES 🥳 These are just a few of my TOP 10 BIRTHDAY CAKES 🥳 These are just a few of my favorite birthday cake recipes that will make anyone feel special! 

Comment “BIRTHDAY” and I’ll send you all 24+ of my favorite birthday cake ideas –  classics like funfetti cake and yellow cake with chocolate frosting, plus ice cream cakes, sheet cakes, and more complex flavor combos like Snickers cake and Millionaire cake. 

https://sugarandsparrow.com/best-birthday-cake-recipes/

#birthdaycake #partycake #birthdaycakeideas #cakeinspiration #cakeideas
BERRIES & CREAM SHEET CAKE 🍓🫐 deliciously light, n BERRIES & CREAM SHEET CAKE 🍓🫐 deliciously light, naturally stunning, and the easiest cake you’ll want to make all Summer long!! It’s my favorite bakery-style vanilla sheet cake that’s so soft and moist, topped with silky whipped cream cheese frosting and fresh berries. I love how quickly this cake comes together with simple ingredients + doesn’t require any fancy cake decorating techniques to make it a showstopper✨

Grab the recipe link in my bio or find it at https://sugarandsparrow.com/berries-and-cream-sheet-cake/

#berrycake #berriesandcream #sheetcake #whippedcreamfrosting #cakedecorating
FUNFETTI SHEET CAKE 🥳 the most celebratory flavor FUNFETTI SHEET CAKE 🥳 the most celebratory flavor of all and so perfect for a crowd. It’s extra soft and moist vanilla cake speckled with rainbow sprinkles + captures that box mix texture but it’s 100% homemade and EASY! Top it with vanilla buttercream and rainbow sprinkles for the perfect party cake 🎉
 
Full recipe (w/ frosting) at the link in my bio or at https://sugarandsparrow.com/funfetti-sheet-cake/ 

INGREDIENTS 
2 1/2 Cups (265g) sifted cake flour 
2 tsp baking powder 
1/2 tsp baking soda 
1 tsp salt 
3/4 Cup (170g) unsalted butter, room temp 
1 3/4 Cup (340g) granulated white sugar 
3 large eggs, room temp 
1/2 Cup (120g) sour cream, room temp 
1 Tbsp pure vanilla extract 
1 Cup (240ml) whole milk, room temp 
1/3 Cup (60g) rainbow sprinkles, coated in 1 tsp flour 
 
INSTRUCTIONS 
1. Preheat the oven to 325°F (163ºC). Grease and line a 9×13 baking pan. 
2. In a medium bowl, whisk together the sifted cake flour, baking powder, baking soda, and salt. Set aside.  
3. In the bowl of your stand mixer fitted with the paddle attachment (or with a large bowl and hand mixer), beat the butter and sugar on medium-high speed until light and fluffy, 4 min. Add the eggs one at a time, then add the vanilla and sour cream and mix for one minute on high speed. 
4. Turn the mixer off and add the dry ingredients all at once. Mix on low speed until just combined, then add the milk and mix until just incorporated.  
5. Coat the rainbow sprinkles in 1 teaspoon of flour, then gently fold them into the cake batter. Pour the batter into the prepared baking pan and bake for 30-35 minutes, or until the cake springs back to the touch and a toothpick inserted into the middle comes out clean. Let the cake cool in the baking dish until room temperature, then decorate with vanilla buttercream + rainbow sprinkles (full recipe link in bio!) 
 
#funfetti #funfetticake #sheetcake #cake #birthdaycake
COOKIE DOUGH ICE CREAM CAKE 🍪🍦this is the birthday COOKIE DOUGH ICE CREAM CAKE 🍪🍦this is the birthday cake of my DREAMS and I’m so excited to share the recipe with you!! It’s chocolate and vanilla no-churn ice creams with homemade cookie dough chunks in every bite, swirled together and set on a delicious Oreo cookie crust 😍 easy, perfectly sliceable, and ideal for making ahead! I’m already dreaming about when I can make it again ✨

Get the recipe link in my bio + at https://sugarandsparrow.com/chocolate-chip-cookie-dough-ice-cream-cake/

#birthdaycake #icecreamcake #cakedecorating #nochurnicecream #icecreamlover

Footer

On the Blog

  • Cake Basics
  • Recipes
  • Tutorials

Info

  • About
  • Privacy Policy & Disclosure

stay in the know

Copyright © 2026 · Theme by Sugar & Sparrow