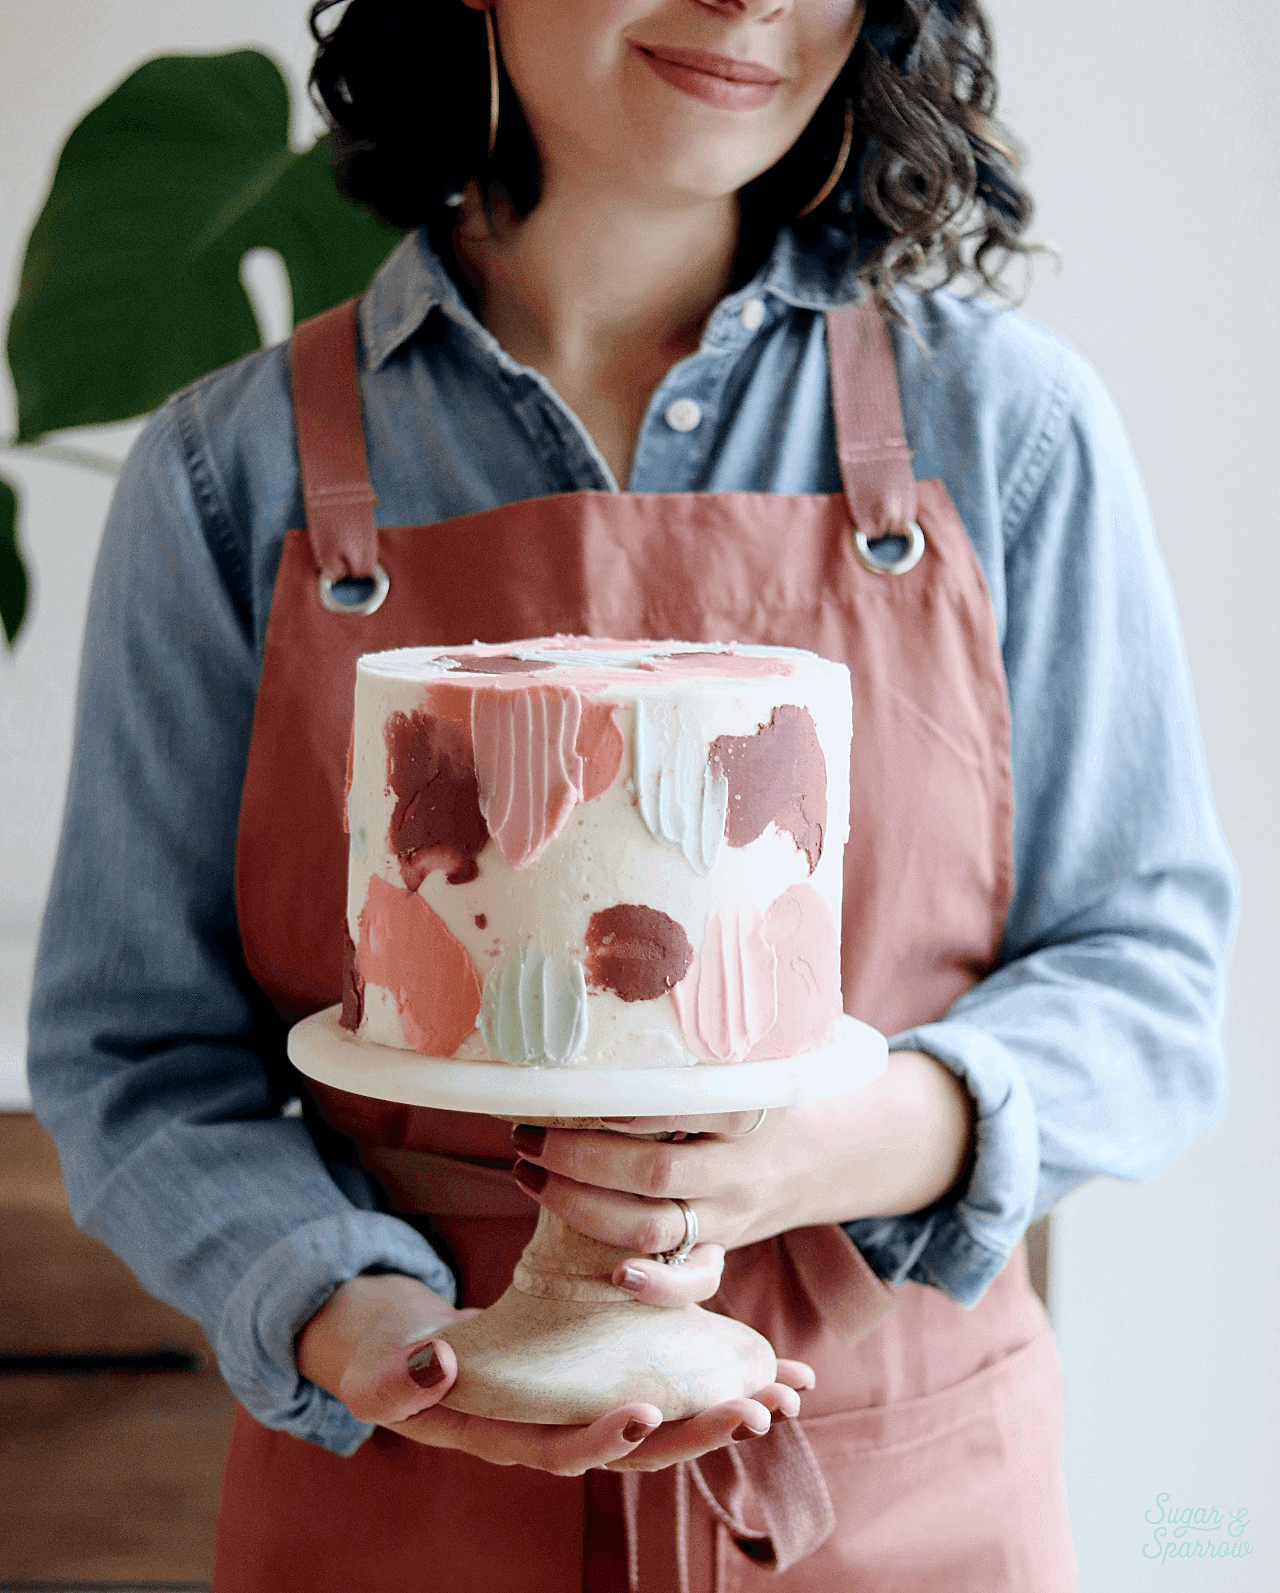
One of my most frequently asked questions (aside from what my favorite buttercream recipe is and how I get my buttercream cakes smooth): “how in the world do you move a cake off the turntable and onto a cake stand without ruining the finish?” Transferring a cake, whether it’s onto a stand or into a box, can be totally nerve wracking if you’ve never done it before. After you’ve spent so much time decorating, the last thing you want to do is mess up all of your work before anyone gets the chance to see the cake in its most perfect state! In hopes of saving you extra stress, today’s Cake Basics is all about the method I use for transferring my cakes once they’re decorated.
A note on this cake stand pictured above: I get asked about where it can be purchased all the time, and sadly I haven’t been able to find the same one online! It was a birthday gift from my sister in law many years ago, before Sugar & Sparrow was even a twinkle in my eye. I did find this very similar one on Amazon that you can feel free to check out. And as for where I get my other cake stands, I’ve had great luck at thrift shops, Target, eBay, and Amazon (here’s another one I use all the time).

Before I get to the written tutorial below, here is a quick video I whipped up of the process showing two different styles of cake: one with a buttercream finish and one with sprinkles around the bottom edge. Give it a watch before you read on:
Want to see more Cake Basics videos like this one? Head to my YouTube Channel to see the growing collection of recipes and cake decorating tutorials that’ll help you learn all the basics. You’ll also find tons of cake recipes and decorating videos there to inspire you and broaden your skill set – be sure to hit the subscribe button so you never miss a new one!
You Will Need
- A decorated cake on a turntable
- Cake stand or box
- Angled spatula
- Hot water
- Dish towel
Step 1: Prep The Cake
There are two things that are essential when it comes to a successful cake transfer: 1) a solid foundation underneath the cake and 2) a chilled cake. First, the cake needs to have been stacked on a cardboard cake circle in the filling and stacking process to ensure it has a sturdy foundation. This method will not work if you don’t have a firm foundation beneath that cake, because it’s nearly impossible to lift a layer cake that’s just sponge on the bottom. It might work with a cake lifter, but even still, I highly recommend building your layer cakes on a cardboard cake circle for easy maneuvering,

Second, I always start the transfer with a chilled cake. To make sure the cake is nice and chilled before attempting to move it, place it in the refrigerator for 30 minutes or longer. This will get that buttercream finish nice and solid so that if you do end up touching the cake finish during the transfer, you won’t fingerprint it easily.
Step 2: Heat the Spatula
Once the cake is nice and chilled, heat up an angled spatula by running it under some hot water for a few seconds, then drying it thoroughly with a towel.
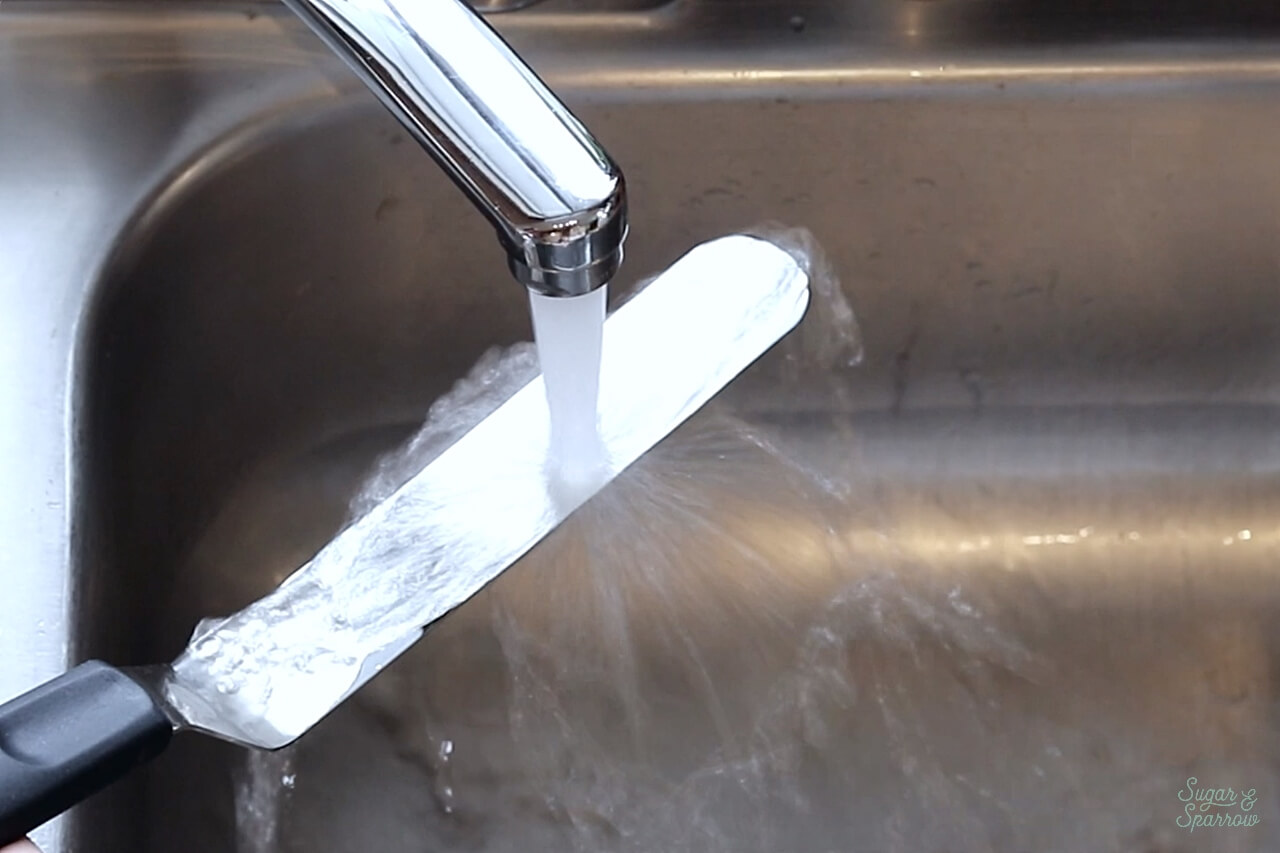
Heating the spatula will help create a clean edge in the next step.
Step 3: Release the Cake From the Turntable
Now that the spatula is warm, run it all along the bottom edge of the cake to release it from the turntable. You’ll want to keep the spatula as close and parallel to the turntable as possible to get a clean edge around the bottom of the cake.
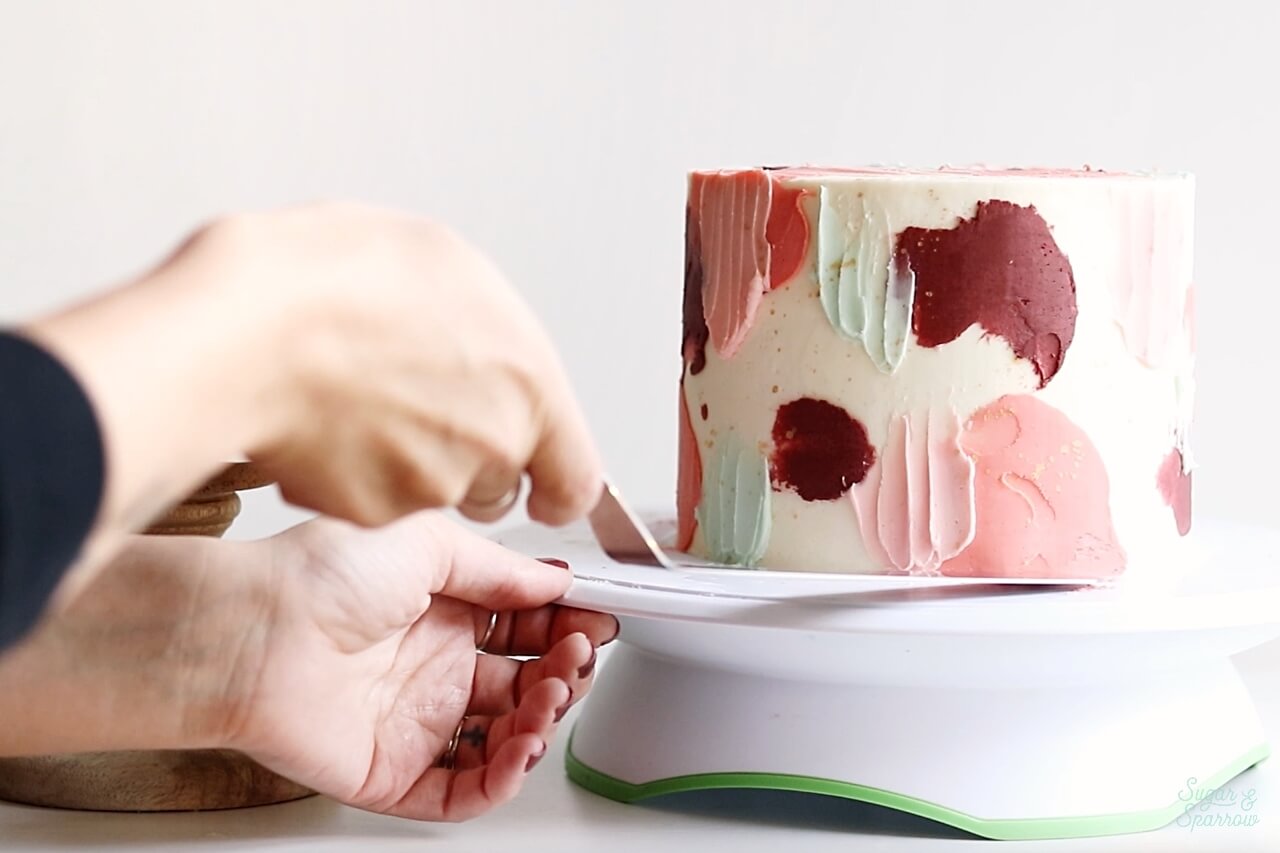
As you go around, the seal between the buttercream frosted cake and the turntable will be completely released.

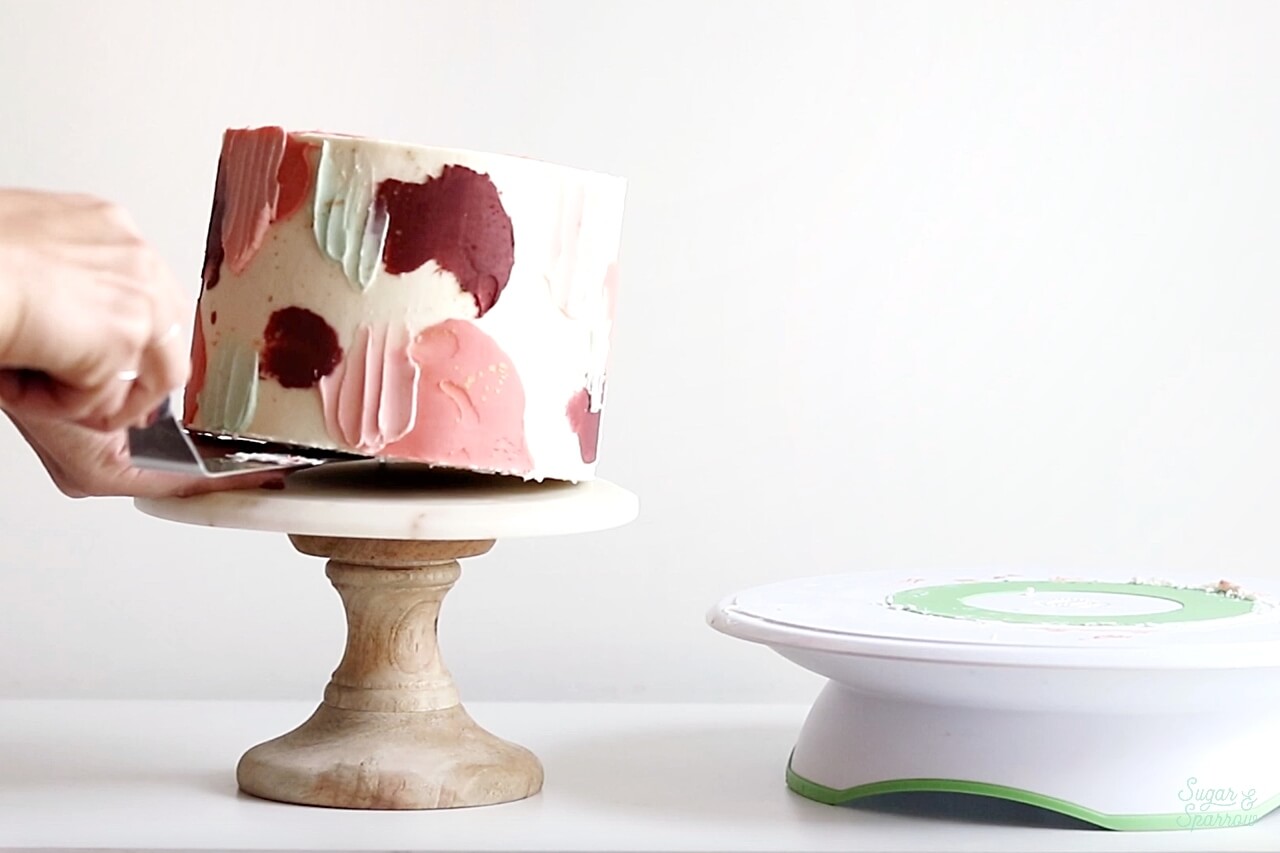
Once you’ve gone around the entire cake, work your spatula underneath to lift up one side.
Step 4: Move the Cake
With your spatula lifting one side of the cake, slide one hand underneath the cake. Remove the spatula and place your other hand beneath the cake and slowly lift it up.

Move the cake over to the stand, going as slowly as you’d like.

Once you’ve made it to the stand, gently lower the cake and keep one edge of it lifted to pivot the cake around where you want it. Then, slide the angled spatula back underneath and gently lower the cake edge before removing the spatula.
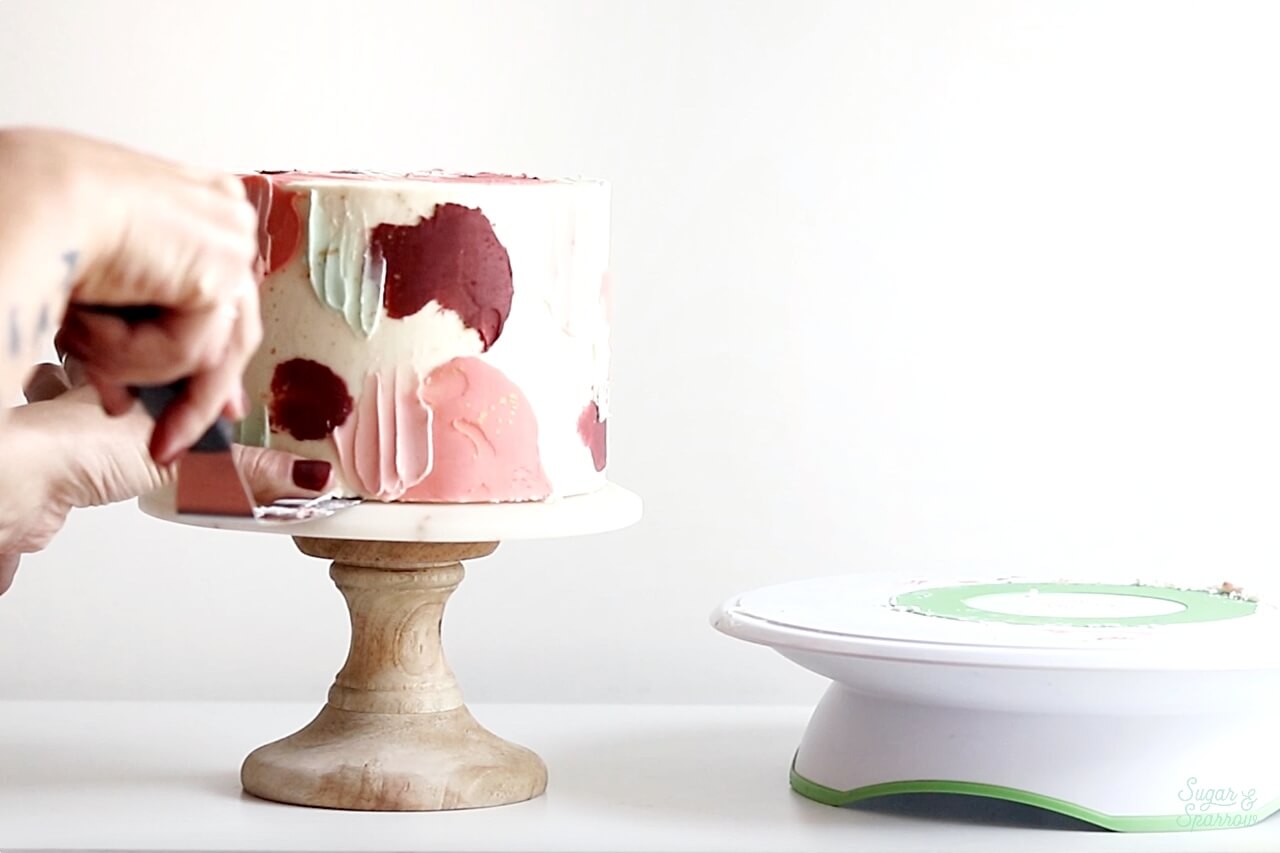
Notice that I’ve got my finger covering the area above the spatula to prevent the buttercream finish from sliding off with the spatula.
Step 5: Fix Any Areas (If Necessary)
Now that the cake is safe and sound on the stand, I like to slightly re-heat my spatula using the hot water method shown in step 2 and run it all around the bottom edge of the cake to press in any areas that look flared out or imperfect from the transfer. This helps to make the cake look even more flawless!

And there you have it! All my best tips for moving your cake onto a stand, all while keeping it looking picture perfect. You can use this same method for moving a cake into a box, onto a serving plate, or wherever your cake needs to end up.

If you want to learn more about cake baking and decorating, be sure to follow along with this Cake Basics series and all of the fun cake decorating videos I release on my YouTube page. Hit that subscribe button over there so you never miss a new video. And PS: I’m always thinking of new Cake Basics topics to help you learn, so if there’s something you’d love for me to cover please leave a comment below with your idea!


Hi Whitney, thanks so much for this easy to follow tutorial! I was wondering what you’d suggest to transport a cake that’s been built on the cake circle of the same cake size. Should I tape the card circle to a larger cake board to put in the cake box? Or buttercream the card circle to the larger cake board? I’m making my friends wedding cake and it’s one thing I can’t work out!
If that makes sense!
Thank you so much
Hi Helen! Yes, that’s what I’d do – tape the cake circle to a larger one for inside the box. Lately I’ve actually been taping my cardboard cake circles to a larger acrylic disc (like these https://amzn.to/3XQYhkM) and decorating the cake on that so it’s even easier to lift and transfer. The acrylic disc is easy to clean after decorating and looks nice on a cake stand.
Hi! I’m a very new baker, I just made my second layer cake yesterday. I put the cake on parchment paper in a cake carrier to frost the cake and also transport it but I realized the cake is sliding with the parchment paper. I’m planning on using your method above to remove the parchment paper. Any additional advice on how to remove the parchment paper underneath? Thanks so much!
Hi Mandy! My best advice would be to chill the cake and make sure the frosting is firm to the touch before you lift the cake up and then you should be able to peel the parchment paper from underneath. Next time I would build the cake on a cardboard cake circle to give your cake a bit more structure. I have a tutorial on that here: https://sugarandsparrow.com/fill-and-stack-cake-layers/ hope that helps!
Hi Whitney!
First and foremost, thank you for your blog and for sharing your tips and recipes. It has been so helpful! Question about transferring the cake from the turntable to a cake stand: Do you move it with or without the cardboard underneath the cake?
Second question: Do you have any recommendations for a cake box to transport the size cakes that you have? My daughter’s birthday is coming up and I’m hoping to bake her cake, but would need to take her cake to another location.
Thanks so much!
Hi Priya! I’m so happy my blog has been helpful! To answer your questions: 1) yes – I move it with the cardboard underneath the cake. That will be the most sturdy for the transfer 2) I use these boxes I found on Amazon: https://amzn.to/3KPUtds hope that helps!
What size cardboard cake board do you use? I’ve always used one a bit bigger than my cake and then it ends up a neglected mess. Should I be using one that is my cake size or smaller than my cake size and then transferring it when it’s all done to a clean cake board? Thanks!
Hi Ashley! I always use a cardboard cake board that is the same diameter as the cake. Then I either use the techniques in this tutorial to transfer it to a stand or to a slightly larger cake board. Hope that helps!
Thank you so much Whitney…I really want a recipe of buttercream….everytime I watched on YouTube and I tried making it…there will.be something wrong or the other…so I want a recipe that is sufficient enough to pipe…do u have any advice
Hi Shukri! I recommend trying my vanilla buttercream recipe. It’s perfect for piping: https://sugarandsparrow.com/vanilla-buttercream-recipe/ hope you love it!
I always dreaded that part but you made it so easy peasy! So happy I found your site!
Thank you!
Yay, Lynn! So happy to help!
When making an 8 inch cake that is going into a 10 or 12 inch cake box, do you suggest using a cake board to fit the box or taping the smaller board and cake to a larger board?
Hi Kelly! If the box has a corrugated cardboard (or otherwise sturdy) bottom already there’s no need to line it with another cake board. If it’s flimsy then I would cut a piece of cardboard to line the bottom of the box before placing the cake on top of that.
Hi, great tutorial. I didn’t see the cardboard cake circle in this tutorial. At what point was it taken away?
Hi Donna! The cardboard cake circle is what the cake is built on, providing a sturdy foundation on the bottom of the cake + making it super easy to transfer. It never gets taken away, you just slide your spatula underneath the finished (chilled) cake, slide your hand underneath so that you’re holding the cake by the cardboard cake circle, then transfer the whole thing over. Hope that helps!
Hi Whitney,
I’ve been searching the web for a tutorial such as this. So, you transfer the decorated cake, with the cake board underneath, to a cake stand? What about cakes that have piped bottom borders? I piped a bottom border on a practice cake. It looked really nice, I chilled the cake for several hours, then when I tried to transfer it to a cake plate using your method, the border separated from the cake. Luckily, it was just a practice cake. Should I transfer the cake, with the cake board to a cake plate, then make the border on the cake plate? Thank you for this tutorial and for any suggestions for transferring cakes with bottom borders.
Hi Beverly! In that case I would transfer the cake before piping on the border, then after you get it on your cake stand/plate pipe the border on.
Im wondering if you start the decorating of the cake on a card board circle on the turntable,, can I just lift the cake circle and the cake off the turntable??
Hi Carolyn! Yes – that’s exactly what I’m doing in this tutorial. The cake is stacked and decorated on top of a cardboard cake circle, which is essential for creating the stability needed to lift it off the turntable.
This is LIFE CHANGING! I’ve been doing cakes for friends and family for years and this part is always so stressful for me.
Yay, Mel! So happy this tutorial was helpful!
Thank you Whitney! Appreciate your video and very well worded instructions. I have used this method too and you are so right about that very chilled buttercream cake!! Chill!!! Thank you again!