• Cake
  • Frosting
  • YouTube
  • My Favorite Tools
  • Nav Social Icons

  • Skip to primary navigation
  • Skip to main content
  • Skip to primary sidebar
  • Skip to footer
  • Recipes
    • Cake
    • Cupcakes
    • Frosting
    • Ice Cream
    • Vegan
  • Cake Basics
  • Tutorials
  • Blog
  • About
  • Mobile Menu Widgets

    Connect

    Search

Sugar & Sparrow logo in script font

Sugar & Sparrow

Lifestyle and Cake from Portland Oregon

  • Cake Basics
  • Recipes
    • Cake
    • Cupcakes
    • Cookies & Bars
    • Filling
    • Frosting
    • Ice Cream
    • No-Bake
    • Small Batch
    • Vegan
  • Tutorials
  • Book
  • Blog
  • About

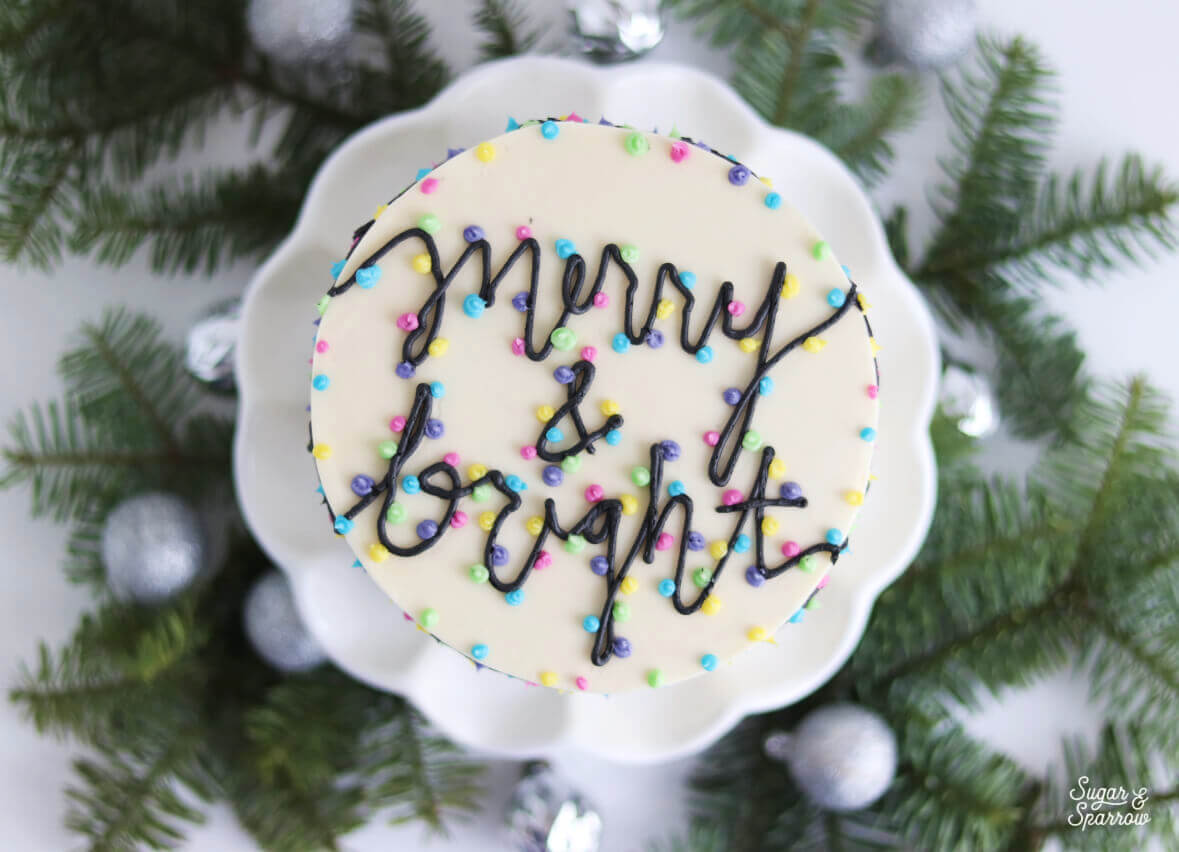
Merry & Bright Christmas Cake

December 10, 2018 · In: Featured, Holiday, Seasonal, Tutorials

How are the Holidays treating you? I’m in full on Christmas spirit mode over here, with so many ideas for festive Holiday cakes and no time to do them all! I like to really sink into this season because there are so many fun things to do with friends and family, and although I love decorating Holiday-themed cakes I try not to spend too much time in the kitchen this time of year because I don’t want to miss any festivities. This Merry & Bright cake was at the tippy top of the list though – it’s the second year in a row I’ve made this design, and I just had to share it with you because it’s so easy to recreate!
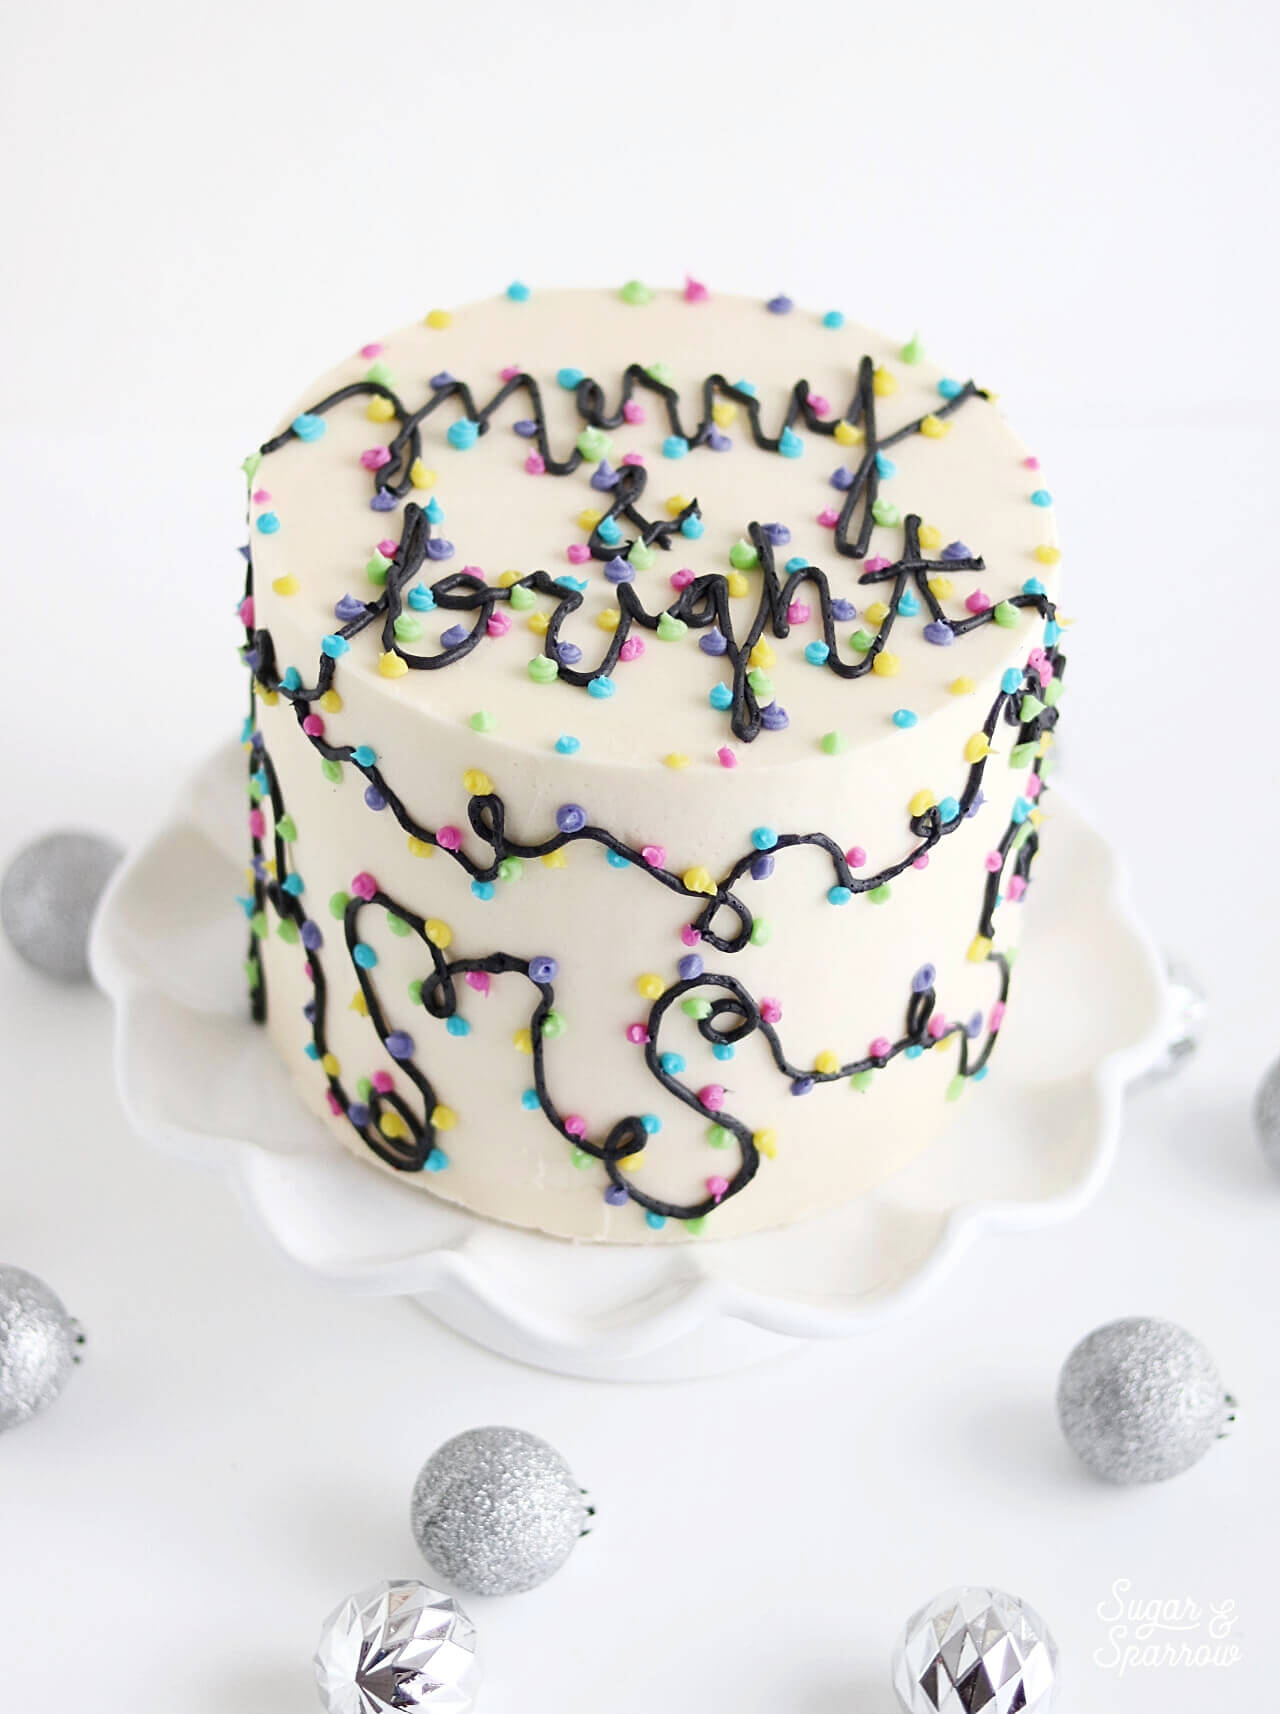
merry and bright christmas lights cake by sugar and sparrow

The term “Merry & Bright” is a snippet of a lyric from one of my favorite Bing Crosby holiday songs (White Christmas). It’s also a great movie if you’re looking for a seasonal classic to watch this year, or every year! The cool thing is, you can really pipe any Christmassy saying or song lyric onto the top of the cake and get the same vibe with this technique. Here’s a super quick video to show you how it’s done:

Having a piping bag fitted with Wilton Tip 3 is essential to piping clean lines for the lettering and the rest of the Christmas light cords. I like to have a handful of these tips on hand for the individual Christmas lights as well, because it makes piping dots more precise. You can use any color combination you’d like for the little light bulbs, but I’ve gone with a colorful scheme using my Americolor gels (the exact colors are detailed below).
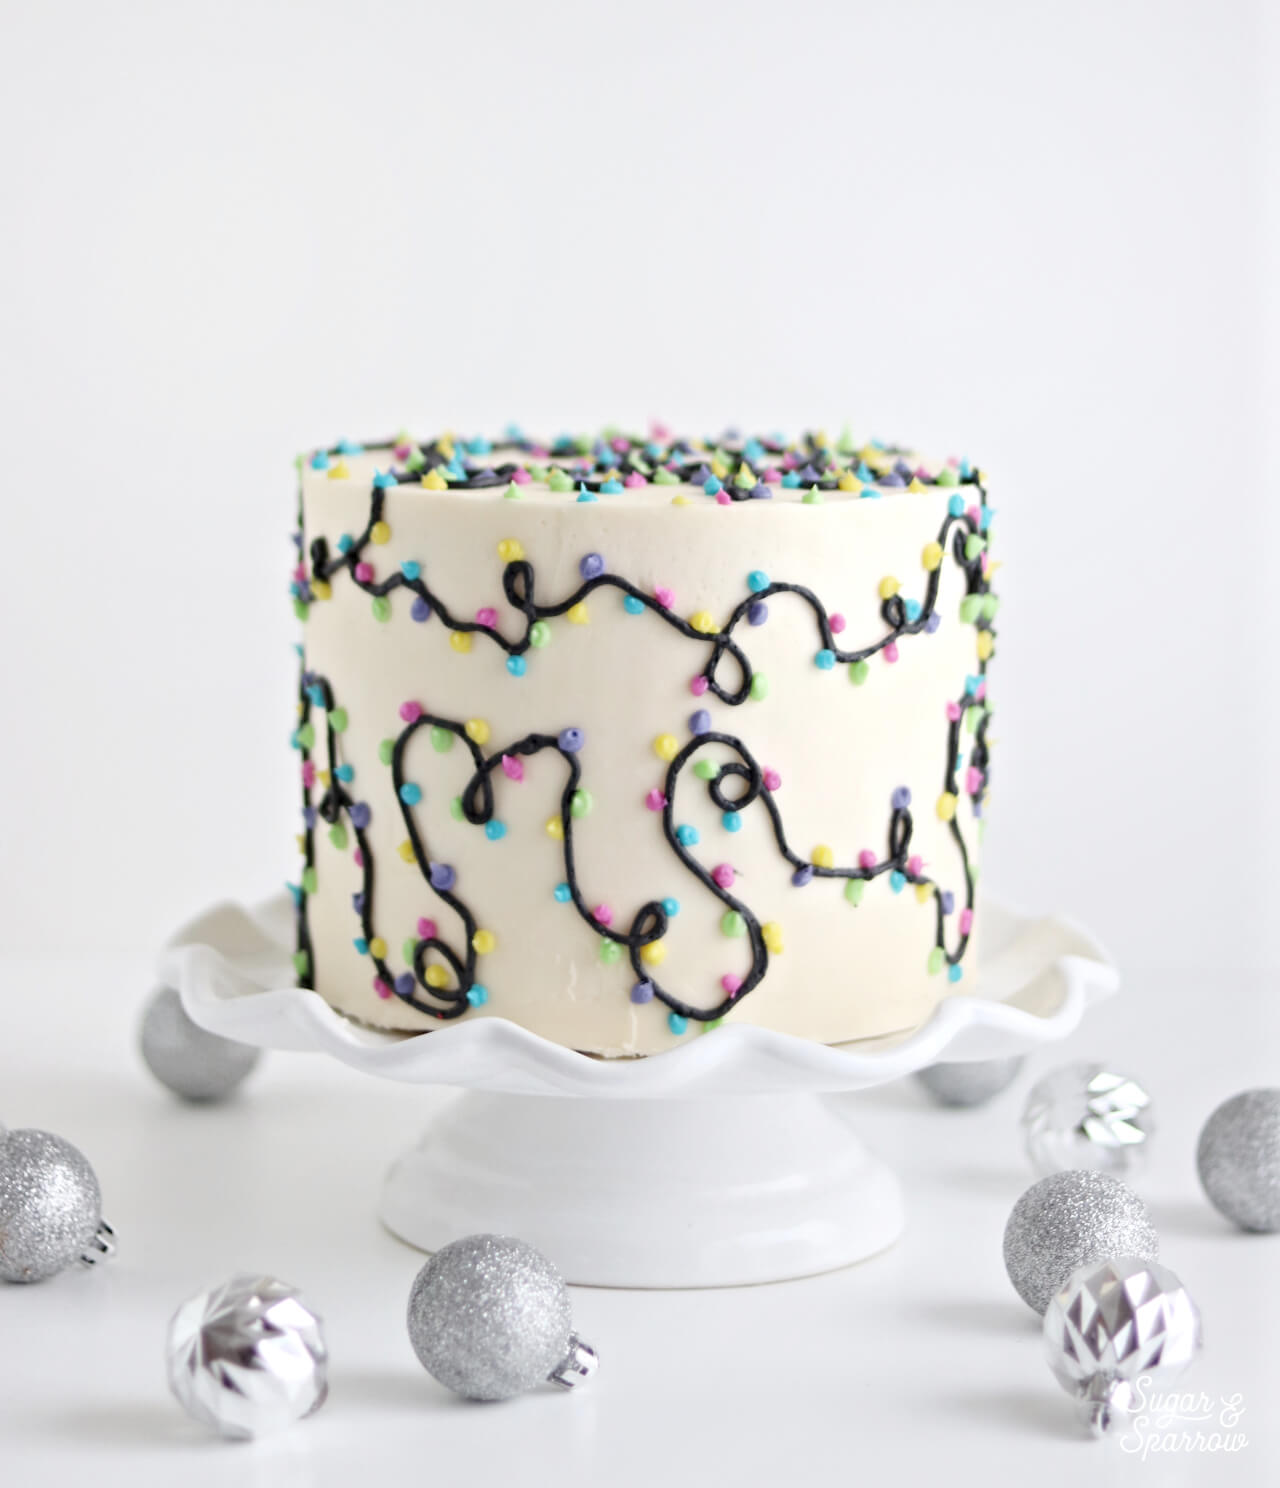
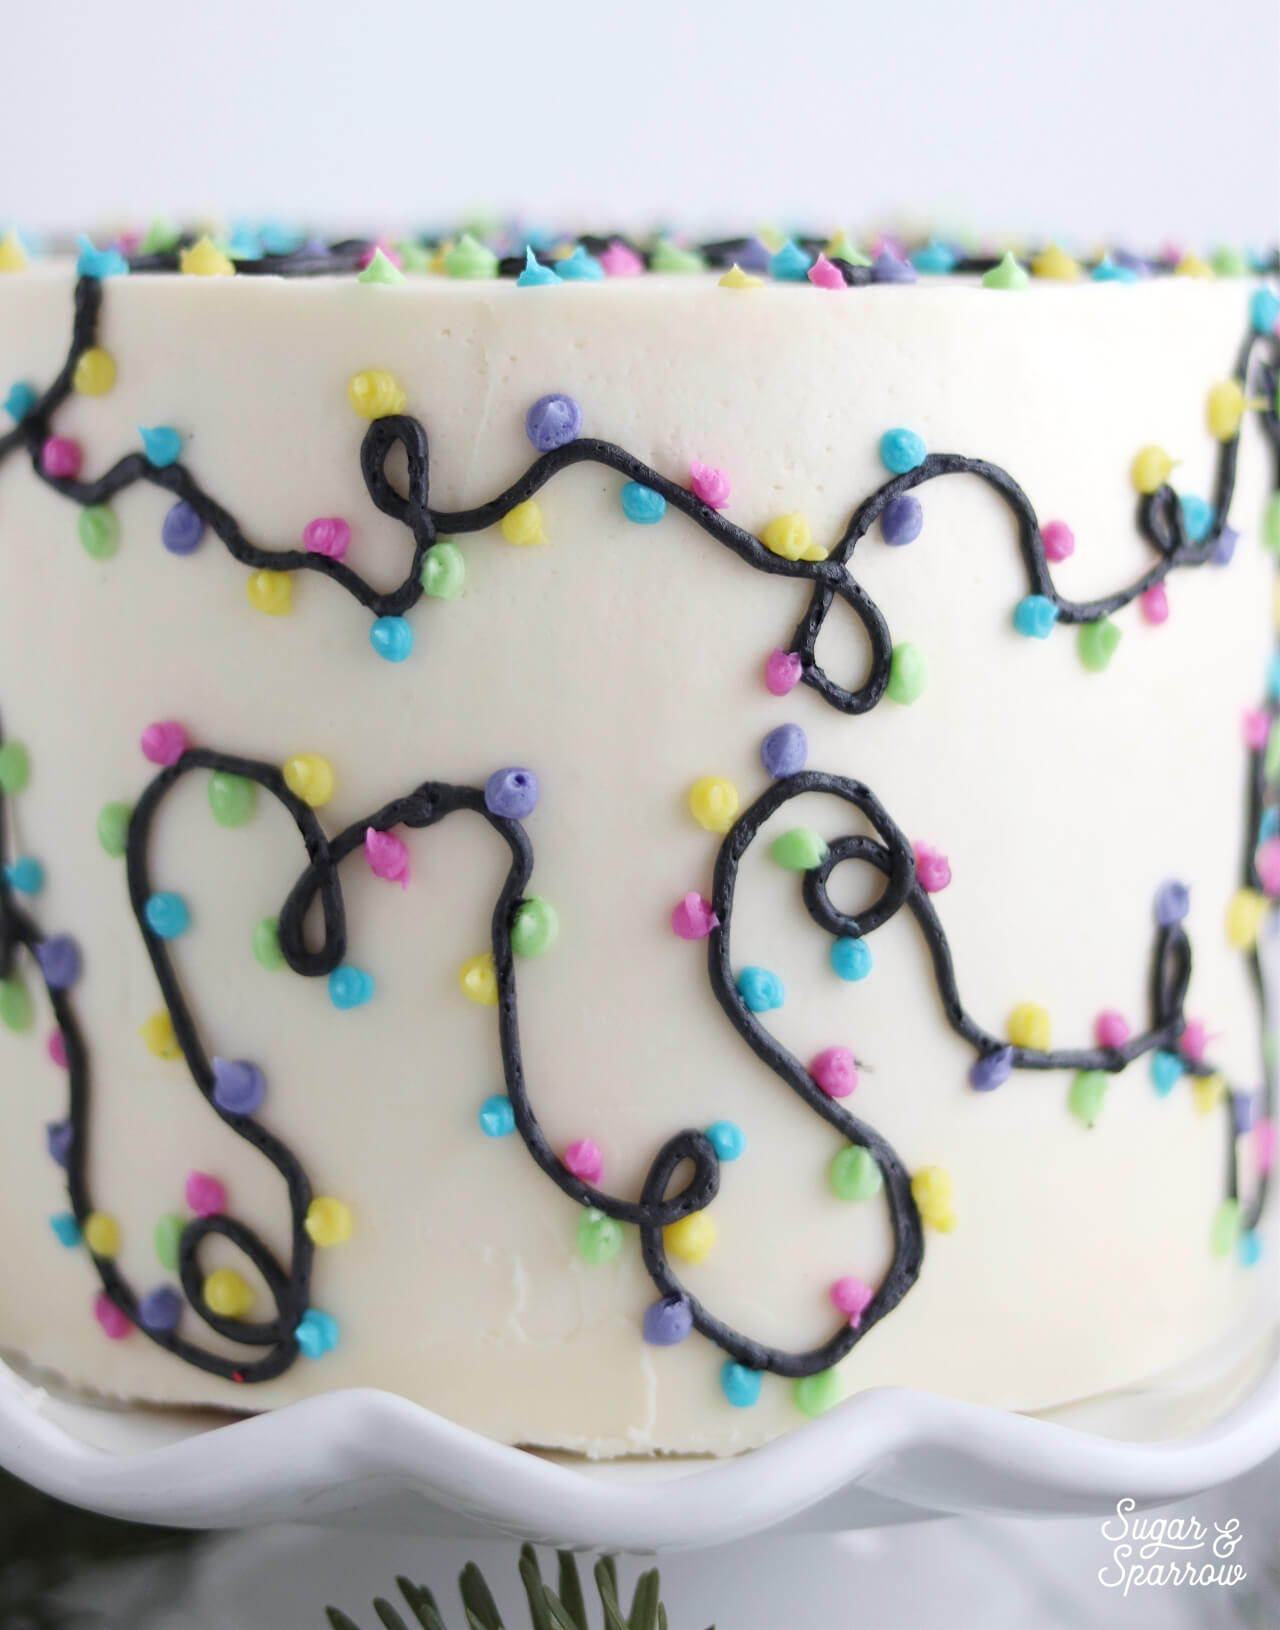
christmas lights cake tutorial by sugar and sparrow

how to pipe christmas lights with buttercream

As long as you have all of your colors mixed and piping bags ready to go, you can create this design in about ten minutes from start to finish! That makes this one of the quickest and easiest Holiday cake designs ever, and in this busy time of year, saving yourself some time is everything.

You Will Need:

  • At least one Wilton Tip 3 (I’ve used 6 to pipe all these colors)
  • Piping bags
  • A cake frosted with smooth buttercream
  • ½ batch of vanilla buttercream (or other light-colored buttercream)
  • Americolor Super Black color gel
  • A few other color gels of your choice for the light bulbs
  • Bowls and spoons for color mixing
  • A cake turntable

Step 1: Chill Your Buttercream Cake

Whenever I pipe designs onto buttercream cakes, I like to start with a chilled finish. This way, I never have to worry about accidentally smudging the buttercream during the decorating process.
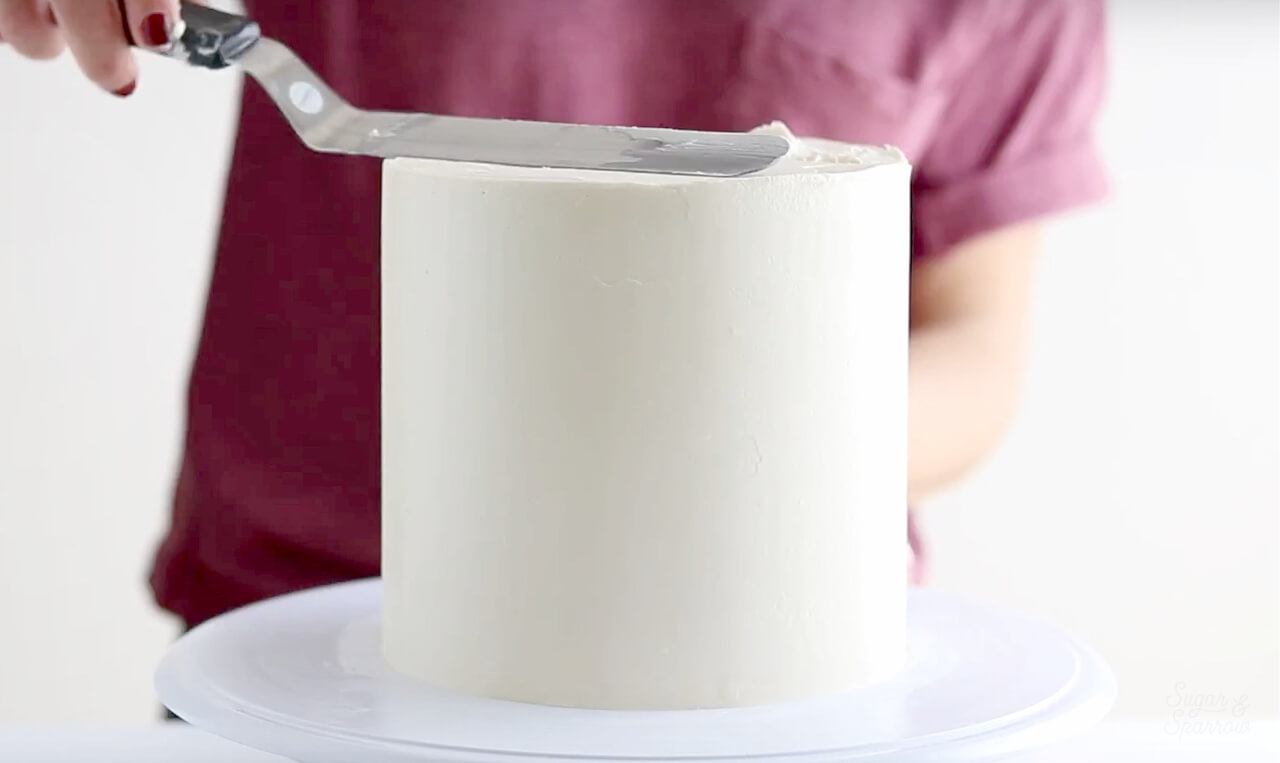
How to frost a smooth buttercream cake

After you’ve frosted your cake with a smooth buttercream finish, pop it into the refrigerator for at least 30 minutes, or until it’s firm to the touch.

Step 2: Mix Up Your Colors

Divide the vanilla buttercream into separate bowls (one for each color you’re mixing), then create black buttercream for the Christmas light cords and other colors for your light bulbs.
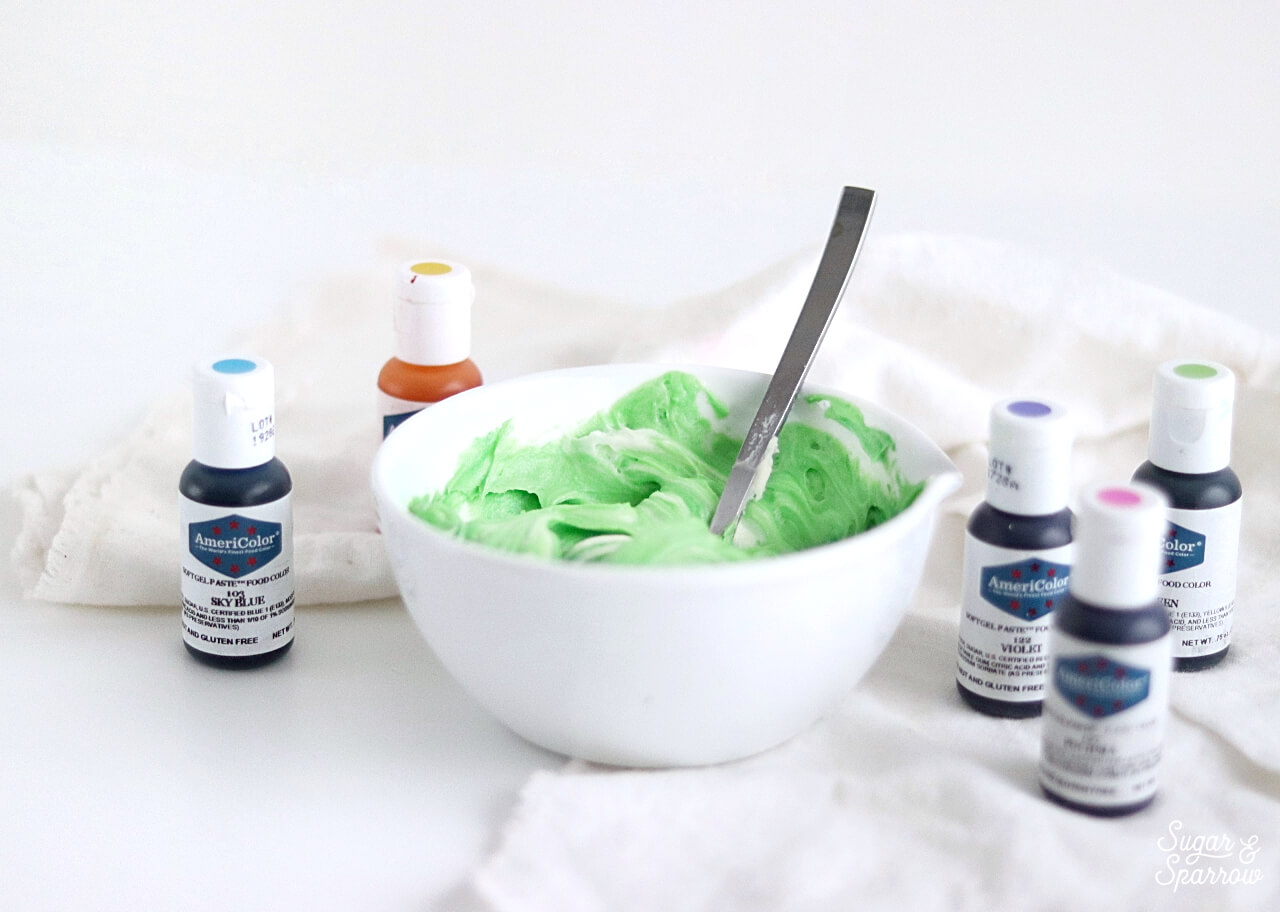
Americolor gel paste for buttercream

For my color scheme, I used Americolor Super Black for the cord and Americolor Fuschia, Lemon Yellow, Sky Blue, Mint Green, and Violet for the Christmas lights. When you’re finished with your color mixing, place the buttercream into individual piping bags fitted with Wilton Tip 3. If you only have one Wilton Tip 3, use it for piping the cord and snip a tiny opening off of each of the other piping bags you’ll be using for the light bulbs.

Step 3: Pipe Your Christmas Quote

Now that your cake is nice and chilled and your piping bags are prepped, it’s time to write out the quote on the top of the cake. If you want to plan this part out ahead, you can always write the quote out on wax paper and then use the end of a wooden skewer to imprint the tracing onto the cake (like I did in this tutorial).
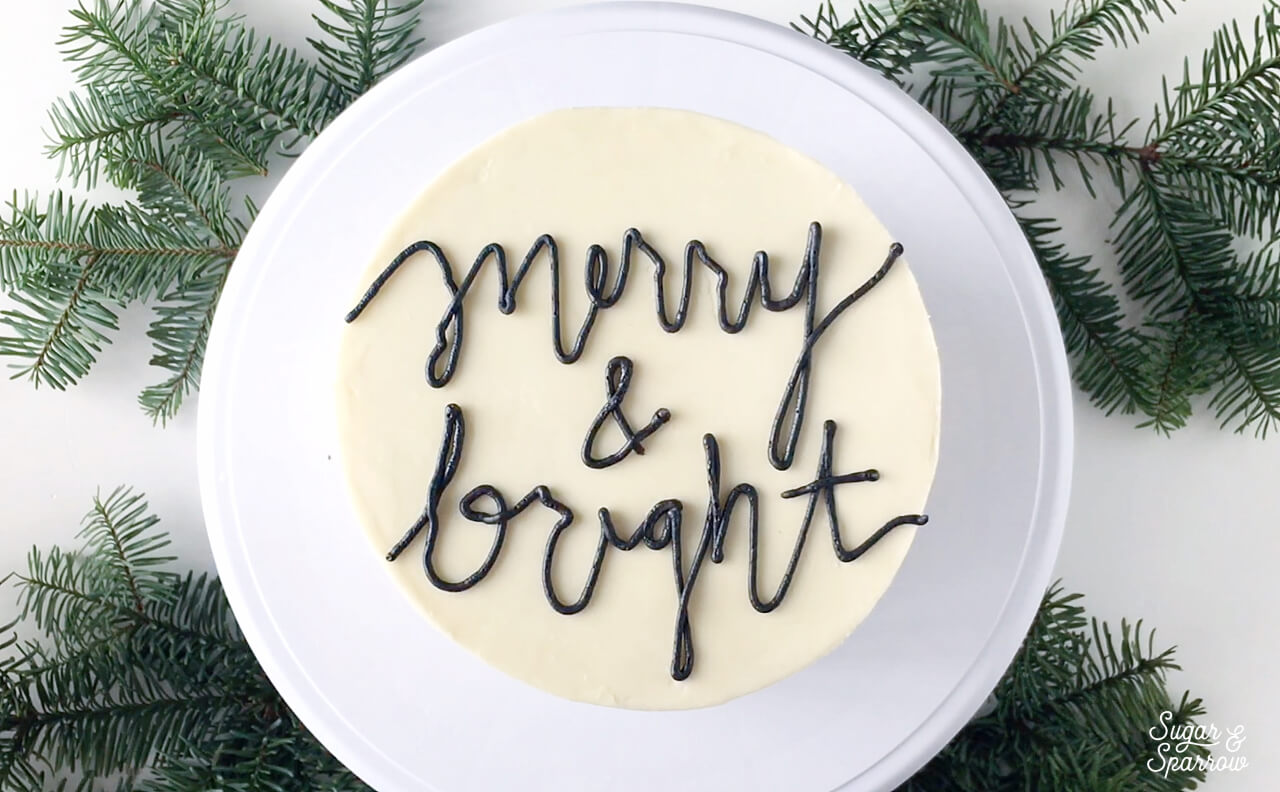
how to pipe words with buttercream

Since the lettering is meant to look really wild and script-y, like you wrote it out with Christmas light cords, you can totally freehand this part too!

Step 4: Pipe the Christmas Light Bulbs

Next, pipe multi-colored dots in a random pattern along your lettering from Step 3 to light the quote up!
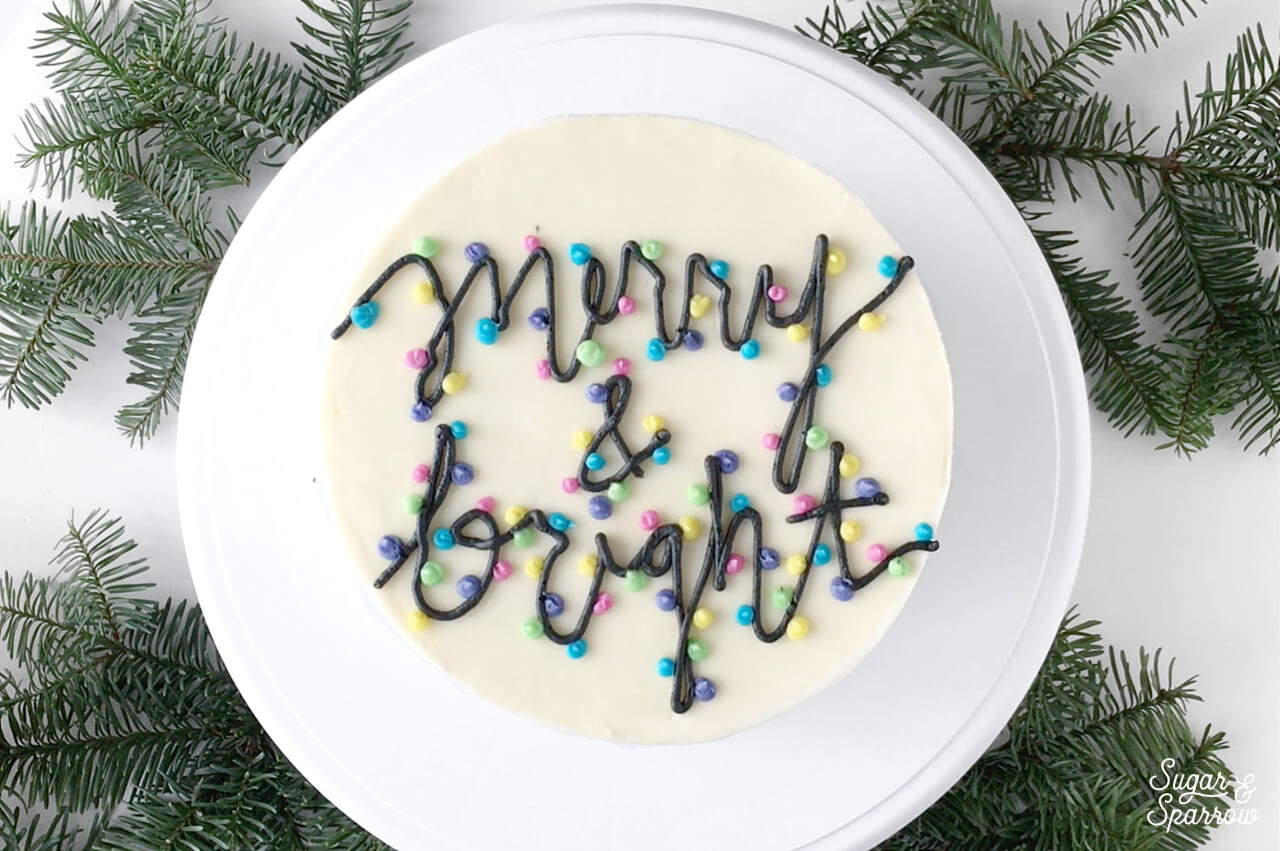
holiday cake tutorial by sugar and sparrow

This part is my favorite, because it really makes everything come to life in just a few minutes.

Step 4: Pipe The Sides Of The Cake

Now that the top is finished, repeat the process of piping cords and light bulbs all over the sides of the cake. It looks best when you continue the cord from the top of the cake and loop it all around the sides with a random pattern.
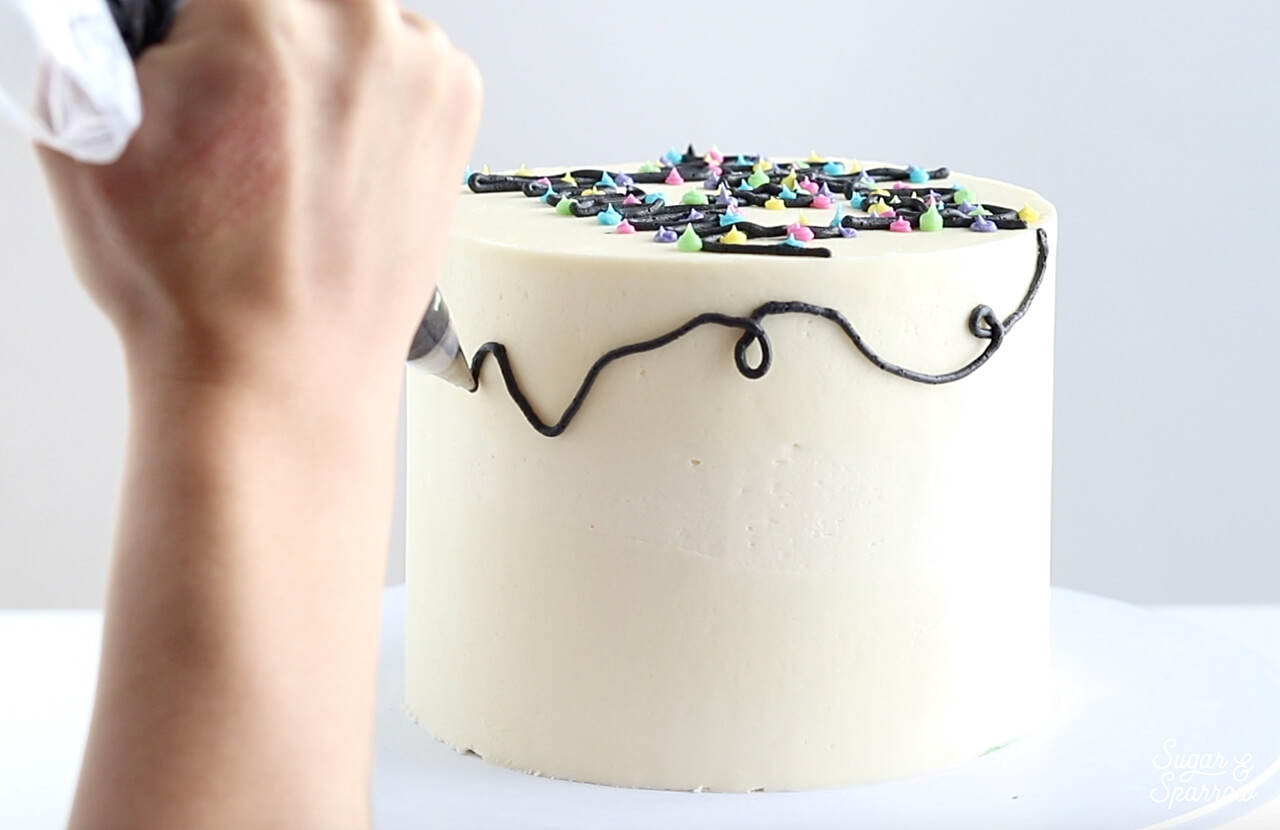
wilton tip 3 buttercream piping

It also really helps to have a good cake turntable for this part, because you can just spin as you pipe!
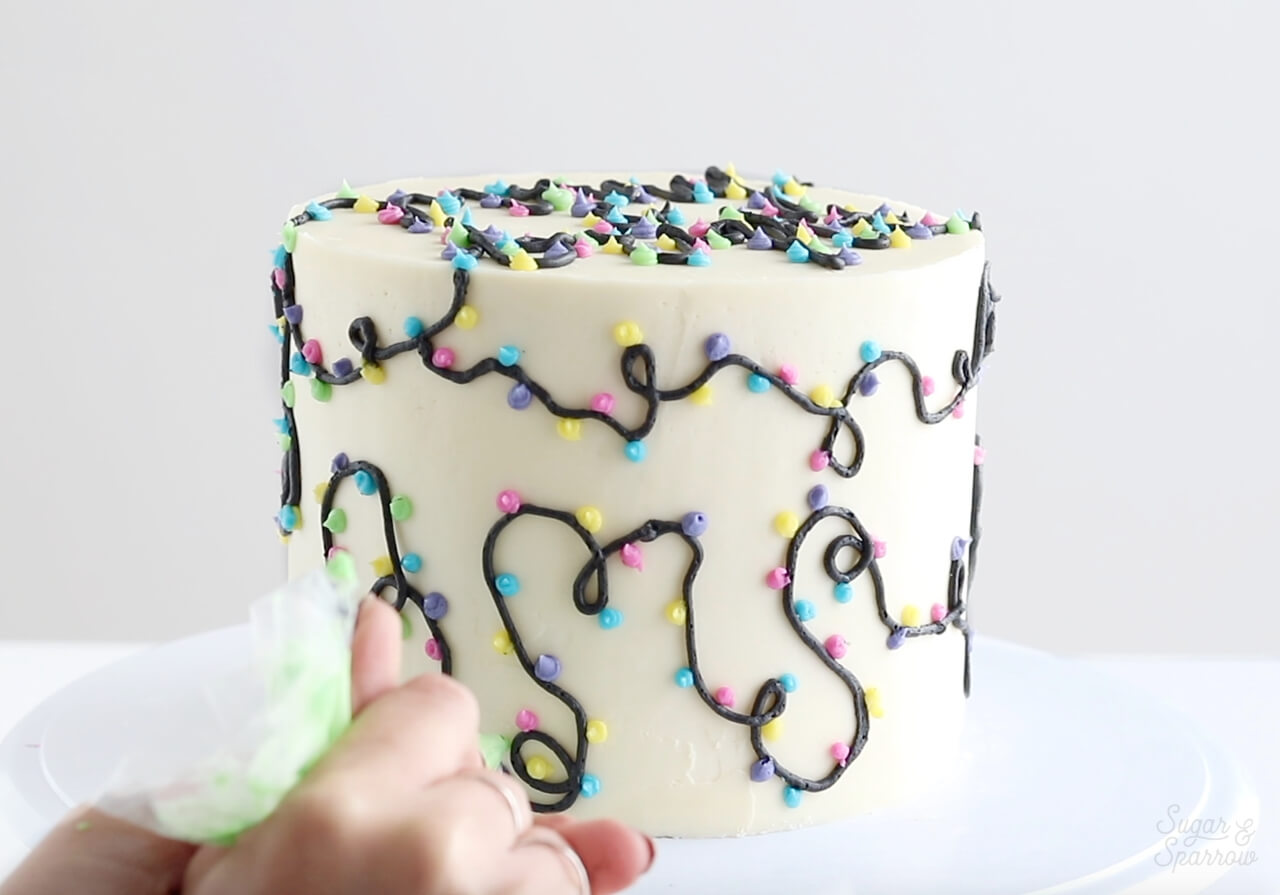
holiday cake ideas by sugar and sparrow

And there you have it – the quickest and easiest Holiday cake you’ll make all season:
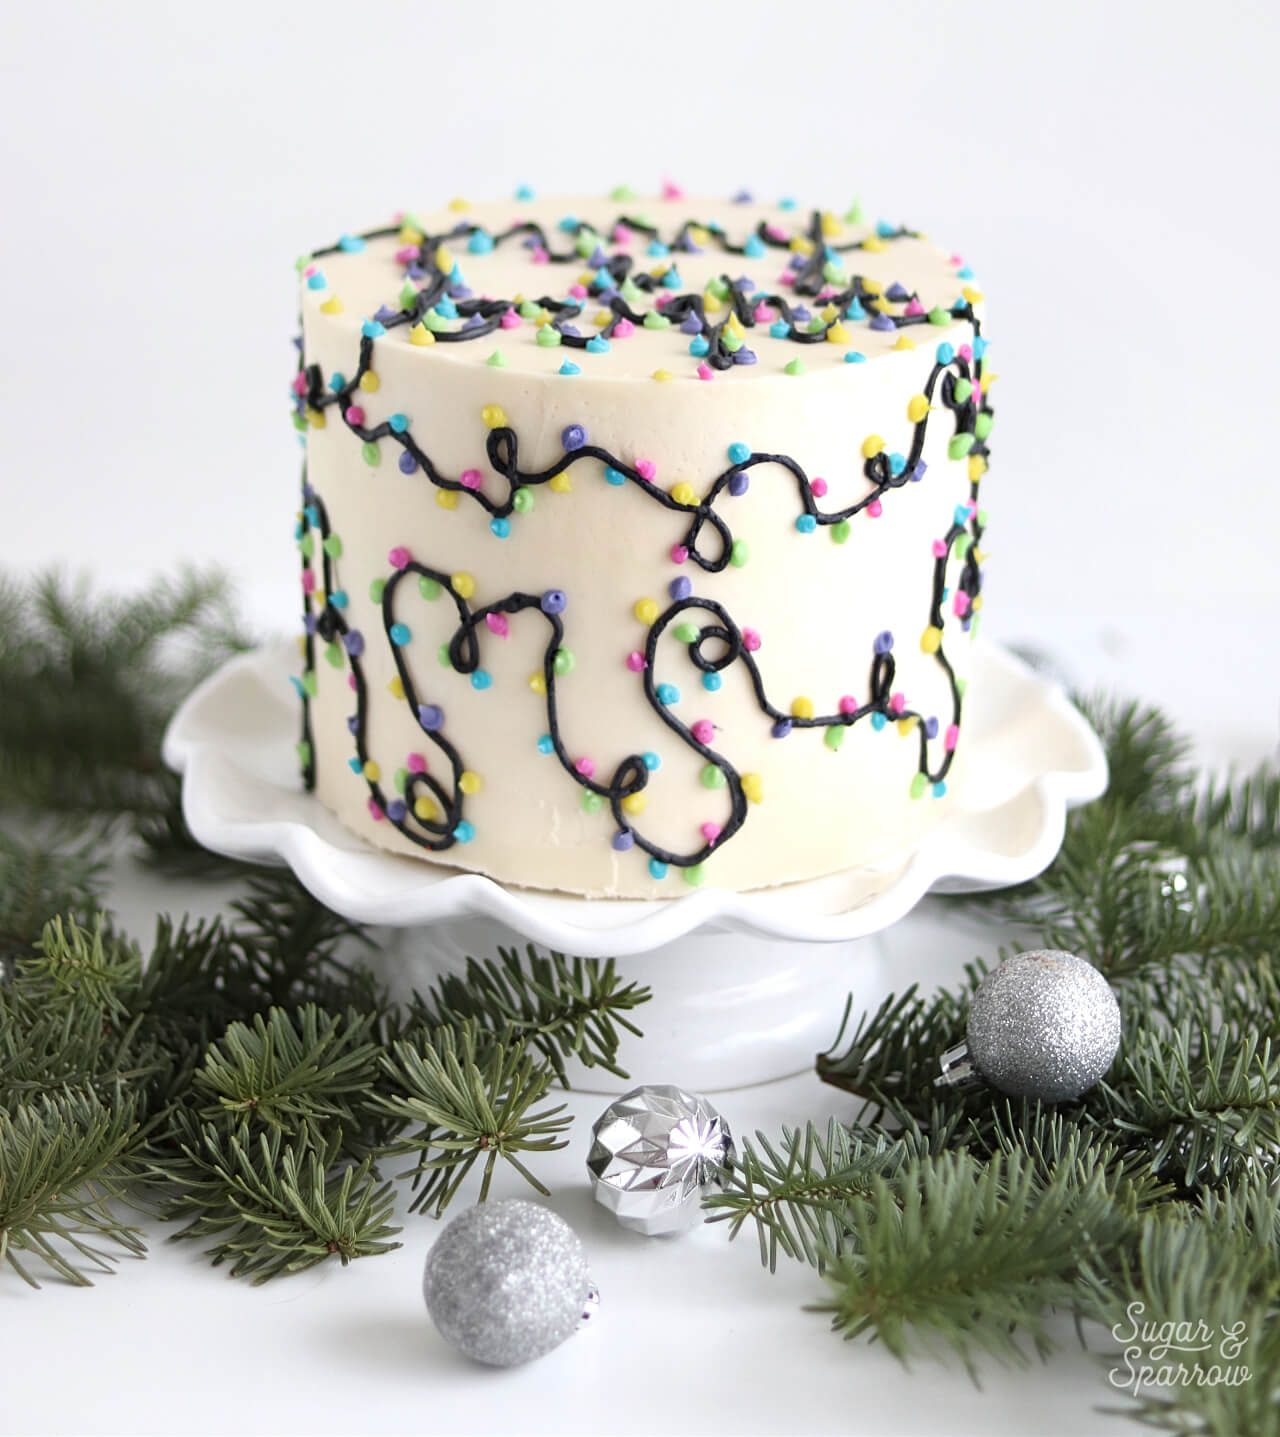
merry and bright cake tutorial

holiday cake by sugar and sparrow

What are some of your favorite Christmas song lyrics and/or sayings? I would love to see this cake design with some of them! Let me know if you try this technique by tagging me on Instagram. I absolutely love to see what you create. Happy Holidays to you and yours!

Disclaimer: this post does contain some affiliate links, meaning I may receive a small commission if you click them and purchase items I’ve recommended. Using these links won’t cost you any extra money, but they do help to keep Sugar & Sparrow up and running. Thank you for your support!


By: Whitney · In: Featured, Holiday, Seasonal, Tutorials · Tagged: americolor, buttercream, buttercream piping, cake decorating, cake decorating tutorial, cake tutorial, christmas cake, christmas lights cake, christmas song lyrics, holiday cake, merry and bright, wilton, wilton tip 3

you’ll also love

the best vanilla cupcakes recipeThe Perfect Vanilla Cupcake Recipe
pumpkin layer cake recipe by sugar and sparrowPerfect Pumpkin Layer Cake Recipe
oreo cookies and cream cakeOreo Layer Cake Recipe

Join the List

Stay up to date & receive the latest posts in your inbox.

Reader Interactions

Leave a Reply Cancel reply

Your email address will not be published. Required fields are marked *

Recipe Rating


Next Post >

Holiday Floral Buttercream Cake Tutorial

Primary Sidebar

Welcome to Sugar & Sparrow

Welcome to Sugar & Sparrow

Helping you whip up pretty desserts with confidence and creativity. And hopefully sharing a few laughs with you along the way!

Learn More

Connect

let’s bake!

Get my very best recipes, baking tips, and decorating tutorials sent to your inbox

Featured Posts

unique gift ideas for bakers

2025 Holiday Gift Guide for Bakers

rafaello cake recipe by sugar and sparrow

Rafaello Cake Recipe

small batch churro cake by sugar and sparrow

Small Batch Churro Cake

Search

Archives

Follow Along

@sugarandsparrowco

WHIPPED MASCARPONE FROSTING ✨silky smooth, delicio WHIPPED MASCARPONE FROSTING ✨silky smooth, deliciously light, and the perfect consistency for cake decorating (including filling layer cakes + piping)! Imagine a whipped cream frosting with notes of rich mascarpone cheese and that’s what this frosting tastes like. It’s a DREAM on my orange poppyseed cake and I can’t stop thinking of other Spring/Summer cake flavors I want to try it with! 

Full recipe with cake pairing suggestions at https://sugarandsparrow.com/whipped-mascarpone-frosting/ 

INGREDIENTS:
1 Cup (8oz, 227g) mascarpone cheese, cold
2 tsp pure vanilla extract
1/8 tsp salt
1 Cup (240ml) heavy whipping cream, cold
2 Cups (240g) powdered sugar

INSTRUCTIONS:
1. With the whisk attachment on a stand mixer (or hand mixer with a large bowl), beat the mascarpone, vanilla, and salt together at medium speed until creamy, 1-2 min
2. Turn the mixer to low and add the heavy whipping cream slowly, then turn the mixer to medium speed and beat until soft peaks form, which could take less than 1 min (keep an eye on it!). You should be able to dip a spatula into the mixture and see a peak that slightly droops when held upright. 
3. Add the powdered sugar all at once and mix on low speed until incorporated, then turn the mixer to medium speed and whip for about 30 seconds longer, until the frosting is thick and silky. Use right away or refrigerate for up to 4 days.

#mascarpone #mascarponecream #whippedcreamfrosting #whippedcreamcake #cakedecorating
BERRY CHANTILLY CAKE 🍓🫐fully inspired by the iconi BERRY CHANTILLY CAKE 🍓🫐fully inspired by the iconic Whole Foods Chantilly cake (iykyk 🙌🏼) and every bit as delicious! My homemade version is layers of extra soft and fluffy vanilla cake, berry jam, Chantilly cream frosting with rich notes of mascarpone and a hint of almond, and fresh berries throughout. It’s the idealideal berries and cream cake and ALWAYS a hit!! 
⁣
Full recipe is linked in my bio (or at https://sugarandsparrow.com/berry-chantilly-cake-recipe/)

PS: I also have a sheet cake version of this recipe! Google “sugar and sparrow berry Chantilly sheet cake” to find it! 

#chantillycake #whippedcreamcake #berrycake #cakedecorating #vanillacake
STRAWBERRY SHORTCAKE SHEET CAKE 🍓aka classic straw STRAWBERRY SHORTCAKE SHEET CAKE 🍓aka classic strawberry shortcake toppings on a fluffy vanilla sheet cake and ideal for a crowd! It’s my favorite bakery-style white cake that’s so soft and moist, topped with silky whipped cream cheese frosting and thick homemade strawberry sauce. So easy to throw together with simple ingredients + a total showstopper ✨

Grab the recipe link in my bio or find it at https://sugarandsparrow.com/strawberry-shortcake-sheet-cake/ 

#strawberrycake #strawberryshortcake #sheetcake #whippedcreamfrosting #cakedecorating
ORANGE POPPYSEED CAKE 🍊this cake is unbelievably d ORANGE POPPYSEED CAKE 🍊this cake is unbelievably delicious with whipped mascarpone frosting!! The cake layers are soft and moist, packed with fresh citrus flavor, and has the satisfying crunch of poppy seeds in every bite. The mascarpone frosting keeps it light and refreshing and I love that it comes together in just about 5 minutes with minimal effort. A fancy cake that’s secretly simple!

Grab the recipe link in my bio or find it at https://sugarandsparrow.com/orange-poppyseed-cake-with-mascarpone-frosting/

#poppyseedcake #layercake #mascarpone #whippedcreamfrosting #cakedecorating
VANILLA SHEET CAKE (recipe below) 🥳 this cake is p VANILLA SHEET CAKE (recipe below) 🥳 this cake is packed with vanilla flavor, SO soft and fluffy, fun to decorate, and ideal for feeding a crowd. It makes me so nostalgic for my childhood birthday cakes!! 
 
Full recipe (w/ frosting!) at https://sugarandsparrow.com/vanilla-sheet-cake-recipe/
 
INGREDIENTS: 
2 1/2 Cups (265g) sifted cake flour
2 tsp baking powder 
1/2 tsp baking soda 
1 tsp salt 
3/4 Cup (170g) unsalted butter, room temp 
1 3/4 Cup (340g) granulated sugar 
3 large eggs, room temp 
1/2 Cup (120g) sour cream, room temp
1 Tbsp pure vanilla extract 
1 Cup (240ml) whole milk, room temp
 
INSTRUCTIONS: 
1. Preheat the oven to 325°F. Grease and line a 9×13 baking dish. 
2. Add the sifted cake flour, baking powder, baking soda, and salt into a medium bowl and whisk to combine. Set aside. 
3. In the bowl of your stand mixer fitted with the paddle attachment (or with a hand mixer and large bowl), beat the butter on high speed for two minutes until creamy. Add the sugar and continue to beat on high speed until light and fluffy, about 2 minutes. Scrape down the bowl and paddle as needed. Add the eggs one at a time, mixing for about 10-15 seconds after each addition. Add the vanilla and sour cream and mix for one minute on high speed. 
4. Turn the mixer off and add the dry ingredients all at once. Mix on low speed until just combined, then add the milk in a steady stream and mix until just incorporated. 
5. Pour the batter into the prepared baking dish and bake for 30-35 minutes, or until the cake springs back to the touch and a toothpick inserted into the middle comes out clean. Let the cake cool in the baking dish until room temperature, then frost with vanilla buttercream. 
 
#vanillacake #sheetcake #birthdaycake #vanilla #cakedecorating

Footer

On the Blog

  • Cake Basics
  • Recipes
  • Tutorials

Info

  • About
  • Privacy Policy & Disclosure

stay in the know

Copyright © 2026 · Theme by Sugar & Sparrow