Before you mix up your cake batter, there are two things you’ve got to do to set yourself up for cake baking success: preheat your oven and prepare your pans. There’s no need to explain how to preheat your oven (I hope!) but I do have some things to say about cake pan preparation. After all, there’s nothing more disappointing than thinking you’ve baked the perfect cake, only to have it stick to the pan and fall apart upon release. Whether you’re completely new to baking and don’t know the first thing about what it means to “grease and flour” or “line a cake pan,” or you’re just curious about how I prepare my cake pans, you’re going to learn all of it in one handy little blog post!
As promised with this Cake Basics series, here’s a video to show you everything I cover in this blog post, from the three main methods of preparing cake pans to releasing your baked cakes from those cake pans.
I’ll be releasing more Cake Basics videos like this one on my YouTube channel in the coming weeks, so be sure to subscribe! That way you’ll never miss a new one. I’ve also got tons of cake decorating tutorials and recipe videos over there, so there’s a little something for everyone regardless of skill level.
3 Ways to Prepare Cake Pans
The way I see it, there are three main methods of preparing cake pans. The first one is my preferred method, but I’ll show you how to do the other two as well because it’s important that you find what works best for you.
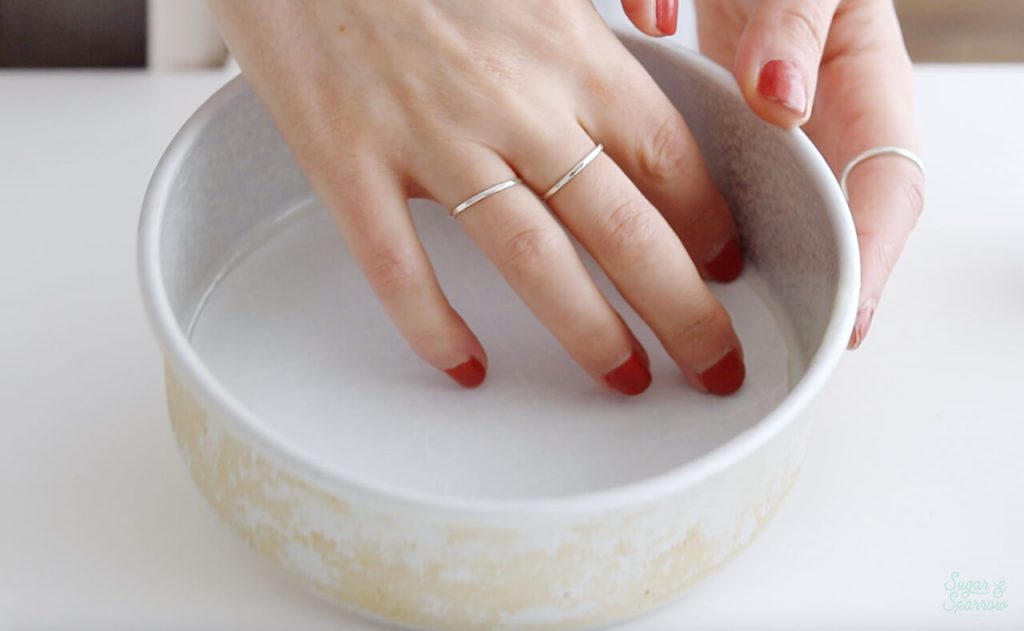
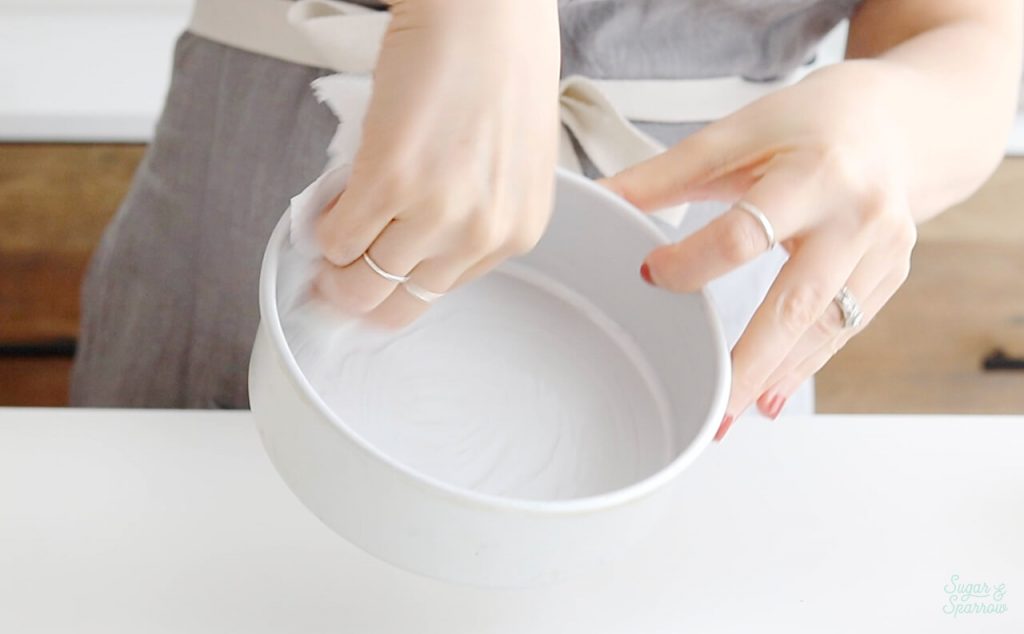
Method 1: Grease the Sides + Line the Bottom
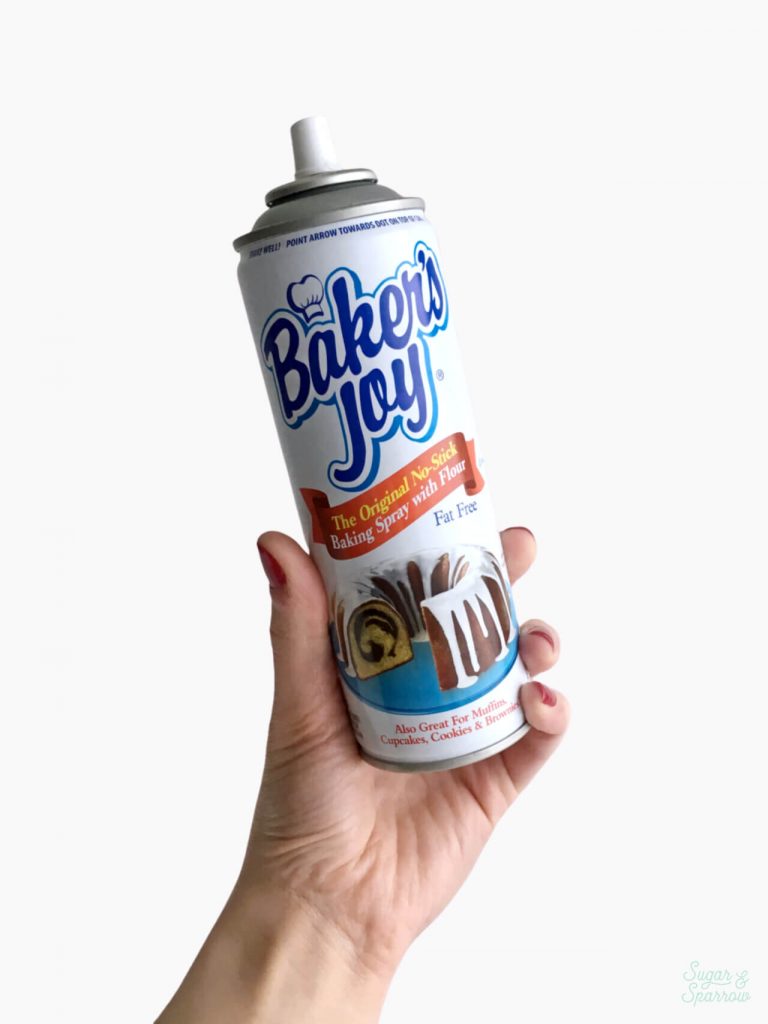
This is my go-to method because I never want to be left guessing whether or not I missed a spot on the bottom of the pan and risk the cake sticking. Having a liner there is ultra reassuring! I simply spray the sides of the pan with cooking spray (I love Baker’s Joy for this) and fit a parchment or wax paper circle to the bottom of the pan. As an alternative to a spray, you could also use vegetable oil or butter to grease the sides.

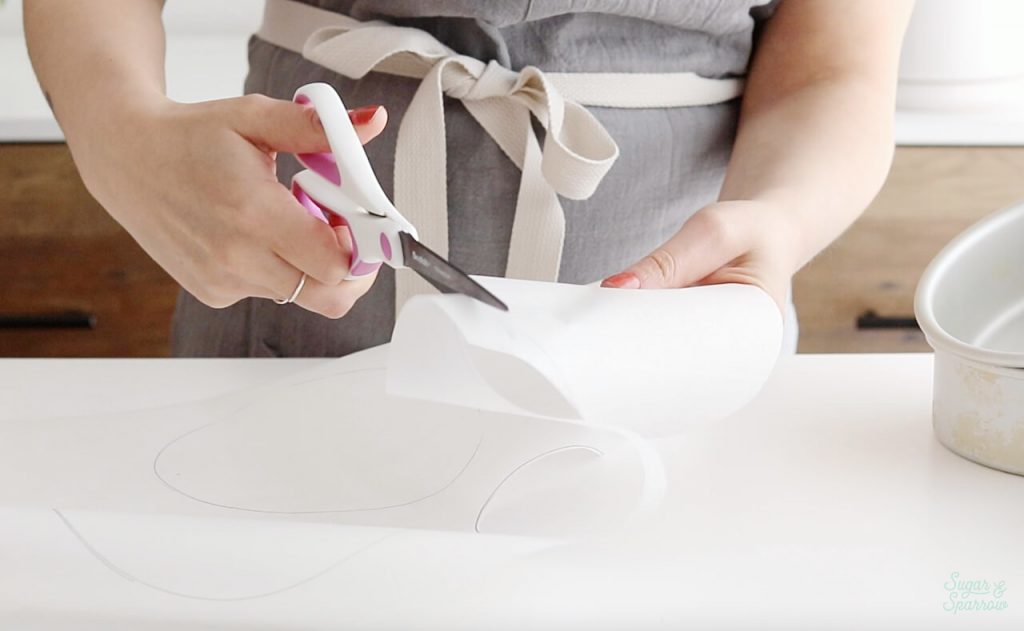
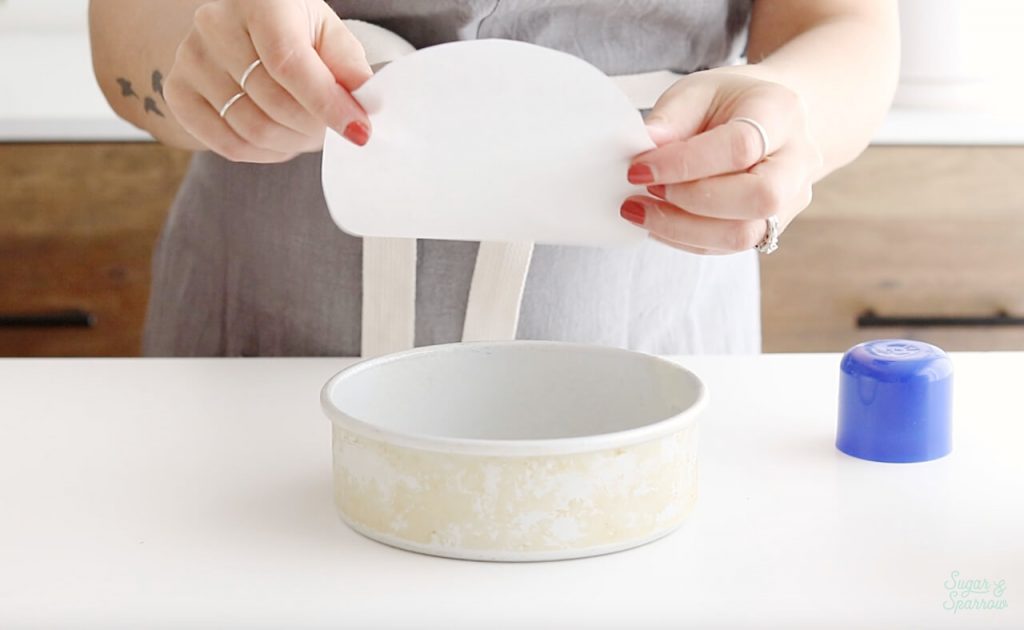
For making the perfect-sized liners for the bottom of your pan, simply place the empty pan on top of a sheet of parchment or wax paper, trace around it, and cut out the circle. Repeat for however many layers you’re making, and once the sides of the pan are greased you can just place the liner right in before adding batter over the top.

A note on using wax paper: This is the brand I use because it states clearly on the box that you can use it as a pan liner. Although you may think that wax would melt under a cake baking in the oven, I’ve come to learn that it’s only a problem if you have it exposed in the oven (aka baking cookies on a sheet of wax paper).
Method 2: Grease + Flour
A lot of cake recipes will ask you to grease and flour the pan, and it simply means you grease the entire pan and add about a Tbsp of flour into it afterwards. Shake that flour around until it coats the sides and bottom of the pan.

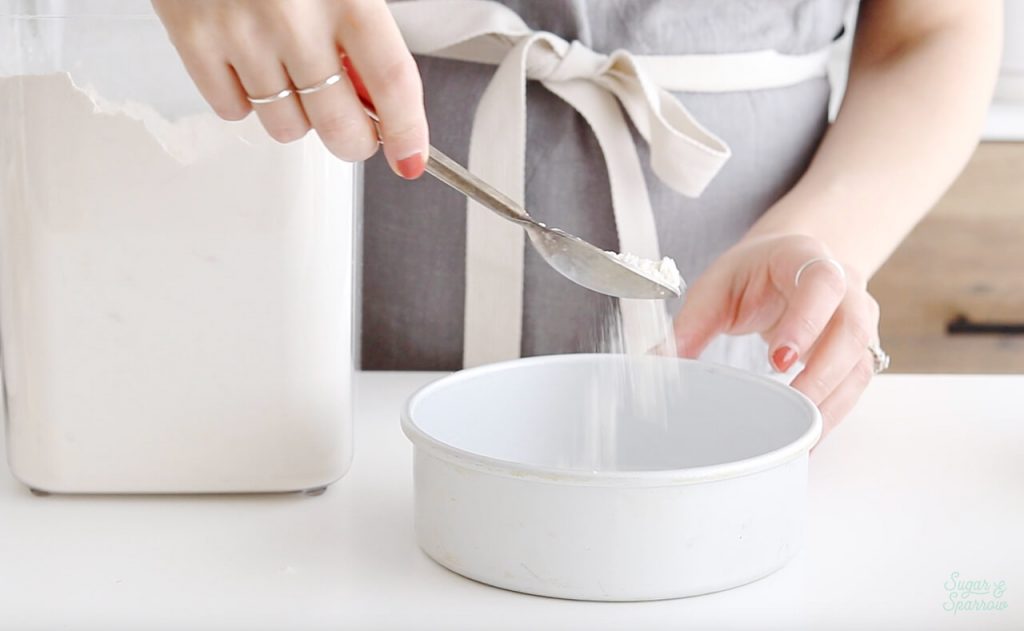

For the grease part of this method, you can use vegetable oil or butter and spread it evenly with a paper towel. And for the flour part, unless a recipe states otherwise, all-purpose flour is recommended.
Method 3: Grease Only
This is the riskiest of the three since there’s no extra protection like there is with a pan liner or coating of flour, but I want to mention it because some bakers don’t see a need for that added protection. I will say that using a cooking spray like Baker’s Joy is your best bet if you’re going with this method, as the spray contains flour. Alternatively you can try vegetable oil or butter.
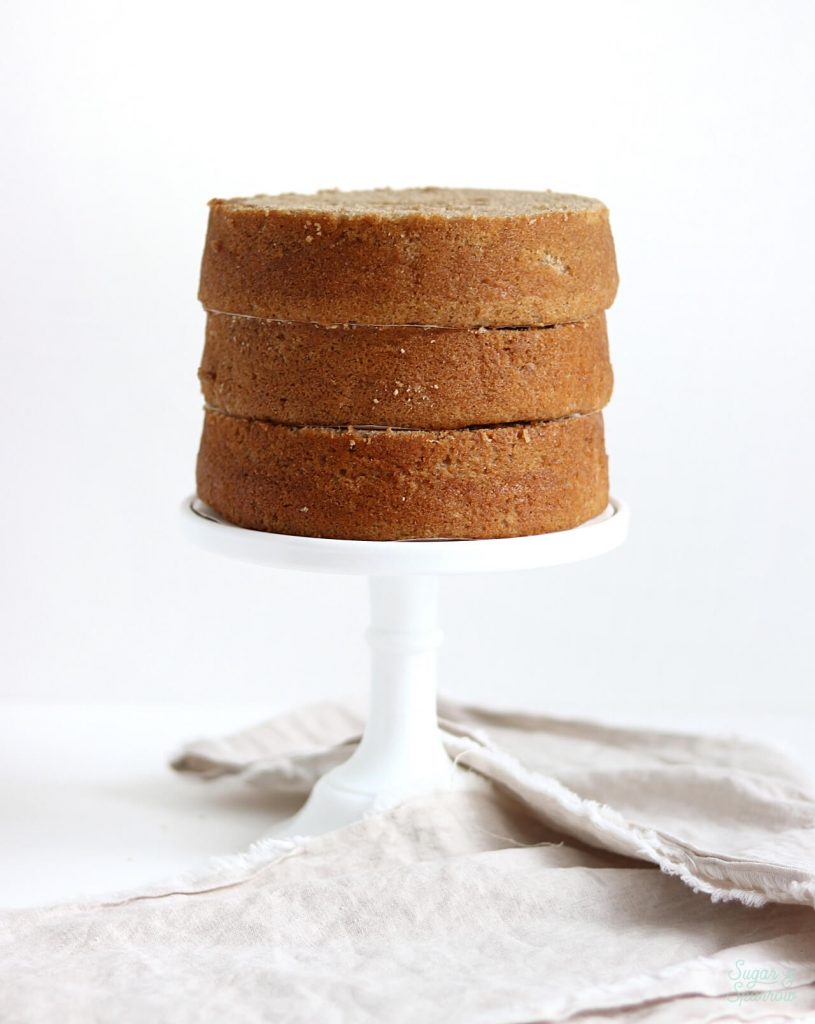
Whichever method you go with, be sure to fill your pans with cake batter to the specified amount in a recipe. Some recipes will tell you to divide the batter evenly, while others will state to fill the pans no more than ½ or ⅔ of the way full. This is because pan heights can differ – while one 6-inch pan might have sides that are 2 inches tall, another might have sides that are shorter or taller than that. Following the pan filling instructions will help prevent you from overfilling the cakes.
Releasing Cakes From Pans
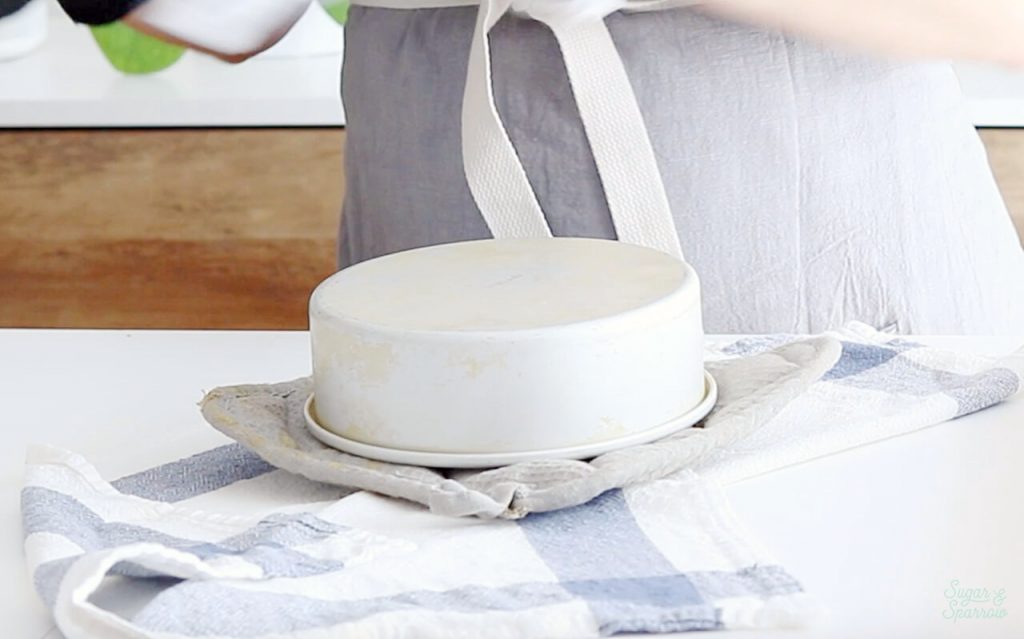
After your cakes are baked, be sure to cool them in the pan for about 5 minutes. Any longer than this and the sides of the cake will start to shrink away from the heat of the pan.
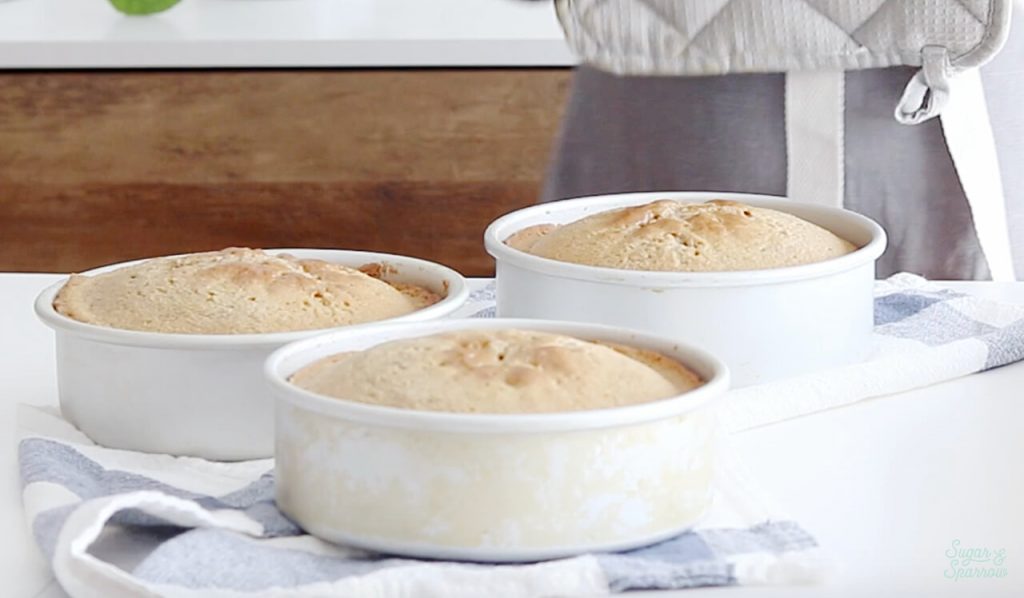
Afterwards, I place a clean oven mitt over the top of the cake, turn the whole pan upside down, and slide the pan upwards to release the cake. Because of the cake pan prep method I use (greasing the sides with Baker’s Joy + lining the bottom with a parchment paper circle), the cakes release really easily. If you find that the cake isn’t releasing well with your method of choice, try running a knife in between the side of the pan and the cake to release the sides, then turn the pan upside down and release it from the cake.
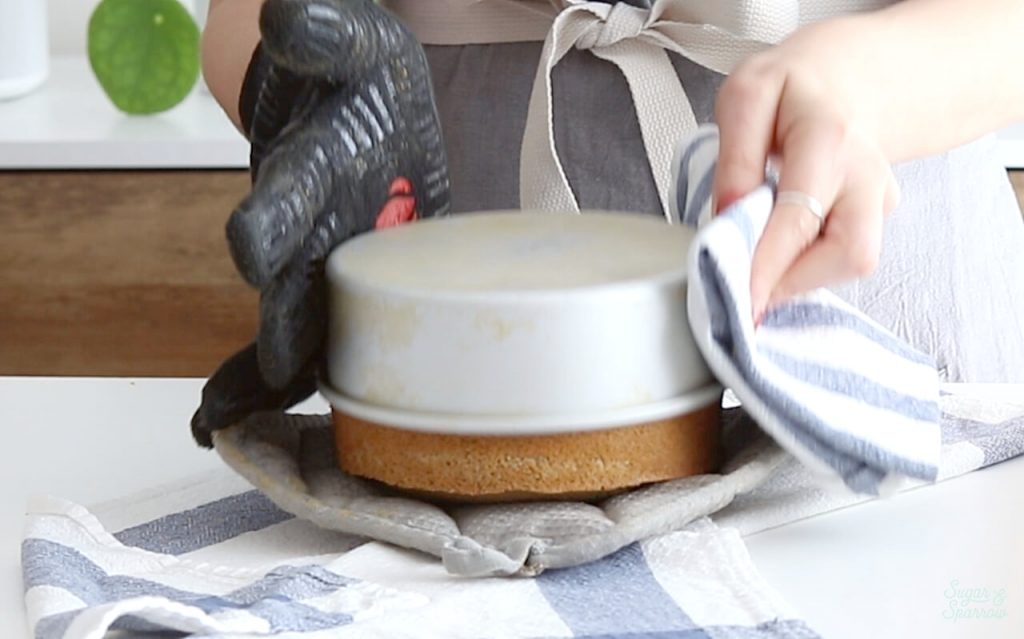
Once the cake is released I flip it right side up (be sure you’re protecting your hands throughout this entire process – cakes and pans are hot at this point) and place it onto a baking sheet to cool completely. You could alternatively use a cooling rack to place the cakes on. Just be sure to let them cool to room temperature before applying any frosting (this takes a few hours).

I don’t recommend placing warm cakes in the refrigerator or freezer to “speed up” the cooling time, just because the extreme temperature change can end up shocking the cake and creating extra condensation. Instead, either be patient with the cooling process or plan to make your cakes ahead of time, whether it’s a day ahead or a month ahead – we’ll get to that in an upcoming Cake Basics post!
Want more Cake Basics? Head here to see all of the posts and learn the methods of caking I’ve come to love over the years. I’m cheering you on every step of the way!


Do you have a metal preference on pans? I’d prefer stainless over aluminum but not sure if it affects the bake
Hi Eva! I always use anodized aluminum because it distributes the heat the most evenly of any cake pan material. That said, if you’re used to using stainless steel that should still distribute heat better than a dark colored cake pan.
This is great, thank you!
Hello Whitney, do you know of a store in Portland, or near, that regularly stocks Bakers Joy?
I love your blog and your videos are super helpful and my go-to.
Thanks : )
Hi Maimuna! I get mine at Winco!
Hey Whitney, I have been trying to find a good baking blog for a very long time and I finally found your amazing blog, it has the most delicious recipes and I can’t wait to give them a try,
I have one question, can I use margarine instead of using a block of butter?
Thank u!!!!
Yay, Aoife! I’m so happy to hear that you’re loving my blog! You can use margarine instead of butter to grease your cake pans, that is totally fine!
Hi Whitney,
I just discovered your blog and I absolutely love it! I’ve learned so much in just a few minutes.
How do you feel about silicone molds?
Thanks!
Thank you so much, Frances! I’m so happy to hear that my blog has been helpful! I use silicone molds all the time for making decorations out of chocolate, candy melts, fondant, and gumpaste. I have yet to try baking anything or assembling a cake in a silicone mold though!
Wow, this is incredibly helpful. Everything I’ve read online says to put them in the fridge or freezer, to speed up the cooling process. And like you said, it shrinks the cakes. I’m mind blown because that definitely happens to me! I will now try releasing them 5 minutes after. Thank you!
Yay, Marissa! So happy these tips are helping!
Thank you for sharing this. This was really helpful. Looking forward for more tips 🙂
Yay, Uz! Excited to share more and happy to hear this tutorial was helpful!