• Cake
  • Frosting
  • YouTube
  • My Favorite Tools
  • Nav Social Icons

  • Skip to primary navigation
  • Skip to main content
  • Skip to primary sidebar
  • Skip to footer
  • Recipes
    • Cake
    • Cupcakes
    • Frosting
    • Ice Cream
    • Vegan
  • Cake Basics
  • Tutorials
  • Blog
  • About
  • Mobile Menu Widgets

    Connect

    Search

Sugar & Sparrow logo in script font

Sugar & Sparrow

Lifestyle and Cake from Portland Oregon

  • Cake Basics
  • Recipes
    • Cake
    • Cupcakes
    • Cookies & Bars
    • Filling
    • Frosting
    • Ice Cream
    • No-Bake
    • Small Batch
    • Vegan
  • Tutorials
  • Book
  • Blog
  • About

White Chocolate Ganache Drip Cake Recipe + Tips [Video Included!]

February 3, 2022 · In: Decorations & Garnishes, Recipes, Tutorials

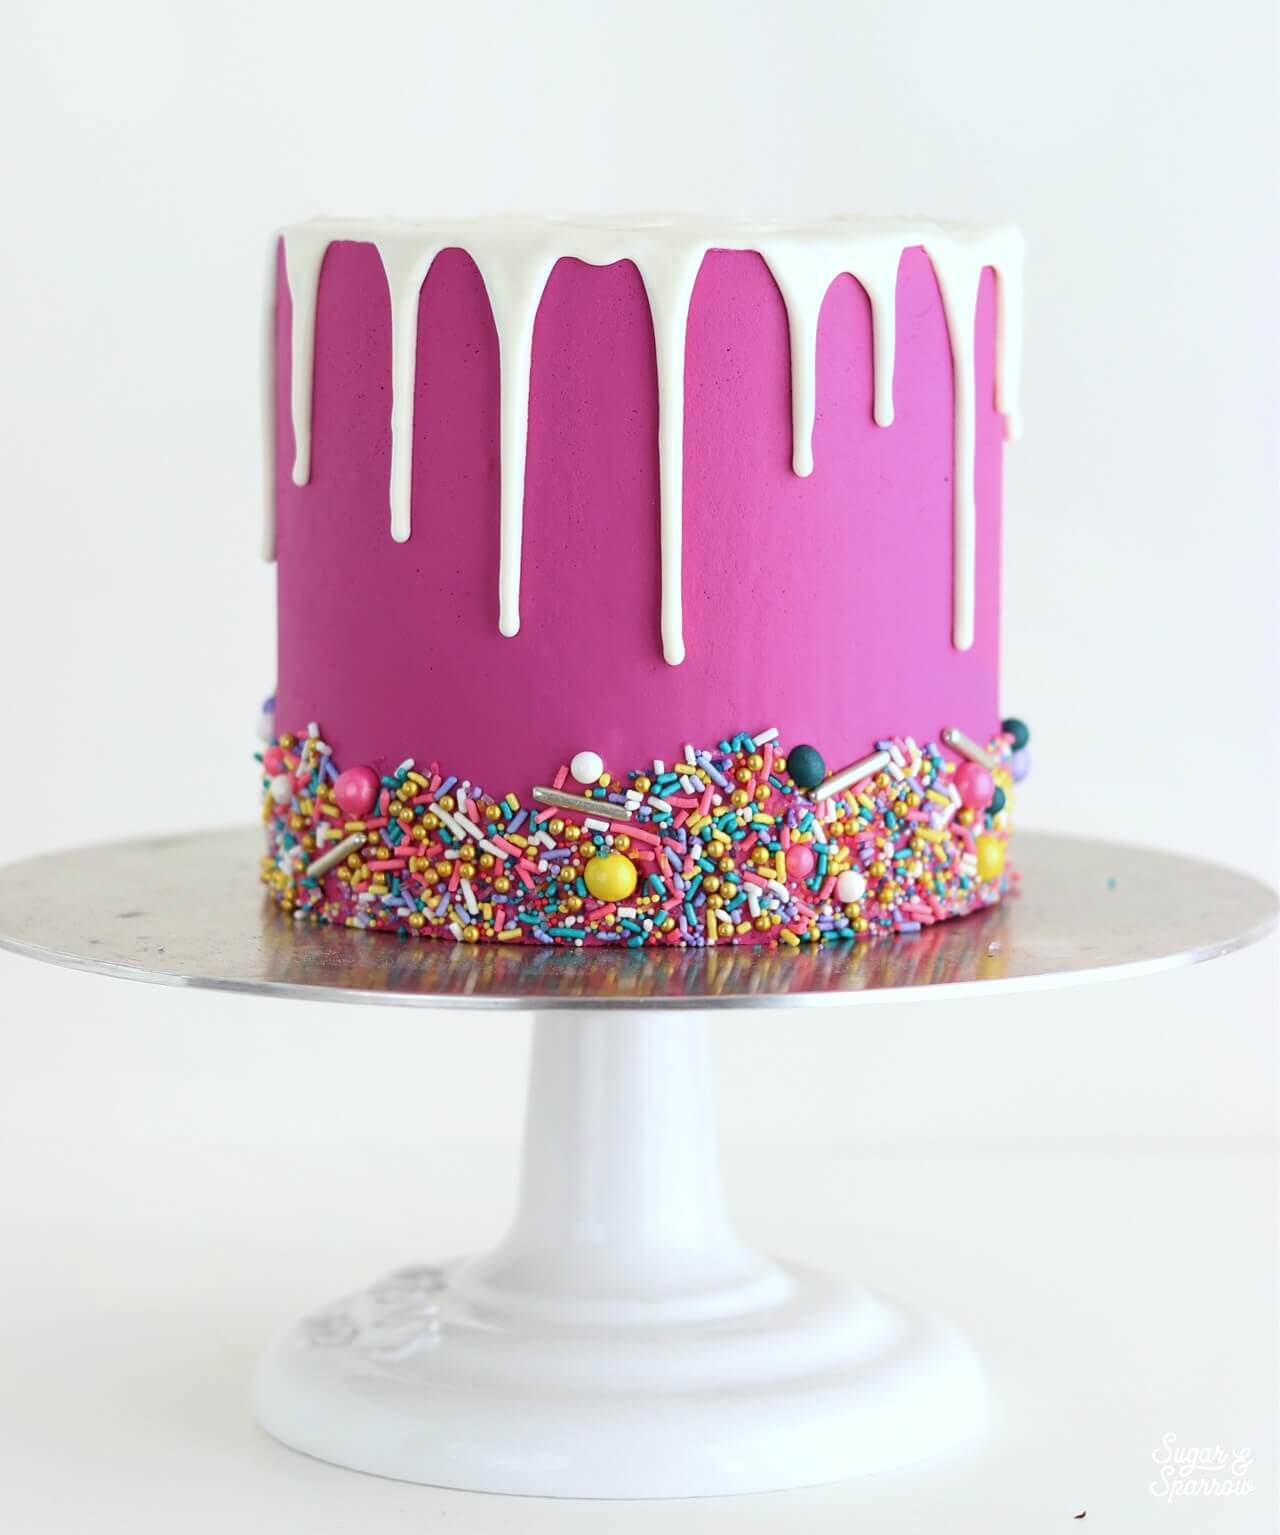
Ever since I shared this recipe and tutorial for semi-sweet chocolate ganache drip cakes, I’ve gotten so many questions about making white chocolate ganache drip cakes. I’m so excited to share these tips with you because I know how finicky white chocolate ganache can be if you don’t get the ratio and timing just right. In fact, the first time I made it (using a super popular recipe that won’t be named) the ganache was so thin and runny that the drips just ran down the side of the cake and pooled at the bottom, even after cooling it to below room temperature! I have since experimented with white chocolate ganache to find the perfect ratio of chocolate to heavy whipping cream, and have found some handy tips for making it extra white and beautiful.
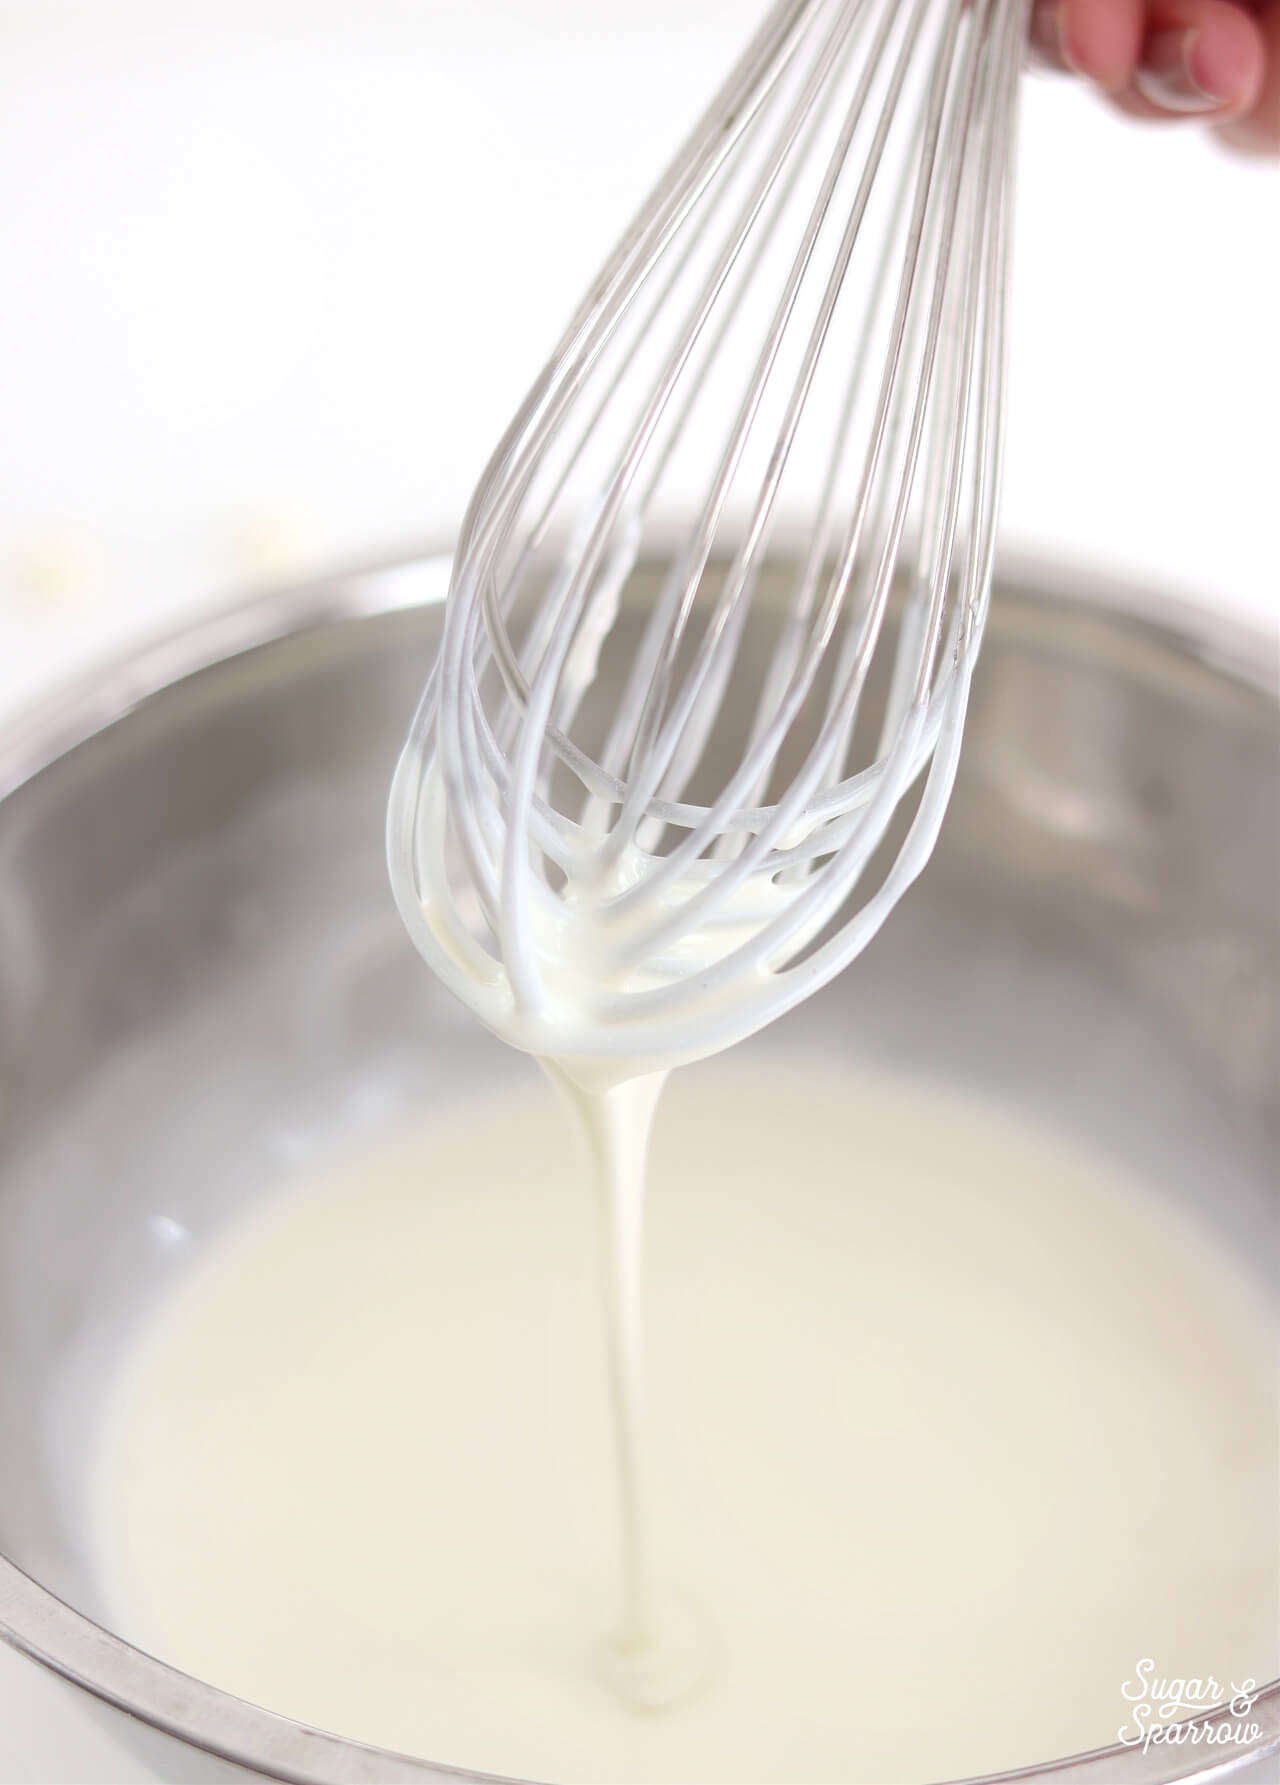
white chocolate ganache recipe by sugar and sparrow

The first thing you need to know about white chocolate is that it’s not a true chocolate, meaning there’s a lack of chocolate solids and therefore doesn’t behave the same as semi-sweet, milk, or dark chocolate. Instead, it’s made from a mixture of sugar, cocoa butter, milk products, vanilla, and some sort of fatty substance called lecithin. Although I’ve never tried making white chocolate ganache with anything fancier than Hershey’s white chocolate chips, you can feel free to go as branded or non-branded as you want. Generic white chocolate chips or a white chocolate bar chopped into small pieces will work just fine.
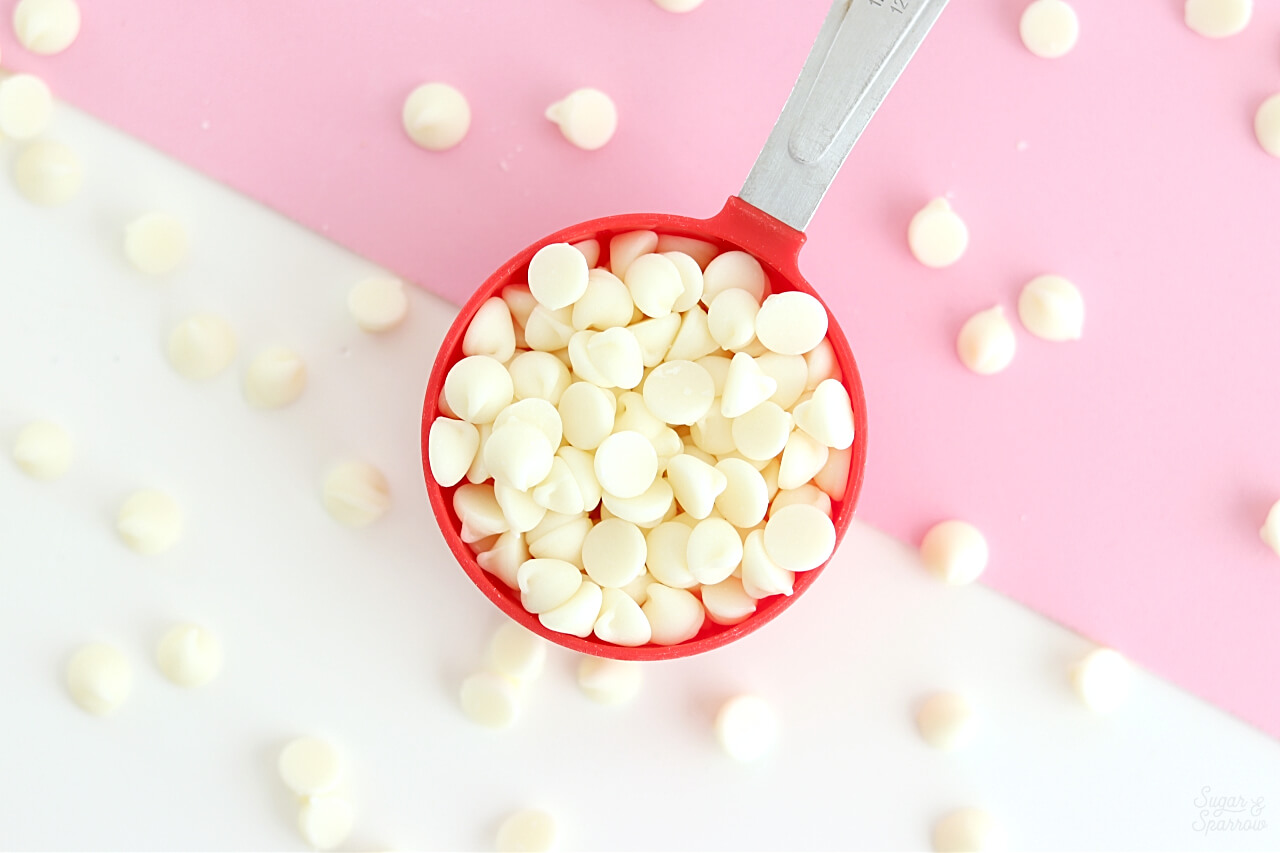
white chocolate chips ganache recipe

With the absence of chocolate solids, the ratio of heavy whipping cream to white chocolate chips is going to be different than other ganache recipes. I’ve found a 3:1 ratio to be absolutely perfect (exact recipe below), meaning three parts chocolate to one part heavy whipping cream. Just bring the cream to an almost-boil, pour it over the white chocolate chips, whisk it together until it’s uniform, and you’re good.

Here’s a detailed video of the recipe, and you can continue reading below for all of my tips on working with white chocolate ganache:

If you have yet to check out my YouTube channel, head there to see more cake recipe videos, decorating tutorials, and my entire Cake Basics series in video format. Hit the subscribe button while you’re there so you never miss a new video!
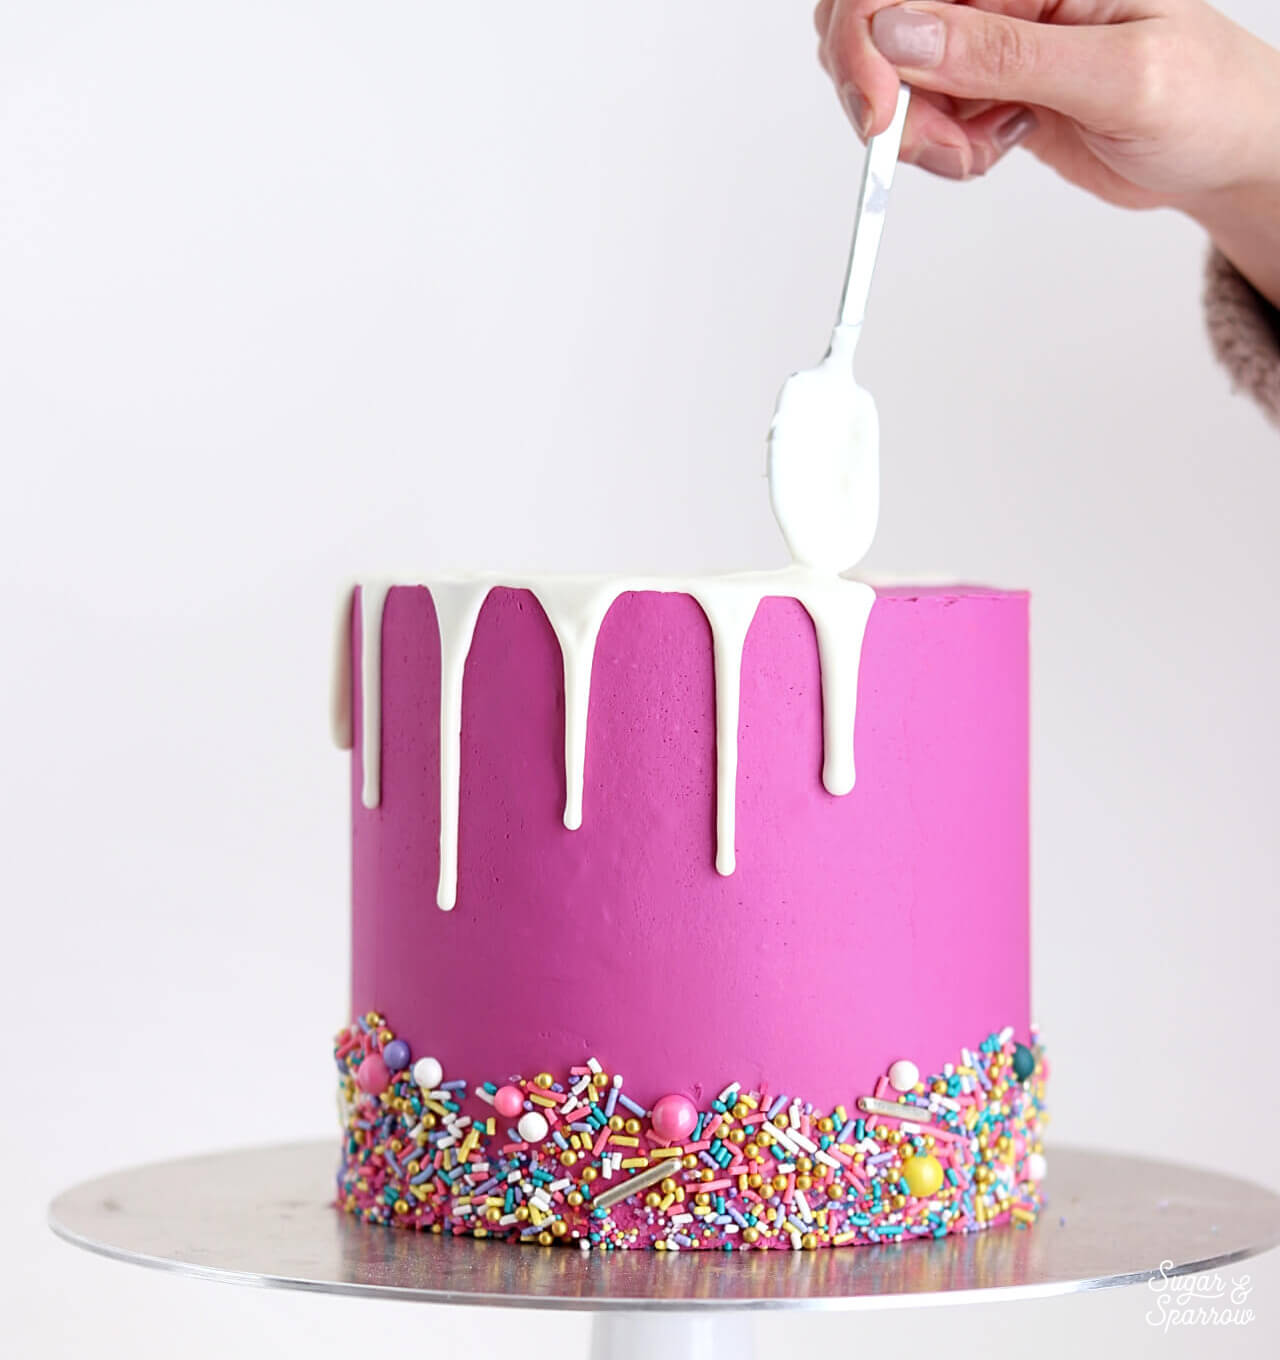
drip cake tutorial by sugar and sparrow

White Chocolate Ganache For Drip Cakes

4.60 from 27 votes
The perfect white chocolate ganache ratio for creating drip cakes. 
Print Recipe Pin Recipe
Servings: 1 cup

Ingredients

  • 1 Cup (190g) white chocolate chips or bar, chopped into bits
  • 1/3 Cup (80ml) heavy whipping cream
  • 1/2 tsp food color gel or whitening gel (optional)

Instructions

  • Chop the white chocolate chips or bar as finely as you can and place it into a heat resistant bowl (glass or metal).
  • In a saucepan over medium-high heat, warm heavy whipping cream until it just starts to simmer, whisking constantly. I always look for small bubbles forming around the edge and a soft boil starting in the middle. When it reaches this stage, pour the cream over the white chocolate. 
  • Whisk together until the ganache is uniform in consistency and there are no bits of chocolate left on your whisk. It can help to hold the bowl over the residual heat from the burner (once it's turned off) if you're having a hard time whisking everything together.
  • Whiten or color the ganache (optional), then cool ganache at room temperature for anywhere from 5-20 minutes (depending on your kitchen environment), or until the ganache itself is slightly above room temperature. See the instructions for dripping a cake with white chocolate ganache + troubleshooting tips in the rest of this blog post below.

Notes

Make Ahead Tips: this ganache can be made ahead and stored in an airtight container in the refrigerator for up to two weeks. When you’re ready to use it, microwave it in 10 second increments, stirring after every interval until your ganache is room temperature and uniform in consistency.

Tip 1: Whiten Your Ganache If It’s Too Yellow

The thing about white chocolate chips is that they aren’t exactly as white in color as they seem to be. To whiten the ganache, I swear by Americolor Bright White food color gel. It works like a dream every time, and you only need about half a teaspoon per batch of white chocolate ganache to get a perfectly bright white.
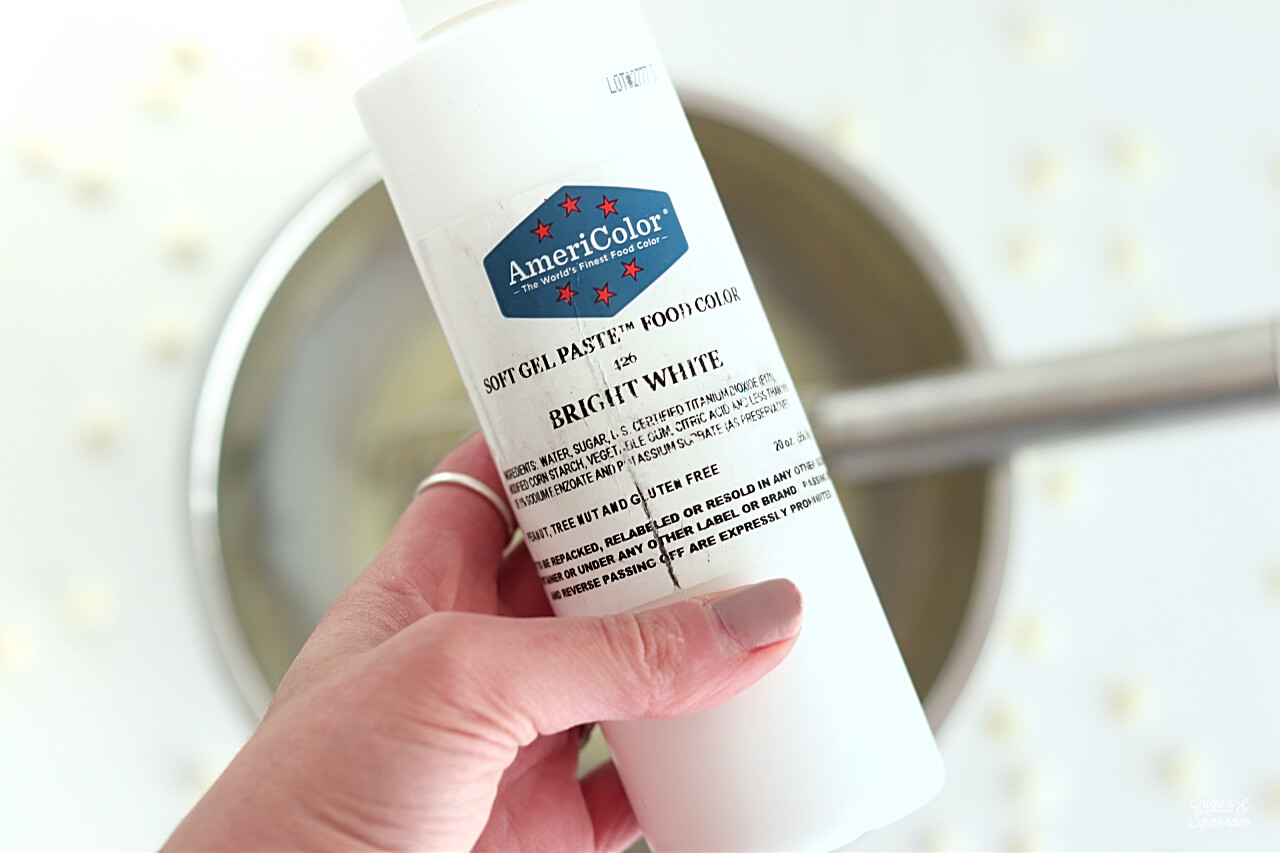
how to whiten ganache

Some bakers like to use white candy melts in place of white chocolate chips to make white ganache, but I don’t like the taste of candy melts. So the whitening method is my favorite option.

Tip 2: Be Patient With The Cooling Process

Once you’ve whisked the ganache together, it’s crucial to let it cool on your countertop until it’s room temperature, about 20-30 minutes depending on how cold your environment is. Trying to speed up this process by placing ganache in the refrigerator doesn’t usually end well – I’ve found that it cools unevenly, leading to thick, globby drips.
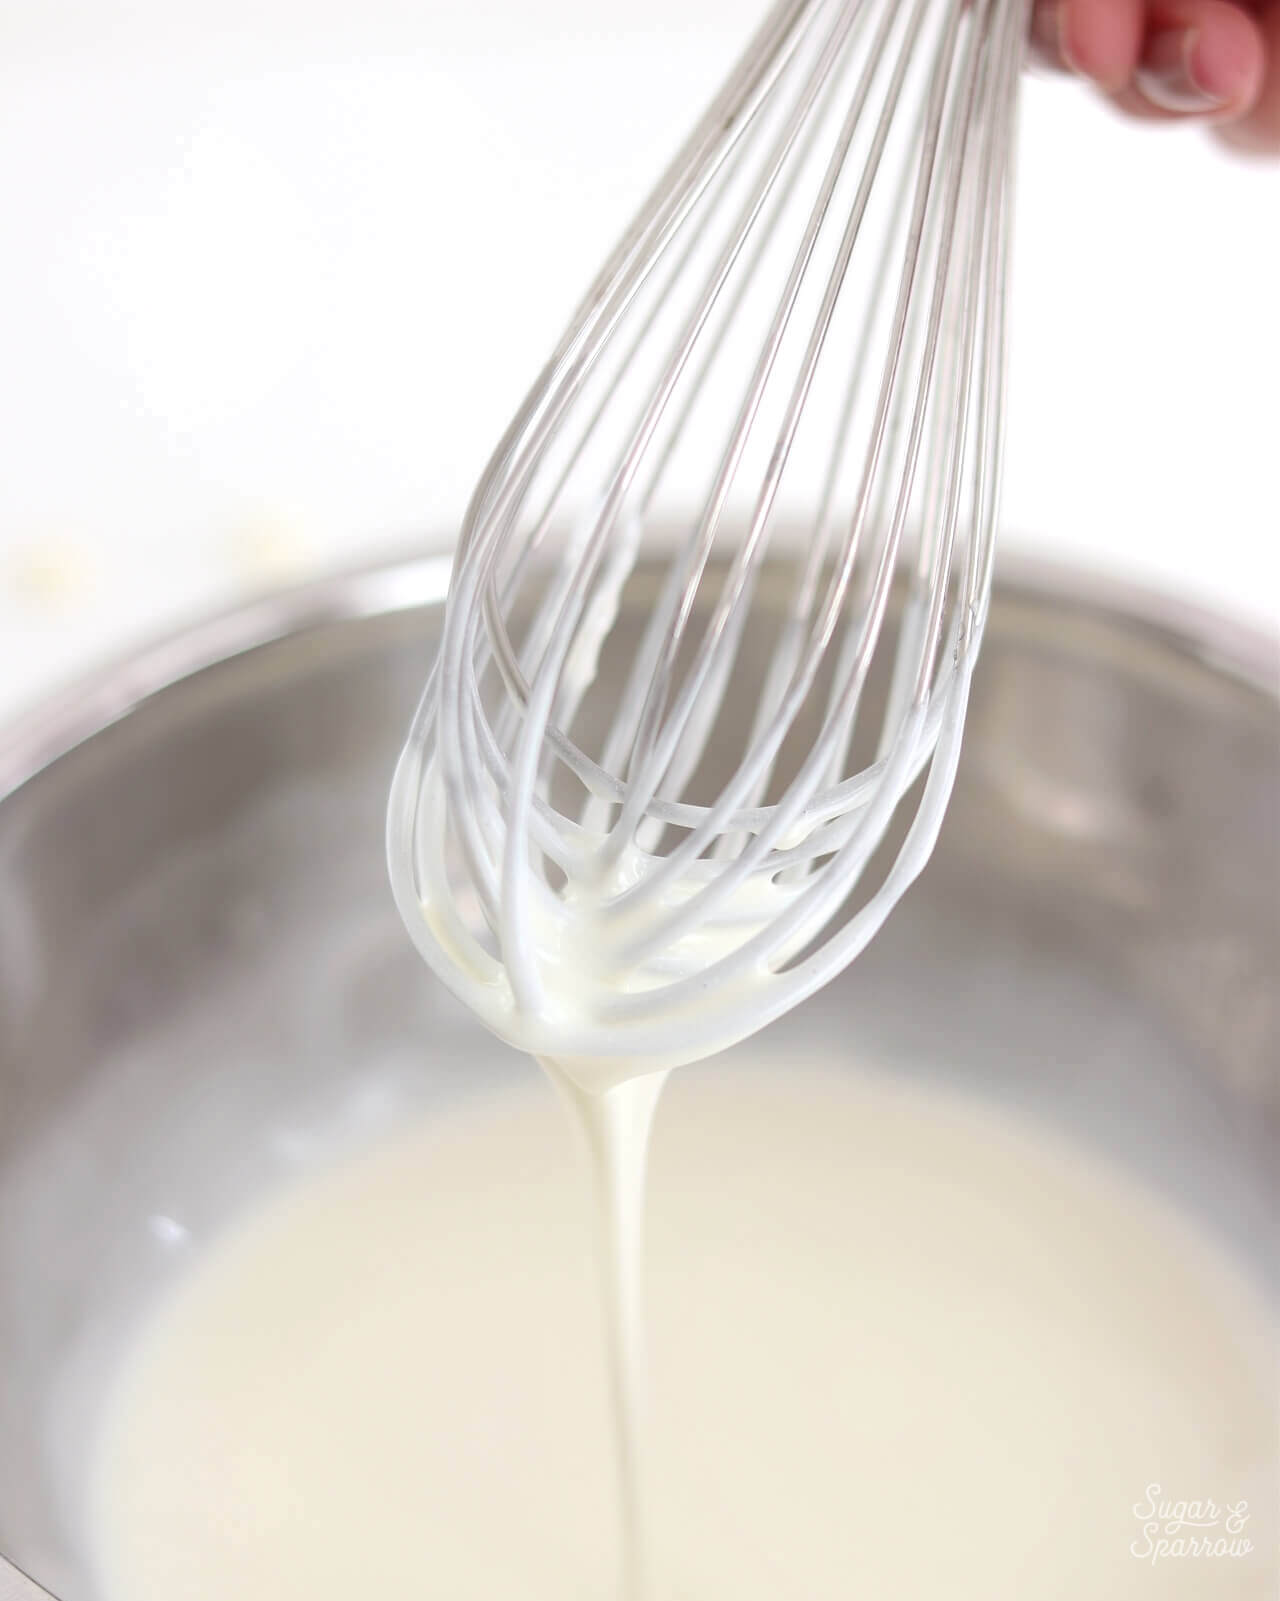
white chocolate ganache temperature

Cooling in the fridge also leads to the urge to stir it too often. Ganache (especially white chocolate!) does not like to be stirred too often, and the end result can mean that your whipping cream starts to separate from the chocolate. You’ll know that this has happened because the ganache will look grainy and dull, or even separated like oil and water. To fix situations like these, you’ll need to reheat the ganache to 92ºF to melt the fat crystals and re-whisk to bring it back together.  

Tip 3: Chill Your Buttercream

There’s a science to this tip. Since molecules move more slowly at cooler temperatures (and warp speed at higher temperatures), it makes a lot of sense that you can better control how far the white chocolate ganache drips when the buttercream is chilled. Make sure that after you do your final coat of buttercream, you chill the cake in the refrigerator for at least 30 minutes.

Tip 4: Start With A Test Drip

When your buttercream is nice and chilled, do a test drip by letting the ganache run down the side of your cake. If it travels rapidly and pools at the bottom, your ganache is too warm. Continue to cool the ganache for another 5-10 minutes and try your test drip again. If it’s globby or doesn’t travel very far down the side of the cake, it’s too cold. Reheat the ganache in the microwave for about 10 seconds, stir, and try again. Repeat the reheating process as needed until you get the perfect consistency.
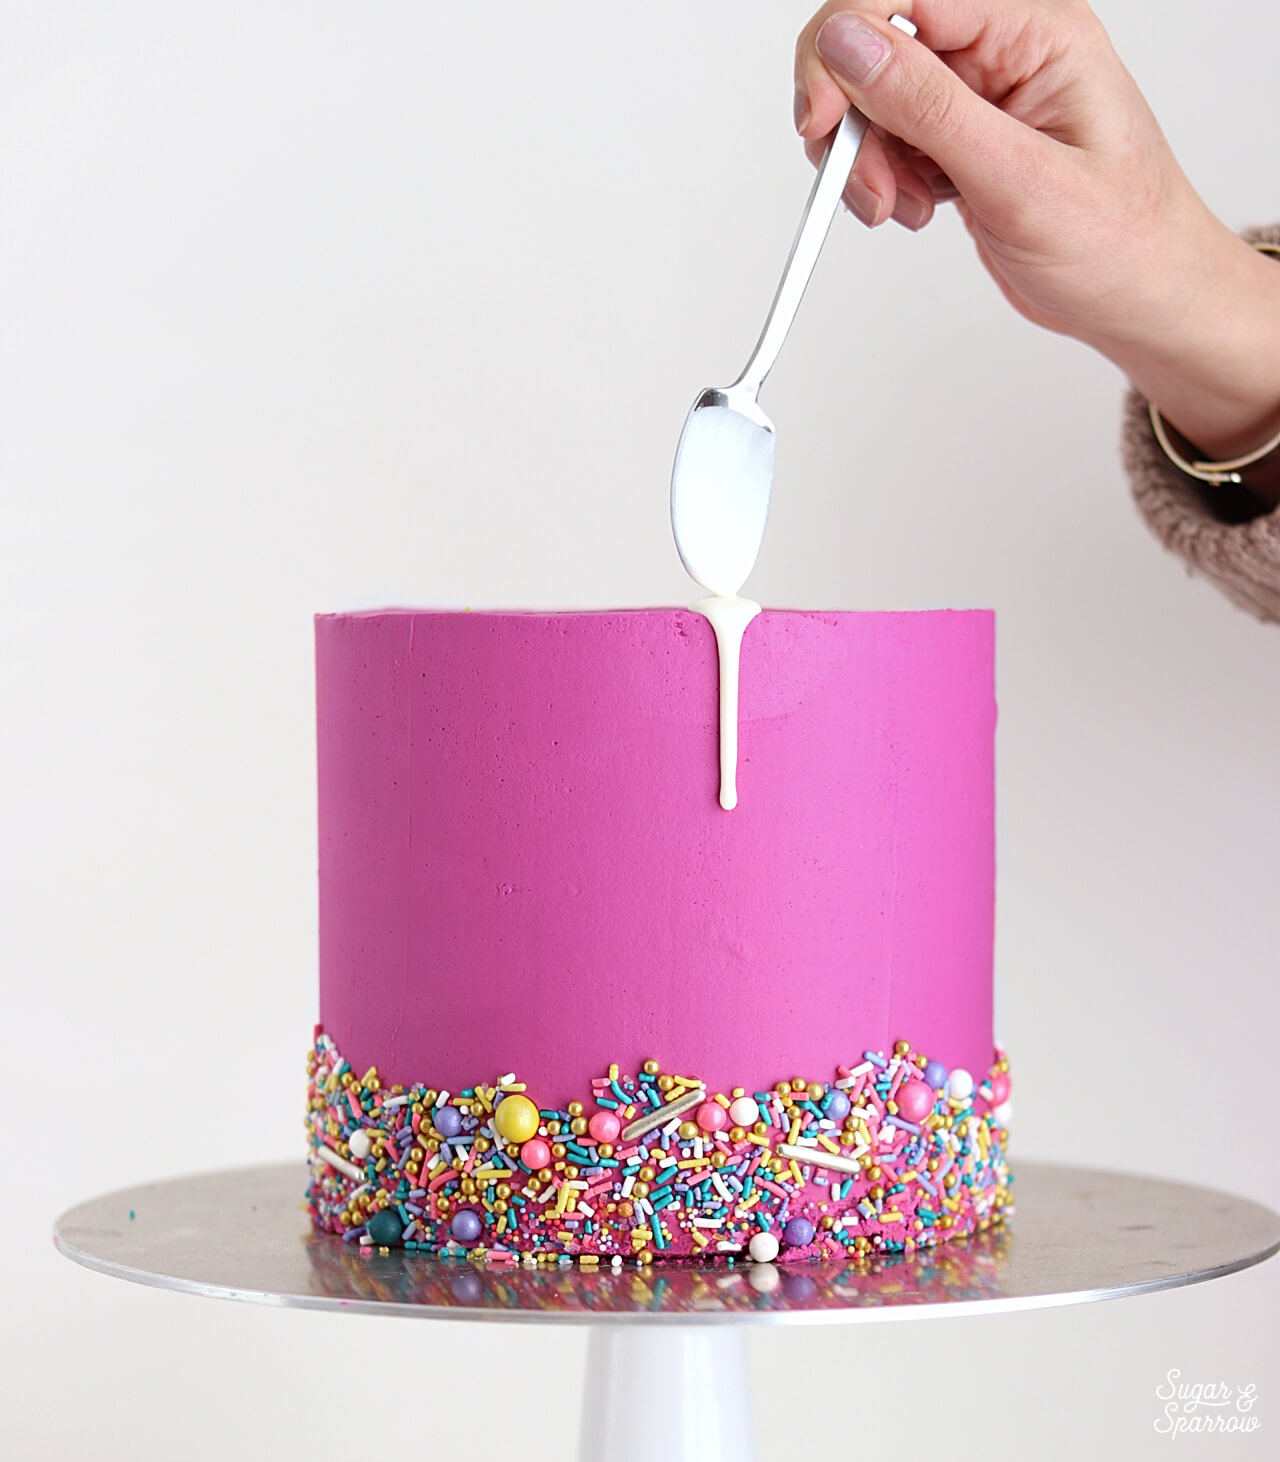
how to drip cake with white chocolate ganache

The good thing about a test drip is you’re able to see how the ganache will behave. That way you don’t have to commit until you like what you’re seeing.

Tip 5: Drip The Sides Before Filling In The Top

Whether you’re using a spoon to create drips (like I am!) or you’re into the squeeze bottle method, it’s best to drip the sides of the cake before filling in the top. Although it might be tempting to just dump all of the ganache on the top of the cake and let the drips fall where they may, you’ll have more control over the length of each drip by starting with the sides (after a successful test drip of course).
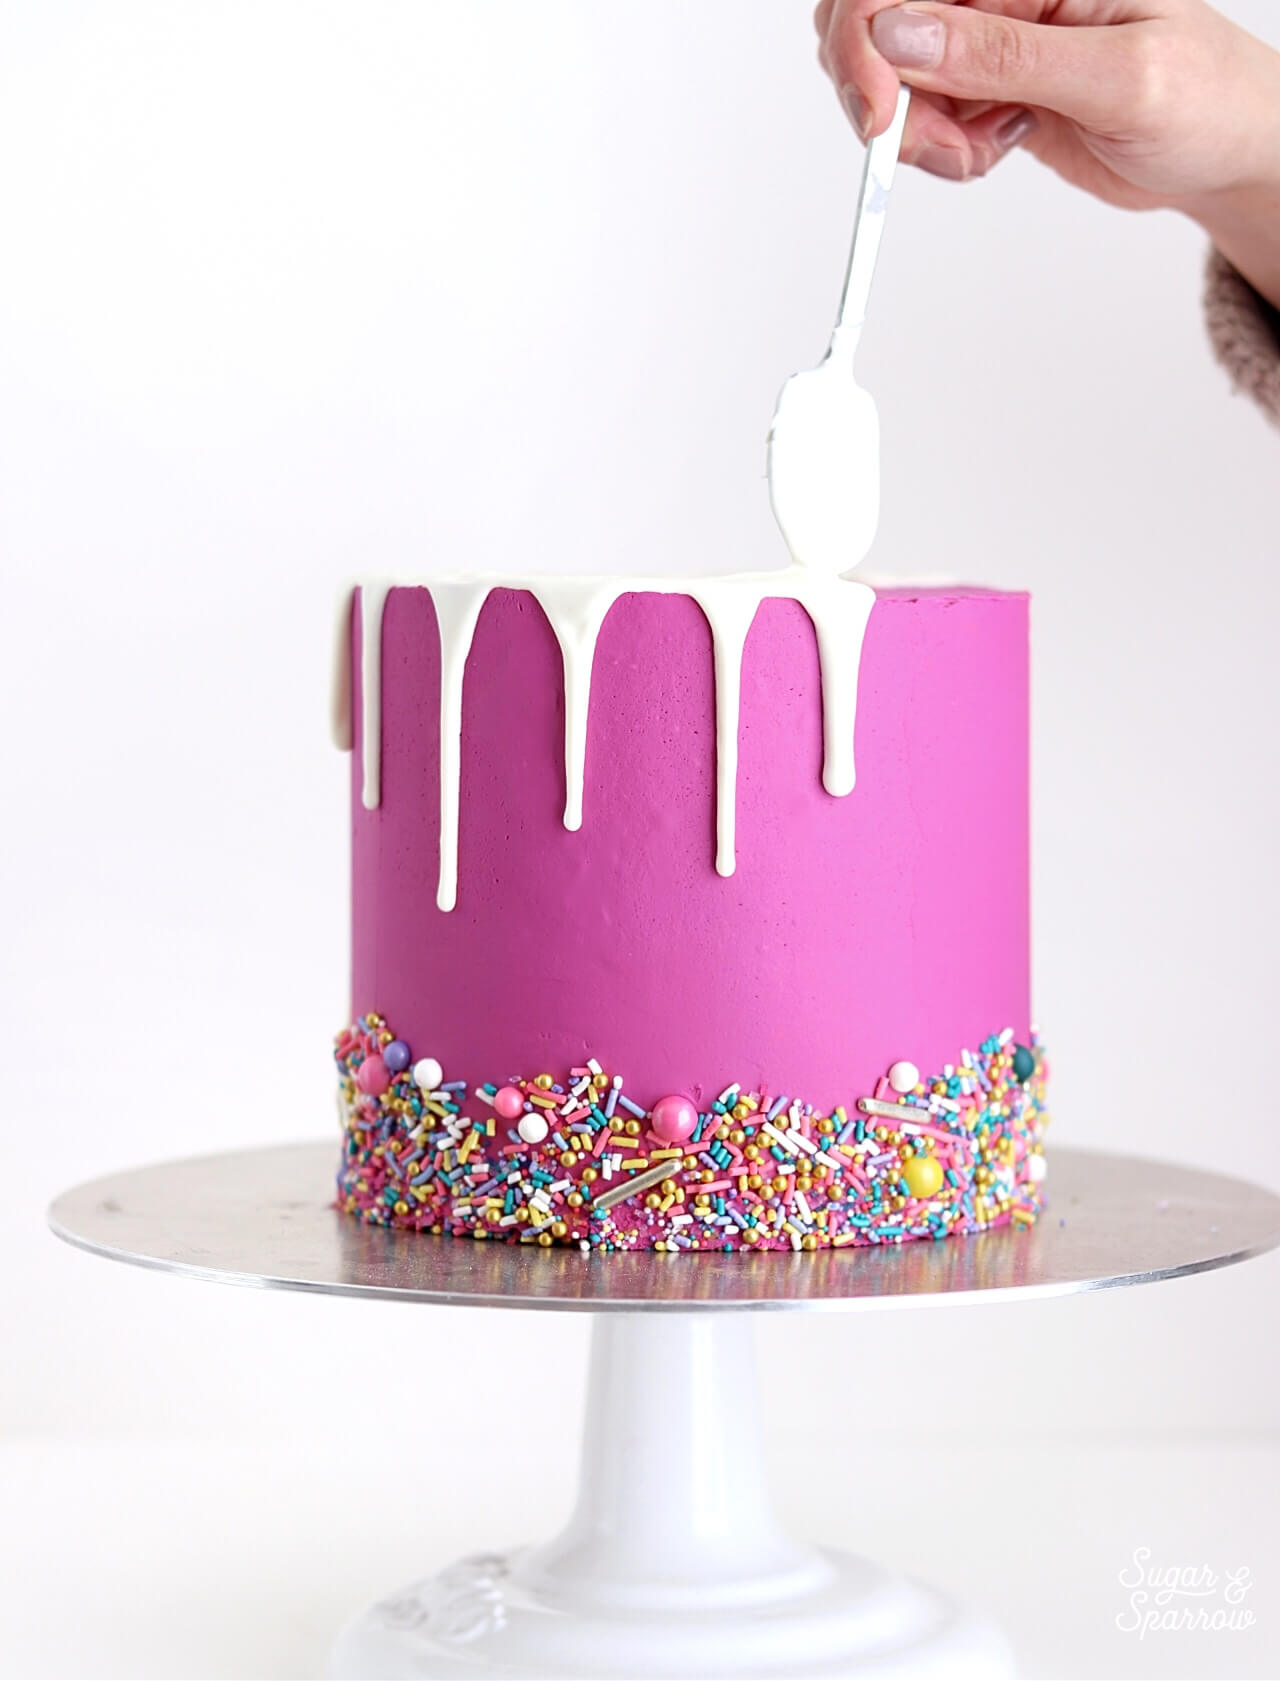
white chocolate ganache drip cake tutorial

Try not to add too much ganache to the top when filling it in, because if you add any more to the drips you’ve created, it will make them travel farther than you’d like. Instead, try to use just a little ganache and spread it so that it just touches where your drips begin. The ganache on the top should self-level a bit, so don’t worry too much about getting it super smooth.
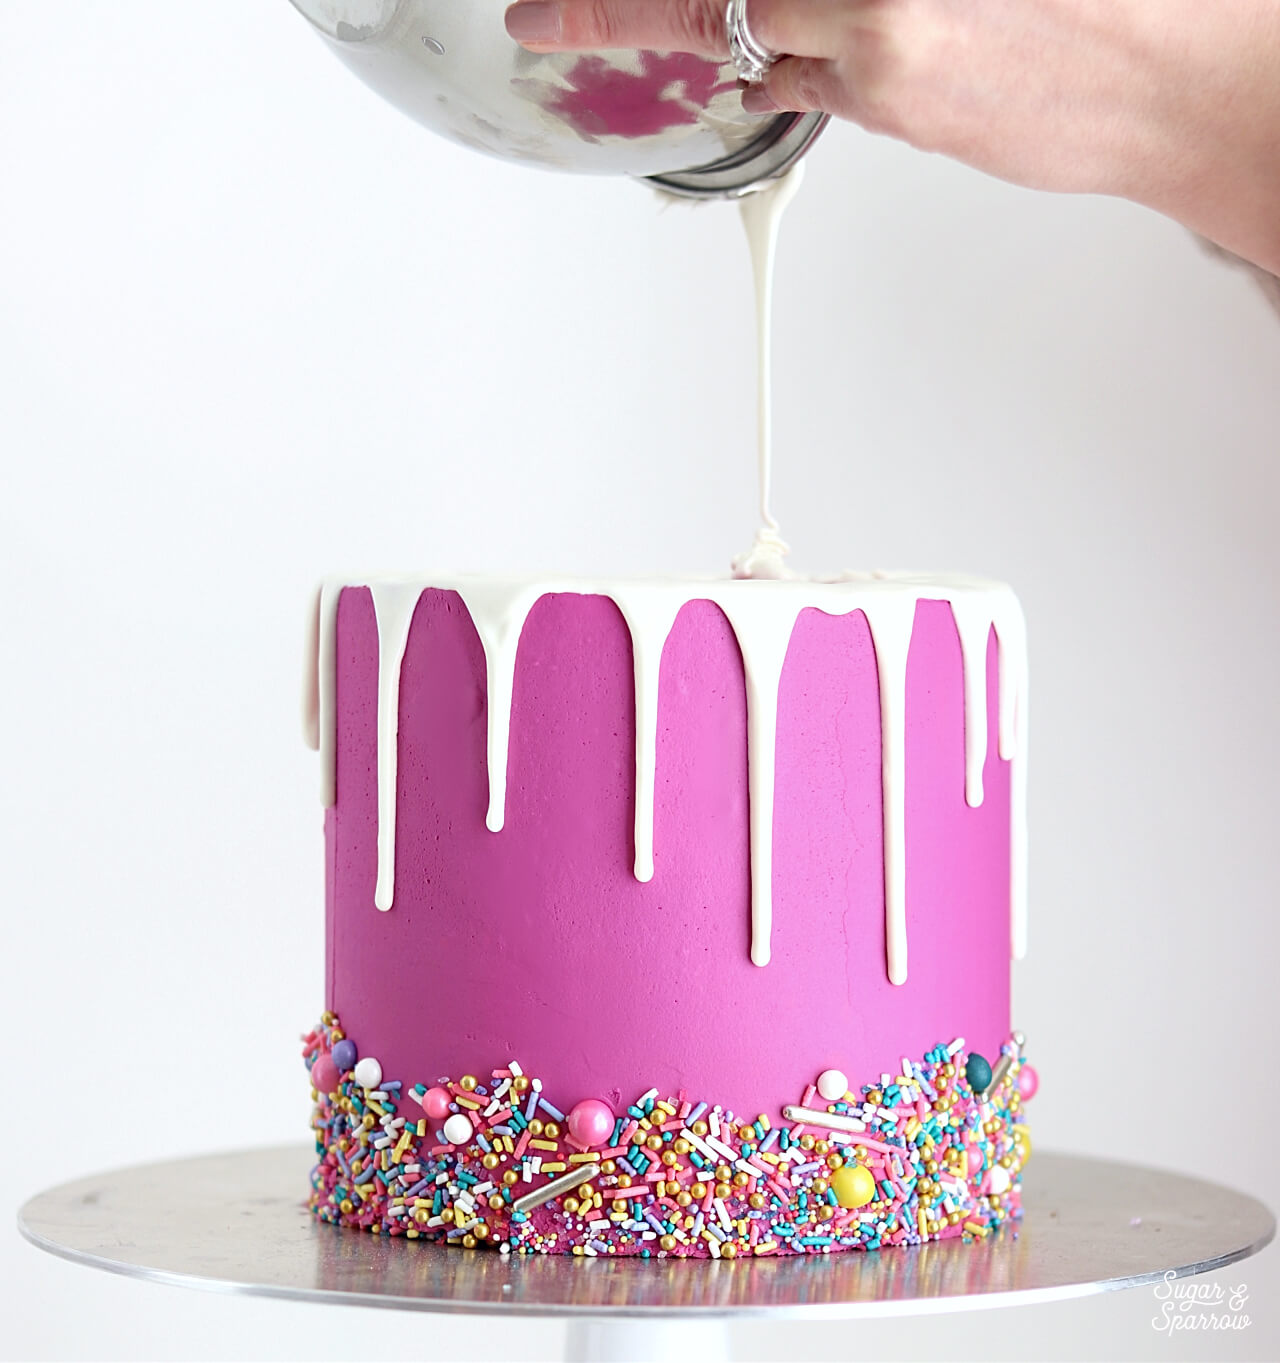
white chocolate ganache drip cake tutorial

And there you have it – everything I know about dripping cakes with white chocolate ganache. It’s a really good skill to have in your cake decorating repertoire, especially with how versatile white chocolate ganache can be color-wise. Adding a little food color gel can turn it any vibrant color of the rainbow! And whether you keep it white or color it up, I promise it’ll taste a million times better than candy melts.
white chocolate ganache recipe

Is there anything else you’d like to know about drip cakes? I’m certainly not an expert per se, but if you have more questions, let me know in the comments below and I’ll do my best to answer!


By: Whitney · In: Decorations & Garnishes, Recipes, Tutorials · Tagged: cake decorating, cake ideas, cake tutorial, drip cake tips, drip cake tutorial, how to make ganache, sugar and sparrow, white chocolate, white chocolate ganache, white chocolate ganache drip cake

you’ll also love

the best vanilla cupcakes recipeThe Perfect Vanilla Cupcake Recipe
pumpkin layer cake recipe by sugar and sparrowPerfect Pumpkin Layer Cake Recipe
oreo cookies and cream cakeOreo Layer Cake Recipe

Join the List

Stay up to date & receive the latest posts in your inbox.

Reader Interactions

Comments

  1. Marley says

    May 21, 2026 at 3:50 am

    Hi! Was just checking to see if I would be able to use white chocolate almond bark and get the same results?

    Reply
    • Whitney says

      May 21, 2026 at 10:13 am

      Hi Marley! I’m not sure, it would be an experiment to get the ratio right and you’d have chunks of almond in the ganache. But if you want to try that I’d start with the ratios for chocolate and cream in this recipe and add more cream if you need to thin it.

      Reply
  2. Debbie says

    February 8, 2025 at 7:40 pm

    HI, I know that this is an old post by now, but it just came up in my search results. I am confused because the text says a 3:1 ratio but the recipe says 190 g of chocolate to 80 ml of cream. That is not 3:1. Wouldn’t it be 63 ml of cream (190/3=63). The ratios make sense if you’re using cups but I only use metric measurements, because “one cup of white chocolate” is so arbitrary and will be different for different kinds of choc and different people’s methods of measuring. Also, I am trying to half the recipe and I can’t do that with the metric measurements being off-base.
    Just wondering if you’ve encountered this before.

    Reply
    • Whitney says

      February 8, 2025 at 9:37 pm

      Hi Debbie! It’s 3:1 ratio by volume, not weight. So if you’re measuring by weight, go with the metric measurements. The chocolate is measured by weight in grams (also by volume in Cups), and the cream is measured by volume in ml.

      Reply
  3. Marilou says

    December 1, 2023 at 12:32 am

    This was so well explained an awesome tutorial! Thank you very much for sharing your knowledge!

    Reply
  4. Sharon Collins says

    October 17, 2023 at 10:41 am

    The grocery store was out of whipping cream…can you substitute 1/2 & 1/2?

    Reply
    • Whitney says

      October 17, 2023 at 2:04 pm

      Hi Sharon! I’ve never tried that before so I’m not sure what the results will be, but feel free to experiment! After a quick Google search it looks like it’s possible with an equal amount of half and half. I just wonder about the final consistency without the additional fat that you’d get from heavy whipping cream.

      Reply
  5. Analia says

    September 29, 2023 at 12:38 pm

    Buen articulo . Gracias por compartirlo. Saludos!

    Reply
  6. Maggie says

    March 25, 2023 at 8:08 am

    This works pretty well. Altho I’m not mathematician, but 190:80 is not a 3:1 ratio. Not sure if that was a typo or if you added a smidgen more cream to thin it out a little. But just thought I’d point that out cuz i almost did it wrong the first time.

    Reply
    • Whitney says

      March 28, 2023 at 7:09 pm

      I’m glad it worked well, Maggie! The ratio is by volume, not weight (1 Cup of chocolate to 1/3 Cup heavy whipping cream). 190g is a weight measurement and 80ml is a volume measurement, so you need to go by the Cups/volume measurement to get the 3:1 ratio.

      Reply
  7. Paula says

    December 20, 2022 at 8:31 am

    Can I heat the heavy whipping cream in the microwave instead of the stove before adding the chocolate ?

    Reply
    • Whitney says

      December 23, 2022 at 9:42 am

      Hi Paula! I’ve never tried that before but I bet it would work as long as you can heat it to simmering.

      Reply
« Older Comments

Leave a Reply Cancel reply

Your email address will not be published. Required fields are marked *

Recipe Rating


Next Post >

Red Velvet Cake with Cream Cheese Frosting

Primary Sidebar

Welcome to Sugar & Sparrow

Welcome to Sugar & Sparrow

Helping you whip up pretty desserts with confidence and creativity. And hopefully sharing a few laughs with you along the way!

Learn More

Connect

let’s bake!

Get my very best recipes, baking tips, and decorating tutorials sent to your inbox

Featured Posts

yellow cake recipe with chocolate frosting and rainbow sprinkles

Yellow Cake with Chocolate Frosting (Classic Birthday Cake)

heart shaped cake tutorial

Easy Heart Shaped Cake Tutorial

no-churn cookie dough ice cream cake recipe by sugar and sparrow

The BEST Cookie Dough Ice Cream Cake

Search

Archives

Follow Along

@sugarandsparrowco

SALTED CARAMEL BUTTERCREAM ✨I could eat this salty SALTED CARAMEL BUTTERCREAM ✨I could eat this salty-sweet caramel frosting by the spoonful but it’s absolutely delicious on cakes, cupcakes, macarons, and more 🙌🏽 I use my homemade EASY salted caramel recipe here but you can use any salted caramel sauce that you love.⁣

✨Full recipe (including homemade salted caramel) + cake pairing suggestions are on my blog at https://sugarandsparrow.com/salted-caramel-buttercream-recipe/ 
⁣
SALTED CARAMEL BUTTERCREAM⁣
Yield: 2.5 Cups ⁣
⁣
INGREDIENTS⁣
1 Cup (226g) unsalted butter, room temperature⁣
3 1/2 Cups (420g) powdered sugar⁣
2 tsp vanilla extract⁣
1/2 Cup (120ml) salted caramel sauce, room temperature⁣
Pinch of salt⁣
⁣
INSTRUCTIONS:⁣
1. In a stand mixer fitted with the paddle attachment, whip the butter on high until it’s creamy and light in color, 5-6 minutes. ⁣
2. Turn the mixer to low and add the powdered sugar a few cups at a time, scraping down the bowl and paddle after each interval.⁣
3. With the mixer still on low, mix in the vanilla extract, salted caramel, and a pinch of salt. Continue mixing on low speed until fully combined. ⁣
⁣
#saltedcaramel #caramel #cakedecorating #frosting #buttercream
NO-CHURN BERRY CRISP ICE CREAM✨you don’t need any NO-CHURN BERRY CRISP ICE CREAM✨you don’t need any fancy equipment to whip up this delicious ice cream that tastes JUST like berry crisp a la mode! I layered my favorite 3-ingredient no-churn vanilla ice cream base with ribbons of homemade berry filling + buttery oat streusel in every bite. Even if you’ve never made ice cream from scratch before, I promise you can master this recipe!! 
 
🍦Full recipe linked in my bio or find it at https://sugarandsparrow.com/no-churn-berry-crisp-ice-cream/

#nochurnicecream #icecream #icecreamlover #berries #summerdessert
STRAWBERRY SHEET CAKE 🍓based on my favorite strawb STRAWBERRY SHEET CAKE 🍓based on my favorite strawberry layer cake recipe, this sheet cake version is so fun to decorate + such a crowd pleaser! I love using a combination of fresh and freeze-dried strawberries to create the most powerful authentic flavor ✨
 
🍓Full recipe (with strawberry buttercream) at https://sugarandsparrow.com/strawberry-sheet-cake-recipe/
⁣ 
STRAWBERRY SHEET CAKE⁣ 
Serves 24
⁣ 
INGREDIENTS⁣ 
1 Cup (12oz) fresh strawberries, pureed ⁣ 
3/4 Cup (180ml) whole milk, room temp⁣ 
2 1/2 Cups (265g) sifted cake flour⁣ 
2 tsp baking powder⁣ 
1/4 tsp baking soda⁣ 
1/2 tsp salt⁣ 
3/4 Cup (170g) unsalted butter, room temp⁣ 
1 2/3 Cups (350g) granulated sugar⁣ 
3 large eggs, room temp⁣ 
1/3 Cup (75g) sour cream, room temp⁣ 
2 tsp pure vanilla extract⁣ 
1-2 drops pink food coloring (optional)⁣ 
⁣ 
INSTRUCTIONS⁣ 
1. Simmer the strawberry puree in a saucepan over medium-low heat for 30-35 minutes, stirring occasionally. At this point the puree should have reduced from 1 Cup to 1/2 Cup (if you have more, keep cooking!). Refrigerate until room temp, then whisk together with the whole milk and set aside.⁣ 
2. Preheat the oven to 350ºF. Grease and line a 13×9 inch baking pan. 
3. In a medium bowl, whisk together the sifted cake flour, baking powder, baking soda, and salt. Set aside. ⁣ 
4. In the bowl of a stand mixer with the paddle attachment, whip the butter on high until creamy, 2 min. Add the sugar and beat with the butter until light and fluffy, 2 min. Turn the mixer to low and add the eggs one at a time. Add the vanilla and sour cream, then turn the mixer to high and beat for 1 minute.⁣ 
5. With the mixer on low, add all of the dry ingredients at once until just combined, then add the strawberry milk mixture and pink food coloring (if using) until just combined. Give the batter a few stirs by hand to make sure everything is incorporated without over-mixing. ⁣ 
6. Pour batter into the prepared cake pan and bake for 35-40 minutes. ⁣ Cool completely to room temperature before topping with strawberry buttercream (full recipe at the li
COOKIES & CREAM ICE CREAM CAKE 🤎 If you’re an Oreo COOKIES & CREAM ICE CREAM CAKE 🤎 If you’re an Oreo lover, this is your sign to make an ice cream cake this summer: no-churn cookies & cream ice cream set on an Oreo cookie crust, topped with hot fudge and whipped cream frosting. The perfect amount of Oreos in EVERY BITE! 

Full recipe link in my bio + at https://sugarandsparrow.com/cookies-and-cream-ice-cream-cake/ 

OREO CRUST
22 Oreo cookies
5 Tbsp melted butter

ICE CREAM LAYER
2 Cups (480ml) heavy whipping cream, cold
2 tsp pure vanilla extract
14 Oz sweetened condensed milk
15 Oreo cookies, roughly chopped

TOPPINGS
12.8 Oz jar of hot fudge
Whipped cream frosting (see full recipe link)
4 Oreo cookies, chopped

INSTRUCTIONS
1. Mix together the Oreo crust ingredients and pack tightly into the bottom of a 9-inch springform pan. Freeze while you make the ice cream.
2. In a chilled bowl, whip the heavy cream and vanilla to stiff peaks. Fold in the sweetened condensed milk until uniform, then fold in the chopped Oreos. Pile the ice cream on top of the Oreo crust, smooth it down, cover and freeze overnight.
3. When the ice cream layer is set, top with the hot fudge, whipped cream frosting, and more chopped Oreos. Store in the freezer until ready to serve! 

#oreocake #icecreamcake #nochurnicecream #birthdaycake #cookiesandcream
EASY OREO ICEBOX CAKE (recipe below) 🤎 You only ne EASY OREO ICEBOX CAKE (recipe below) 🤎 You only need 4 ingredients for this recipe and it sets into the perfect summer dessert in the refrigerator overnight! It’s 7 alternating layers of Oreos and homemade whipped cream + every bite tastes like a perfect milk-dunked Oreo in the very best way ✨
 
Full recipe at https://sugarandsparrow.com/oreo-icebox-cake/ 
 
INGREDIENTS: 
2 Cups (480ml) cold heavy whipping cream 
1/4 Cup (30g) powdered sugar 
1 tsp pure vanilla extract 
36 Oreo cookies 
 
INSTRUCTIONS: 
1. Add the heavy whipping cream, powdered sugar, and vanilla extract into a chilled mixing bowl. Using the whisk attachment on your stand mixer or a hand mixer, beat the ingredients until stiff peaks form. 
2. Line a loaf pan with plastic wrap, then add a thin layer of the whipped cream onto the bottom of the pan. Add a layer of Oreo cookies on top (cut some of the Oreos to fit as needed). 
3. Add 1/3 of the remaining whipped cream on top of the Oreo layer, followed by a second layer of Oreos. Repeat until you have seven total layers, ending with whipped cream. 
4. Cover the cake and refrigerate overnight, then enjoy!  
 
#oreocake #vintagecake #nobakecake #oreo #nobake

Footer

On the Blog

  • Cake Basics
  • Recipes
  • Tutorials

Info

  • About
  • Privacy Policy & Disclosure

stay in the know

Copyright © 2026 · Theme by Sugar & Sparrow
