• Cake
  • Frosting
  • YouTube
  • My Favorite Tools
  • Nav Social Icons

  • Skip to primary navigation
  • Skip to main content
  • Skip to primary sidebar
  • Skip to footer
  • Recipes
    • Cake
    • Cupcakes
    • Frosting
    • Ice Cream
    • Vegan
  • Cake Basics
  • Tutorials
  • Blog
  • About
  • Mobile Menu Widgets

    Connect

    Search

Sugar & Sparrow logo in script font

Sugar & Sparrow

Lifestyle and Cake from Portland Oregon

  • Cake Basics
  • Recipes
    • Cake
    • Cupcakes
    • Sheet Cakes
    • Cookies & Bars
    • Filling
    • Frosting
    • Ice Cream
    • No-Bake
    • Small Batch
    • Vegan
  • Tutorials
  • Book
  • Blog
  • About

About

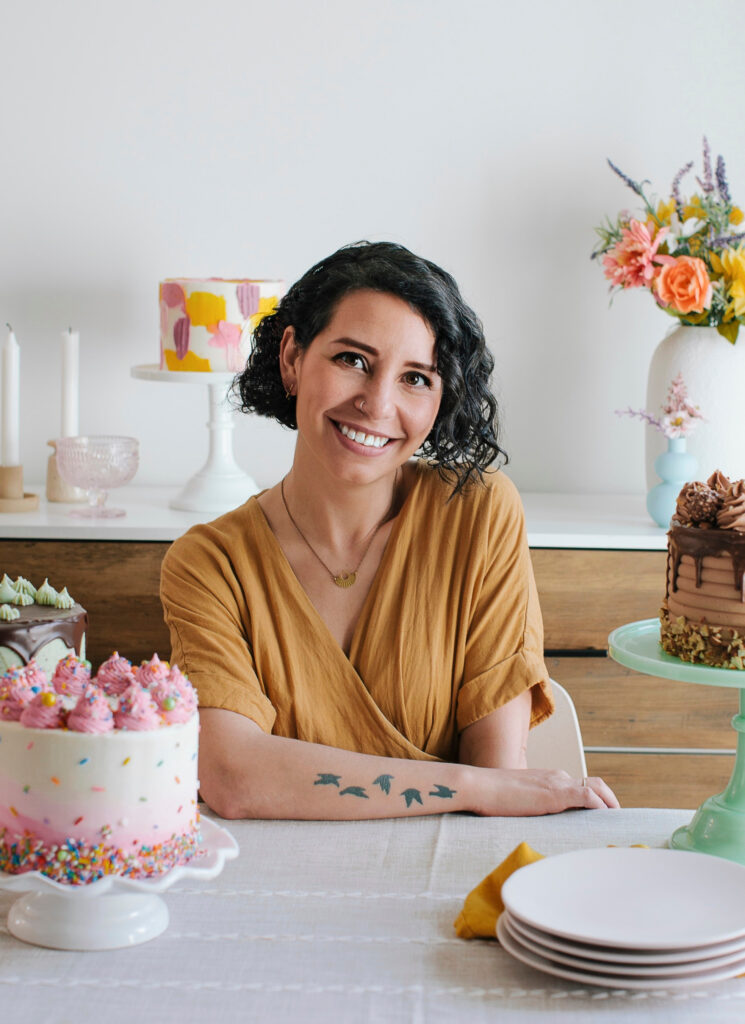
hello! i’m Whitney

About Me

I’m a self-taught baker, cake decorator, wife, mama, and homemaker living in Portland, Oregon. When I’m not baking up a storm in the kitchen, I enjoy a good long run, traveling to new places, making music, and getting lost in a thrilling novel. Creativity is a huge driving force in my life, and while I enjoy a variety of artistic mediums, sugar is hands-down my favorite.

About Sugar & Sparrow

I inherited a love for baking from my mother, who was the queen of lemon squares and casserole dish birthday cakes. As a kid I can remember flipping through her vintage baking books and attempting to recreate every single recipe. That passion for baking evolved into a fascination with cake decorating, and I spent a good amount of years whipping up custom cakes from my home kitchen. Being self-taught every step of the way, I’ve gained quite a few tips, perfected recipes, and have overcome my fair share of kitchen fails. Sugar & Sparrow is my little space to share everything I’ve learned with you in hopes of helping you bake pretty desserts with confidence! 
Work With Me

I love creating cake projects to showcase the brands I admire in a fun new way. If you have an idea for a collaboration, I’d love to hear about it! You can email me at sugarandsparrow(at)gmail.com.

Here are some of the brands I’ve partnered with:
Selected Features

Sugar & Sparrow has been featured in the following publications

American Cake Decorating Magazine

Buzzfeed Tasty

Green Wedding Shoes

Junebug Weddings

Food Network

How to Cake It

The Feed Feed

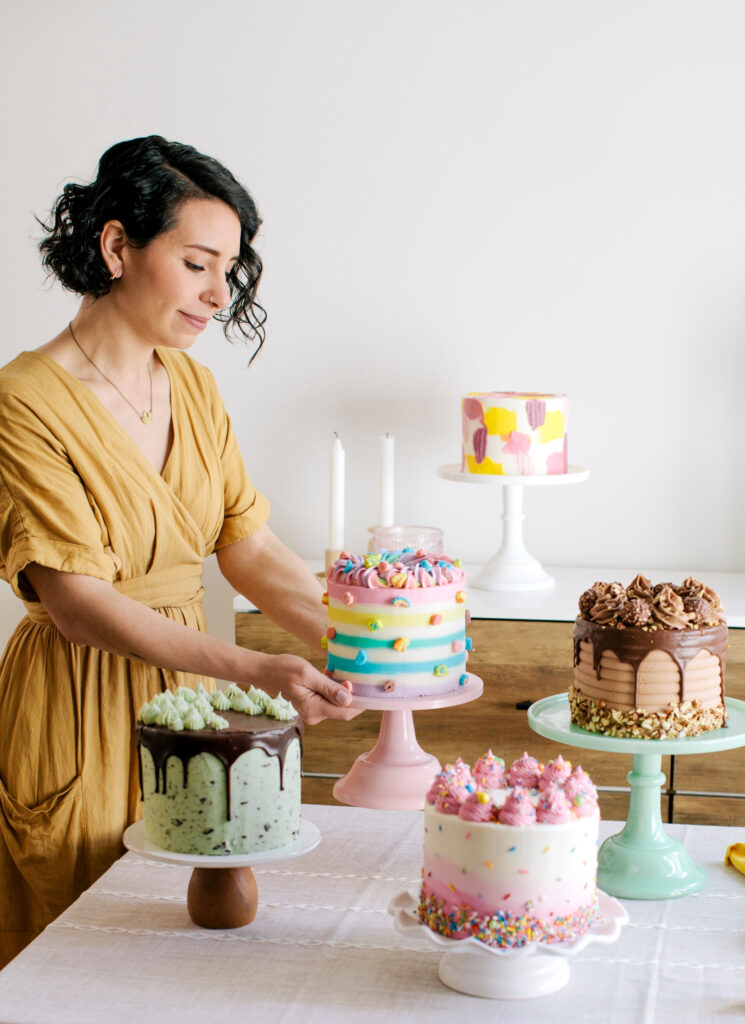
Find Your Cake Inspiration

get to know me

These are a few of my favorite things…

  1. PORTLAND. I’m a born and raised Portlander (Oregon), and I could easily see myself living here for the rest of my life.
  2. RUNNING. It’s my brain’s happy place. My mind is pretty wild, always busy with ideas and thoughts, and running is my favorite way to clear my head. In addition to my neighborhood jaunts with my toddler in tow, I’ve run a couple half marathons and a Hood To Coast relay and I’d love to do more races at some point.
  3. VINYL RECORDS. There’s just something about the sound and feel of a vinyl record that’s magical, so if I love an album I have to own it on vinyl.
  4. ROLLER COASTERS. Before I met my husband I hadn’t been on a legit roller coaster. He actually has my first ride on video and it’s pretty hilarious. Nowadays I will ride any roller coaster any chance I get.

Primary Sidebar

Welcome to Sugar & Sparrow

Welcome to Sugar & Sparrow

Helping you whip up pretty desserts with confidence and creativity. And hopefully sharing a few laughs with you along the way!

Learn More

Connect

let’s bake!

Get my very best recipes, baking tips, and decorating tutorials sent to your inbox

Featured Posts

buttercream poinsettia cupcakes

How to Make Buttercream Poinsettias

galaxy cake by sugar and sparrow

Galaxy Cake Tutorial

salted caramel buttercream recipe for cakes and cupcakes

Salted Caramel Buttercream Recipe

Search

Archives

Follow Along

@sugarandsparrowco

MELTED CANDLE CUPCAKES 🖤🕯give me a few cupcakes, s MELTED CANDLE CUPCAKES 🖤🕯give me a few cupcakes, some dye-free black buttercream, and black chocolate ganache and watch me transform them into the spookiest edible centerpiece! 

Full tutorial is linked in my bio + at https://sugarandsparrow.com/melting-candle-cupcakes/ but I have a condensed version below: 
 
SUPPLIES: ⁣ 
-9 cupcakes⁣  (made these with my small batch black velvet cake recipe!) 
-1 batch of dye-free black buttercream 
-boba straws or skewers (for stabilizing the taller candles) ⁣ 
-icing smoother + turntable ⁣ 
-black ganache for dripping⁣ 
-3 birthday cake candles⁣ 
-matches ⁣ to light them
⁣ 
INSTRUCTIONS: ⁣ 
1. Fill and stack the cupcakes: one stack of 2 cupcakes, one stack of 3 cupcakes, and one stack of 4 cupcakes. For the two taller cupcakes I inserted a boba straw through the middle to stabilize the stack for frosting. ⁣ 
2. Frost the stacked cupcakes with smooth buttercream and keep the top edge raw. Refrigerate for 20 minutes to let the frosting firm up. ⁣ 
3. Transfer the frosted cupcake candles  onto a small plate and pipe ganache around the edges and tops to look like melted wax. ⁣ 
4. Insert a birthday cake candle into each cake candle (keep the wick about 1/4 inch from the cake surface) and light! ⁣ 
⁣ 
#candlecake #halloweencake #cupcakes #blackvelvetcake #blackbuttercream
BISCOFF COOKIE BUTTERCREAM 🤎 this delicious frosti BISCOFF COOKIE BUTTERCREAM 🤎 this delicious frosting is flavored with Biscoff cookie butter and goes with literally ANY Fall cake recipe 🙌🏼 So far my favorite cake flavors to pair it with are pumpkin cake, banana cake, chocolate cake, coffee cake, and spice cake, but I am also testing a full-on Biscoff cake this week!! 

Full recipe + my favorite cake pairing suggestions are at https://sugarandsparrow.com/biscoff-buttercream/ 
⁣⁣ 
INGREDIENTS⁣⁣ 
1 Cups (226g) unsalted butter, room temperature⁣⁣ 
1/2 Cup (94g) Biscoff cookie butter⁣⁣ or spread
3 Cups (360g) powdered sugar⁣⁣ 
1 tsp pure vanilla extract⁣⁣ 
2 Tbsp whole milk, room temperature⁣⁣ 
1/4 tsp salt, or to taste⁣⁣ 
⁣⁣ 
INSTRUCTIONS⁣⁣ 
1. Cream the butter and Biscoff cookie butter together in the bowl of a stand mixer fitted with the paddle attachment (or you can use a hand mixer and large bowl). Mix on medium-high until creamy and well combined, about 5 minutes, scraping down the bowl and paddle as needed.⁣⁣ 
2. Turn the mixer to low speed and add the powdered sugar a few cups at a time, scraping down the bowl and paddle after mixing in each addition. Add the vanilla, milk, and salt and continue mixing on low speed until smooth and combined, 1-2 minutes.⁣ 
⁣⁣ 
#biscoffcake #biscoff #buttercream #frosting #cakedecorating
DYE-FREE BLACK VELVET CUPCAKES 🖤 These all black c DYE-FREE BLACK VELVET CUPCAKES 🖤 These all black cupcakes use black cocoa powder (and NO food coloring!) to achieve that rich black color for the cupcakes + black buttercream. That means they won’t turn anyone’s mouth black AND they taste like Oreo cookies in deliciously moist cupcake form 👻

✨Full recipe (with dye-free black buttercream) is linked in my bio + at https://sugarandsparrow.com/black-velvet-cupcakes/ 

BLACK VELVET CUPCAKES
Yield: 14 cupcakes

1 Cup (132g) all purpose flour
3/4 Cup (150g) granulated sugar
1/3 Cup (38g) black cocoa powder
1 tsp baking soda
1/2 tsp baking powder
1/4 tsp salt
1/4 Cup (60ml) vegetable oil
1 large egg, room temperature
1/2 tsp pure vanilla extract
1/2 Cup (120ml) full-fat buttermilk*
1/2 Cup (120ml) hot coffee or hot water

INSTRUCTIONS:
1. Preheat the oven to 350°F (177°C). Line a muffin pan with cupcake liners and set aside.
2. Place all of the dry ingredients into a large bowl and whisk together to combine. Add the vegetable oil, eggs, vanilla, and buttermilk and whisk until combined. With the mixer still on low, add the hot coffee (or hot water) and whisk until smooth, about 2 minutes. The batter will be very thin. 
3. Pour the batter into the prepared cupcake liners (no more than ⅔ full) and bake for 15-18 minutes, until a toothpick inserted comes out with just a few moist crumbs on it. Cool completely before frosting with dye-free black buttercream (full recipe linked in my bio).

*If you don’t have buttermilk on hand (I rarely do!), use 1/2 Cup whole milk mixed with 1 1/2 tsp vinegar or lemon juice. 

#blackcupcakes #blackbuttercream #blackcocoapowder #halloweencupcakes #halloweenbaking
EASY MUMMY CUPCAKES 👀 this classic Halloween cupca EASY MUMMY CUPCAKES 👀 this classic Halloween cupcake design is so easy to make with chocolate cupcakes, googly eye sprinkles, vanilla buttercream, and one piping tip! Here’s how:

Full tutorial (with recipes for the cupcakes and buttercream!) is linked in my bio + at https://sugarandsparrow.com/mummy-cupcakes/

MUMMY CUPCAKES SUPPLIES: 
-Baked chocolate cupcakes
-Vanilla buttercream
-Googly eye sprinkles
-Piping bag
-Small flat piping tip or basket weave tip

INSTRUCTIONS: 
1. Press two googly eye sprinkles on top of the chocolate cupcake.
2. Starting on the edge of the cupcake, pipe a straight line to the opposite edge, avoiding the googly eye sprinkles. If you’re using a basket weave tip, make sure the grooved edge is face down.
3. Continue piping lines that connect the edges, overlapping the lines until the surface of the cupcake is covered (aside from the googly eyes) and the piping looks like mummy cloths.

#halloweencupcakes #halloweenbaking #chocolatecupcakes #cupcakedecorating #cupcakes
HALLOWEEN CANDY BUCKET CAKE 🎃🍫🍬 this jack-o-lanter HALLOWEEN CANDY BUCKET CAKE 🎃🍫🍬 this jack-o-lantern cake is SO fun to make with two bundt cakes frosted with buttercream to look like a pumpkin candy bucket + lots of Halloween candy to fill it with. The perfect Halloween party cake!! 
 
A condensed tutorial is below but you can find the full tutorial link (with recipes I used!) in my bio + on my blog at  https://sugarandsparrow.com/halloween-candy-bucket-cake-tutorial/
 
🎃 Candy Bucket Cake Tutorial: 
 
1.  Bake two bundt cakes. I doubled my one-bowl chocolate cake recipe and divided it between two 9.5-inch bundt cake pans, then baked at 350F for 35 minutes.  
2. Fill and crumb coat the cakes in the shape of a pumpkin. I used my dye-free black buttercream recipe for this, but any flavor will do.  
3. Frost the cake. I used my vanilla buttercream recipe tinted with @americolor Electric Orange for the frosting. A flexible plastic smoother is KEY to shaping the roundness of the pumpkin (I got mine on Amazon) + I made my own little tool for the grooves from a leftover yogurt container. After I chilled the cake I hand-smoothed the finish with a little parchment paper to iron out the imperfections.  
4. Carve the jack-o-lantern. I chilled the frosting until it was firm to the touch, then used an X-acto knife to cut out the eyes and mouth. 
5. Add the handle. I inserted some crafting wire into hollow black licorice to create the candy bucket handle before sticking it into the cake.  
6. Fill with your favorite Halloween candy!  
 
#halloweencake #pumpkincake #partycake #cakedecorating #bundtcake

Footer

On the Blog

  • Cake Basics
  • Recipes
  • Tutorials

Info

  • About
  • Privacy Policy & Disclosure

stay in the know

Copyright © 2026 · Theme by Sugar & Sparrow