• Cake
  • Frosting
  • YouTube
  • My Favorite Tools
  • Nav Social Icons

  • Skip to primary navigation
  • Skip to main content
  • Skip to primary sidebar
  • Skip to footer
  • Recipes
    • Cake
    • Cupcakes
    • Frosting
    • Ice Cream
    • Vegan
  • Cake Basics
  • Tutorials
  • Blog
  • About
  • Mobile Menu Widgets

    Connect

    Search

Sugar & Sparrow logo in script font

Sugar & Sparrow

Lifestyle and Cake from Portland Oregon

  • Cake Basics
  • Recipes
    • Cake
    • Cupcakes
    • Sheet Cakes
    • Cookies & Bars
    • Filling
    • Frosting
    • Ice Cream
    • No-Bake
    • Small Batch
    • Vegan
  • Tutorials
  • Book
  • Blog
  • About

My Ideal Hot Cocoa Bar Setup

December 4, 2019 · In: Seasonal, Tutorials, Winter

Hosting a Holiday party can be a whole lot of work. From curating the perfect playlist to decorating, planning out your tablescape, and coming up with fun activities, your to-do list can get long real quick. I’ve got one idea for you that’s guaranteed to be a hit for your guests of all ages: a festive hot cocoa bar! Not only is it a whole lot of fun and tasty as can be, setting it all up requires very minimal effort. 

how to set up a hot cocoa bar
loaded hot cocoa recipe

You can customize the toppings any way you’d like, but here are some of my absolute faves to inspire you (all pictured in that loaded cup of cocoa!): candy cane bits, brownie chunks, Belgian Boy Stroopwafels, mini marshmallows, and Oh Snow Cute sprinkles by SprinklePop for some added flavor and fun. You can use any sprinkles in your hot cocoa bar setup, but I love this Wintery mix. The color scheme is so much fun and the tiny snowmen and snowflakes are perfect for celebrating the Holiday season. Plus, the larger spherical sprinkles are made of chocolate (they’re Sixlets!), so they’re great for adding a little crunch and sweetness. 

hot cocoa recipe for hot cocoa bar

After coming up with my ideal list of toppings, I displayed them all in mason jars and added some touches of Holiday decor. I basically borrowed a few sprigs from my Christmas tree and some faux holly, berries, and pine cones. Easy as can be! 

Here’s a little video to show you how I made my ideal cup of hot cocoa, so be sure to give it a watch for inspiration before you read all about how to replicate my hot cocoa bar setup below:

You Will Need

  • 6 medium sized Mason jars 
  • Brownies cut into ½ inch squares
  • Candy Cane bits
  • Belgian Boy Stroopwafels, quartered
  • 2 8oz bottles of Oh Snow Cute sprinkles
  • Mini marshmallows 
  • Canned Whipped Cream
  • Melted white chocolate in a piping bag (optional)
  • Instant hot cocoa mix 
  • Boiled milk 
  • Cups and mugs for your guests 

Hot Cocoa Bar Setup 

Note that the list above is all suggested. You can tailor this hot cocoa bar to any topping list you want! Once you figure out the number of toppings you’ll have, add each one to a separate mason jar or container of your choice. I went with mason jars because they’re so easy to find and I love being able to see the toppings through the clear glass. 

topping ideas for hot cocoa bar

To create this fun display, I divided my topping-filled mason jars full into two rows and slightly elevated the back row with a couple pieces of white wood I had leftover from a house project. Then, I decorated around the jars with sprigs of holly and pine. So festive and pretty! 

hot cocoa bar ideas

Prior to your guests arriving, all that’s left to do is make sure that you have hot water or milk readily available, or pre-mix the hot cocoa and keep it in a thermos at the hot cocoa bar for an even easier experience. Set out some mugs for your guests and let them go crazy adding all the toppings they want! 

The Tastiest Hot Cocoa Recipe

To inspire you with topping and decorating ideas, here’s how I chose to create my loaded cup of cocoa:

Create a White Chocolate Peppermint Rim (Optional)

First, I melted some white chocolate and waited for it to cool to about 80 degrees before piping it onto the rim of my cup with a piping bag.

how to create white chocolate rim

I waited about five minutes for the chocolate to set slightly and then dipped it into some candy cane bits. 

crushed candy cane drink rim

You can use any type of chocolate you want for this part and can also create the peppermint rim on all of the guest mugs ahead of time if you’re into the look! The white chocolate peppermint adds such a fun texture and flavor to the whole cocoa experience. 

Add the Hot Cocoa

Next, I added a few tablespoons of instant hot cocoa to the mug, poured boiling hot milk over the top, and stirred it all together. 

hot cocoa bar inspiration

Like I mentioned before, if you have a lot of guests it might be worth pre-mixing the hot cocoa and keeping it in a thermos for easy access.

Add the Toppings

After adding the hot cocoa, the fun of getting creative with toppings can begin! I added a layer of mini marshmallows and swirled some whipped cream on top.

whipped cream on hot cocoa

Then, I stuck some brownie bits into the whipped cream and added a generous amount of Oh Snow Cute Sprinkles.

brownie topped hot cocoa
sprinkle hot cocoa

Finally, top the cocoa creation with a piece of Belgian Boy Stroopwafel. Boom. Best cocoa ever! 

hot cocoa recipe with toppings

Your hot cocoa bar can be as customized as you want. Other suggestions for your topping list: caramel sauce, whole candy canes, bite sized cookies, flavored syrups, cinnamon, mini chocolate chips, and any SprinklePop sprinkle mix that you’re drawn to!

hot cocoa with stroopwafels, brownies, sprinkles

What would you top your hot cocoa with? Let me know in the comments!

Disclaimer: I was compensated by SprinklePop for my work of creating this project, styling, filming, photographing, and writing about their products. As always, all opinions are honest and my own. Thank you for supporting brands that support Sugar & Sparrow.
By: Whitney · In: Seasonal, Tutorials, Winter · Tagged: brownies, candy cane bits, christmas, drinks, holiday, holiday party, holiday party ideas, hot cocoa, hot cocoa bar, hot cocoa recipe, loaded hot cocoa, mini marshmallows, sprinklepop, sprinkles, stroopwafels, white chocolate

you’ll also love

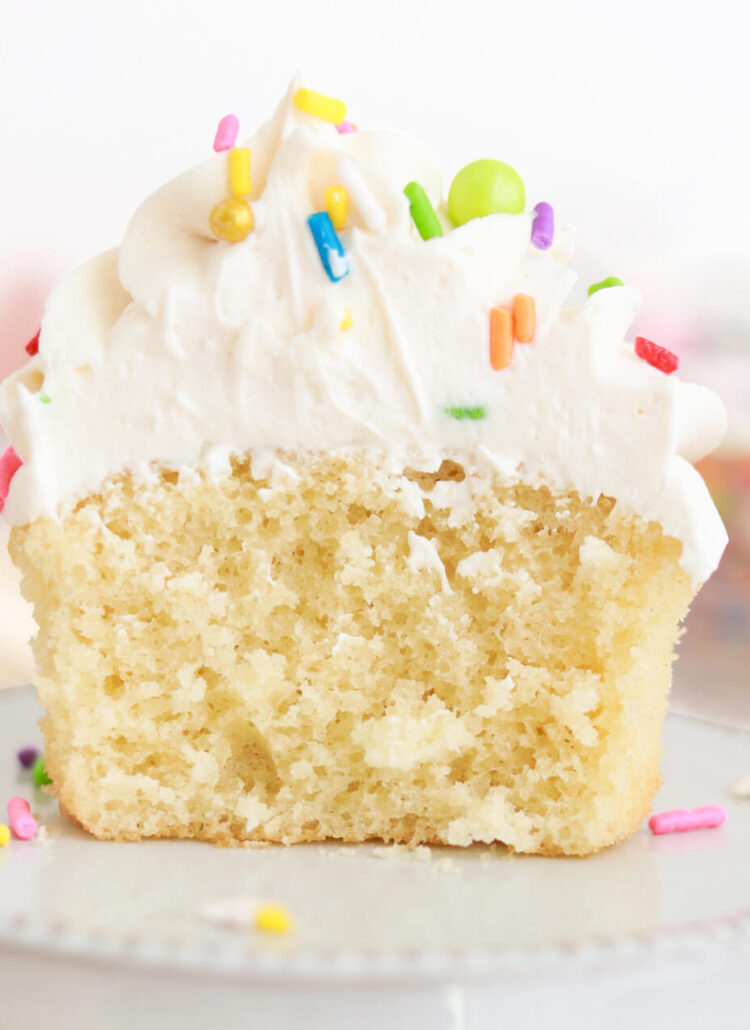
the best vanilla cupcakes recipeThe Perfect Vanilla Cupcake Recipe
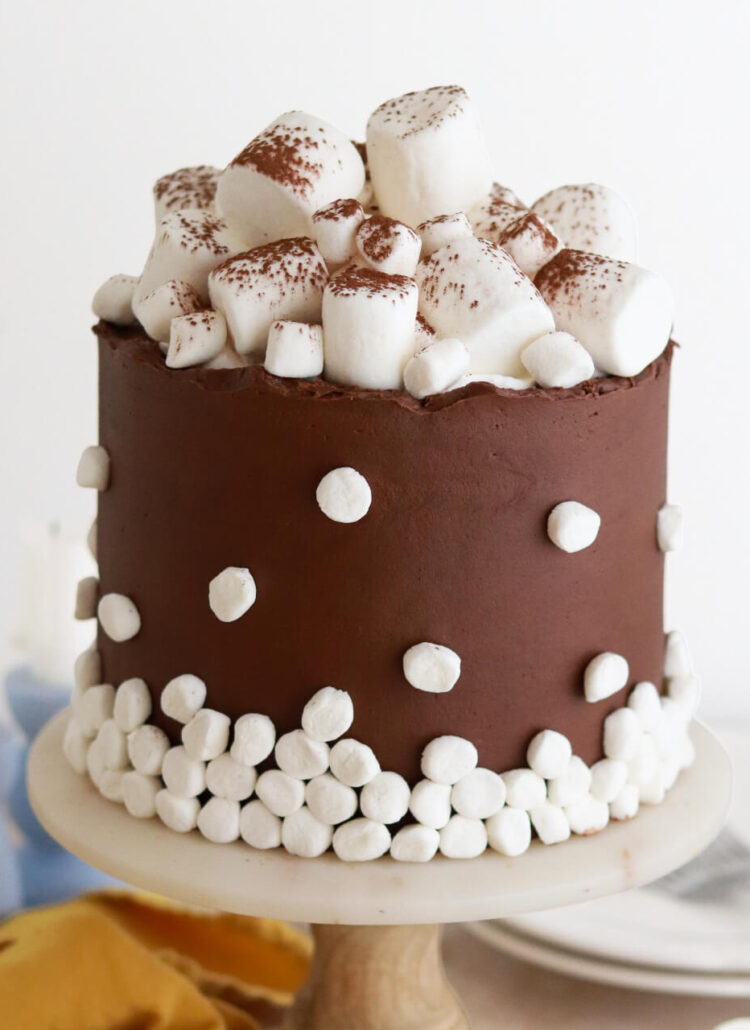
hot cocoa cake recipe with homemade marshmallow fillingHot Cocoa Cake with Homemade Marshmallow Filling
no bake eggnog cheesecake recipe by sugar and sparrowNo-Bake Eggnog Cheesecake with Biscoff Cookie Crust

Join the List

Stay up to date & receive the latest posts in your inbox.

Reader Interactions

Leave a Reply Cancel reply

Your email address will not be published. Required fields are marked *

Recipe Rating


Next Post >

How To Make Mini Christmas Tree Cakes

Primary Sidebar

Welcome to Sugar & Sparrow

Welcome to Sugar & Sparrow

Helping you whip up pretty desserts with confidence and creativity. And hopefully sharing a few laughs with you along the way!

Learn More

Connect

let’s bake!

Get my very best recipes, baking tips, and decorating tutorials sent to your inbox

Featured Posts

mae & co wedding photoshoot portland

The Dreamiest Wedding Photoshoot With Mae & Co

berry chantilly cake recipe inspired by whole foods

Berry Chantilly Cake Recipe

apple cupcakes with salted caramel buttercream and salted caramel topping

Caramel Apple Cupcakes

Search

Archives

Follow Along

@sugarandsparrowco

THICK CARAMEL CAKE FILLING ✨this is the BEST caram THICK CARAMEL CAKE FILLING ✨this is the BEST caramel  filling recipe for cakes and cupcakes that’s extra thick, creamy and spreadable, and irresistibly gooey with just the right vanilla-caramel flavor. I’ve used it in recipes like my Millionaire Cake, Milky Way Ccake, Snickers Cake (with peanuts added!), and Twix cake, but it will pair well with any cake flavor that could use some gooey caramel in between the layers.

Find this recipe in my bio + all the cake recipes mentioned at https://sugarandsparrow.com/thick-caramel-filling/

THICK CARAMEL FILLING 
Yield: 2 Cups (enough to fill a triple layer cake + use as a drip) 

INGREDIENTS 
1/2 Cup (113g) unsalted butter 
1 Cup (200g) packed brown sugar 
2/3 Cup (210g, 160ml) sweetened condensed milk 
1/3 Cup (80ml) light corn syrup 
5 Tbsp (75ml) heavy whipping cream 
1 tsp salt 
1 tsp pure vanilla extract 

INSTRUCTIONS 
1. In a large saucepan over medium heat, add the sweetened condensed milk, butter, brown sugar, corn syrup, heavy whipping cream, and salt. Stir with a rubber spatula constantly until the mixture is fully combined and begins to bubble, about 5 minutes. 
2. Turn the heat to medium-low and continue stirring until the caramel begins to thicken, 6-7 minutes. If you have a candy thermometer, you’ll want to cook this until it reaches 225F (107C). That is the temperature that will thicken the caramel while keeping it nice and soft at room temperature. 
3. Remove the caramel from the heat and mix in the vanilla extract. Pour into a separate container and let the caramel cool completely to room temperature before using it to fill the cake. After pouring mine into a 2-cup measuring cup and refrigerating, it took about 2 hours to cool but it will thicken significantly.

#caramel #caramelcake #cakes #cakedecorating #homebaked
ALMOND JOY CAKE 🤎🥥 this tastes just like an Almond ALMOND JOY CAKE 🤎🥥 this tastes just like an Almond Joy candy bar in cake form: layers of soft, fluffy coconut cake with silky chocolate ganache, sliced almonds, and the dreamiest coconut-almond buttercream! 

Comment RECIPE and I’ll send it on over! Or find it linked in my bio + at https://sugarandsparrow.com/almond-joy-cake-recipe/

#almondjoy #coconutcake #almondcake #cakedecorating #candycake
You butter believe I made myself the Halloween cos You butter believe I made myself the Halloween costume of my dreams!! 🧈 

#diyhalloweencostume
#foodcostume #halloweencostume #handmadecostume #bakerlife
MELTED CANDLE CUPCAKES 🖤🕯give me a few cupcakes, s MELTED CANDLE CUPCAKES 🖤🕯give me a few cupcakes, some dye-free black buttercream, and black chocolate ganache and watch me transform them into the spookiest edible centerpiece! 

Full tutorial is linked in my bio + at https://sugarandsparrow.com/melting-candle-cupcakes/ but I have a condensed version below: 
 
SUPPLIES: ⁣ 
-9 cupcakes⁣  (made these with my small batch black velvet cake recipe!) 
-1 batch of dye-free black buttercream 
-boba straws or skewers (for stabilizing the taller candles) ⁣ 
-icing smoother + turntable ⁣ 
-black ganache for dripping⁣ 
-3 birthday cake candles⁣ 
-matches ⁣ to light them
⁣ 
INSTRUCTIONS: ⁣ 
1. Fill and stack the cupcakes: one stack of 2 cupcakes, one stack of 3 cupcakes, and one stack of 4 cupcakes. For the two taller cupcakes I inserted a boba straw through the middle to stabilize the stack for frosting. ⁣ 
2. Frost the stacked cupcakes with smooth buttercream and keep the top edge raw. Refrigerate for 20 minutes to let the frosting firm up. ⁣ 
3. Transfer the frosted cupcake candles  onto a small plate and pipe ganache around the edges and tops to look like melted wax. ⁣ 
4. Insert a birthday cake candle into each cake candle (keep the wick about 1/4 inch from the cake surface) and light! ⁣ 
⁣ 
#candlecake #halloweencake #cupcakes #blackvelvetcake #blackbuttercream
BISCOFF COOKIE BUTTERCREAM 🤎 this delicious frosti BISCOFF COOKIE BUTTERCREAM 🤎 this delicious frosting is flavored with Biscoff cookie butter and goes with literally ANY Fall cake recipe 🙌🏼 So far my favorite cake flavors to pair it with are pumpkin cake, banana cake, chocolate cake, coffee cake, and spice cake, but I am also testing a full-on Biscoff cake this week!! 

Full recipe + my favorite cake pairing suggestions are at https://sugarandsparrow.com/biscoff-buttercream/ 
⁣⁣ 
INGREDIENTS⁣⁣ 
1 Cups (226g) unsalted butter, room temperature⁣⁣ 
1/2 Cup (94g) Biscoff cookie butter⁣⁣ or spread
3 Cups (360g) powdered sugar⁣⁣ 
1 tsp pure vanilla extract⁣⁣ 
2 Tbsp whole milk, room temperature⁣⁣ 
1/4 tsp salt, or to taste⁣⁣ 
⁣⁣ 
INSTRUCTIONS⁣⁣ 
1. Cream the butter and Biscoff cookie butter together in the bowl of a stand mixer fitted with the paddle attachment (or you can use a hand mixer and large bowl). Mix on medium-high until creamy and well combined, about 5 minutes, scraping down the bowl and paddle as needed.⁣⁣ 
2. Turn the mixer to low speed and add the powdered sugar a few cups at a time, scraping down the bowl and paddle after mixing in each addition. Add the vanilla, milk, and salt and continue mixing on low speed until smooth and combined, 1-2 minutes.⁣ 
⁣⁣ 
#biscoffcake #biscoff #buttercream #frosting #cakedecorating

Footer

On the Blog

  • Cake Basics
  • Recipes
  • Tutorials

Info

  • About
  • Privacy Policy & Disclosure

stay in the know

Copyright © 2026 · Theme by Sugar & Sparrow