
It happens to the best of us: you spend all this time mixing up cake batter and feeling extra optimistic about those future cake layers, come to find that when you open the oven door your cakes have sunk. Before you blame the recipe, there are many things that can factor into the chemistry of your sunken cake creation. Baking is a series of chemical reactions, which can be cool and frustrating all in the same day!
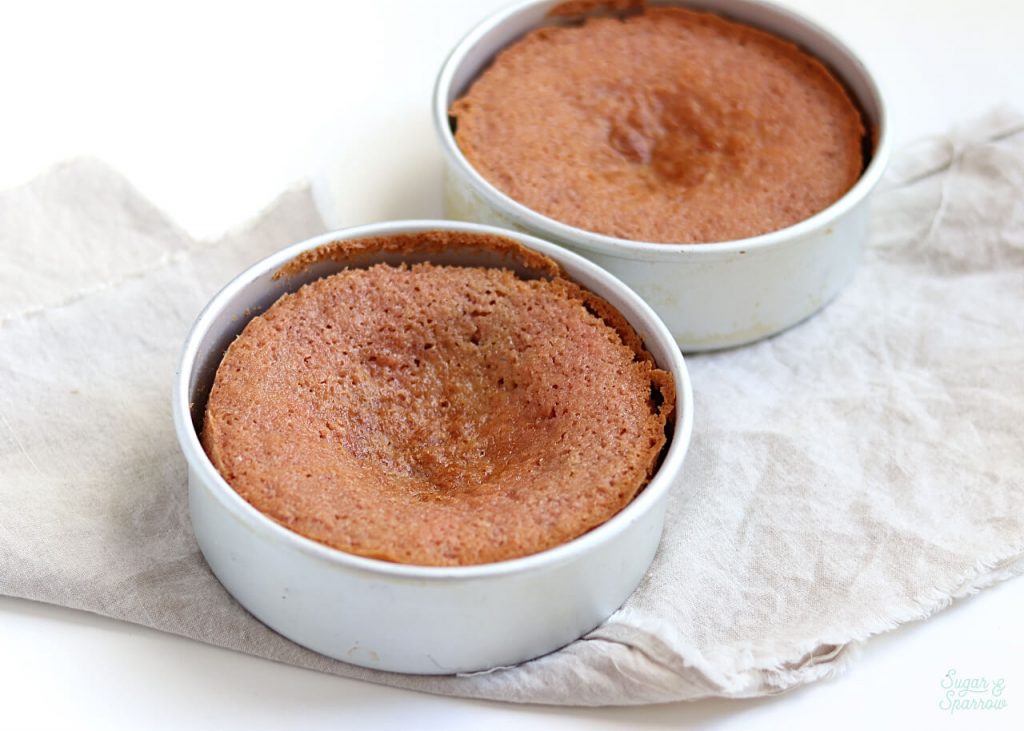
After my fair share of sunken cake layers, I took to researching why exactly a cake recipe (even one you’ve had success with in the past!) would deflate in the center. Without further ado, here are the top 9 reasons I could gather:
1: Your Baking Powder is Expired
Baking powder is one of the ingredients that gives your cake a beautiful rise. Unlike baking soda, which pretty much lasts forever, baking powder will expire between 6 months and one year. It’s especially sensitive to humidity and moisture, so to preserve it for as long as possible, you need to ensure it’s well stored in a cool, dry pantry.

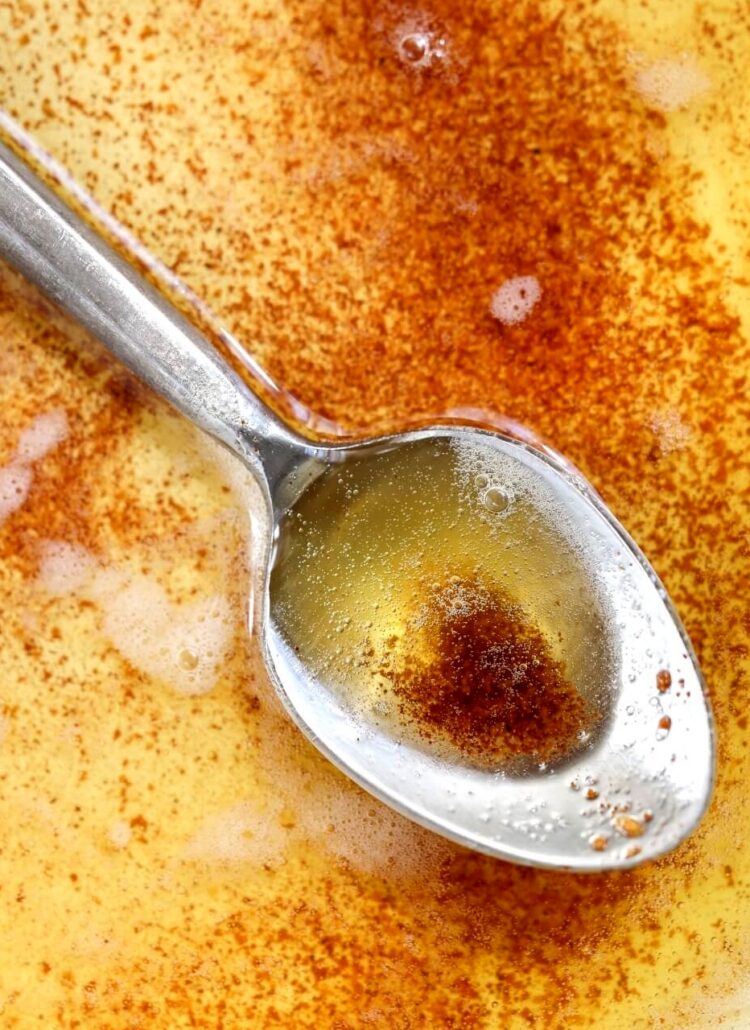
I always write the date that I open a new can of baking powder on the lid just to remember how long I have until it expires. If you’re not sure how long it’s been, you can test your baking powder by adding ½ teaspoon into a cup and adding ¼ cup of boiling water. If it bubbles up immediately, it’s still good. If not, it’s important that you get a new tin before baking a cake recipe. Sadly, expired baking powder won’t allow for the chemical reaction that a cake needs to rise.
2: Too Much Leavening Agent
If there’s too much baking powder or baking soda in a cake recipe, it can cause your cake to rise too rapidly, then sink shortly thereafter. The amount really depends on the other ingredients of the recipe.
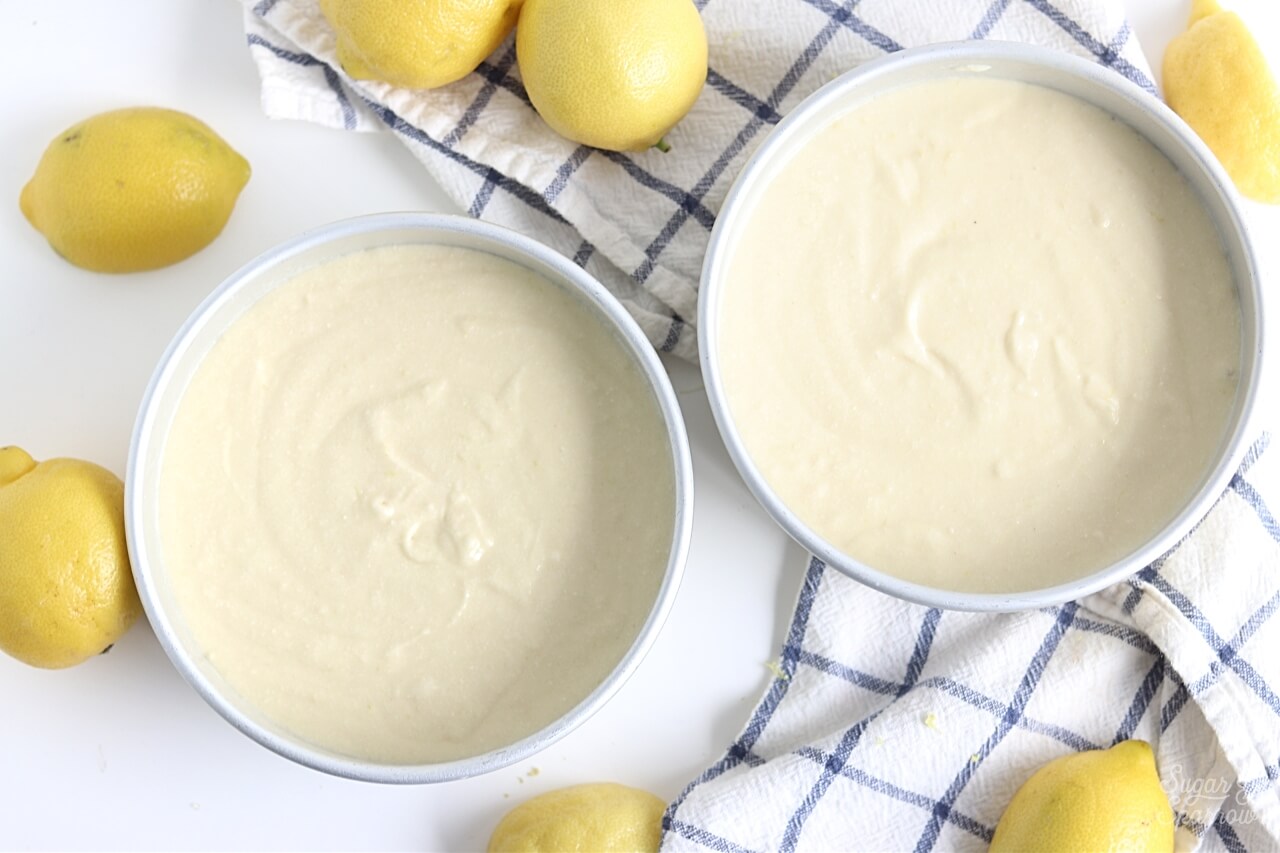
A general rule of thumb for the amount of leavening agent in a cake recipe is one teaspoon of baking powder and/or ¼ teaspoon of baking soda per cup of flour. There are exceptions to this for sure, as not all cake recipes have both leavening agents. Some cake recipes that are ultra acidic (like a lemon cake) will require less baking powder to rise because the acidity of lemons cancels it out. See? So much science.
3: Over-Creaming the Butter and Sugar
The process of creaming the butter and sugar in a cake recipe is super important to the rise (or fall) of the cake. The majority of gas bubbles are created in the creaming process, and those are responsible for creating both texture and rise. A good rule of thumb is to cream the butter and sugar at a moderate speed for 2-3 minutes. Any more than that and you can end up either losing those precious gas bubbles or creating so many that the cake will rise too quickly and then sink immediately thereafter.
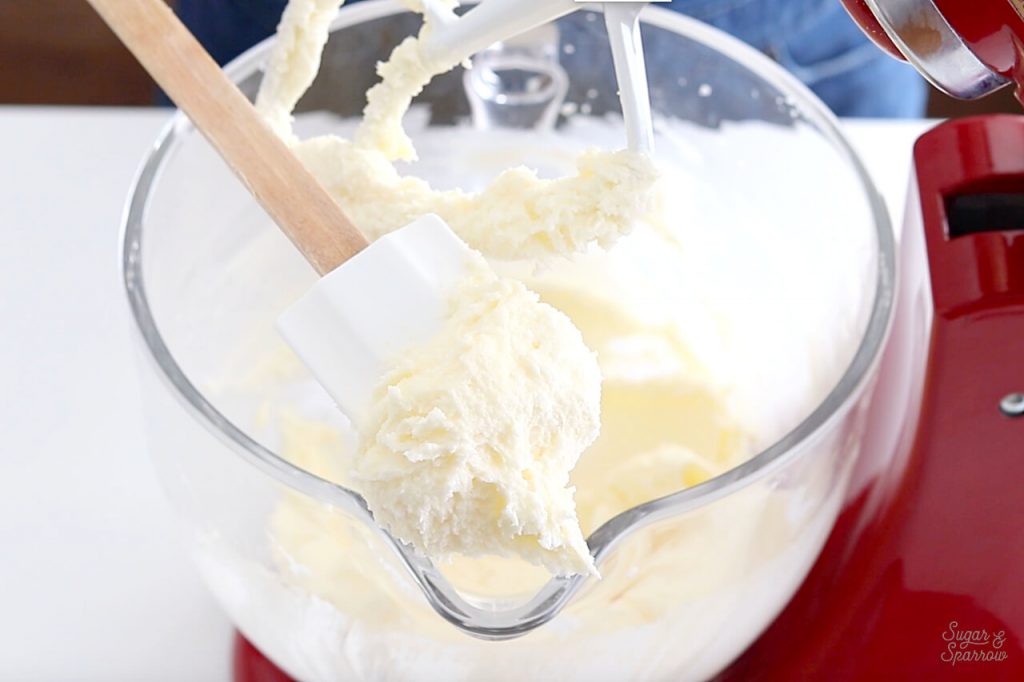
I tested this theory with my vanilla cake recipe and creamed the mixture for a little bit longer (four minutes) and it’s true – any more than 2-3 minutes, or any higher power on your mixer than medium, will whip too much air into the mixture and cause your cake to fall in the oven. Be sure to follow the recipe exactly when it comes to creaming the butter and sugar, and if you’re ever curious about the time it takes for this to occur (because sometimes recipes don’t specify a time), just cream the room temperature butter with the sugar for 2-3 minutes on medium and you should be good to go. It should be “light and fluffy” after that amount of time, which looks like this:
4: Your Butter is Too Soft
Baking involves quite a bit of patience, and bringing the butter to room temperature is no exception. But what exactly is “room temperature”? According to the internet, perfectly room temperature butter will be 68ºF, which means it’ll be a little soft when you press into it, but not so soft that it’s easy to indent with your finger or on the verge of melting.
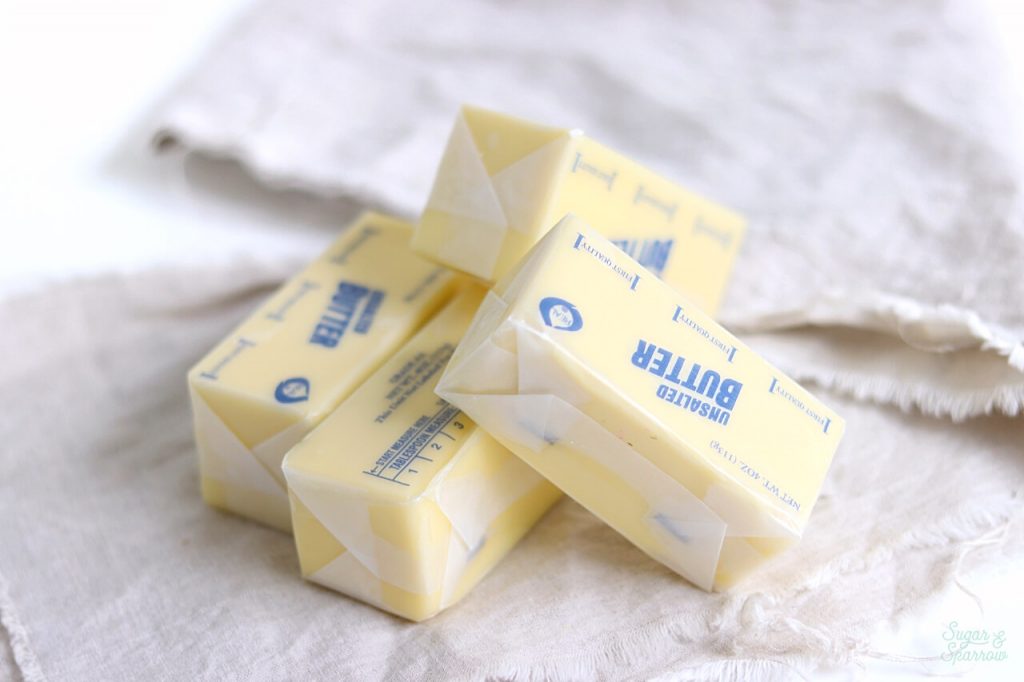
If your environment is especially hot, you need to keep an eye on your butter and make sure you don’t leave it out too long before starting on the cake batter. And on the flipside, attempting to soften your butter in the microwave often results in too-soft butter. Regardless of how you ended up with butter that is over-softened, creaming it with the sugar will result in air bubbles that are frothy, hence destroying your chances of a light and fluffy rise.
5: Over-Beating the Batter
The process of mixing up cake batter requires beating in just the right amount of air. The air that you beat in is partly responsible for the rise in your cake, and if you beat in too much, your cake will rise too rapidly in the oven and then sink. Over-beating will also overdevelop the gluten in the batter, which will make the texture of your cake more dense. This common problem typically happens at the end of a cake recipe, when you’re adding in the final dry and wet ingredients.
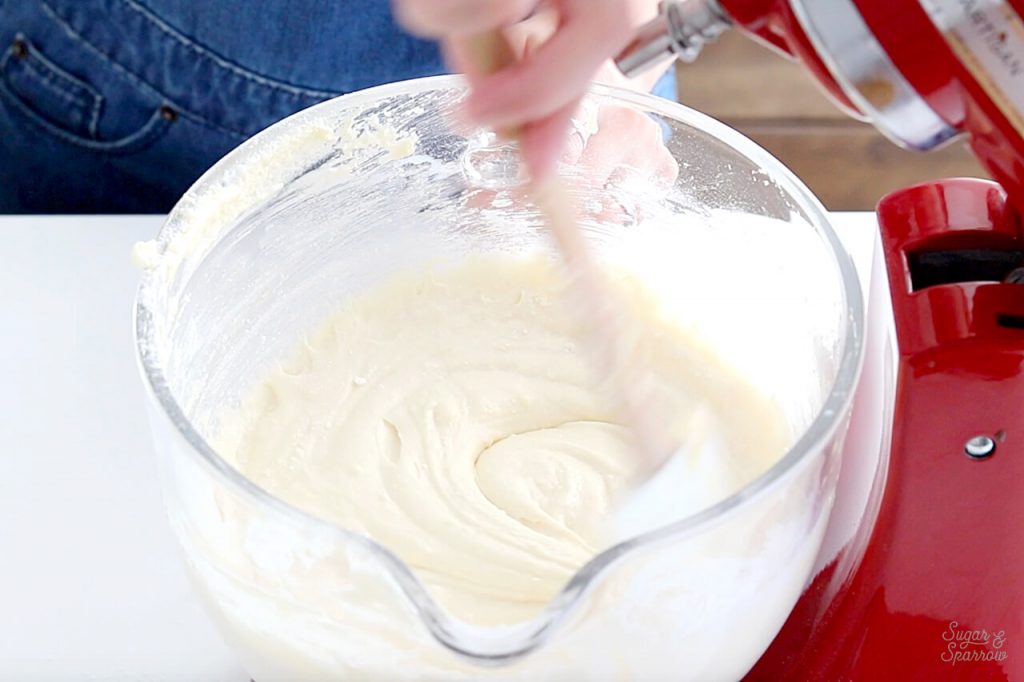
At the end of most of my cake recipes, I have the mixer on low and add all of the dry ingredients at once and wait until they just start to come together before adding all of the liquid at once. I specify to wait no more than fifteen seconds after adding the liquid, and this is specifically to make sure the batter doesn’t get overmixed. Each cake recipe will require a different process, but just know that the longer you mix the final batter, the more problematic air you’re whipping into it.
6: Your Oven is Too Hot
Have you ever checked your internal oven temperature? Sometimes your oven display will read one temperature, while the actual temperature is different. If an oven is too hot, it can cause the cake to rise too rapidly and thus, sink in the remainder of the baking process.
Typically, the resulting cake will have over-baked edges and will be runny in the middle. If you’re ever concerned about your oven temperature, you can purchase a thermometer to place inside your oven to ensure that it’s the right temp.
7: Opening the Oven Door Prematurely
I know it can be tempting to want to see what’s going on inside of the oven, but if you open the door during the baking process it lets too much air escape, even if it’s just for a second.
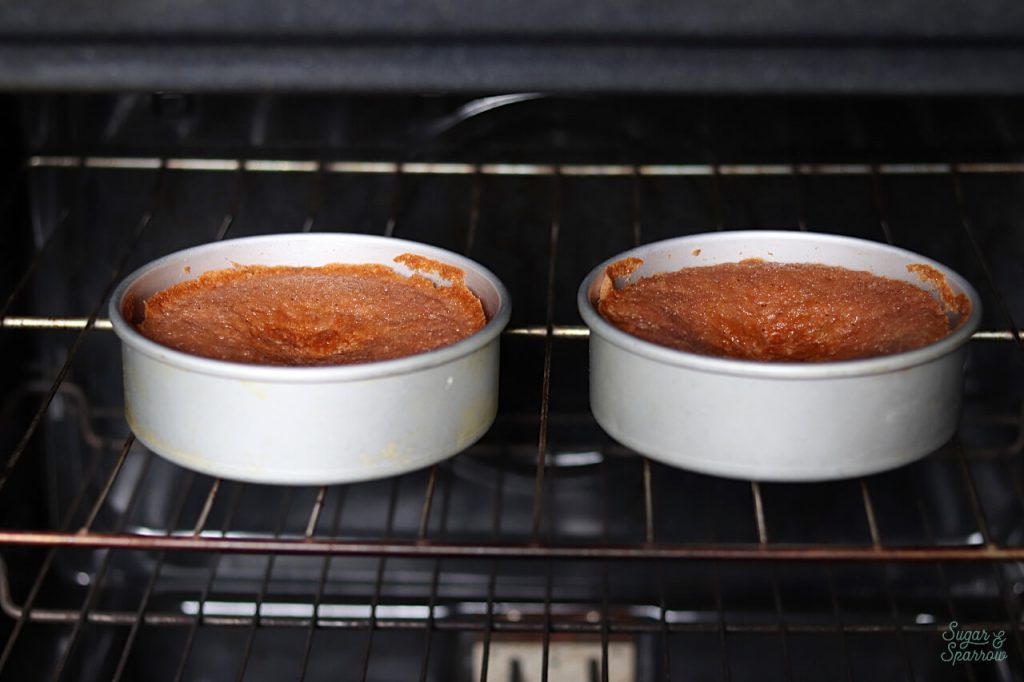
So as to not disturb the oven environment, you can just flip on the oven light to see your cake through the glass and be sure to only open the oven door after the specified baking time to check for doneness.
8: Your Ingredients Aren’t Room Temperature
It’s ultra important that all of your ingredients are room temperature before you mix up your batter.
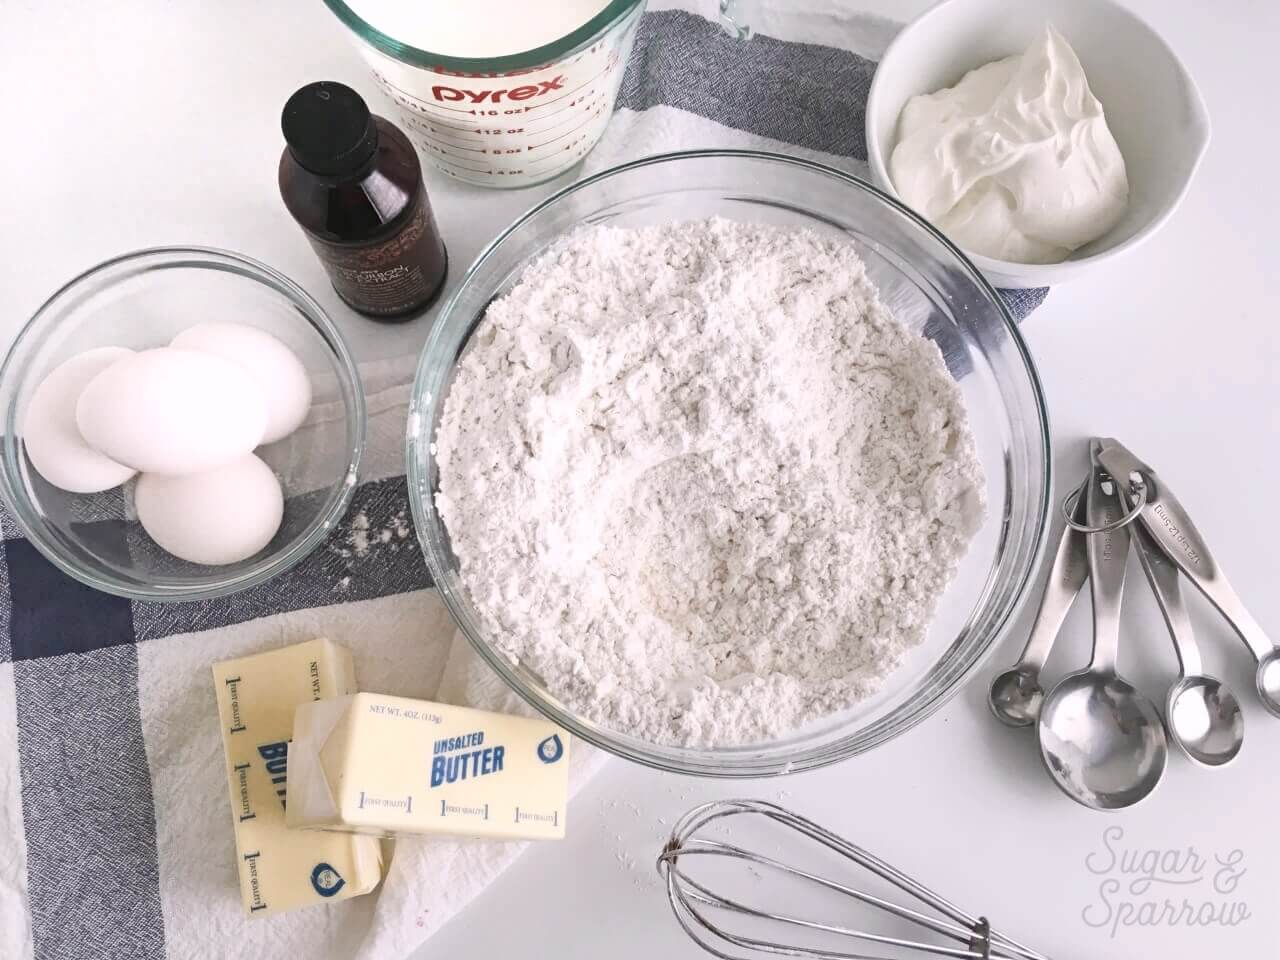
This means that your eggs, butter, and all other dairy and liquids need to be room temperature, not any colder or warmer unless the recipe specifies otherwise.
9: It’s Just an Unreliable Recipe
There are TONS of cake recipes on the internet, and surprise, not all of them are written properly or go through extensive testing. Some common reasons why cakes sink are too much liquid in the recipe, an incorrect amount of leavening agent, or other ingredients with off measurements. Recipe writing requires lots of testing, and I thoroughly test all of my recipes before publishing them for the world to see, but not all bloggers have the time (or ambition) for that.
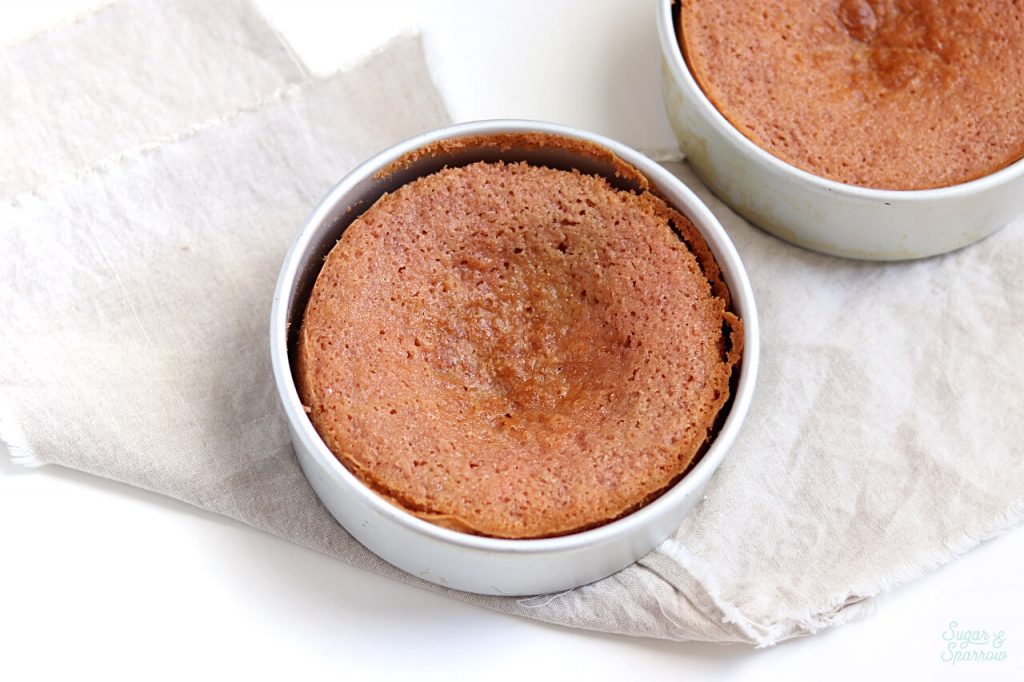
Finding the right cake recipe for you means trying out a few to see which ones you love. As long as you follow the detailed instructions and spend a little time comparing, I’m sure you’ll end up with a cake you love!
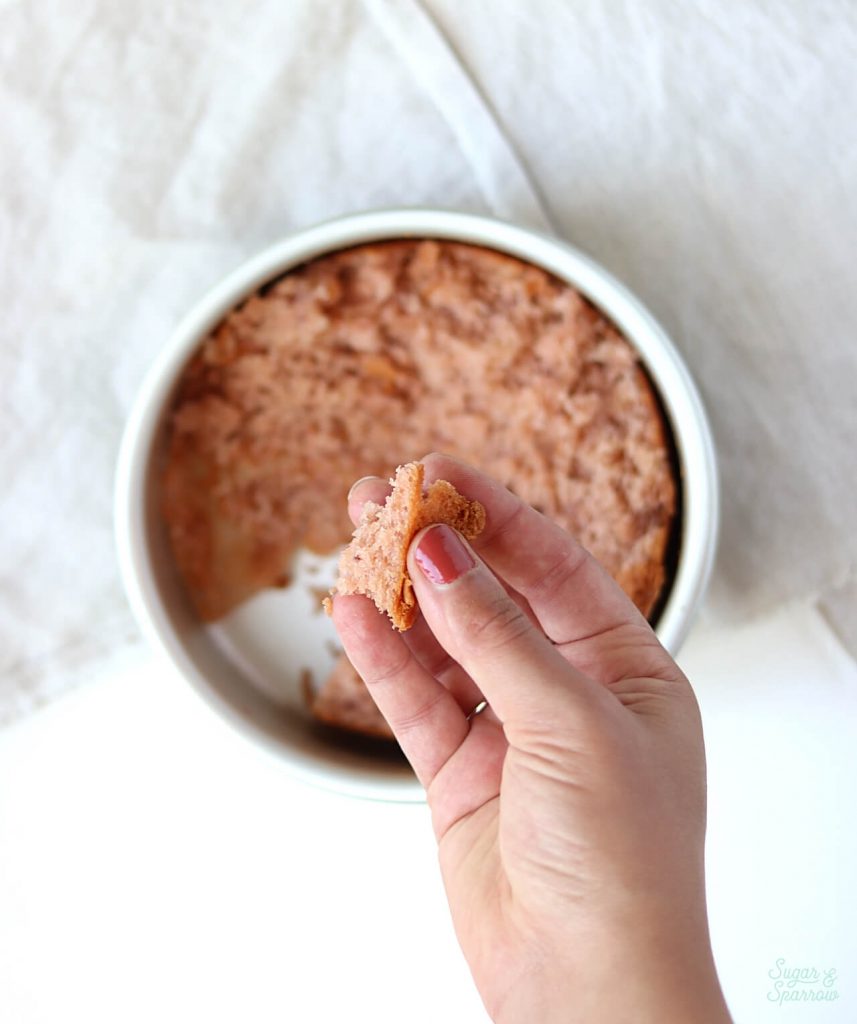
Although it’s frustrating to end up with a sunken cake, remember that you might be able to salvage it by leveling off the cake layers. And if all else fails, you can always stress eat your cake layers (like I’ve done many a time), turn them into cake balls, or just dust yourself off and try again!
Want more Cake Basics? Head here to see all of the posts and learn the methods of caking I’ve come to love over the years. I’m cheering you on every step of the way!


Thank you for teaching me about cake baking! I just made your lemon lavender cake recipe and they all sunk in the middle. Reading your explanations was very helpful – I probably should have read those before baking! I believe a couple of things happened- it is July and very hot and my butter got too soft and then I over creamed the butter and sugar. I will just level off the rounds and finish the cake but I am excited to try again in the future. Thank you again for educating us so well.
Hi Whitney, I’ve made a couple all-in-one cakes from a baker I trust completely (other recipes from her work like a charm!). But these two cake recipes always fall in the middle toward the end of baking. I’ve noticed that anything I bake takes much longer than the recipes call for, even though I used an oven thermometer and it seems to be pretty accurate (with typical cycling). I wait to test for doneness until the recipes says, but the middle is still liquid at that point even though the sides are looking close to done. I’ve been considering an experiment with turning the temp up or down – any advice on which I should try?
Hi Amy! That’s so interesting! It’s hard to know what to recommend without seeing the recipe and knowing what size pans you’re using. If you want to experiment with the temp I would recommend turning the oven down (for example, if the recipe says 350F I would try 325F) and baking for 10-15 minutes longer than the recipe states. Hope that helps!
How exactly does beating too much add gluten to the batter? Gluten comes from the flour you use, the beaters don’t create it themselves!!
Hi Pete! The beating helps develop the gluten, not add gluten. I went ahead and rephrased that in the blog post. Mixing flours with liquids activates the gluten proteins that give baked goods their structure, and overmixing can basically add too much structure to a cake, resulting in a more dense crumb.
cool
Hi Whitney,
I tried to make this lemon cake for a friend, and I was using two twelve inch pans for the bottom and two ten’s for the top, I just can’t seem to get the recipe correct for the ingredients. I’m so frustrated, I’ve make this lemon cake in the 6 inch and it came out great; but the 12 and 10 inch I threw out the cakes they just didn’t turn out right, can you help?
Hi Gina! Is it one of my lemon cake recipes? What exactly is happening – are they underbaked? overbaked? Sinking? For larger cake pans you may need to bake the cakes 25 degrees lower for longer (low and slow) but until I know what recipe you’re using I can’t be sure how you should move forward.
Hi Whitney, my cakes don’t sink in the middle they kind of shrank. I always make more than one cake, i.e. I make 4 cakes at a time n I multiple the recipe 4x, if the receipt ask for 1 teaspoon on baking soda, should I use 4 teaspoons for 4 cakes? Is that too much to cause my cable to shrink?
Hi Fran! Do the cakes look ok when you take them out of the oven and then shrink when you’re allowing them to cool in the pan? Or do they look that way right when they come out of the oven? If you let a cake cool in the pan too long, the sides will pull away from the cake pan and shrink toward the center, so I recommend only allowing the cakes to cool in the pan for about 5 minutes before turning it out and letting it cool on a cooling rack or baking sheet. I don’t recommend increasing the amount of baking soda unless you’re increasing all of the other ingredients by the same rate (ie scaling up the recipe).
My cakes always sink in the middle and I use box mixes. That’s probably why! Would the type of baking pan(s) have anything to do with a sinking middle? I use mostly glass pans. Thank you!
Hi Georgia! A few questions: 1) What size are your glass baking pans? 2) What brand of box mix are you using? 3) are you making any substitutions or adding anything other than what the box mix calls for?
Hi there!
I live in New Mexico, high elevation lol. Any suggestions for high elevation baking? I’ve been lucky enough to not have any major issues (I don’t think, granted I’m new to baking and decorating), but it’s always in the back of my head as a worry that might affect my cakes when they are cooking.
Hi Kameilia! I have never had to alter a recipe for high elevation baking before, so I’m no help there but I did find a link that has some simple tips for high elevation baking: https://www.kingarthurbaking.com/learn/resources/high-altitude-baking hope that helps!
Hi Whitney,
Thanks for all you do! I’m learning to bake because of you! I just made your vanilla cake recipe and my cakes fell in the middle. The recipe said to cream the butter on high for two minutes, but tip 3 says not cream butter higher than medium. I followed the recipe and used high. I also live at high altitude. Could that be why they fell?
Hi what do you mean by “Ispecify to wait no more than fifteen seconds after adding the liquid, and this is specifically to make sure the batter doesn’t get overmixed.”
Do you mean only mix for fifteen seconds after you add all your liquid?
Hi June! Yes, that’s correct. Unless otherwise specified in the recipe, I typically only mix the batter for about fifteen seconds after adding the liquid. This is the point where the batter comes together just enough. If you feel that there are lumps in the batter still, you can give it a few whisks by hand.
Do you have a reliable make over recipe for a box mix?
Hi Kathy! I don’t have any recipes that use box mixes, all of my recipes are from scratch. However, I have made a few of the recipes from the author of The Cake Mix Doctor and they are tasty: https://cakemixdoctor.com/