• Cake
  • Frosting
  • YouTube
  • My Favorite Tools
  • Nav Social Icons

  • Skip to primary navigation
  • Skip to main content
  • Skip to primary sidebar
  • Skip to footer
  • Recipes
    • Cake
    • Cupcakes
    • Frosting
    • Ice Cream
    • Vegan
  • Cake Basics
  • Tutorials
  • Blog
  • About
  • Mobile Menu Widgets

    Connect

    Search

Sugar & Sparrow logo in script font

Sugar & Sparrow

Lifestyle and Cake from Portland Oregon

  • Cake Basics
  • Recipes
    • Cake
    • Cupcakes
    • Cookies & Bars
    • Filling
    • Frosting
    • Ice Cream
    • No-Bake
    • Small Batch
    • Vegan
  • Tutorials
  • Book
  • Blog
  • About

Easy Oreo Truffles (4 Ingredients!)

January 22, 2023 · In: Featured, Holiday, No-Bake, Recipes, Seasonal, Valentines

Jump to Recipe

I first made these Oreo truffles years ago during the holiday season, way back when my husband and I had the time to make cookie boxes for all of our neighbors and friends (aka we did not have a toddler yet). They were an instant hit, and since they’re super easy to make (only four ingredients!), I’ve been whipping them up ever since. They’re perfect for Valentine’s Day, the holidays, or any time you feel like making a bite-sized dessert that looks fancy without a whole lot of effort! 

easy oreo truffles recipe
oreo truffles recipe

One Reader, Lori, says: “The Oreo Truffles are SO simple and SO delicious! Everyone I made them for absolutely loved them. This recipe is a hit!” ★★★★★

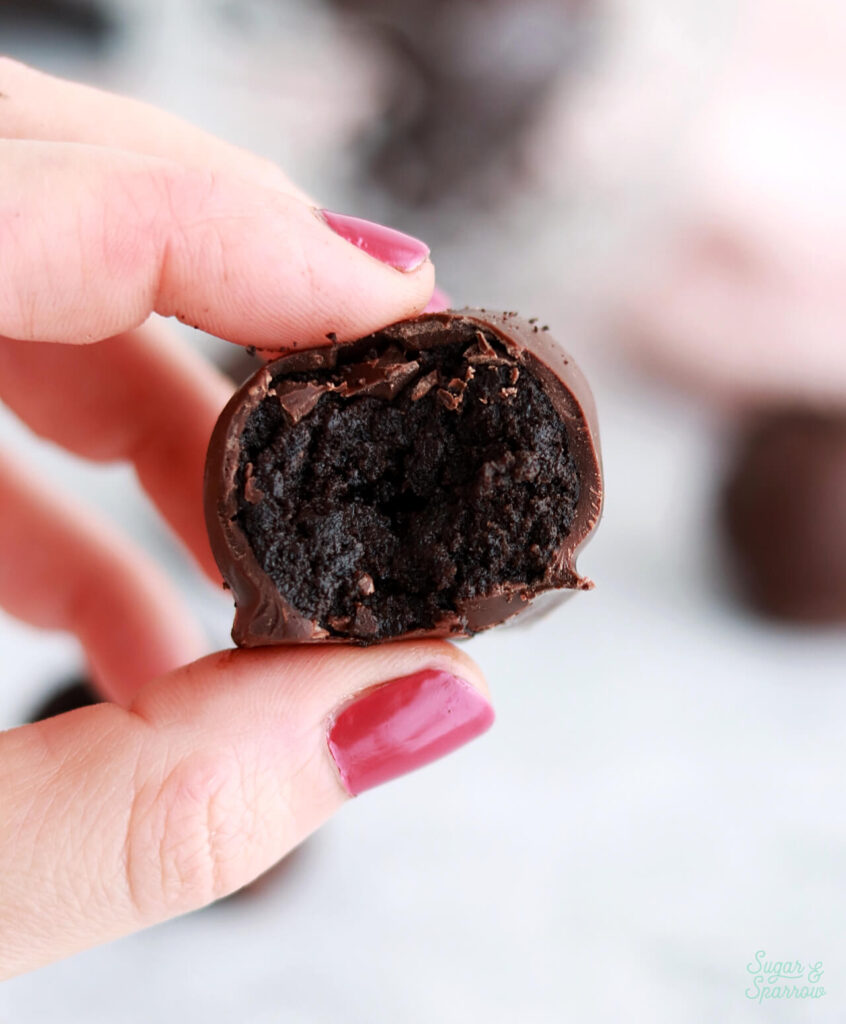
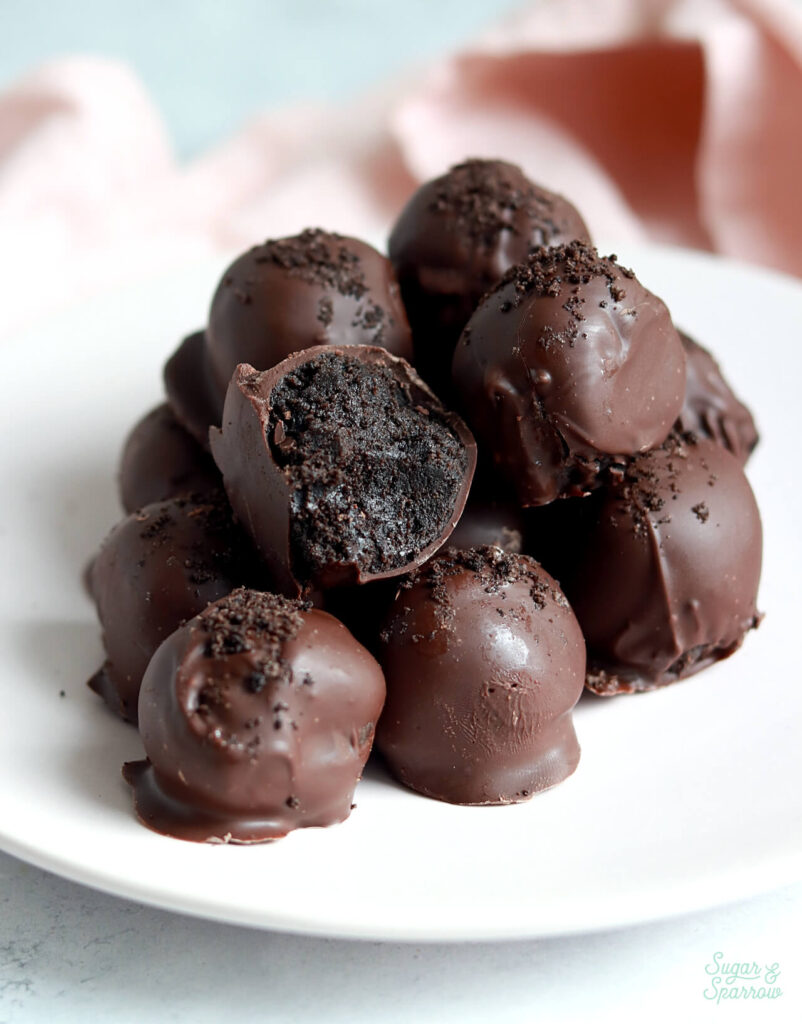
These Oreo truffles basically taste like a fudge covered Oreo, but with a soft center. The filling is made by mixing Oreo cookie crumbs, cream cheese, and a little vanilla extract until you have a moldable filling that can be rolled into balls. I love using Ghirardelli melting wafers for covering the truffle filling because they taste incredible and are absolutely fail proof. You basically just melt the wafers in the microwave, dip the truffles, and the chocolate sets perfectly with all the shine and snap you’d get with tempered chocolate. If you’d rather use tempered chocolate though, feel free! 
oreo truffles recipe for valentines day

The only tricky part about this recipe is dipping the truffles in the chocolate without making a huge mess. My favorite technique is to place the truffles (a few at a time) into a medium-sized bowl of melted chocolate and use a fork to roll them around a bit. Then I use that same fork to lift them out of the chocolate, let the excess drizzle back down, and carefully place the freshly coated truffles onto a lined cookie sheet. This takes some practice, but take heart that even if they are a little more rustic-looking, they will taste so amazing that it won’t even matter.
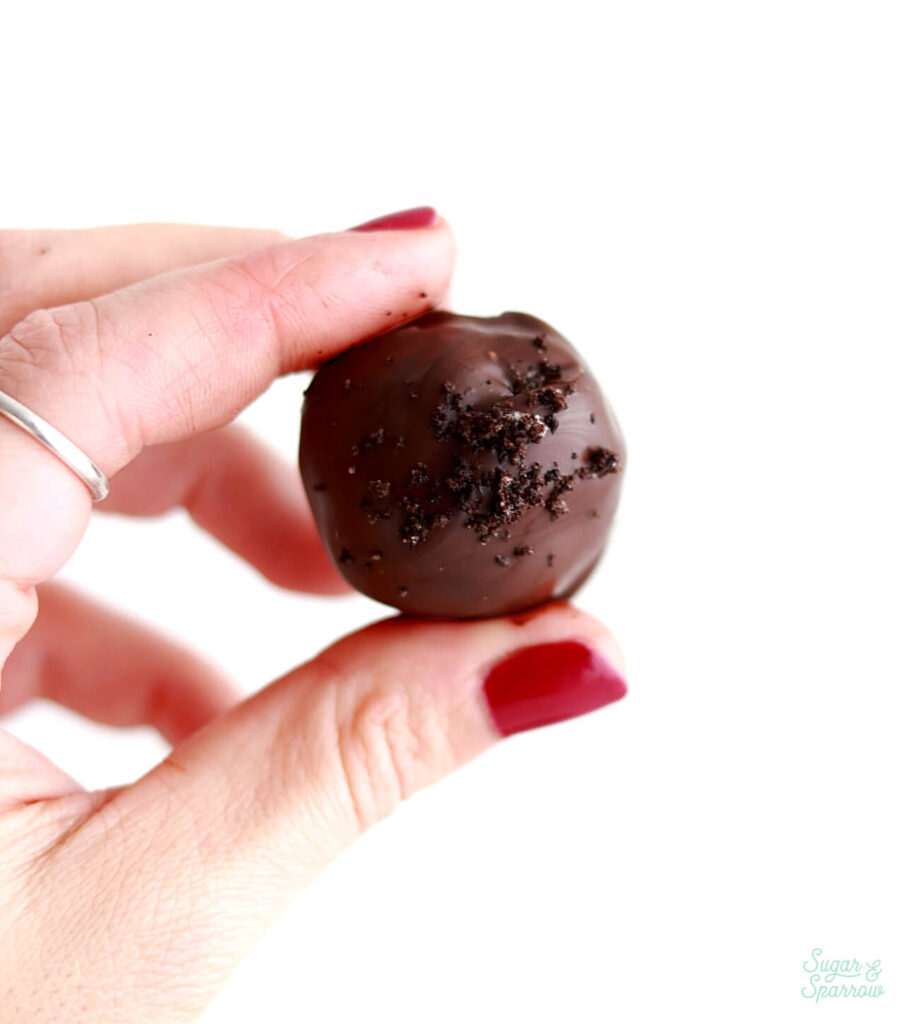
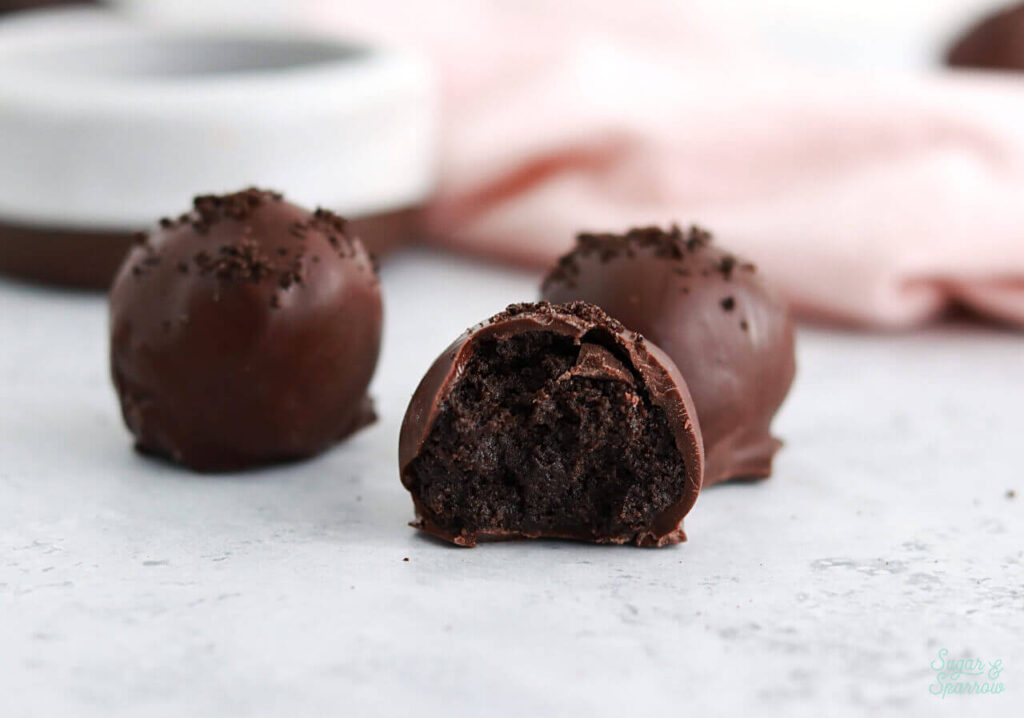
homemade oreo truffles recipe
chocolate covered oreo truffle recipe

I’ve coated these truffles with dark chocolate, milk chocolate, and white chocolate before – they taste delicious with any of those choices. To decorate, I simply top each one with some extra Oreo cookie crumbs before the coating sets. Sprinkles also make a beautiful topping. Regardless of how you choose to decorate, these Oreo truffles are sure to be totally irresistible to any Oreo (or chocolate!) lover. They make a really sweet Valentine’s Day gift, holiday gift, or all around day-brightener year round.
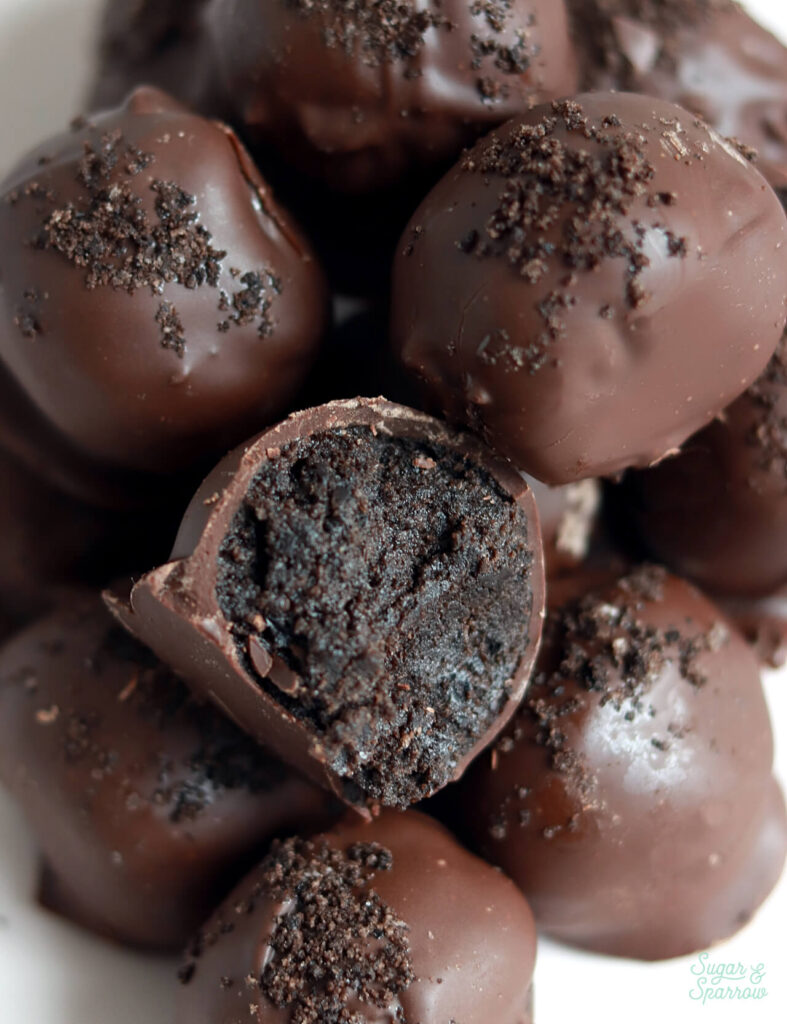
chocolate covered oreo truffles recipe
gift ideas oreo truffles recipe

Easy Oreo Truffles

5 from 1 vote
The perfect no-bake, bite-sized dessert made with just four ingredients: Oreos, cream cheese, vanilla, and melted chocolate!
Print Recipe Pin Recipe
Prep Time:1 hour hr
Freeze Time:15 minutes mins
Total Time:1 hour hr 15 minutes mins
Servings: 32 truffles

Ingredients

  • 1 package (36 cookies, 530g) Oreo cookies
  • 8 Oz cream cheese, brick-style not the spread
  • 1/2 tsp pure vanilla extract
  • 10 Oz (284g) Ghirardelli melting wafers (dark, milk, or white chocolate)

Instructions

  • Place the Oreo cookies into a food processor and pulse until they become fine crumbs.
  • In a stand mixer fitted with the paddle attachment (a hand mixer works fine too!), beat the cream cheese on medium-high until it’s smooth and creamy, about 4 minutes. Reserve 2 Tablespoons of the Oreo cookie crumbs and set them aside, then add the rest of the Oreo crumbs to the cream cheese. Add the vanilla extract and mix on low speed until well combined, about 1 minute.
  • Line a cookie sheet with wax or parchment paper. Use a Tablespoon to scoop the Oreo mixture and roll them into 1-inch balls, then place them onto the lined cookie sheet. When you’re finished forming the Oreo balls, place them into the freezer to chill for at least 15 minutes.
  • Place the chocolate melting wafers into a medium microwave safe bowl and melt according to the package instructions. Remove the Oreo balls from the freezer and place them into the melted chocolate a few at a time. Use a fork to roll them around until coated, then carefully lift them out with the fork and place them back onto the lined cookie sheet. Garnish with cookie crumbs or sprinkles immediately after coating, while the chocolate is still wet.
  • Let the chocolate coating set, then serve right away or store in an airtight container in the refrigerator for up to two weeks.

Notes

Make Ahead Tips:
These Oreo truffles can be made ahead and stored in an airtight container in the refrigerator for up to two weeks. 

I hope you’re as obsessed with these Oreo truffles as I am! Let me know what you think in the comments below and feel free to tag @sugarandsparrowco on Instagram if you post a pic! I love to see what you create.
By: Whitney · In: Featured, Holiday, No-Bake, Recipes, Seasonal, Valentines · Tagged: candy, ghirardelli melting wafers, no bake, oreo cookies, oreo truffle recipe, oreo truffles, oreos, truffles

you’ll also love

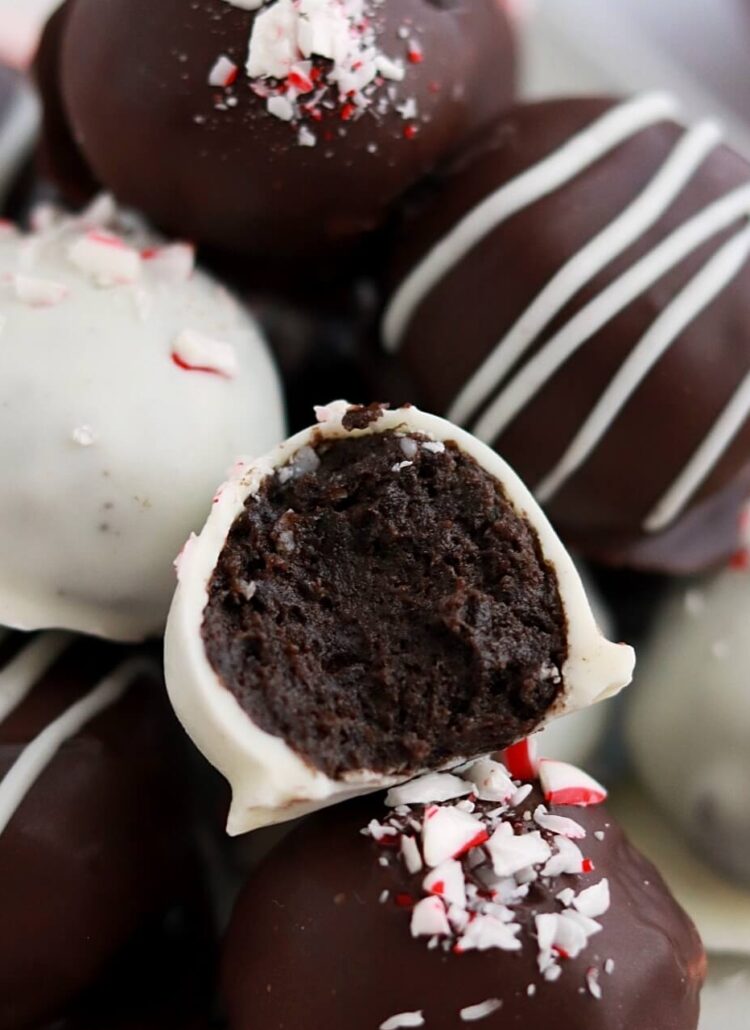
peppermint oreo truffles coated in chocolateEasy Mint Oreo Truffles
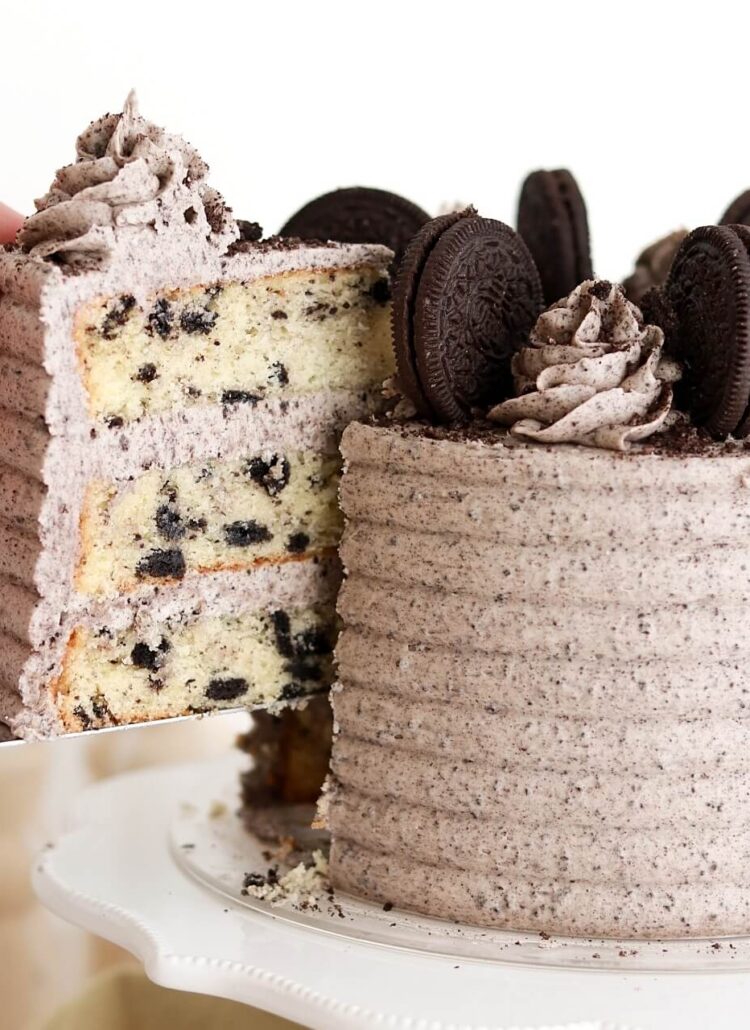
vanilla oreo cake with cookies and cream buttercreamCookies & Cream Cake (Vanilla Oreo Cake)
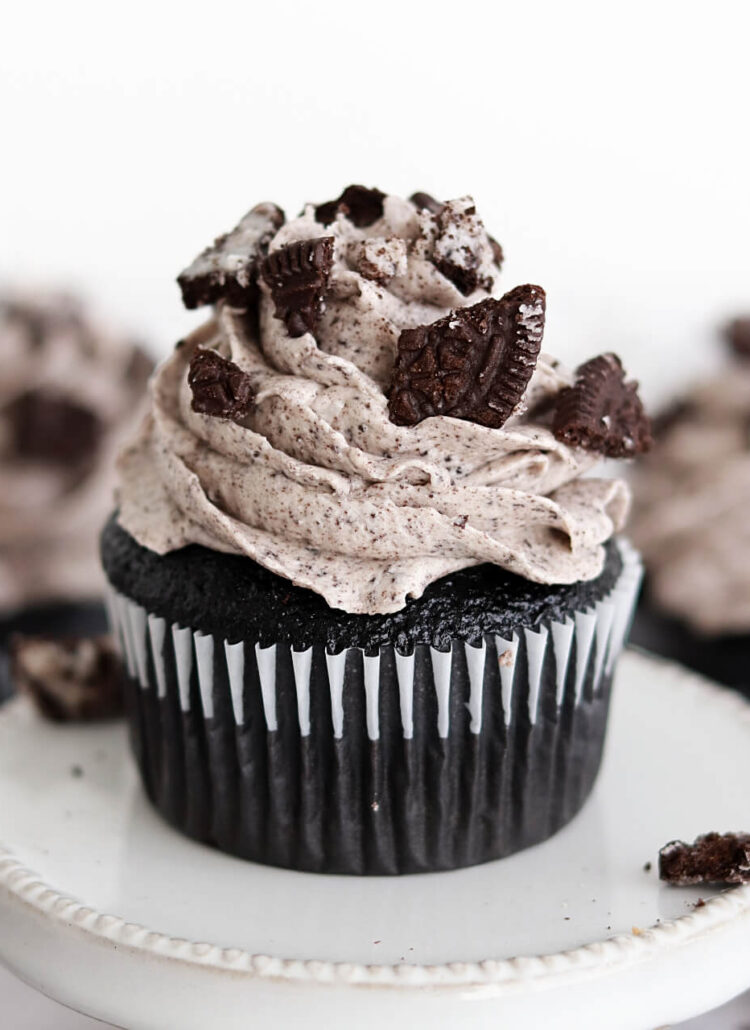
black velvet cupcakes with oreo buttercreamOreo Cupcakes Recipe

Join the List

Stay up to date & receive the latest posts in your inbox.

Reader Interactions

Comments

  1. Tiana Emch says

    December 11, 2025 at 7:34 am

    Do the truffles have to be refrigerated or can they be stored at room temperature?

    Reply
    • Whitney says

      December 11, 2025 at 9:51 am

      Hi Tiana! They can be left out for about 2 hours, after that they should be refrigerated because of the cream cheese.

      Reply
  2. Denise says

    June 7, 2025 at 3:08 am

    Normally I don’t need to know this, but approximately how many does this make?

    Reply
    • Whitney says

      June 7, 2025 at 4:02 pm

      Hi Denise! This recipe makes about 32 truffles

      Reply
  3. Kathy says

    February 12, 2024 at 9:45 am

    Does the cream cheese have to be room temperature

    Reply
    • Whitney says

      February 21, 2024 at 8:13 pm

      Hi Kathy! It doesn’t need to be for this recipe 🙂

      Reply
  4. Llinos Merriman says

    June 16, 2023 at 9:20 am

    Can I freeze these?

    Reply
    • Whitney says

      June 20, 2023 at 8:50 am

      Hi Llinos! Yes, you can freeze them for up to two months!

      Reply
  5. Lori K Larson says

    February 15, 2023 at 8:25 pm

    5 stars
    The Oreo Truffles are SO simple and SO delicious! Everyone I made them for absolutely loved them. This recipe is a hit. Thanks!

    Reply
    • Whitney says

      February 21, 2023 at 7:47 pm

      Yay, Lori! I’m so happy you love this recipe as much as I do!

      Reply

Leave a Reply Cancel reply

Your email address will not be published. Required fields are marked *

Recipe Rating


Next Post >

Freeze Dried Raspberry Buttercream Recipe

Primary Sidebar

Welcome to Sugar & Sparrow

Welcome to Sugar & Sparrow

Helping you whip up pretty desserts with confidence and creativity. And hopefully sharing a few laughs with you along the way!

Learn More

Connect

let’s bake!

Get my very best recipes, baking tips, and decorating tutorials sent to your inbox

Featured Posts

pastel m&m cake

Rainbow Candy Mosaic Cake

easter egg cake tutorial

Colorful (Edible!) Easter Egg Cake Toppers Tutorial

halloween jack o lantern candy bucket cake tutorial

Jack O Lantern Candy Bucket Cake Tutorial

Search

Archives

Follow Along

@sugarandsparrowco

DYE-FREE BLACK BUTTERCREAM 🖤 (recipe below) there DYE-FREE BLACK BUTTERCREAM 🖤 (recipe below) there is ZERO food coloring in this black buttercream recipe which means it won’t turn your mouth black (or anything else 💩) + it tastes like Oreo cookie butter so it’s a win all around!! The key is to use EXTRA dark black cocoa powder, which also comes in handy in my black velvet cake recipe 🙌🏼 ideal secret ingredient for your Halloween cakes! 
⁣
Full recipe (and the black cocoa powder I use!) is linked in my bio and at https://sugarandsparrow.com/dye-free-black-buttercream/
⁣
DYE-FREE BLACK BUTTERCREAM⁣⁣
Yield: 2.5 Cups⁣⁣
⁣⁣
INGREDIENTS:⁣⁣
1 Cup (226g) unsalted butter, room temp
2 1/2 Cups (300g) powdered sugar⁣⁣
1/2 Cup (56g) EXTRA DARK black cocoa powder⁣⁣*
1 tsp pure vanilla extract⁣⁣
2 Tbsp whole milk, room temp
pinch of salt⁣⁣
⁣⁣
INSTRUCTIONS:⁣⁣
1. In a stand mixer fitted with the paddle attachment, whip the butter on medium speed until creamy and light in color, 4 min. Add half of the powdered sugar and mix on low until just combined, then add the rest of the powdered sugar. With the mixer still in the off position, sift in the black cocoa powder and add the vanilla, milk, and salt. Mix on low until all ingredients are thoroughly combined, 2-3 minutes, scraping down the bowl and paddle as needed.⁣⁣
2. Place the buttercream in an airtight container and allow the color to deepen for 24 hours or more. ⁣⁣

*I use a brand called The Cocoa Trader that I get on Amazon. It’s the darkest black cocoa powder I’ve seen so far!!
⁣⁣
#blackbuttercream #naturalfoodcoloring #blackcake #buttercream #blackcocoapowder
SMALL BATCH pumpkin cake with cream cheese frostin SMALL BATCH pumpkin cake with cream cheese frosting 🧡 This mini cake is a scaled down version of my favorite pumpkin cake recipe + makes the perfect amount for 2-4 people! Bake it as a 4-inch mini layer cake or a single layer 6-inch cake, either way is absolutely delicious and the perfect for date night, a small gathering, or any time you’re craving pumpkin cake without having to make a huge dessert 🙌🏽

Comment RECIPE and I’ll send you the full recipe (with thick and stable cream cheese frosting!) or find it linked in my bio + at https://sugarandsparrow.com/small-batch-pumpkin-cake/ 

INGREDIENTS 
2/3 Cup (88g) all-purpose flour
1 tsp baking powder
1/4 tsp baking soda
1/4 tsp salt
1 tsp ground cinnamon
1/2 tsp allspice
1/4 tsp nutmeg
1/8 tsp ground ginger
1/3 Cup (67g) packed brown sugar
2 Tbsp (25g) granulated sugar
1/3 Cup (80ml) vegetable oil or melted butter
1 large egg, room temp
1/2 Cup (125g) canned pumpkin puree
1/2 tsp pure vanilla extract

INSTRUCTIONS
1. Preheat the oven to 350ºF (177ºC). Grease and line three 4-inch cake pans or one 6-inch cake pan.
2. In a medium bowl, whisk together the all-purpose flour, baking powder, baking soda, salt, cinnamon, allspice, nutmeg, and ground ginger. Set aside.
3. In a separate medium bowl, add the brown sugar, granulated sugar, vegetable oil (if using melted butter in place of the oil, cool it for 5-10 minutes prior to adding here), egg, pumpkin puree, and vanilla extract. Whisk together until uniform, then add the flour mixture and whisk until smooth.
4. Pour the batter evenly between the prepared cake pan(s). If using 4-inch cake pans, bake for 22-26 minutes. If using a 6-inch cake pan, bake for 25-30 minutes. Cool completely before frosting (full recipe with cream cheese buttercream is linked in my bio!)

#pumpkincake #smallbatchcake #minicake #creamcheesefrosting #fallbaking
TOP 10 FALL CAKES 🍂 These are not only MY favorite TOP 10 FALL CAKES 🍂 These are not only MY favorite Fall cake recipes, they’re yours too! 🥰

Comment “FALL” and I’ll send you all of the cake recipes shown here and all 36+ of my favorite Fall baking ideas – classic cakes like pumpkin cake with cream cheese frosting, spice cake, and cranberry orange cake, more complex flavor combinations like chocolate pecan pie cake with salted caramel and apple crisp cake, and cozy recipes like no-bake pumpkin cheesecake, homemade salted caramel, and my favorite brown butter chocolate chip cookie bars. 

https://sugarandsparrow.com/fall-baking-recipes/

#pumpkincake #applecake #fallcake #cakeinspiration #cakeideas
The BEST pumpkin cake with cream cheese frosting 🧡 The BEST pumpkin cake with cream cheese frosting 🧡 this pumpkin layer cake is easy to make, perfectly spiced, so moist, irresistible with cream cheese frosting, and uses the ENTIRE 15oz can of pumpkin (no awkward leftovers!). Top it with pretty piped pumpkins to make it extra cute 🥰

Comment RECIPE to get the full recipe (with frosting + cake decorating tutorial) or find it linked in my bio and at https://sugarandsparrow.com/pumpkin-layer-cake-recipe/

INGREDIENTS
2 Cups (265g) all-purpose flour
2 tsp baking powder
1 tsp baking soda
1 tsp salt
2 tsp ground cinnamon
1 tsp allspice
1 tsp nutmeg
1/2 tsp ground ginger
1 Cup (200g) packed brown sugar
1/2 Cup (100g) granulated sugar
1 Cup (240ml) vegetable oil or melted butter
4 large eggs, room temp
15 Oz (425g) canned pumpkin puree
2 tsp pure vanilla extract

INSTRUCTIONS
1. Preheat the oven to 350ºF (177ºC). Grease and line three 6-inch or two 8-inch cake pans.
2. In a medium bowl, whisk together the all-purpose flour, baking powder, baking soda, salt, cinnamon, allspice, nutmeg, and ground ginger. Set aside.
3. In a separate large bowl, add the brown sugar, granulated sugar, oil (if using melted butter in place of the oil, cool it for 5-10 minutes prior to adding here), eggs, pumpkin puree, and vanilla extract. Whisk together until uniform, then add the flour mixture and whisk until smooth.
4. Pour the batter evenly between the prepared cake pans and bake for 32-36 minutes, until a toothpick inserted comes out clean or with just a few moist crumbs. Cool the cakes completely to room temp before frosting!

#pumpkincake #creamcheesefrosting #layercake #cake #fallbaking
EASY HOMEMADE SALTED CARAMEL✨(recipe below) even i EASY HOMEMADE SALTED CARAMEL✨(recipe below) even if you’ve never made salted caramel from scratch before, this recipe is VERY beginner friendly + nearly fail proof! There are only 4 ingredients involved, no candy thermometer required, and takes just 10 minutes to make 👏🏽 this is my go-to caramel for drip cakes, drizzling desserts, flavoring coffee, adding it to buttercream, and so much more! 🍯  
 
Full recipe (with video + detailed instructions) linked in my bio or at https://sugarandsparrow.com/salted-caramel-recipe/
⁣ 
SALTED CARAMEL 
Yield: 1.25 Cup⁣s
⁣⁣ 
Ingredients:⁣⁣ 
1 Cup (200g) white granulated sugar⁣⁣ 
6 Tbsp (85g) unsalted butter, room temperature, cut into cubes⁣⁣ 
1/2 Cup (120ml) heavy whipping cream, room temperature⁣⁣ 
1 1/4 tsp kosher salt⁣⁣ 
⁣⁣ 
Instructions:⁣⁣ 
1. Place the sugar in a medium saucepan over medium-high heat and stir constantly until it melts into an amber-colored liquid and no sugar clumps remain, 5-6 minutes. ⁣⁣ 
2. Reduce the heat to medium. Carefully add the butter (it will bubble up when you do) and use a whisk to combine it with the sugar mixture until the butter is fully melted and incorporated, 2-3 minutes. ⁣⁣ 
3. Add the heavy whipping cream in a steady stream while whisking. As soon as the cream is incorporated, let the caramel boil for a full minute before removing it from the heat and stirring in the salt. ⁣⁣ 
4. Let the caramel cool to room temperature before using it in a cake recipe or as a drip. If you’re using it to drizzle over ice cream or warm baked goods, you only need to cool it slightly (20 minutes or so). It will thicken as it cools. ⁣⁣ 
⁣⁣ 
#caramel #saltedcaramel #bakedfromscratch #caramelcake #caramelsauce

Footer

On the Blog

  • Cake Basics
  • Recipes
  • Tutorials

Info

  • About
  • Privacy Policy & Disclosure

stay in the know

Copyright © 2026 · Theme by Sugar & Sparrow