I’m usually an American buttercream girly, mostly because it’s so quick and easy to make. Swiss meringue buttercream takes a little more effort, but if you’re willing to do the work it is SO worth it! This frosting is silky smooth, not too sweet, packed with vanilla flavor, and incredibly easy to work with for decorating cakes and cupcakes. It’s made with just 5 ingredients and this detailed recipe will help you make perfect Swiss meringue buttercream, even if it’s your first time or you’ve tried before and failed.

What is Swiss Meringue Buttercream?
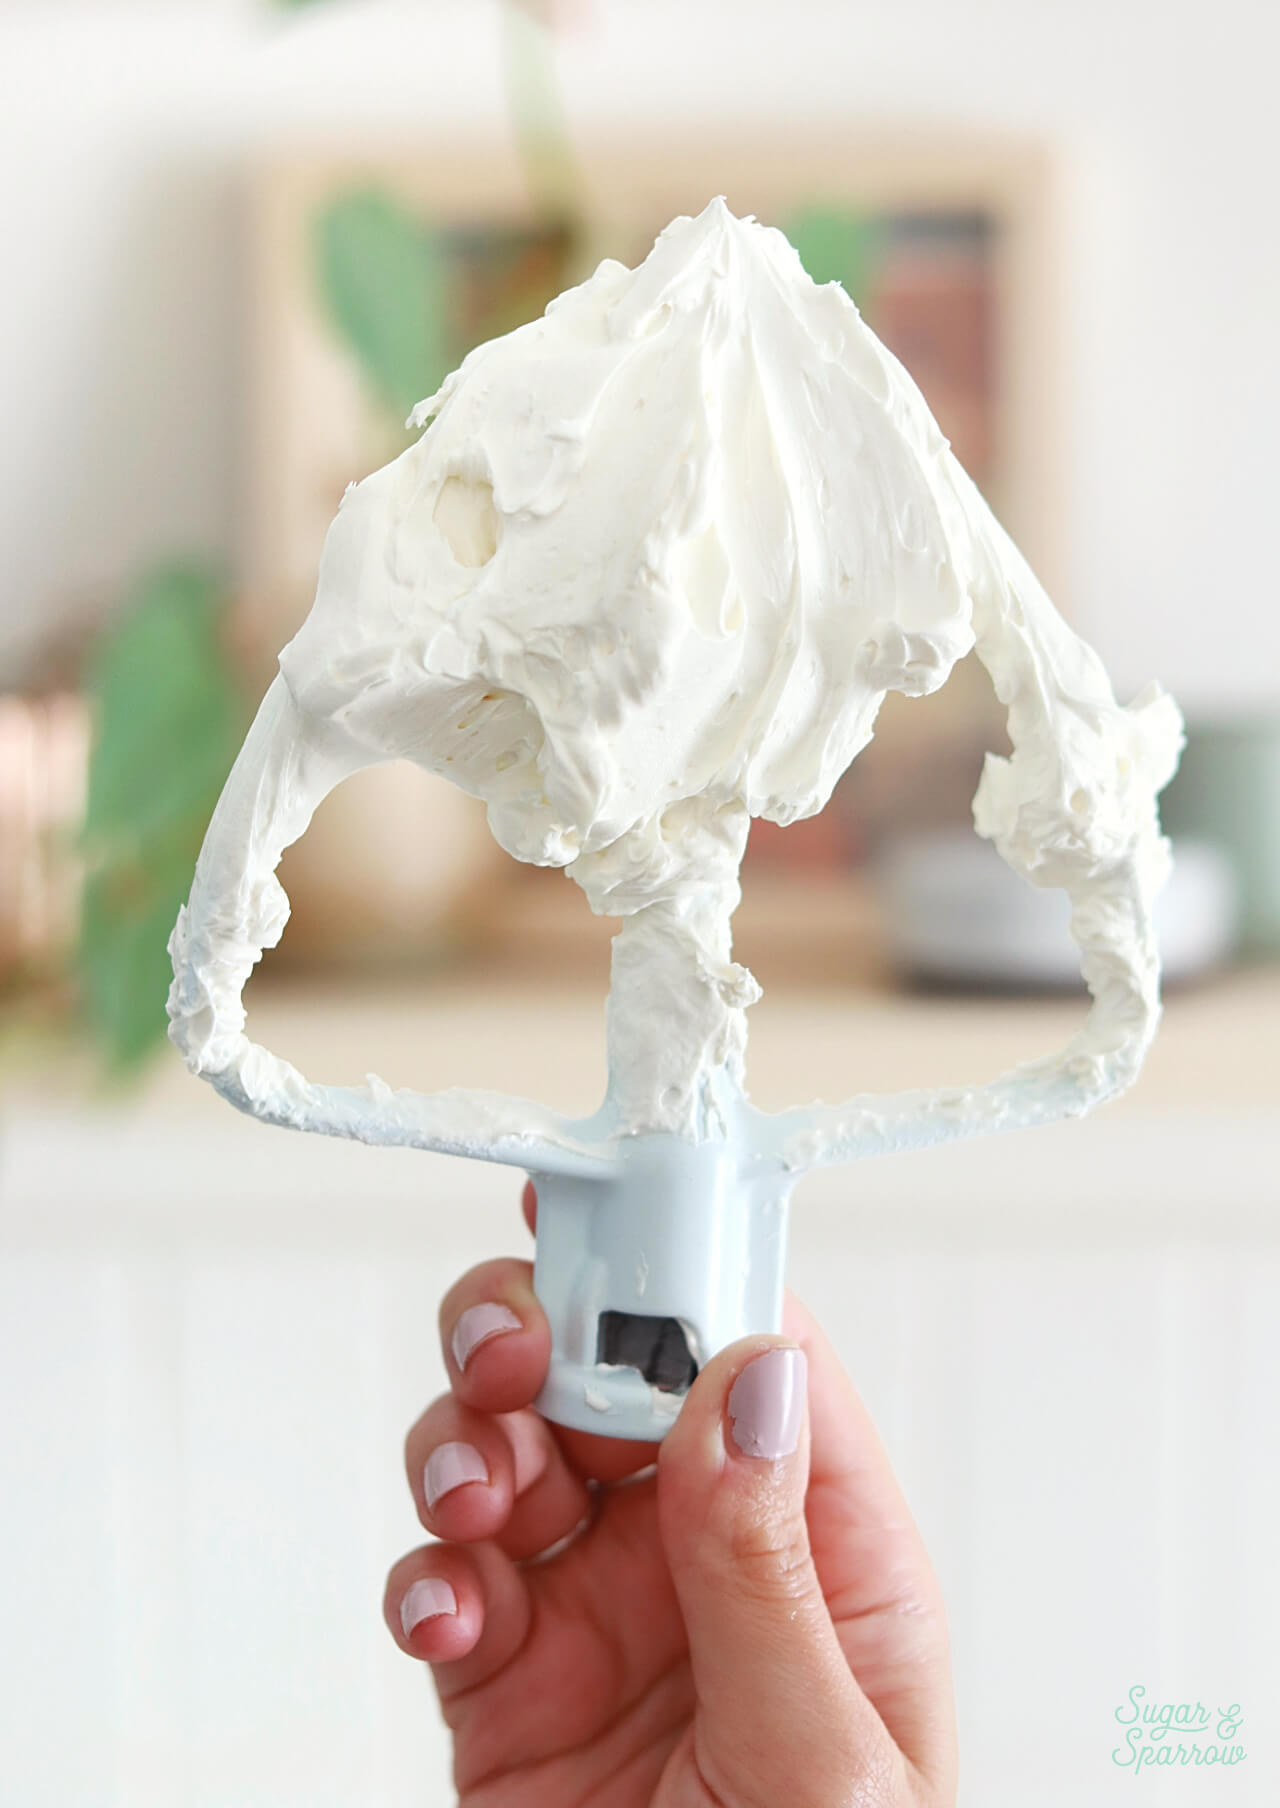
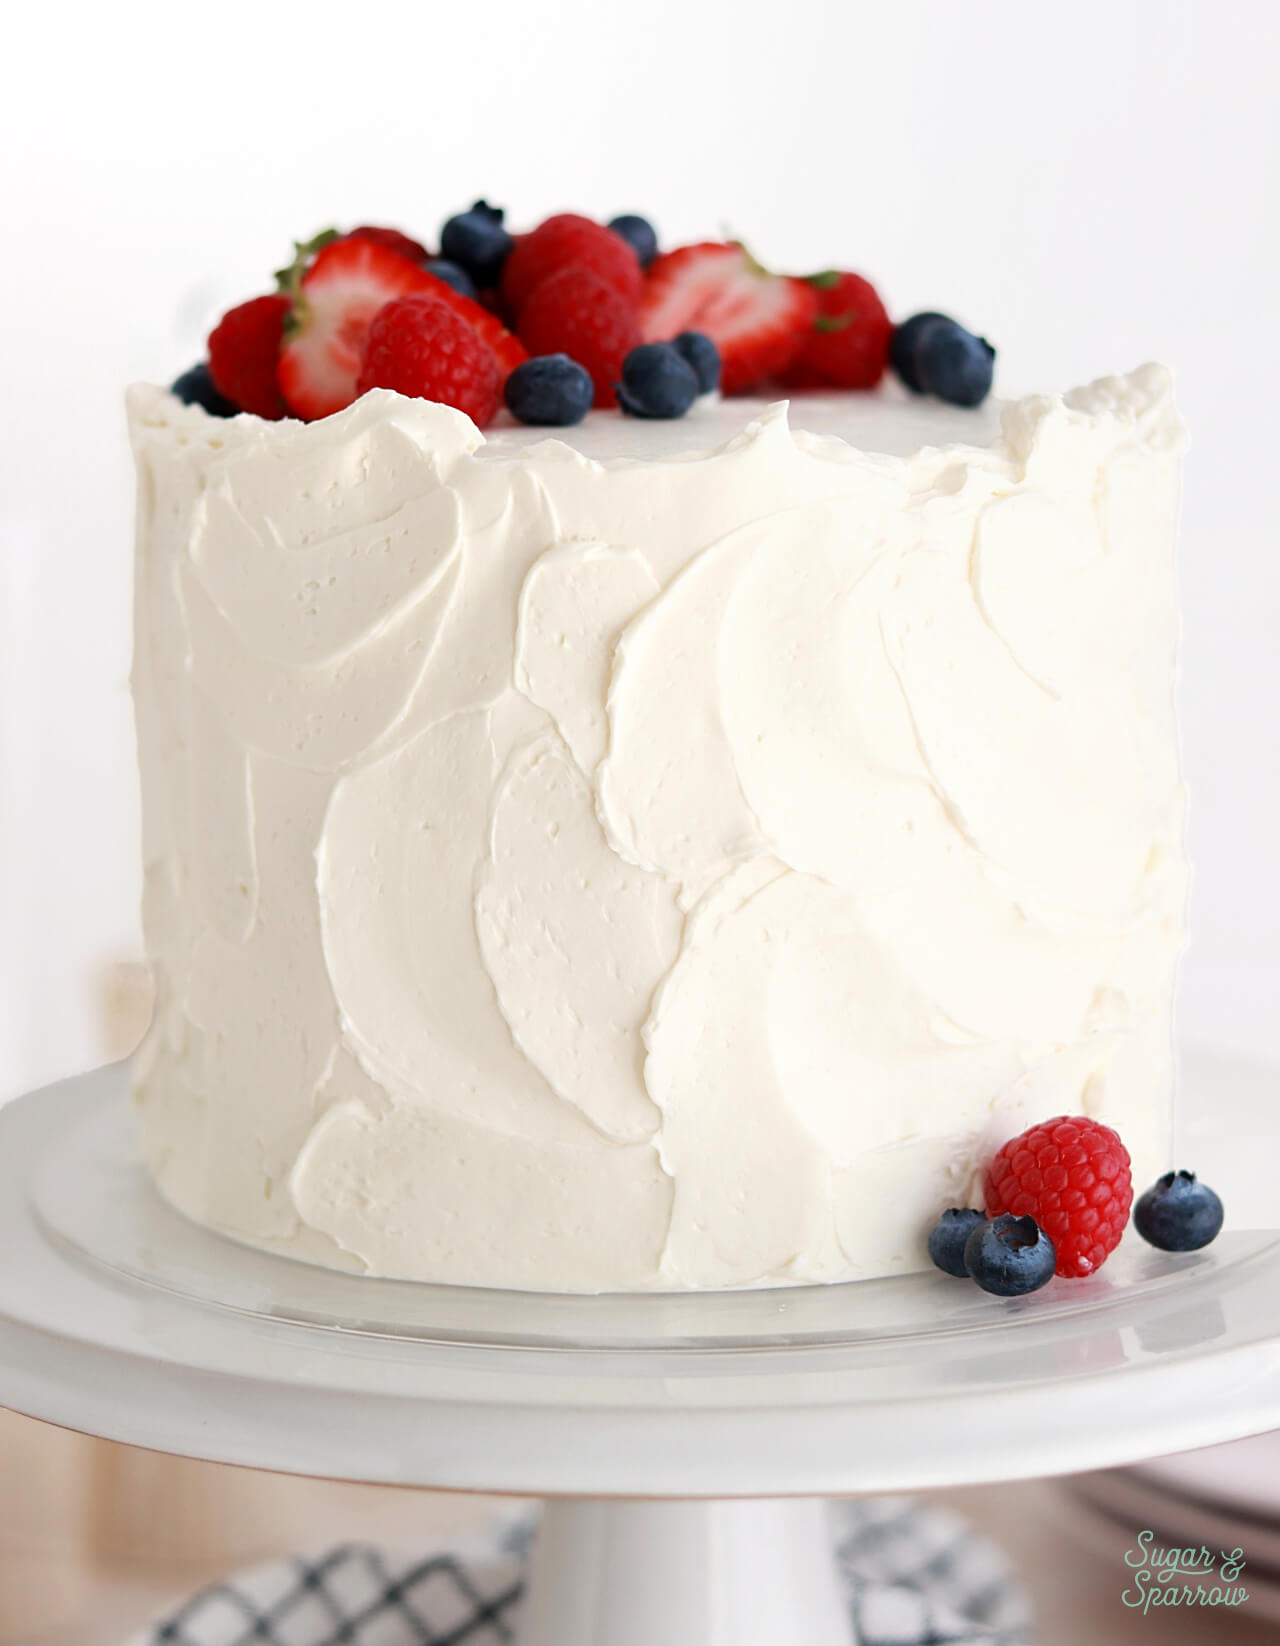
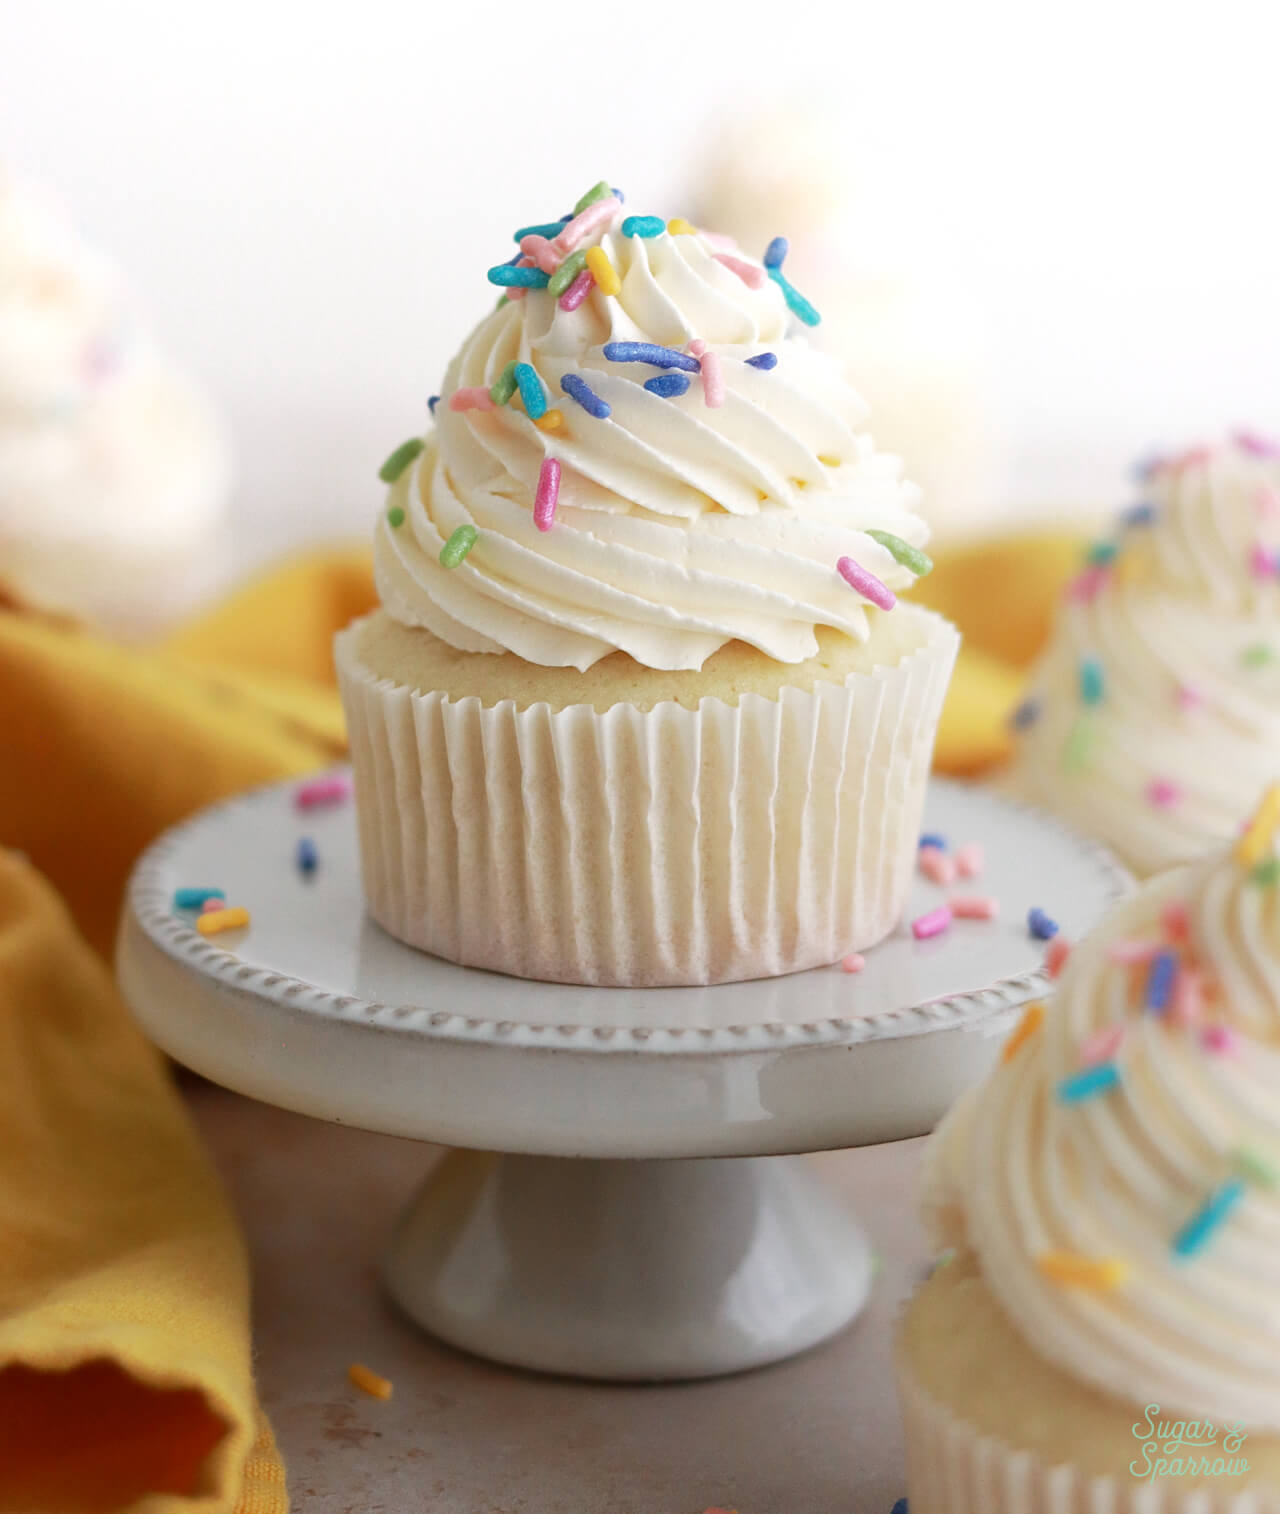
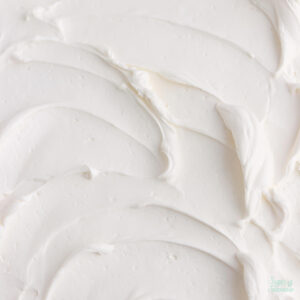
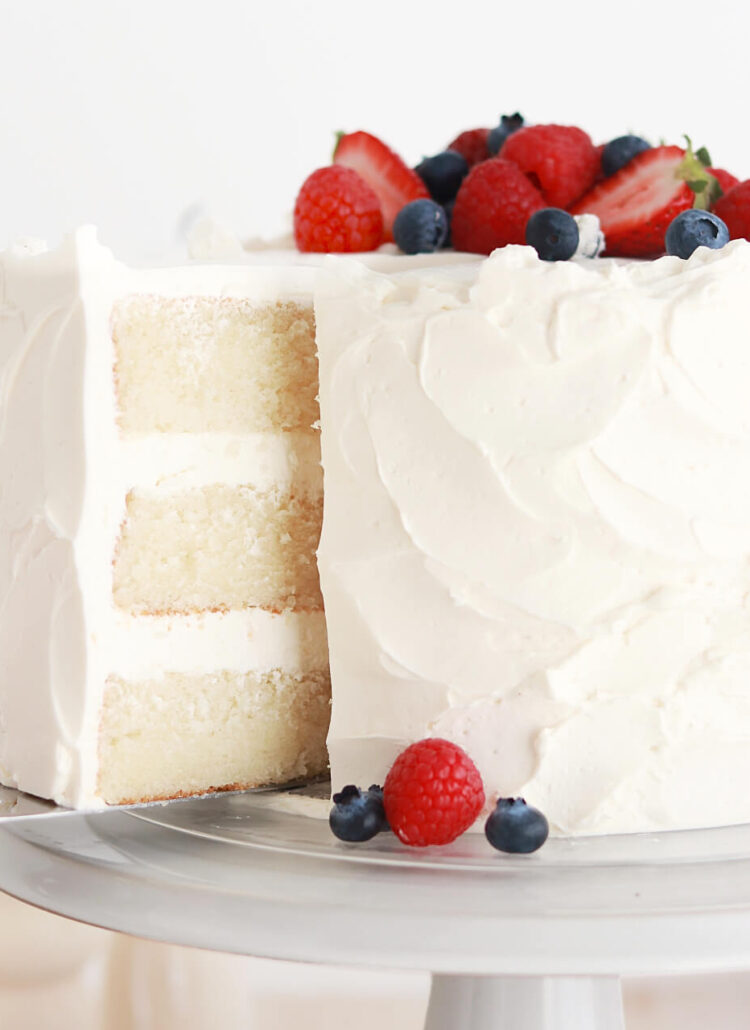
Known for its silky smooth texture, Swiss meringue buttercream is made by whipping cooked egg whites and sugar into a meringue, then adding softened butter and flavoring. It is extremely stable and easy to work with for cake decorating, whether you’re using it as a filling, frosting a smooth buttercream finish, or piping intricate details. If you’ve ever complained about American buttercream being cloyingly sweet, you will LOVE Swiss meringue buttercream. It has a rich buttery vanilla flavor and is just the right amount of sweet.
Swiss Meringue Buttercream Ingredients
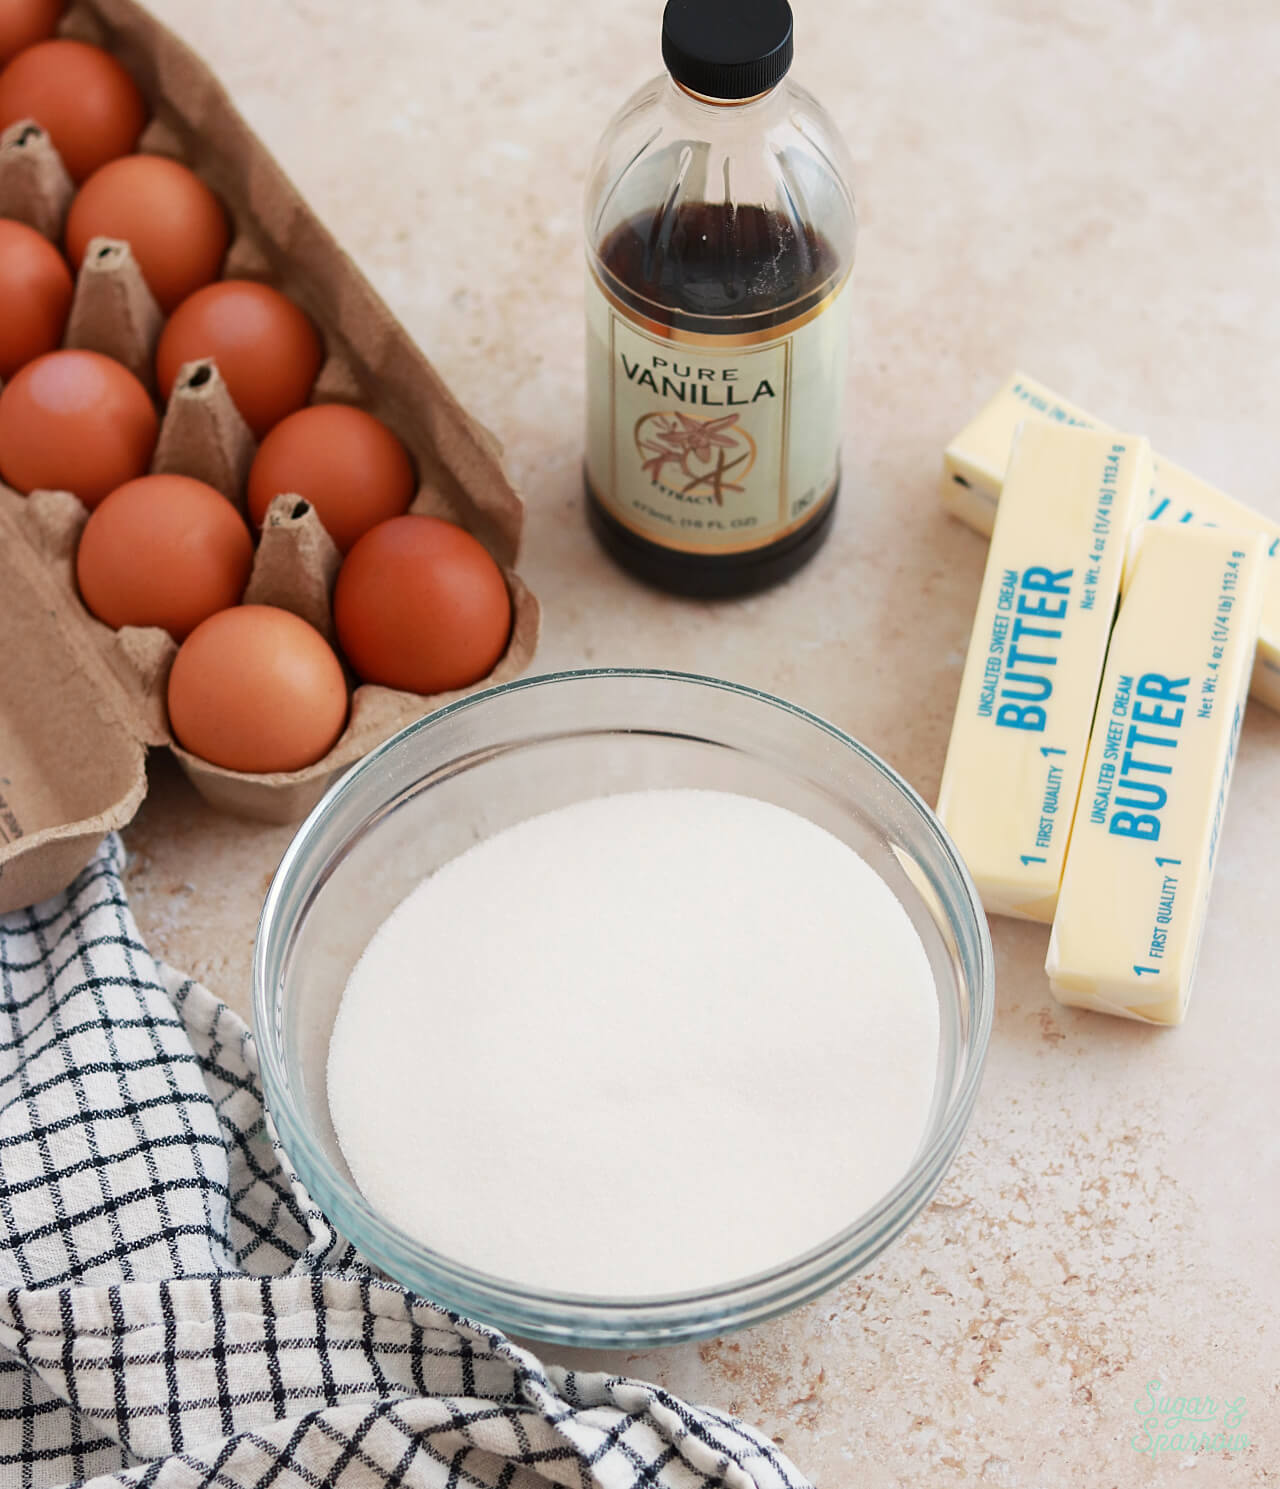
There are just five ingredients involved in making Swiss meringue buttercream and each plays an important role:
- Egg Whites. Together with the sugar, the egg whites are whipped into a meringue. It’s best to use fresh egg whites in this recipe (not egg whites from a carton) to yield the most stable meringue. If you’re wondering what to do with those leftover egg yolks, here are some good ideas.
- Granulated Sugar. This sweetens the frosting just the right amount. You can also use caster sugar in place of granulated sugar.
- Unsalted Butter. Adding the butter is what turns the meringue into buttercream. I recommend using unsalted butter because salted butter will taste extremely salty, even if you omit the salt in this recipe. It’s important that the butter is at room temperature when you’re adding it – too cold and it won’t blend properly, too soft and it might turn the buttercream soupy.
- Flavoring. I use pure vanilla extract in this recipe but you can see other options for flavoring in the next section.
- Pinch of Salt. This is optional, but if you want to add a tiny bit of salt to make the flavor more complex, go for it!
How to Make Swiss Meringue Buttercream
Step 1: Clean Your Equipment. The mixing bowl and whisk attachment should be super clean and grease-free before starting the recipe, since any trace of grease or fat can prevent the meringue from setting up. Consider wiping them down with a little lemon juice or vinegar.
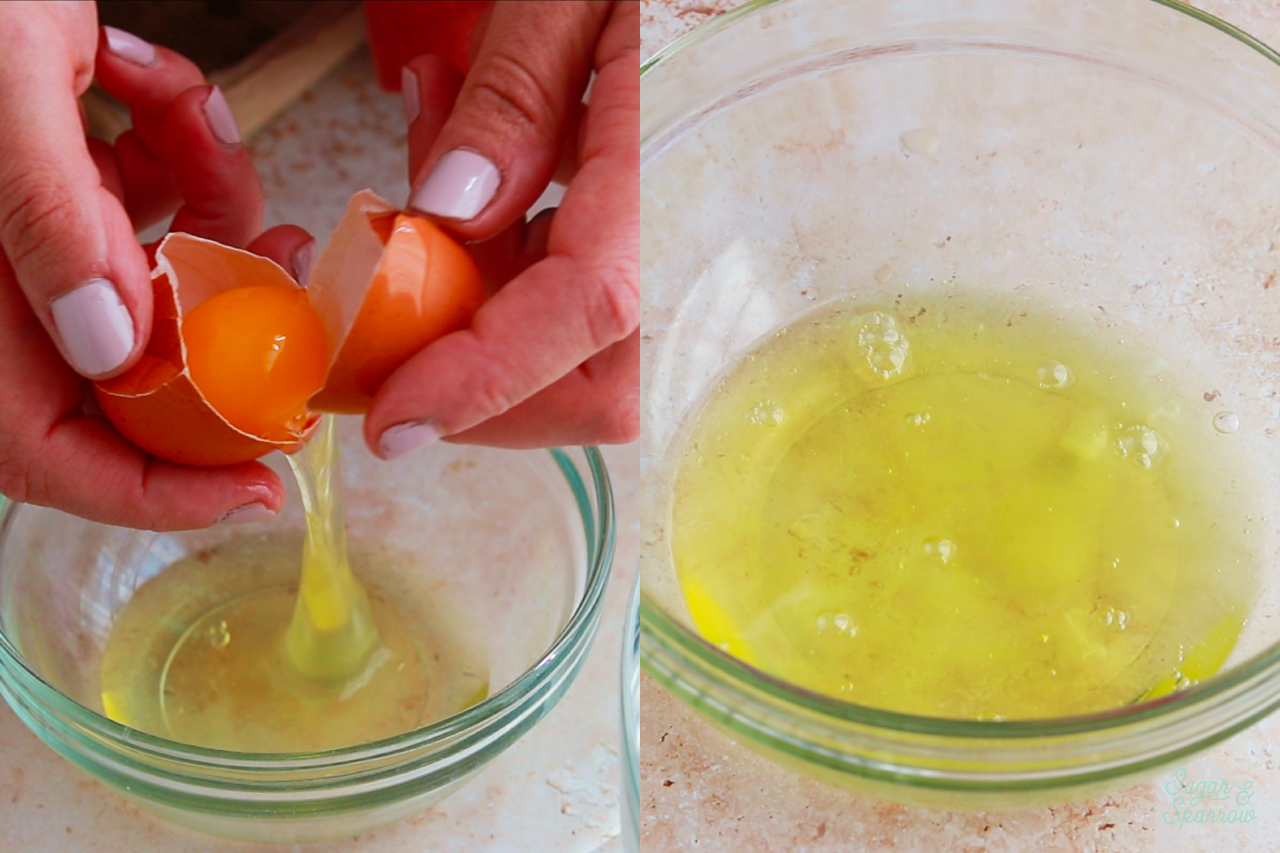
Step 2: Separate the Eggs. Collect the egg whites into a medium bowl (or the bowl of your stand mixer) and save the yolks for another recipe or discard them.
Pro Tip: Since we want the butter to be slightly cooler than room temperature, take the butter out of the refrigerator right after separating the eggs and slice it into Tablespoon sized pieces before moving on.
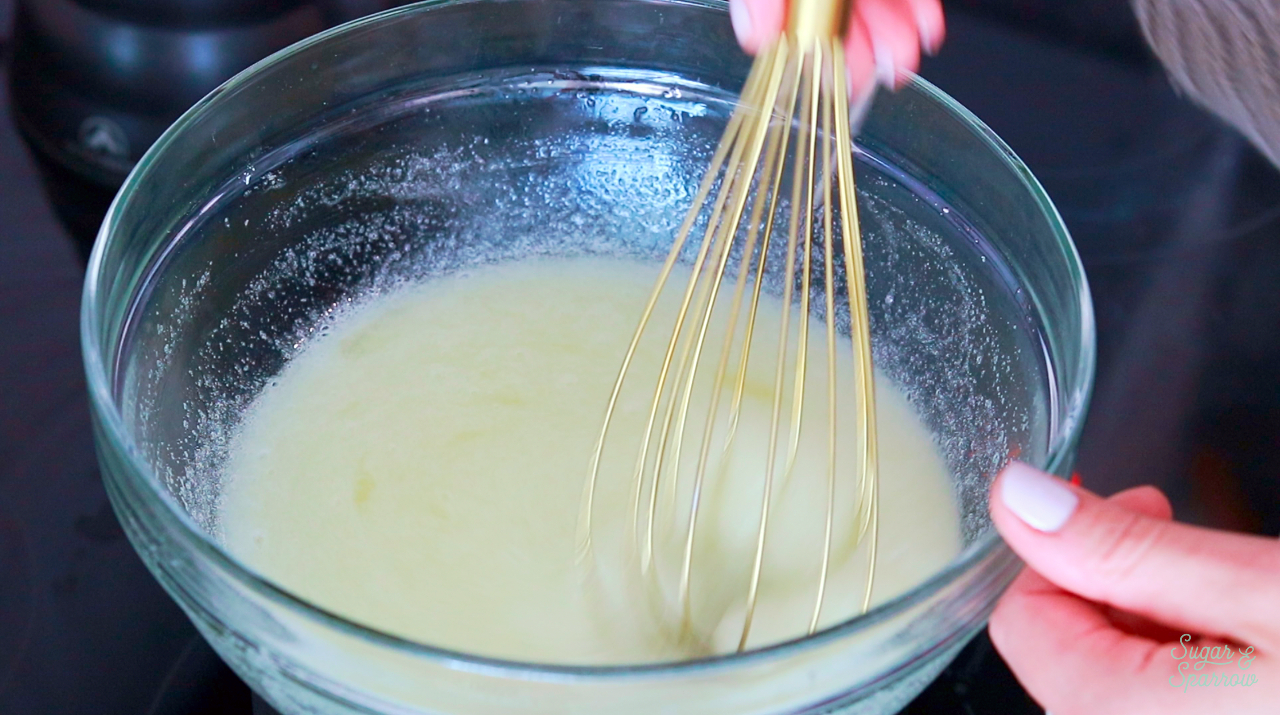
Step 3: Cook the Egg Whites and Sugar. Whisk the sugar into the egg whites and place them over a double boiler with a few inches of simmering water. Whisk the mixture constantly until the sugar dissolves and it reaches 160ºF (71ºC).
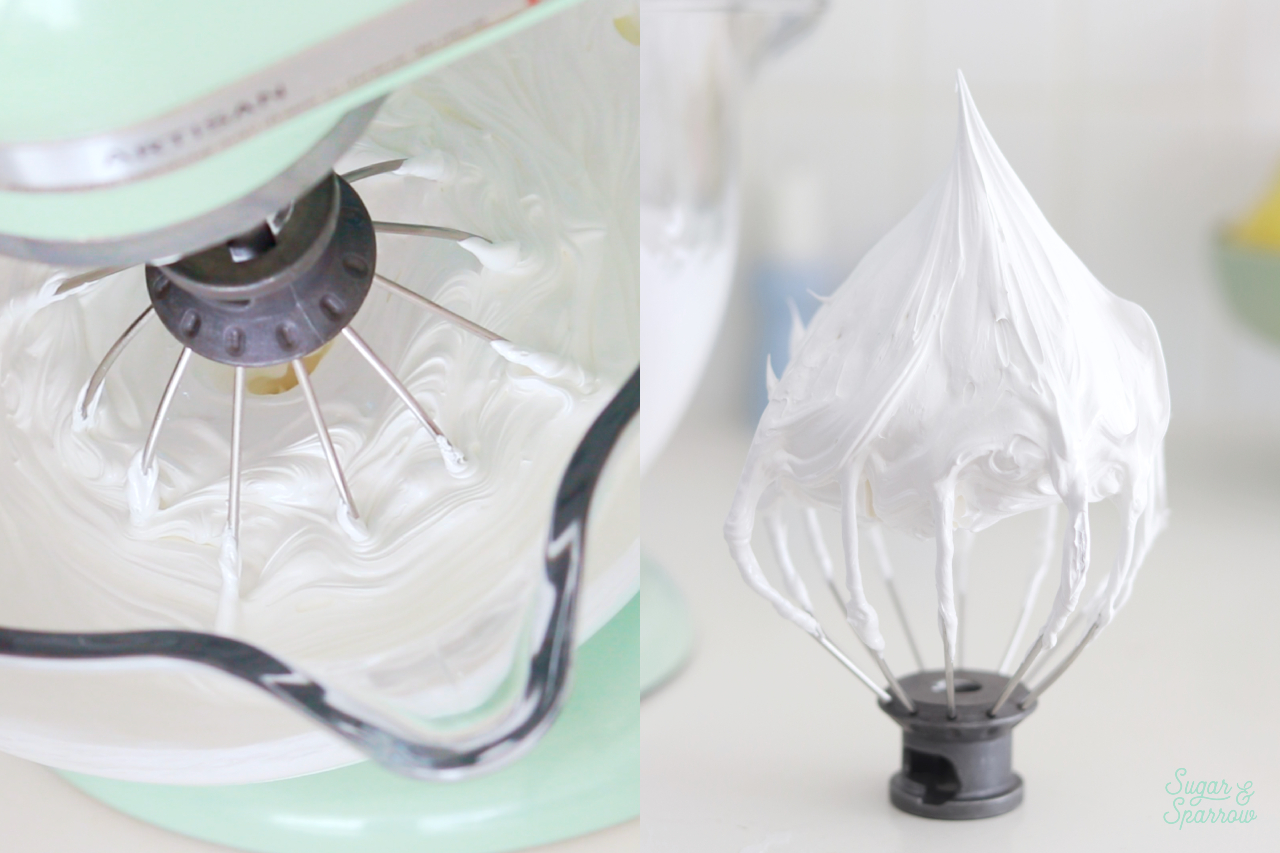
Step 4: Whip it into Meringue. Add the warm egg white sugar mixture into the bowl of your stand mixer with the whisk attachment and whip on high speed until stiff peaks form. Afterwards, if the meringue is still warm to the touch, refrigerate for 10-15 minutes before moving on. It should be about 90ºF or less.
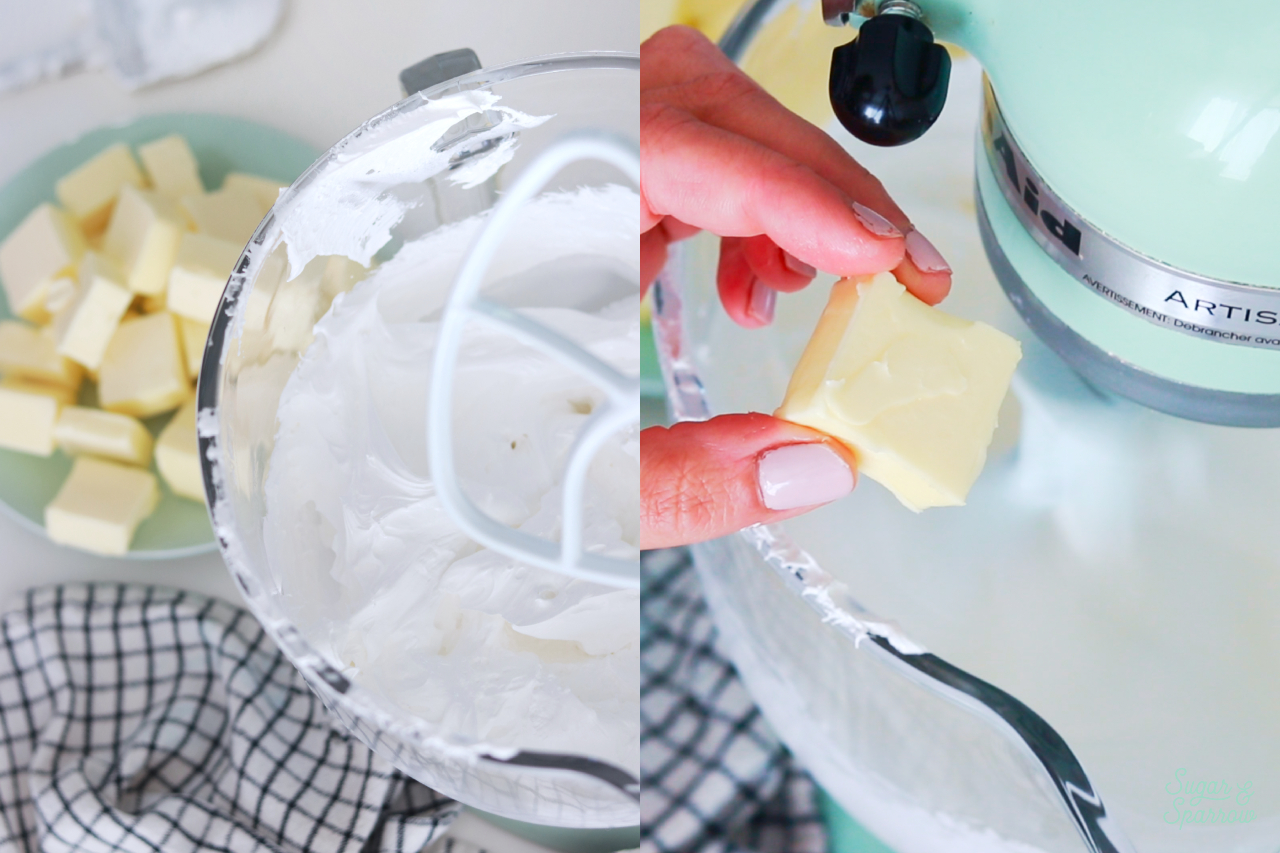
Step 5: Add the Butter. Switch the stand mixer to the paddle attachment and add the butter, 1 Tablespoon at a time.
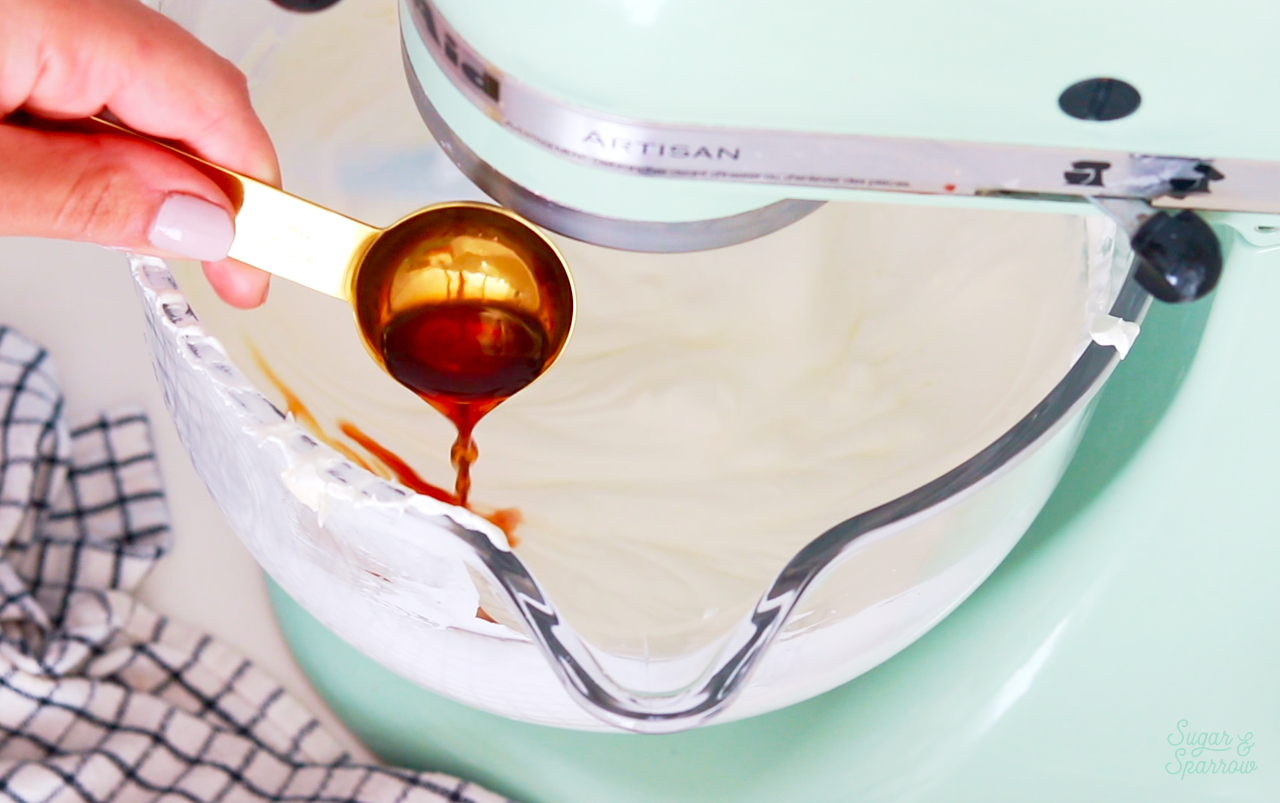
Step 6: Add the Flavoring. After all the butter has been added, mix in the vanilla and salt. Done!

Swiss Meringue Buttercream Video Tutorial
Here’s a quick video tutorial that will show you how to make Swiss meringue buttercream and shows troubleshooting tips:
If you love recipe videos like this one, be sure to check out my YouTube channel! I’ve got a growing collection of cake recipes, decorating tutorials, and Cake Basics over there. Hit the subscribe button on my page so you never miss a new video.
Swiss Meringue Buttercream FAQs
Is it safe to eat since there are raw eggs involved? This recipe starts with raw egg whites, but they are heated with the sugar to 160ºF (71ºC), which makes them safe to eat.
Can I use egg whites from a carton? I recommend fresh egg whites for this recipe, as carton egg whites can contain preservatives that prevent the meringue from setting up properly.
Does this buttercream crust? No. It will stay soft at room temperature and will not form a crust on top like American buttercream does. It does firm up in the refrigerator though.
How can I flavor this buttercream? Here are a few different ways you can flavor Swiss meringue buttercream:
- Substitute up to half of the vanilla in the recipe with other extracts. Some extracts can be quite strong (like almond, peppermint, coconut, etc), so for extracts like this try to add up to 1 tsp.
- I love using Amoretti Natural Artisan flavors, which come in so many flavor options. Add 2 Tablespoons in place of the vanilla extract. They’re not as strong as extracts which is why you’ll want to add more.
- For coffee flavored buttercream, add 1 ½ teaspoons of espresso powder.
- For chocolate flavored buttercream, melt 8 ounces of quality chocolate, cool to room temperature, and add with the vanilla and salt.
Is it heat stable? Swiss meringue buttercream is very stable at room temperature, but will start to melt if the environment is particularly hot or humid.
Can I add food coloring? Yes, as long as they’re gel-based food colors. Even better if they’re oil-based gel colors like these.
Can I make this frosting ahead of time? Yes! It lasts up to two days at room temperature when stored in an airtight container. See the notes of the recipe for instructions on refrigerating and freezing Swiss meringue buttercream.
Swiss Meringue Buttercream
Ingredients
- 6 large egg whites (180g) from fresh eggs, not the carton
- 2 Cups (400g) granulated sugar
- 1 1/2 Cups (340g) unsalted butter, room temperature, cut into Tablespoon-sized pieces
- 2 tsp pure vanilla extract
- pinch of salt, or to taste (optional)
Instructions
- Prepare the double-boiler: Fill a saucepan with a few inches of water and set over medium heat. Make sure that the mixing bowl you’ll be using for the next step fits on top of it without the bottom of the bowl touching the water, then remove the mixing bowl and bring the water in the saucepan to a simmer.
- Separate the eggs: it’s really important not to get even a drop of egg yolk in your egg whites, so I recommend separating one egg white at a time into a small bowl, then adding each egg white into your heat proof mixing bowl (glass or metal).
- Add the sugar into your egg whites and whisk together to combine, then set the bowl over the saucepan of simmering water. Whisk constantly until the mixture has thinned out and the sugar is fully dissolved, 5-7 minutes. To test that it’s ready, carefully dip your finger into the mixture and rub your thumb over it. If you don’t feel any sugar granules, it’s ready. You can also use an instant read thermometer to check that the temperature has reached 160°F (71°C).
- While the mixture is still warm, transfer it to the bowl of your stand mixer fitted with the whisk attachment (or attach the bowl to your stand mixer if you used that for the mixture). Turn the mixer to medium-high speed and beat until stiff peaks form, 10-15 minutes. If stiff peaks have not formed at this point, try placing your bowl into the refrigerator for 10 minutes, then continue to beat until stiff peaks form.
- At this point feel the bowl of your stand mixer. If it feels warm to the touch, place it into the refrigerator for 10-15 minutes to cool it down. The meringue should be about 90ºF (32ºC) or less before moving on to the next step.
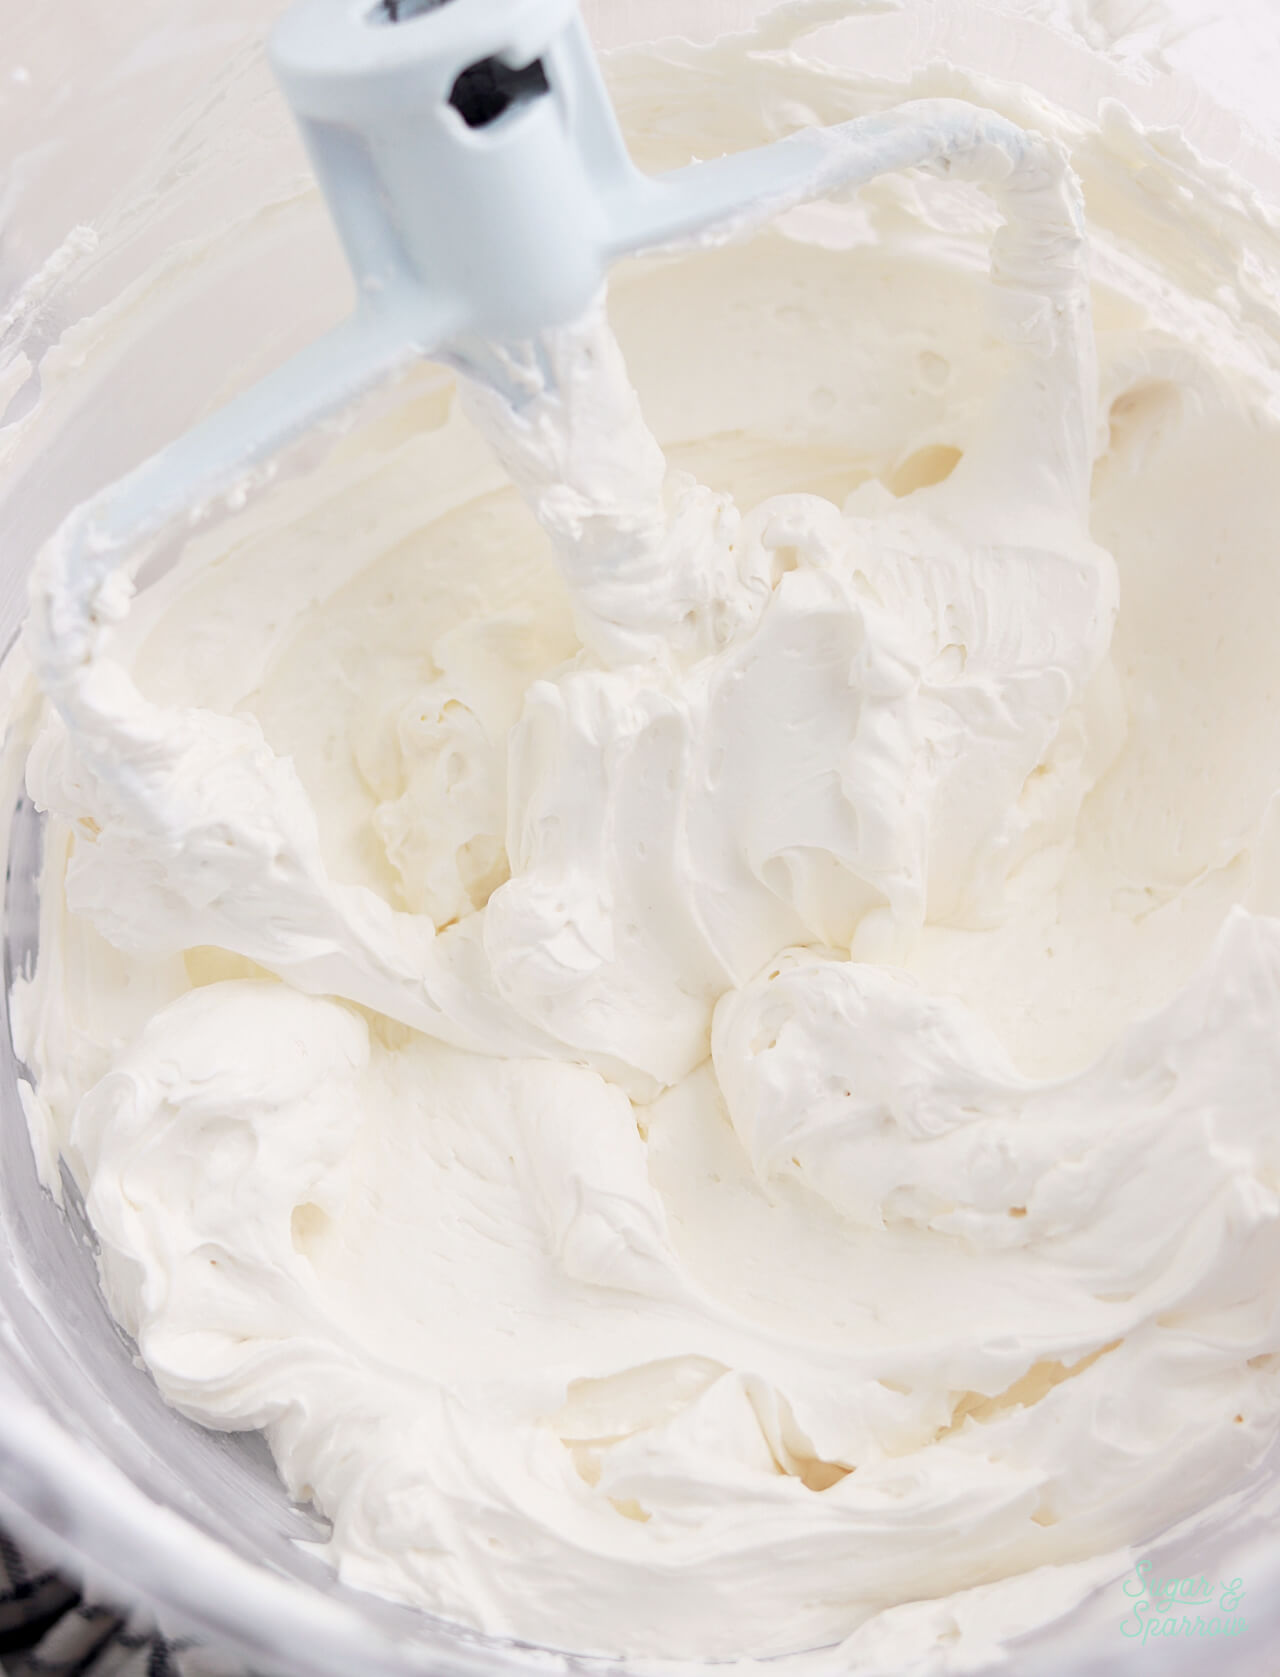
- Once the meringue has cooled, switch the stand mixer to the paddle attachment. Turn the mixer to medium-high and add the butter 1 Tablespoon at a time. After all the butter has been added, turn the mixer down to medium speed and beat in the vanilla and salt, about 30 seconds. At this point, the Swiss meringue buttercream should be thick, creamy, and silky smooth.
- Troubleshooting Too Thin/Curdled: If the buttercream is thin and curdled-looking, it usually means the meringue was too warm before adding the butter. Place the entire bowl in the refrigerator for about 20 minutes before returning it to the stand mixer and beating on medium speed until thickened. If it’s still soupy, place it back into the refrigerator for longer before re-whipping again.
- Troubleshooting Too Thick: If your buttercream looks too thick and air bubbly, scoop out about ½ Cup of the buttercream and place it in a microwave-safe bowl. Microwave for 10 seconds, until the buttercream has melted. Add it back to the big bowl of buttercream and turn the mixer to low speed until it’s all mixed in. This should bring the buttercream to a smooth consistency. Repeat if necessary until smooth.

Hi, I’m trying this for the first time. I cannot get my egg whites and sugar to stiff peaks- they are not warm anymore, they just won’t go. Should I continue forward and add the butter? Could I add powdered sugar if it isn’t thick enough?
Hi Kristy! If the egg whites and sugar aren’t whipping to stiff peaks, it could mean that there were traces of fat (egg yolk) in the mixture, or grease on the mixing bowl/whisk attachment, or the environment is too humid, or it can happen if you use carton egg whites instead of fresh. In these cases the egg white/sugar mixture may never reach stiff peaks and you might need to start over with fresh egg whites using an egg separator, wiping down your mixing bowl and paddle with lemon juice or vinegar, and ensuring there isn’t too much humidity in your kitchen environment. If you did all of this and it’s still not reaching stiff peaks, the meringue could be too warm or it needs a break. Stop the mixer, remove the whisk attachment, place the attachment in the bowl with the meringue, and refrigerate it all (covered or uncovered) for about 10 minutes, then resume beating until stiff peaks form. Hope this helps!
Is it possible to turn this into a coffee flavor? Should I add brewed coffee with the vanilla, or maybe instant powder? Help please!!
Yes! You’ll want to dissolve 1 1/2 Tbsp of instant coffee in 2 Tbsp of warm milk. Let the mixture cool to room temperature, then mix it in with the vanilla and salt. Enjoy!
Hi Whitney! I do not have a mixer with a paddle attachment, I do have one with double whisk attachments and a double beater attachments. Can I still achieve a smooth SMBC with this. I tried before and it failed, it curdled on me and I got frustrated trying to fix it and just threw everything away.
Hi Natalie! In my experience, the whisk attachment adds too much air to the buttercream into the buttercream during Steps 6 and beyond. That may be why your buttercream looked curdled, it may have been too aerated. But that said, you can try using the whisk attachment the whole time, then using the troubleshooting tips for curdled-looking buttercream described in the recipe card. Otherwise I can only recommend getting a paddle attachment.
Hi Whitney,
I just followed this recipe step by step. However, you can taste the sugar granules in the buttercream even though I tested the sugar and egg whites with my fingers and thermometer (190 degrees). What went wrong?
Hi Fatima! It sounds like the sugar didn’t fully dissolve even though your thermometer read 190F, or maybe something happened to the mixture from being cooked to that temperature. It should only be cooked to 160ºF. To fix gritty swiss meringue buttercream you can reheat a portion of the buttercream in the microwave to melt the crystals, add it back to the batch of buttercream, then re-whip until smooth. Repeat if necessary. Hope that helps!
Hi Whitney! The design that I am currently working on involves the cake being painted gold. Can I use this recipe to make a Chocolate Swiss Meringue Buttercream or would it not be suitable for gold painting. Which of your chocolate frosting recipes would you recommend? Thank you!
Hi Grace! You can use this recipe to make chocolate smbc by melting 8 ounces of quality chocolate, cooling to room temperature, and adding with the vanilla and salt. It will firm up in the refrigerator and you can paint it gold while the surface is firm. I also have this american chocolate buttercream recipe that works great as a painting surface when cold: https://sugarandsparrow.com/chocolate-buttercream-recipe/
Hello! I read where you said this could be stored in the fridge for five days. Is this before using it to decorate a cake or would this mean the cake is only good for five days in the fridge?
Hi Andrea! This buttercream can technically last up to 2 weeks in the refrigerator, so if you’re making it ahead you can store the container of buttercream in the refrigerator for up to 5 days before using it to decorate a cake (bring it to room temperature first), then the decorated cake can last 4-5 days depending on when you baked the cake layers. Hope that helps!
Hey! I just made this. I made sure to have it cooked completely before adding butter. I liked the texture (it seemed smooth and thick) until I added vanilla. Maybe my vanilla from Mexico had water content in it? Now it’s curdled a bit. Do you think I can salvage this at all?
Hi J’Lynn! Yes, you can totally salvage it. Just follow the instructions for fixing meringue that looks curdled (either keep mixing or do the melted buttercream trick). That should do the trick!
Hi! Can you add black cocoa powder to the buttercream to make it black?
Hi Mahari! I haven’t tried that before but after some research it can be done. I would follow this recipe for how much black cocoa powder to add + when to add it: https://sweetlycakes.com/en/black-swiss-meringue-buttercream/
Hi, if i want to make it less sweet and add less sugar will it affect the outcome/ texture?
Hi Sab! I haven’t tried this recipe with less sugar, so I’m not sure how it will turn out but I know that the sugar is important for the right texture, flavor, and overall stability. This recipe isn’t super sweet with this amount of sugar, have you tried the recipe as-is?
I am a novice, but the icing was very yellow. I was going for pure white, and it was more a lemon color. Was that from the butter (Kerrygold unsalted) or the regular vanilla (not clear), or did I do something else wrong? I did store overnight in the fridge and I had to rewhip it to get it to soften up in order to use.
Hi Debra! It’s definitely from the butter. Kerrygold is extremely yellow because it comes from grass-fed cows. Delicious and high quality, but very yellow. If you’re going for a pure white buttercream you’ll want to use a lighter colored butter to begin with. Any generic unsalted butter will do. You could also try adding an icing whitener like this one to lighten the color: https://amzn.to/4dUnmSq
I was hoping you could help with a quick question about Swiss meringue buttercream.
Have you noticed any difference in flavor or stability when using liquid egg whites from a carton instead of separating fresh eggs? I’ve seen mixed thoughts on it and would love to hear what you think!
Hi Shannie! I don’t love the flavor of liquid egg whites from the carton, and they never set up right for me as a stiff meringue. So I always use fresh egg whites but I do know some bakers who swear by the carton!
Thanks so much, Whitney! I’m going to stick with fresh egg whites this time. Also, your bakery-style vanilla cake baked up so nicely, even at high elevation!
hi, the taste of the buttercream is amaazing but it turned out to be yellowish colour how can avoid it?please help
I’m so glad you love the flavor! This buttercream has natural yellow undertones from the butter but if you need it to be bright white you can add an icing whitener like AmeriColor Bright White: https://amzn.to/4k0nCBy I’ve also heard that 1) adding a tiny drop of violet color gel can counteract the yellow and create a more bright white color and 2) whipping the butter for a long time beforehand (until it’s almost white in color), then cooling it back down to slightly below room temp and adding it in can help. I haven’t tried either of those last two ideas so it would be a bit of a gamble.
This looks delicious. I’ll be trying it out today. I would like to add some vanilla bean to it!
Vanilla bean will be amazing in this recipe!
Hi Whitney! This recipe looks absolutely delicious. I was wondering if you had any suggestions on how I could turn this into a chocolate smbc! I have been using your amazing chocolate buttercream recipe, but I usually just make chocolate cakes, and I want to try something new! Thanks!
Hi Addie! For chocolate flavored buttercream, melt 8 ounces of quality chocolate, cool to room temperature, and add with the vanilla and salt. Enjoy!
Thanks so much! I am so excited to try it.