
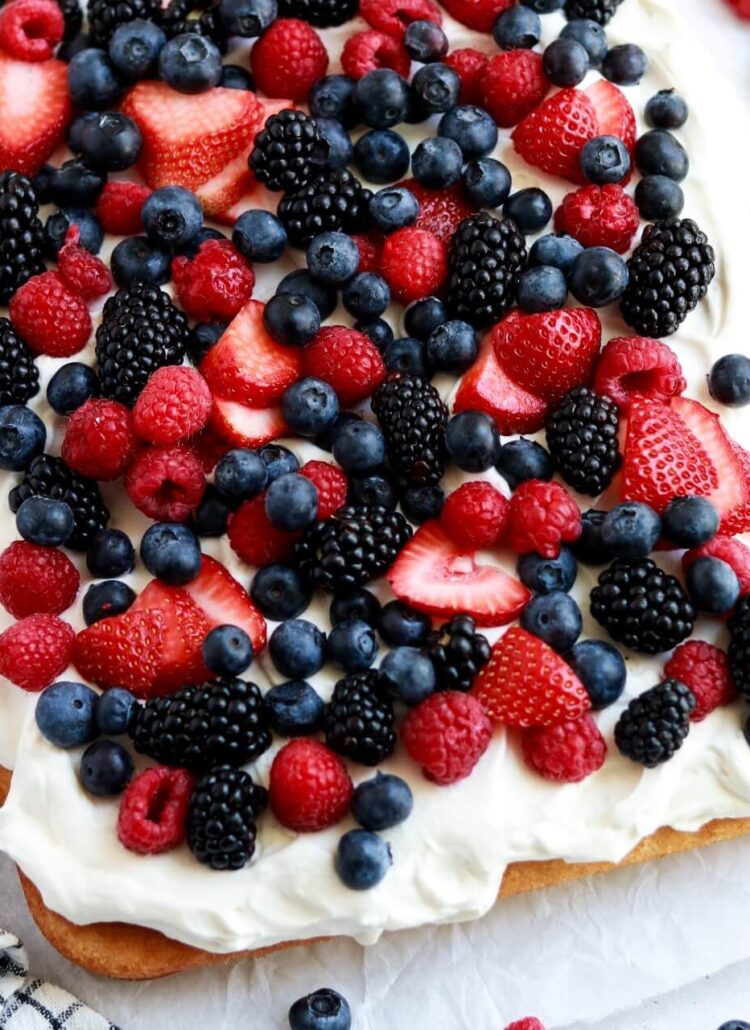
Last Summer, I whipped up this recipe for berry Chantilly cake and it was just the dreamiest Spring/Summer cake ever. With berry season in full swing, this recipe was top of mind all over again and I thought it would be nice to offer a sheet cake variation for those of us who don’t feel like building a layer cake. It’s got all the elements of the layer cake version (which is heavily inspired by the berry Chantilly cake from my local Whole Foods): fluffy white cake, sweet berry jam, creamy mascarpone-infused Chantilly cream frosting, and lots of lemon juice coated berries.
This post may contain affiliate links. For more information, see our disclosure policy.
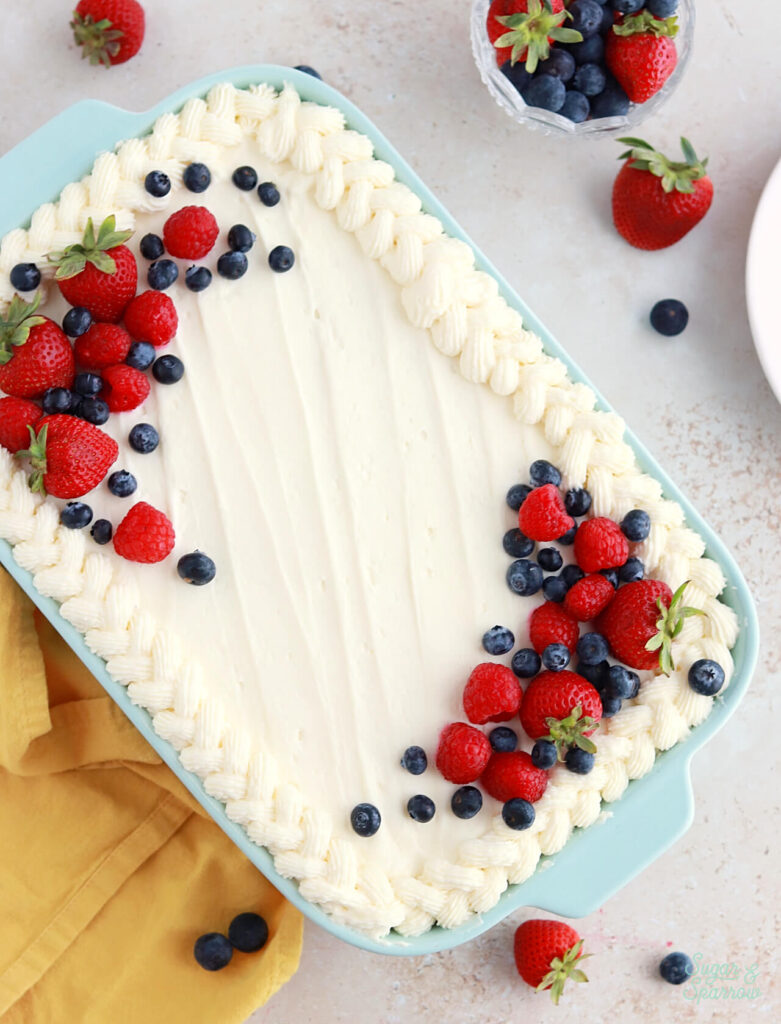
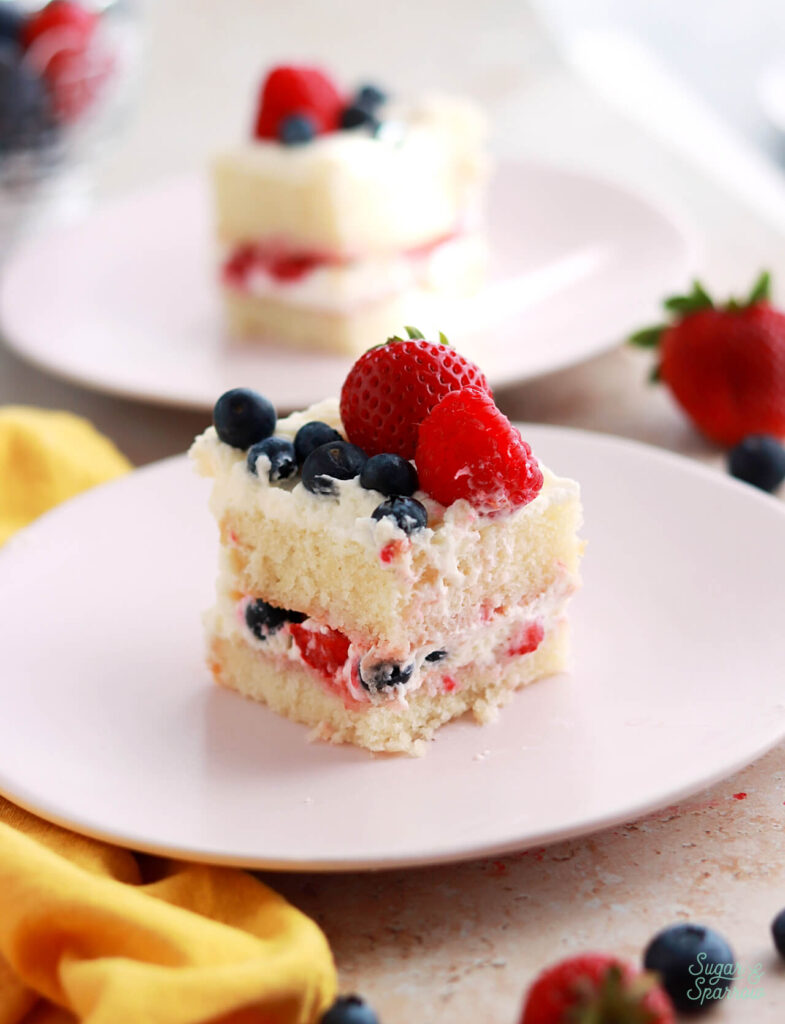
One Reader, Anzhela, says: “I made this cake for my daughter’s first birthday in April and it was A HIT! While people asked for seconds, my husband said it’s the best cake he ever tried in his life and banned me from giving any cake to go. It’s light, fluffy and berries bring balance to whole thing. It’s going to be a staple in our household moving on!” ★★★★★
The great thing about sheet cakes is they’re quicker to decorate and so easy to transport. There’s no need to worry about the structure, crumb coating, or getting a perfectly smooth finish. Therefore, it’s the most beginner friendly version of this cake recipe that still yields incredible results. Between the fluffy cake, just-sweet-enough Chantilly cream frosting, and berries, this cake is so light and fresh and sure to please any dessert lover. It’s gonna be a total hit at your next gathering!
PS: you can make any of my layer cake recipes as a sheet cake! Here’s how.
What is Chantilly Cake?
The name Chantilly is a French term meaning “sweetened whipped cream” and in the Southern United States, Chantilly cake pairs that beautiful sweetened whipped cream frosting with light and fluffy vanilla cake. It’s traditionally layered with fresh berries – strawberries, blueberries, raspberries, and sometimes blackberries. It was made famous by a baker working at a Whole Foods and has been a staple at the grocery store chain ever since (which is where I fell in love with it).
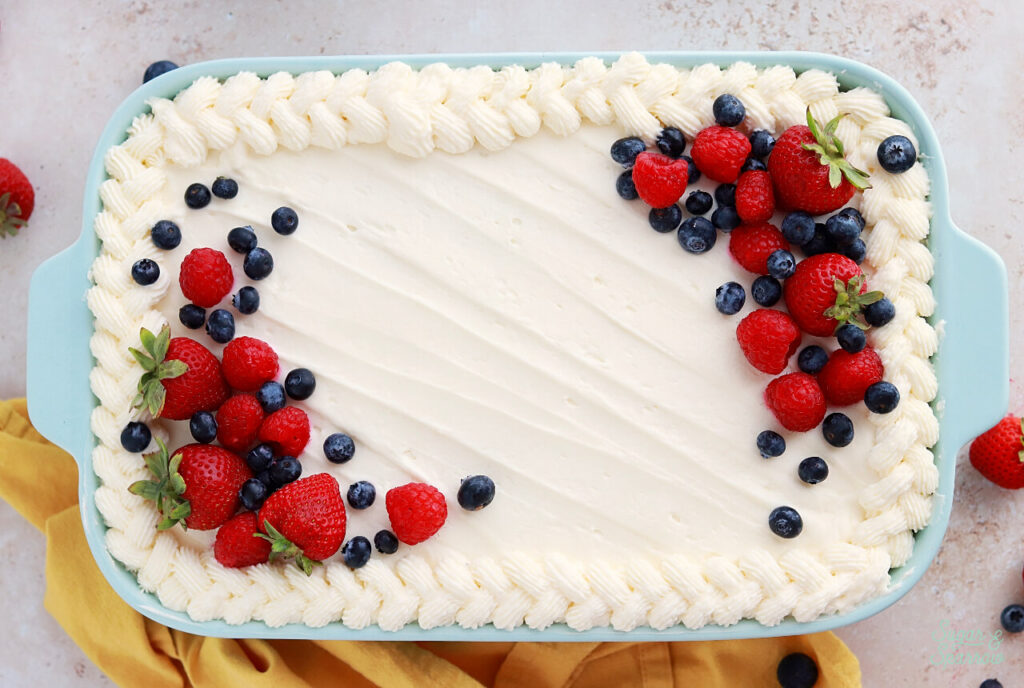
If you don’t like your frosting to be overly sweet, this Chantilly cream frosting is for you. It’s a subtly sweet whipped cream frosting made rich in flavor with mascarpone cheese, cream cheese, and almond extract. The cream cheese and mascarpone are the stabilizers here, making this frosting so easy to work with. You can frost a smooth finish, add some texture, and even pipe with it!
How to Decorate a Berry Chantilly Sheet Cake
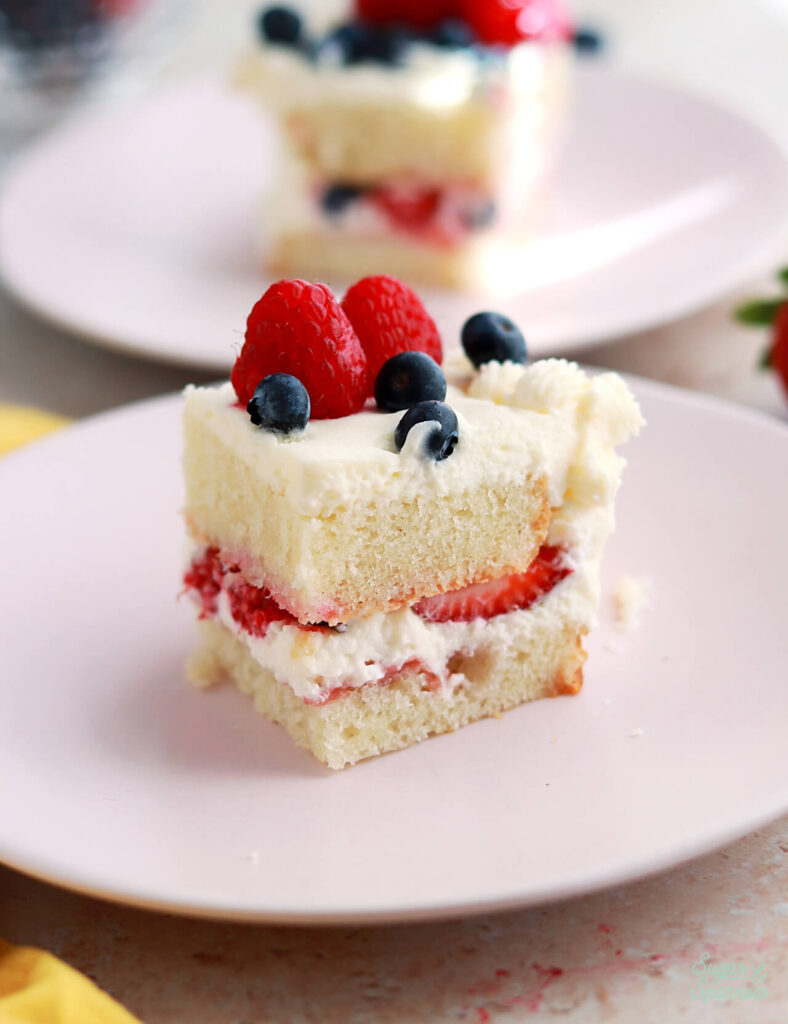
Assembling and decorating this berry Chantilly cake is pretty easy to do with the support of a cake pan or baking dish. You can certainly take the cake out of the pan and decorate it that way, but I chose to assemble the cake in the same pan I baked it in. I did turn the cake out of the pan to torte it into two layers, but then it went right back into the pan for assembly. One layer of cake, then a layer of jam, then Chantilly cream frosting and fresh berries, then the other cake layer.
To decorate, I frosted the cake with more Chantilly cream frosting and added some simple rustic texture with a small icing spatula. Then, I fitted a piping bag with Wilton Tip 32 and filled it with the rest of the Chantilly cream frosting before piping a braided border all around the edges of the cake. To finish the look, I arranged some fresh berries in two opposite corners.
The Chantilly cream frosting is super easy to work with, so feel free to follow your heart with the decorating! Just be sure to top it with some fresh berries for a pop of color and you’re good to go.
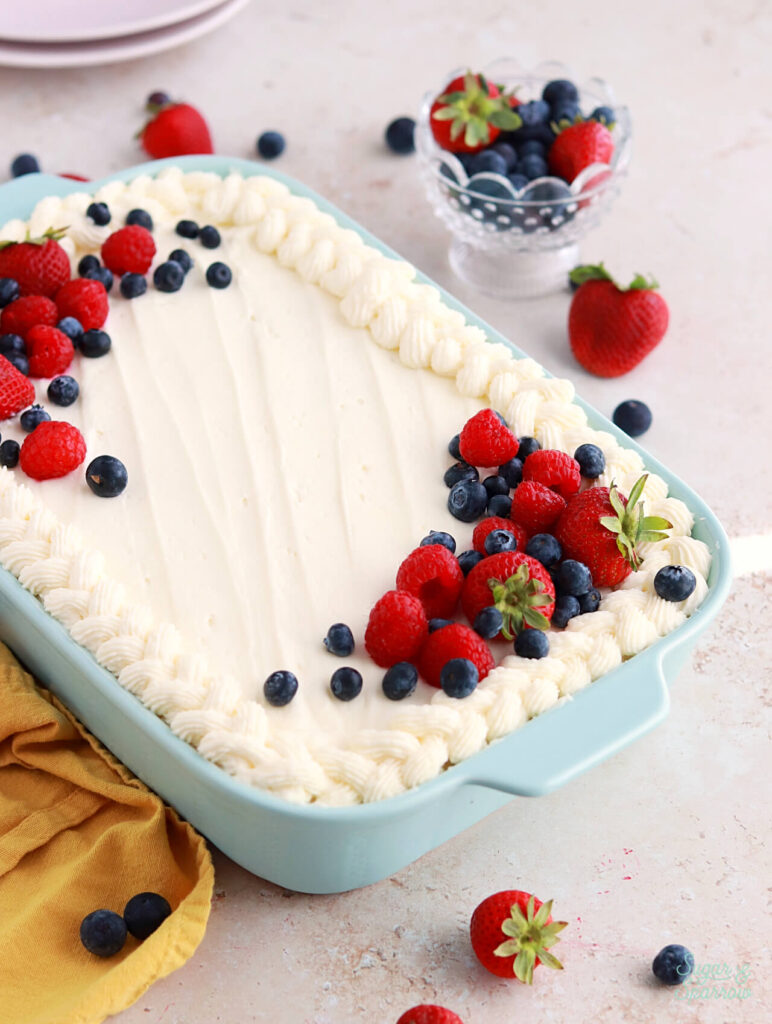
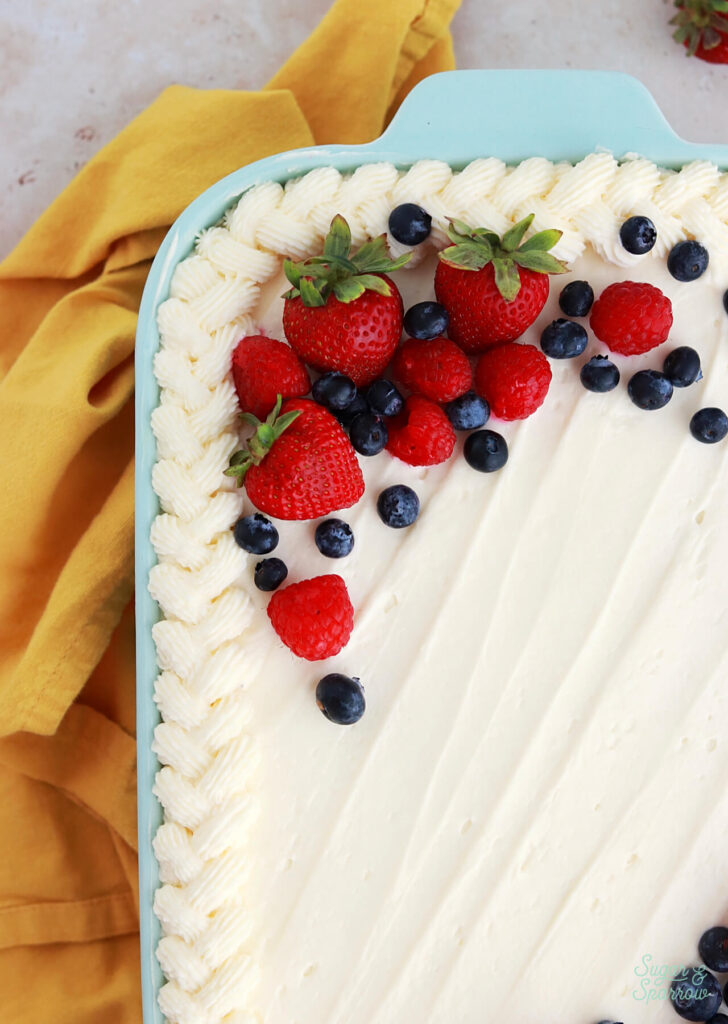
Side note: I originally got my ceramic baking dish from Target, but they don’t make it anymore! I did find this one on Amazon that is similar.
How to Store Chantilly Cake
One thing that is definitely worth noting is that this Chantilly cake has to be refrigerated. I recommend taking it out of the refrigerator an hour or so before serving just so it’s a little closer to room temperature, but you can absolutely serve it cold.
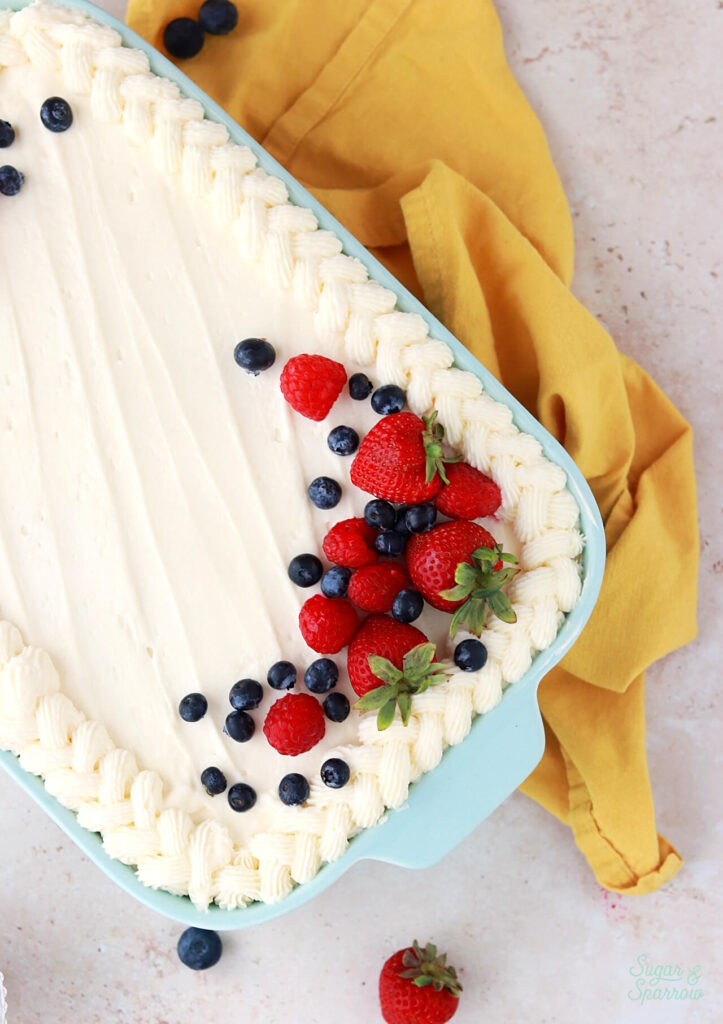
Also worth noting: you can assemble this Chantilly cake up to one day ahead of time, any longer than that and the berries may start weeping inside the cake. Check out the Make Ahead Tips in the notes section of the recipe below to help plan your cake baking/decorating timeline out.
Berry Chantilly Sheet Cake
Equipment
Ingredients
White Cake
- 2 1/2 Cups (265g) sifted cake flour* DIY recipe in notes
- 2 tsp baking powder
- 1/2 tsp baking soda
- 1/2 tsp salt
- 1 1/2 Cups (300g) granulated sugar
- 1/2 Cup (113g) unsalted butter, room temperature
- 4 large egg whites, room temperature
- 1/2 Cup (120ml) vegetable oil
- 1 Tbsp pure vanilla extract
- 1 1/4 Cups (300ml) full-fat buttermilk*, room temperature DIY recipe in notes
Chantilly Cream Frosting*
- 16 Oz (452g) mascarpone cheese, room temperature
- 8 Oz (226g) full-fat, brick-style cream cheese, room temperature not the spread
- 3 Cups (360g) powdered sugar
- 2 Cups (480ml) heavy whipping cream
- 1 tsp pure vanilla extract
- 1 tsp almond extract
Berry Filling
- 1/2 Cup berry jam of your choice
- 2 Tbsp water
- 4 Oz (105g) fresh strawberries, quartered
- 4 Oz (55g) fresh blueberries
- 4 Oz (55g) fresh raspberries
- juice and zest of 1/2 lemon
Garnish
- 1/2 Cup fresh mixed berries
Instructions
Make the White Cake
- Preheat the oven to 350°F/177°C and prepare a 9×13 inch sheet pan or casserole dish by spraying the sides with baking spray and lining the bottom with parchment paper.
- In a medium bowl, add the flour, baking powder, baking soda and salt. Whisk together and set aside.
- In the bowl of a stand mixer fitted with the paddle attachment, beat the butter at high speed until creamy, about 2 minutes. Add the sugar and cream it together with the butter at medium-high speed until light and fluffy, about 2 minutes, scraping the bowl and paddle at the halfway point. Turn the mixer to low and add the egg whites one at a time, mixing until they are just combined and scraping down the bowl and paddle as needed. Add the vegetable oil and vanilla, increase the mixer speed to high and beat for 1 minute.
- Turn the mixer off and add the flour mixture all at once. Mix the ingredients on low speed until just combined, then slowly pour in the buttermilk. Continue mixing at low speed for about 30 seconds, until the batter is uniform and combined. The batter will be slightly thin.
- Pour the batter into the prepared cake pan and bake for 28 to 32 minutes. The cake is done when it springs back to the touch and a toothpick inserted into the centers comes out clean or with just a few moist crumbs on it. Let the cake cool completely to room temperature before moving on with the recipe.
Make the Chantilly Cream Frosting
- In a large bowl or the bowl of a stand mixer using the paddle attachment, combine the mascarpone and cream cheese. Beat on medium speed until smooth and creamy, about 30 seconds. Add the powdered sugar a few spoonfuls at a time, beating on low speed until combined. Once fully incorporated, scrape down the bowl and increase speed to medium, and beat until fluffy, about 30 seconds.
- In another large mixing bowl, beat the cream, vanilla, and almond extract on medium speed until stiff peaks form, 2 min. Fold the whipped cream into the mascarpone mixture.
Make the Fillings
- Mix together the berry jam and water. Set aside.
- Add the strawberries, blueberries, and raspberries into a medium bowl. Toss together with the lemon juice and zest. Set aside.
Assembly
- Once the white cake is completely cooled, gently remove it from the pan by placing a large cutting board on top of the cake pan and flipping it upside down, then lifting the pan away from the sheet cake. Use a serrated knife or large cake leveler to torte the cake (slice through the center horizontally) and create two equal sized cake layers. Place one of the cake layers back into the pan.
- Spread the jam mixture onto the cake layer, then add a layer of chantilly cream frosting. Press the lemon coated berries on top. Place the other white cake layer on top.
- To create the design pictured, frost the cake with chantilly cream frosting and use a small spatula to make diagonal swipes in the finish. Prepare a piping bag with Wilton Tip 32 and place the remaining chantilly cream frosting inside, then pipe a braided buttercream border around the edges of the cake (here’s a video that shows the technique). Garnish two opposite corners with fresh berries.
Notes
- The white cake can be made ahead and stored at room temperature, covered tightly in plastic wrap, for up to two days. Alternatively, you can cover with plastic wrap and store in the freezer for up to two months before thawing to room temperature.
- The berry chantilly frosting can not be made ahead because it will lose too much air when stored in an airtight container and therefore won’t be workable. You’ll want to whip up the frosting right before you’re ready to assemble.
- This cake can be assembled up to 1 day in advance and stored in the refrigerator. Any leftovers should be refrigerated, covered, for up to 4 days.
- I don’t recommend freezing an assembled berry chantilly cake, but you can bake the white cake layers in advance and freeze them for up to 2 months.
I hope you love this recipe as much as I do! Let me know what you think in the comments below and feel free to tag @sugarandsparrowco on Instagram to show me! I love to see your bakes.


Hi I plan to make this for Easter as a sheet or layered cake. I was curious what the measurements would be to make a mini loaf cake?
Hi Amy! I’m excited for you to make this cake! What are the measurements of your loaf pan?
What measurements should i use for a commercial mixer about 10qt
Hi Bre! It depends on what size cake you’re wanting to make. This recipe makes enough for a two layer 8 inch cake or a three layer 6 inch cake. How many layers/what size are you planning for?
We can’t have processed oils, would olive oil or avocado oil work better to replace the vegetable oil.
Hi April! Yes, either will work!
I want to make the sheet pan recipe. I’m worried about how to frost the middle. I don’t want to waste my time and $ . Please help
Hi Sandra! What exactly are you worried about? My best tips for success are to 1) line the bottom of the pan with parchment paper and grease the sides, 2) wait until the cake is completely cool, then place a baking sheet over the top of the pan and flip it upside down to remove the cake from the pan. Peel off the parchment paper and use a serrated knife to cut the cake horizontally into two equal layers. After this point it should be easy to place the first layer back into the pan, frost it and add the berries, then place the next layer on top. You could also skip putting it back in the pan and assemble it on a serving platter. Hope that helps!
I made this for a family birthday get together and it was delicious! Everyone loved it. It looked beautiful as well. Thank you for the recipe and the easy to follow instructions! Happy baking!
Yay, Melissa! I’m so happy to hear this was a hit!
Can I replace the vegetable oil in this recipe with just another 1/2 cup of butter?
Hi Anna! I haven’t tested that, so I can’t recommend it. My hunch is that it will be a lot more dense like pound cake if you use that much butter.
Simply fabulous! Our family loves Chantilly cake, and this was the perfect recipe for a delicious Chantilly cake to celebrate my daughter’s college graduation.
Yay, Maryann! I’m so happy to hear that this recipe was a hit and congratulations to your daughter!
I made this cake for my daughter’s first birthday in April and it was A HIT! While People asked for seconds, my husband said it’s the best cake he ever tried in his life and banned me from giving any cake to go My sister-in-law and mother-in-law asked to make it for Mother’s Day. It’s light, fluffy and berries bring balance to whole thing. It’s going to be a staple in our household moving on!
How thick should each layer be? I just baked mine and it’s only 1” thick leaving each only about 1/2”.. this doesn’t mean like it will feed 30, I’m afraid I’ll have to double this cake recipe.
Hi Jacqueline! What size are your cake pans? When I bake this cake in 6 inch or 8 inch cake pans, the layers end up about 1.5 inches tall.
I made this cake in a 9×12 and it only gives less than 1” height. In short, it seems impossible to cut this cake down the middle w/o it falling apart. The photo in the recipe shows above shows a taller cake. I ended up slicing this cake in half and using 1/2 on the bottom while the other 1/2 went on the top.
Also, there’s recipe says to put 1/2 the cake back into the pan. I don’t see how you would be able to frost it entirely with this instruction. We made the frosting according to the directions regarding quantity and had to throw out 1/2 of it. This was with an abundance of frosting so this cost a lot of money in waste. I believe if the cake had another layer from a 9×13 perspective, then perhaps the frosting would’ve been used up. These instructions and measurements seem off, but the cake was marvelous.
Hi John! I’m glad the cake tasted marvelous but I’m sorry that your sheet cake didn’t rise as much as mine did. I’m not sure why that would be besides perhaps checking your baking powder to make sure it’s not expired? Baking powder is responsible for the rise of the cake and it expires every 6 months, making it not effective in helping cakes rise. My cake layer was about 1 1/2 inches tall and I was able to torte it in half horizontally just fine. And regarding the frosting, you’re right. It makes enough to fill, frost, and decorate a 9 x 13 sheet cake, so if yours was cut in half it would make sense that you only used half of the frosting.
This turned of excellent and received very high praise!
This frosting is very tricky! I guess I whipped the cream too much, turned out too stiff and grainy!
Next time I whip cream to soft peaks and maybe less cream cheese!!!!
Thank you, I loved the recipe, I’ve been looking for it.
Question – Can this Recipe be enlarged to a full sheet pan size? If I doubled the recipe, would that work? I want to feed about 20 people. Thank you – This recipe sounds absolutely delicious!
Hi Jeri! It should work as a full sheet pan, although I have never tried baking it at that size so I’m not sure how much batter/baking time. I don’t think you’d need to double the recipe for only 20 people though. This serves about 30 people at this size.
When do you add the almond extract?
With the vanilla in Step 2 of the frosting recipe. Thanks for catching that it was missing! I updated the recipe
Can this be cut in half for an 8×8 pan?
Thanks!
Hi Renee! Yes, it can be halved for a smaller pan. Just be sure to fill the pan no more than 1/2 full in case you have a little extra batter.