
If you’re reading this, chances are you love coffee as much as I do (or you’re here for a coffee loving friend). I don’t know about your city’s coffee situation, but we Portlanders are spoiled when it comes to good coffee. I wouldn’t call myself a coffee connoisseur per se, but I know what a good cup tastes like. So when I set out to configure the perfect coffee layer cake recipe, I wanted to capture the rich and aromatic flavor of the good stuff. The only way to do that is to use rich and aromatic coffee beans in the recipe!
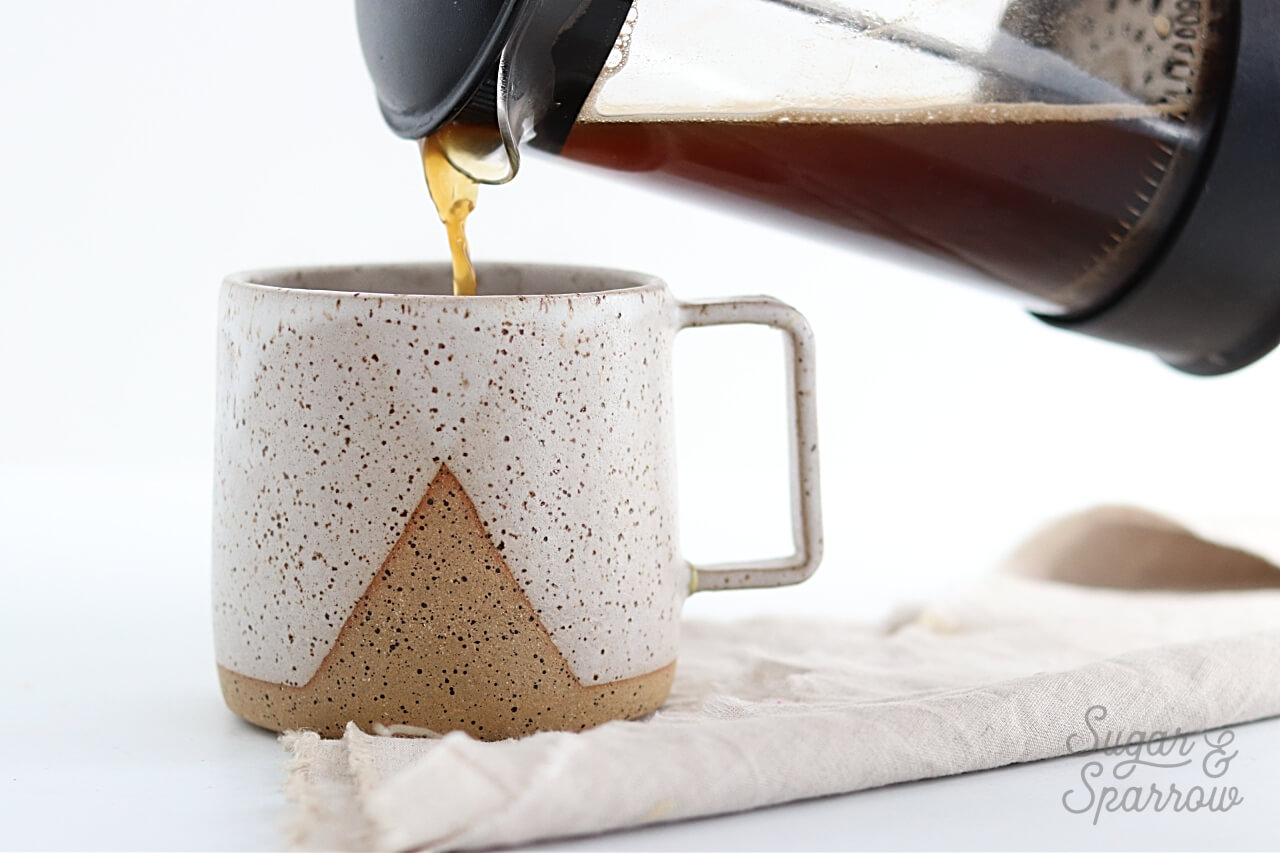
It all starts with a delicious cup of coffee. The best part about this is you can make yourself an extra cup or two for sipping while you start whipping things together. I really love these Blue Bottle Coffee beans, because the combination of Congolese and Ethiopian beans produce a chocolatey aroma with undertones of blueberry and cardamom. Sounds delicious, right? Just keep in mind that whatever beans you choose will flavor the cake, so choose wisely! PS: isn’t it the best coincidence that my cake ended up matching my favorite coffee mug ever?
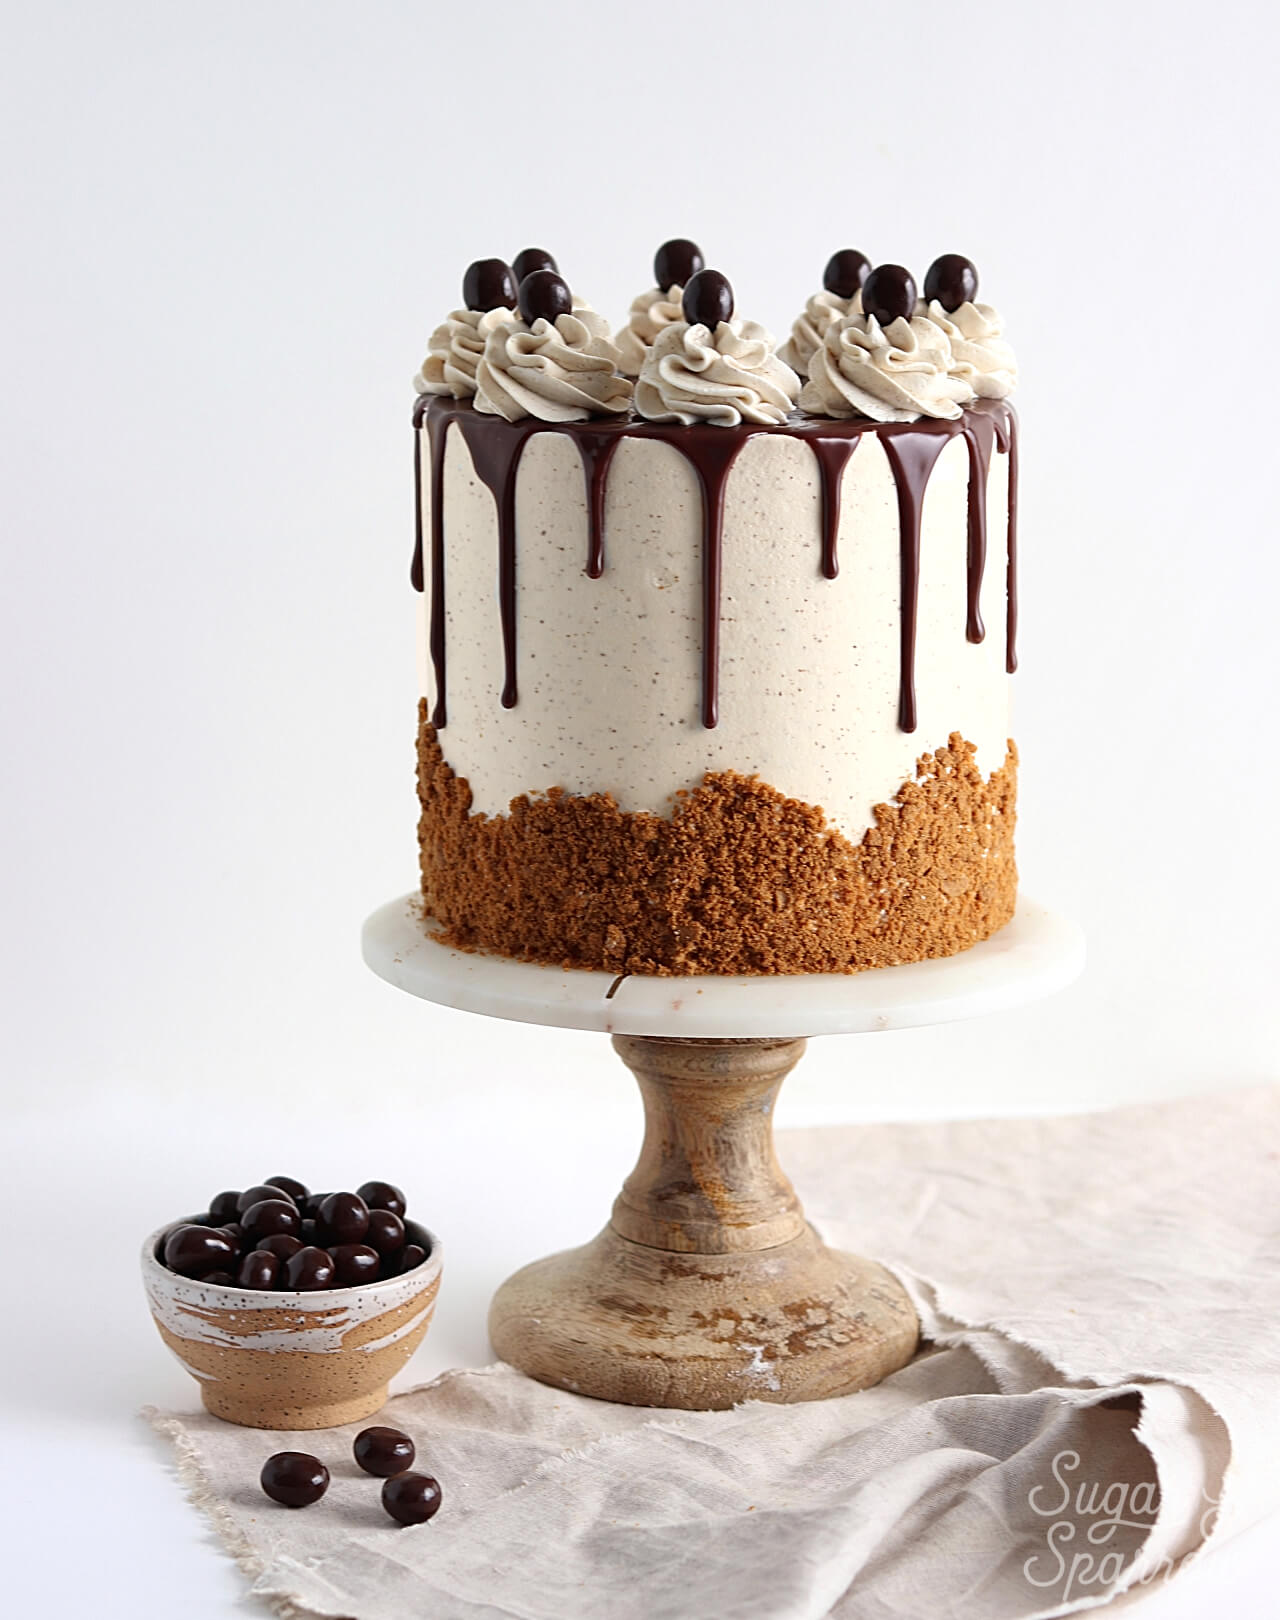
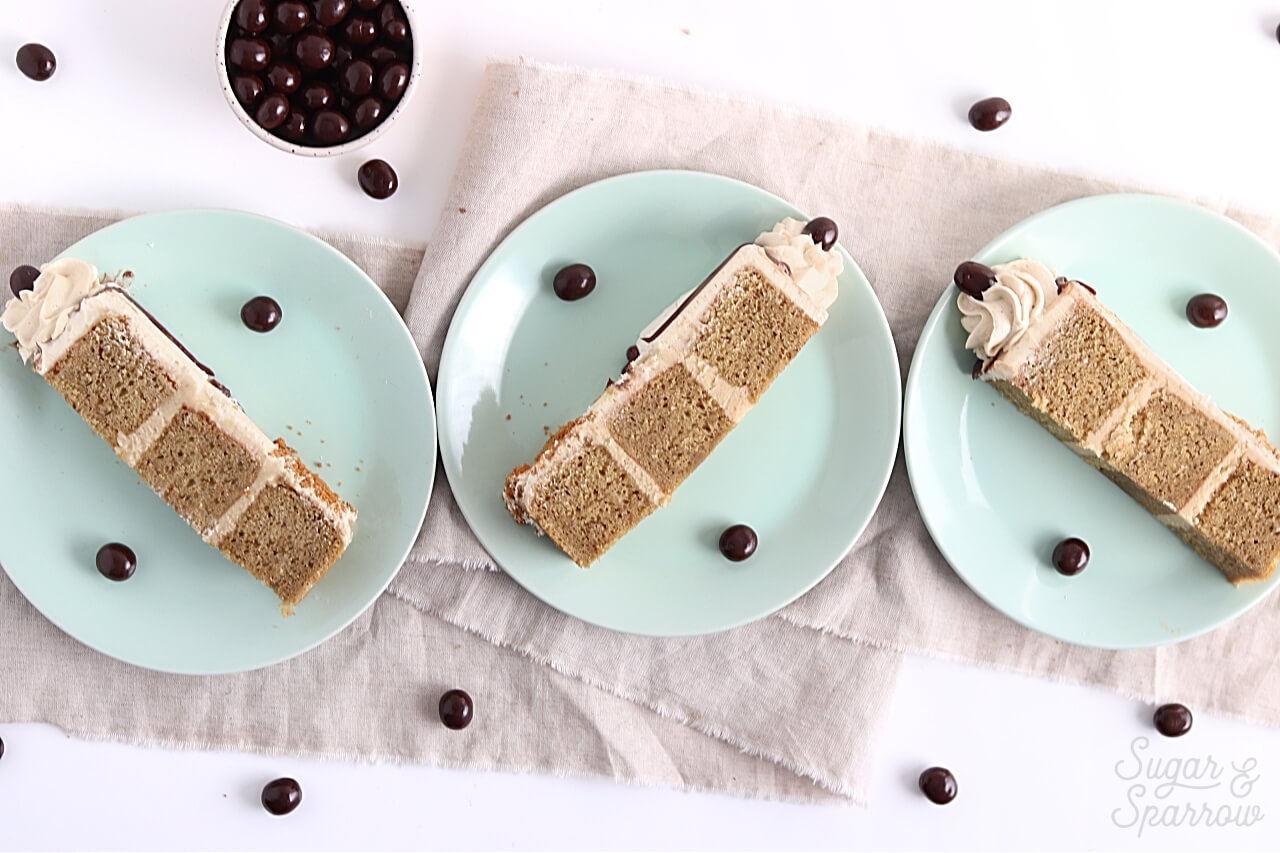
The texture of the cake is super soft thanks to cake flour (makes for ultra-fluffy cakes!) and a little brown sugar and sour cream for extra moisture. To bring out the richness of the coffee flavor, I’ve paired this coffee layer cake with a vanilla espresso buttercream and a chocolate ganache drip. The hint of chocolate ganache adds the perfect amount of depth to balance out the coffee flavors, and I can’t tell you how much I love the vanilla espresso buttercream. It’s basically my classic vanilla buttercream recipe with instant espresso powder added, but it ended up looking so pretty with the little flecks of espresso and tasting like a dream.
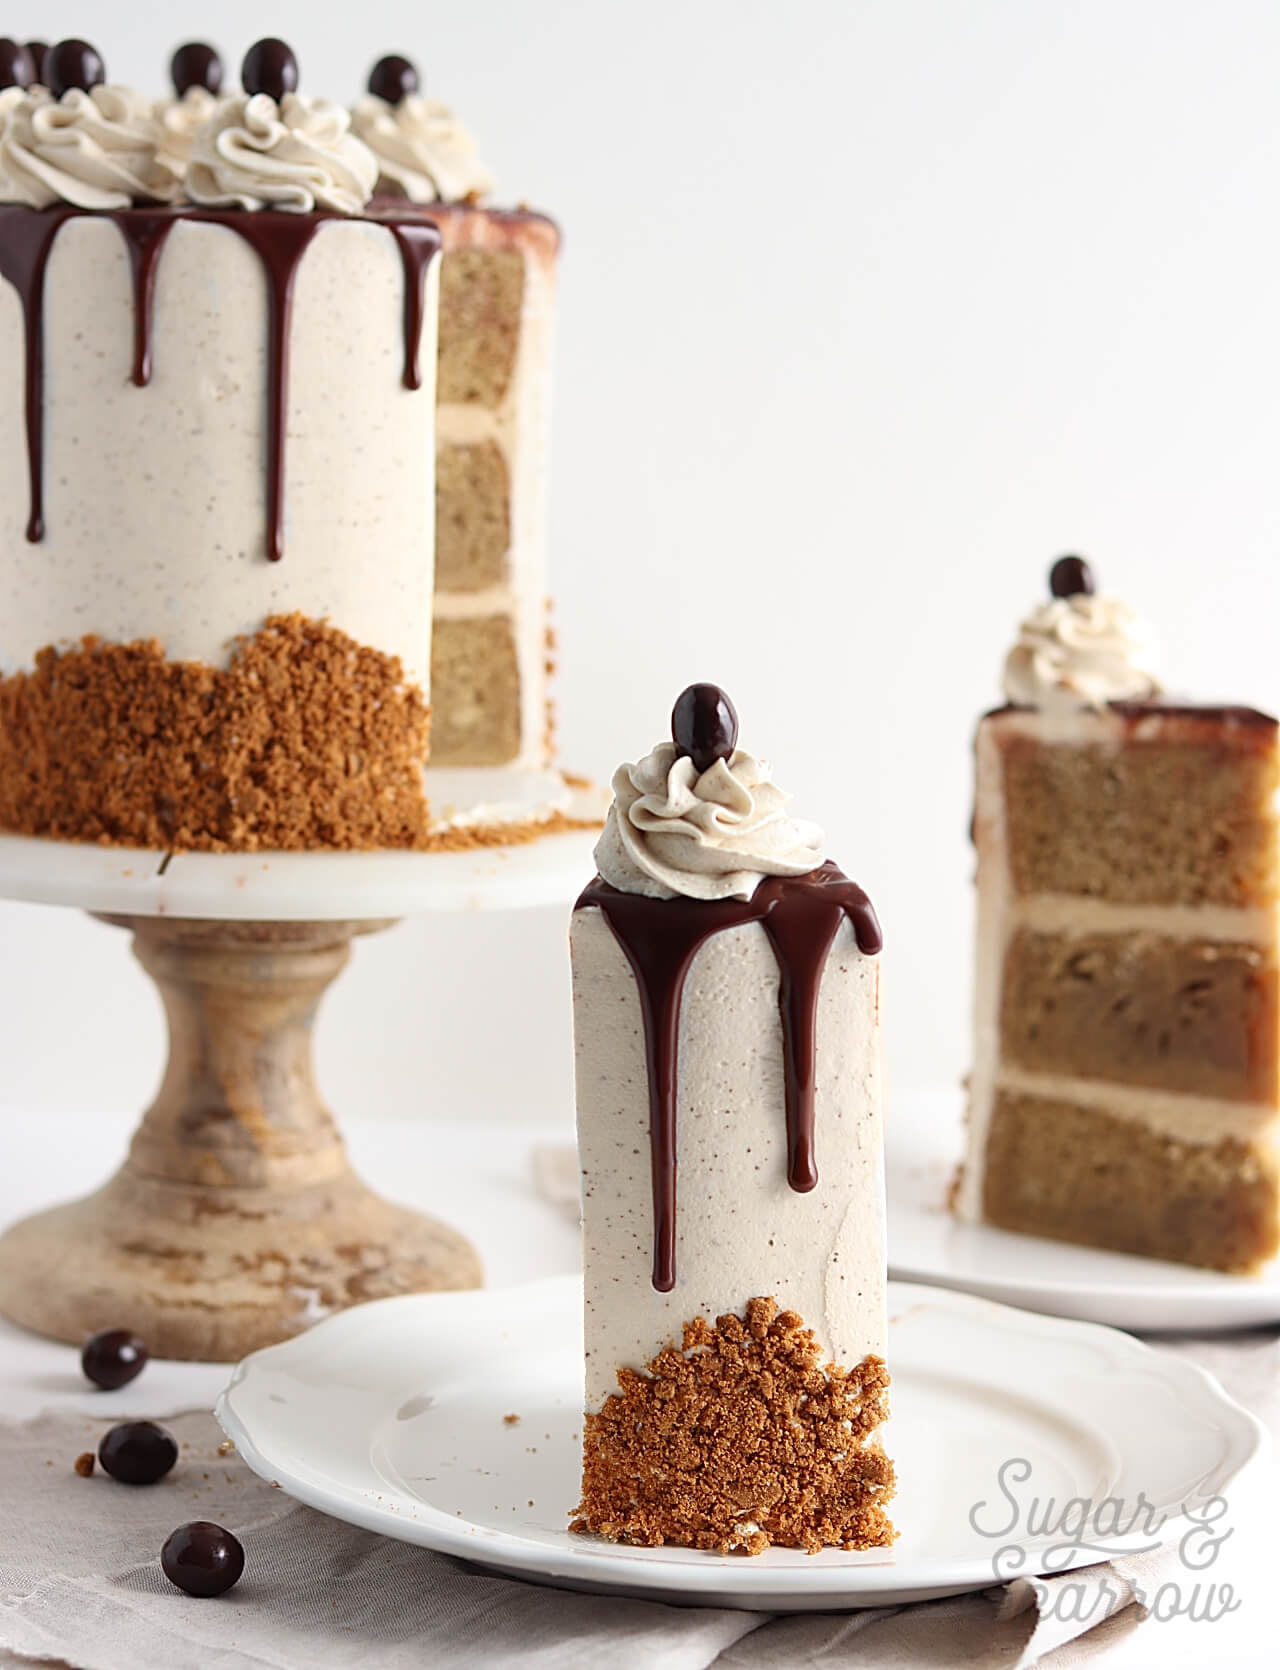
For garnish, I’ve used some chocolate covered espresso beans and these Speculoos cookies from Trader Joe’s ground into crumbs. If you’ve had these yummy cookies before you know they were made for pairing with coffee! They’re crispy caramelized cookies with a spiced cinnamon flavor, making them perfect for coffee dunking (or coffee cake decorating!). And thanks to these flavor choices, I ended up stumbling upon the most delicious snack ever: spread some vanilla espresso buttercream onto a Speculoos cookie, top with another cookie, and eat it like a sandwich. Heaven, y’all.
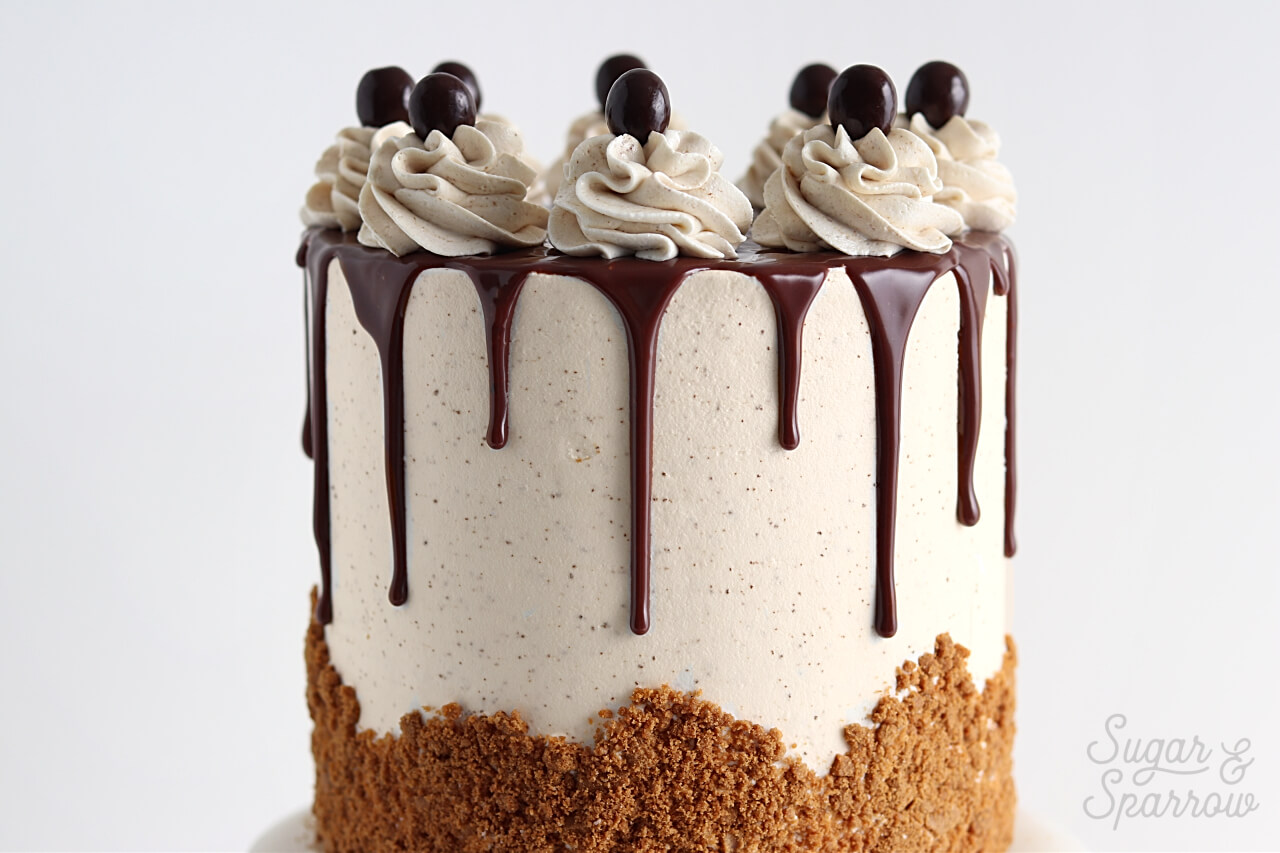
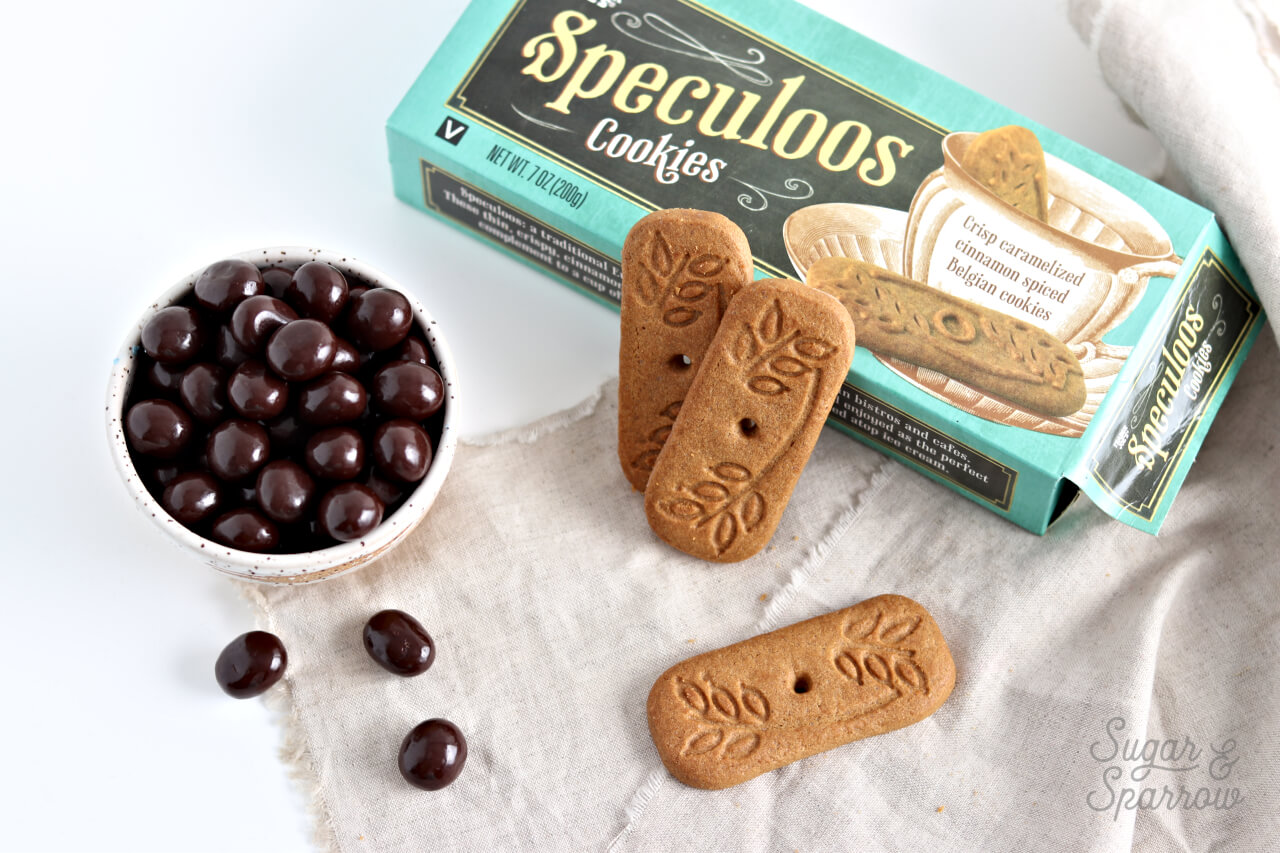
Whether you need something sweet to add to your brunch table or you just love coffee-flavored things, this cake will make you oh so happy.
Update 2021: I scaled this recipe down to make enough batter for three 6-inch cake pans or two 8-inch cake pans (the most requested sizes). Enjoy!
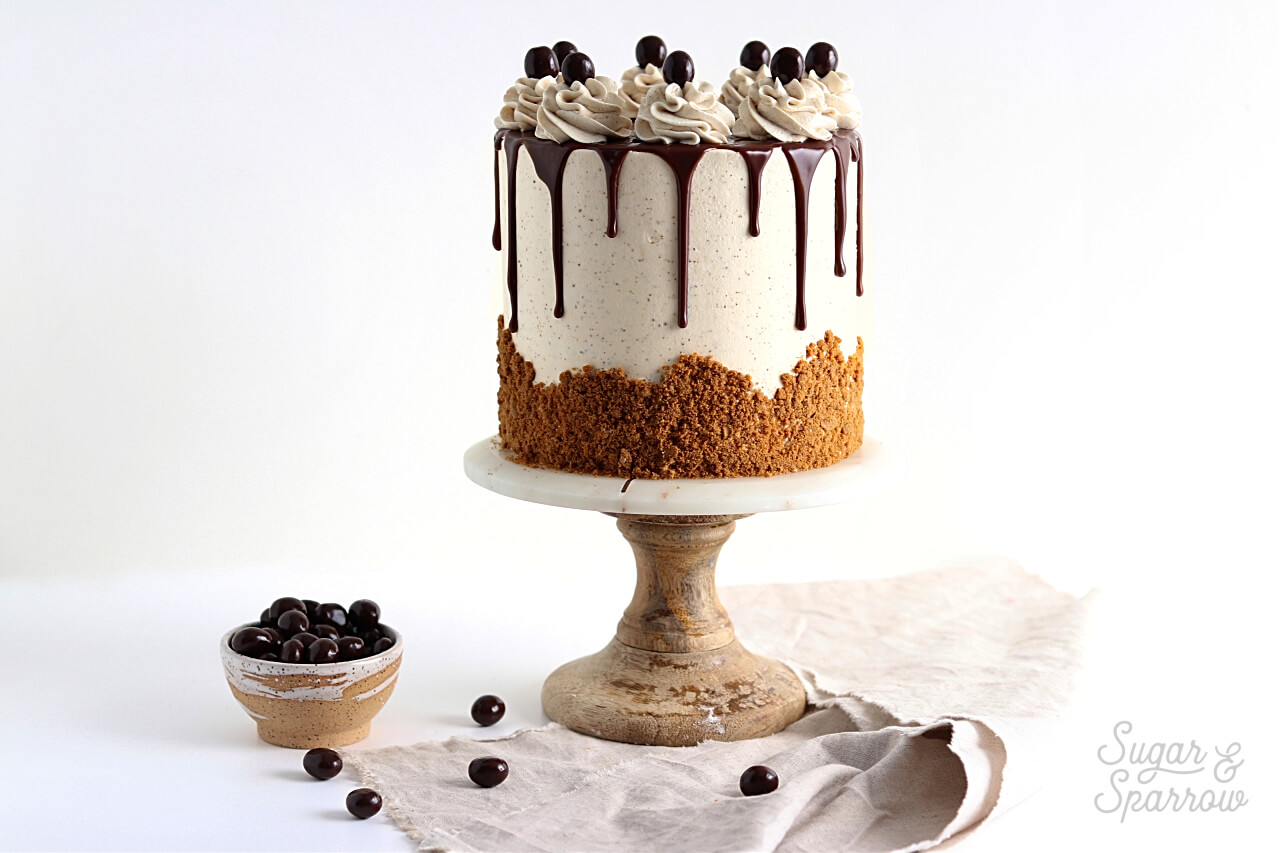
Coffee Layer Cake With Vanilla Espresso Buttercream
Ingredients
Coffee Layer Cake
- 2 3/4 Cups (290g) cake flour, sifted before measuring*
- 2 tsp baking powder
- 1/2 tsp baking soda
- 1 tsp salt
- 1 1/2 tsp instant espresso powder
- 3/4 Cup (170g) unsalted butter, room temperature
- 1 Cup (205g) granulated white sugar
- 1/3 cup (65g) packed brown sugar
- 3 large eggs, room temperature
- 1/2 cup (120g) sour cream, room temperature
- 1 Tbsp vanilla extract
- 1/2 Cup (120ml) whole milk, room temperature
- 1/2 Cup (120ml) strong coffee, room temperature
Vanilla Espresso Buttercream
- 2 cups (452g) unsalted butter, room temperature
- 8 cups (960g) powdered sugar
- 4 tsp vanilla extract
- 3 Tbsp (45ml) whole milk, room temperature
- 1 Tbsp instant espresso powder
- 1/4 tsp salt
Instructions
Make The Cake
- Preheat the oven to 350°F. Prepare three 6-inch or two 8-inch cake pans by spraying the sides with a cooking spray (Baker's Joy is my favorite) and a wax paper circle fitted to the bottom of the pan. Alternatively, you can grease and lightly flour the pans.
- Sift the cake flour and then measure by spooning and leveling it in your measuring cup. Add the cake flour, baking powder, baking soda, salt, and espresso powder into a bowl and whisk to combine. Set aside. Combine the whole milk and coffee in a small container and set aside.
- In the bowl of your stand mixer (a handheld mixer works fine too!), cream the butter for on high for two minutes until it’s light and fluffy. Add in white and brown sugars and continue to mix on high for another two minutes, scraping down the bowl and paddle as needed. Add the eggs one at a time, mixing thoroughly after each addition. Add vanilla and sour cream and mix for one minute on high, scraping down the bowl and paddle once more.
- With the mixer on low speed, add in the dry ingredients and mix until just combined. Add the coffee and whole milk mixture and mix until just incorporated. Scrape down the sides and bottom of the bowl and give it a few stirs to make sure there are no lumps. Batter will be slightly thick, but pourable.
- Pour batter evenly into prepared cake pans (about 2/3 of the way full) and bake for 35-40 minutes. They’re done when they spring back to the touch and a toothpick inserted into the middle comes out clean. Let the cakes cool in the pan for five minutes before turning them out onto a wire rack for an additional few hours of cooling. Make sure they’re entirely room temperature before applying any frosting.
Make The Vanilla Espresso Buttercream
- In the bowl of a stand mixer, cream the butter on med-high until light and fluffy (about 5 minutes), scraping down bowl and paddle a few times in between.
- Add powdered sugar a few cups at a time, scraping down bowl and paddle between intervals. Mix on medium until fully incorporated.
- Turn mixer to low and add vanilla and milk. Mix on medium for one minute. Scrape down bowl and paddle and add the instant espresso powder and salt. Mix for another minute on medium until incorporated.
Assembly
- Torte each layer to desired height. Fill the first layer with vanilla espresso buttercream and place the second layer on top. Fill the second layer with vanilla espresso buttercream before placing the final layer on top. Crumb coat with vanilla espresso buttercream and place in the refrigerator for 15 minutes to chill before frosting with a final layer of vanilla espresso buttercream.
- Decorate however you wish. I’ve chosen to decorate with a chocolate ganache drip, a few swirls on top with Wilton tip 1M, and garnish with crushed Speculoos cookies and chocolate covered espresso beans.
Notes
Make ahead tip: These cakes can be baked, cooled, wrapped in plastic wrap, and left out at room temperature up to two days ahead of decorating. Unfrosted cake layers can be wrapped tightly in plastic wrap and stored in the freezer for up to two months before thawing and frosting. The buttercream can be made ahead and stored in an airtight container in the refrigerator for up to two weeks. When you’re ready to use it, bring it back to room temperature and re-whip with your stand mixer.
Disclaimer: this post does contain some affiliate links, meaning I may receive a small commission if you click them and purchase items I’ve recommended. Using these links won’t cost you any extra money, but they do help to keep Sugar & Sparrow up and running. Thank you for your support!
Did you make this cake? I want to know how you liked it! Let me know in the comments below or tag me on Instagram so I can see your coffee-infused creation!




Hi Whitney
Have you ever made this cake and shipped it ?
I have a friend who would love this cake and I am not the best baker nor can I find a bakery near me that makes one !
Hi Judie! I have never shipped a cake before, although I’m not opposed to trying it in the future. I’m currently dedicated to blogging about cake and have not expanded my offerings to cake sales/shipped cakes. I’ll let you know if I ever offer that though!
Hi!
I was thinking of making this for my birthday, but just had a question. For the buttercream, would it work to boil the milk and add the espresso powder so the buttercream is less spotty?
Hi Sophia! You can dissolve the espresso powder in the room temperature milk to make it a uniform color instead of spotty! No need to boil. Hope that helps!
Greetings from India! I am planning to try this out for this weekend and just wanted to ask you if there was a substitute for sour cream… Could I use plain yogurt/curd?
~hope you are keeping safe!!
Hi Ahona! You can certainly sub plain yogurt for the sour cream in this recipe. Enjoy!
hiii im asking another question im so sorry but is there a way to make this recipe for a smaller cake? because this seems like a lot, how many people would this cake serve? I need at least 6 servings.
Hi Maddie! I’m so excited for you to make this cake for your mom’s birthday! To answer your questions: 1) this recipe does make quite a lot, so I would recommend halfing the recipe (divide each ingredient by two) to make a smaller cake. For half of the eggs, use 2 whole eggs + 1 egg yolk. 2) It really is important to use both baking soda and baking powder in this recipe. You may be able to get away with using just baking powder, but I’m not sure what the measurement would be since I’ve never tried it without baking soda, so I can’t guarantee that it will turn out. Instead, I recommend investing in some baking soda.
Hi Whitney, so I want to make this recipe for my mom’s birthday but I don’t have baking soda. If i wanted to use baking powder instead to save money, do I have to use baking soda? And if I can use baking powder instead what would the measurements be?
Hi Whitney, what adjustments would you make for high altitude (above 7000 ft)? I really want to try this, but I know high altitude baking is tricky!
Hi Bonnie! I am not entirely sure what adjustments need to be made for high altitude baking, as I’ve never lived anywhere above 500 ft. I did find this article that has suggestions for high altitude baking, but it does seem like a complex topic: https://www.kingarthurbaking.com/learn/resources/high-altitude-baking hope that helps!
Hi Whitney! I would love to make a mini version of this using 2 6-inch cake pans. Should I also divide the ingredients by 3? Thanks
Hi Lurlyn! Since this recipe yields four 6-inch cakes, you’d just need to cut the recipe in half to make two 6-inch layers. Since there are an odd amount of eggs for dividing, go ahead and use 2 eggs + 1 egg yolk (half of 5 eggs). Enjoy!
Hi! What do you mean with 1/2 cup strong coffee? Is it coffee mixed with water or milk? If so, how much coffee should i put? Thanks in advance!
Hi Ara! Just a cup of brewed black coffee (coffee + water). If you’re not a coffee drinker or have a coffee machine, I would recommend using instant coffee – just mix one packet with boiled water and you’re good to go! You’ll find it in the coffee aisle of your grocery store. Hope that helps!
This cake looks absolutely amazing! For the 1/2 cup of strong coffee (room temp), if I use instant espresso powder what do you suggest the ratio of powder to water be? Thank you!!
Hi Saz! I would recommend whatever ratio the instant espresso powder specifies on the package! It’ll usually say how much espresso powder to use per cup of water, and then you can just half the espresso powder + water mixture to get 1/2 cup for the recipe.
Thank you so much this looks amazing! I have watched your videos about how to decorate cakes and my question is, what do you store the cake in as you are decorating it and putting it in the fridge? How do you make sure it doesn’t absorb odors? Thank you.
Hi Gen! I always store my cakes in the refrigerator uncovered, as the buttercream acts as the perfect barrier for keeping the cake moist. I’ve never had a problem with odors, but if you’re concerned about them I would recommend storing problematic foods in airtight containers or you can try a cake container like this: https://amzn.to/2YmcE18
Please can you tell me if you use a fan assisted oven?
Hi Kelly! I don’t use a fan assisted oven, I have a conventional oven.
Hello! I can’t wait to bake this cake. But here in Greece it’s difficult to find sour cream,so what can I use instead and in what quantity?
Hi Artemis! The best substitute for the sour cream is full-fat greek yogurt. Use the same amount and you’ll be good to go!
I’m really looking forward to making this recipe on the weekend! Please can you tell me what quantities I’d need to make a 8 inch 4 layer version?
So excited for you to make this cake, Kelly! To make four 8-inch layers, you don’t need much more than what this recipe makes already (and might even be able to get away with it as-is if you don’t mind shorter layers). If you do 1.5x the recipe it will be more than enough, but that’s the easiest way to scale it up without having a ton of extra batter. Multiply each ingredient by 1.5 and for the eggs, use 7 eggs + 1 egg yolk. Hope you love this recipe!
Thank you sooooo much for your reply. This is really helpful!!
I forgot I also had a question about the granulated sugar. I’m in the UK and normally use caster sugar for baking. Please can you confirm if the recipe calls for granulated sugar or caster sugar? I know sometimes things have different names in different countries. Thanks again
Hi Kelly! I use granulated sugar in all of my cake recipes, but from what I’ve read online it seems that you can use castor sugar in place of granulated sugar for baking and the results are the same.
Absolutely perfect. Had a bride all me for coffee overloaded cake and this is perfect! I swear it tastes like you’re eating a vanilla latte with everything combined. Thank you so much for sharing
I’m so happy to hear the recipe was a hit, Melissa! It’s one of my absolute favorites. Thanks for taking the time to let me know!
And can I use instant coffee powder instead for the espresso powder? Thank you so much! Can’t wait to try this recipe. Planning to use it for a wedding cake 🙂
Yes, you can use instant coffee powder instead!