
I’m a big advocate of cake making as a means to reduce stress and have fun. That said, I know how incredibly stressful cake can be when you’re running short on time and/or things just aren’t going the way you wanted – especially if said cake is an order. I can remember many stressful nights (and even a few panic attacks) from my years of running a cake business from home and most of them stemmed from not giving myself enough time to enjoy the process. Can you relate? In hopes of sparing you some of that added stress, I’ve put together my best tips for making a timeline and working ahead. This way, maybe you won’t find yourself up at 2am agonizing over an unfinished cake!
First, let’s talk about some make ahead tips for baking cake layers, making frosting, and storing it all so it’s ready to go when you’re ready to decorate. There are a few different methods and preferences on the subject that vary from baker to baker, and the purpose of this post is to talk about my own preferred methods. I’ve gathered them all in the video below, so give it a watch before reading on to commit these make ahead tips to memory.
And side note: if you’re wanting to learn more Cake Basics, be sure to check out my YouTube channel and hit the Subscribe button so you never miss a new one. In addition to the basics, you’ll also find my favorite recipes and cake decorating tutorials to broaden your skill set!
Storing Unfrosted Cake Layers
When you’re building a cake, it’s ultra important that your cake layers are room temperature and not even a little bit warm (trust me, your frosting will melt). Because of this, you’ve got to give your cakes a few hours to cool after they come out of the oven. This means padding in those extra hours of cooling time into your overall timeline, which can end up taking a lot of your day if you’re doing all of it the day of. Instead, there are a few options for baking your cake layers and storing them properly so they’re ready to go on decorating day:
Storing at Room Temperature
If you’re baking your cakes a day or two ahead of decorating day, you can store them at room temperature as long as they’re wrapped tightly in plastic wrap.
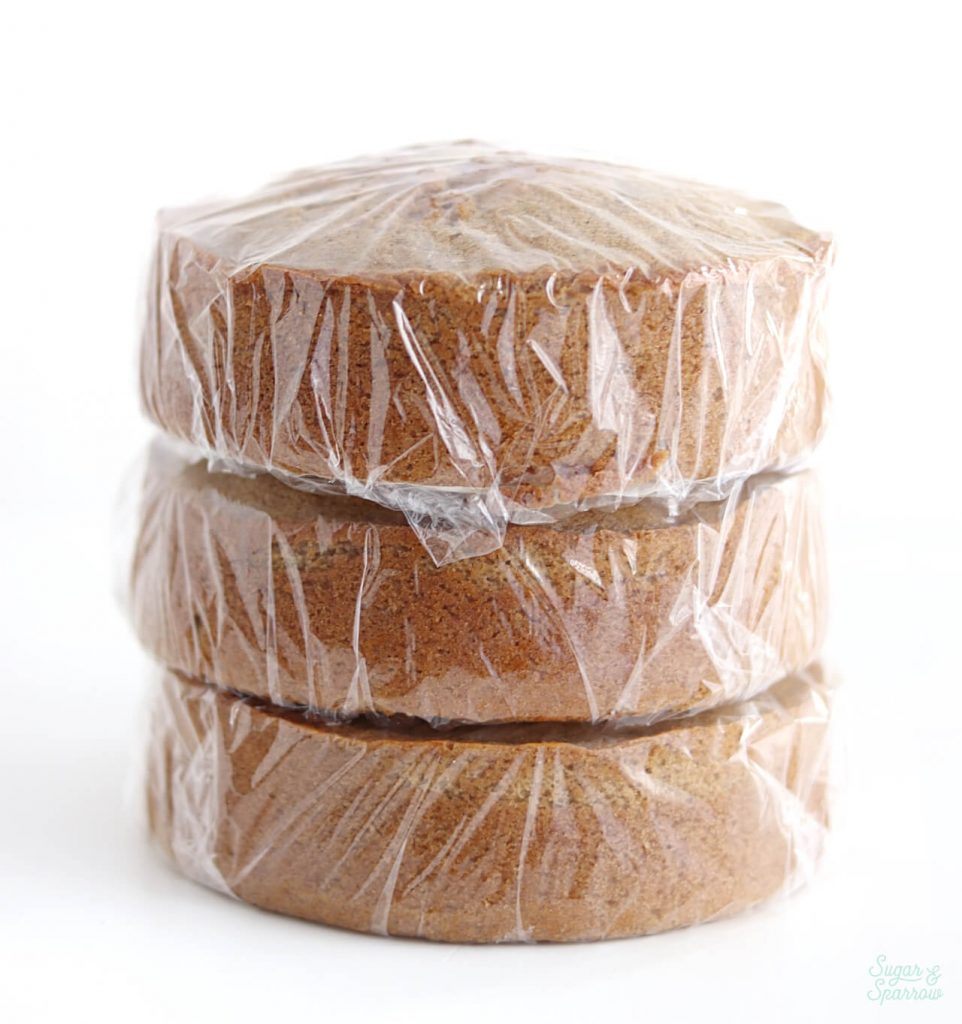
Just be sure to wait until they’re completely cooled before wrapping them in plastic wrap, as the steam from a hot cake layer can create excess condensation in the storage process. Nobody wants a soggy cake!
Freezing Cake Layers
If you’re baking your cakes more than two days ahead of time, I recommend freezing your cake layers. Again, it’s important that you let the cakes cool completely before wrapping them up. As long as you wrap them properly, they will keep for up to two months in the freezer and once thawed will taste just as fresh as the day you baked them! Talk about a cake hack.
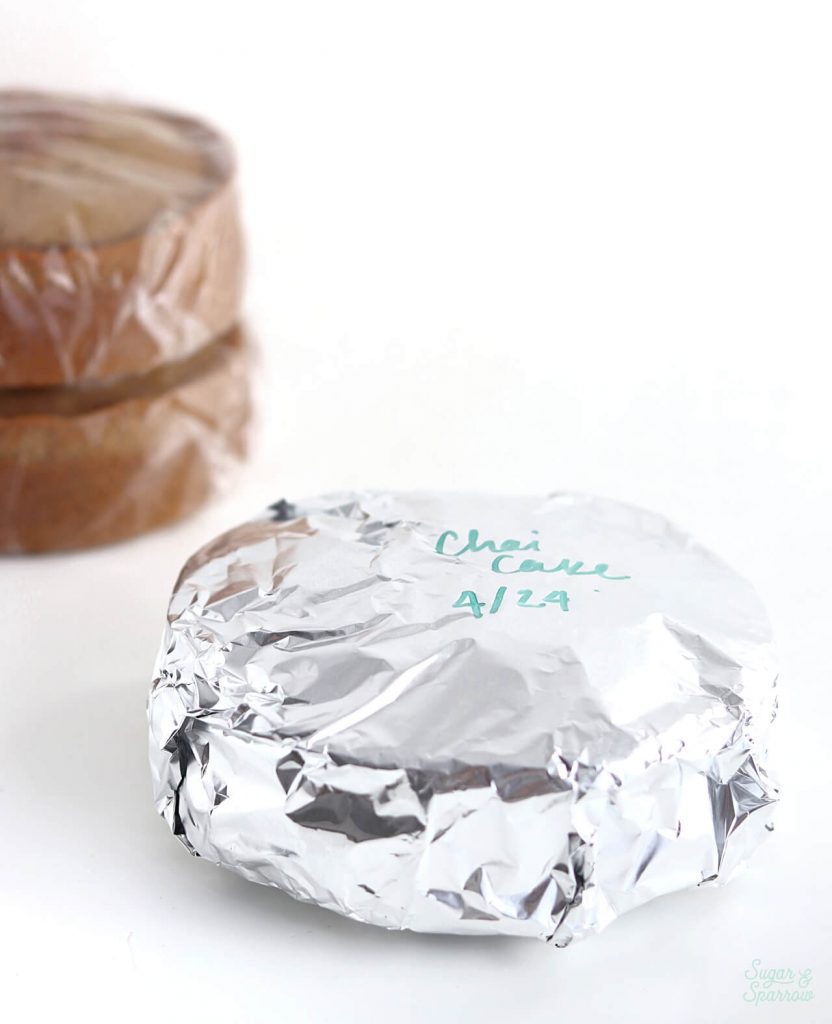
To ensure they stay extra fresh, I like to wrap the cake layers in one layer of plastic wrap, then one layer of aluminum foil, then place them into a ziploc bag (or other airtight container that can go in the freezer). When you’re ready to use them, simply take the cake layers out of the freezer the day before decorating to thaw them.
Remove them from the ziploc bag, but keep them in their aluminum foil/plastic wrap covering. This way, any excess condensation will escape and gather on top of the foil, which acts as a barrier to keep the cake beneath it from getting soggy. Then, on decorating day, remove all the wrapping and you’ll have your cake layers thawed and ready to go!
Making Buttercream Ahead
To make your buttercream frosting ahead of time, simply place it in an airtight container and keep it in the refrigerator for up to two weeks before decorating day.
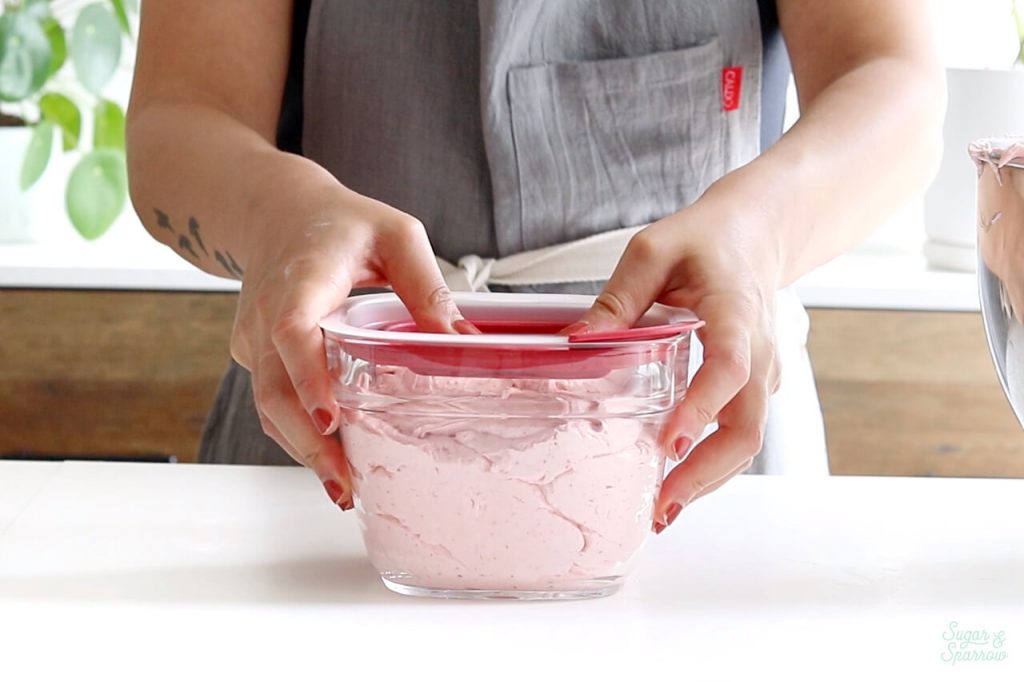
When you’re ready to use it, bring it back to room temperature by placing it on the counter for an hour or two. Once it reaches room temperature, add it back into your stand mixer and mix it on low speed for about a minute.
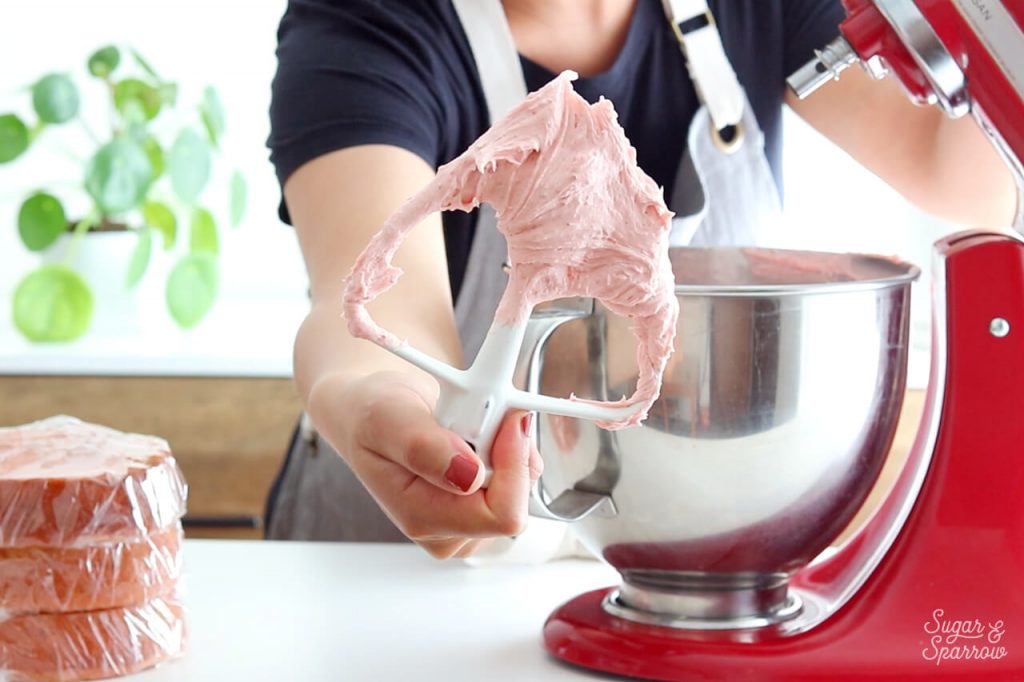
This will bring it back to frosting consistency and you’ll be ready to roll!
Storing Crumb Coated Cakes
After you’ve filled and frosted your cake with a crumb coat, it’s safe to store it in the refrigerator overnight without the risk of drying out the cake. The thin layer of buttercream acts as a barrier to preserve the cake underneath and help it maintain its moisture.
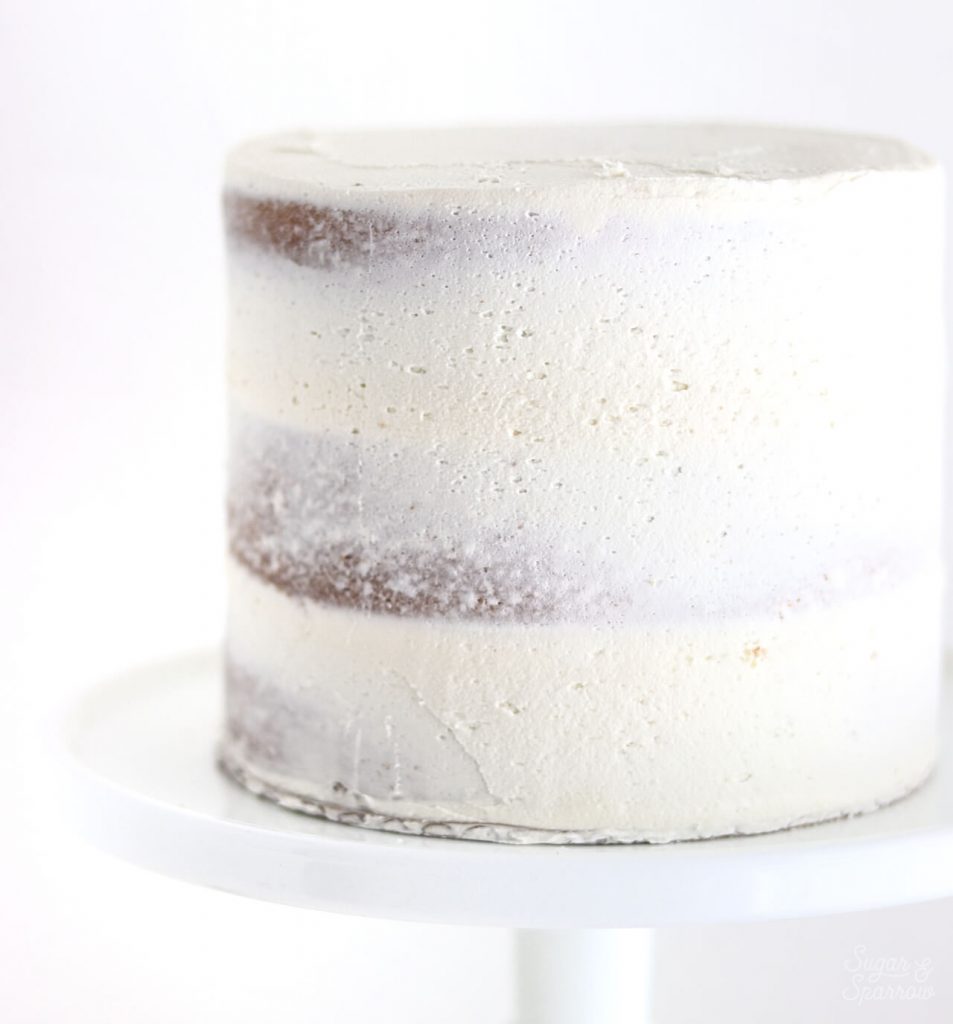
I always like to add my final layer of frosting to a chilled crumb coated cake anyways, because having a nice firm structure underneath the final layer is one of the secrets to creating a smooth buttercream finish. Even if you don’t plan on storing your crumb coated cake in the fridge overnight, I highly recommend letting it firm up in the fridge for at least 30 minutes before you add your final layer of frosting. Here’s everything you need to know about how and why I crumb coat my cakes.
Storing Decorated Cakes (Uncut)
Once the final layer of frosting has been added and you’ve decorated your cake, the safest place to preserve it is in the refrigerator, uncovered (in my opinion). This way, the details of your decorating will be preserved while keeping the cake beneath all that frosting nice and moist. I like to decorate my cakes and store them in the refrigerator overnight before serving them.
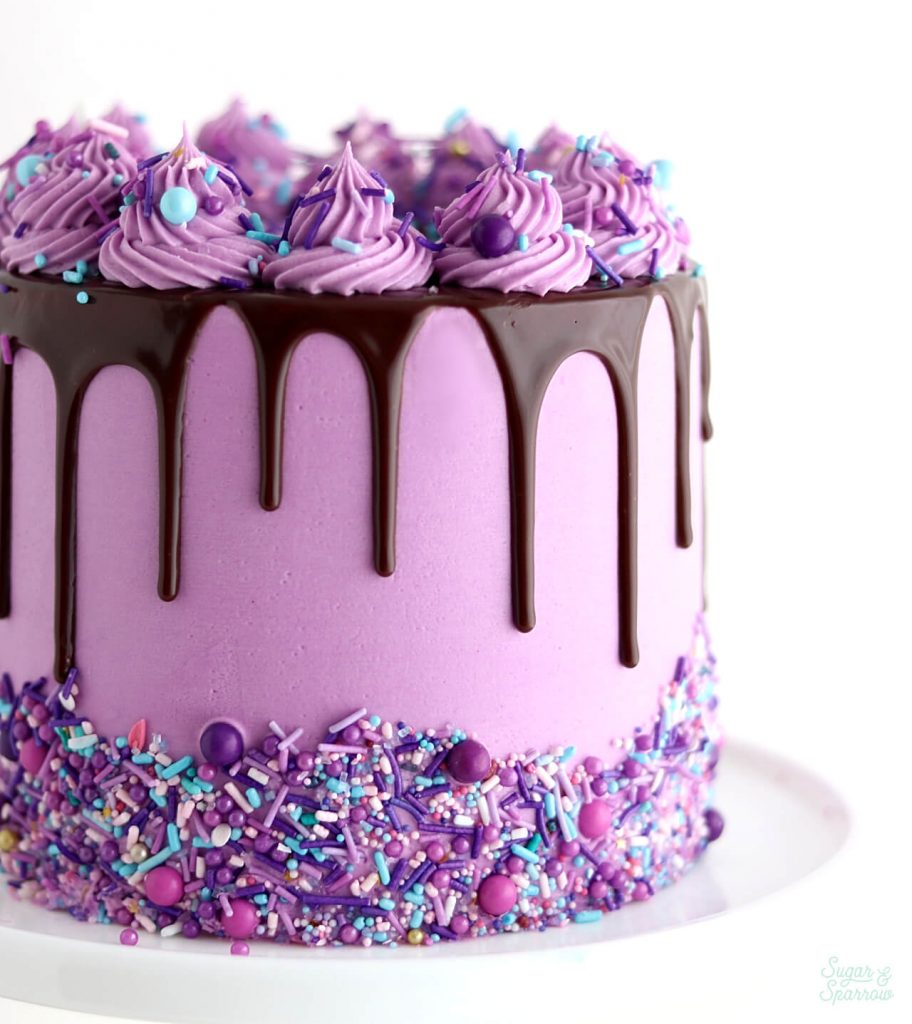
Although I don’t have much experience with fondant covered cakes, I store my buttercream frosted cakes with ganache drips, buttercream piping, sprinkles, and even fondant/gumpaste accents in the refrigerator overnight, until about an hour or two before serving the cake. If I’m driving the cake somewhere, I keep it in the fridge until the minute I walk out the door. This is because cakes that are chilled are much easier to handle and transport while keeping the details intact.
Cakes With Fresh Flowers
If you’re topping a cake with fresh flowers, I recommend keeping those flowers in a vase of water until the morning of the cake due date. Then, prepare the flowers according to these instructions to ensure they stay fresh once you top the cake with them.
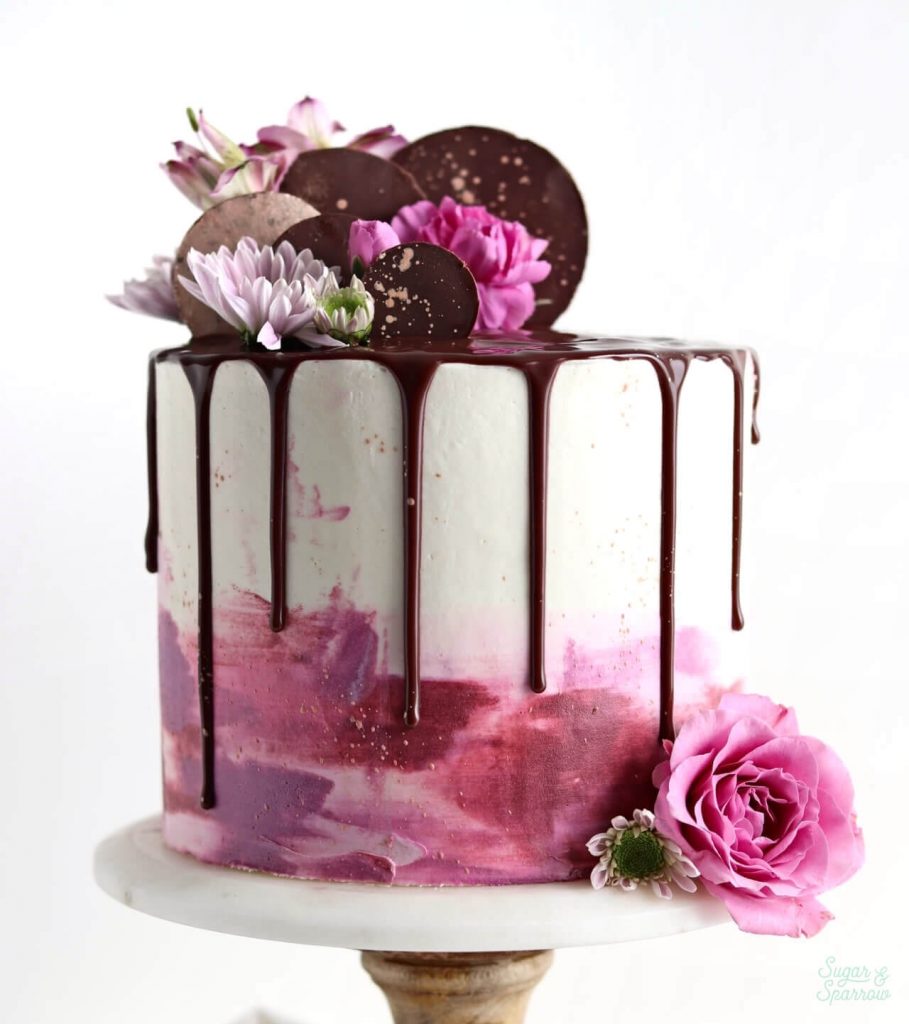
Since fresh flowers tend to wilt over time (some quicker than others), adding these final touches the day of is your best bet.
Cakes With Fresh Berries
Berries (and fruits in general) are full of liquid, so if you are adding these to your cake, it’s best to add them last minute if possible. This will often require that you save some of the final buttercream piping until the due date of the cake as well, since those berries will need something to adhere to (and firm buttercream doesn’t make the best glue).

To work ahead, you can always frost the final layer of the buttercream, add any ganache drips, and store the cake overnight in the refrigerator. Then finish the rest of the decorating the day the cake is due to keep those berries looking fresh.
Cakes Topped With Cotton Candy
Cotton candy makes a pretty whimsical cake topper, but it’s a fleeting one. Since cotton candy only lasts about an hour before beginning to disintegrate, I wait until the cake is going on display to add the cotton candy – aka the very last minute. This way you get an hour for people to ooh and ahh before you cut the cake and no one has to know the cotton candy was about to fall apart.

Creating a Cake Timeline
To best prepare yourself, especially if you’re just getting started on your cake journey, it’s a really good idea to establish a cake timeline for yourself. This just helps you plan ahead so you’re not scrambling to get your materials together last minute. Here’s a sample timeline that I have gone by when making cakes with due dates:
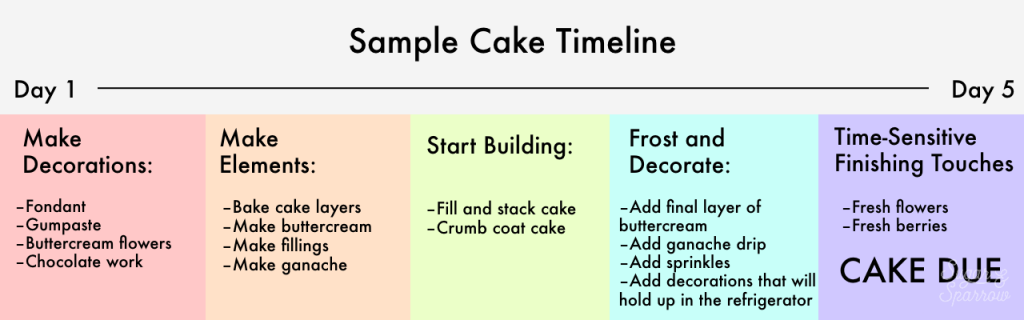
Notice that frosting and decorating the cake is split between day 3 and 4. This is just to give you extra padding in case you don’t want to do all the final decorating the day before. Your timeline will depend on what your final design will be, so be sure to take some time to think about things and plan out your schedule before you get in over your head.
Once you get the hang of how long things take, you can certainly squeeze this timeline even tighter and do more work closer to the due date. You can also freeze cake layers and store buttercream weeks in advance so you can eliminate more work for yourself the week of. It’s all up to you! But hopefully these make ahead tips and sample timeline give you the tools you need to set yourself up for success. Happy cake making!


Hi Whitney,
I’m making a two tier birthday cake and wondering if I can do my final icing tonight before stacking tomorrow and adding the rest of the decoration. I’ve read that icing can crack however. Should I just do a crumb coat tonight on both tiers and refrigerate overnight and a final coat in the morning before stacking?
Thanks,
Kate
Hi Kate! I would totally frost the cakes with the final icing tonight, store them in the refrigerator, then stack them tomorrow and add the rest of the decoration. I have never heard of frosting cracking (I use American buttercream though, maybe that’s different). As long as you properly dowel the bottom tier you should have enough support to prevent the bottom tier from cracking/collapsing. Hope that helps!
this was the most helpful video. thank you.
explained so well and easy to follow.
Yay, Erin! So happy this was helpful!
Hi Whitney,
I have been asked to do a Victoria Sponge cake for my Uncles 80th. I’m only learning so I am going to coat it with buttercream. I go away Thursday evening until the Sun day the cake is needed.(3 days) Can I bake and make buttercream on the Thursday afternoon ? Thanks in advance for your advice x
Hi Paula! It sounds like Thursday afternoon is the best option. Any longer of a timeline and you may risk the cake not tasting as fresh. Cheering you on!
This is a great guide! I’m making a drip cake with sprinkles for my granddaughters 2nd birthday. I’ve been reading all your posts from ganache to buttercream frosting to tips on putting it all together. My confidence is growing and I’m ready to get baking. I’m falling in love with baking again! Thanks for inspiring me.
That’s so amazing, Teresa! It makes my day to hear that! Cheering you on and glad to be a resource for your cake making 🙂
Thank u so much ma, this really helped.
I just made a drip cake and decorated it. I’d like to keep it a week in the freezer. How do I store it in the freezer and thaw out when ready?
Hi Denise! I’ve never stored a cake in the freezer before but I hear about bakers doing it all the time. From what I’ve read here’s what I would do: Place the cake in the freezer for 1-2 hrs before wrapping the outside in plastic wrap to preserve the cake from freezer burn. One day before serving the cake, move it from the freezer to the refrigerator and remove the plastic wrap. It will thaw in the refrigerator. Then 2 hours before serving the cake, take it out of the refrigerator and allow it to come to room temp (tastes better at room temp!). Hope that helps!
Do cakes need to be on a cardboard cake round before wrapping in plastic wrap to store for a couple days or freezing?
Hi Crystal! If they’re just cake layers then you don’t need to place them on a cardboard round. You can just wrap those and store them at room temp or the freezer according to the instructions in this blog post. They don’t need to be on a cake round until you start building the layer cake. Hope that helps!
Yes! Thank you so much! I’m attempting to make a wedding cake for my daughter. First one ever, so doing a trial run to have for dinner Christmas Eve. Need all the good vibes I can get!
Sending alll the good vibes to you! You can do this!
Great article! What do you recommend for half naked cakes where you only ice the top? How do you keep these moist?
Hi Victoria! If it’s a semi-naked cake that looks almost like a crumb coat (like this one: https://sugarandsparrow.com/semi-naked-cake/), the frosting layer will keep the cake moist for a few days. If there is absolutely no frosting on the sides (like this one: https://sugarandsparrow.com/pumpkin-pie-layer-cake-recipe/) you can keep it moist by adding a milk soak or simple syrup soak in between layers and wrapping the sides in plastic wrap. Hope that helps!
I’ll be sure to store unfrosted layers. I only need them when I get the frosting. So I might as well keep them fresh and safe.
What if you don’t have room in the fridge to store cakes? My girls bdays are all in November so we do one big party but they each get their own cake. So I make 3 cakes for one party. Can I just store these out on the counter, frosted and covered for the night? I don’t have time to cook for and frost 3 cakes the day of.
Hi Amy! You can certainly store your cakes at room temp so long as they don’t have fillings/frostings that need to be refrigerated. I like to store my cakes in the refrigerator to help preserve the decorating details, but it’s not usually mandatory!
This was exactly what I was looking for and VERY helpful! Thank you!!
Yay, Erika! I’m so happy to hear that!
Hi there how would this work with red velvet cake and cream cheese frosting? I’m making it for my fiancé’s 30th which is on a Wednesday. I will give it to him Wednesday morning and need to make it Monday primarily and finish final touches Tuesday somehow before he’s home. Need your help thank you SO much
Hi Marisa! Your timeline sounds totally good! You can bake the cake and make the buttercream Monday, assemble and crumb coat/frost the cake either Monday or Tuesday, and add all the finishing touches Tuesday. Store the decorated cake in the refrigerator overnight and it’ll be fresh for Wednesday morning. Sounds like such a lovely cake!
Thankyou for these posts, very informative.
I’m about to embark on two cakes for my boys birthday party. I don’t have room in the fridge for storage however live in high humidity area, so leaving them out isn’t really possible either.
Do you think I could possibly store in a dark room with the A/C on in a sealed container?
Hi Lori! You could try it, but since I’ve never tried storing a cake anywhere but the fridge or freezer and don’t live in a high humidity area, I’m not entirely sure how it will work out. It sounds like your only option though, so I would go for it!
I am serving my cake Friday evening, can I do more than the crumbcoat tonight (Wednesday) or only the crumb coat? I am
Hoping to at least get it frosted. I am doing a drip which can wait until Friday but if I can do the rest earlier I will (just Thursday night so trying to work around that).
Also, loving your channel!
Hi Joli! You can absolutely crumb coat and frost the cake on Wednesday (and even do the drip if you want!). That should be perfectly fine if you’re serving on Friday night. Hope that helps and thanks for the kind words about my channel!
Hi,
Love your website… so helpful!
Could you plz advise me… I am making a cake and icing it on Saturday, to be eaten on Monday. I wanted to add toasted almonds on top of my icing. Will they go soft?
Love,
Mona
Hi Mona! I think you should be totally fine with the toasted almonds and that timeline. Toasting them should keep them firm. Enjoy!
Hi
Thanks for your ever so helpful video! Makes perfect sense.
I will soon make a trial cake for my daughter’s birthday. My question is whether it’s ok to fill my cake layers and crumb coat the cake with American buttercream and then decorate with Italian meringue buttercream and leave it in the fridge uncovered overnight?
Or should the cake be decorated with the Italian meringue buttercream on the day of serving it? I’ve never used Italian meringue buttercream before.
Hi Pat! I’ve never used italian meringue buttercream before either, but after googling it seems like you can frost the cake with italian meringue buttercream ahead of time and refrigerate the cake until 1-2 hours before serving it. Hope that helps!