
I’m a big advocate of cake making as a means to reduce stress and have fun. That said, I know how incredibly stressful cake can be when you’re running short on time and/or things just aren’t going the way you wanted – especially if said cake is an order. I can remember many stressful nights (and even a few panic attacks) from my years of running a cake business from home and most of them stemmed from not giving myself enough time to enjoy the process. Can you relate? In hopes of sparing you some of that added stress, I’ve put together my best tips for making a timeline and working ahead. This way, maybe you won’t find yourself up at 2am agonizing over an unfinished cake!
First, let’s talk about some make ahead tips for baking cake layers, making frosting, and storing it all so it’s ready to go when you’re ready to decorate. There are a few different methods and preferences on the subject that vary from baker to baker, and the purpose of this post is to talk about my own preferred methods. I’ve gathered them all in the video below, so give it a watch before reading on to commit these make ahead tips to memory.
And side note: if you’re wanting to learn more Cake Basics, be sure to check out my YouTube channel and hit the Subscribe button so you never miss a new one. In addition to the basics, you’ll also find my favorite recipes and cake decorating tutorials to broaden your skill set!
Storing Unfrosted Cake Layers
When you’re building a cake, it’s ultra important that your cake layers are room temperature and not even a little bit warm (trust me, your frosting will melt). Because of this, you’ve got to give your cakes a few hours to cool after they come out of the oven. This means padding in those extra hours of cooling time into your overall timeline, which can end up taking a lot of your day if you’re doing all of it the day of. Instead, there are a few options for baking your cake layers and storing them properly so they’re ready to go on decorating day:
Storing at Room Temperature
If you’re baking your cakes a day or two ahead of decorating day, you can store them at room temperature as long as they’re wrapped tightly in plastic wrap.
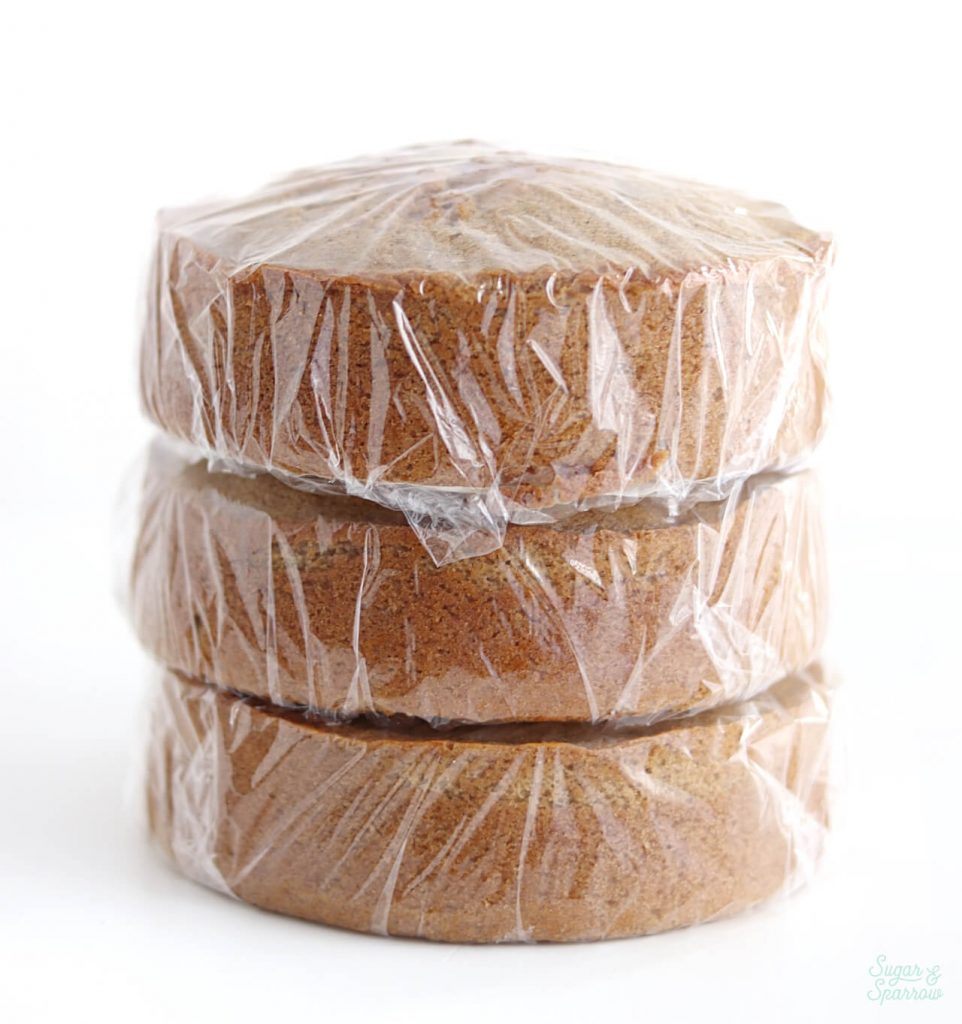
Just be sure to wait until they’re completely cooled before wrapping them in plastic wrap, as the steam from a hot cake layer can create excess condensation in the storage process. Nobody wants a soggy cake!
Freezing Cake Layers
If you’re baking your cakes more than two days ahead of time, I recommend freezing your cake layers. Again, it’s important that you let the cakes cool completely before wrapping them up. As long as you wrap them properly, they will keep for up to two months in the freezer and once thawed will taste just as fresh as the day you baked them! Talk about a cake hack.
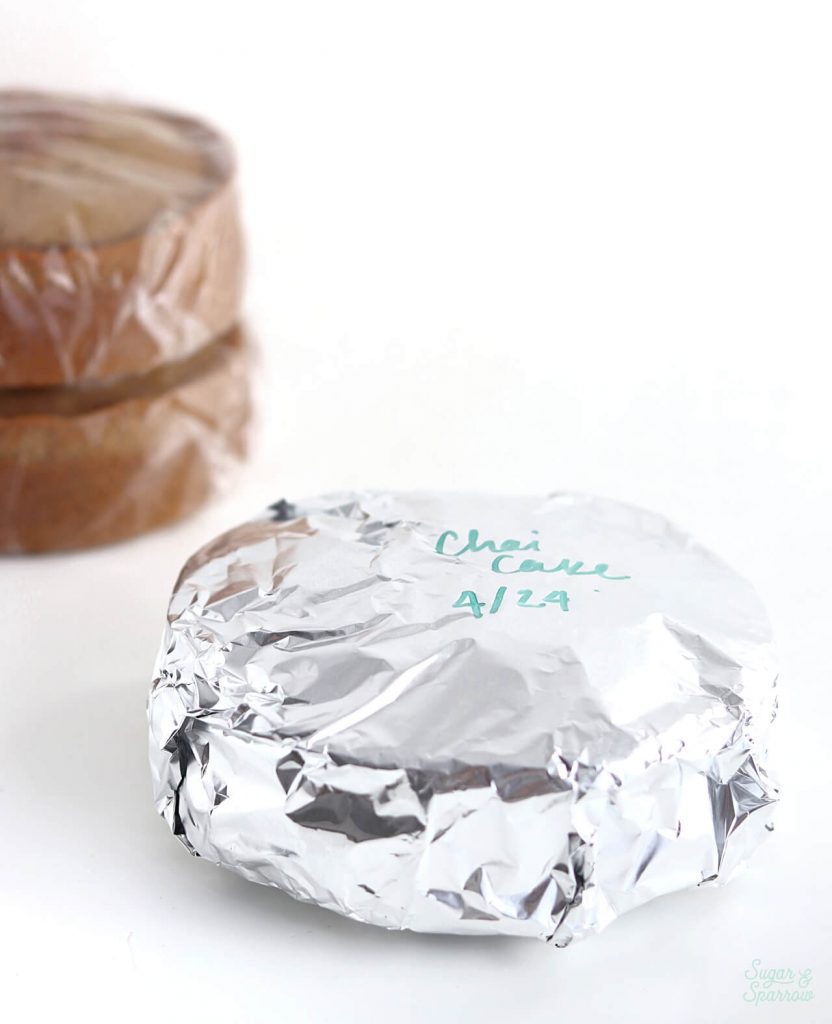
To ensure they stay extra fresh, I like to wrap the cake layers in one layer of plastic wrap, then one layer of aluminum foil, then place them into a ziploc bag (or other airtight container that can go in the freezer). When you’re ready to use them, simply take the cake layers out of the freezer the day before decorating to thaw them.
Remove them from the ziploc bag, but keep them in their aluminum foil/plastic wrap covering. This way, any excess condensation will escape and gather on top of the foil, which acts as a barrier to keep the cake beneath it from getting soggy. Then, on decorating day, remove all the wrapping and you’ll have your cake layers thawed and ready to go!
Making Buttercream Ahead
To make your buttercream frosting ahead of time, simply place it in an airtight container and keep it in the refrigerator for up to two weeks before decorating day.
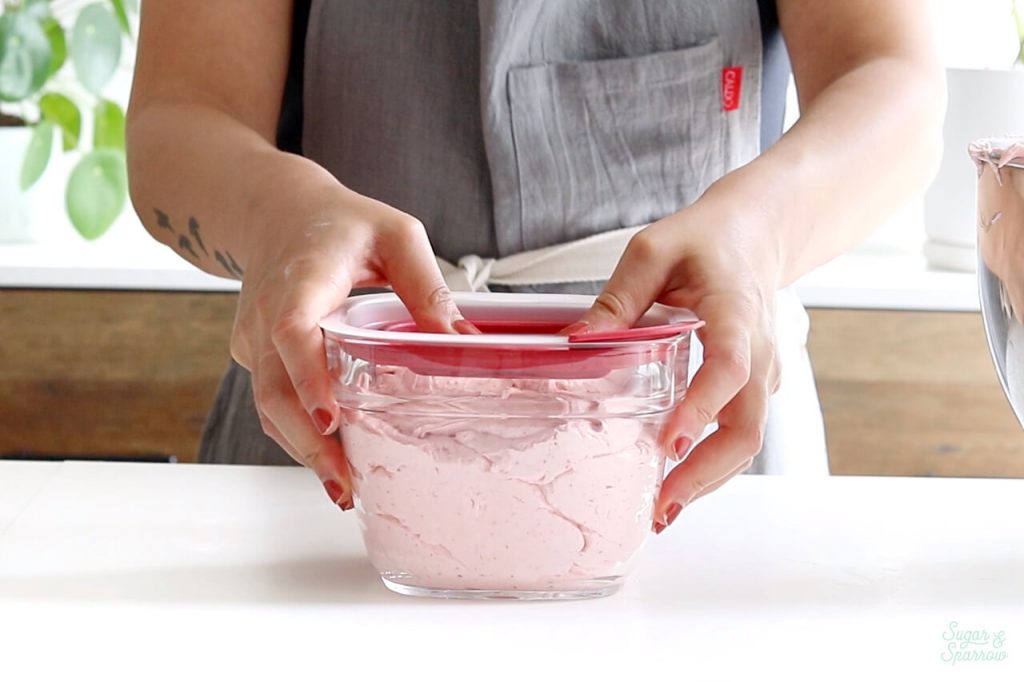
When you’re ready to use it, bring it back to room temperature by placing it on the counter for an hour or two. Once it reaches room temperature, add it back into your stand mixer and mix it on low speed for about a minute.
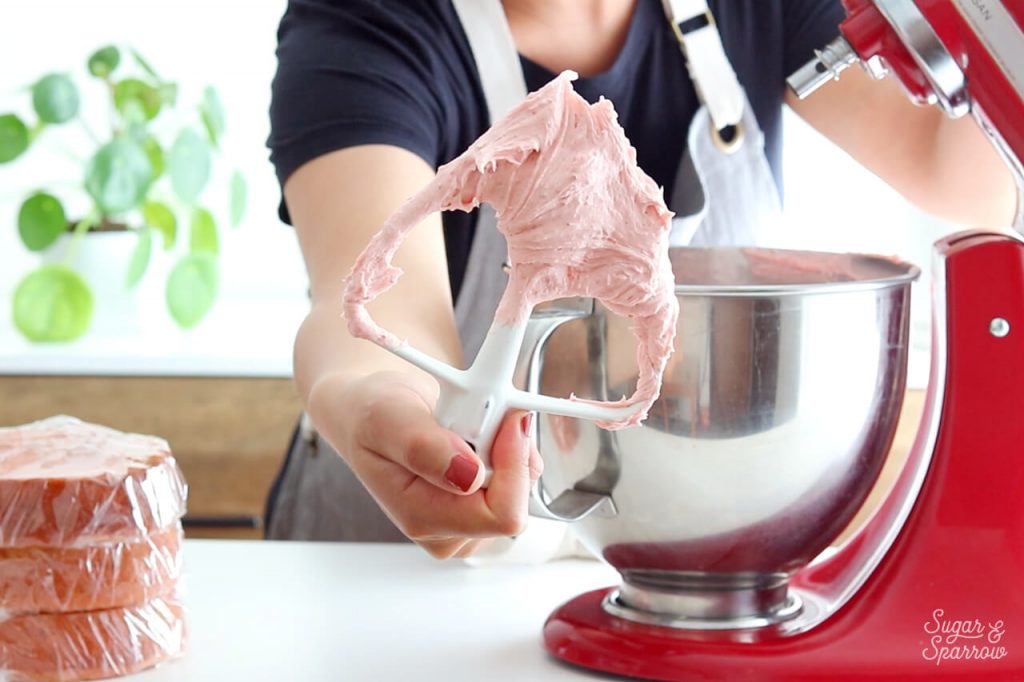
This will bring it back to frosting consistency and you’ll be ready to roll!
Storing Crumb Coated Cakes
After you’ve filled and frosted your cake with a crumb coat, it’s safe to store it in the refrigerator overnight without the risk of drying out the cake. The thin layer of buttercream acts as a barrier to preserve the cake underneath and help it maintain its moisture.
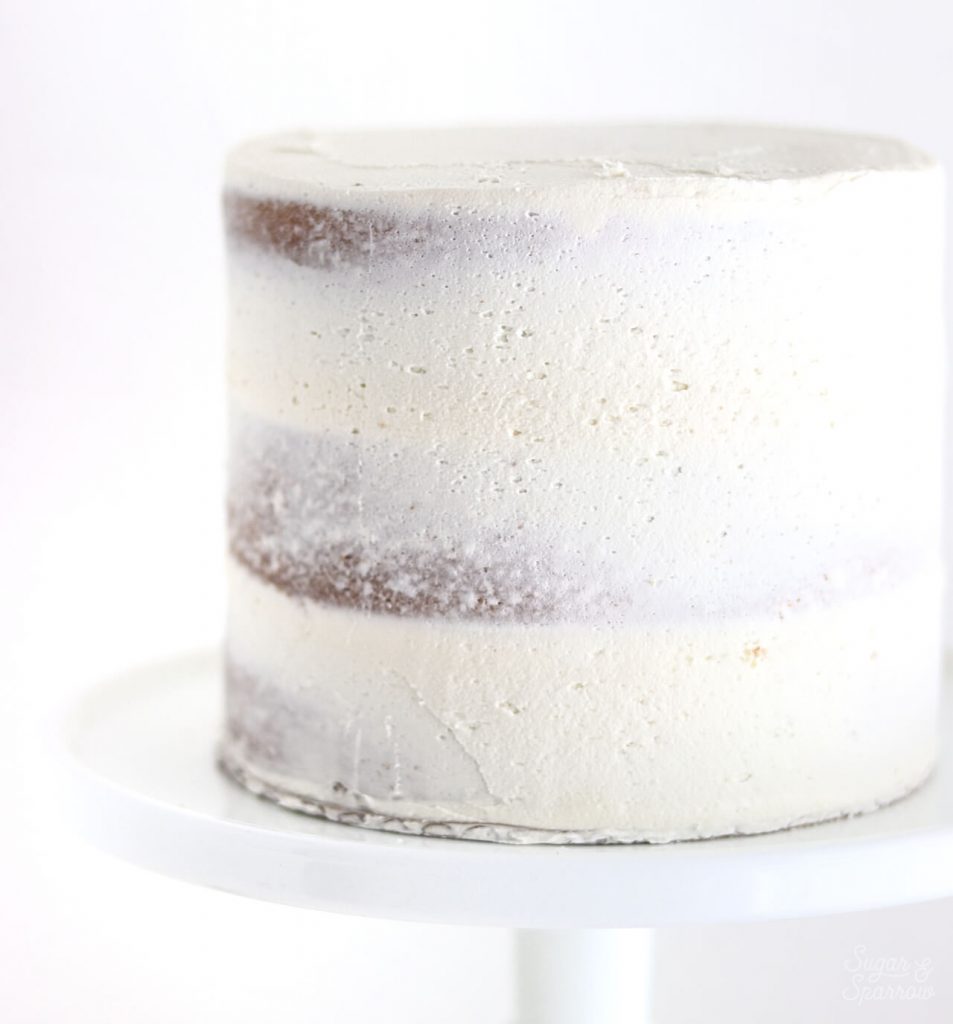
I always like to add my final layer of frosting to a chilled crumb coated cake anyways, because having a nice firm structure underneath the final layer is one of the secrets to creating a smooth buttercream finish. Even if you don’t plan on storing your crumb coated cake in the fridge overnight, I highly recommend letting it firm up in the fridge for at least 30 minutes before you add your final layer of frosting. Here’s everything you need to know about how and why I crumb coat my cakes.
Storing Decorated Cakes (Uncut)
Once the final layer of frosting has been added and you’ve decorated your cake, the safest place to preserve it is in the refrigerator, uncovered (in my opinion). This way, the details of your decorating will be preserved while keeping the cake beneath all that frosting nice and moist. I like to decorate my cakes and store them in the refrigerator overnight before serving them.
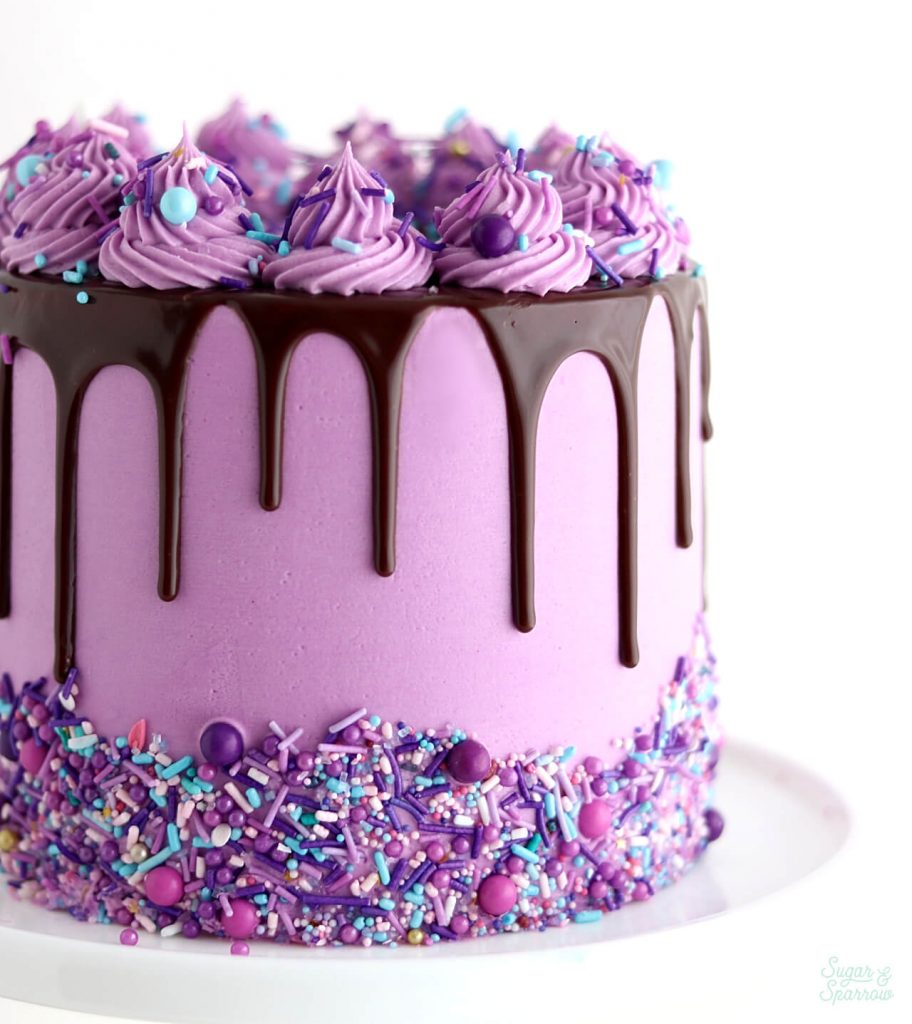
Although I don’t have much experience with fondant covered cakes, I store my buttercream frosted cakes with ganache drips, buttercream piping, sprinkles, and even fondant/gumpaste accents in the refrigerator overnight, until about an hour or two before serving the cake. If I’m driving the cake somewhere, I keep it in the fridge until the minute I walk out the door. This is because cakes that are chilled are much easier to handle and transport while keeping the details intact.
Cakes With Fresh Flowers
If you’re topping a cake with fresh flowers, I recommend keeping those flowers in a vase of water until the morning of the cake due date. Then, prepare the flowers according to these instructions to ensure they stay fresh once you top the cake with them.
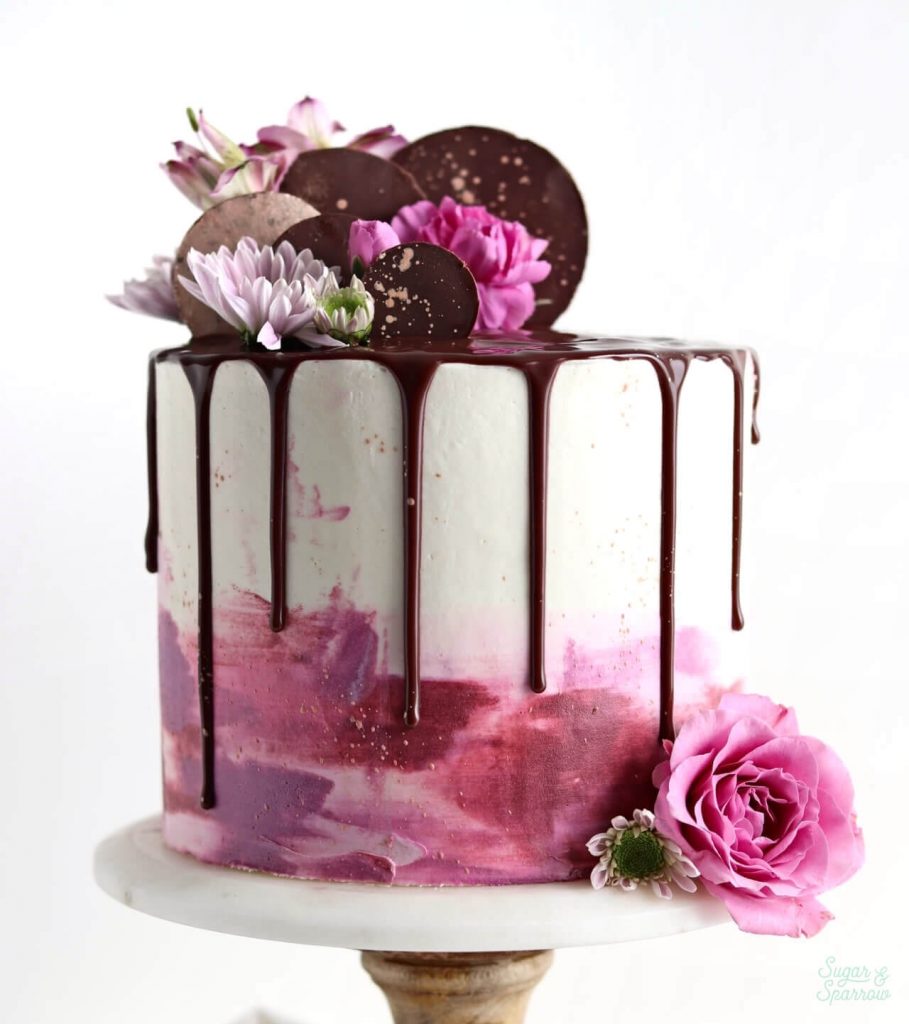
Since fresh flowers tend to wilt over time (some quicker than others), adding these final touches the day of is your best bet.
Cakes With Fresh Berries
Berries (and fruits in general) are full of liquid, so if you are adding these to your cake, it’s best to add them last minute if possible. This will often require that you save some of the final buttercream piping until the due date of the cake as well, since those berries will need something to adhere to (and firm buttercream doesn’t make the best glue).

To work ahead, you can always frost the final layer of the buttercream, add any ganache drips, and store the cake overnight in the refrigerator. Then finish the rest of the decorating the day the cake is due to keep those berries looking fresh.
Cakes Topped With Cotton Candy
Cotton candy makes a pretty whimsical cake topper, but it’s a fleeting one. Since cotton candy only lasts about an hour before beginning to disintegrate, I wait until the cake is going on display to add the cotton candy – aka the very last minute. This way you get an hour for people to ooh and ahh before you cut the cake and no one has to know the cotton candy was about to fall apart.

Creating a Cake Timeline
To best prepare yourself, especially if you’re just getting started on your cake journey, it’s a really good idea to establish a cake timeline for yourself. This just helps you plan ahead so you’re not scrambling to get your materials together last minute. Here’s a sample timeline that I have gone by when making cakes with due dates:
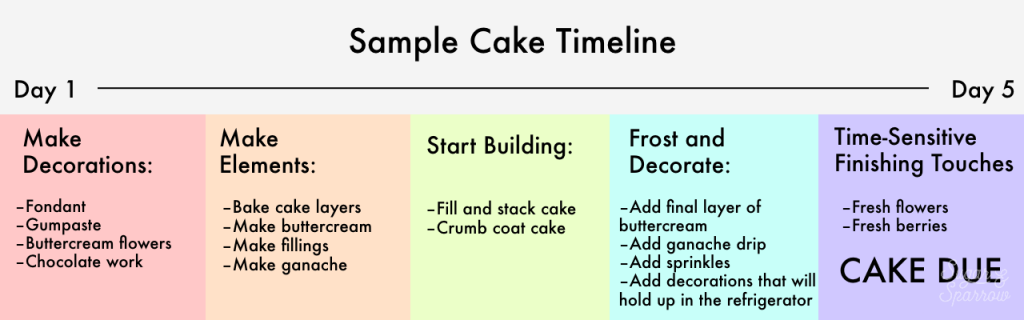
Notice that frosting and decorating the cake is split between day 3 and 4. This is just to give you extra padding in case you don’t want to do all the final decorating the day before. Your timeline will depend on what your final design will be, so be sure to take some time to think about things and plan out your schedule before you get in over your head.
Once you get the hang of how long things take, you can certainly squeeze this timeline even tighter and do more work closer to the due date. You can also freeze cake layers and store buttercream weeks in advance so you can eliminate more work for yourself the week of. It’s all up to you! But hopefully these make ahead tips and sample timeline give you the tools you need to set yourself up for success. Happy cake making!


Thank you so much for this information. I am making a small cake and cupcakes for my mum’s wedding. Would this timeline apply to cupcakes too? I am doing buttercream flower decorations on the top of the cupcakes would this need to be refrigerated like the cake mentioned? The wedding is an afternoon one on Friday so was planning on baking all cakes/cupcakes on Wednesday and decorating them all on Thursday so that I can just take them on Friday for the 12:30 wedding. Would this timeline be ok?
Hi Stacy! Your timeline sounds perfect. That’s exactly what I would do. Refrigeration depends on what kind of buttercream you’re using. If the buttercream wouldn’t normally require refrigeration (like a standard american buttercream) then there’s no need to refrigerate, and since part of the cupcake would be exposed in the refrigerator it’s better not to refrigerate if you don’t have to. Hope that helps!
HI there!
Thanks for the information above 🙂
I am wondering for 1 layer cakes, to be topped with a chocolate ganache, can this be done without any crumb coat / frosting beneath? Also, can the ganache be applied on the same day the cake is baked, if the cake has been left to cool at room temp for a couple of hours?
As for frosted cakes, can the frosting be made while the cake is baking? and after the cake cools, then to have the frosting applied all at once, if it’s meant to be a semi/ naked frosted cake? (i.e. without having to cool in between)
Many thanks 🙂
Hi CC! To answer your questions: 1) if you’re pouring chocolate ganache over a cake like a glaze, you don’t technically need a crumb coat or frosting underneath. If you’re frosting the cake with whipped ganache, I would recommend doing a crumb coat with some of the whipped ganache just to make sure you don’t get any crumbs in the finish. 2) Yes, the ganache can be applied the same day the cake is baked, as long as the cake is completely cooled. 3) Yes, the frosting can absolutely be made while the cake is baking. 4) You don’t technically need a crumb coat if it’s meant to be a semi naked cake (here’s a tutorial I did on that style: https://sugarandsparrow.com/semi-naked-cake/).
Hope that helps!
So helpful, Thank you. 🙂
Can I ask if you freeze the cake layers in advance – When defrosting the day prior to decorating do you defrost the cake layers in the ‘fridge’ or at room temperature on the ‘kitchen counter’?
Hi Elisha! I always defrost the cakes at room temperature (on the counter). So happy this guide has been helpful!
Hello! I’ve followed all of your cake basic tips, they have been so helpful! Today is the day for the cake to be eaten! It’s been in the fridge all night, how many hours before the event should I take the cake out of the fridge to come to room temp? (I did a 3 layer 9″ cake).
Thanks!
Hi Talia! I’m so happy that you’ve found my Cake Basics tips helpful! I always take my cakes out of the refrigerator an hour or two before serving. I’d say closer to two hours for a cake of that size.
Hello! I love your awesome tips and tricks!!!! I am new to baking cakes and have really picked it up and having a blast! I like the idea of making them ahead of time. Can you do the same for carrot cakes? I want it to remain moist and wouldn’t want to mess up the homemade flavor. 😉
Thanks
Hi Connie! I’m so happy you’re learning and having fun making cakes! You can absolutely make a carrot cake ahead of time. Those are usually even more flavorful/moist after a day or two stored at room temp!
Hi Whitney
I live in Louisiana. The humidity is my worst nightmare. I do buttercream and fondant decor on my cakes. My cakes look great when I’m finished and place them in refrigerator over night, but my last 4 cakes my fondant decor seems to be falling and making the cakes look melted. I thought I had a stable enough buttercream but it his humidity is killing me. Any suggestions?
Hi Holly! That’s so rough. My best recommendation besides keeping the cakes in the refrigerator until the very last minute is to use this heat resistant buttercream recipe: https://sugarandsparrow.com/buttercream-recipe-for-hot-weather/ hope that helps!
Hello Whitney.
Thank you for these information. I would like to use your vanilla cake recipe for a 4- Tier (with 3 layers each tier (2inches every layer) wedding cake I’m making for my friend on Oct. 1, 2022. It’ll be base- 16” square pan, followed by round pans of 14, 12 and 10 top. How much recipe/batch mix would I need for every tier. I’m a novice and this is only my 3rd wedding cake. I would appreciate your advice. Thank you I’m advance.
Hi Joan! Wow, that is a huge endeavor and I am cheering you on! I will say that I have never baked my vanilla cake recipe in a pan larger than a 9 x 13 casserole dish, so I’m not sure how long to bake it per your pan sizes. The recipe yields about 7 Cups of batter as-is, and you’ll need 7 Cups of batter for each 10″ round layer, 9 Cups of batter for each 12″ round layer, 12 Cups of batter for each 14″ round layer, and 16 Cups of batter for each 16″ square layer. If each size is three layers tall, you’ll need a total of 132 Cups of batter for that entire cake. Divide that by 7 Cups per batch and you’ll need to whip up about 19 batches of the recipe. I would recommend researching best practices for baking cakes in larger pans like that and you should be able to find a relative baking time for each pan size. Hope all of that helps!
Same process for large order of filled cupcakes?
Hi Joanne! It depends on the filling. If the filling needs to be refrigerated you’ll need to figure out a way to store them all in the refrigerator or do the filling/decorating the day the order is due. If you want to decorate them the day before you’ll want to store them in a box, at room temp unless they need refrigerating due to the filling.
I am nowhere near a baker but I love to bake and I’m making the cake for my brother and sister-in-law’s gender reveal party and this just saved me! I would have been pressing the day before but I’m definitely going to bake my layers tonight! Thank you!!
Yay, Payton! Happy to help and I’m cheering you on with the gender reveal cake!
Hi Whitney, do you have an easy way to sift powdered sugar for buttercream frosting? For some reason it is my least favorite part of the process.
Just wondering?
Thanks, Christine
Hi Christine! I actually don’t sift my powdered sugar for frosting unless it has visible clumps that need sifting. I don’t find it makes much of a difference otherwise. If you want an easy way to sift large amounts of powdered sugar though, a large fine mesh sieve is the quickest way!
Can you freeze buttercream frosting? Swiss Meringue frosting?
Hi Linda! I never really do, but I know you can freeze frosting by placing it in an airtight container (most bakers wrap it up in plastic wrap before placing in a ziploc bag) and placing it in the freezer for up to two months. The day before you’re ready to use it, place it in the refrigerator to thaw, then bring it to room temperature the day you need it. Hope that helps!
Hi Whitney!
Thank you for your super helpful timeline. I used it and on decorating day, I actually had fun because I had time haha.
I have to make two cakes fully frosted with buttercream two days ahead (no fondant). Could I store them in the fridge Friday night and deliver them Sunday morning? Or do you think they would dry out? Is Room temp /freezer better for two nights than fridge?
Thank you!
That’s so amazing, Becky! I’m glad decorating day was fun and not stressful! The decorated cakes should be totally fine for two days in the refrigerator. Just try to do the baking/assembling as close to decorating day as you can for maximum freshness. Hope that helps!
Hello Whitney,
I am baking a simple chocolate cake with vanilla buttercream filling (using your recipes) and adding some Harry Potter decorations (fondant) on top of it. It’s for sunday and it’s going to be 93 degres outside. It’s for a party that is outside 🙁 Unfortunately I could’t make your special hot day frosting recipe. What do you think of putting the whole cake in the freezer on saturday evening and taking it out on Sunday morning?
Thanks a lot!
Hi Marie! I would actually just refrigerate the cake until the very last minute, then transport it in an air conditioned car if you can and keep it in the shade. You can certainly try the freezer, but I just don’t have any experience freezing a fully decorated cake so I’m not sure if it’s the best route. Hope that helps!
Thank you Whitney! I didn’t try the freezer, too risky without any experience… We did what you suggested. I made a DIY box with 2 ice packs attached to it (inside the box). The cake was totally fine. Such a relieve (it was the first time I baked a cake for someone outside of my family!).
Oh my gosh, Marie, that makes me so happy!! I’m so glad everything worked out. Great work!!
Hello! I am planning to make and decorate some cupcakes the day before they are to be shared. Would you put them in the fridge after you frost them? Covered or uncovered? Or will that dry them out? It’s pretty warm where I am so it’s possible my buttercream might melt off if I leave them at room temperature.
Hi Mary! There’s no need to refrigerate decorated cupcakes unless the frosting requires refrigeration (like cream cheese buttercream). I always store my cupcakes at room temperature in the box they’ll be delivered in and they keep very fresh one day ahead. If you’re concerned about the buttercream melting though, it will be better to store them in the refrigerator in a box. Hope that helps!
Hi my experience is if i store the gumpaste/fondat things for decoration when it comes out fron the fridge it start melting.
How long can i store the finished decorated cake at room temperate?
Hi Rose! You can absolutely store a cake at room temperature for 4-5 days unless the filling/frosting requires refrigeration. Hope that helps!
Hi Whitney,
Do you have any problems with buttercream sweating? It’s very humid where I am right now. What the best way to avoid swearing??
Cheers,
Abbe
Hi Abbe! I don’t usually have problems with my cakes sweating, I live in a fairly mild climate. I’ve heard of bakers using a paper towel to soak up the beads of condensation though – I wonder if that works!