
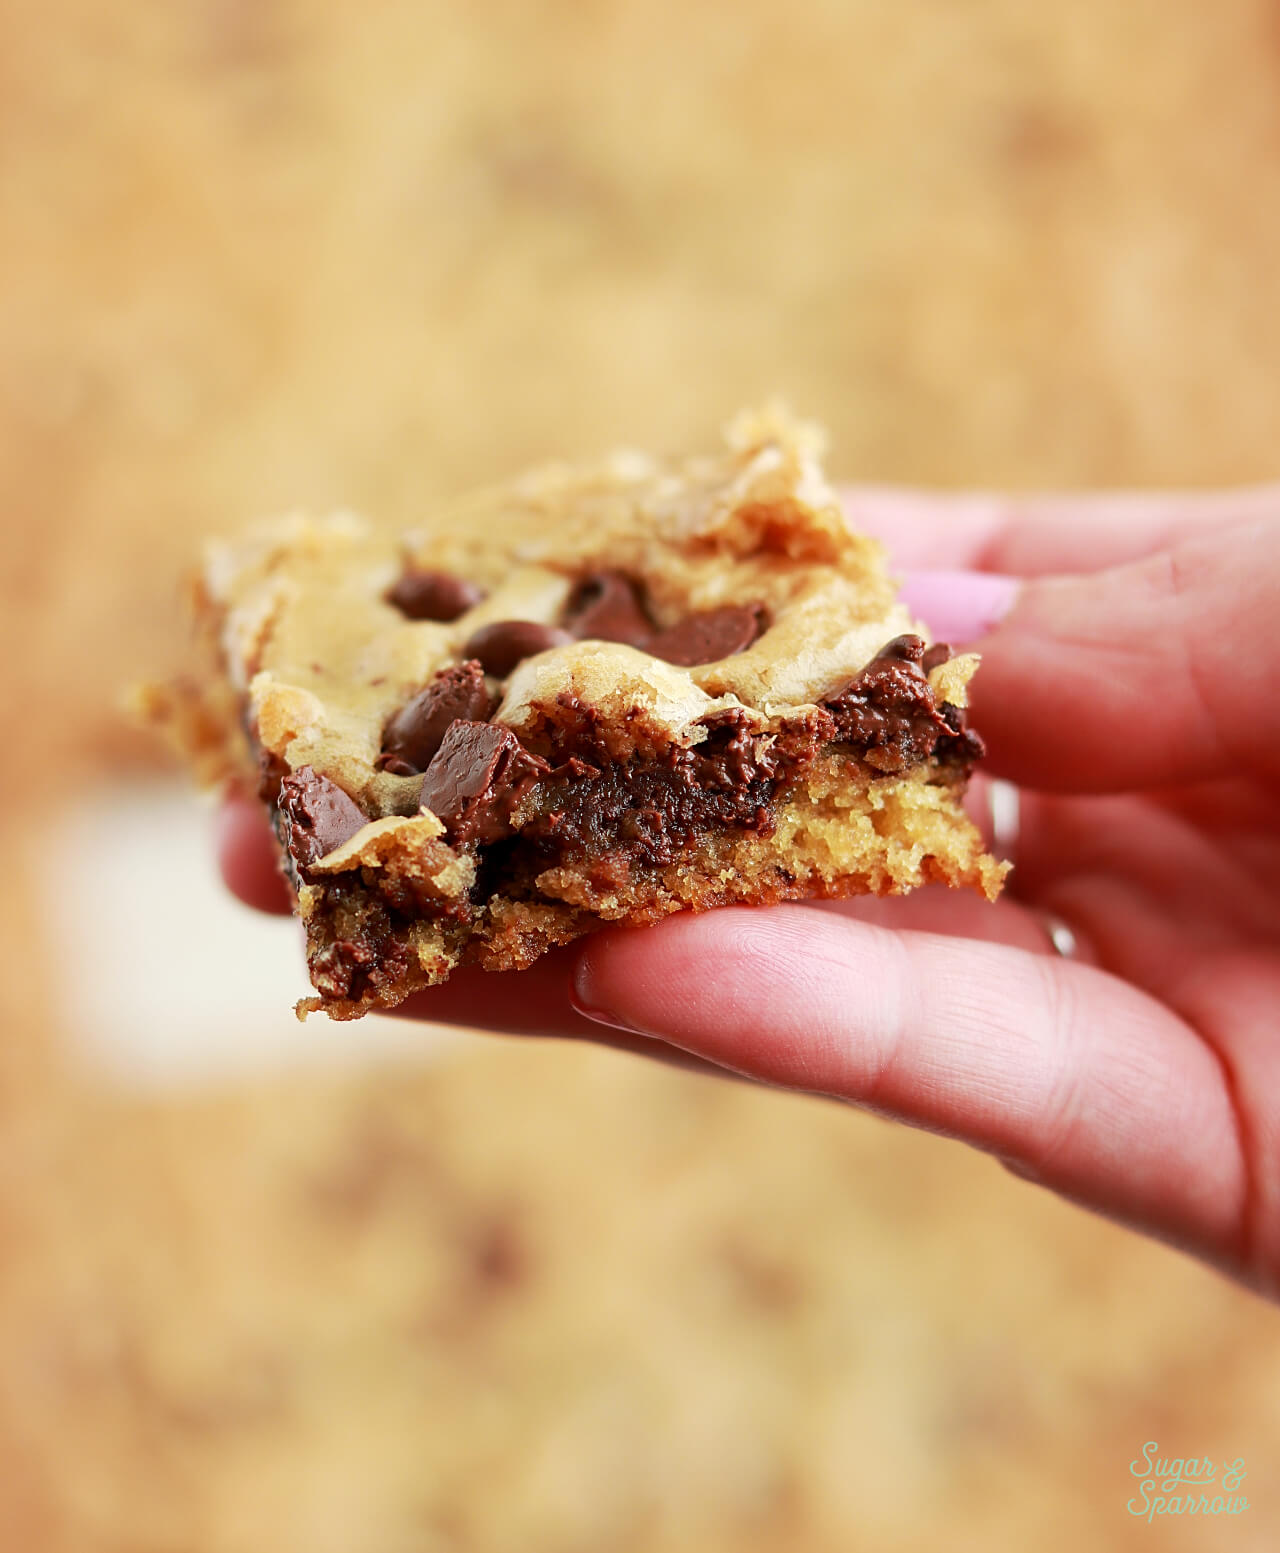
This sheet pan chocolate chip cookie cake is fudgy and gooey when fresh out of the oven, then settles into a moist and chewy texture that’s perfect for cutting into squares and serving at a party. It’s the biggest chocolate chip cookie I’ve ever baked and after lots of recipe testing, it’s exactly how I imagined. I love that it comes together with simple ingredients and you don’t even need a mixer for the batter – just a large bowl, a whisk, and a silicone spatula. It would be so perfect for a birthday party and I’ll show you how to decorate it with buttercream and turn it into a celebratory masterpiece!

One Reader, Janelle, says “I’ve made several cookie cakes but this one was perfection! Tastes like Great American’s texture but such better flavor. 10/10!” ★★★★★
Sheet Pan Chocolate Chip Cookie Cake Ingredients
When it comes to chocolate chip cookie recipes, you’ll usually find the same types of ingredients involved. It’s the amount of these ingredients and the way they’re prepared (ie melted or softened butter) that makes a big difference from recipe to recipe. I really wanted this chocolate chip cookie cake to be moist and chewy, yet hold its shape when cut, and have amazingly decadent flavor. So after lots of recipe testing, here are some key ingredients + substitutions:
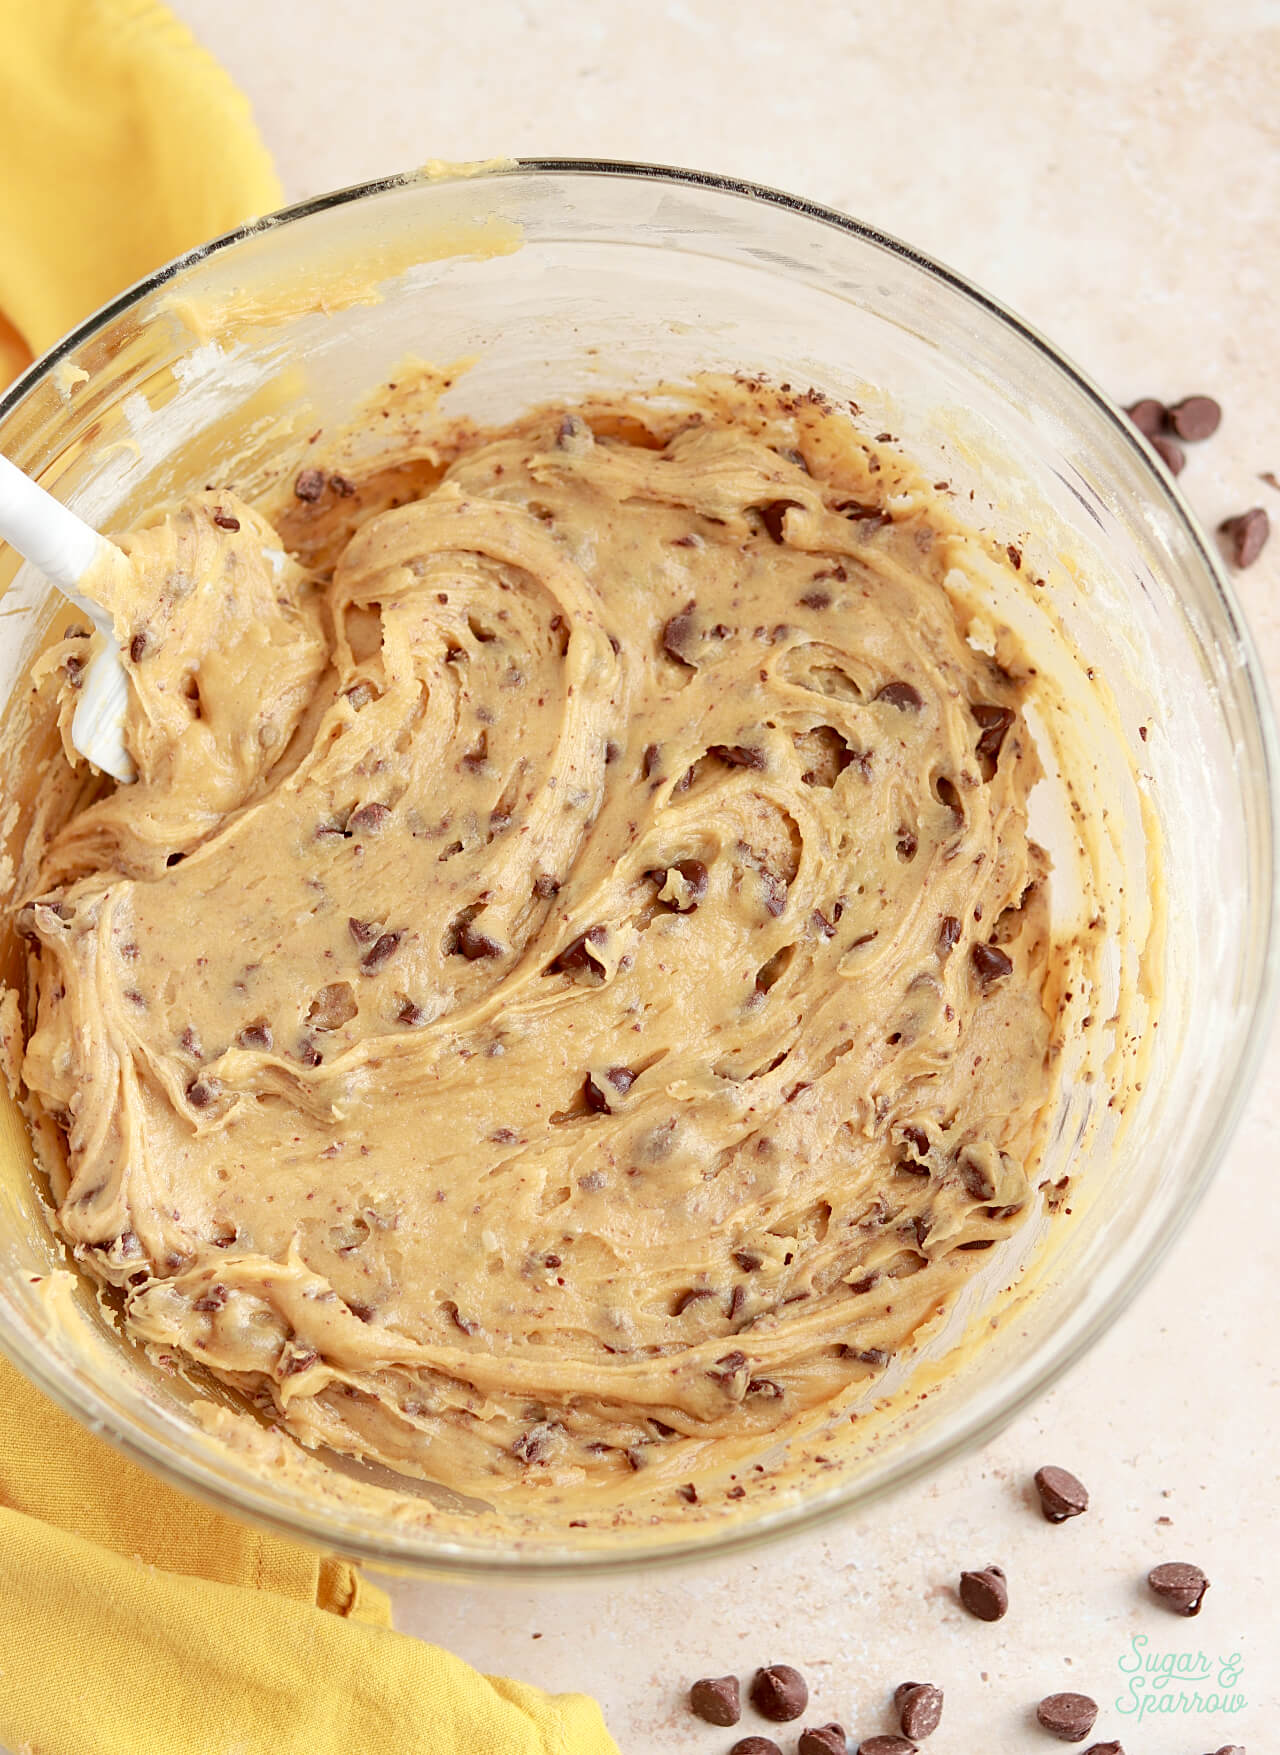
- Melted butter. The way you add butter to a cookie recipe matters, and when you add melted butter the result is a denser, more fudgy cookie. Just the way I like them. This recipe calls for unsalted butter, but if you only have salted butter on hand you can use that as a substitute. Just be sure to omit the salt in the recipe if you do.
- Lots of brown sugar (and a little granulated sugar too). While both sugars add sweetness to this chocolate chip cookie cake, the brown sugar is particularly good at adding more moisture and depth of flavor due to the molasses in the granules. You can use light or dark brown sugar, but dark brown sugar will contribute even more depth to the overall flavor.
- 3 large eggs. In my recipe testing I found that more eggs = more moisture in this cookie recipe. This was the perfect amount of eggs to create a moist, chewy texture + beautiful structure.
- Vanilla extract. I love adding extra vanilla whenever possible, so I add an entire Tablespoon to this sheet pan cookie recipe. If you want to get fancy you could also sub some of the vanilla (about ½ tsp) with almond extract.
- Cornstarch. Also known as corn flour, this ingredient is key to making the cookie texture soft. It works together with the flour to add structure while tenderizing. If you don’t have this on hand, you can substitute ½ tsp baking powder instead.
- All-purpose flour. This is the best type of flour to use with this recipe. If you need to make this gluten-free, it will work with a 1:1 substitute of gluten-free all purpose flour as well.
- Chocolate chips. You can use any kind of chocolate chips you’d like (milk, dark, semi-sweet, or white), but I always love using classic semi-sweet chocolate chips. I like to add most of the chocolate chips into the batter, then sprinkle the rest on top.
Sheet Pan Cookie Tips for Success
- Work quickly. Since you’re starting with melted butter, it’s important to get the dough together before the butter begins to firm up. Otherwise it won’t be easy to spread in the pan. You don’t have to be a speed baker or anything (the dough should come together in just about 10 minutes) but you will want to keep time in mind.
- Properly measure your flour either by spooning the flour into your measuring cup and then leveling it or using a digital kitchen scale. I always prefer the latter option.
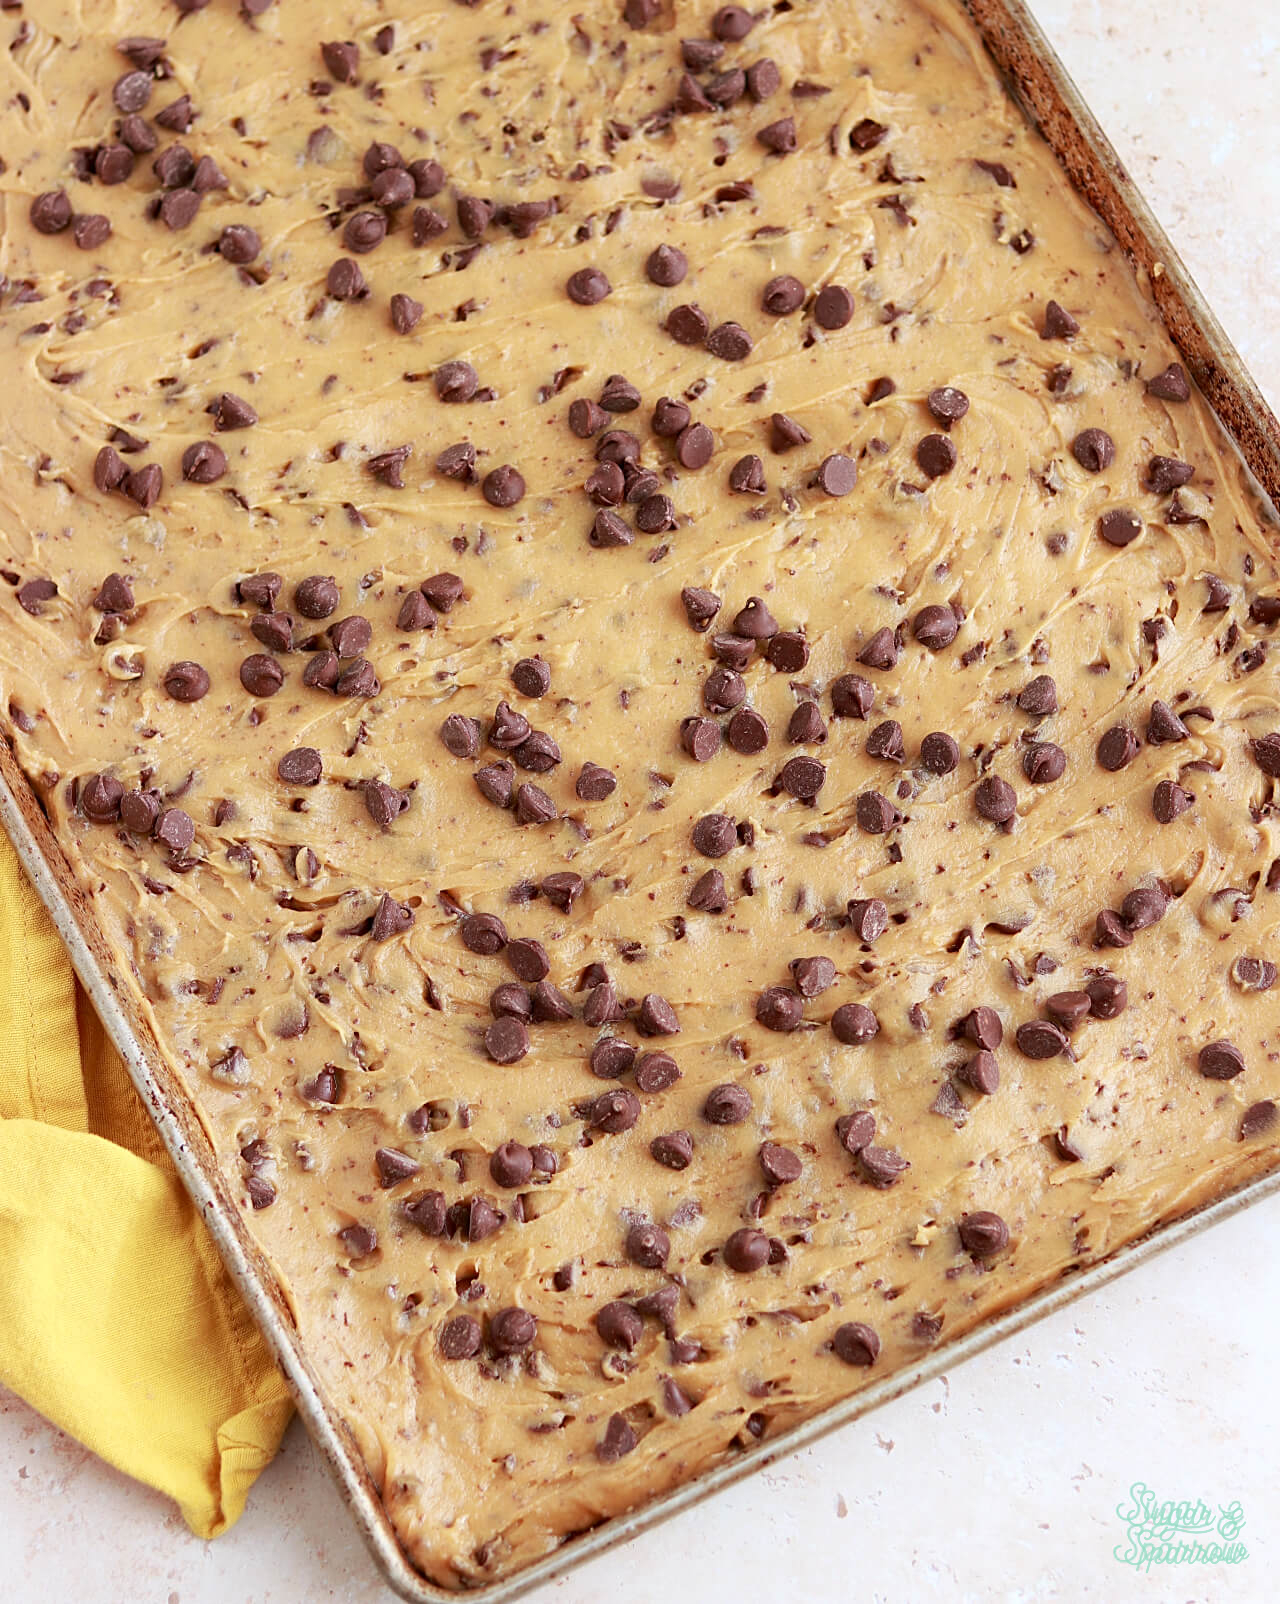
- Spread the dough all the way to the edges. These cookies bake in a 13×18 inch sheet pan, and it will seem like the dough is really thin when spread all the way to the edges. Trust me, the dough will rise the perfect amount when it’s spread in an even layer, all the way to the edges.
- Line the pan. I find it easiest to get the cookies out of the pan when the bottom is lined with parchment paper and the sides are sprayed with baking spray.
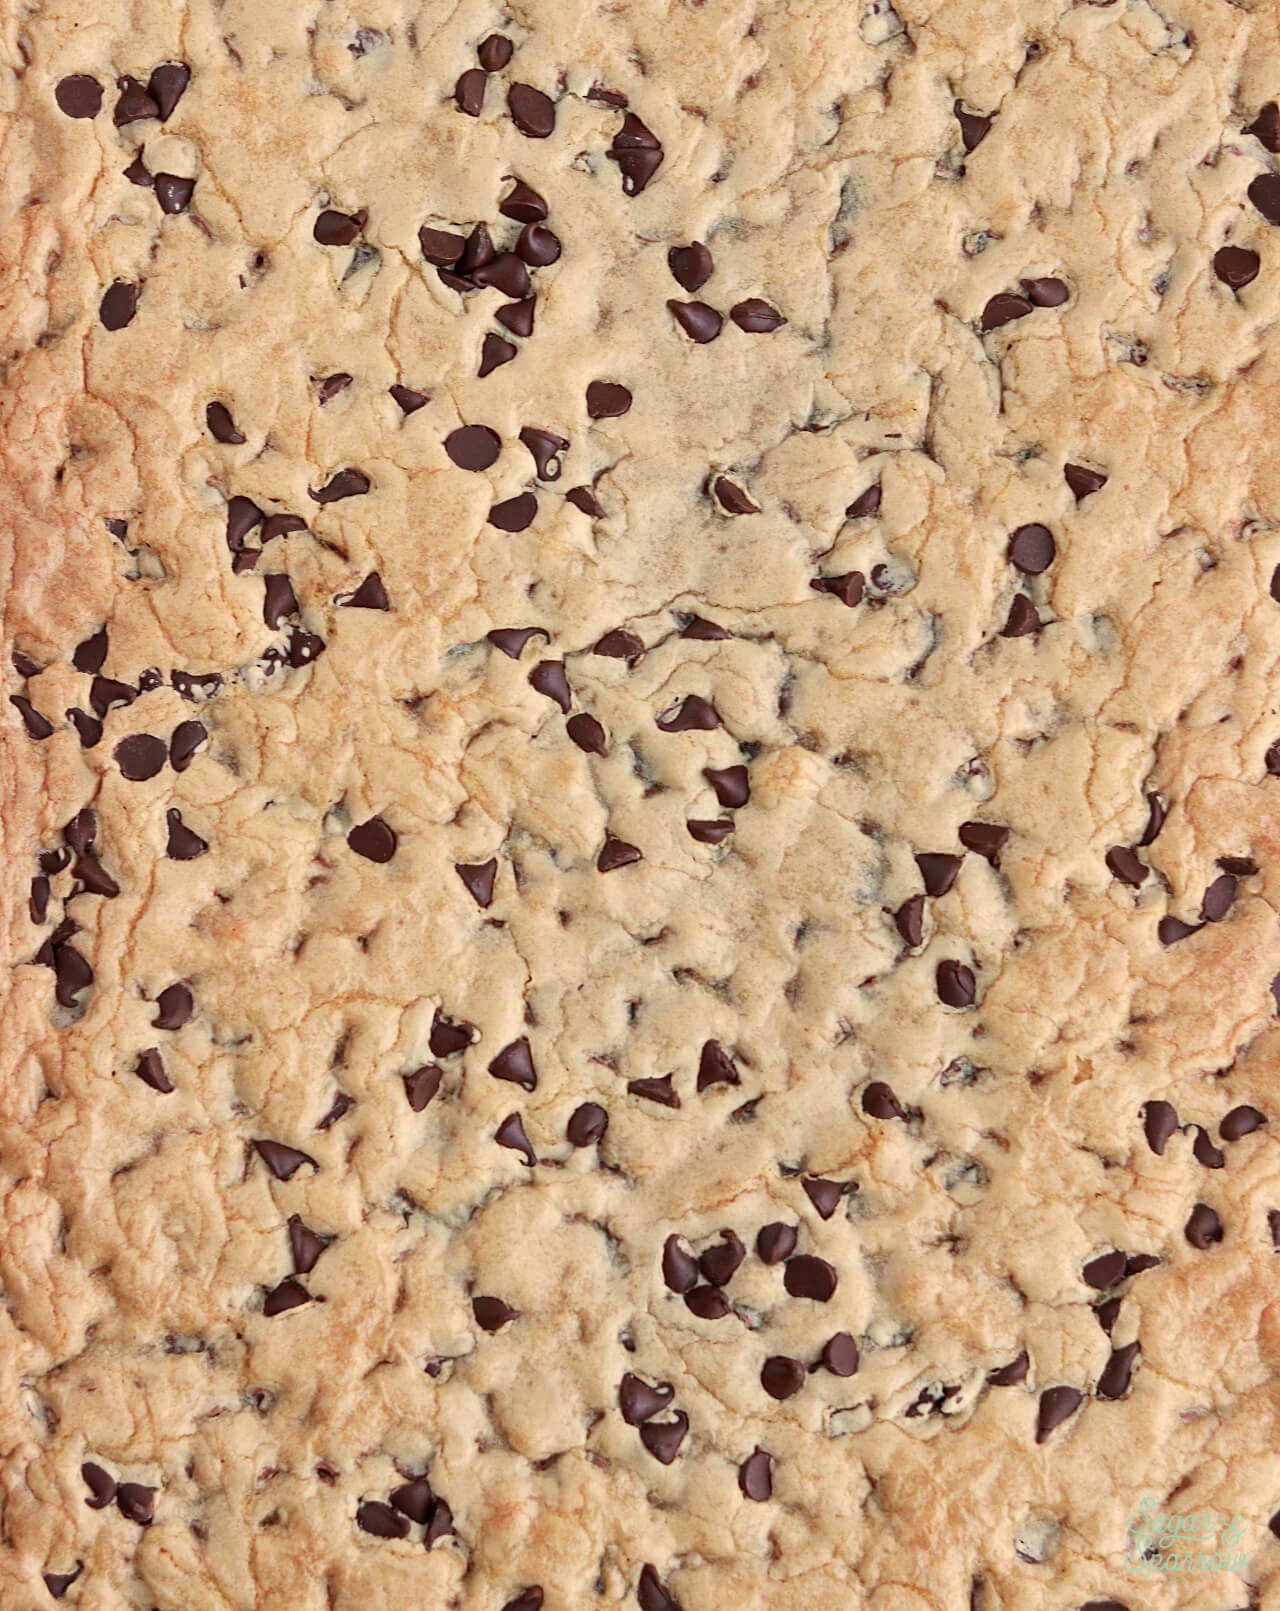
- Don’t overbake. Even if the center seems a bit on the soft side, it’s important to take the cookies out of the oven once the top is golden brown. It will continue baking and firming up as it cools, and I find that 14 minutes in my oven is the perfect amount of time.
- Let the cookie cake cool before adding frosting. To make sure the frosting doesn’t melt, you’ll want the chocolate chip cookie cake to cool completely to room temperature before adding any buttercream details.
How to Decorate a Cookie Cake
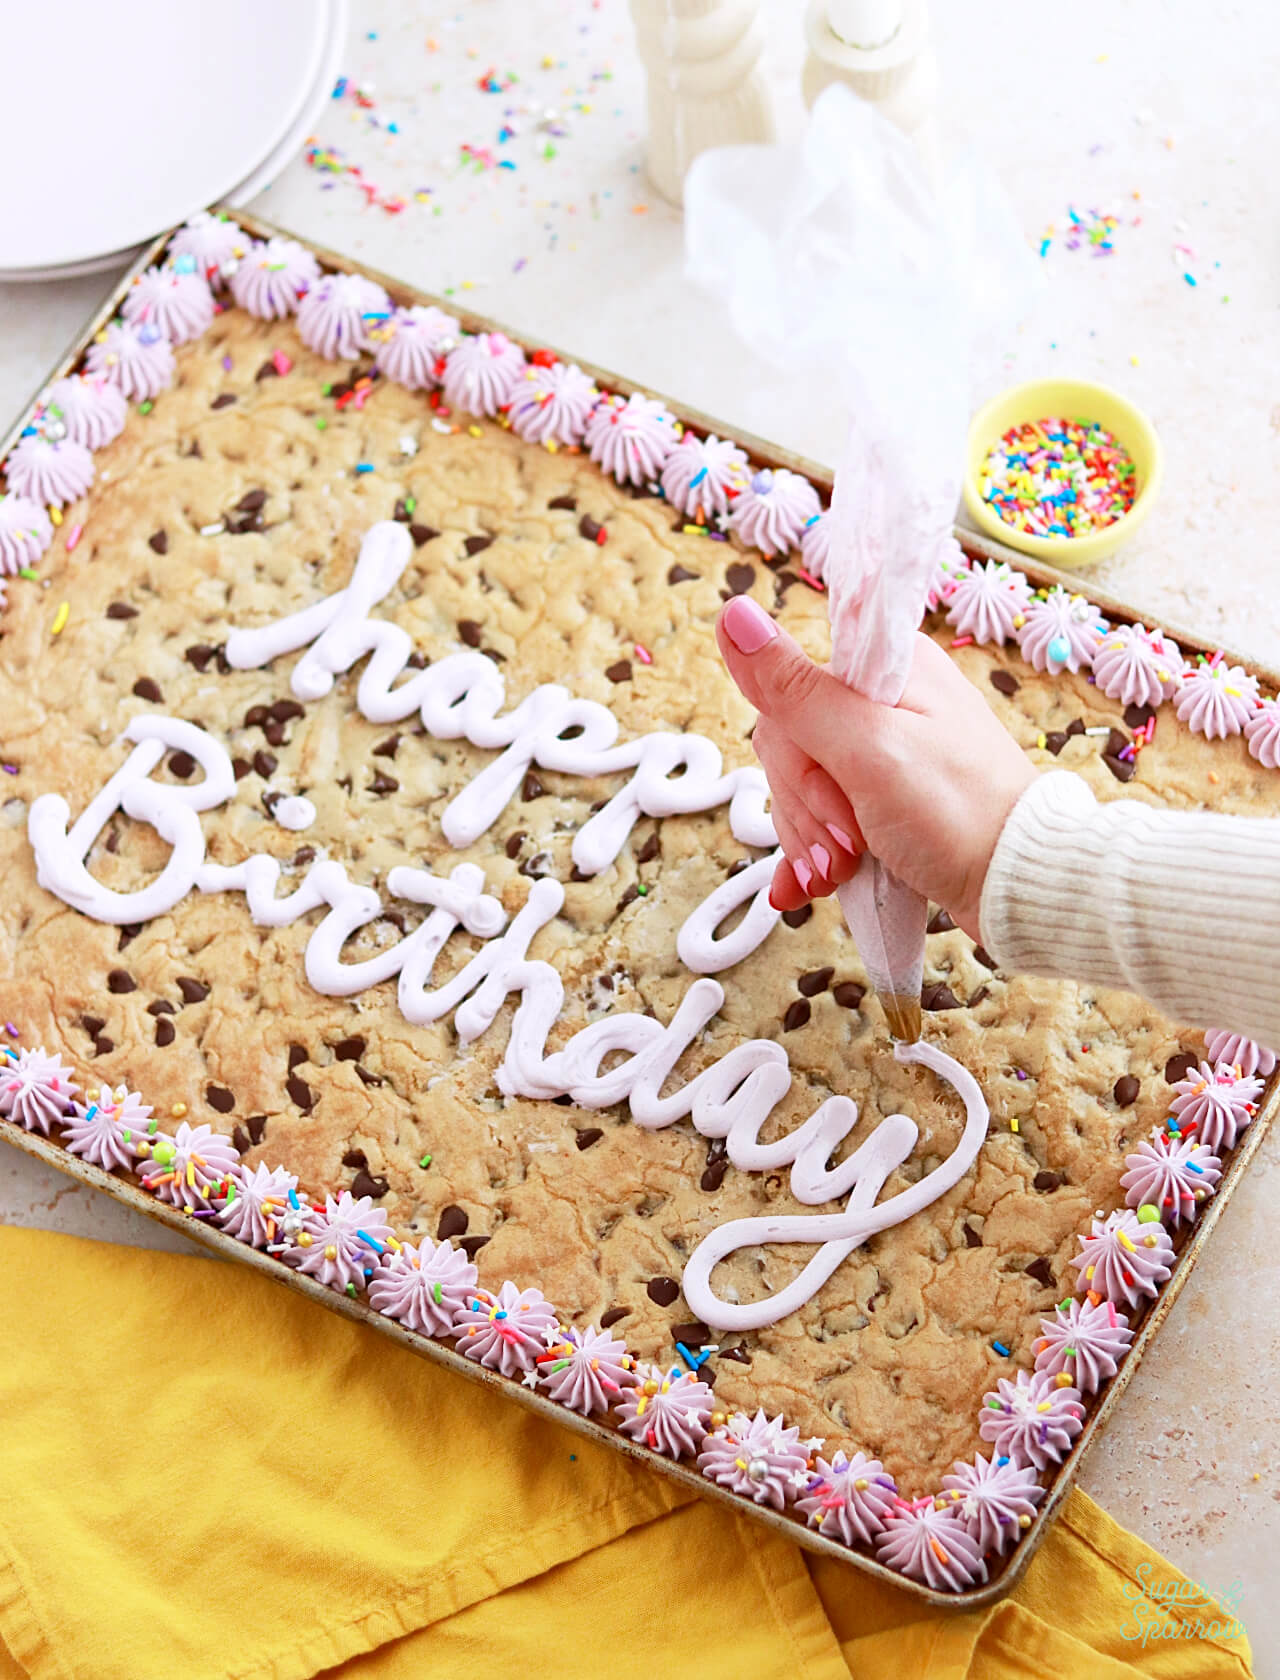
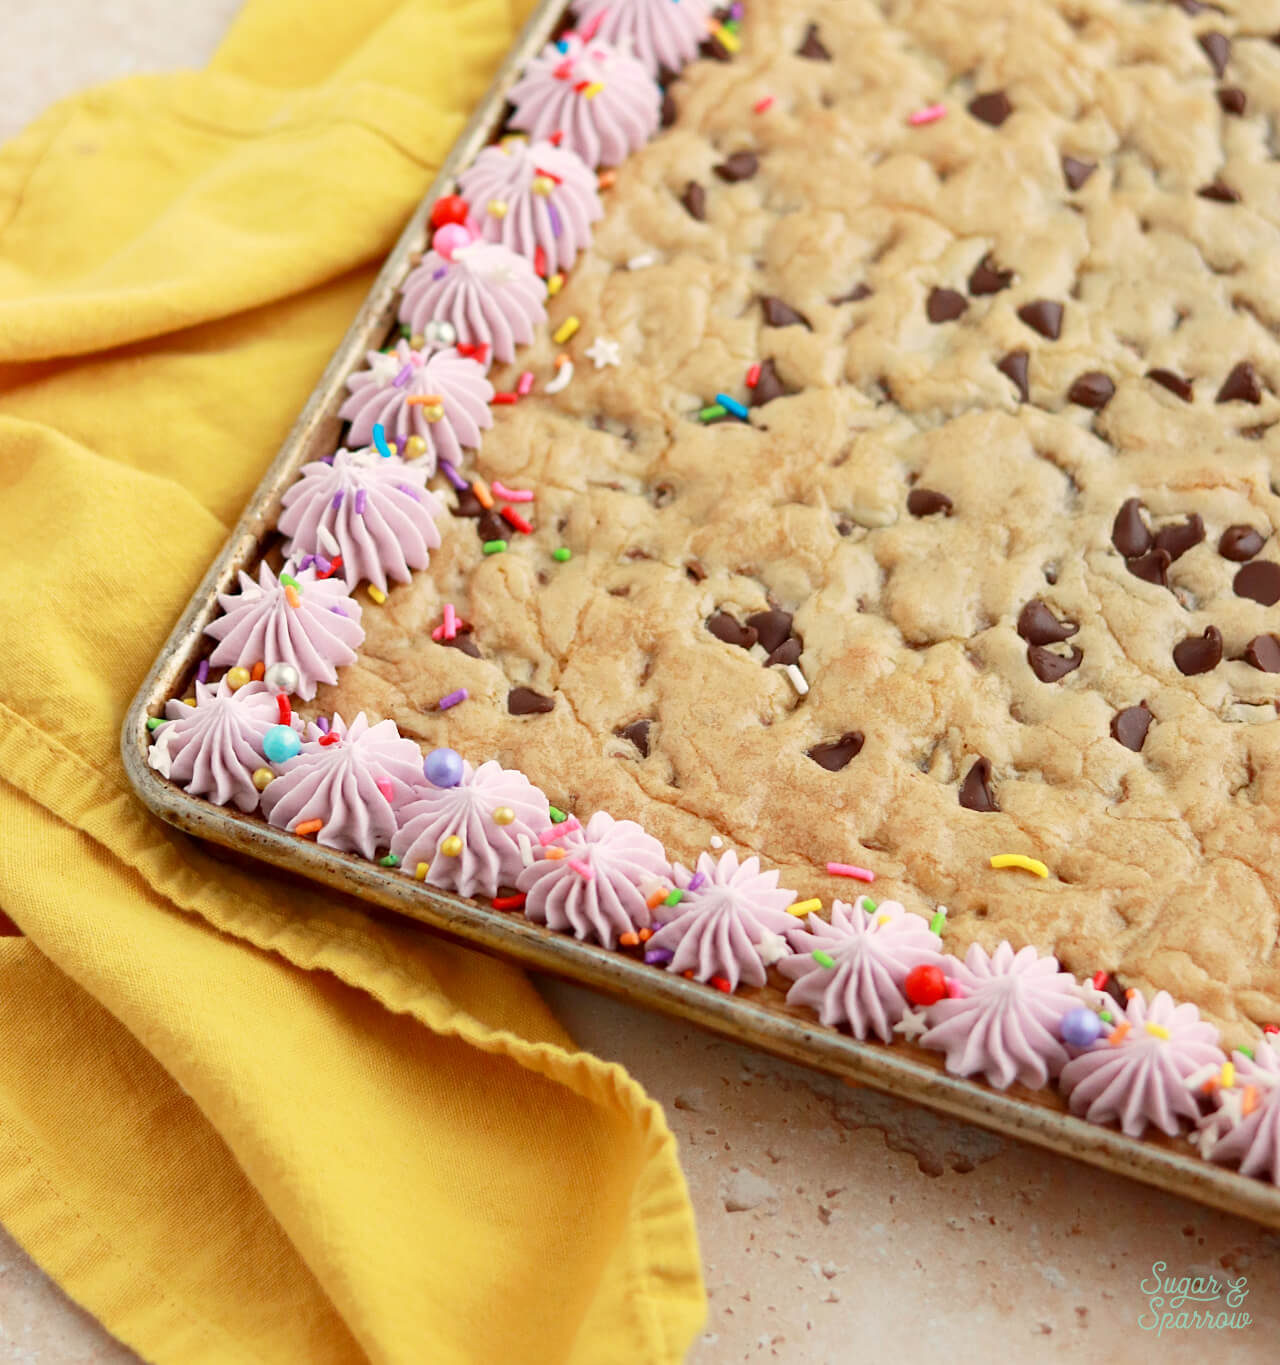
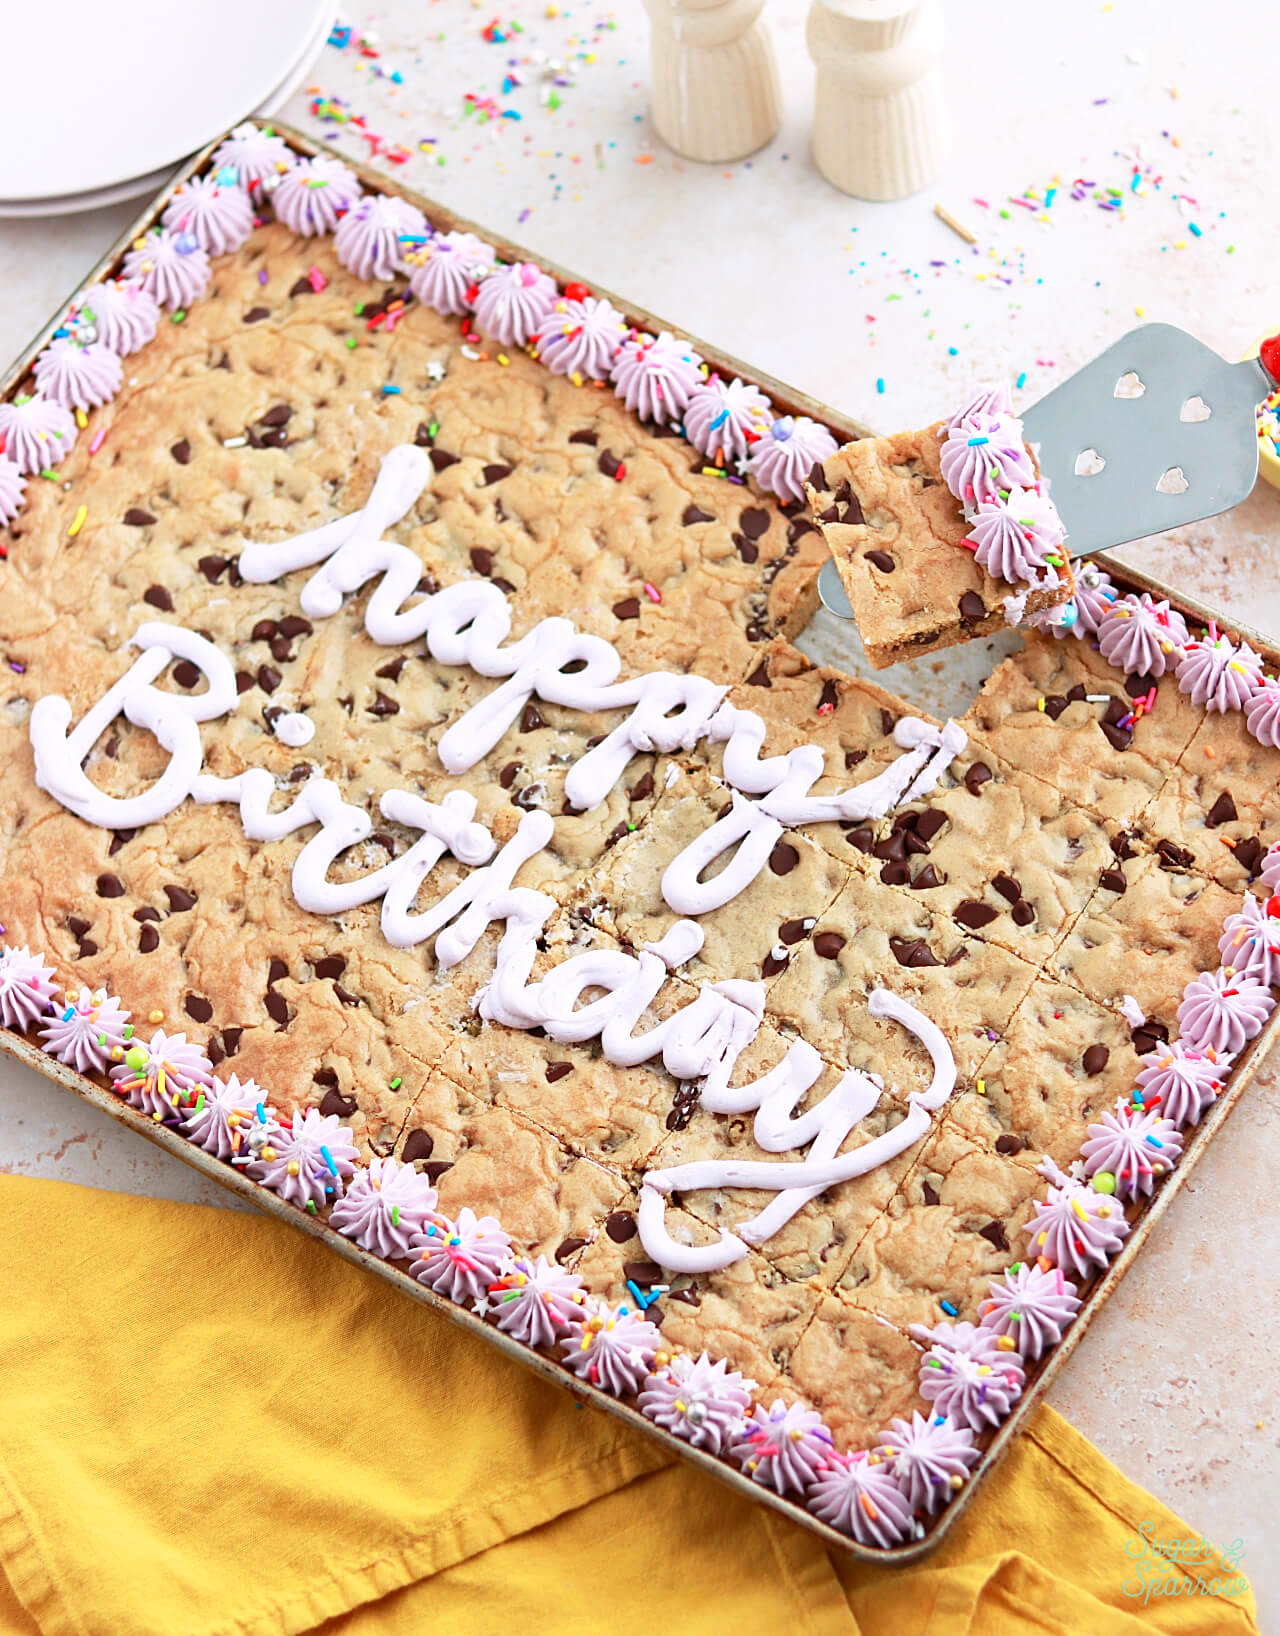
This sheet pan cookie cake is beautiful as-is, but if you want to go the extra mile and turn it into a celebratory dessert, I recommend decorating it with a little buttercream. I used my favorite vanilla buttercream recipe with Wilton Tip 6B (a large open star tip) for the border and added some pretty sprinkles on top.
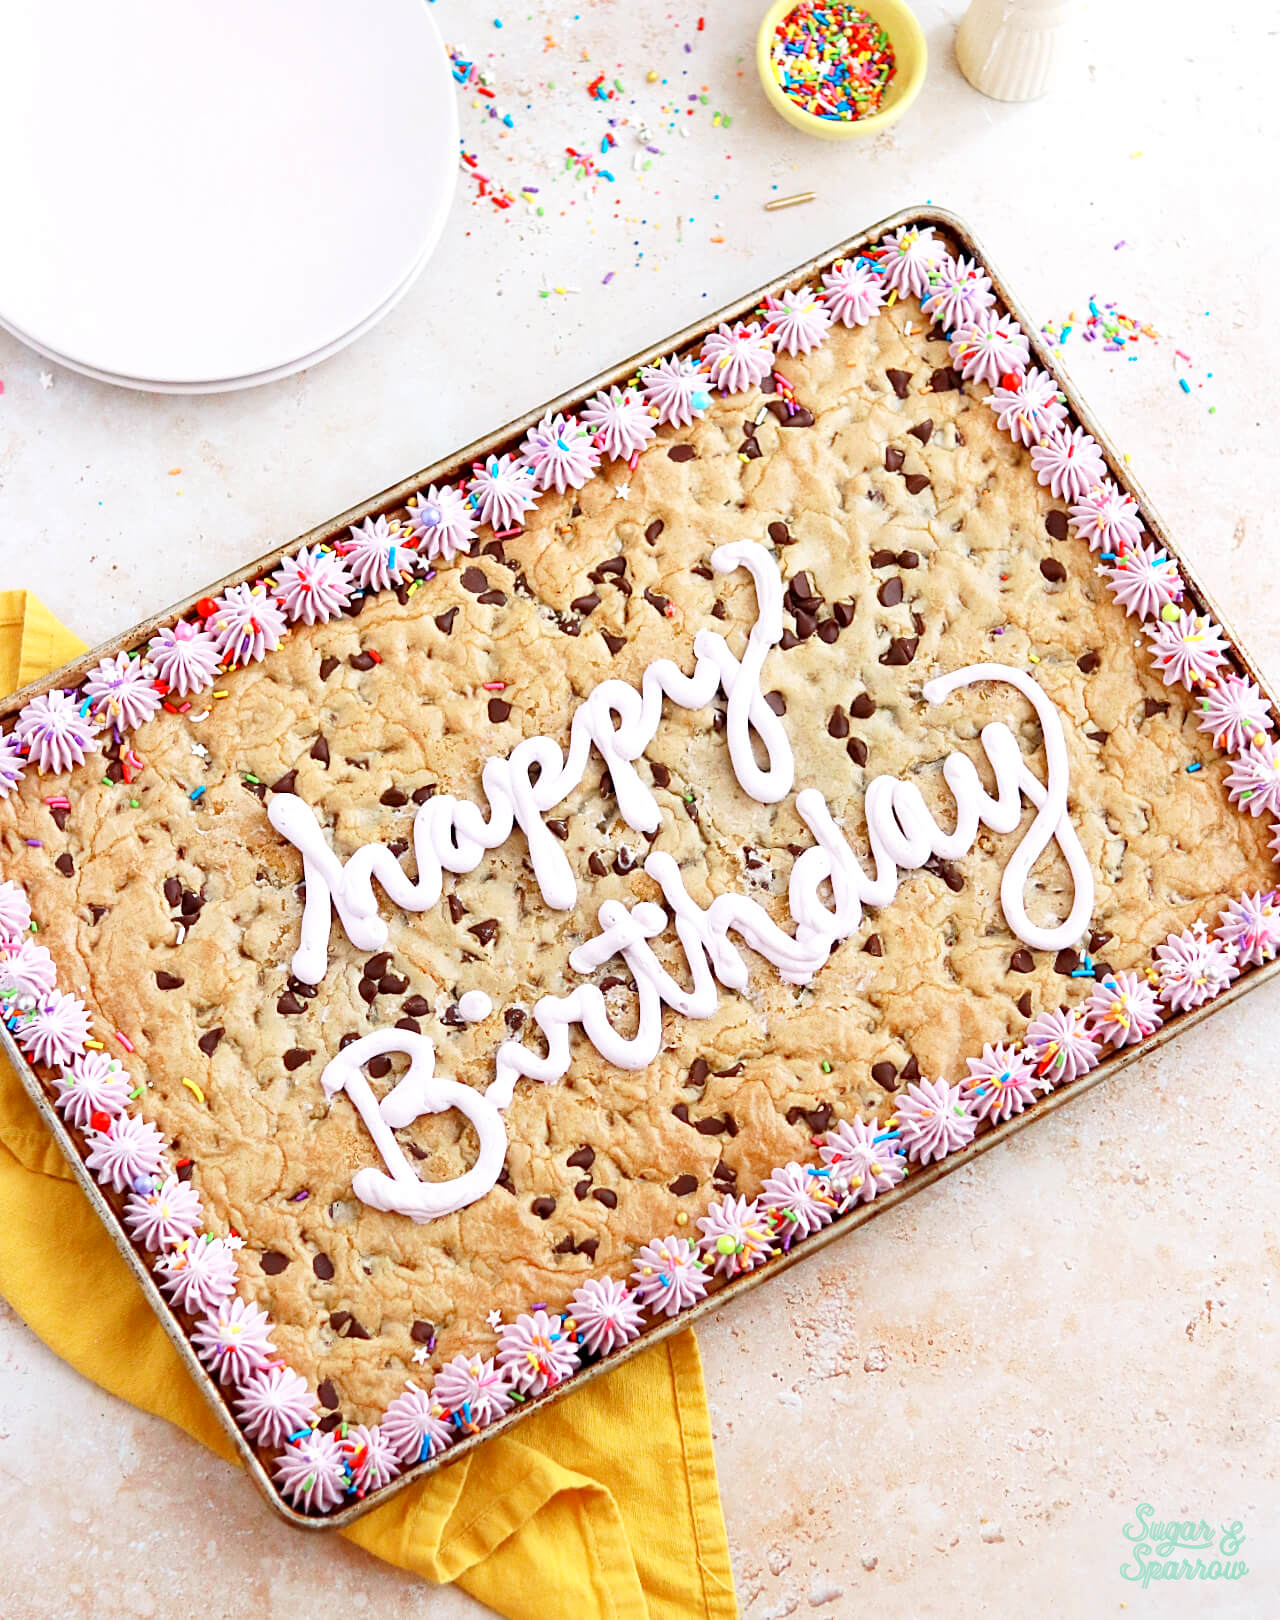
Feel free to get creative with the border design and use the middle of the sheet pan cookie cake for a special message, if desired. I used Wilton Tip 10 to write Happy Birthday on this one.
Storing & Serving the Chocolate Chip Cookie Cake
To store this cookie cake, you can simply wait until it’s room temperature and cover the sheet pan with plastic wrap. It will last up to 3 days this way at room temperature, but fresh is always best. If you’re not planning on decorating with buttercream I recommend enjoying this cookie cake fresh out of the oven or the following day.
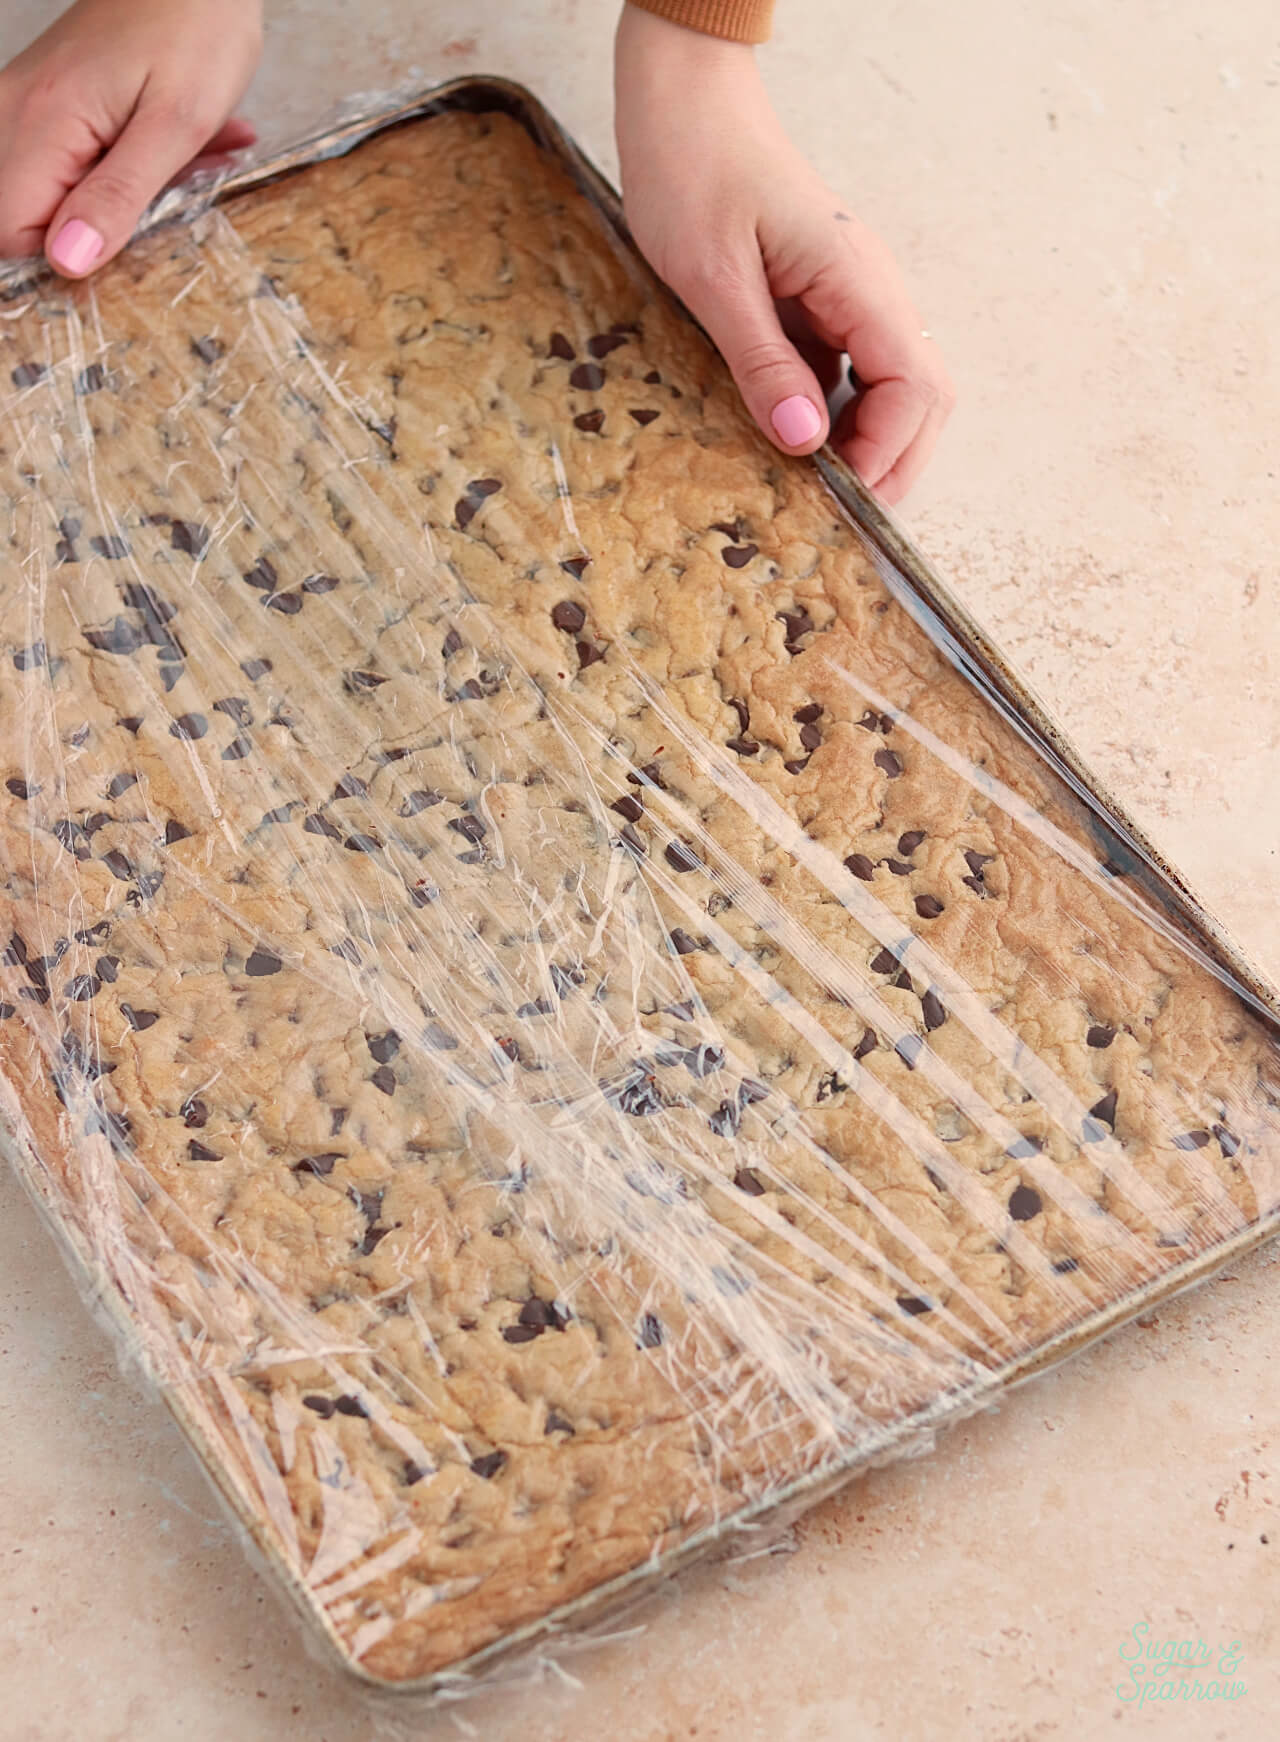
If you are planning on decorating the cookie cake with buttercream, you must let it cool to room temperature before piping on the frosting. In this case I recommend baking the cookie cake, then decorating with buttercream several hours later or the following day.
To serve the sheet pan cookie cake, simply cut it into squares of your desired size! If you cut equal portions of 2×2 squares, you’ll get about 54 servings.
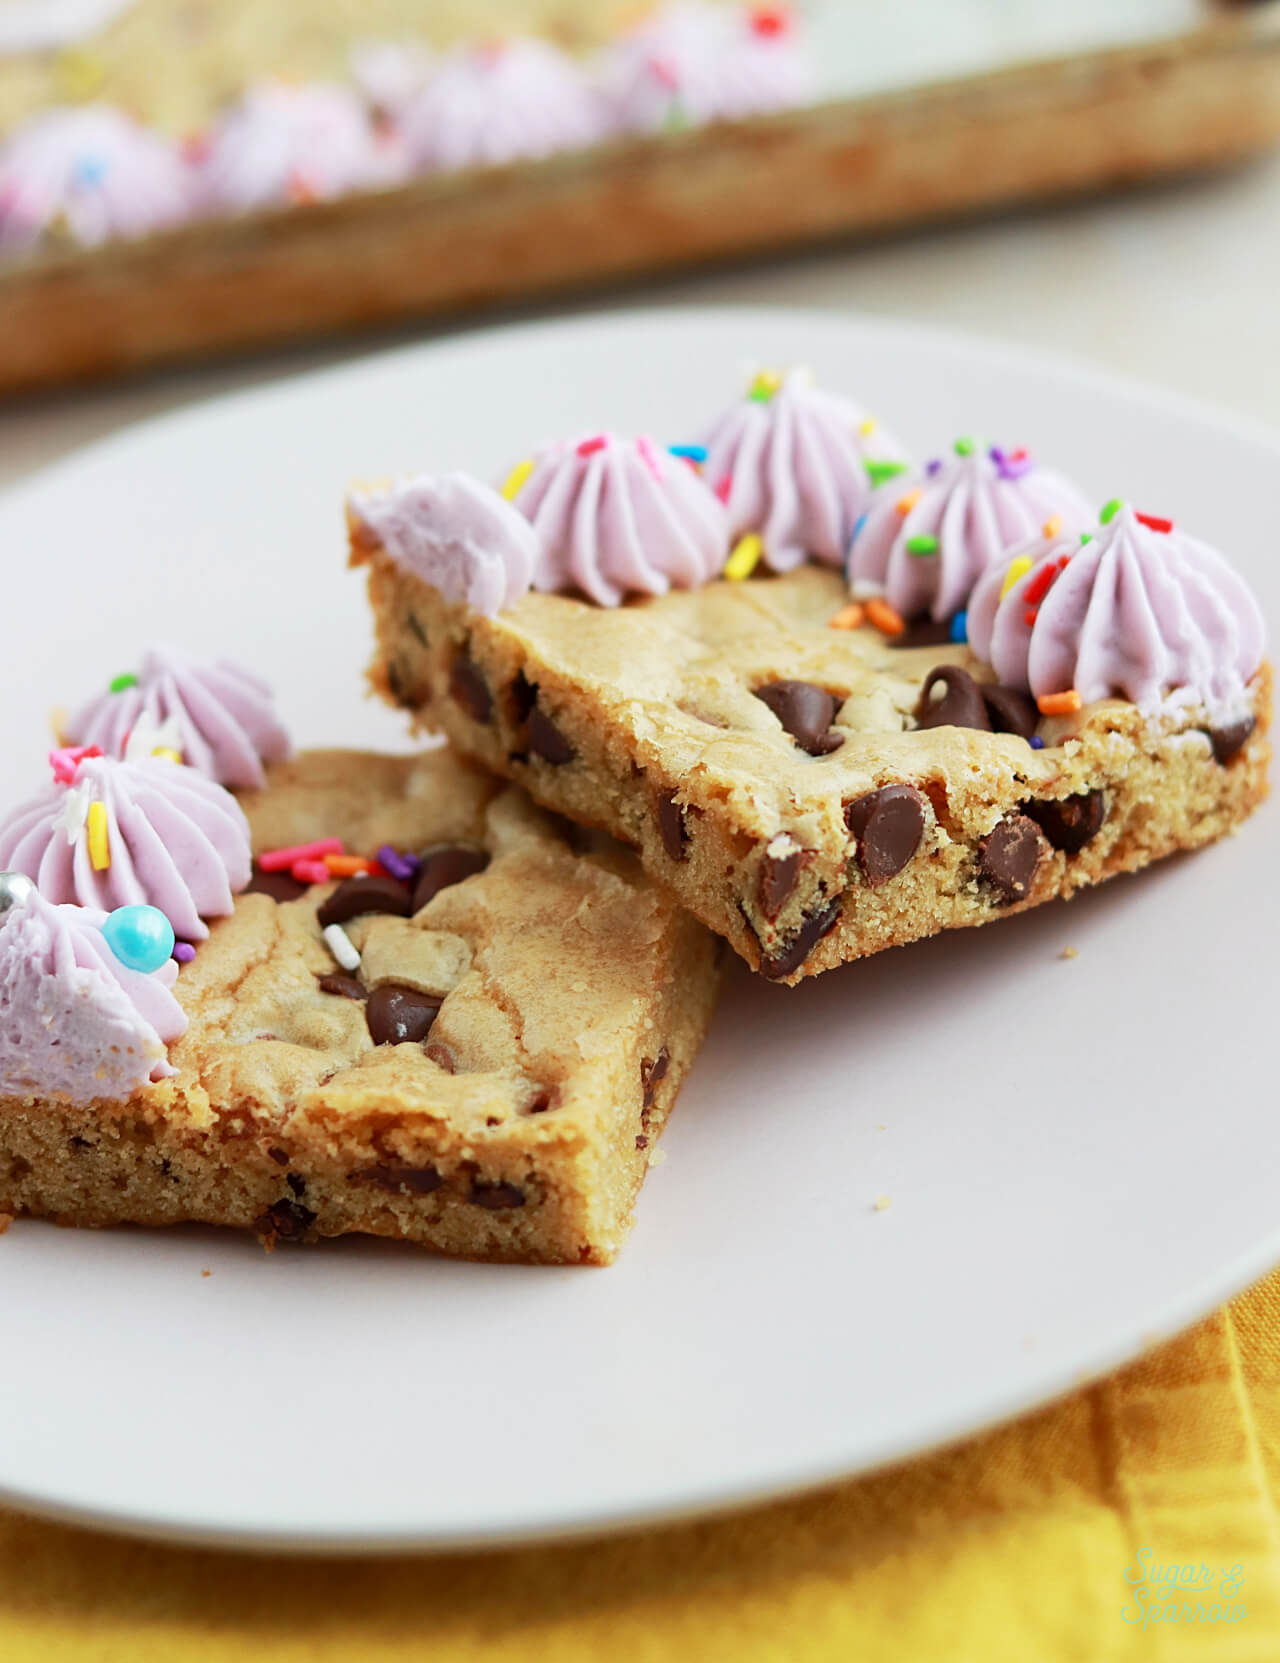
Whether you’re hosting a birthday party for someone who loves chocolate chip cookies or you want a simple tray bake that you can share around, this recipe is ideal. I hope you love it as much as I do!
Sheet Pan Chocolate Chip Cookie Cake
Ingredients
Sheet Pan Chocolate Chip Cookie Cake
- 1 Cup (226g) unsalted butter, melted
- 1 1/3 Cups (267g) packed light or dark brown sugar
- 1/2 Cup (100g) granulated sugar
- 3 large eggs
- 1 Tbsp pure vanilla extract
- 1 tsp baking soda
- 1 tsp cornstarch*
- 1/2 tsp salt
- 3 Cups (398g) all purpose flour
- 2 Cups (350g) semi-sweet chocolate chips
Vanilla Buttercream (Optional)
- 1 Cup (226g) unsalted butter, room temperature
- 3 1/2 Cups (420g) powdered sugar
- 2 tsp pure vanilla extract
- 2 Tbsp whole milk, room temperature
- pinch of salt, or to taste
Additional Garnish (Optional)
- 2 Tbsp rainbow sprinkles
Instructions
Make the Sheet Pan Chocolate Chip Cookie Cake
- Preheat the oven to 350ºF (177ºC). Prepare a 13×18 inch sheet pan by spraying the sides with baking spray and lining the bottom with parchment paper.
- Melt the butter: In a microwave safe bowl, heat the butter in 20-30 second intervals, stirring after each one, until the butter is melted. Set aside.
- In a large bowl, add the brown sugar and granulated sugar. Pour the melted butter on top and whisk together until uniform. Add the eggs and vanilla, then continue whisking until uniform. Whisk in the baking soda, cornstarch, and salt.
- Add the flour and use a silicone spatula to fold it in until smooth cookie dough forms. Reserve 1/2 Cup of the chocolate chips and set them aside, then add the remaining 1 1/2 Cups of chocolate chips into the cookie dough and fold until evenly dispersed.
- Add the chocolate chip cookie dough into the prepared sheet pan and use an offset spatula to spread it all the way to the edges in an even layer. It will seem like a very thin layer, like you have just enough dough but don't worry – it's the perfect amount and will rise beautifully in the oven.
- Sprinkle the reserved 1/2 cup of chocolate chips on top of the cookie dough and bake for 14-16 minutes, until it looks golden brown on the edges and set. It might seem soft in the middle but don't be tempted to over-bake! It will continue to bake on the cookie sheet out of the oven. 14 minutes is the perfect amount of time for my oven.
- Let the cookie cake cool completely to room temperature before frosting, or if you decide not to add the buttercream feel free to enjoy it warm.
Make the Vanilla Buttercream
- With a hand mixer or paddle attachment on your stand mixer, cream the butter on medium-high until it’s creamy and light (almost white) in color. About 7 minutes.
- With the mixer on low, add the sifted powdered sugar one cup at a time, scraping down after each addition and making sure each cup is fully incorporated before adding the next one.
- Add vanilla, milk, and salt and mix on low for another minute until fully incorporated.
Assembly
- To create the look of the frosted cookie cake pictured, begin by tinting the buttercream, if desired. I divided the buttercream into two separate bowls and used 1 drop of AmeriColor Electric Purple in the first one to create a light pastel purple, then placed 2 drops of the same color in the remaining bowl to create a slightly darker pastel purple.
- Place the light purple buttercream into a piping bag fitted with Wilton Tip 6B and pipe stars all around the (cooled) cookie cake border. Sprinkle the piping with rainbow sprinkles (I used this blend by SprinklePop). Place the lighter purple buttercream into a piping bag fitted with Wilton Tip 10 and handwrite a message in the center of the cookie cake.
Notes
Did you make this sheet pan chocolate chip cookie cake? I want to know how it went. Let me know in the comments below or tag @sugarandsparrowco on Instagram to show me. I love to see what you create with my recipes!

Found your recipe last month and made it for my boyfriend’s birthday! Was such a hit, and I have already found myself coming back to this recipe as it’s truly perfect. I do have a question though – have you tried freezing or refrigerating the dough before baking? I volunteered to make cookie cakes for events two weeks in a row and thought maybe I could prep the dough and bake later?
Hi Nicole! I’m so happy you love this recipe! I haven’t tried refrigerating or freezing the dough, but my hunch is that it would work. After some research, you should be able to refrigerate the dough for 3-5 days or freeze it for up to 2 months. Hope that helps!
Can I use sprinkles instead of chocolate chips to make it funfetti ?
Hi Tania! I haven’t tried that yet but feel free to experiment! I bet you could add about 1/2 Cup of sprinkles to either this recipe or my sheet pan sugar cookie recipe to create a funfetti flavor: https://sugarandsparrow.com/frosted-sugar-cookie-bars/
Just wondering how I would make this in a small round 9 inch pan. Would I 1/4 everything?
Hi Kayla! I’ve never tried baking this in a smaller pan but I think if you made 1/3 of the recipe it should be the perfect amount of batter. Either divide each ingredient by 3 or use this recipe scale calculator to figure out the math: https://www.inchcalculator.com/recipe-scale-conversion-calculator/ note that the calculator doesn’t convert the gram measurements. Hope that helps!
This recipe is amazing! I have made it several times, thank you
An absolute winner!
Made this for my daughter’s birthday party and it was a hit with all.
Easy to follow instructions for a deliciously tasty sheet cake.
Thanks for combining our two favourites cookies & cake!
This recipe is AMAZING first off. I am wanting to make a two layer cookie cake – but found that this recipe is slightly difficult to maneuver into a layer cake because it’s so soft – so I’m curious if you have any suggestions or if it’s just worth the extra effort to keep it super soft and delicious?? I’m thinking maybe only use half the amount of cornstarch listed ? Let me know your thoughts
I’m so happy you loved this recipe, Rachel! I haven’t tried a double layer version (which sounds delicious btw). The only ways I can think of maneuvering possibly maneuvering that would be to 1) carefully invert the top layer so that the bottom of the cookie becomes the top layer of the cake. You could hold a large piece of cardboard over the top of the sheet pan while you invert it, then slide it away carefully and peel off the parchment. I don’t know if this would be visually appealing or not since it would be the bottom of the cookie, so 2) you could leave a fair amount of parchment overhang on the sheet pan before baking the top layer, then grab a friend to help you lift the cookie out and somehow slide the parchment away once you have the cookie in position. Let me know if either of those ideas work!
I made this recipe last week and my coworkers LOVED it! My only question is: What’s the best method to remove the cake from the pan?
So happy to hear that, Ariana! If you want to fully remove the entire cookie cake from the pan, the easiest way is going to be baking it on parchment paper that has an overhang instead of just lining the bottom. If you have the parchment slightly longer than the pan, you’ll have enough to hold onto and lift the cake out of the pan to place on another surface.
Hello. I made this as a favor for a friend’s son’s birthday. It turned out great! It transferred easily and the icing is amazing!! Will definitely make this again. Thank you!
Yay, Jaina! I’m so happy this was a hit!
Wondering. What do we do with the 1/2 cup of chocolate. Chips we set aside. I may have missed something. Lily
Thanks for catching that, Lily! I forgot to say that I sprinkle that reserved 1/2 Cup of chocolate chips on top of the cookie dough before baking the cookie cake. I added it to the instructions!
I have made many of your cake recipes and it always comes out amazing!! I would like to do a buttercream frosting image transfer on the cookie cake. Any advice?
Hi Sarah! So happy you’ve been loving my recipes 🙂 I’ve actually never done a buttercream image transfer! I did find this tutorial that looks very helpful though: https://www.youtube.com/watch?v=Tfm32h-Hwrk
Hello! I’ve made several of your recipes and i love them!, but for this one i want to try and make it in a 15×21 pan and since the recipe says it barely reaches the edges but fills up nicely when baking i was wondering how much extra should i add to the measurements to fill up just enough on that 15×21?
Thank you in advance!
(P.S. your cherry chip cake recipe is the most moist, tender and delicious cake i’ve tried, i could literally eat it all by myself and it’s that good that you can even eat it without any frosting)
Hi Rocio! To make enough dough for a pan that size I would double the recipe. Enjoy! And I’m so happy to hear you love my cherry chip cake recipe!!
My friend wanted a layer cake from cookie cake, so I made this in 2 round 8-inch pans instead of the sheet pan. It came out beautifully! Thanks for the recipe.
Hi Whitney! Would I be able to easily flip this cookie cake onto a cooling rack or does it do best left in the pan? I would like to be able to put the cookie cake on a cake board. Thank you!
As long as you line the pan with parchment paper it’s super easy to flip out or lift out!
Hi there! You can definitely flip the cookie cake onto a cooling rack — just make sure it cools in the pan for about 10–15 minutes first so it firms up a bit. After that, it should come out nicely without breaking. If you want a perfect finish for presentation, transferring it onto a cake board afterward works great too!
By the way, if you ever need a Complete guide to mm to inches conversion
for your baking tools or pan sizes, this one’s super handy!
Hi Whitney,
Does a 12×16 sheet pan make that big of a difference?
Hi Megan! It shouldn’t make too much of a difference. Since the dough will be a little thicker with the slightly smaller pan size I would bake it for maybe a minute or two longer.
I only have 9×13 cake shee pan, can I use the whole recipe for this cake pan? Do I cook at the same temp and leave in oven a little longer? Your input would be very helpful. Thank you Carolyn.
Hi Carolyn! I would make the whole batch of dough and divide it between two separate 9×13 inch sheet pans. If you only have one 9×13, I would line the pan with parchment (leave some overhang so you can lift it easily) and press half of the dough into the pan. Then, lift the parchment so you have the dough shaped and repeat with the second half of the dough. Then, bake the dough sheets one at a time. Hope that helps!