• Cake
  • Frosting
  • YouTube
  • My Favorite Tools
  • Nav Social Icons

  • Skip to primary navigation
  • Skip to main content
  • Skip to primary sidebar
  • Skip to footer
  • Recipes
    • Cake
    • Cupcakes
    • Frosting
    • Ice Cream
    • Vegan
  • Cake Basics
  • Tutorials
  • Blog
  • About
  • Mobile Menu Widgets

    Connect

    Search

Sugar & Sparrow logo in script font

Sugar & Sparrow

Lifestyle and Cake from Portland Oregon

  • Cake Basics
  • Recipes
    • Cake
    • Cupcakes
    • Sheet Cakes
    • Cookies & Bars
    • Filling
    • Frosting
    • Ice Cream
    • No-Bake
    • Small Batch
    • Vegan
  • Tutorials
  • Book
  • Blog
  • About

Rainbow Candy Mosaic Cake

April 12, 2019 · In: Lifestyle, Seasonal, Spring, Tutorials

As soon as Easter candy hits the shelves I can’t help but be dazzled by all the pretty pastel colors! I was so starry-eyed over these Easter M&M’s that I decided to use them as a cake finish for this Rainbow Candy Mosaic Cake, and I couldn’t love the look more. If you’re as into it as I am, I’m showing you how to make this easy little showstopper over on The Cake Blog! Head over there for the full tutorial and tips for candy mosaic success. In the meantime, just look at this beauty:

Easter candy cake by Sugar & Sparrow
Easter Cake by sugar and sparrow
M&M cake
Cake with M&M's
candy covered cake

Ready to get a little crazy with Easter M&M’s? Head over to The Cake Blog to learn how to make this Easter cake that’ll turn all the heads.
By: Whitney · In: Lifestyle, Seasonal, Spring, Tutorials · Tagged: cake decorating, cake tutorial, easter cake, easter candy, easter candy cake, m and m cake, mosaic cake, pastel cake, the cake blog

you’ll also love

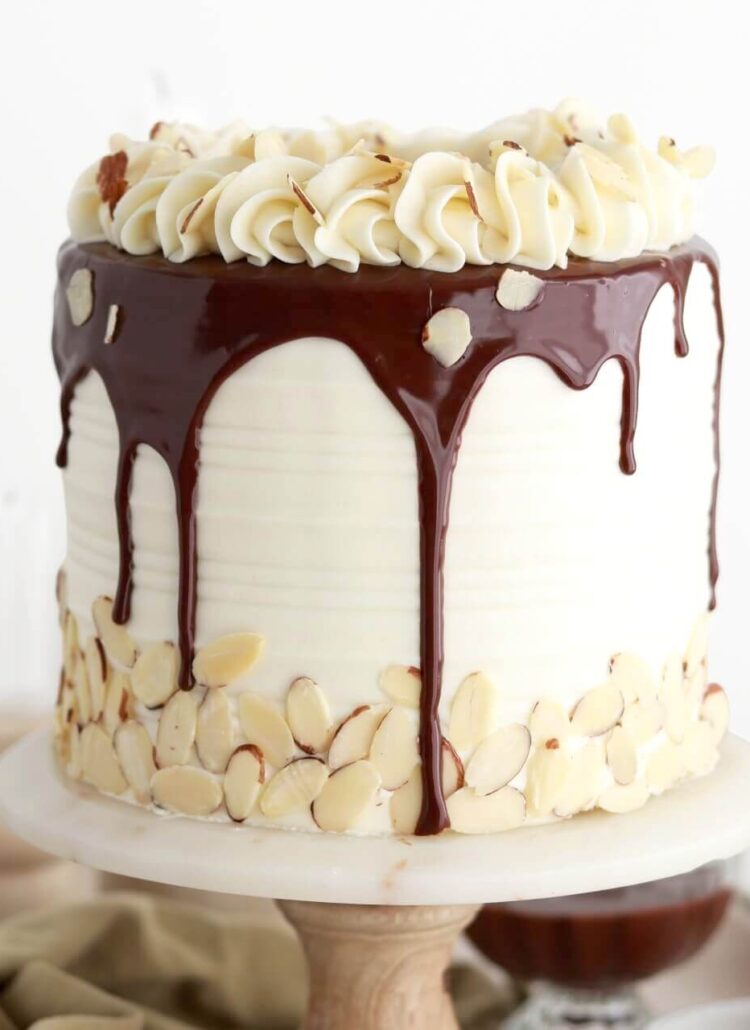
almond joy cake recipe by sugar and sparrowAlmond Joy Cake
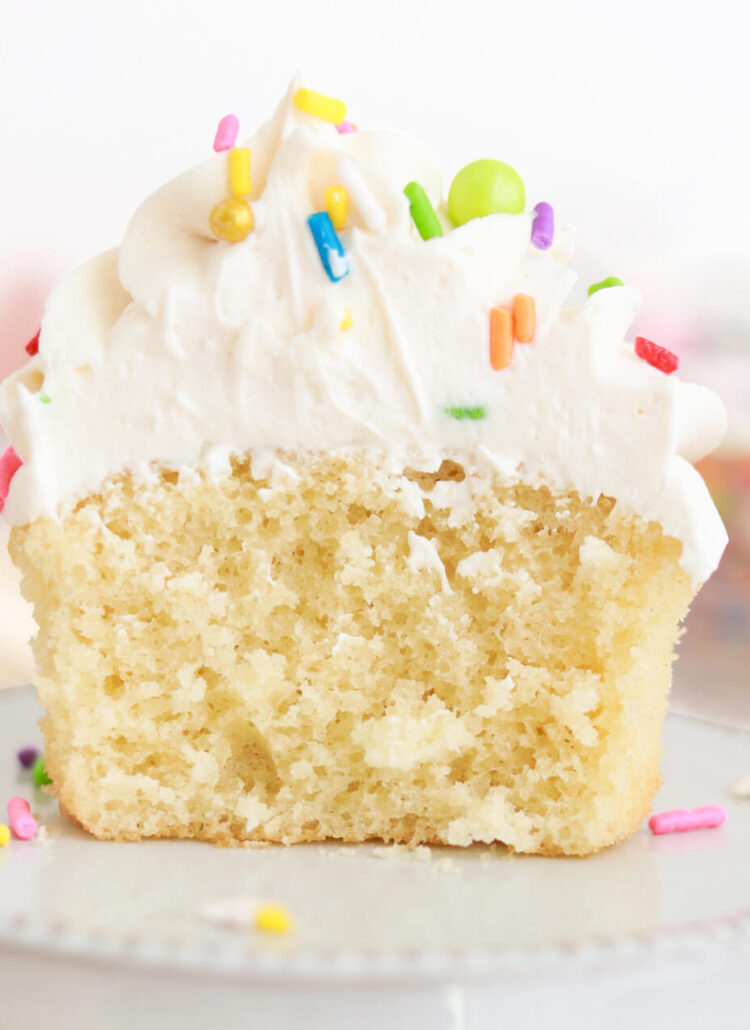
the best vanilla cupcakes recipeThe Perfect Vanilla Cupcake Recipe
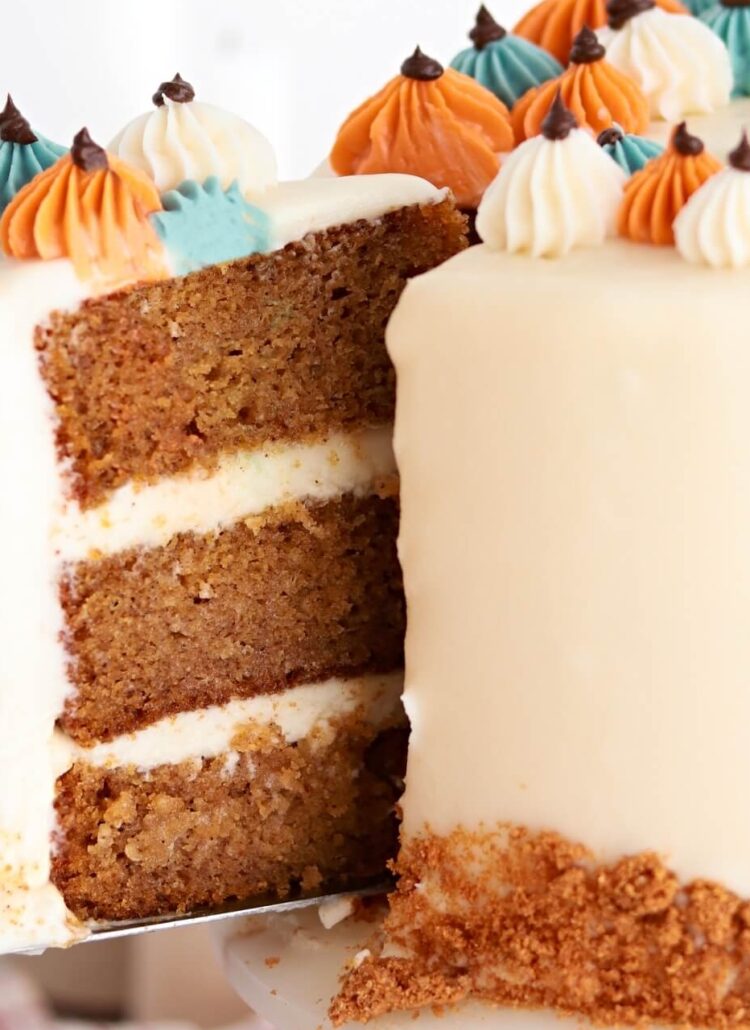
pumpkin layer cake recipe by sugar and sparrowPerfect Pumpkin Layer Cake Recipe

Join the List

Stay up to date & receive the latest posts in your inbox.

Reader Interactions

Comments

  1. Donna says

    April 13, 2019 at 8:45 am

    That’s seriously beautiful! How does it taste with all of the M&Ms?

    Reply
    • Whitney says

      April 13, 2019 at 6:23 pm

      Thanks, Donna! The M&M’s add a good amount of chocolate/crunch to the vanilla cake underneath. I think it tastes wonderful!

      Reply
  2. Bernadette says

    April 13, 2019 at 6:33 am

    What a beautiful cake. My Grandchildren would love that cake for Easter. They all love M & Ms.

    Reply
    • Whitney says

      April 13, 2019 at 6:24 pm

      Thanks so much, Bernadette! That’s so fun!

      Reply

Leave a Reply Cancel reply

Your email address will not be published. Required fields are marked *

Recipe Rating


Next Post >

Marbled Candy Melt Chocolate Sail Tutorial

Primary Sidebar

Welcome to Sugar & Sparrow

Welcome to Sugar & Sparrow

Helping you whip up pretty desserts with confidence and creativity. And hopefully sharing a few laughs with you along the way!

Learn More

Connect

let’s bake!

Get my very best recipes, baking tips, and decorating tutorials sent to your inbox

Featured Posts

flourless chocolate cake recipe by sugar and sparrow

Rich & Fudgy Flourless Chocolate Cake

how to convert layer cakes into sheet cakes

How to Convert My Layer Cake Recipes into Sheet Cakes

why did my cake sink in the middle

Common Reasons Why Cakes Sink

Search

Archives

Follow Along

@sugarandsparrowco

THICK CARAMEL CAKE FILLING ✨this is the BEST caram THICK CARAMEL CAKE FILLING ✨this is the BEST caramel  filling recipe for cakes and cupcakes that’s extra thick, creamy and spreadable, and irresistibly gooey with just the right vanilla-caramel flavor. I’ve used it in recipes like my Millionaire Cake, Milky Way Ccake, Snickers Cake (with peanuts added!), and Twix cake, but it will pair well with any cake flavor that could use some gooey caramel in between the layers.

Find this recipe in my bio + all the cake recipes mentioned at https://sugarandsparrow.com/thick-caramel-filling/

THICK CARAMEL FILLING 
Yield: 2 Cups (enough to fill a triple layer cake + use as a drip) 

INGREDIENTS 
1/2 Cup (113g) unsalted butter 
1 Cup (200g) packed brown sugar 
2/3 Cup (210g, 160ml) sweetened condensed milk 
1/3 Cup (80ml) light corn syrup 
5 Tbsp (75ml) heavy whipping cream 
1 tsp salt 
1 tsp pure vanilla extract 

INSTRUCTIONS 
1. In a large saucepan over medium heat, add the sweetened condensed milk, butter, brown sugar, corn syrup, heavy whipping cream, and salt. Stir with a rubber spatula constantly until the mixture is fully combined and begins to bubble, about 5 minutes. 
2. Turn the heat to medium-low and continue stirring until the caramel begins to thicken, 6-7 minutes. If you have a candy thermometer, you’ll want to cook this until it reaches 225F (107C). That is the temperature that will thicken the caramel while keeping it nice and soft at room temperature. 
3. Remove the caramel from the heat and mix in the vanilla extract. Pour into a separate container and let the caramel cool completely to room temperature before using it to fill the cake. After pouring mine into a 2-cup measuring cup and refrigerating, it took about 2 hours to cool but it will thicken significantly.

#caramel #caramelcake #cakes #cakedecorating #homebaked
ALMOND JOY CAKE 🤎🥥 this tastes just like an Almond ALMOND JOY CAKE 🤎🥥 this tastes just like an Almond Joy candy bar in cake form: layers of soft, fluffy coconut cake with silky chocolate ganache, sliced almonds, and the dreamiest coconut-almond buttercream! 

Comment RECIPE and I’ll send it on over! Or find it linked in my bio + at https://sugarandsparrow.com/almond-joy-cake-recipe/

#almondjoy #coconutcake #almondcake #cakedecorating #candycake
You butter believe I made myself the Halloween cos You butter believe I made myself the Halloween costume of my dreams!! 🧈 

#diyhalloweencostume
#foodcostume #halloweencostume #handmadecostume #bakerlife
MELTED CANDLE CUPCAKES 🖤🕯give me a few cupcakes, s MELTED CANDLE CUPCAKES 🖤🕯give me a few cupcakes, some dye-free black buttercream, and black chocolate ganache and watch me transform them into the spookiest edible centerpiece! 

Full tutorial is linked in my bio + at https://sugarandsparrow.com/melting-candle-cupcakes/ but I have a condensed version below: 
 
SUPPLIES: ⁣ 
-9 cupcakes⁣  (made these with my small batch black velvet cake recipe!) 
-1 batch of dye-free black buttercream 
-boba straws or skewers (for stabilizing the taller candles) ⁣ 
-icing smoother + turntable ⁣ 
-black ganache for dripping⁣ 
-3 birthday cake candles⁣ 
-matches ⁣ to light them
⁣ 
INSTRUCTIONS: ⁣ 
1. Fill and stack the cupcakes: one stack of 2 cupcakes, one stack of 3 cupcakes, and one stack of 4 cupcakes. For the two taller cupcakes I inserted a boba straw through the middle to stabilize the stack for frosting. ⁣ 
2. Frost the stacked cupcakes with smooth buttercream and keep the top edge raw. Refrigerate for 20 minutes to let the frosting firm up. ⁣ 
3. Transfer the frosted cupcake candles  onto a small plate and pipe ganache around the edges and tops to look like melted wax. ⁣ 
4. Insert a birthday cake candle into each cake candle (keep the wick about 1/4 inch from the cake surface) and light! ⁣ 
⁣ 
#candlecake #halloweencake #cupcakes #blackvelvetcake #blackbuttercream
BISCOFF COOKIE BUTTERCREAM 🤎 this delicious frosti BISCOFF COOKIE BUTTERCREAM 🤎 this delicious frosting is flavored with Biscoff cookie butter and goes with literally ANY Fall cake recipe 🙌🏼 So far my favorite cake flavors to pair it with are pumpkin cake, banana cake, chocolate cake, coffee cake, and spice cake, but I am also testing a full-on Biscoff cake this week!! 

Full recipe + my favorite cake pairing suggestions are at https://sugarandsparrow.com/biscoff-buttercream/ 
⁣⁣ 
INGREDIENTS⁣⁣ 
1 Cups (226g) unsalted butter, room temperature⁣⁣ 
1/2 Cup (94g) Biscoff cookie butter⁣⁣ or spread
3 Cups (360g) powdered sugar⁣⁣ 
1 tsp pure vanilla extract⁣⁣ 
2 Tbsp whole milk, room temperature⁣⁣ 
1/4 tsp salt, or to taste⁣⁣ 
⁣⁣ 
INSTRUCTIONS⁣⁣ 
1. Cream the butter and Biscoff cookie butter together in the bowl of a stand mixer fitted with the paddle attachment (or you can use a hand mixer and large bowl). Mix on medium-high until creamy and well combined, about 5 minutes, scraping down the bowl and paddle as needed.⁣⁣ 
2. Turn the mixer to low speed and add the powdered sugar a few cups at a time, scraping down the bowl and paddle after mixing in each addition. Add the vanilla, milk, and salt and continue mixing on low speed until smooth and combined, 1-2 minutes.⁣ 
⁣⁣ 
#biscoffcake #biscoff #buttercream #frosting #cakedecorating

Footer

On the Blog

  • Cake Basics
  • Recipes
  • Tutorials

Info

  • About
  • Privacy Policy & Disclosure

stay in the know

Copyright © 2026 · Theme by Sugar & Sparrow