
My cake flavor combinations are often driven by my own nostalgia. A few cases in point are my Apple Crisp Cake (my mom made lots of apple crisp growing up), Strawberry Shortcake Ice Cream Cake (inspired by childhood summers chasing the ice cream truck), and my S’mores Layer Cake (reminiscent of our yearly camping trip). This Hostess Cupcake Layer Cake is no exception. I can remember sneaking Hostess Cupcakes into the cart while my mom grocery shopped and the pure joy I felt when she relented and let me take them home. They were the definition of decadence in my grade school mind.
This post may contain affiliate links. For more information, see our disclosure policy.
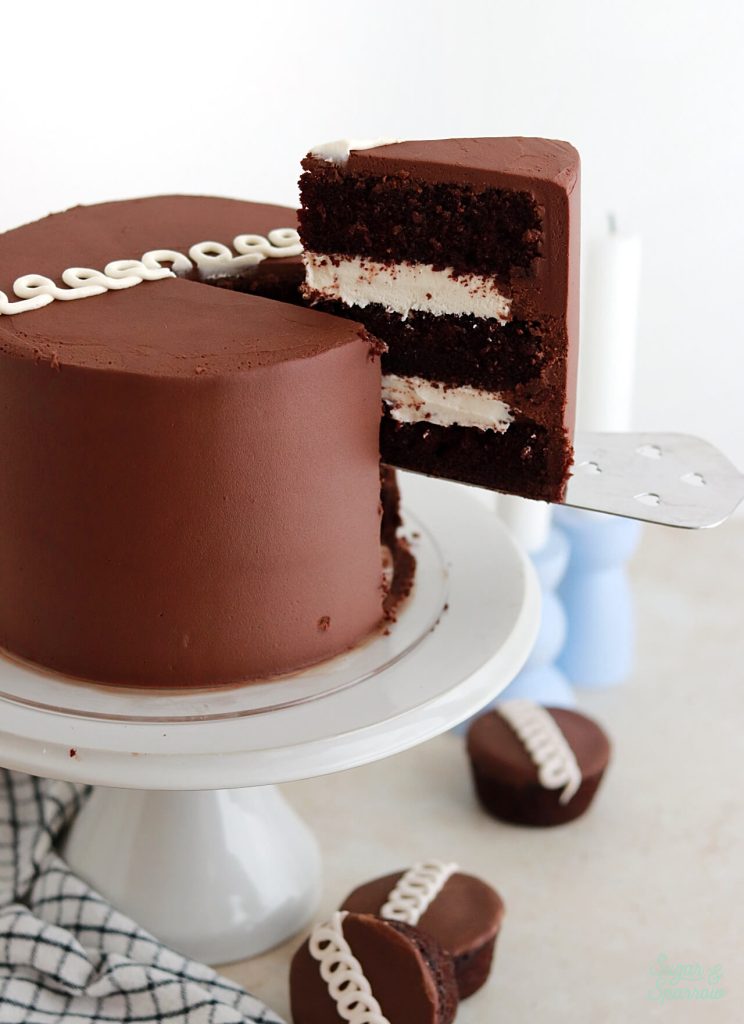
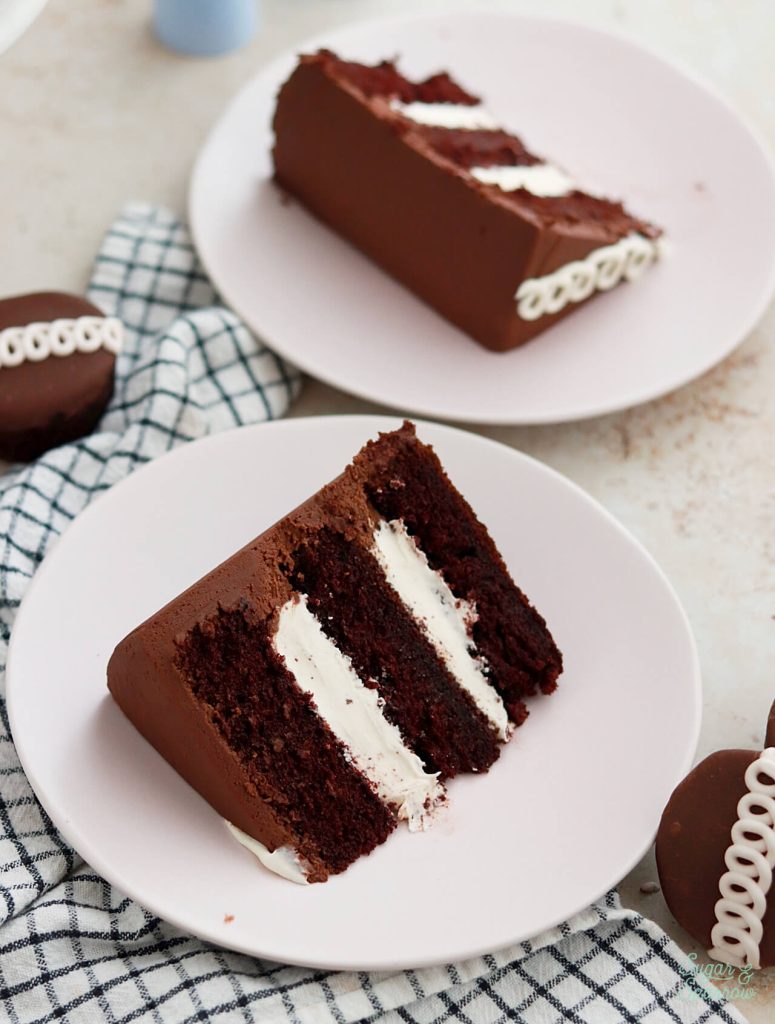
I bought a package of Hostess Cupcakes to help me with the recipe testing and I will say that while they aren’t nearly as delicious as I remember, the concept of them is still inspiring. This layer cake version has all the nostalgic vibes, but tastes way better than the real deal. It’s fudgy chocolate cake and creamy marshmallow filling, topped with the most delicious whipped chocolate ganache frosting. This cake tastes upscale and is so perfect for anyone who was fond of Hostess Cupcakes as a kid and wants to experience them all over again with an adult palette.
For the chocolate cake, I used my favorite One Bowl Chocolate Cake recipe which is just as simple as it sounds. It involves ingredients you probably already have in your pantry and is nearly as easy as making a box cake mix, only it tastes a million times better. It’s fudgy and decadent, extra moist, and bursting with chocolate flavor.
The marshmallow filling turned out exactly like I imagined. It’s nice and creamy, just the right amount of gooey, and so marshmallowy. It’s basically a little bit of butter, some powdered sugar (but not enough to make it cloyingly sweet), a splash of vanilla, and a whole 7 oz can of marshmallow fluff. It’s perfect in every way.
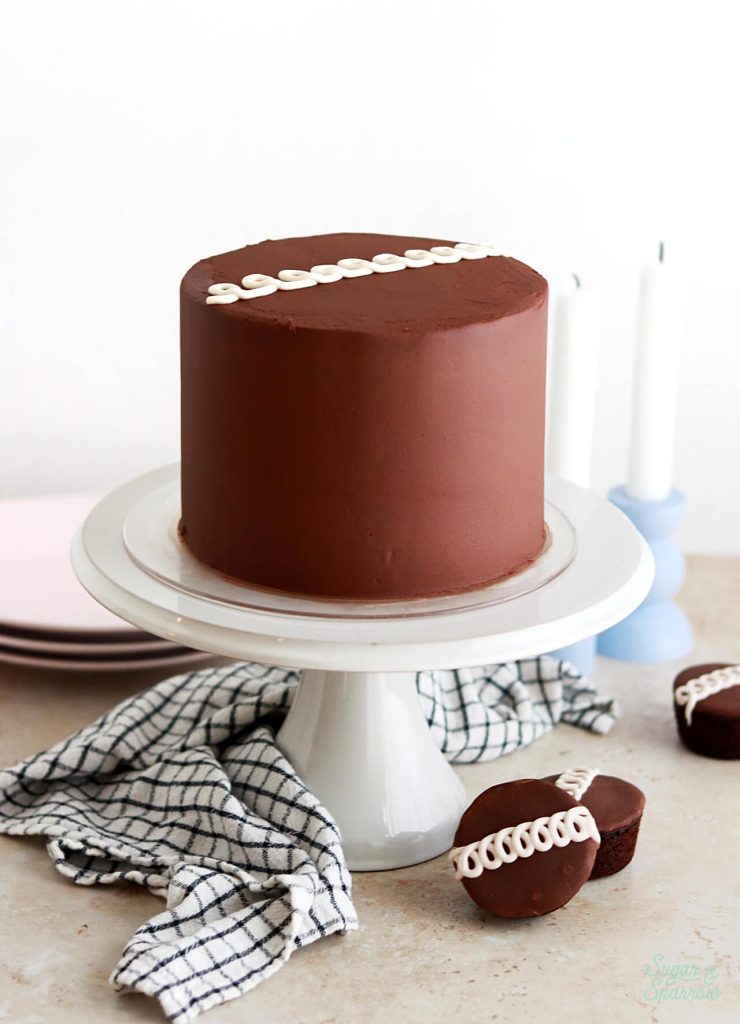
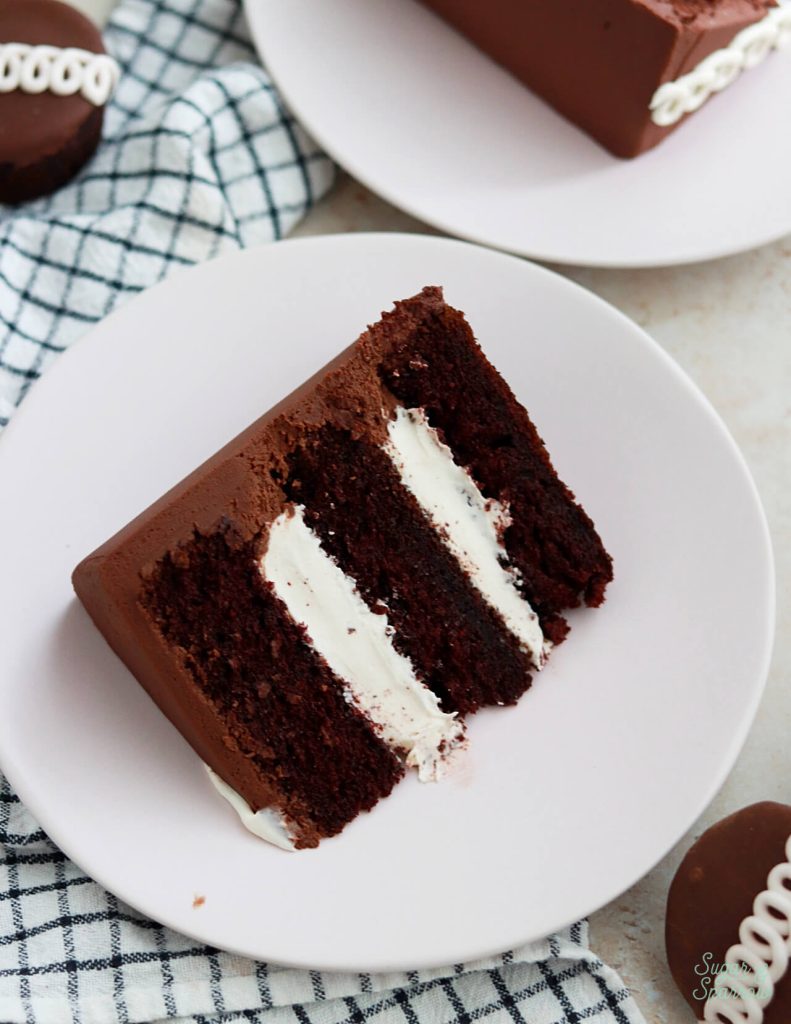
If you’ve never made whipped chocolate ganache frosting, prepare to have your mind blown! This frosting has the consistency of buttercream and frosts/pipes like a dream, and it’s rich and chocolatey but not overly sweet. You basically make a 1:1 ratio ganache with semi-sweet chocolate chips, let it cool to room temperature, and whip it until it’s frosting consistency. I’m totally obsessed.
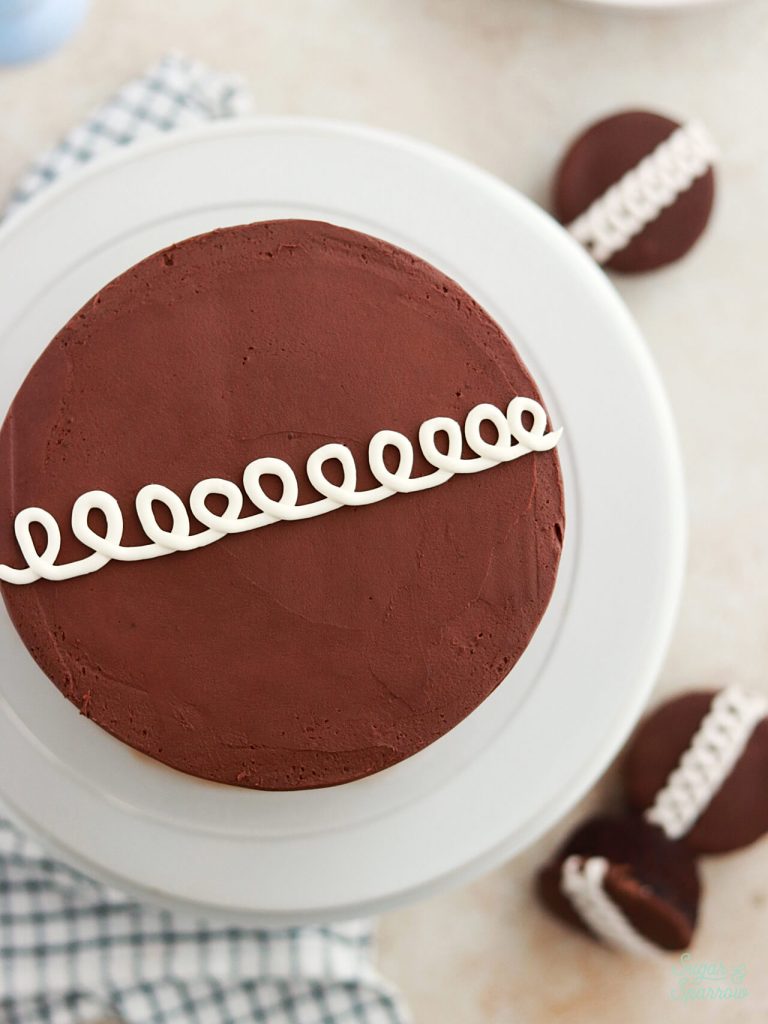
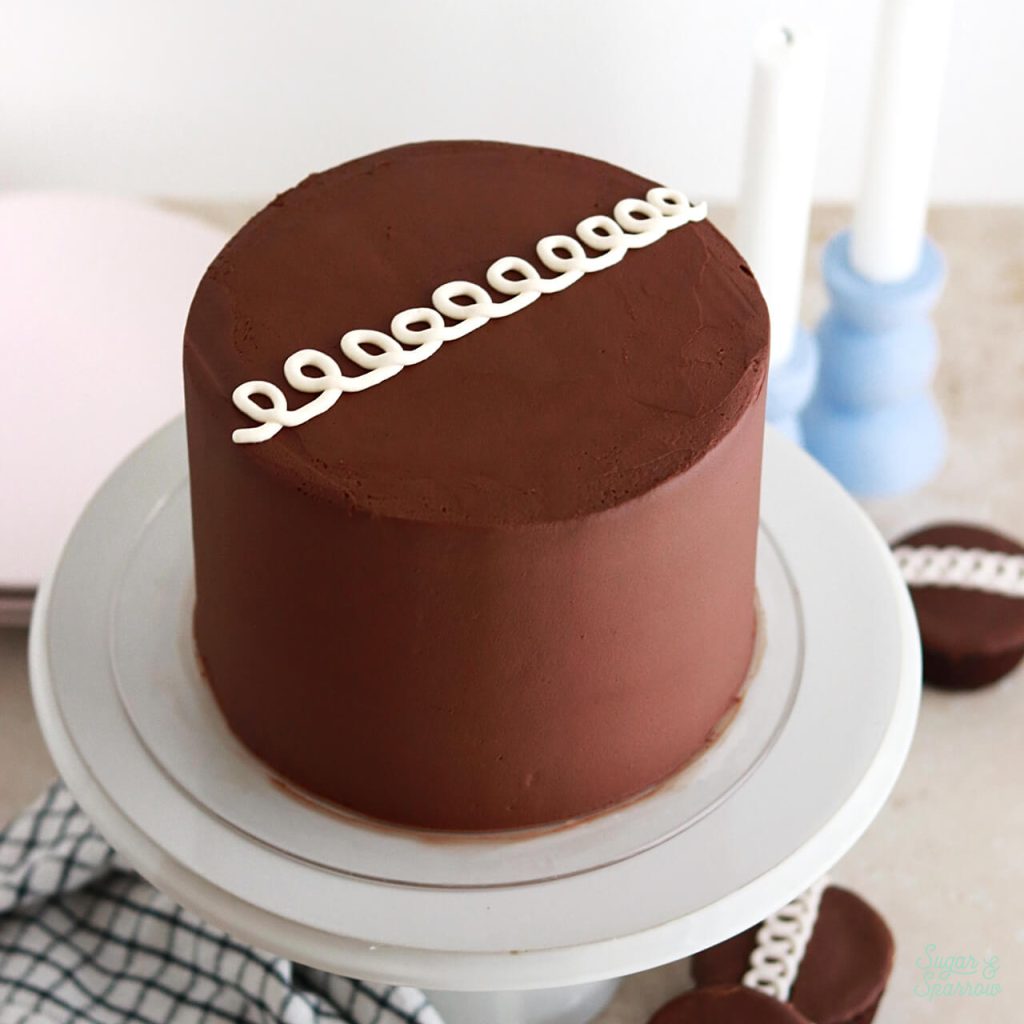
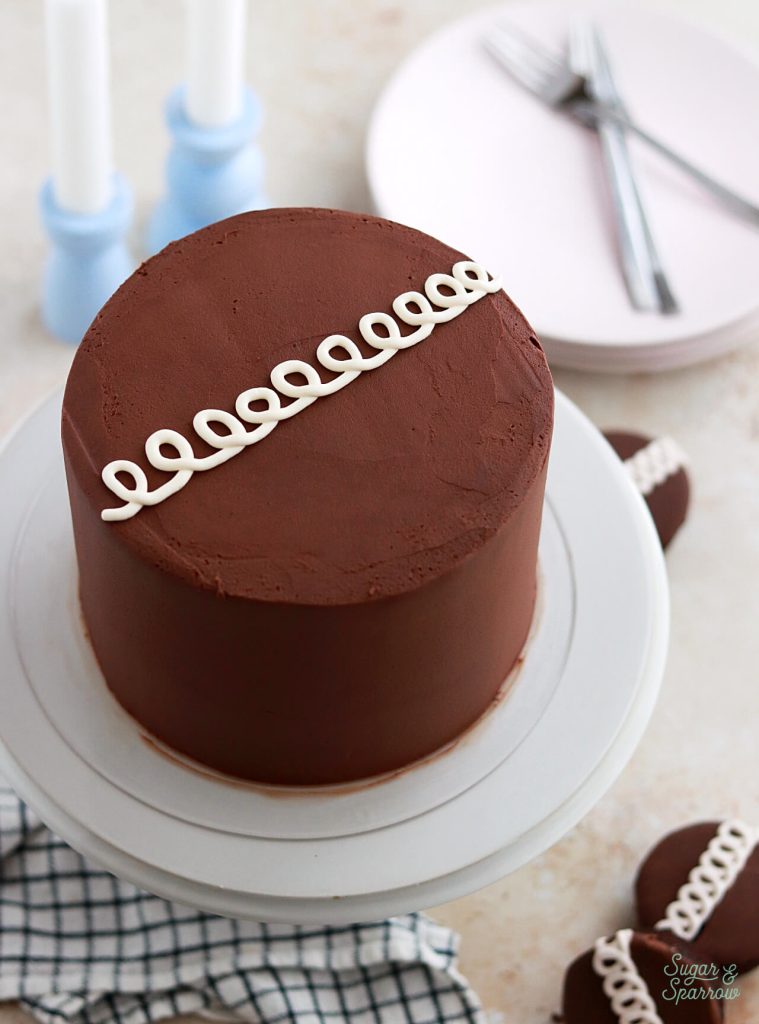
To decorate, I frosted this Hostess Cupcake Layer Cake with an extra smooth layer of whipped chocolate ganache frosting. This was pretty quick to accomplish because the ganache consistency is so easy to work with. When I had the perfect smooth ganache finish, I added some leftover marshmallow filling into a piping bag fitted with Wilton Tip 3 and piped the signature swirl design that you find on every Hostess Cupcake. Simple as that! And so beautifully nostalgic.
Hostess Cupcake Layer Cake
Ingredients
Chocolate Cake
- 2 Cups (265g) all purpose flour
- 1 2/3 Cups (340g) granulated sugar
- 2/3 Cup (60g) natural unsweetened cocoa powder
- 2 tsp baking soda
- 1 tsp baking powder
- 1/2 tsp salt
- 1/2 Cup (120ml) vegetable oil
- 2 large eggs, room temperature
- 1 1/2 tsp pure vanilla extract
- 1 Cup (240ml) buttermilk*, room temperature see notes for DIY recipe
- 1 Cup (240ml) hot coffee or hot water
Whipped Chocolate Ganache Frosting
- 2 Cups (16oz, 370g) semi-sweet chocolate chips
- 2 Cups (16oz, 480ml) heavy whipping cream
Marshmallow Cream Filling
- 1/2 Cup (113g) unsalted butter, room temperature
- 1 Cup (105g) powdered sugar
- 7 Oz marshmallow fluff
- 1 tsp pure vanilla extract
Instructions
Make the Chocolate Cake
- Preheat the oven to 350ºF and prepare three 6-inch or two 8-inch cake pans by spraying the sides with cooking spray and fitting the bottoms with a parchment paper circle.
- Place all of the dry ingredients into the bowl of a stand mixer and stir on low for 30 seconds to fully combine them. Add the vegetable oil, eggs, vanilla, and buttermilk and mix on low until just combined. With the mixer still on low, add the hot coffee (or hot water) in a slow stream. Continue mixing on low until fully combined, about 1 minute. The batter will be thin.
- Pour the batter into the prepared cake pans and bake for 32-36 minutes, until a wooden toothpick inserted comes out clean. Cool completely before frosting.
Make the Whipped Chocolate Ganache
- Place the chocolate chips into a heat resistant bowl (glass or metal) and set aside. In a saucepan over medium-high heat, warm the heavy whipping cream until it just starts to simmer. I always look for small bubbles forming around the edge and a soft simmer starting in the middle. When it's reached this point, pour the cream into your bowl of chocolate, cover it with a plate, and let it sit for 2 minutes.
- Whisk the chocolate and heavy cream mixture together until it’s uniform in consistency and there are no bits of chocolate left on your whisk. Cover the surface of the ganache with a piece of plastic wrap and refrigerate until the ganache is room temperature. This can take between 1-2 hours depending on how deep your bowl of ganache is (the shallower the container the quicker it will set). In the meantime, you can move on to making the marshmallow cream filling if you'd like.
- When the ganache ready to whip it will be about the consistency of smooth peanut butter. Use a stand mixer with the whisk attachment or a hand mixer, whip the ganache on medium-high speed just until it lightens in color and maintains a nice peak (similar to the consistency of buttercream frosting), about 2-3 minutes**.
Make the Marshmallow Cream Filling
- In the bowl of a stand mixer with the paddle attachment or using a hand mixer, whip the butter on high speed until smooth and creamy, about 5 minutes. Turn the mixer to low speed and add the powdered sugar. Mix until fully combined, about 2 minutes.
- Add the marshmallow fluff and vanilla. Continue to mix on low speed until combined and uniform, 1-2 minutes.
Assembly
- Once the chocolate cake layers have cooled completely, level and torte each layer to your desired height. Reserve about 2 Tablespoons of marshmallow cream filling (to pipe the top detail) and set aside. Add about 1 Cup of whipped chocolate ganache into a piping bag and snip off about 1/2 inch opening.
- Place the first layer on a turntable and pipe a circle of whipped chocolate ganache around the edge of the cake layer. Fill in the center with half of the marshmallow cream filling. Here's a detailed tutorial on this filling method in case this is your first time working with a soft filling.
- Place the next cake layer on top and repeat the process of piping the ganache circle and filling in the center with the rest of the marshmallow cream filling. Place the final layer on top, upside down so that the bottom of the cake layer is the top of the cake. Crumb coat the cake with whipped chocolate ganache and place it in the refrigerator for at least 20 minutes to let everything set up.
- Use an icing smoother to create a smooth buttercream finish with the rest of the chocolate ganache frosting***, then place the cake into the refrigerator for about 10 minutes to let the frosting set. Add the reserved marshmallow cream filling into a piping bag fitted with Wilton Tip 3. Starting at one edge of the cake, pipe a continuous series of overlapping loops directly across the top of the cake, ending on the opposite edge.
Notes
- The chocolate cake can be made ahead and stored at room temperature, covered tightly in plastic wrap, for up to two days. Alternatively, you can cover with plastic wrap and store in the freezer for up to two months before thawing to room temperature.
- You can make the chocolate ganache, cover with plastic wrap, and store in the refrigerator for up to two weeks before bringing it back to room temperature and whipping it into frosting.
- The already whipped ganache frosting can be stored in an airtight container in the refrigerator for up to two weeks. When you’re ready to use it, bring it back to room temperature and re-whip until it reaches smooth frosting consistency.
- The marshmallow cream filling can be made ahead and stored in an airtight container in the refrigerator for up to two weeks. When you’re ready to use it, bring it back to room temperature and re-mix with your mixer on low speed until smooth and creamy.
Did you make this Hostess Cupcake Layer Cake recipe? Let me know what you think in the comments below, or by tagging me on Instagram! I love to see your creations and hear your feedback.

I made this cake for a party, and it was amazing. I want to make it for a two-tiered cake (with regular vanilla frosting). Will the cake be too heavy? How would I modify the recipe to fill three 10-inch pans and two 8-inch pans?
Hi Rachel! This recipe will definitely work as a tiered cake as long as you dowel the bottom tier so that the top tier is supported. The recipe will make enough for two 8-inch pans as-is, and then I would double it for the triple layer 10-inch cake. Hope that helps!
Hi there I only have 9in pans, how would I amend the recipe?
Hi Lisa! You can make this recipe in two 9-inch pans as-is. The layers will be about 1.25 inches tall instead of 1.75 inches tall.
Hi,
I watched the videos on how to fill the cake, and you mention that ganache is considered a softer filling. Inthis recipe you say to pipe one circle of ganache around and then put the filling of the fluff mixture inside . Is it safe to assume in this case the ganache will act as the barrier so the fluff mixture doesn’t ooze?
Thank you! Everything is cooling now before I assemble!
Hi there! By “soft filling” I was referring to ganache that is more liquid in consistency (like the ratio you’d use for a drip cake). This whipped ganache is more stable for filling and frosting a cake.
This is a great recipe and was so fun to make! Tasty yet easy, made it for my moms birthday 🙂
Yay, Anna! So happy it was a hit!
Hi. Does the finished cake need to be refrigerated?
Hi Nita! You can choose to store the cake at room temperature for up to 5 days. I like to store mine in the refrigerator just to preserve the decoration but I always serve the cake at room temperature. Hope that helps!
Hi! I absolutely love your tutorials and recipes! If I want to do the hostess cake in a 8-in 3-layer, how do I need to modify the ingredient quantities?
Hi Laura! Thanks for the kind words about my recipes, I’m so glad you’re enjoying them! To make three 8 inch layers, you’ll need to make 1.5x this recipe (multiply each ingredient by 1.5). Hope that helps!
Thank you! And for a 3-layer 9-in would I double it?
I would make 1.5x the recipe for 3 9-inch layers (multiply each ingredient by 1.5). Hope that helps!