
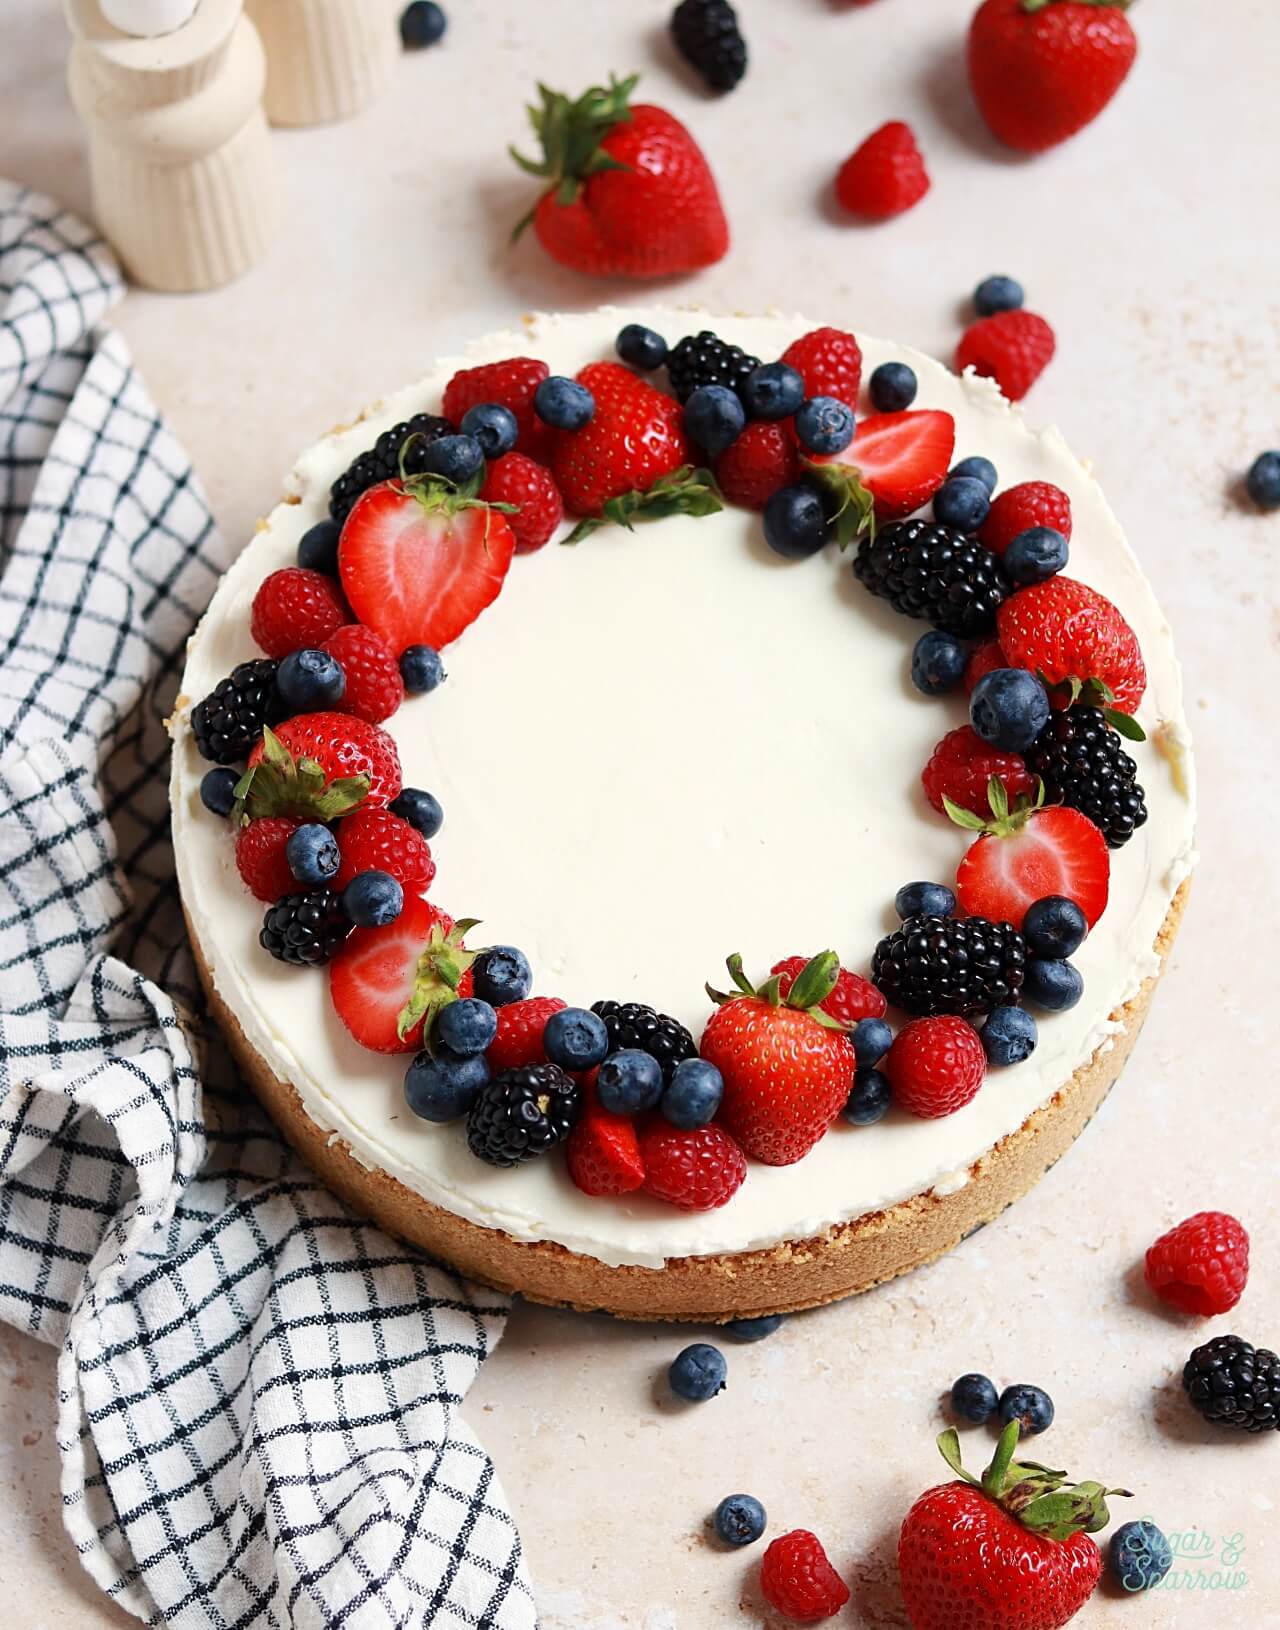
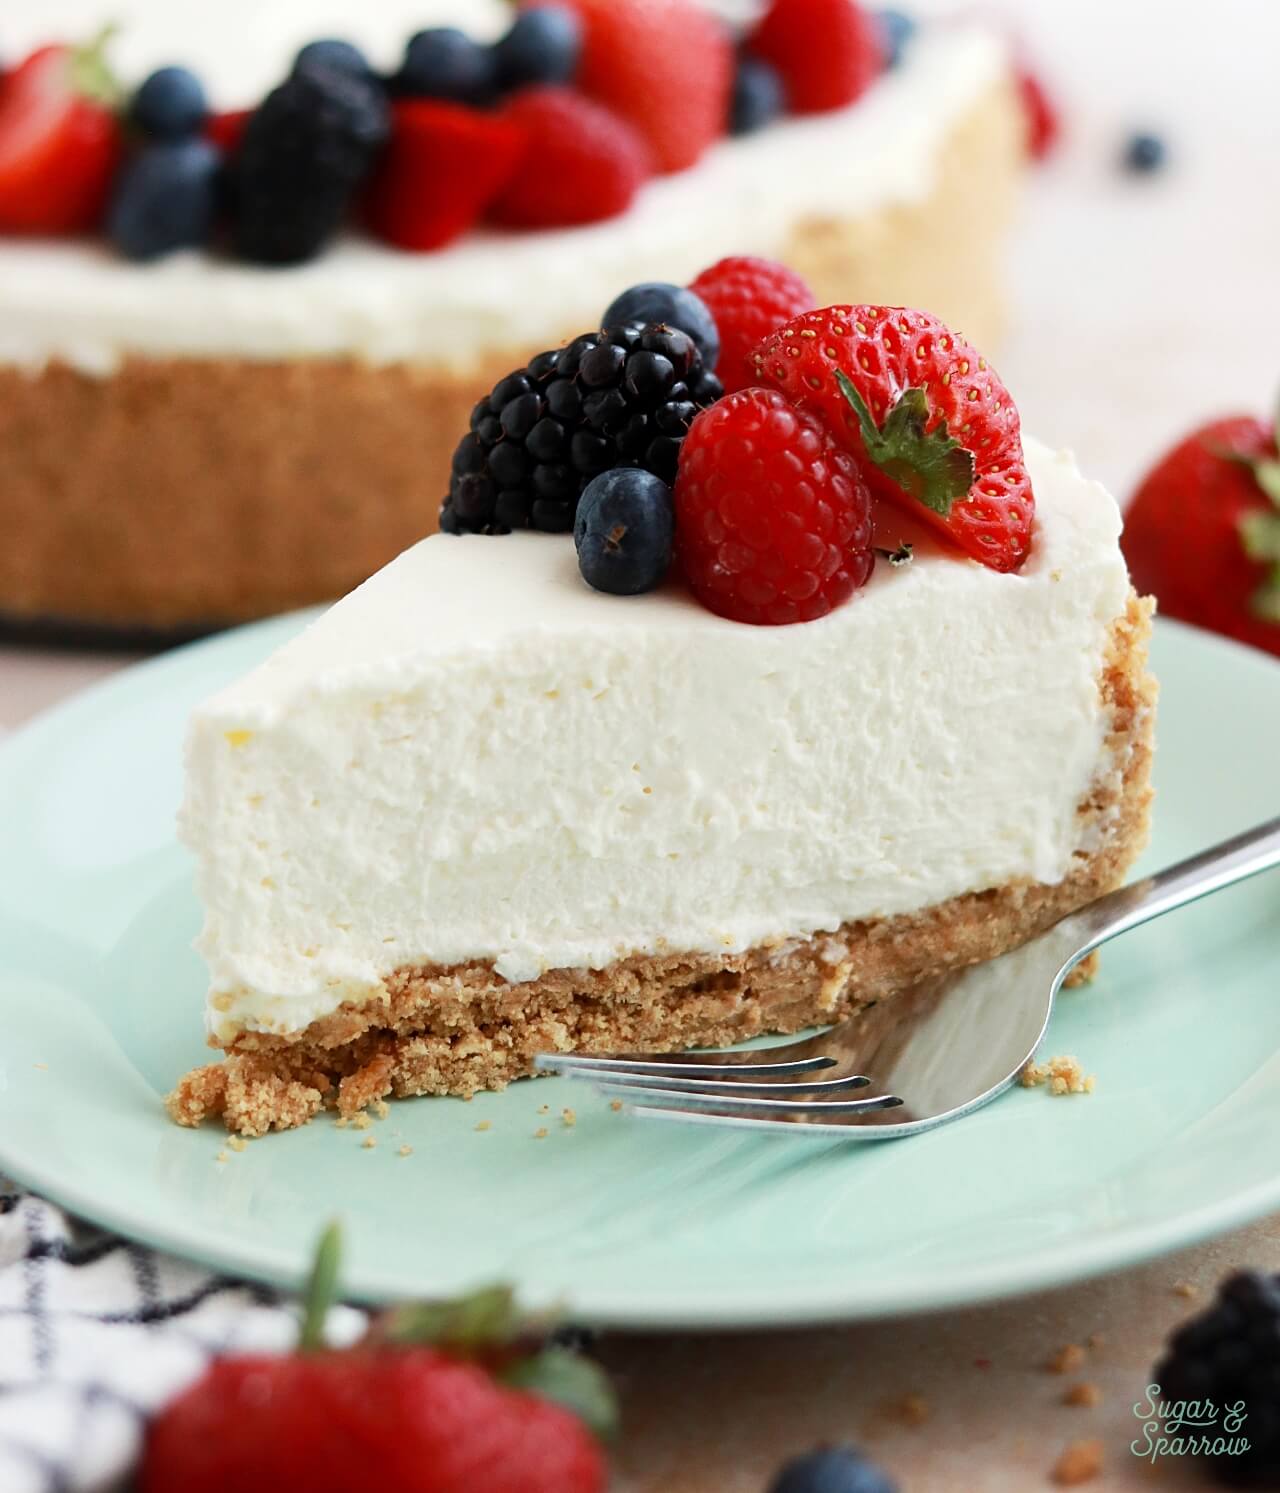
If you’re looking for an easy and delicious dessert that doesn’t require turning on the oven, this no-bake cheesecake is the perfect recipe! It’s a buttery graham cracker crust topped with a velvety smooth, creamy filling that has all the traditional flavor of cheesecake. In other words, it’s a cheesecake without the commitment of a cheesecake. This no-bake cheesecake recipe is so easy to make ahead of time, a great base for other cheesecake flavors or toppings, and perfect for serving at any gathering, any time of year.
How to Make a No-Bake Cheesecake
While traditional cheesecake requires baking the filling and the graham cracker crust, this recipe doesn’t involve turning on the oven at all. It starts with an easy graham cracker crust recipe that you press into a springform pan, then whipping up a cheesecake filling that sets up beautifully in the refrigerator. Here’s how it works:
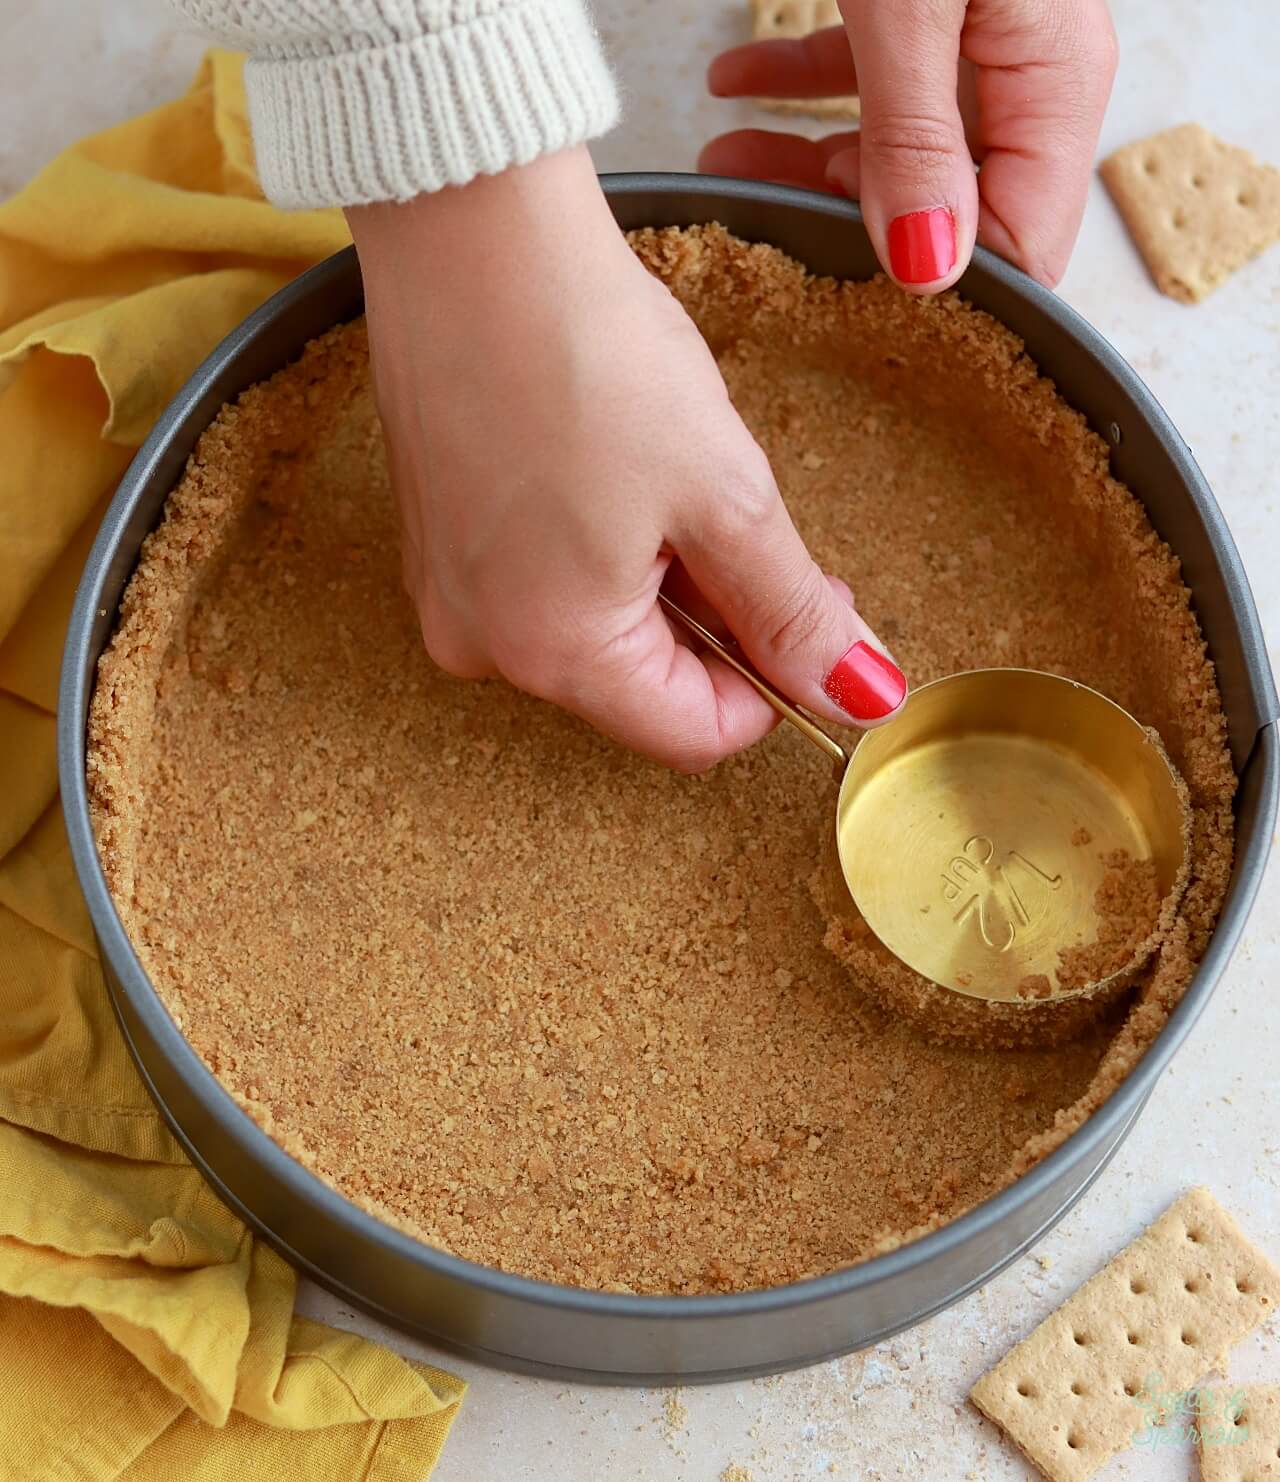
First, you’ll make a graham cracker crust with a few simple ingredients and press it into a 9-inch springform pan or a 10-inch springform pan. You’ll want to really pack it down and up the sides of the pan so that it sticks together really well when you slice the cheesecake. Then, place the graham cracker crust lined pan into the freezer while you make the cheesecake filling.
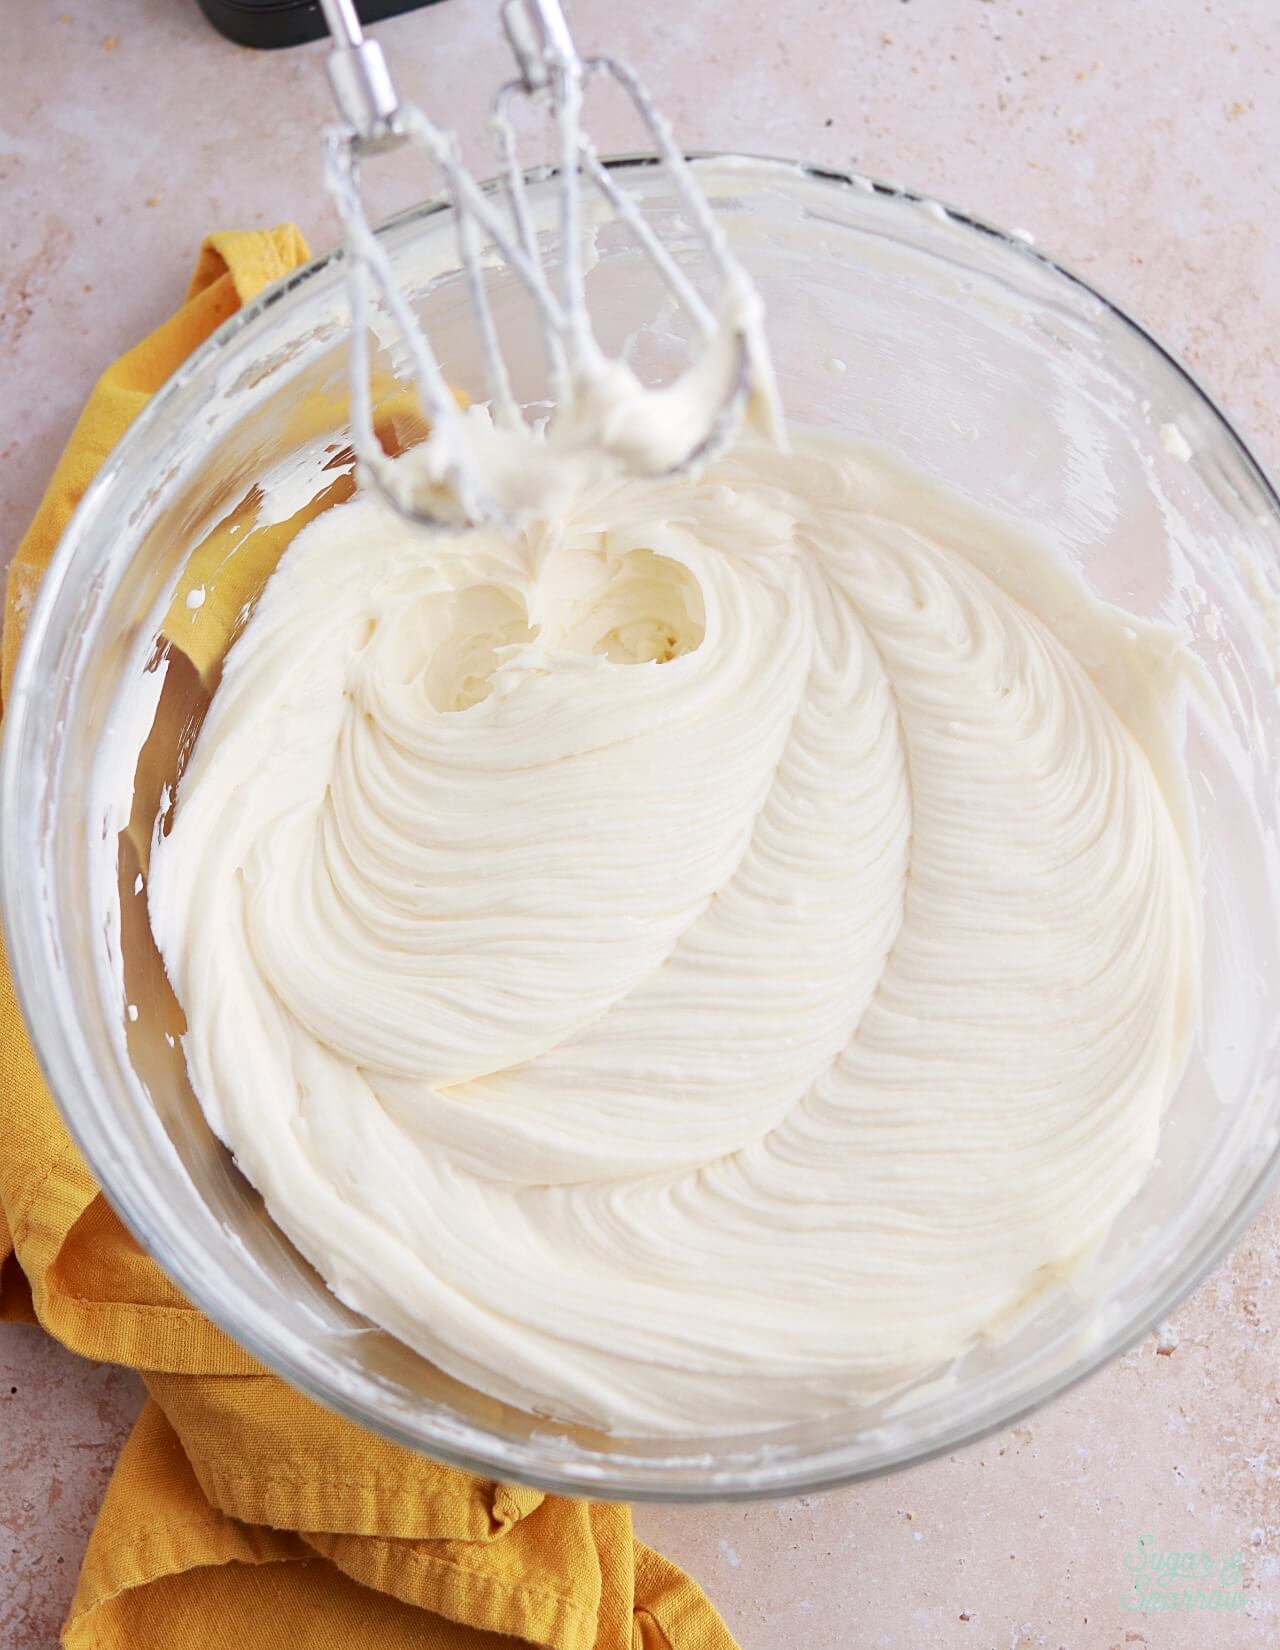
For the filling, you’ll mix together some simple ingredients that will make this cheesecake taste like a cheesecake. I’ll list all of the ingredients below, but the most notable here are full-fat brick-style cream cheese, sour cream, lemon juice, and vanilla extract. Together, these create the ideal cheesecake flavor.
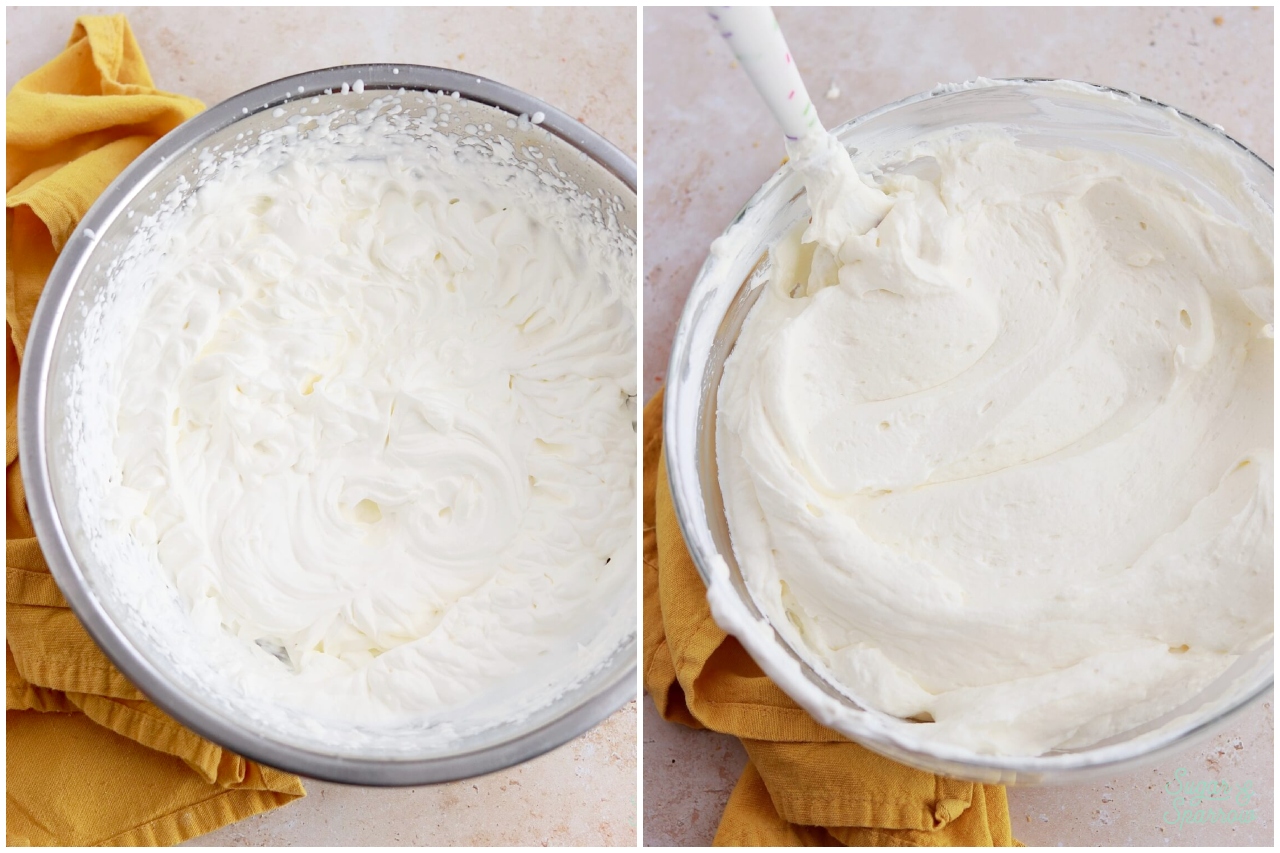
The second part of the filling is heavy whipping cream. You will whip it into stiff peaks, then fold it into the cream cheese mixture.
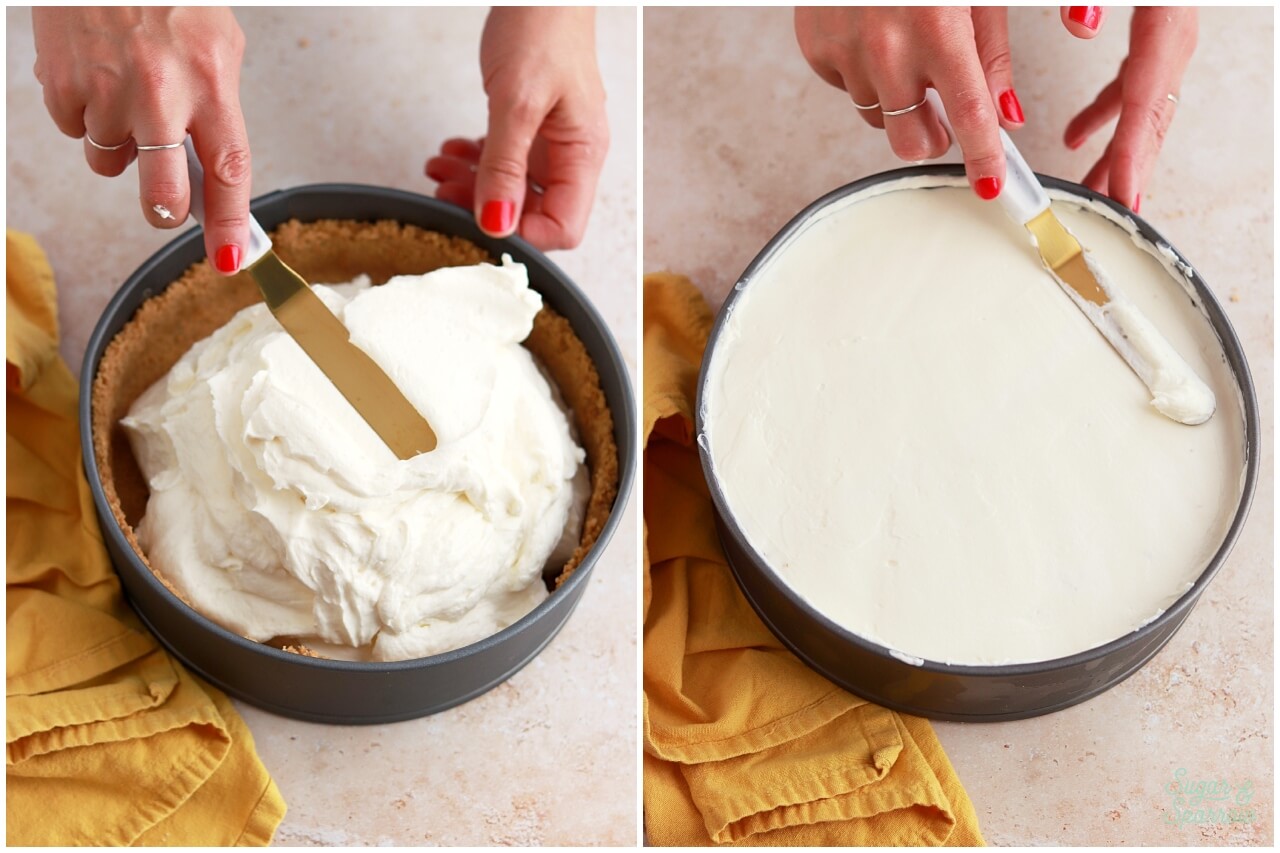
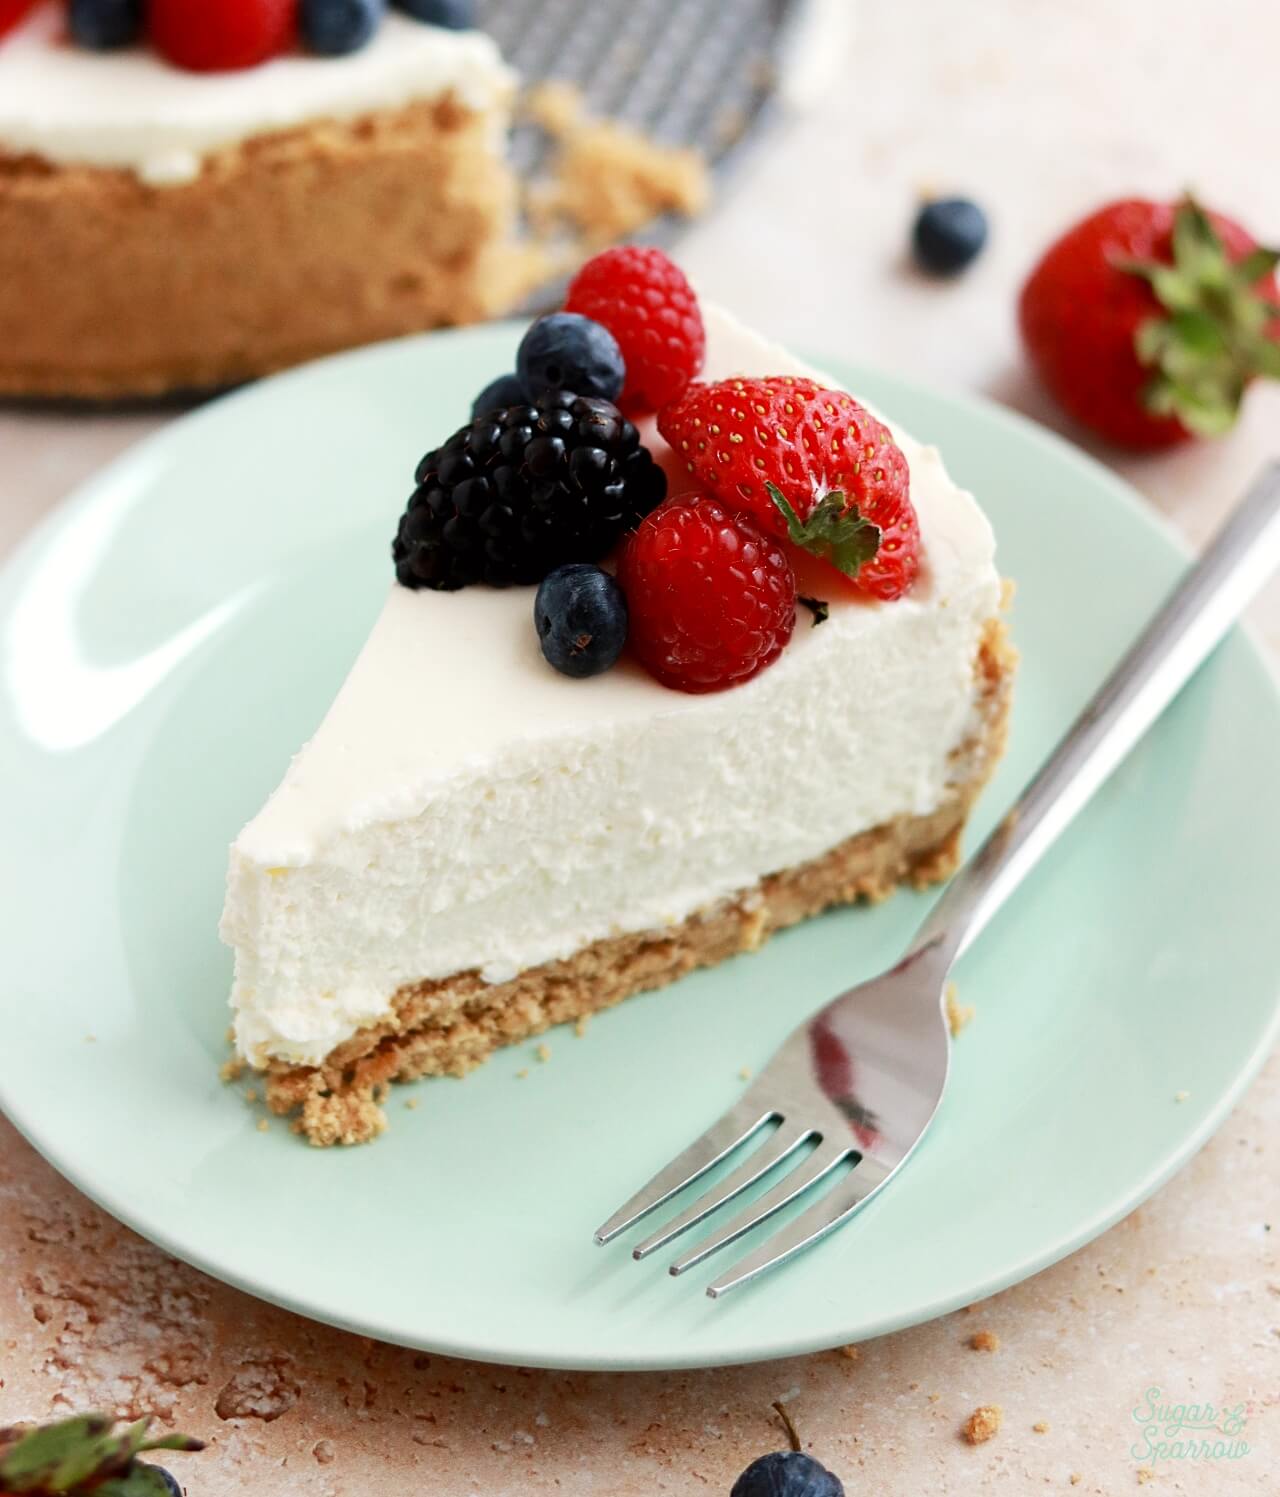
Now that the filling is ready, add it on top of the graham cracker crust, smooth it down with an angled spatula, then refrigerate for at least 8 hours (overnight is best).
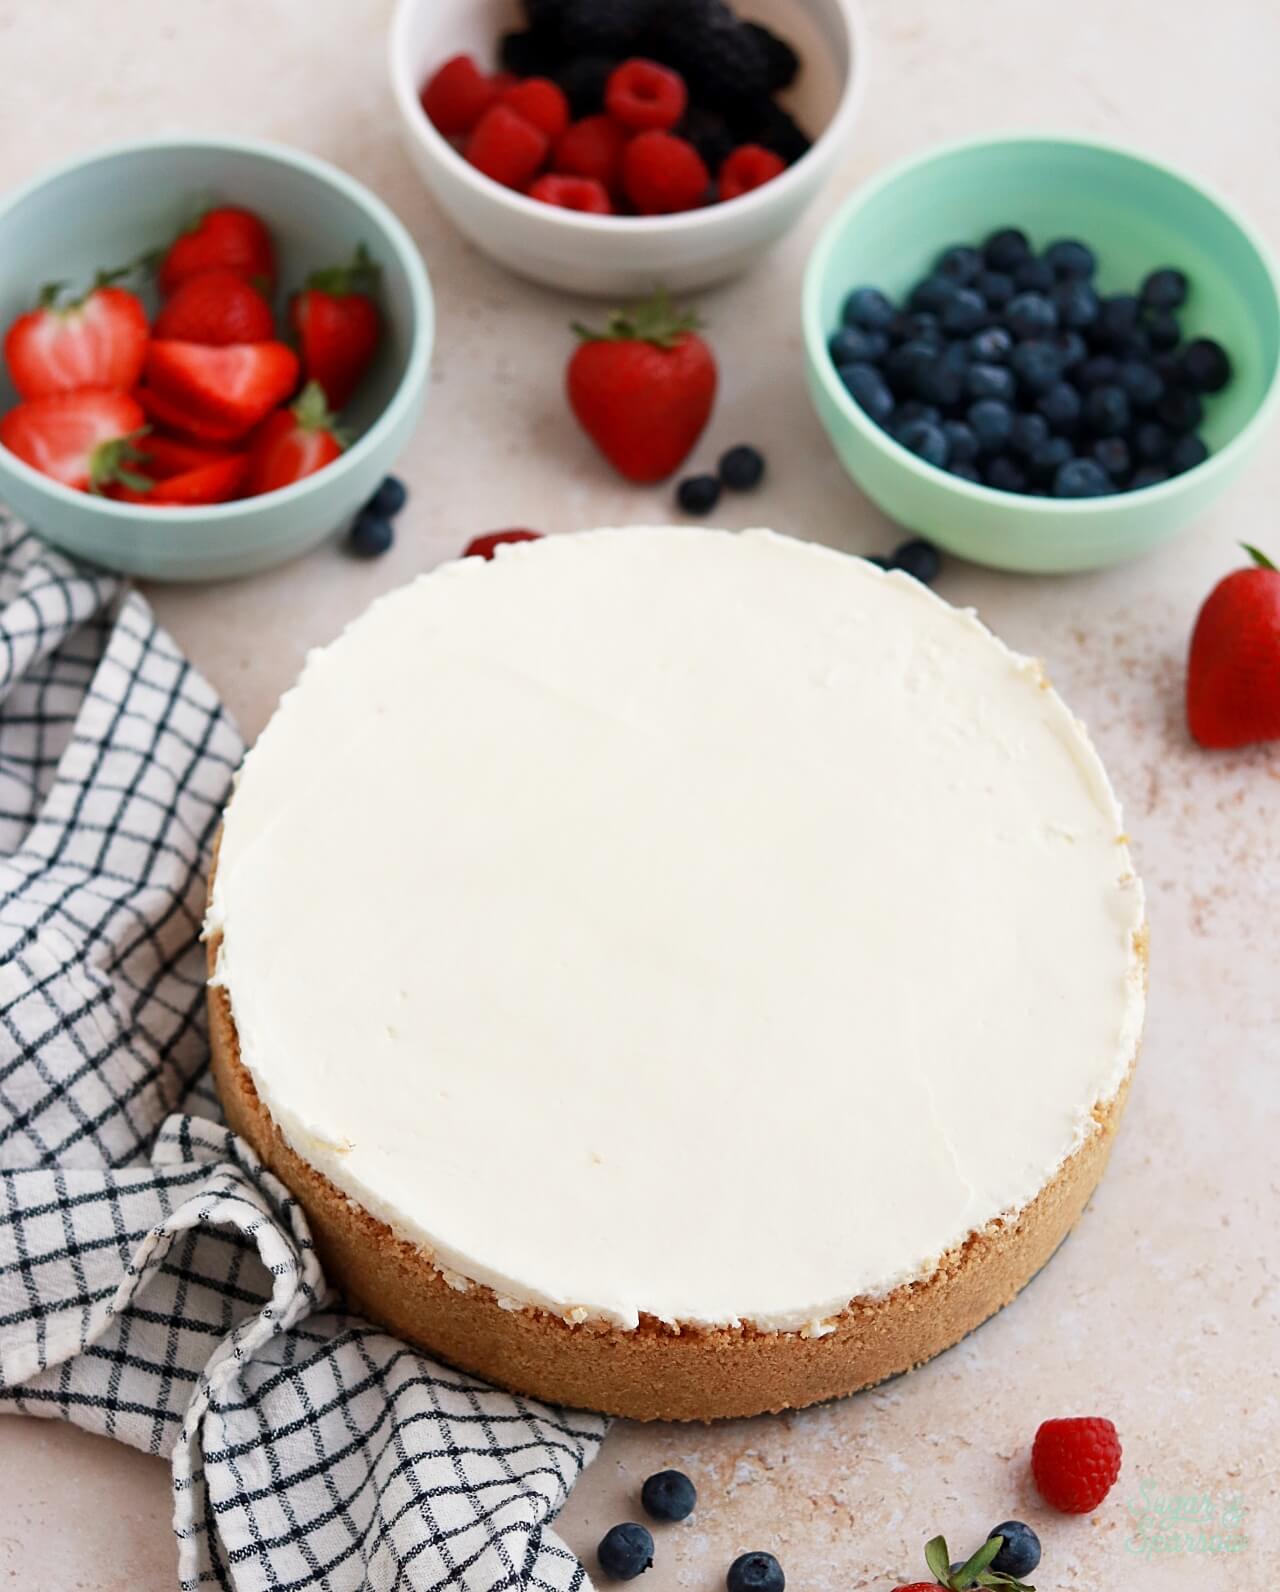
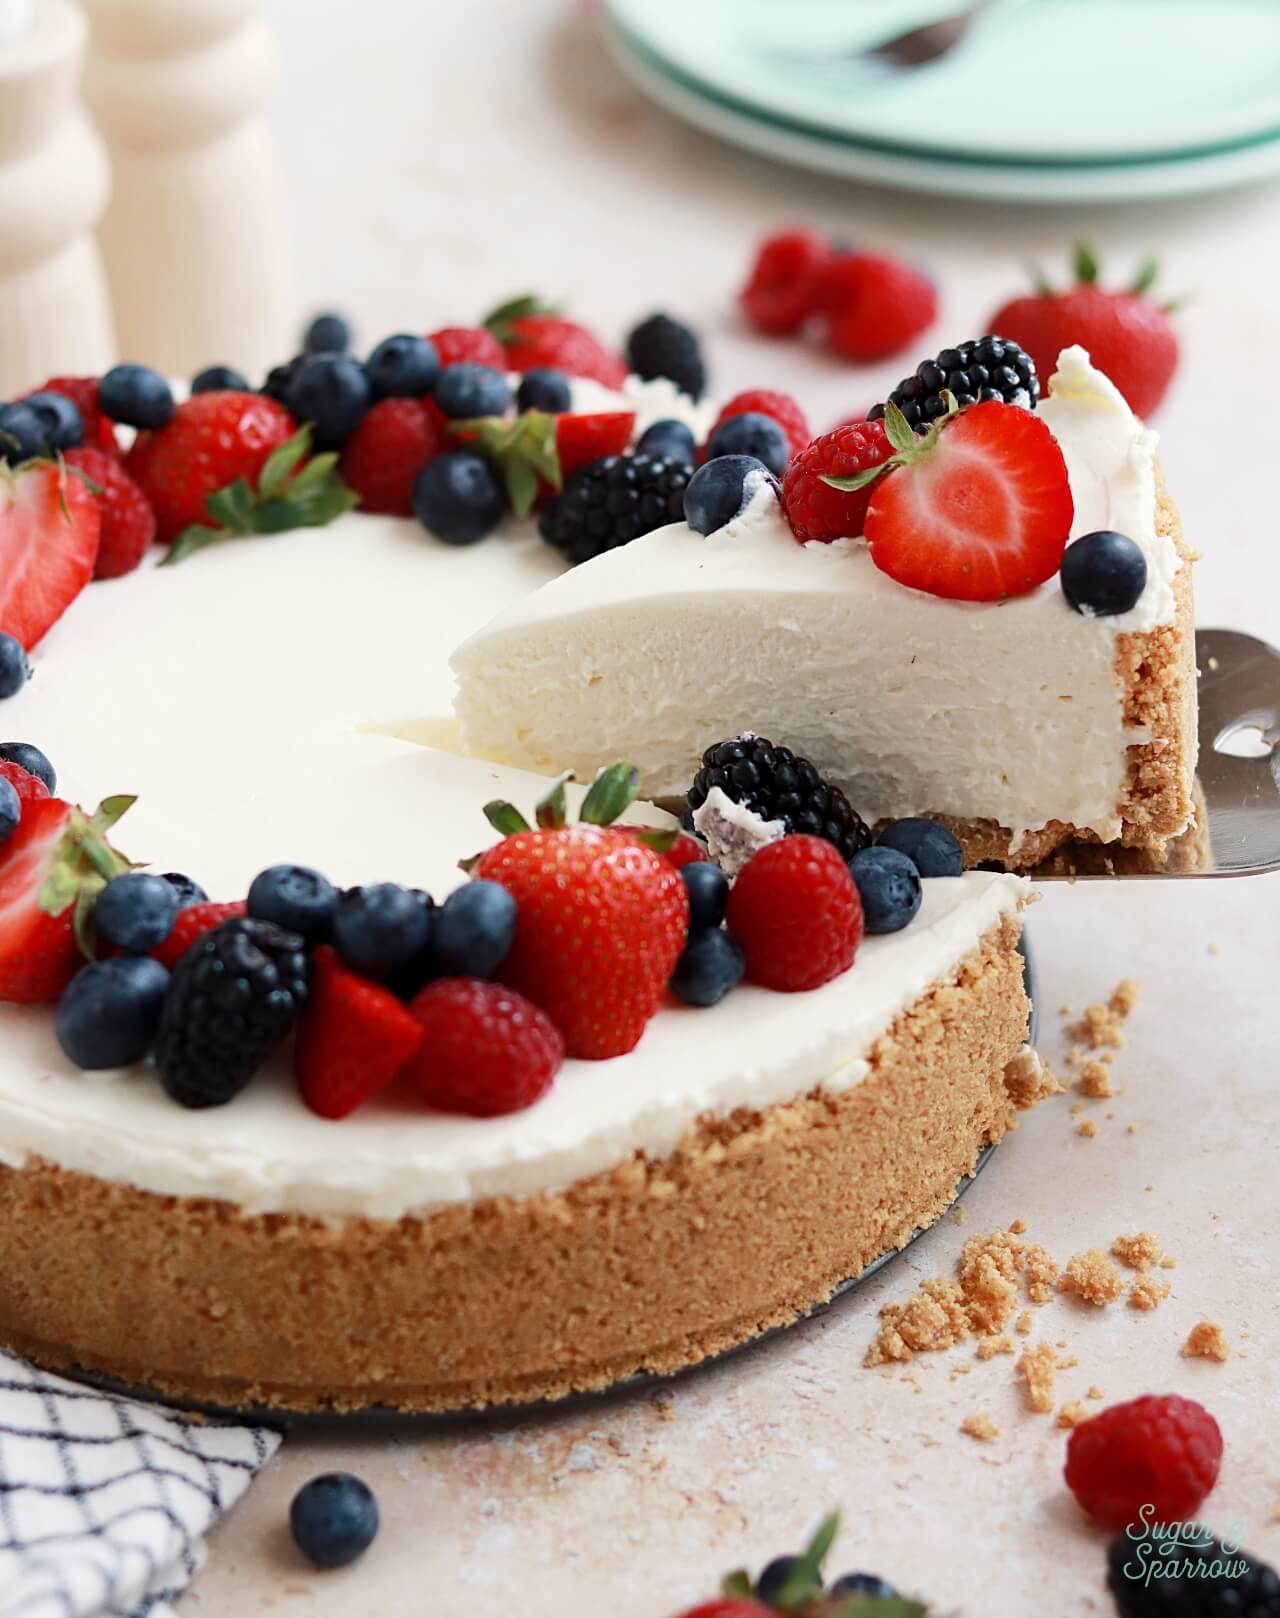
Once the cheesecake filling is set, remove the springform collar from your pan and you’ll have the most beautiful no-bake cheesecake to decorate and serve.
No-Bake Cheesecake Ingredients
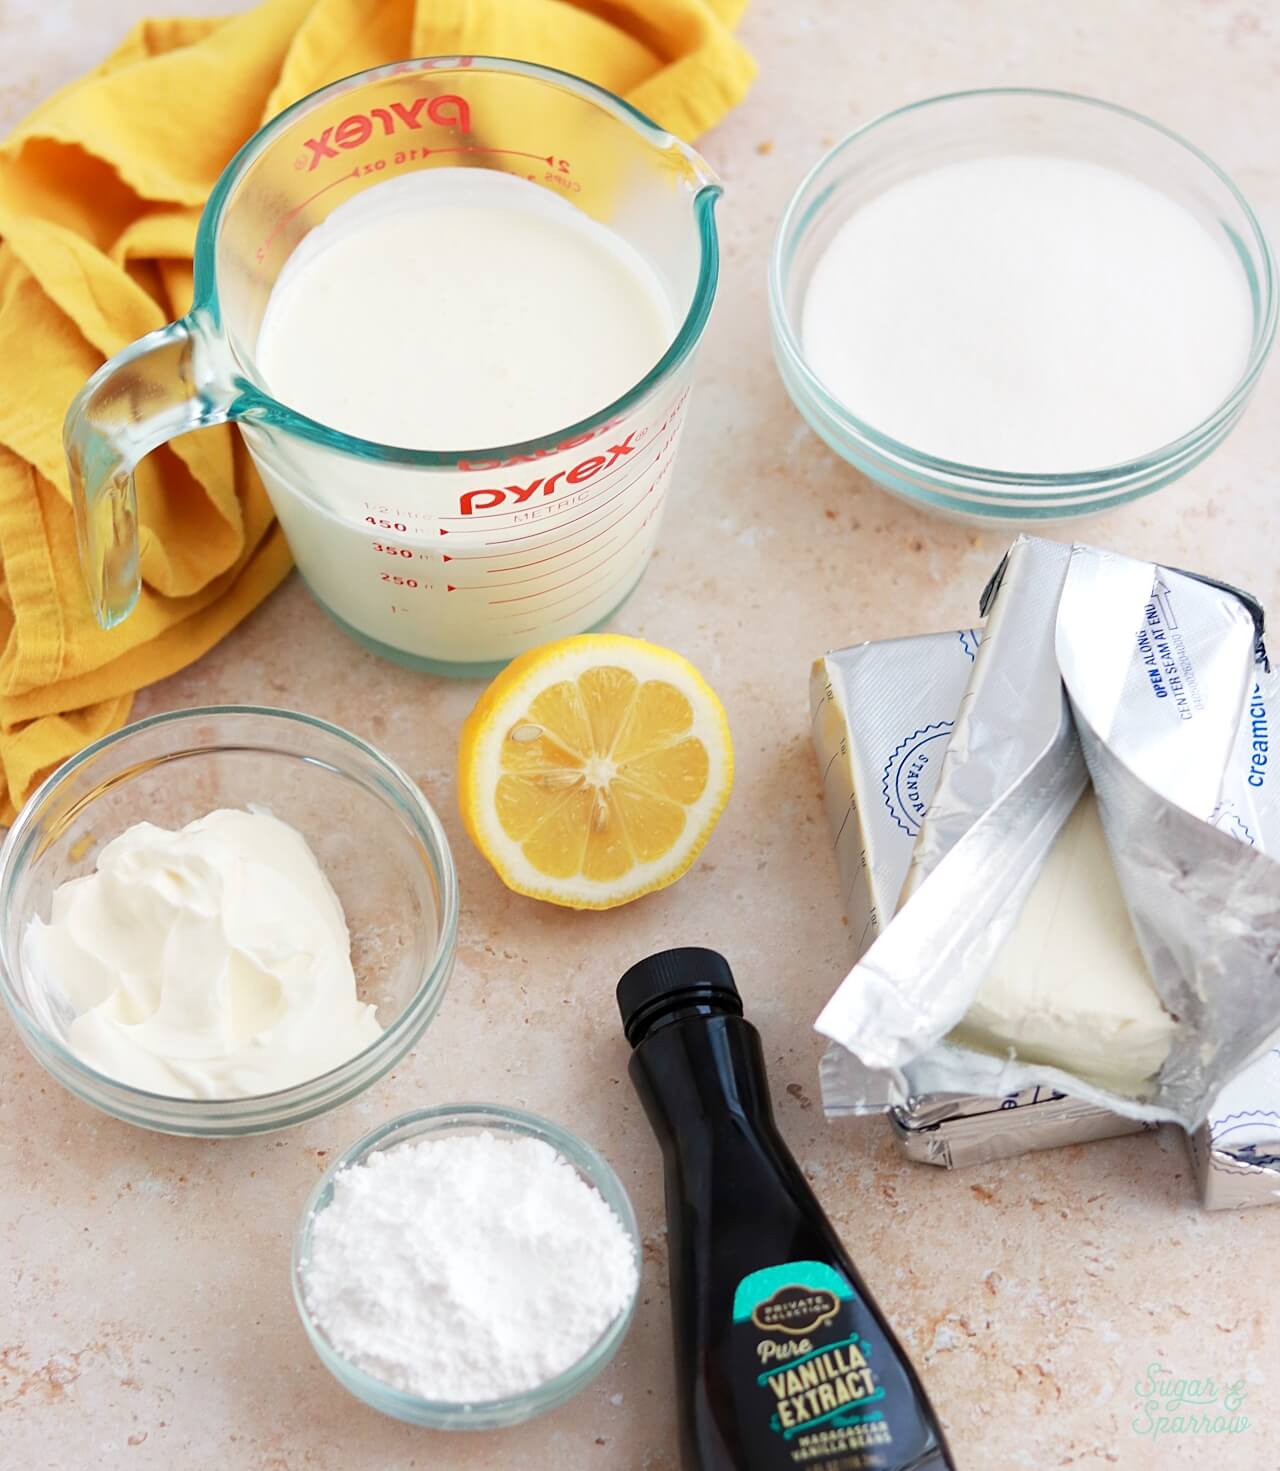
In order for this no-bake cheesecake to set up properly, there are some key ingredients to make the magic happen:
- Full-Fat Brick-Style Cream Cheese. This is where most of the cheesecake flavor comes from, along with the base structure for the filling. It’s really important to use full-fat brick-style cream cheese here. The spreadable kind in tubs and the low-fat versions contain too much liquid content and preservatives to set up properly. In other words, you’ll end up with cheesecake soup unless you use the full-fat brick-style kind.
- Granulated Sugar. For sweetening the filling.
- Powdered Sugar. A little bit of powdered sugar helps thicken the filling just the right amount while keeping the sweetness level just right.
- Sour Cream. Just like in a New York style cheesecake, sour cream adds velvety texture and creaminess to the cheesecake filling. It is also partially responsible for the signature cheesecake tanginess.
- Lemon Juice. A hint of lemon juice rounds out the tanginess for the flavor of this cheesecake. The final filling won’t taste like lemon, but the fresh lemon juice certainly adds something special.
- Pure Vanilla Extract. For rounding out the overall flavor of this cheesecake.
- Heavy Whipping Cream. For adding the majority of the structure to this cheesecake filling, heavy whipping cream is whipped to stiff peaks and then folded into the cheesecake mixture.
No-Bake Cheesecake Tips for Success
This no-bake cheesecake recipe is special. It’s one of those recipes you can make days ahead of an event and still wow all of your guests when it comes to serving time. In order to really knock this recipe out of the park, here are a few things to keep in mind:
- Firmly pack the graham cracker crust. Use a measuring cup or jar to really press that graham cracker crust down on the bottom and up the sides of the pan. The more firmly you pack it, the easier it will stay together when you slice the cheesecake.
- Use full-fat brick-style cream cheese. This is crucial for the filling to set properly. I know I sound like a broken record but the spreadable cream cheese and low-fat versions contain too much water content for the filling to properly set. I don’t want you to end up with soupy cheesecake, y’all.
- Whip the cream to stiff peaks. This is another critical step for the filling to set into that velvety smooth-yet-structured texture. You’ll want to whip the heavy whipping cream with the whisk attachment on your stand mixer or with a large bowl and hand mixer until you can dip a spatula in and the peaks stand straight up without drooping. It takes about 4 minutes for me.
- Don’t overmix the filling. Be sure to fold the whipped cream into the cheesecake mixture with a rubber spatula. You’ll do this gently until there are no more streaks. If you spend too long on this step you may risk the whipped cream deflating.
- Refrigerate for at least 8 hours. Any shorter and your filling won’t be properly set. If you want perfect slices with just the right amount of structure, refrigerate this no-bake cheesecake for at least 8 hours and up to two days. I like to make mine one day ahead for ultimate stress reduction.
How to Decorate a No-Bake Cheesecake with Fresh Berries
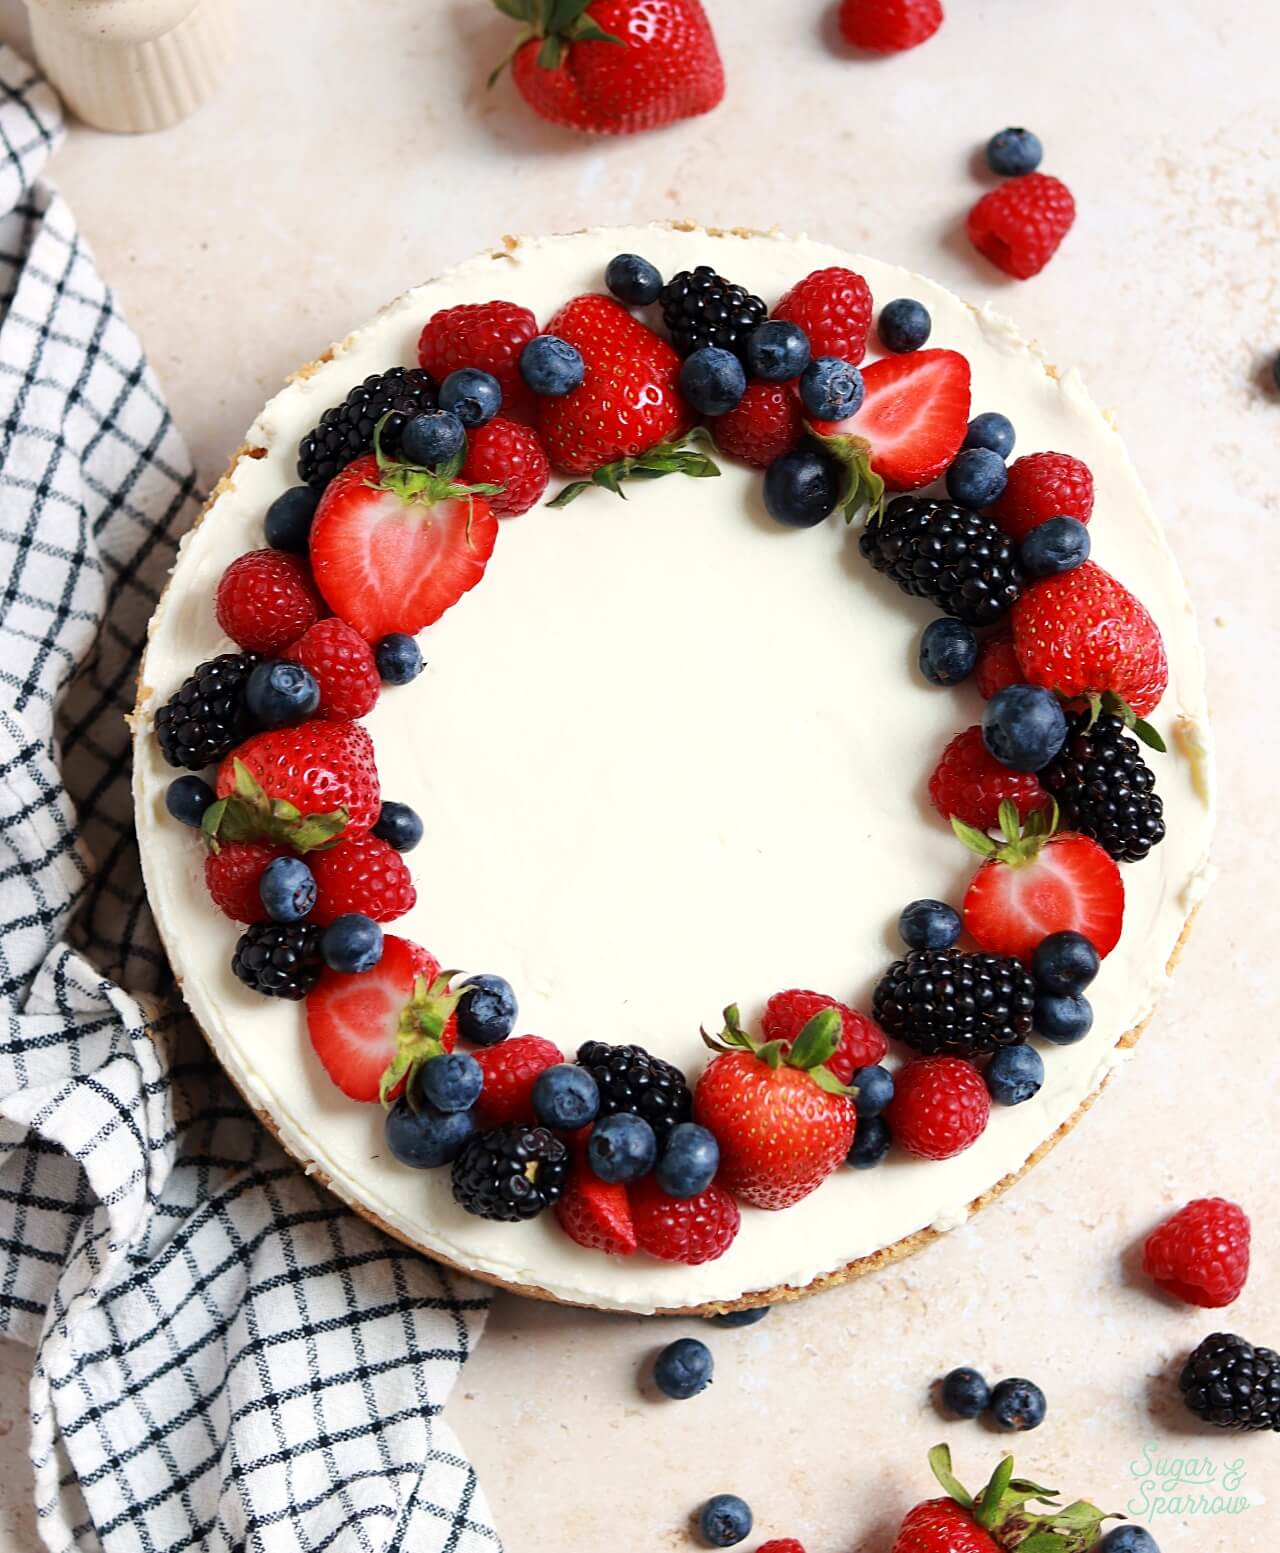
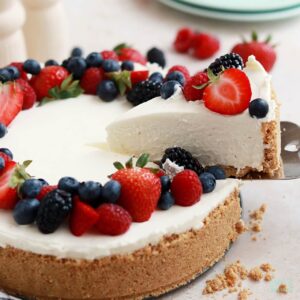
I topped this cheesecake with a wreath of fresh Summer berries, which was so easy and very eye-catching. I halved some strawberries and placed them along the edge of the cheesecake along with blueberries, blackberries, and raspberries. This looks best if you decorate the same day you serve the cheesecake and truly only takes about 5 minutes.
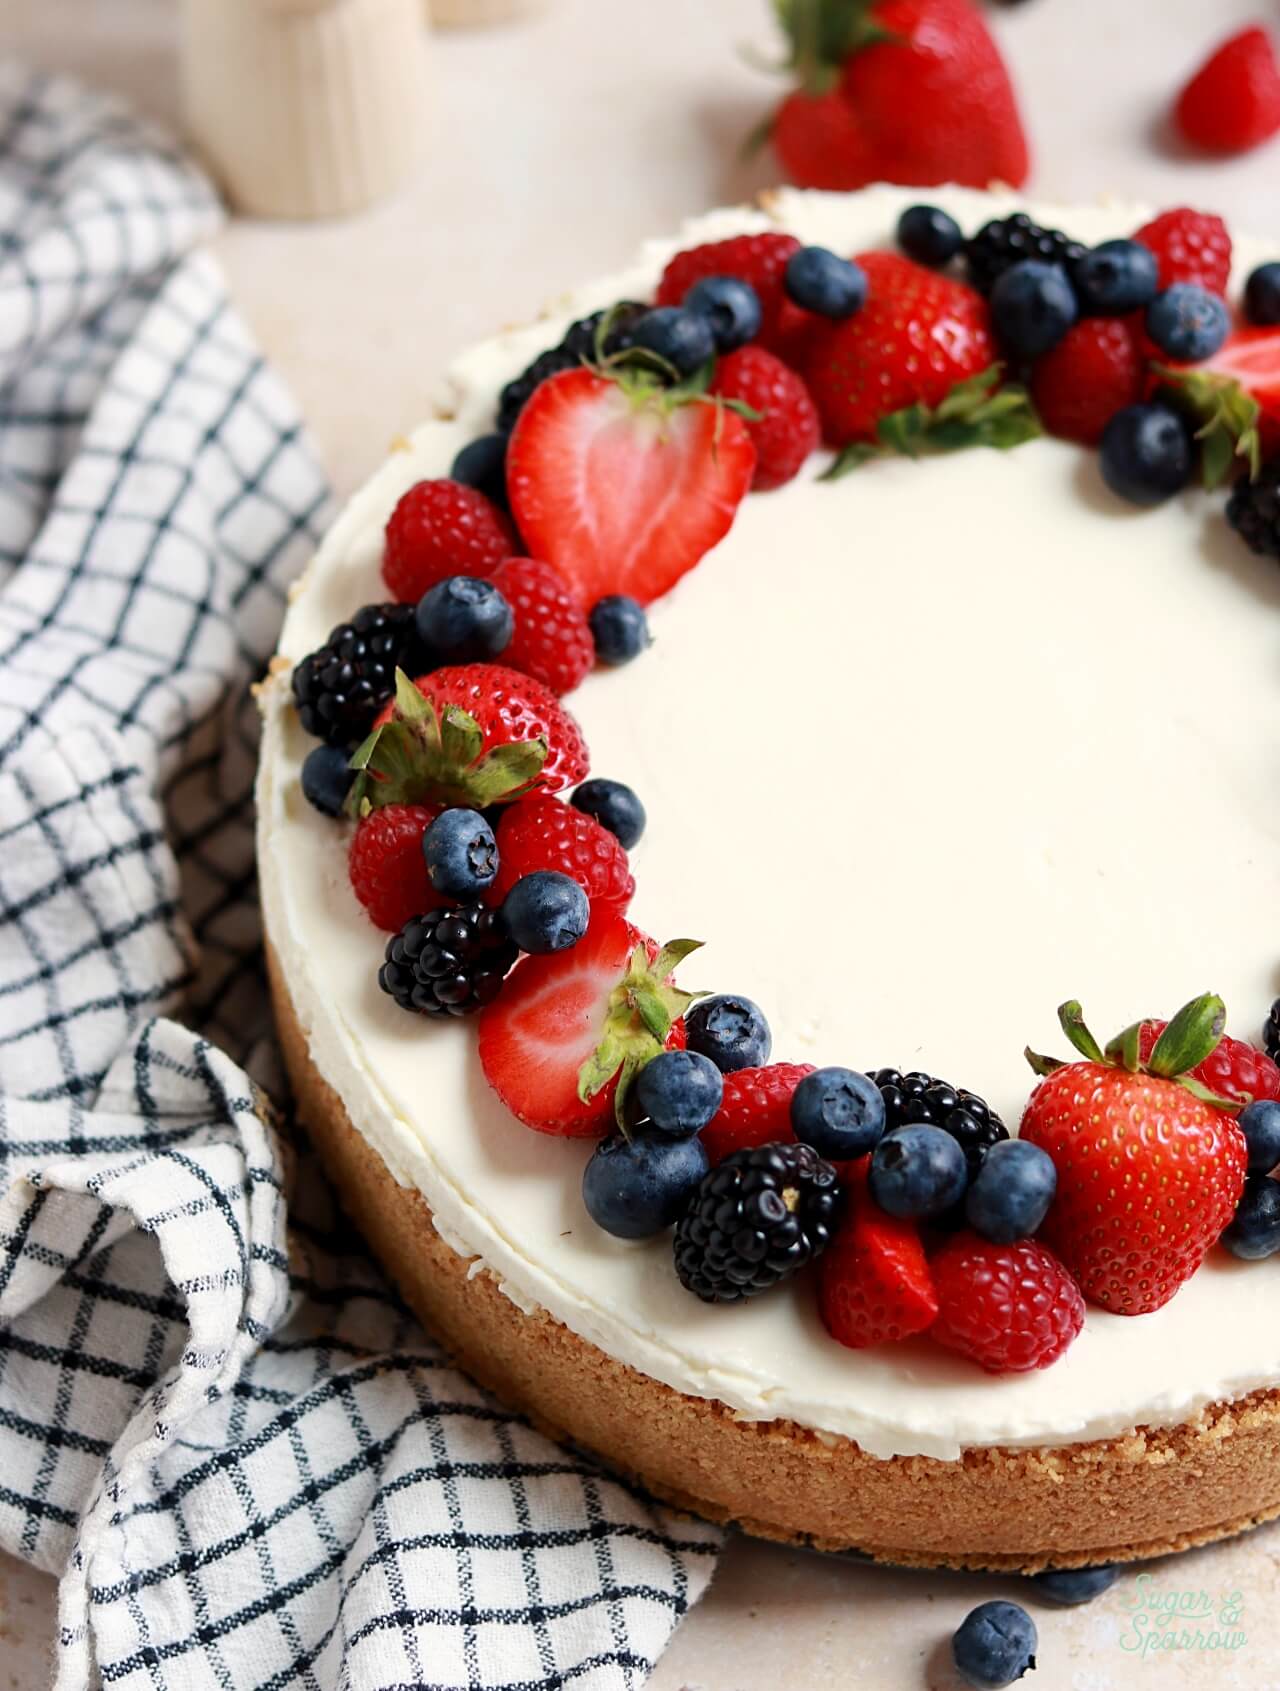
There are so many ways you could decorate this no-bake cheesecake if you’d rather use another kind of topping. Add crushed cookies, pipe some whipped cream on top, drizzle it with chocolate ganache or salted caramel, the possibilities are endless!
More No-Bake Cheesecake Flavors
I’ve used this no-bake cheesecake recipe as a base for other flavors! It’s so easy to customize. Here are some other flavors I’ve made:
- No-Bake Oreo Cheesecake
- No-Bake Mango Cheesecake
- No-Bake Eggnog Cheesecake
- No-Bake Pumpkin Cheesecake with Biscoff Cookie Crust
- No-Bake Cadbury Mini Egg Cheesecake
No-Bake Cheesecake
Equipment
Ingredients
Graham Cracker Crust
- 2 Cups (240g) graham cracker crumbs about 15 full sheets
- 1/3 Cup (67g) packed light brown sugar
- 1/2 Cup (113g) unsalted butter, melted
Cheesecake Filling
- 1 1/2 Cups (360ml) heavy whipping cream, cold
- 24 Oz (678g) full-fat brick-style cream cheese, room temperature NOT the spread
- 1/2 Cup (100g) granulated sugar
- 1/4 Cup powdered sugar
- 1/3 Cup (80g) sour cream, room temperature
- 2 tsp lemon juice
- 2 tsp pure vanilla extract
Garnish (optional)
- 1 Cup fresh summer berries
Instructions
Make the Graham Cracker Crust
- In a medium bowl, mix together the graham cracker crumbs, brown sugar, and melted butter. Pour the mixture into a 9-inch springform pan or 10-inch springform pan. Pack it down tightly to the bottom and up the sides of the pan using a glass jar or measuring cup. You’ll want to pack it as tightly as possible to prevent it from crumbling apart when you cut the cheesecake. Freeze the graham cracker crust in the pan for 10-20 minutes while you prepare the cheesecake filling.
Cheesecake Filling
- Using a hand mixer with a medium bowl or a stand mixer fitted with a whisk attachment, whip the cold heavy cream on medium-high speed until stiff peaks form, about 4–5 minutes. Set aside.
- In another large bowl (either with a hand mixer or stand mixer), beat the cream cheese and granulated sugar together on medium until creamy. Scrape down the bowl and paddle as needed. Add the powdered sugar, sour cream, lemon juice, and vanilla extract. Beat on medium-high speed until smooth and combined (no lumps), about 2–3 minutes.
- Use a rubber spatula to gently fold the whipped cream into the cheesecake filling until combined.
- Remove the graham cracker crust from the freezer and add the cheesecake filling into it. Spread the filling to the edges of the crust and smooth the top using an angled spatula, then cover it tightly with plastic wrap or aluminum foil. Refrigerate for at least 8 hours and up to 2 days. For best results, chill the cheesecake overnight. This will yield the most set filling.
Assembly
- When you’re ready to decorate the no-bake cheesecake, remove the rim from the springform pan. To create the look pictured, top with the fresh Summer berries in a wreath arrangement around the edges of the cheesecake. I used halved strawberries, blueberries, raspberries, and blackberries and placed them all by hand. The filling is slightly sticky, so this worked quite well.
Notes
- After making and freezing the graham cracker crust, it can be covered and stored in the refrigerator until you add the filling (1-2 days ahead is best for the freshest flavor).
- You can make and assemble the no-bake cheesecake up to 2 days in advance, stored in the refrigerator and covered in aluminum foil or plastic wrap. You can alternatively freeze the cheesecake for up to 3 months after it’s set in the refrigerator. Be sure to cover well if freezing. I recommend one layer of plastic wrap and one layer of aluminum foil.
Did you make this no-bake cheesecake? I want to know how it went! Let me know in the comments and feel free to tag @sugarandsparrowco on Instagram to show me a photo. I love to see what you create with my recipes!
Leave a Reply