• Cake
  • Frosting
  • YouTube
  • My Favorite Tools
  • Nav Social Icons

  • Skip to primary navigation
  • Skip to main content
  • Skip to primary sidebar
  • Skip to footer
  • Recipes
    • Cake
    • Cupcakes
    • Frosting
    • Ice Cream
    • Vegan
  • Cake Basics
  • Tutorials
  • Blog
  • About
  • Mobile Menu Widgets

    Connect

    Search

Sugar & Sparrow logo in script font

Sugar & Sparrow

Lifestyle and Cake from Portland Oregon

  • Cake Basics
  • Recipes
    • Cake
    • Cupcakes
    • Cookies & Bars
    • Filling
    • Frosting
    • Ice Cream
    • No-Bake
    • Small Batch
    • Vegan
  • Tutorials
  • Book
  • Blog
  • About

Construction Cake Tutorial

June 14, 2025 · In: Featured, Tutorials

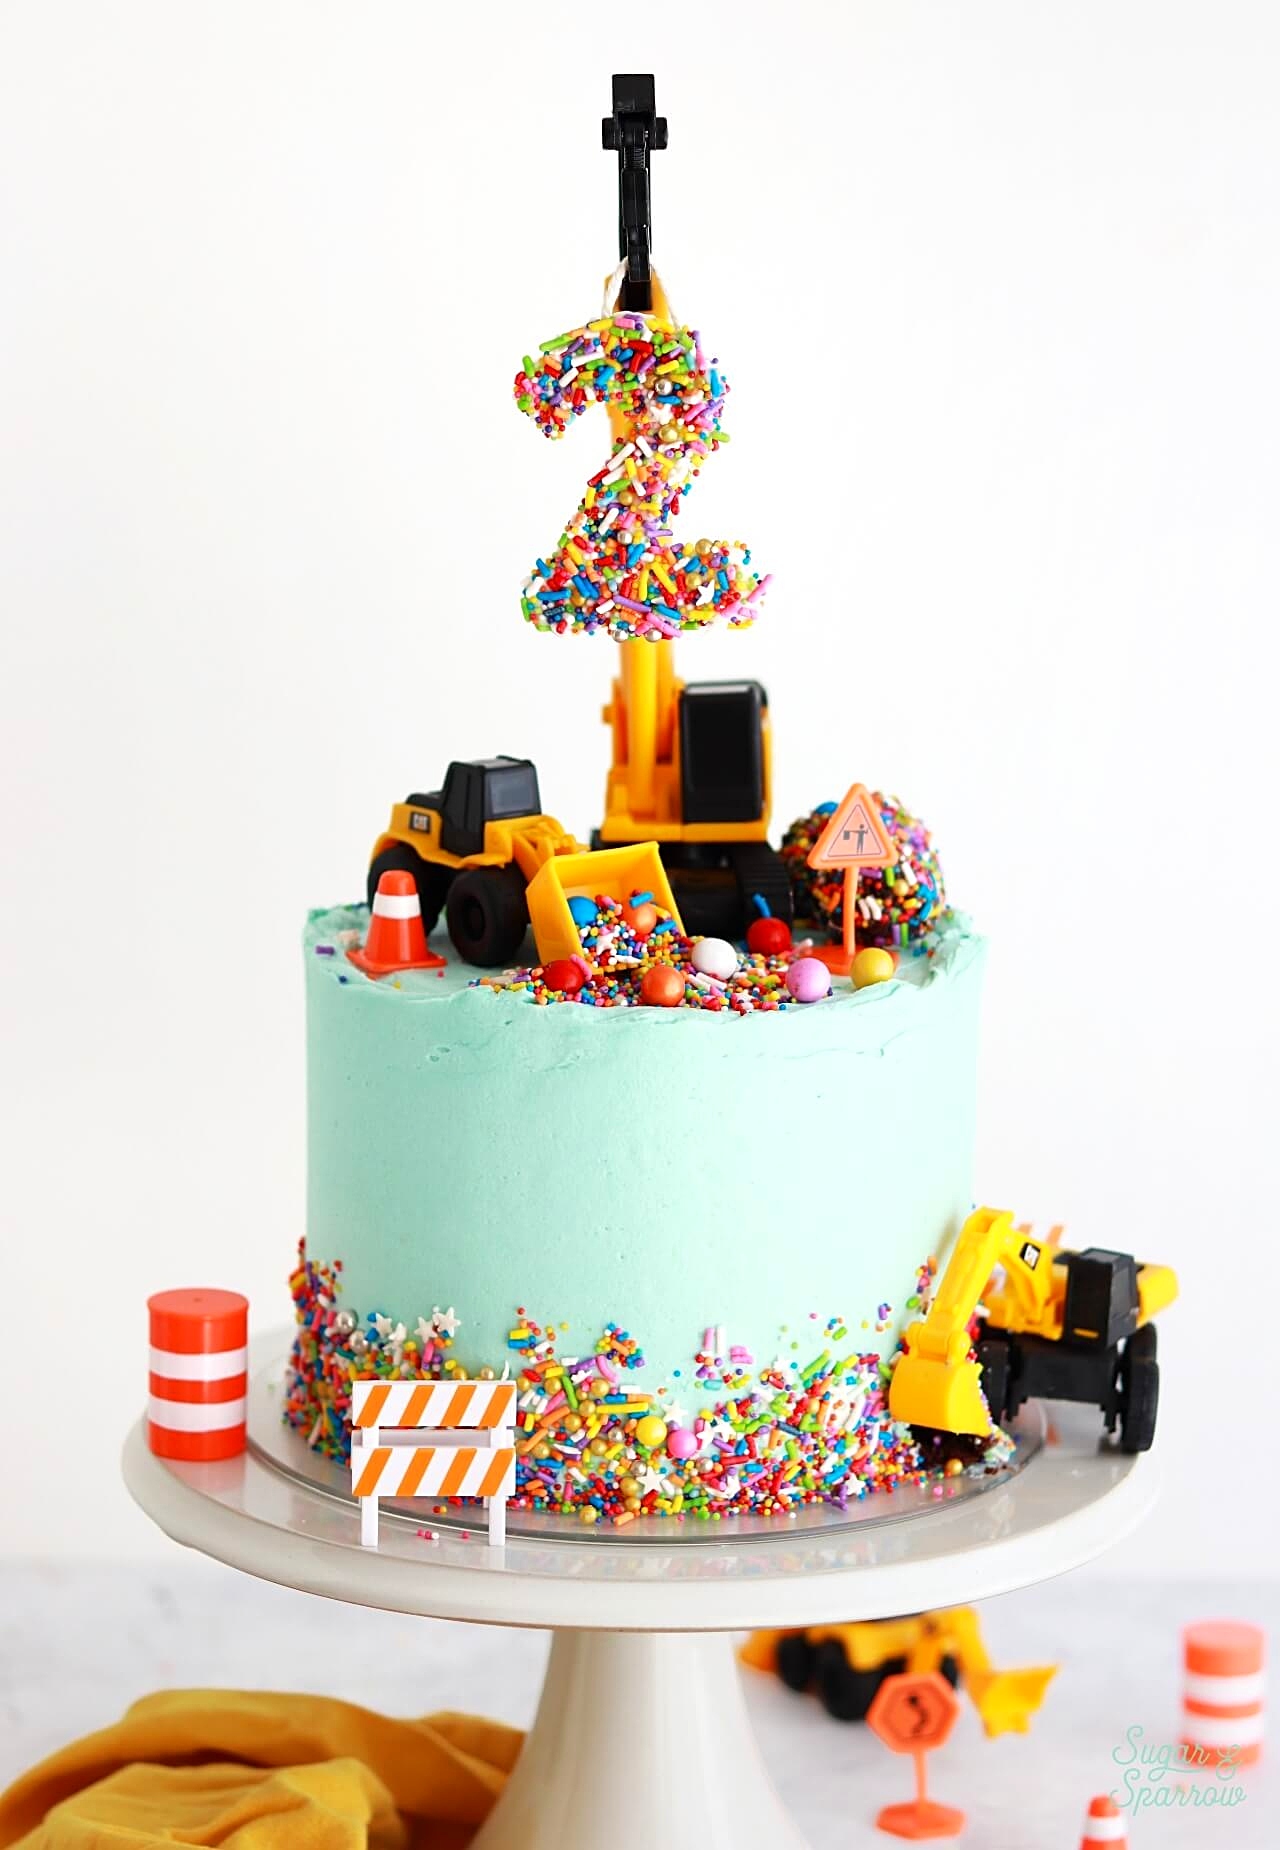
My littlest baby recently turned TWO and since he loves construction trucks, I wanted to make him the ultimate construction cake for his birthday. It was so much fun to put together and I wanted to share the details in case you’ve got a little construction truck lover in your life. It was honestly so easy to pull off with construction truck cake toppers (that are actually toys they can play with afterwards!), lots of sprinkles, and an easy (and mostly edible) handmade number cake topper. 
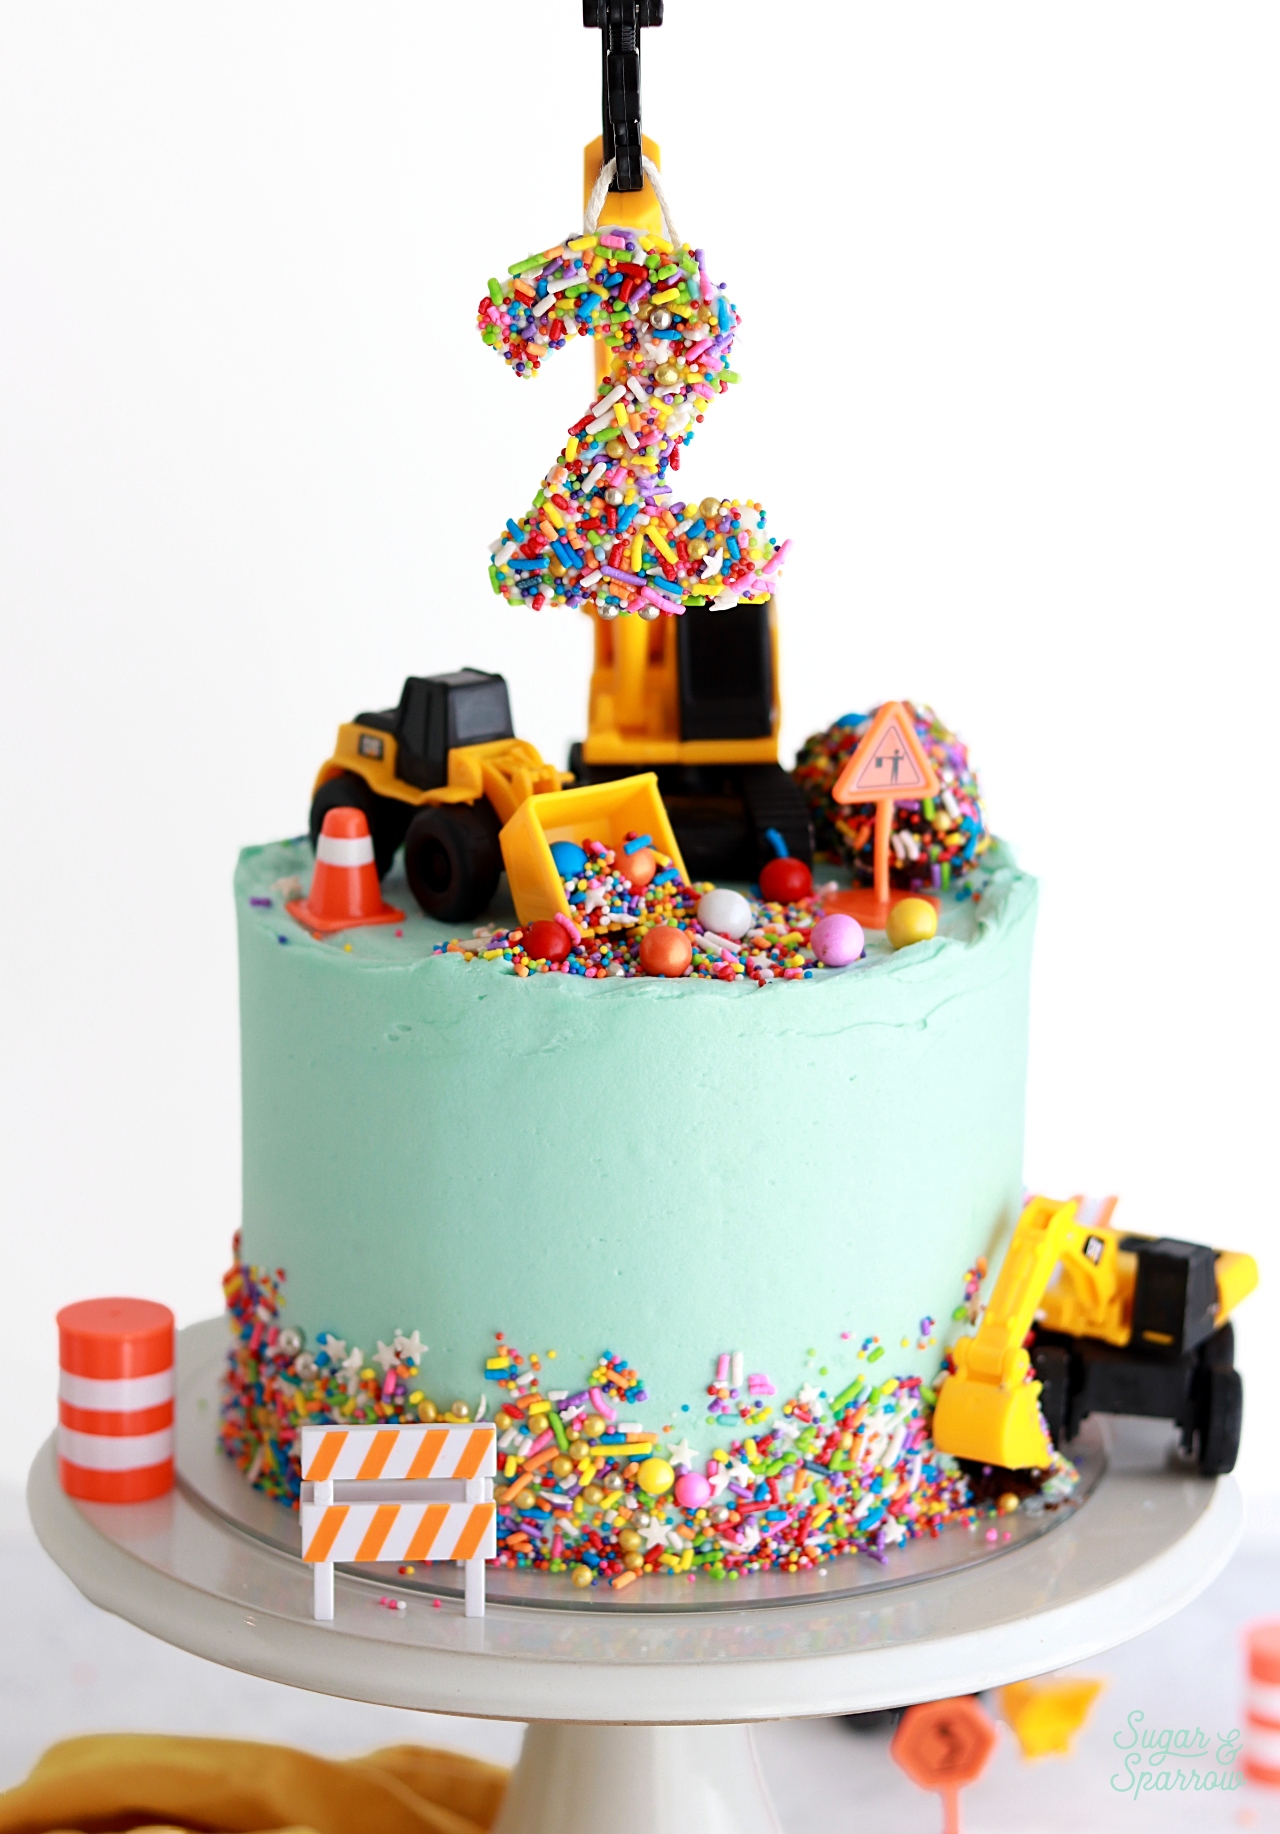
Construction Cake Tutorial with sprinkles
construction birthday cake tutorial
construction birthday cake ideas

You Will Need:

  • Sprinkle number made with this tutorial
  • 2-inch piece of string 
  • White candy melts 
  • A 3-layer 6-inch cake that’s been crumb coated and chilled 
  • 1 batch (3 Cups) of vanilla buttercream
  • Angled Spatula
  • Icing smoother
  • Cake turntable
  • 4 oz rainbow sprinkles
  • Mini construction truck set
  • Small spoon

Step 1: Make the Sprinkle Number 

Follow this tutorial to make the sprinkle number, only instead of attaching a skewer in Step 3, attach a string to the back with melted candy melts. You’ll want it to have a loop for hanging the number on the crane. 

Step 2: Frost the Cake

With your chilled, crumb coated cake on the turntable*, frost the cake with the vanilla buttercream. I tinted mine with a few drops of Americolor Sky Blue to get this light blue color and frosted a smooth buttercream finish on the cake using my icing smoother. You can certainly swipe the top edge inward to create a sharp edge with your angled spatula, but I chose to keep that top edge raw.
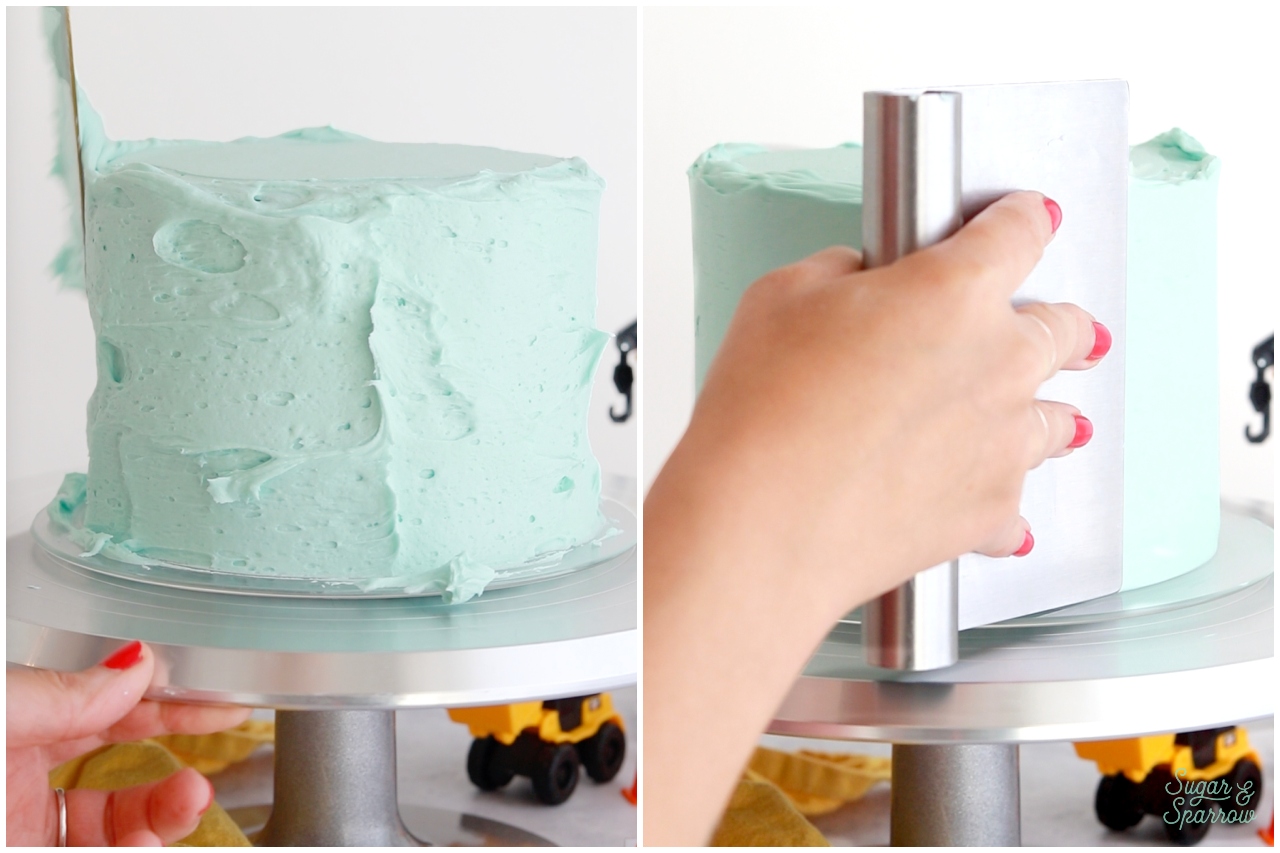
How to frost a smooth buttercream cake

*PRO TIP: if you need to transport this cake off the turntable after decorating, it’s easiest to do so if you attach the crumb coated cake to a larger cake circle. Mine is a 6-inch cake that I filled and crumb coated on a 6-inch cardboard circle, then I taped that cardboard circle (with the cake on top) to an 8-inch cake circle. This made transporting the cake off the turntable a breeze. 

Step 3: Add the Sprinkle Border

While the frosting is still wet to the touch, add a sprinkle border around the bottom third of the cake using the rainbow sprinkles. I like to add a cookie sheet underneath my turntable for this part so that it catches any loose sprinkles before they fall to the ground. 
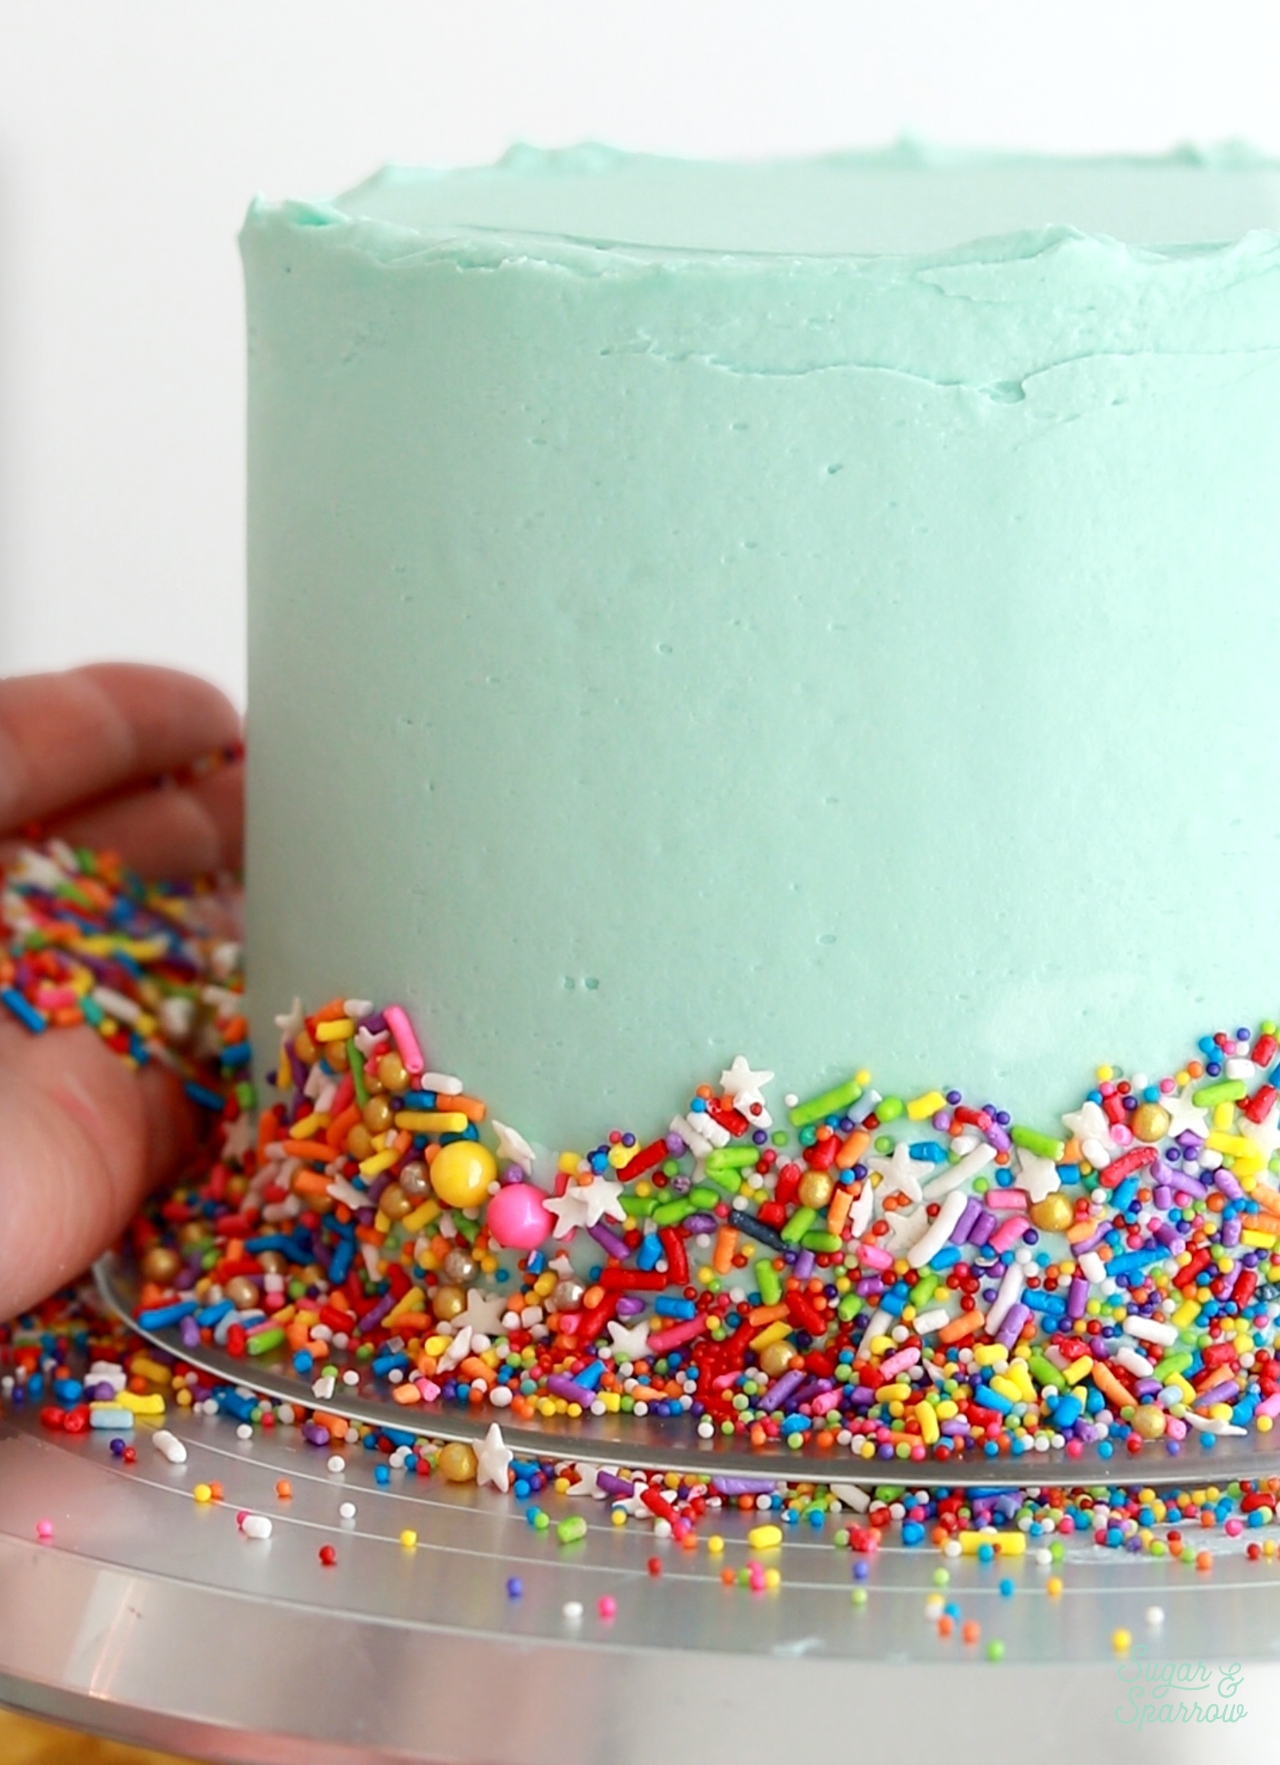
How to add sprinkle border to a cake

To add the sprinkles, I just pour some into the palm of my hand and gently press them onto the cake from there. 

Step 4: Add the Construction Trucks + Details

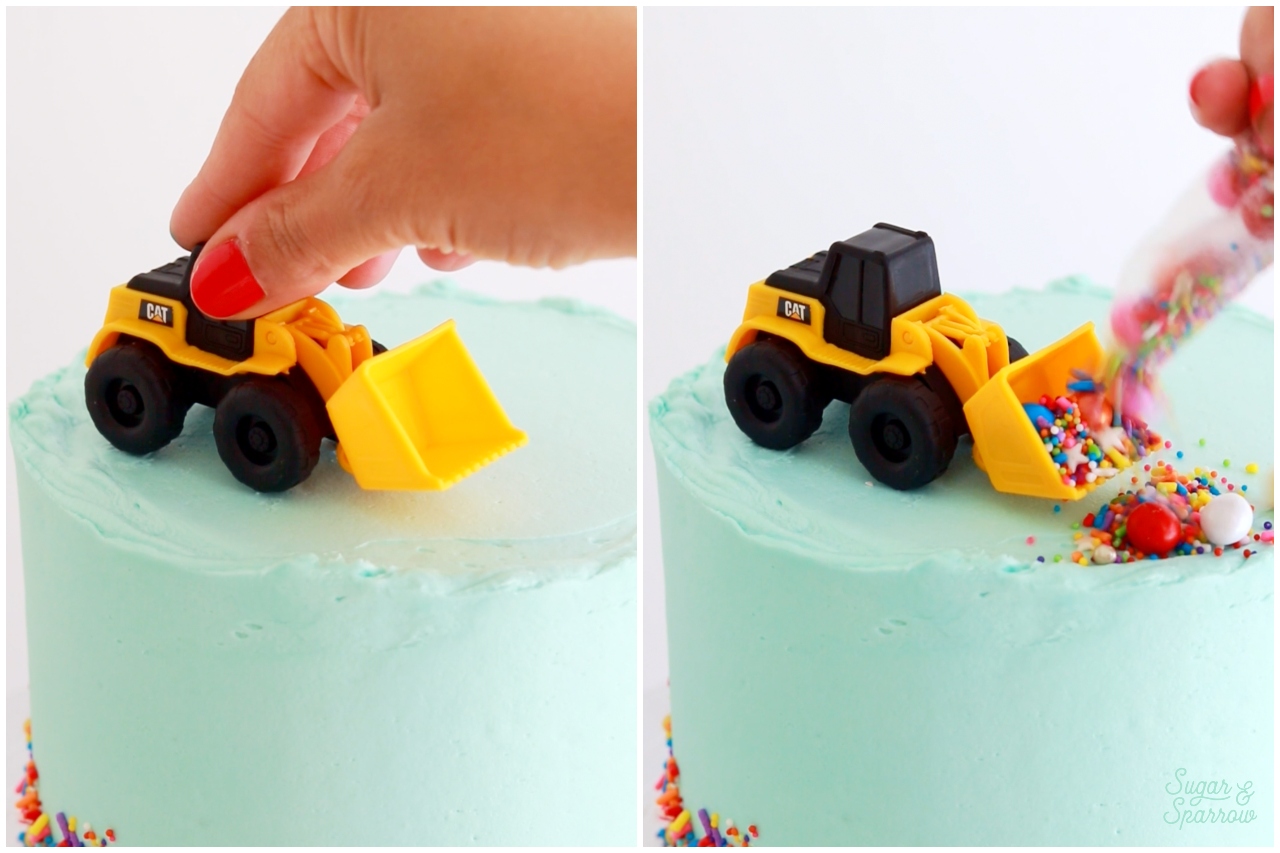
Now is the fun part! Place your mini construction trucks wherever your heart desires on the top and sides of the cake. For the cake pictured, I placed a front loader and crane on top of the cake, then I placed an excavator on the side of the cake. 

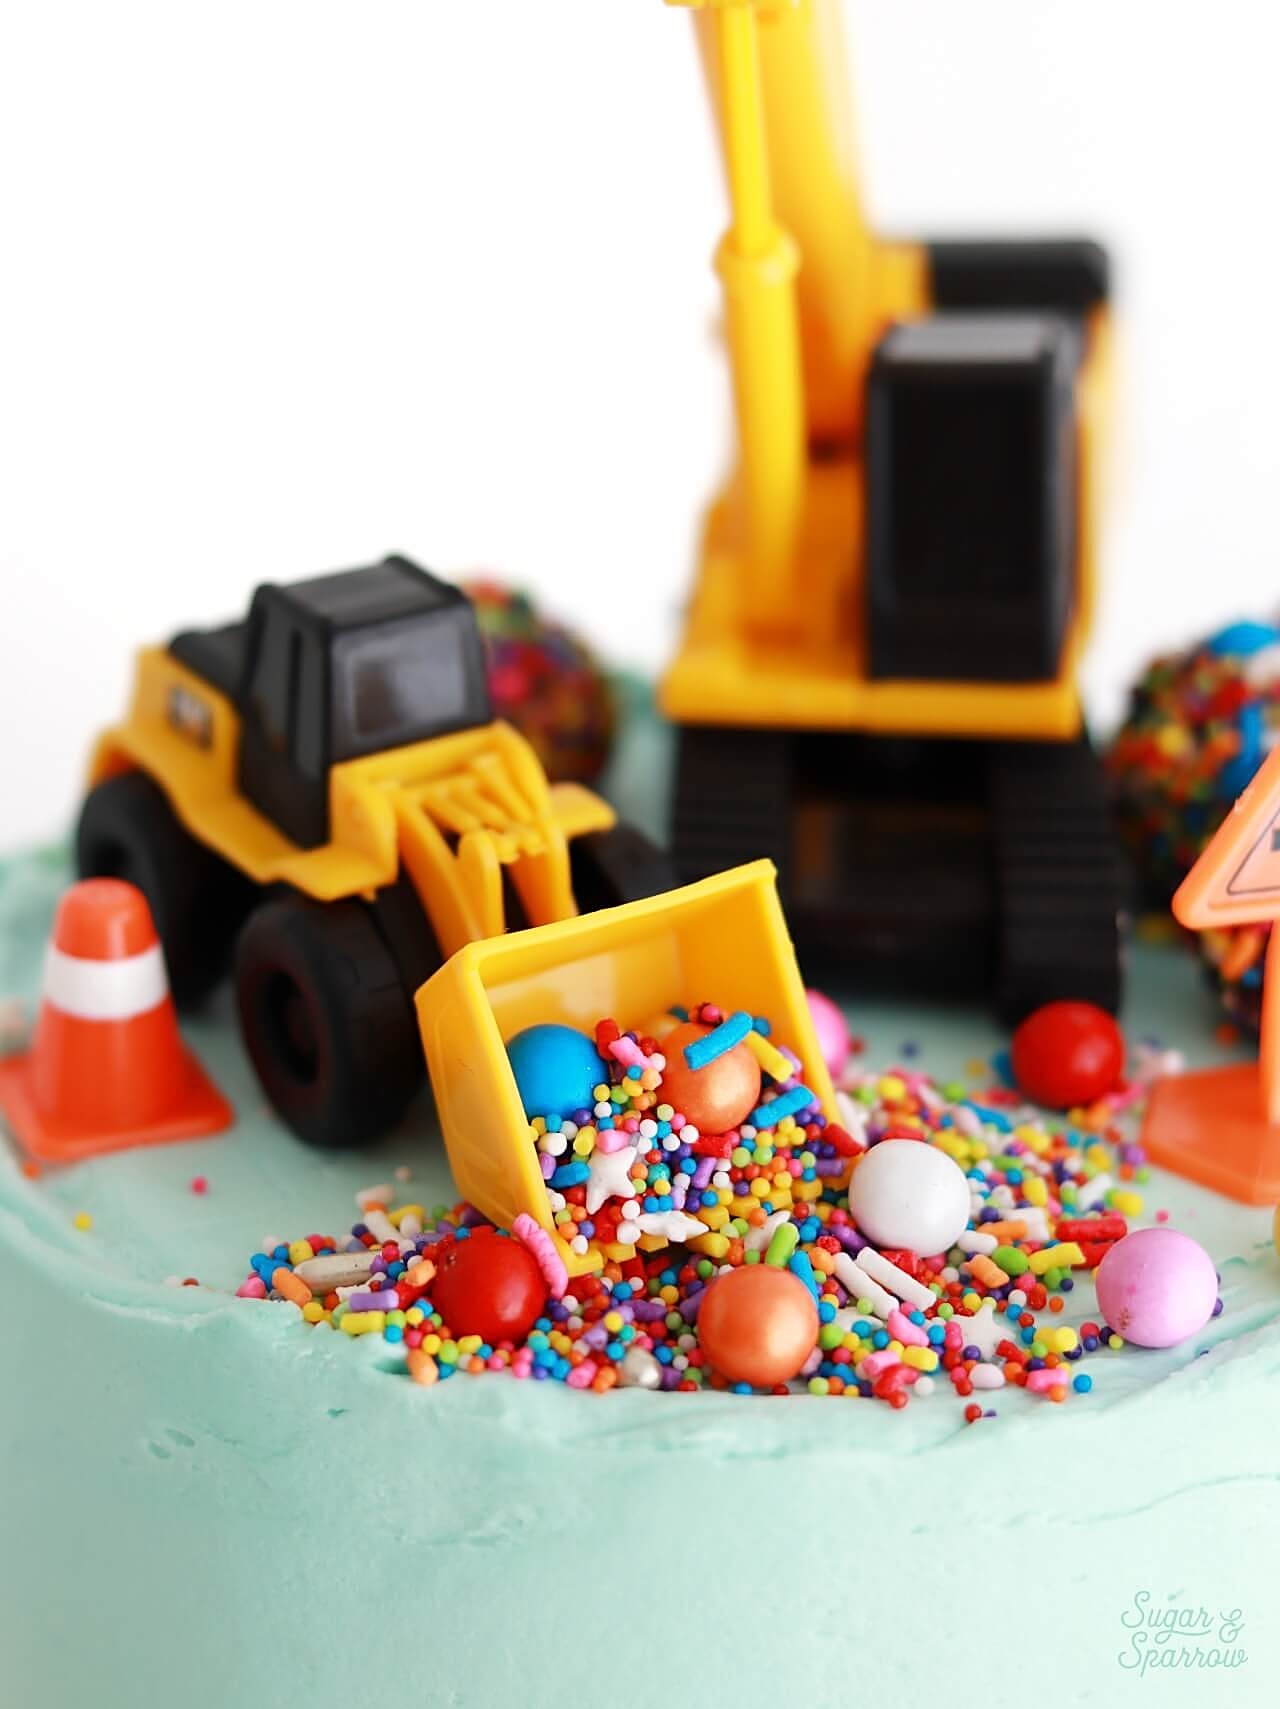
I wanted to make this cake look like the construction trucks were assembling it in a really haphazard way. So first I placed some sprinkles into the front loader so that they were tumbling out. It worked to place some sprinkles in a piping bag, snip off the end, and let them fall out of the bag in and around the front loader.
construction truck cake tutorial

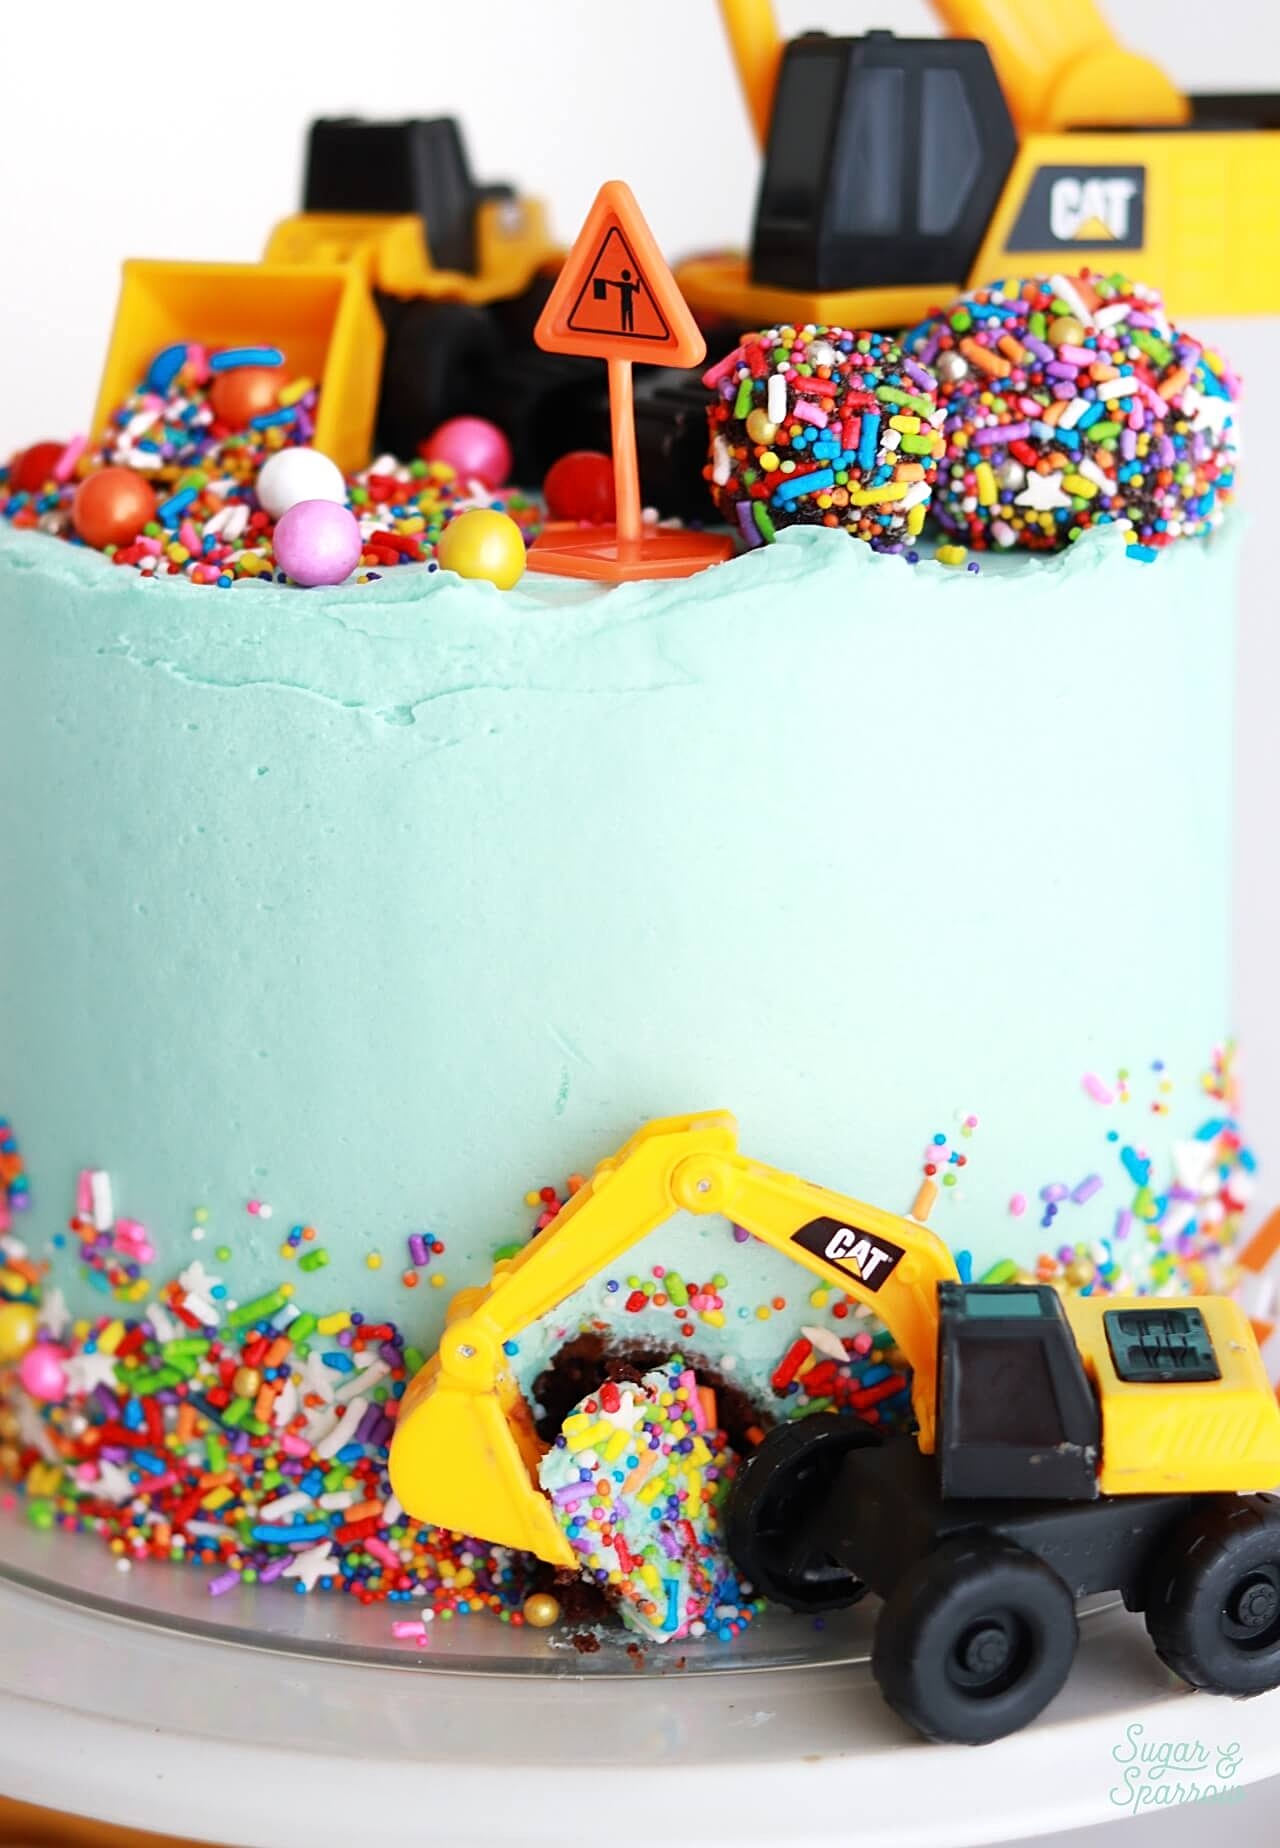
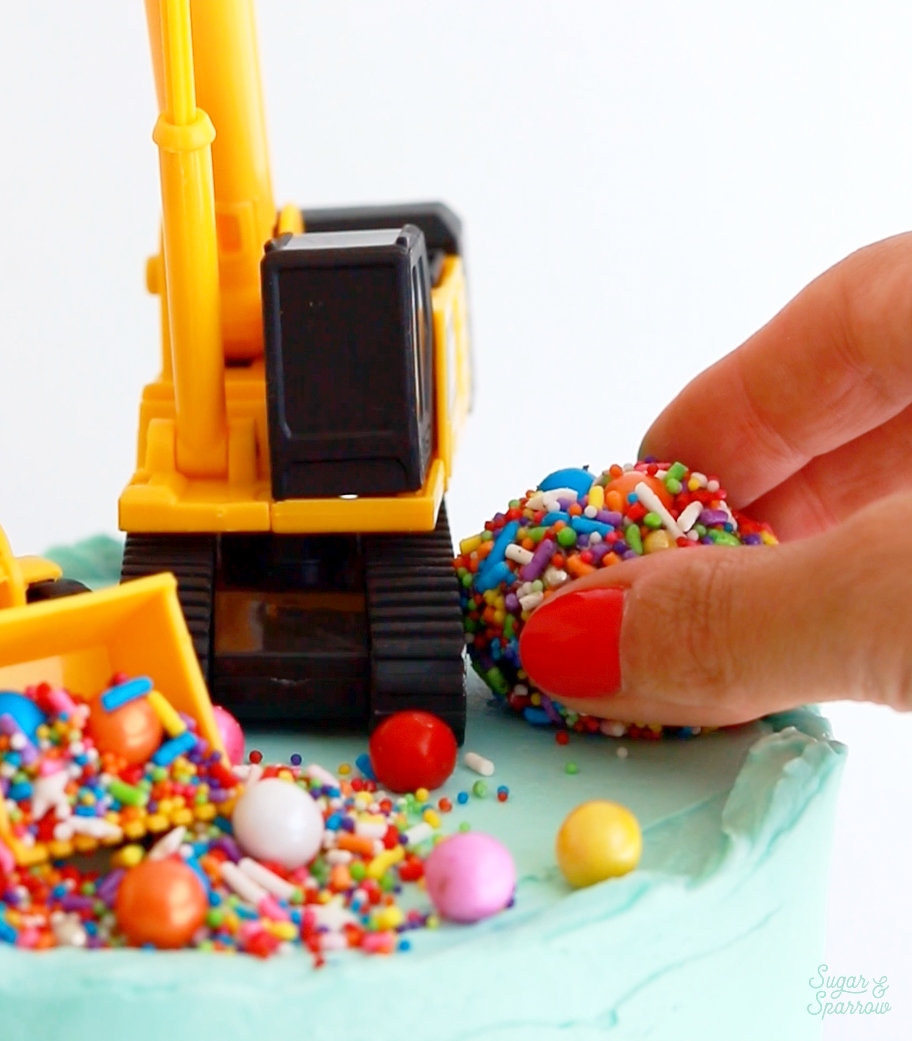
I made some sprinkle cake truffles ahead of time with the cake trimmings I had leftover when baking the cake, and I placed those next to the crane along with a little sign that came with the mini construction trucks. They also came with tiny cones and striped barricades that I used as accents around the cake.
how to decorate a construction truck cake

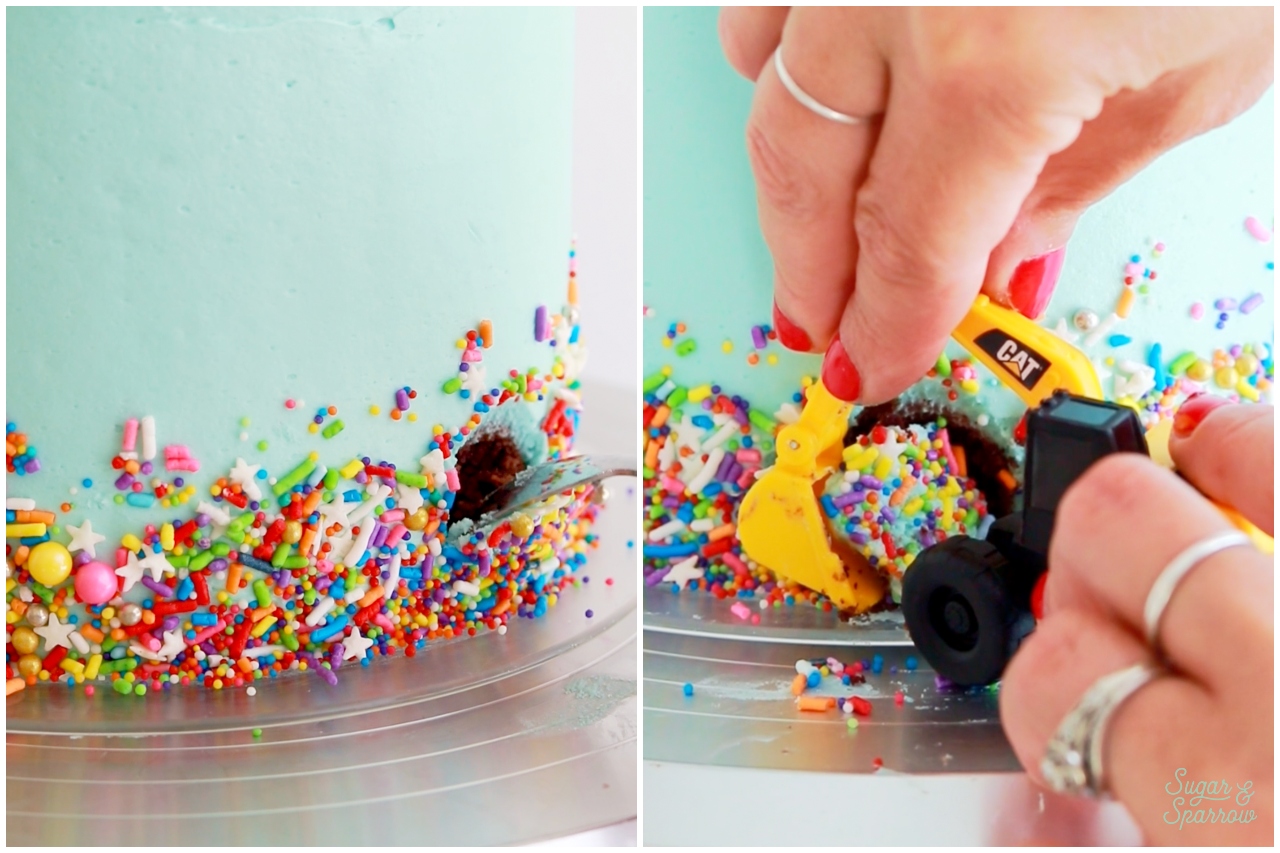
To give the excavator some personality, I used a small spoon to scoop out a little bit of the cake and placed it in the scooper of the excavator. 
construction cake tutorial excavator

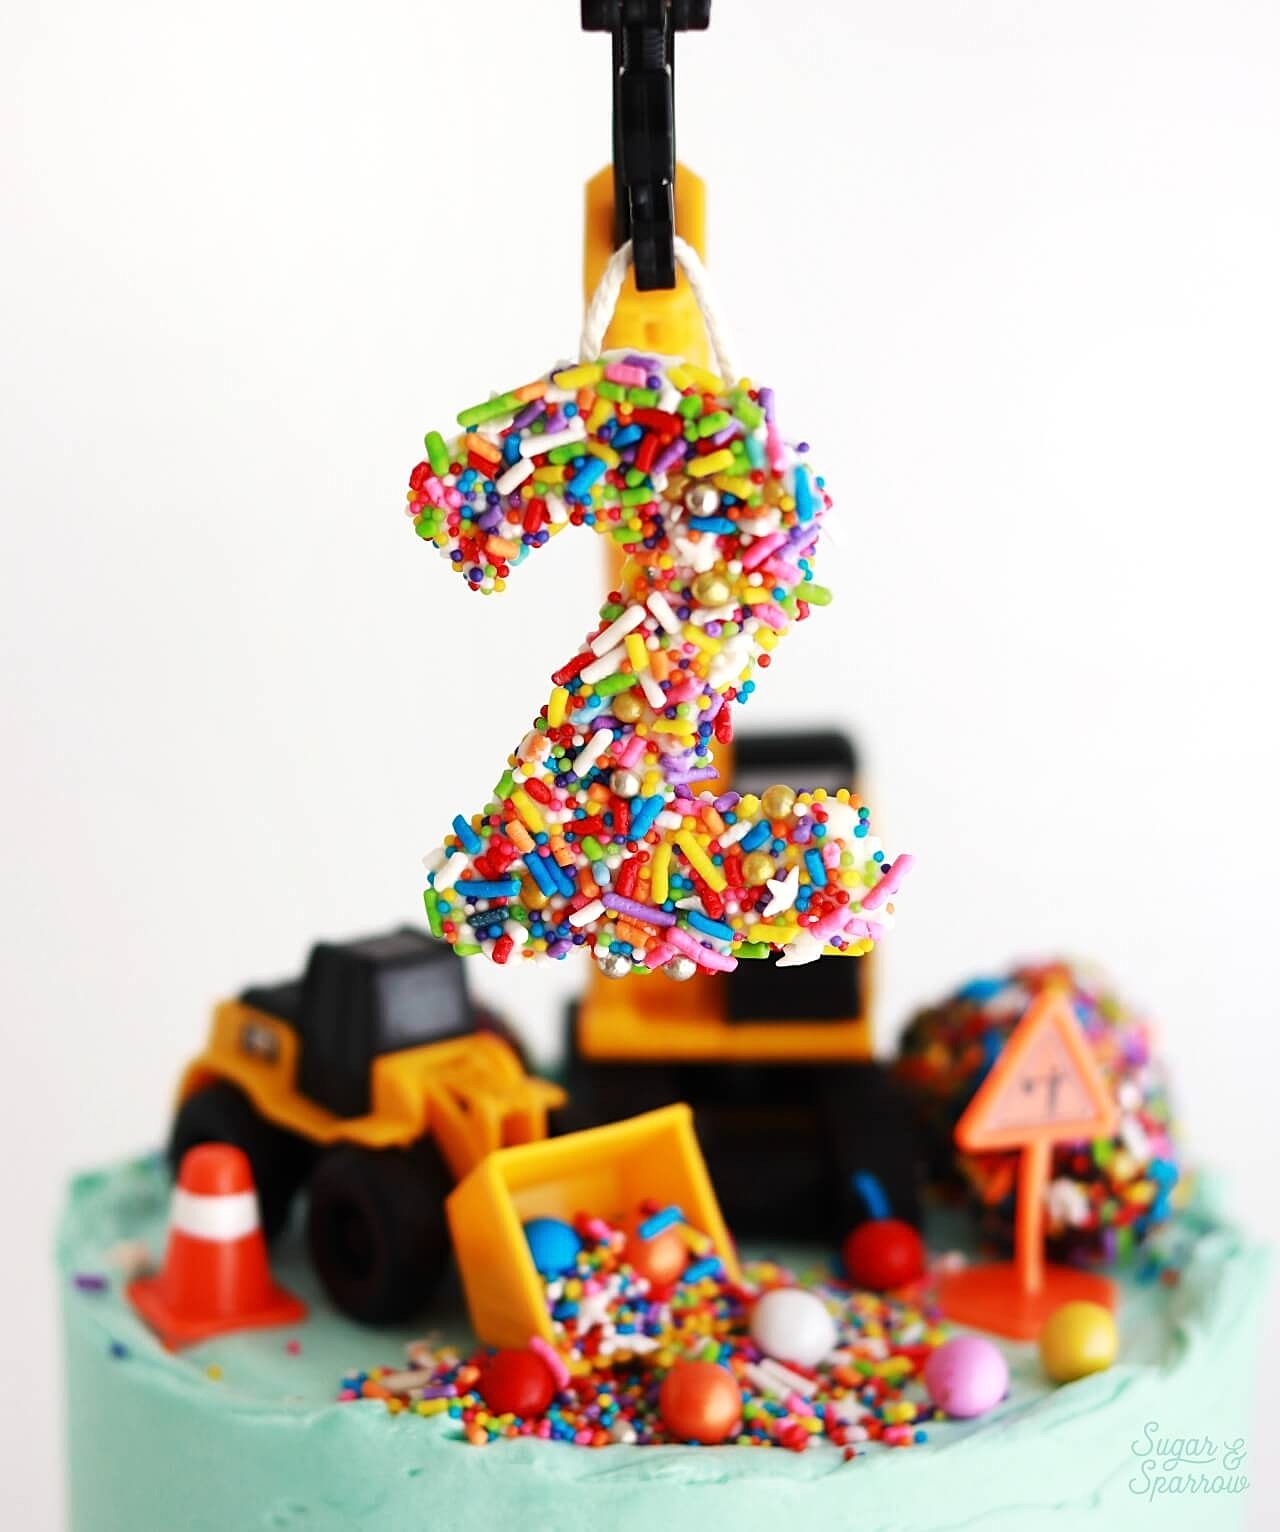
Lastly, I hung the sprinkle number by its attached string loop on the crane. 
construction cake with crane
construction cake tutorial by sugar and sparrow

It’s a construction truck lover’s dream birthday cake! My baby loved it and I had so much fun making it. Also, the mini construction truck set is a mega hit as a birthday present. Both of my kids are loving setting up little construction scenes around the house!

If you make this cake (or a similar one inspired by this cake!) let me know in the comments below. Feel free to tag @sugarandsparrowco on Instagram and show me. I love to see what you create!
By: Whitney · In: Featured, Tutorials · Tagged: construction cake, construction truck cake, mini construction trucks, sprinkle number topper

you’ll also love

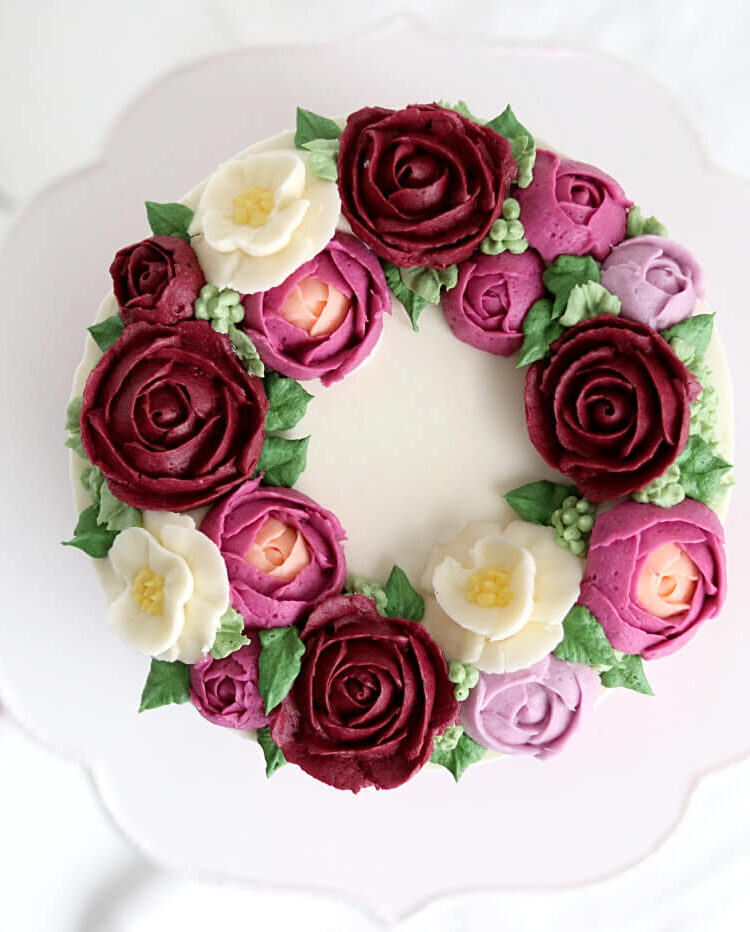
buttercream flower wreath cakeButtercream Flower Wreath Cake Tutorial
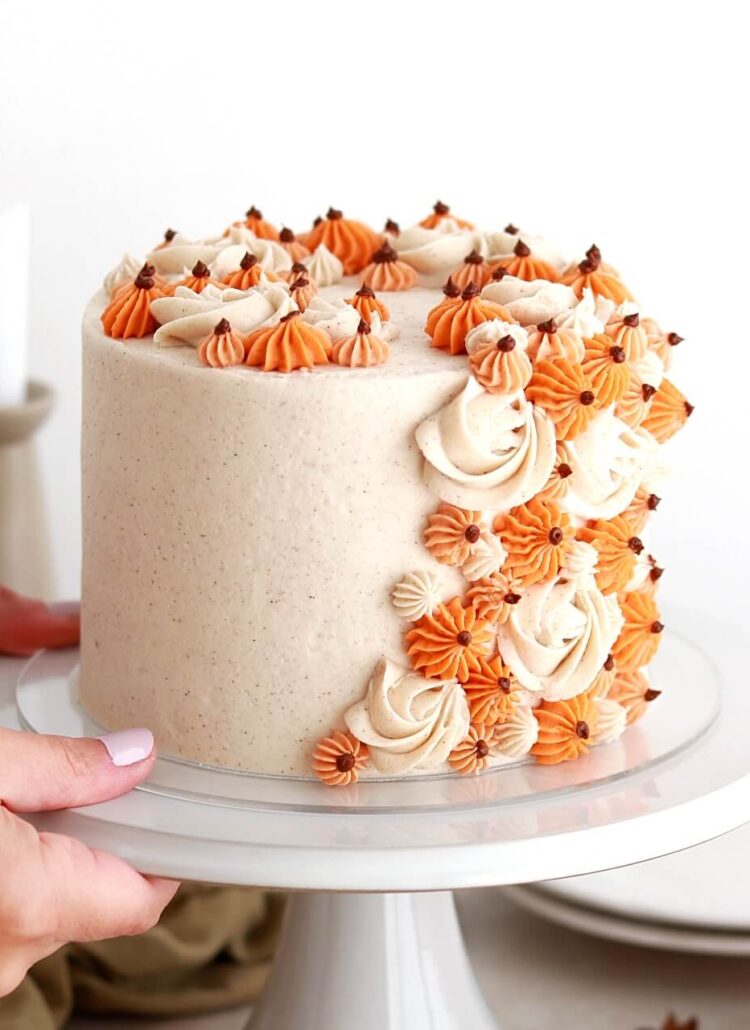
pumpkin chai cake recipeSpiced Chai Pumpkin Cake
scoops of no churn chocolate ice cream in a loaf panNo-Churn Chocolate Ice Cream (with Video!)

Join the List

Stay up to date & receive the latest posts in your inbox.

Reader Interactions

Comments

  1. Ruchi says

    December 11, 2025 at 12:52 pm

    Hello,
    I tried your chocolate cake recipe and everyone loved it. Yay!!
    Now I am planning to make this construction cake for my son’s birthday this weekend so will be preparing it tomorrow mostly.
    I have a clarification question, the recipe says 1 – 6 inch cake, but the cake looks taller in size. Did you slice one 6 inch in to 3 slices and frosted in middle? I was following your 1 bowl chocolate cake recipe for this construction cake and that needs 3 -6 inch cakes + 2 batches of butter cream frosting. (thats the size I would need for 15-20 people).
    What will be quantity of cakes + frosting I need to make this construction cake as 1 6in cake wont suffice? Thank you!!

    Reply
    • Whitney says

      December 11, 2025 at 8:32 pm

      Hi Ruchi! I’m so excited for you to make this cake! This is a three-layer 6-inch cake pictured, and I’ll clarify that in the supplies list. You’ll need a three-layer 6-inch cake (or really any diameter layer cake) that’s been crumb coated and chilled. The one-bowl chocolate cake recipe will yield the perfect amount for 3 6-inch cakes and will be enough to feed 15-20 people. Enjoy! And happy birthday to your sweet son 🙂

      Reply
      • Ruchi A says

        January 12, 2026 at 6:55 am

        Thank you Whitney for your response. I did make the cake and everyone was impressed.
        I did post on instagram and tagged you with a picture of the cake couple of weeks back.

        Reply
        • Whitney says

          January 13, 2026 at 10:10 pm

          Yay Ruchi! I’m so happy this tutorial was helpful! I didn’t see the photo on Instagram (that can happen if your profile is private) but I’ll check my DMs just in case, I’d love to see your cake 🙂

          Reply

Leave a Reply Cancel reply

Your email address will not be published. Required fields are marked *

Recipe Rating


Next Post >

Perfect Fruit Pizza with Berries

Primary Sidebar

Welcome to Sugar & Sparrow

Welcome to Sugar & Sparrow

Helping you whip up pretty desserts with confidence and creativity. And hopefully sharing a few laughs with you along the way!

Learn More

Connect

let’s bake!

Get my very best recipes, baking tips, and decorating tutorials sent to your inbox

Featured Posts

funfetti cake recipe with vanilla buttercream

Funfetti Layer Cake Recipe

sugared cranberries and sugared rosemary recipe

How to Make Sugared Cranberries

easter egg cake tutorial

Colorful (Edible!) Easter Egg Cake Toppers Tutorial

Search

Archives

Follow Along

@sugarandsparrowco

CARAMEL APPLE CUPCAKES 🍏deliciously moist, perfect CARAMEL APPLE CUPCAKES 🍏deliciously moist, perfectly spiced apple cupcakes topped with a swirl of salted caramel buttercream and drizzled with homemade salted caramel sauce – these are the ideal Fall cupcakes if you ask me! 

Comment RECIPE and I’ll send it to you! Or find it linked in my bio + at https://sugarandsparrow.com/caramel-apple-cupcakes/

#applecupcakes #saltedcaramel #caramelcupcakes #fallbaking #caramelapple
DYE-FREE BLACK BUTTERCREAM 🖤 (recipe below) there DYE-FREE BLACK BUTTERCREAM 🖤 (recipe below) there is ZERO food coloring in this black buttercream recipe which means it won’t turn your mouth black (or anything else 💩) + it tastes like Oreo cookie butter so it’s a win all around!! The key is to use EXTRA dark black cocoa powder, which also comes in handy in my black velvet cake recipe 🙌🏼 ideal secret ingredient for your Halloween cakes! 
⁣
Full recipe (and the black cocoa powder I use!) is linked in my bio and at https://sugarandsparrow.com/dye-free-black-buttercream/
⁣
DYE-FREE BLACK BUTTERCREAM⁣⁣
Yield: 2.5 Cups⁣⁣
⁣⁣
INGREDIENTS:⁣⁣
1 Cup (226g) unsalted butter, room temp
2 1/2 Cups (300g) powdered sugar⁣⁣
1/2 Cup (56g) EXTRA DARK black cocoa powder⁣⁣*
1 tsp pure vanilla extract⁣⁣
2 Tbsp whole milk, room temp
pinch of salt⁣⁣
⁣⁣
INSTRUCTIONS:⁣⁣
1. In a stand mixer fitted with the paddle attachment, whip the butter on medium speed until creamy and light in color, 4 min. Add half of the powdered sugar and mix on low until just combined, then add the rest of the powdered sugar. With the mixer still in the off position, sift in the black cocoa powder and add the vanilla, milk, and salt. Mix on low until all ingredients are thoroughly combined, 2-3 minutes, scraping down the bowl and paddle as needed.⁣⁣
2. Place the buttercream in an airtight container and allow the color to deepen for 24 hours or more. ⁣⁣

*I use a brand called The Cocoa Trader that I get on Amazon. It’s the darkest black cocoa powder I’ve seen so far!!
⁣⁣
#blackbuttercream #naturalfoodcoloring #blackcake #buttercream #blackcocoapowder
SMALL BATCH pumpkin cake with cream cheese frostin SMALL BATCH pumpkin cake with cream cheese frosting 🧡 This mini cake is a scaled down version of my favorite pumpkin cake recipe + makes the perfect amount for 2-4 people! Bake it as a 4-inch mini layer cake or a single layer 6-inch cake, either way is absolutely delicious and the perfect for date night, a small gathering, or any time you’re craving pumpkin cake without having to make a huge dessert 🙌🏽

Comment RECIPE and I’ll send you the full recipe (with thick and stable cream cheese frosting!) or find it linked in my bio + at https://sugarandsparrow.com/small-batch-pumpkin-cake/ 

INGREDIENTS 
2/3 Cup (88g) all-purpose flour
1 tsp baking powder
1/4 tsp baking soda
1/4 tsp salt
1 tsp ground cinnamon
1/2 tsp allspice
1/4 tsp nutmeg
1/8 tsp ground ginger
1/3 Cup (67g) packed brown sugar
2 Tbsp (25g) granulated sugar
1/3 Cup (80ml) vegetable oil or melted butter
1 large egg, room temp
1/2 Cup (125g) canned pumpkin puree
1/2 tsp pure vanilla extract

INSTRUCTIONS
1. Preheat the oven to 350ºF (177ºC). Grease and line three 4-inch cake pans or one 6-inch cake pan.
2. In a medium bowl, whisk together the all-purpose flour, baking powder, baking soda, salt, cinnamon, allspice, nutmeg, and ground ginger. Set aside.
3. In a separate medium bowl, add the brown sugar, granulated sugar, vegetable oil (if using melted butter in place of the oil, cool it for 5-10 minutes prior to adding here), egg, pumpkin puree, and vanilla extract. Whisk together until uniform, then add the flour mixture and whisk until smooth.
4. Pour the batter evenly between the prepared cake pan(s). If using 4-inch cake pans, bake for 22-26 minutes. If using a 6-inch cake pan, bake for 25-30 minutes. Cool completely before frosting (full recipe with cream cheese buttercream is linked in my bio!)

#pumpkincake #smallbatchcake #minicake #creamcheesefrosting #fallbaking
TOP 10 FALL CAKES 🍂 These are not only MY favorite TOP 10 FALL CAKES 🍂 These are not only MY favorite Fall cake recipes, they’re yours too! 🥰

Comment “FALL” and I’ll send you all of the cake recipes shown here and all 36+ of my favorite Fall baking ideas – classic cakes like pumpkin cake with cream cheese frosting, spice cake, and cranberry orange cake, more complex flavor combinations like chocolate pecan pie cake with salted caramel and apple crisp cake, and cozy recipes like no-bake pumpkin cheesecake, homemade salted caramel, and my favorite brown butter chocolate chip cookie bars. 

https://sugarandsparrow.com/fall-baking-recipes/

#pumpkincake #applecake #fallcake #cakeinspiration #cakeideas
The BEST pumpkin cake with cream cheese frosting 🧡 The BEST pumpkin cake with cream cheese frosting 🧡 this pumpkin layer cake is easy to make, perfectly spiced, so moist, irresistible with cream cheese frosting, and uses the ENTIRE 15oz can of pumpkin (no awkward leftovers!). Top it with pretty piped pumpkins to make it extra cute 🥰

Comment RECIPE to get the full recipe (with frosting + cake decorating tutorial) or find it linked in my bio and at https://sugarandsparrow.com/pumpkin-layer-cake-recipe/

INGREDIENTS
2 Cups (265g) all-purpose flour
2 tsp baking powder
1 tsp baking soda
1 tsp salt
2 tsp ground cinnamon
1 tsp allspice
1 tsp nutmeg
1/2 tsp ground ginger
1 Cup (200g) packed brown sugar
1/2 Cup (100g) granulated sugar
1 Cup (240ml) vegetable oil or melted butter
4 large eggs, room temp
15 Oz (425g) canned pumpkin puree
2 tsp pure vanilla extract

INSTRUCTIONS
1. Preheat the oven to 350ºF (177ºC). Grease and line three 6-inch or two 8-inch cake pans.
2. In a medium bowl, whisk together the all-purpose flour, baking powder, baking soda, salt, cinnamon, allspice, nutmeg, and ground ginger. Set aside.
3. In a separate large bowl, add the brown sugar, granulated sugar, oil (if using melted butter in place of the oil, cool it for 5-10 minutes prior to adding here), eggs, pumpkin puree, and vanilla extract. Whisk together until uniform, then add the flour mixture and whisk until smooth.
4. Pour the batter evenly between the prepared cake pans and bake for 32-36 minutes, until a toothpick inserted comes out clean or with just a few moist crumbs. Cool the cakes completely to room temp before frosting!

#pumpkincake #creamcheesefrosting #layercake #cake #fallbaking

Footer

On the Blog

  • Cake Basics
  • Recipes
  • Tutorials

Info

  • About
  • Privacy Policy & Disclosure

stay in the know

Copyright © 2026 · Theme by Sugar & Sparrow