
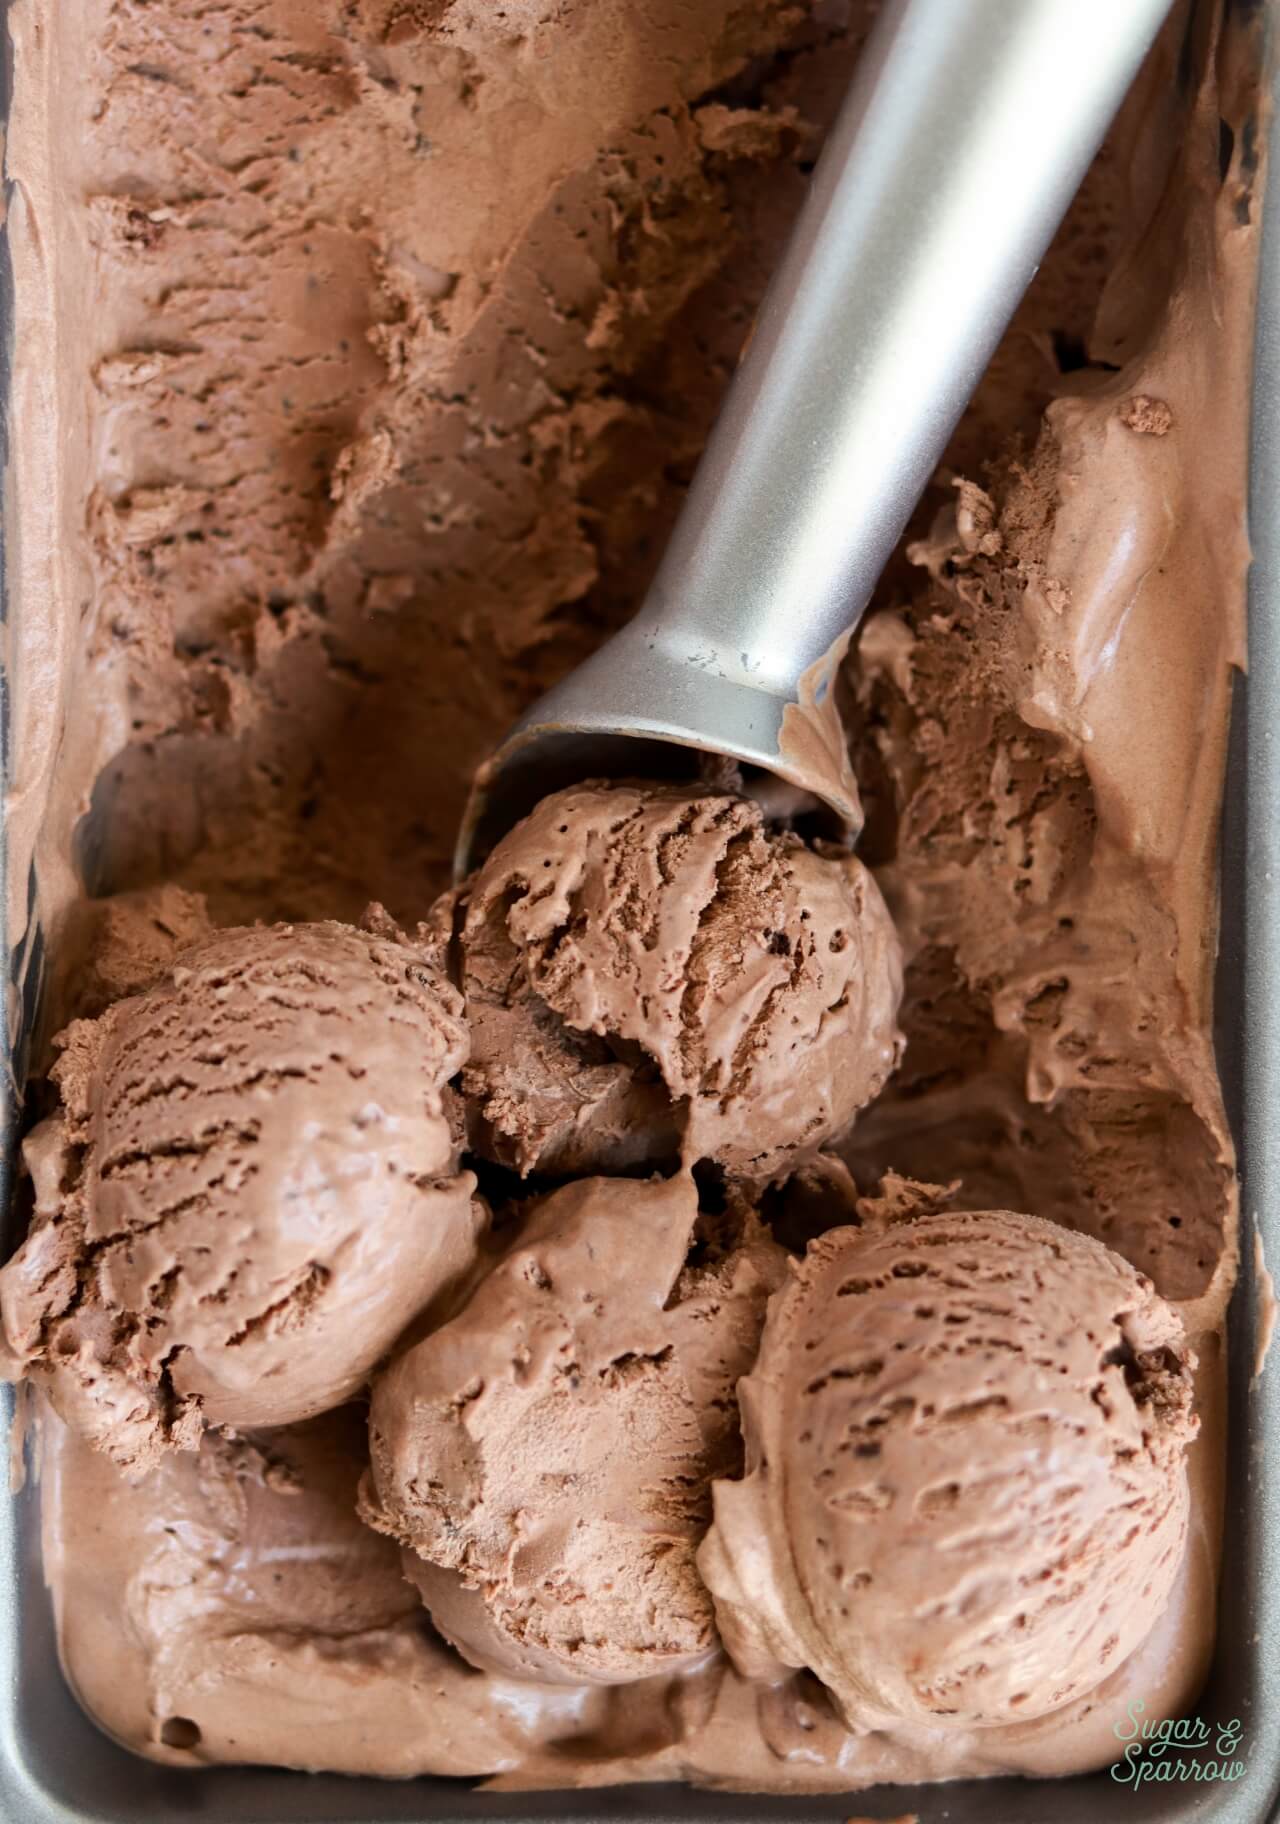
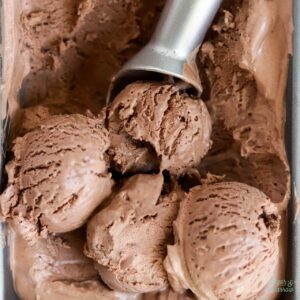
This no-churn chocolate ice cream is delicious all on its own and the perfect base recipe for creating all kinds of flavors! The texture is perfectly smooth, creamy, and scoopable, and it couldn’t be easier to make with just a handful of ingredients. The best part is you don’t need an ice cream maker! The ice cream comes together in minutes, sets beautifully in the freezer overnight, and you’ll be blown away at how refreshing and delicious it is with such minimal effort.

No-Churn Chocolate Ice Cream Ingredients
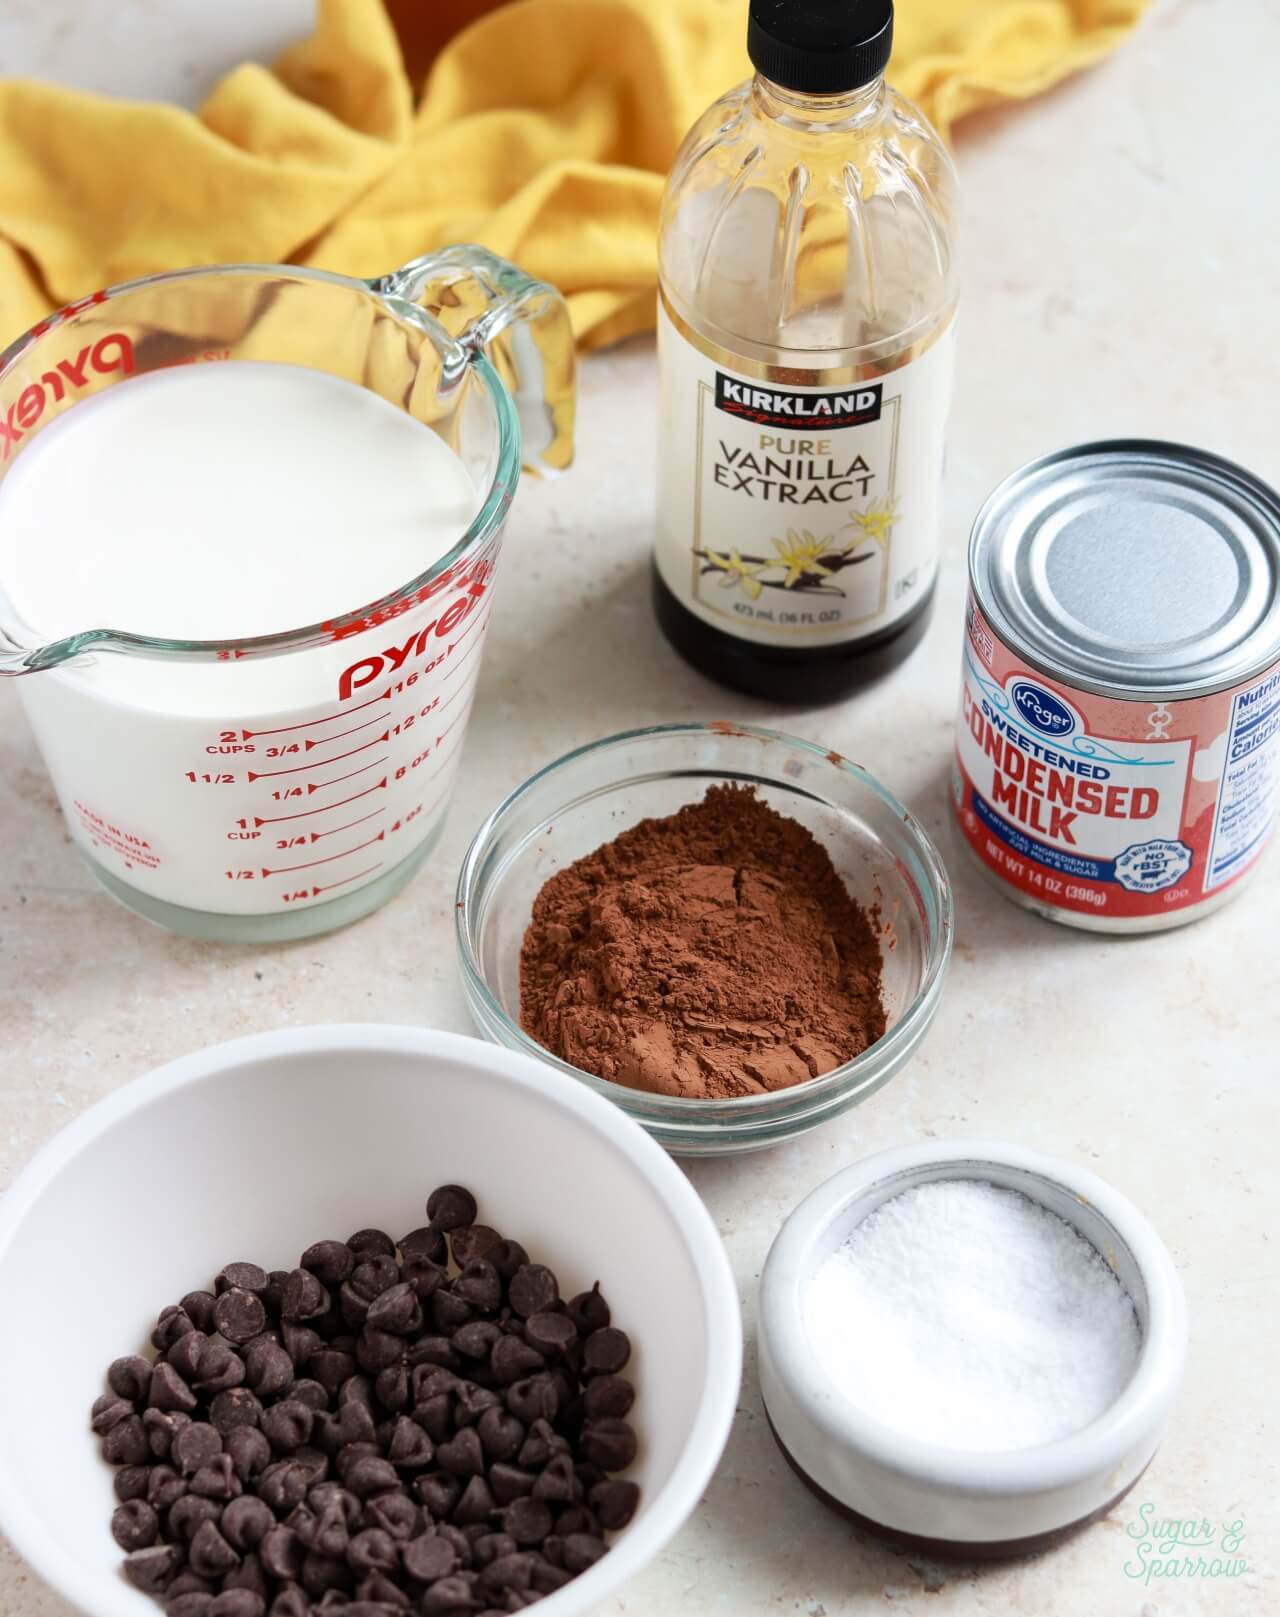
There are just a handful of ingredients that go into this no-churn chocolate ice cream recipe:
- Heavy Whipping Cream. After beating to stiff peaks, the heavy whipping cream is folded together with the rest of the ingredients to add structure and create that creamy, velvety texture.
- Sweetened Condensed Milk. Not only sweetens the ice cream but also acts as a building block for the ice cream flavor.
- Melted Semi-Sweet Chocolate. I used chocolate chips for this recipe but you can also chop up a high-quality chocolate bar before melting it.
- Unsweetened Cocoa Powder. This adds even more chocolate flavor to the ice cream and if you want it really rich, use Dutch-processed cocoa powder.
- Pure Vanilla Extract. A little vanilla enhances the overall chocolate flavor.
- Pinch of Salt. To balance the sweetness beautifully.
How to Make No-Churn Chocolate Ice Cream
Beat the Heavy Whipping Cream
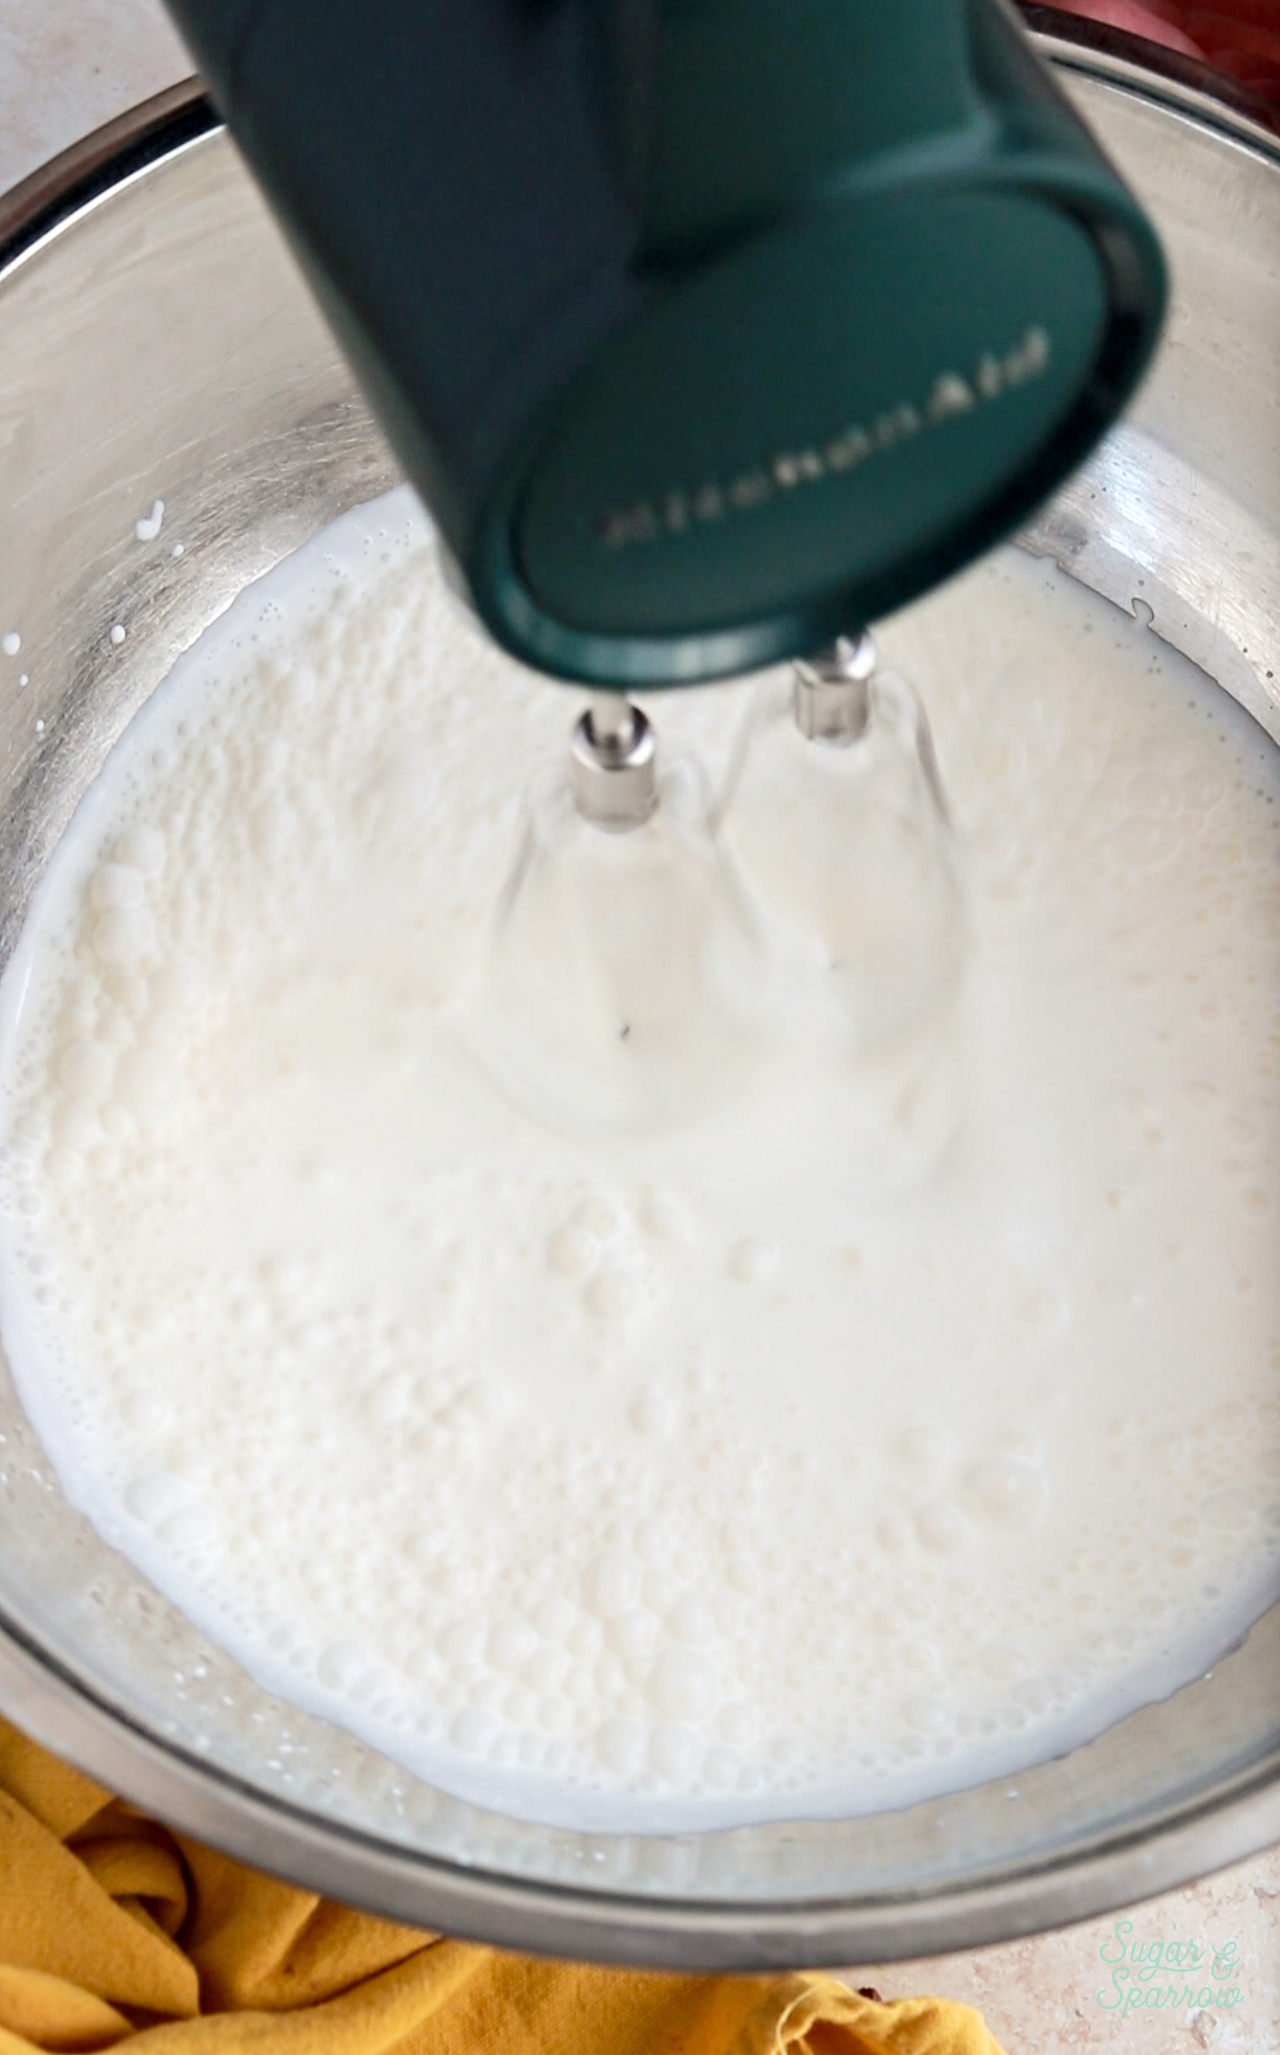
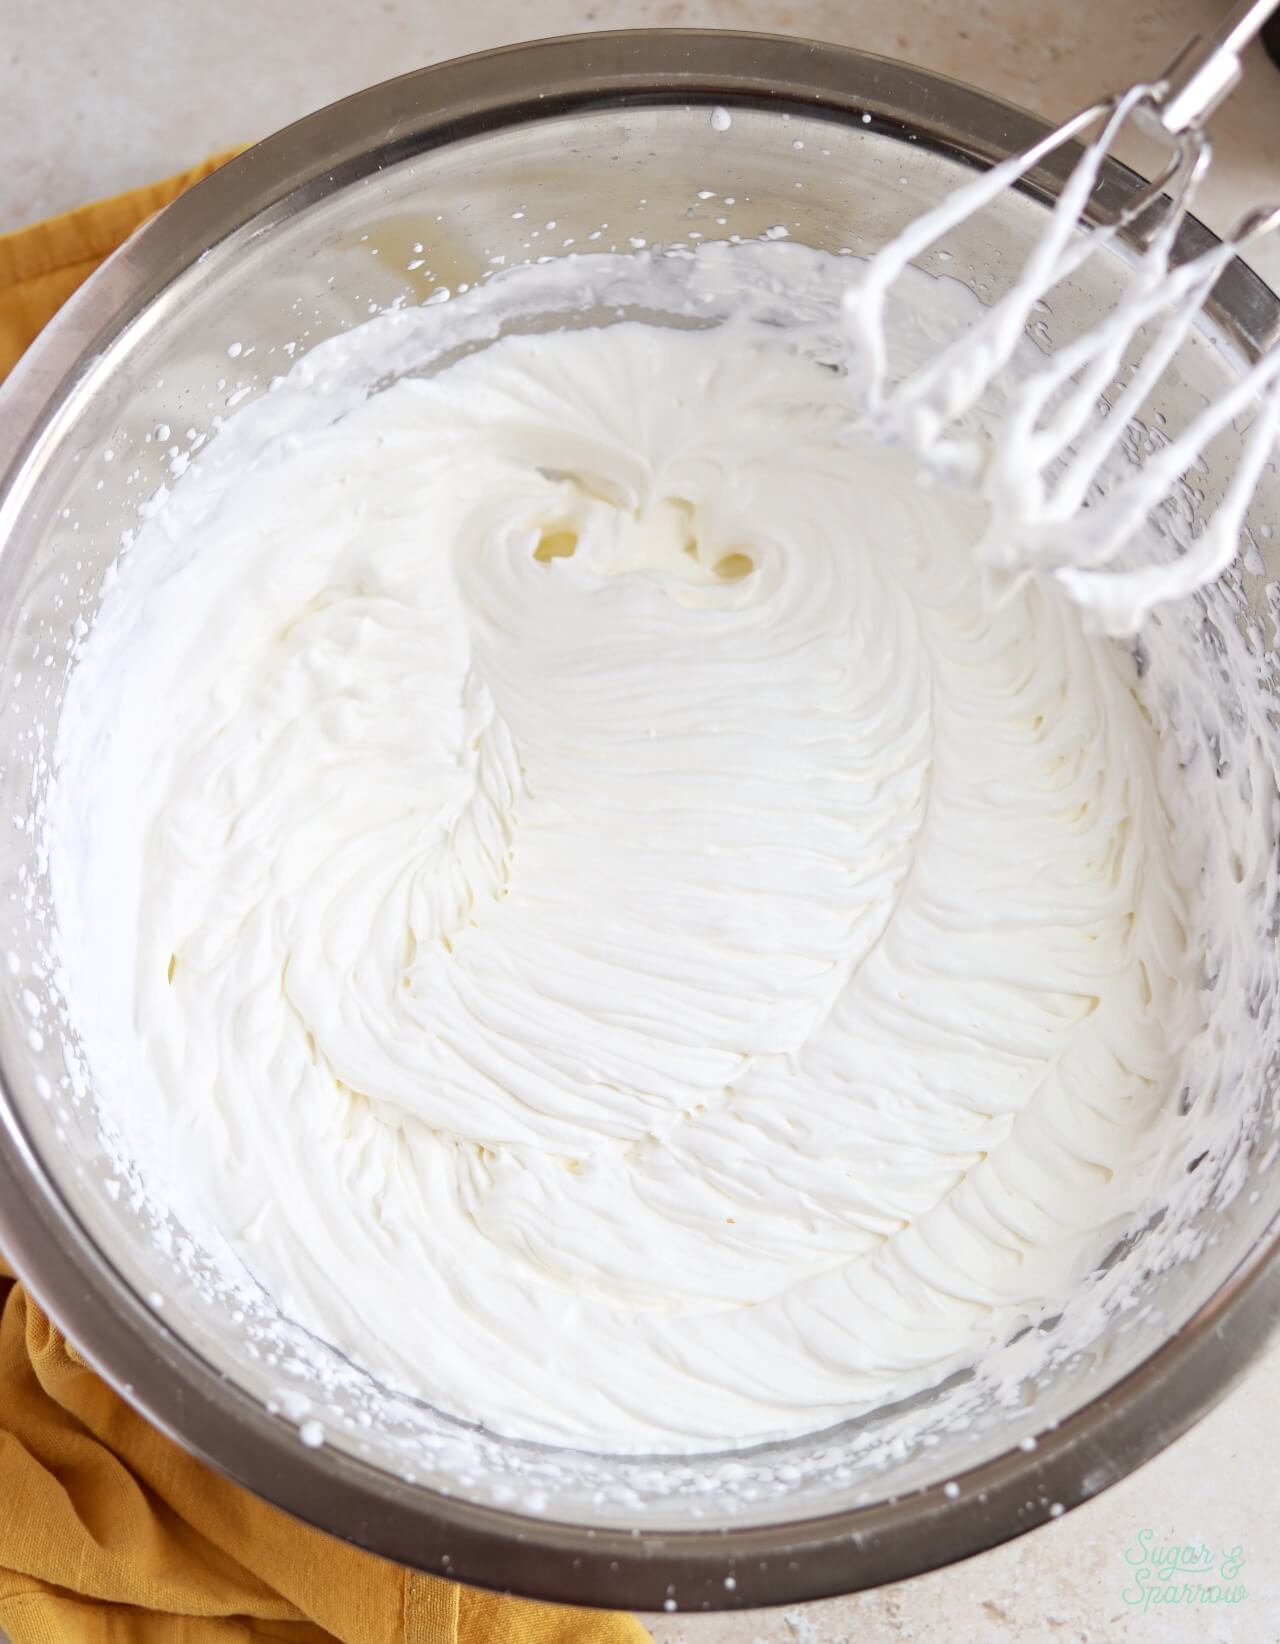
In a large chilled bowl, beat the heavy whipping cream to stiff peaks and place back in the refrigerator.
Combine the Rest of the Ingredients
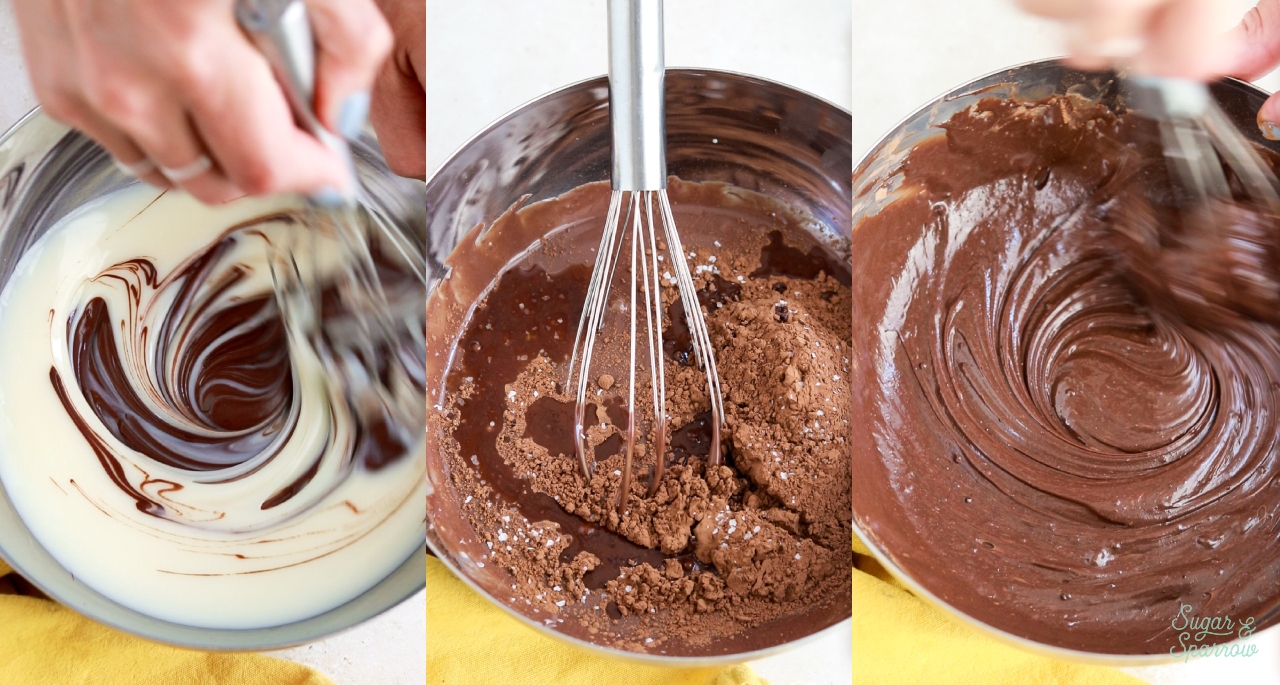
Pour the sweetened condensed milk into a medium bowl, then whisk in the melted chocolate, followed by the cocoa powder, vanilla, and a pinch of salt.
Fold with the Heavy Whipping Cream
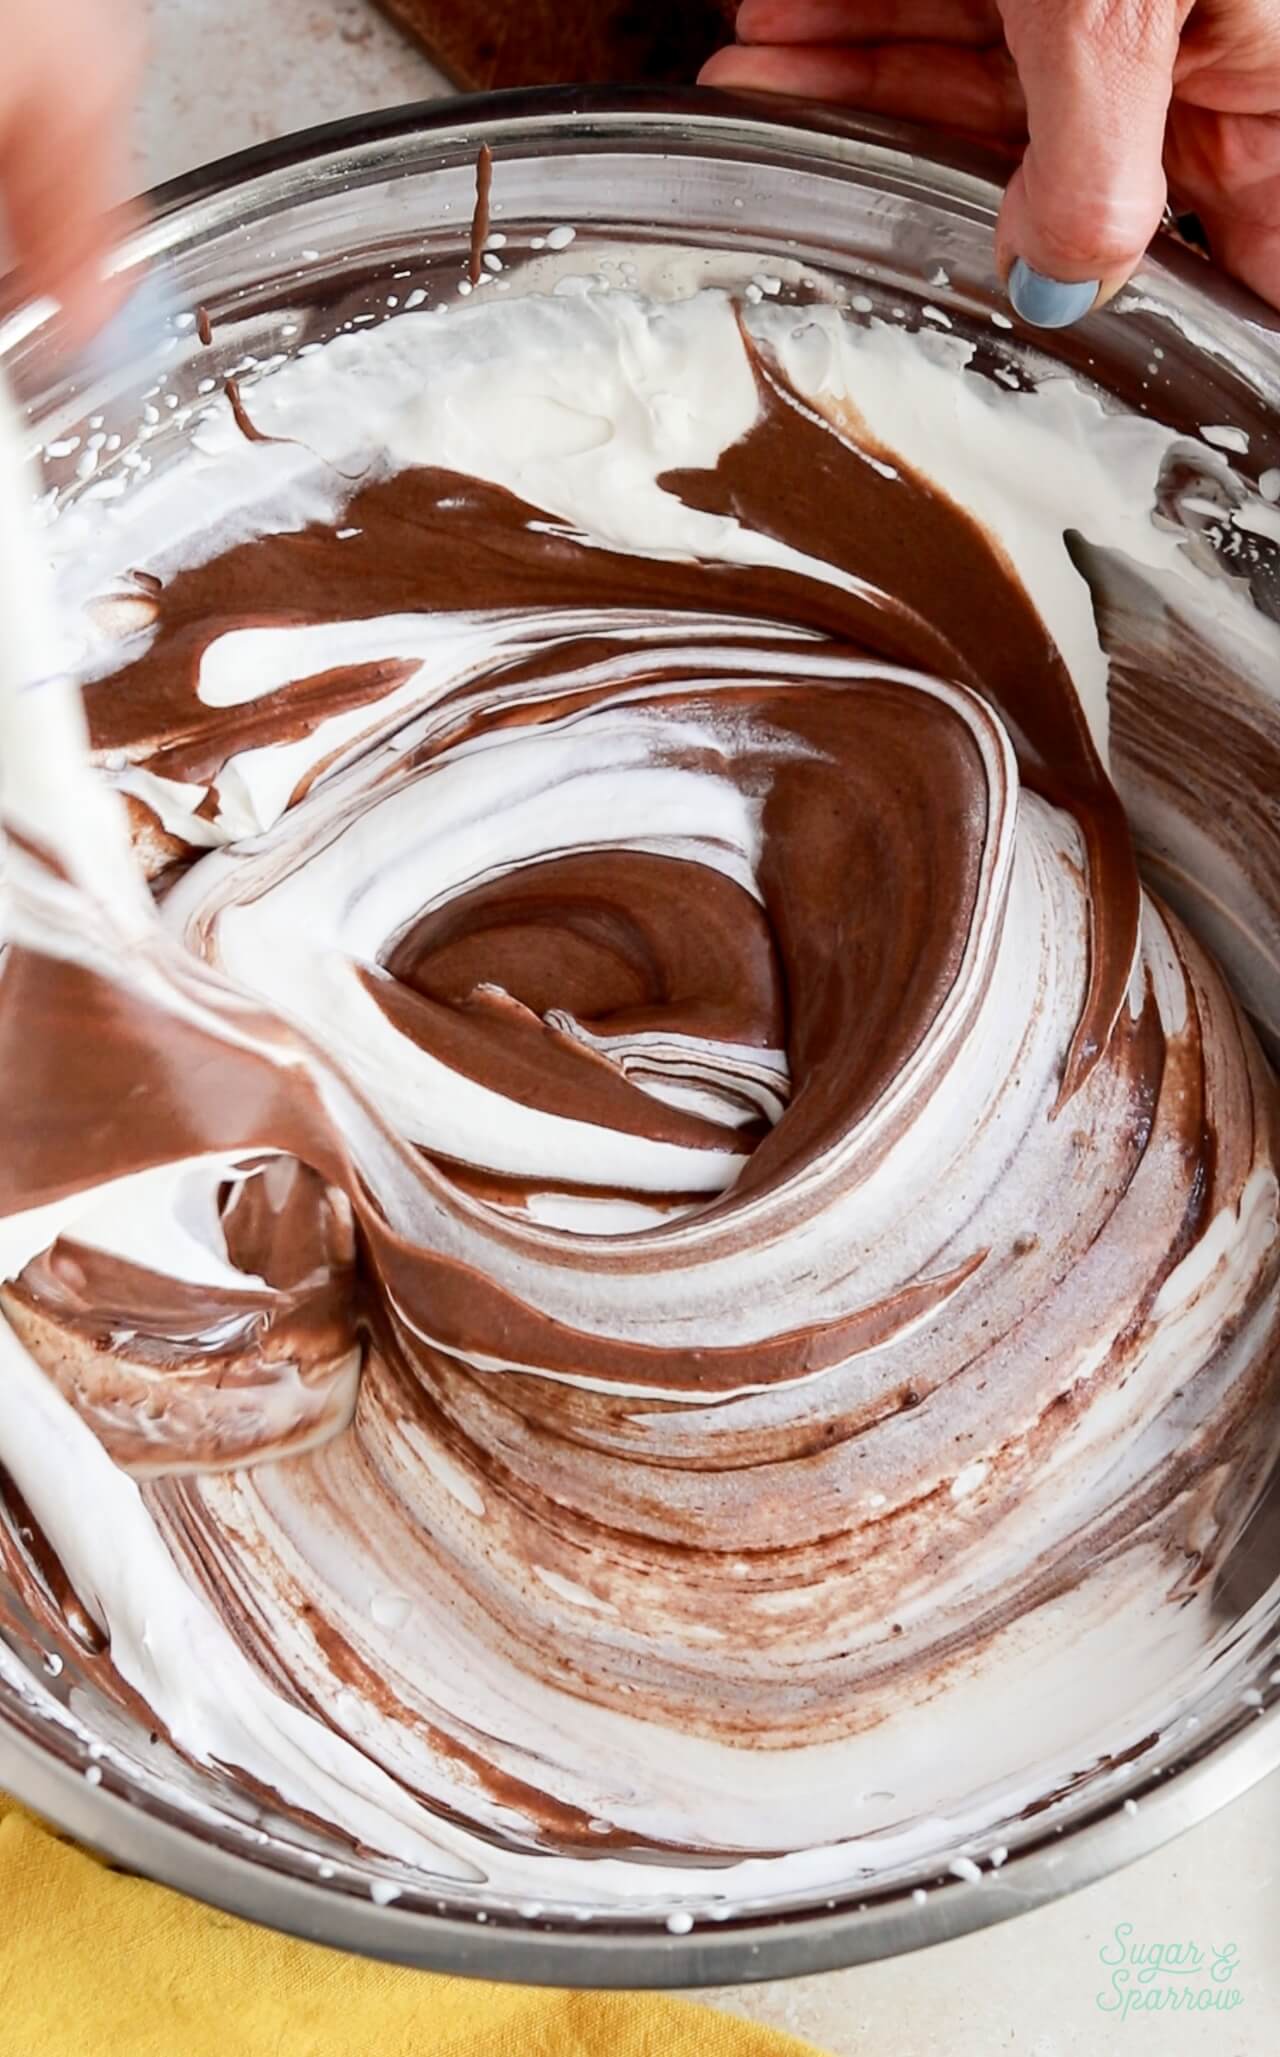
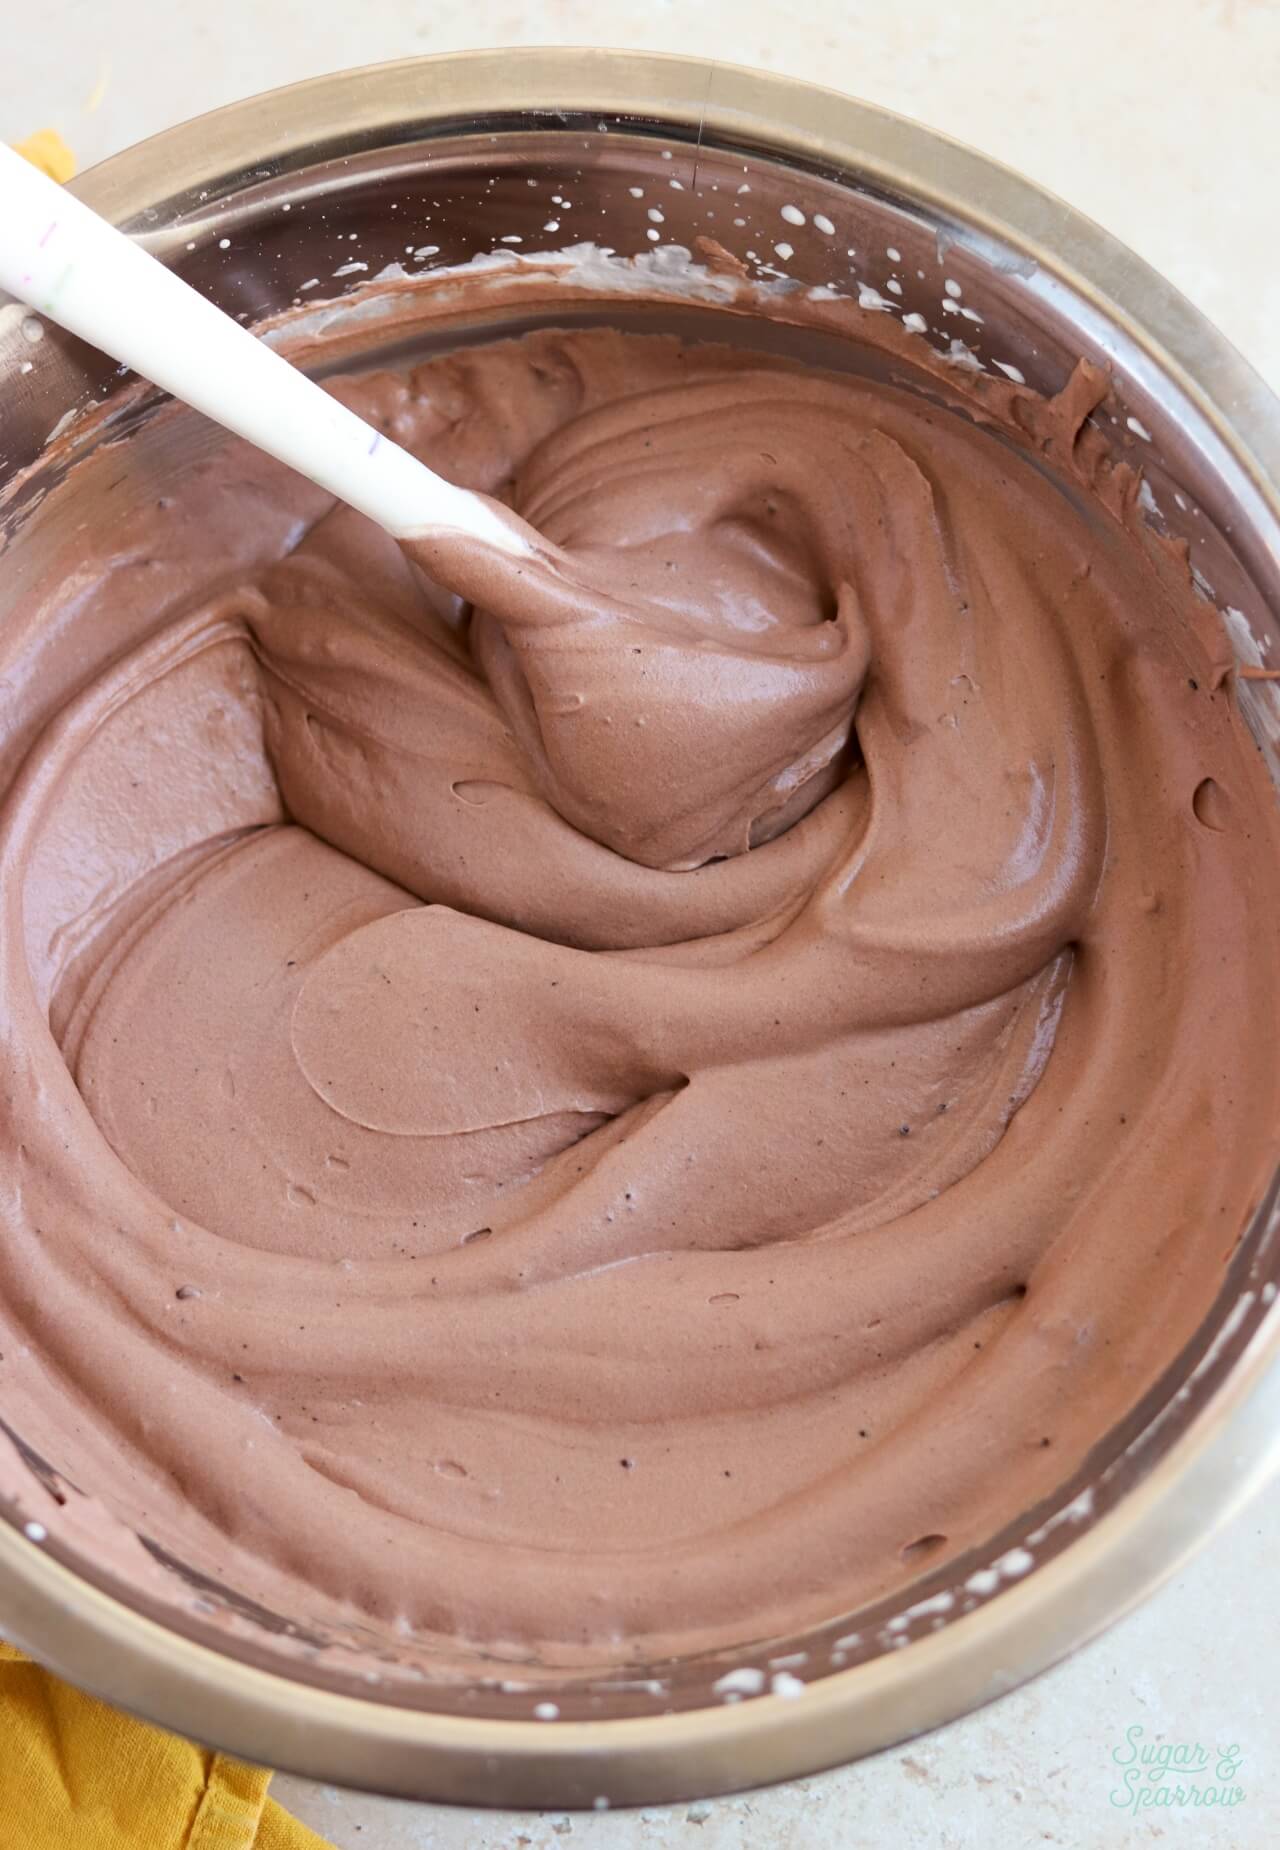
Add about one cup of the whipped cream into the sweetened condensed milk mixture and fold it together until uniform. Then, pour that mixture into the rest of the whipped cream and fold until well combined.
Add into a Container and Freeze
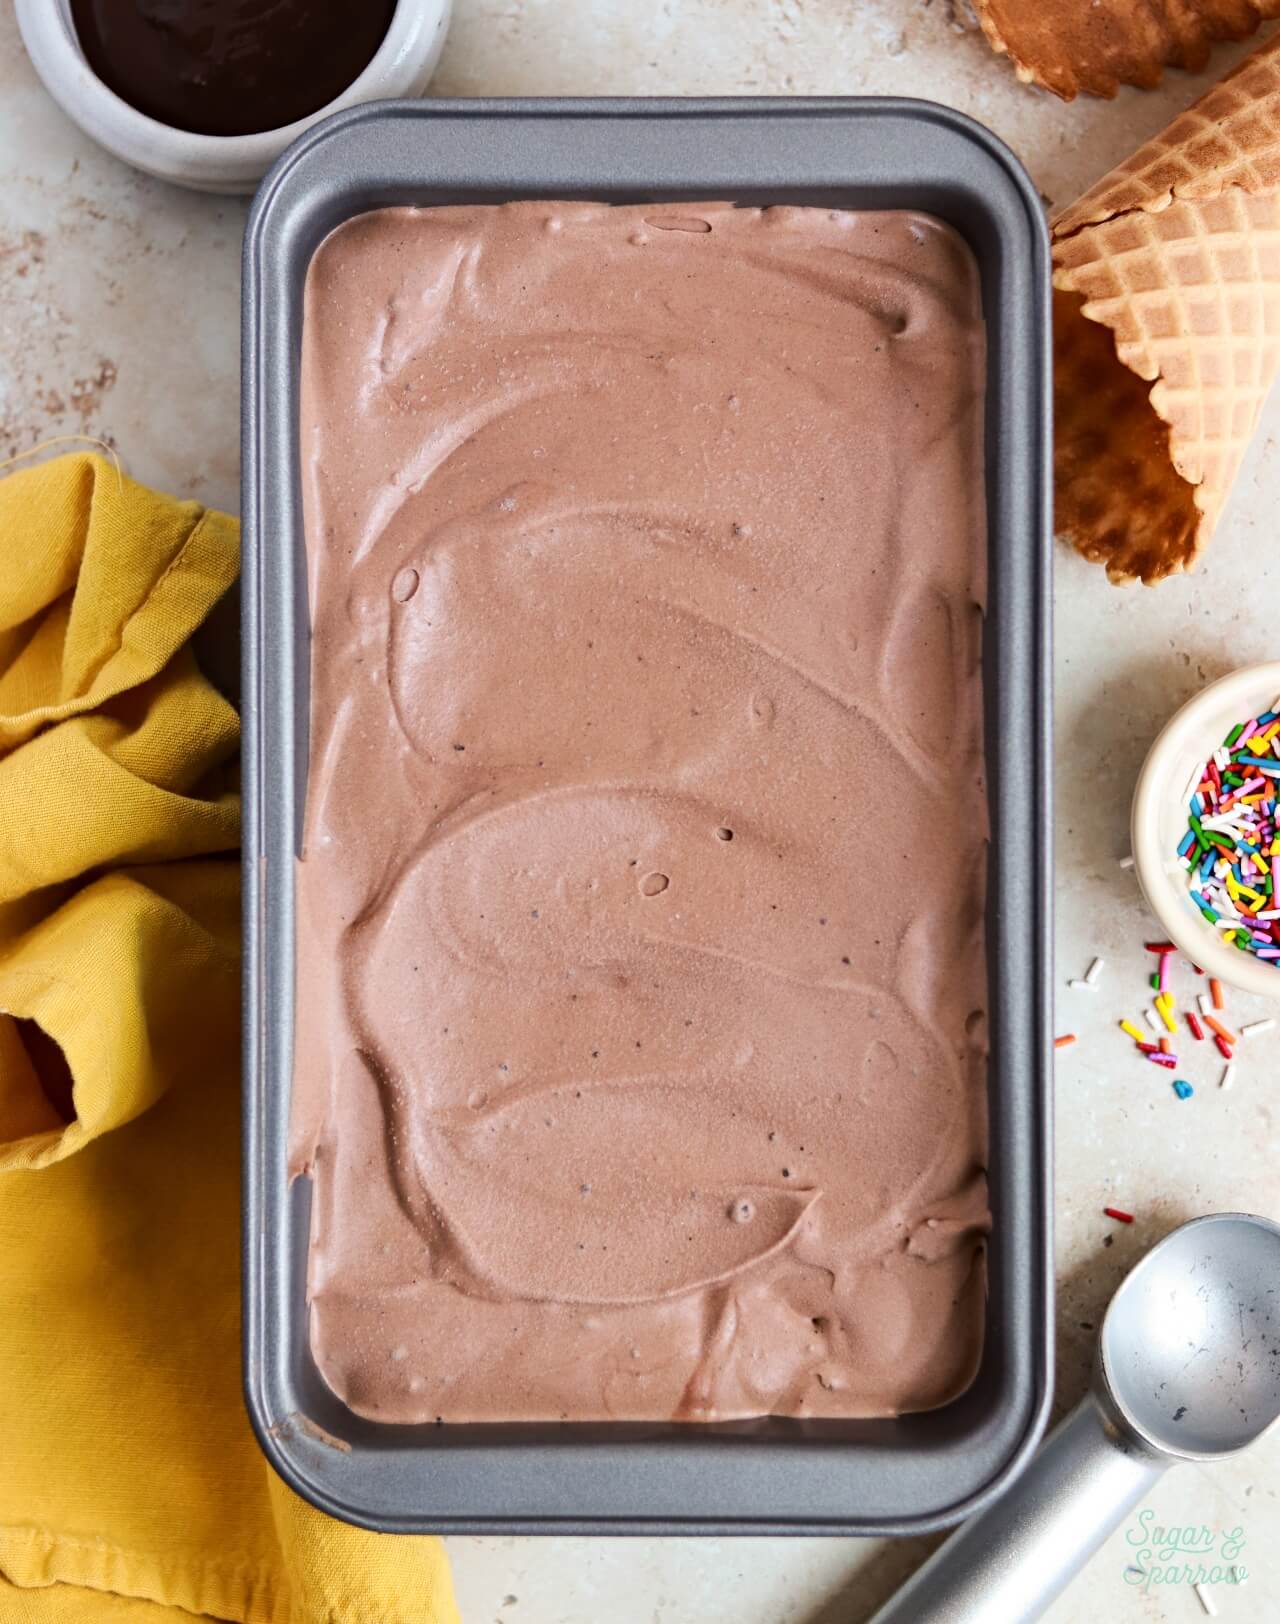
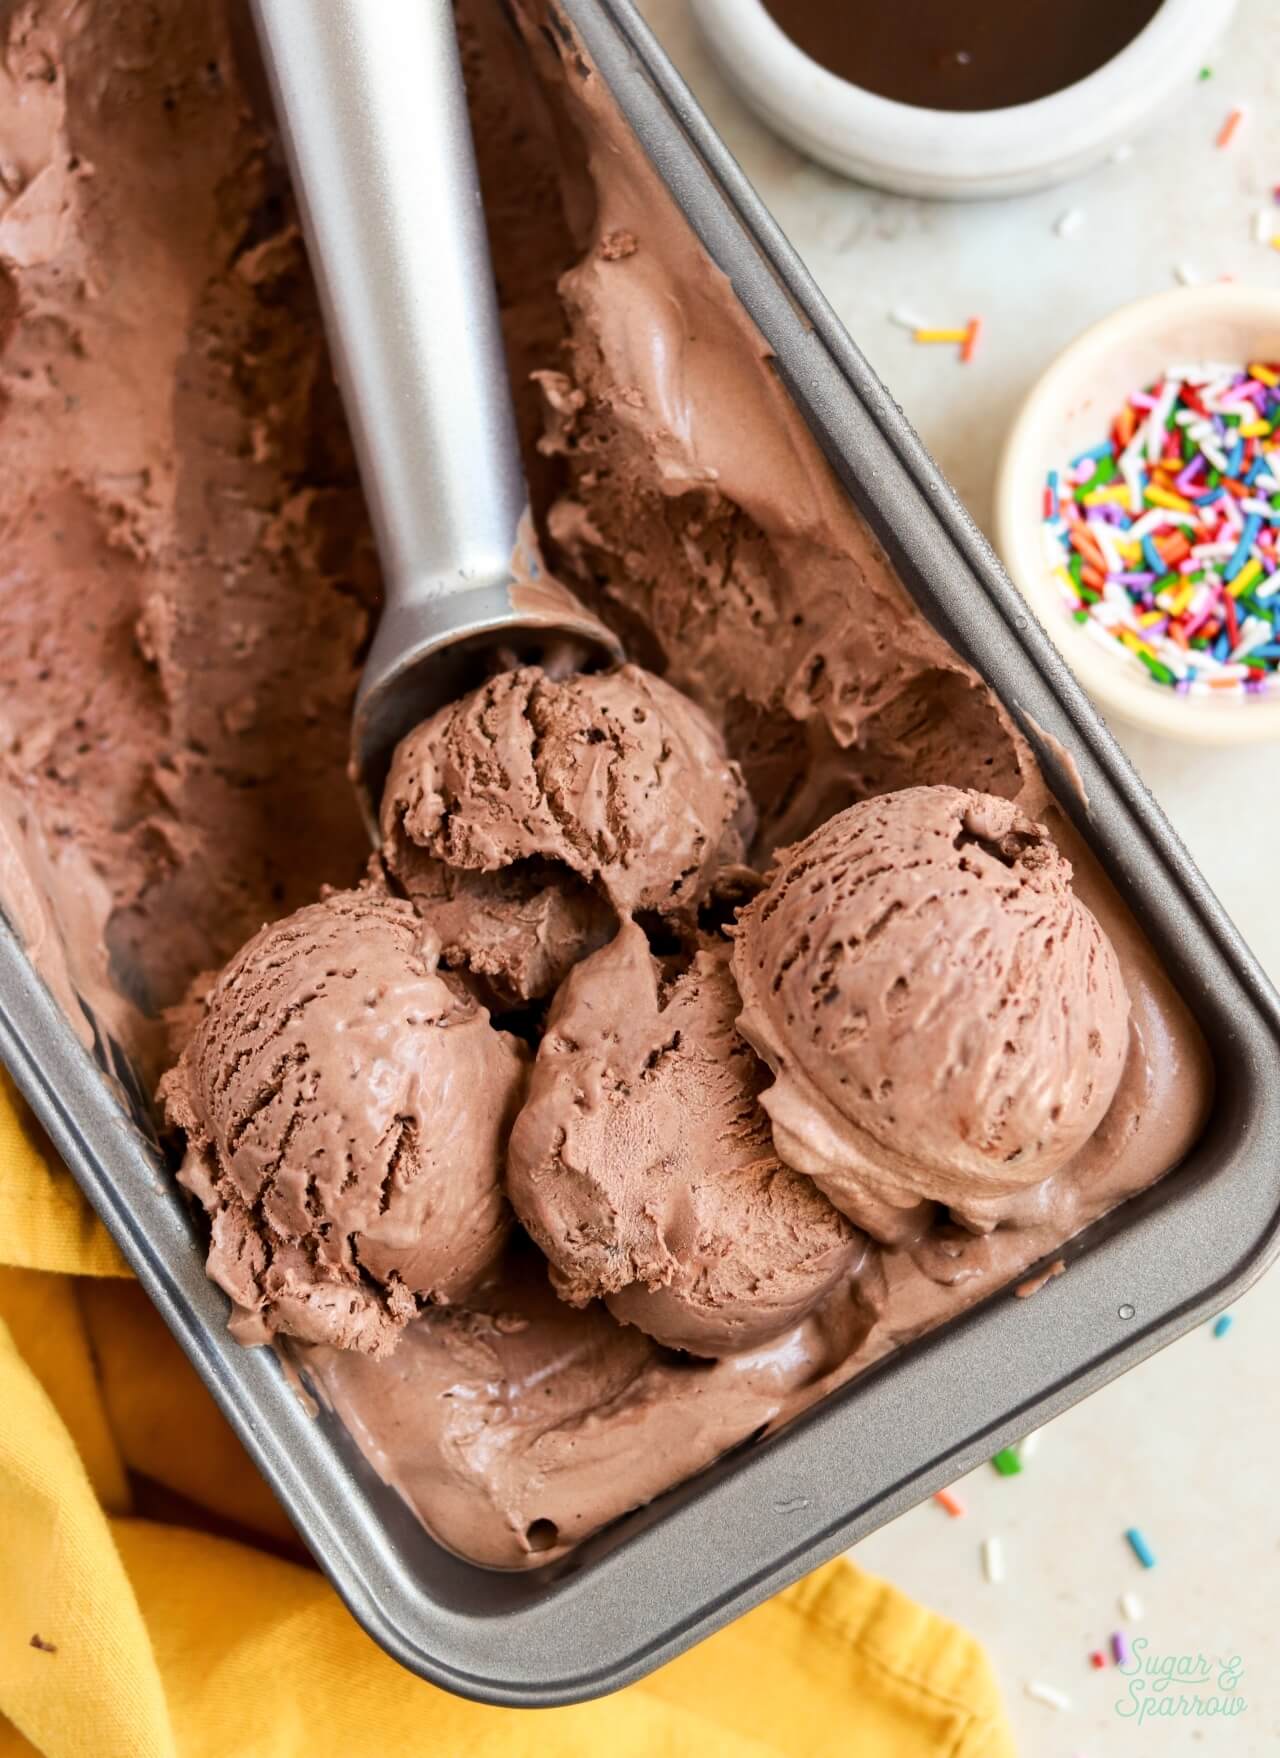
Add the chocolate ice cream mixture into a container (I always use a loaf pan), then cover with aluminum foil or plastic wrap and freeze overnight (or for 6-8 hours).
No-Churn Chocolate Ice Cream Video Tutorial
Here’s a quick video I made to show you the entire process of making this no-churn chocolate ice cream. If you want more recipe videos like this one, be sure to subscribe to my YouTube channel!
No-Churn Chocolate Ice Cream Mix-In Ideas
One of my favorite things about no-churn ice cream is that you can mix in all kinds of things to create other flavors. Just be sure to limit the amount of add-ins to 2 cups or less so your loaf pan isn’t overflowing. Here are a few of my favorite ideas for a no-churn chocolate ice cream base.
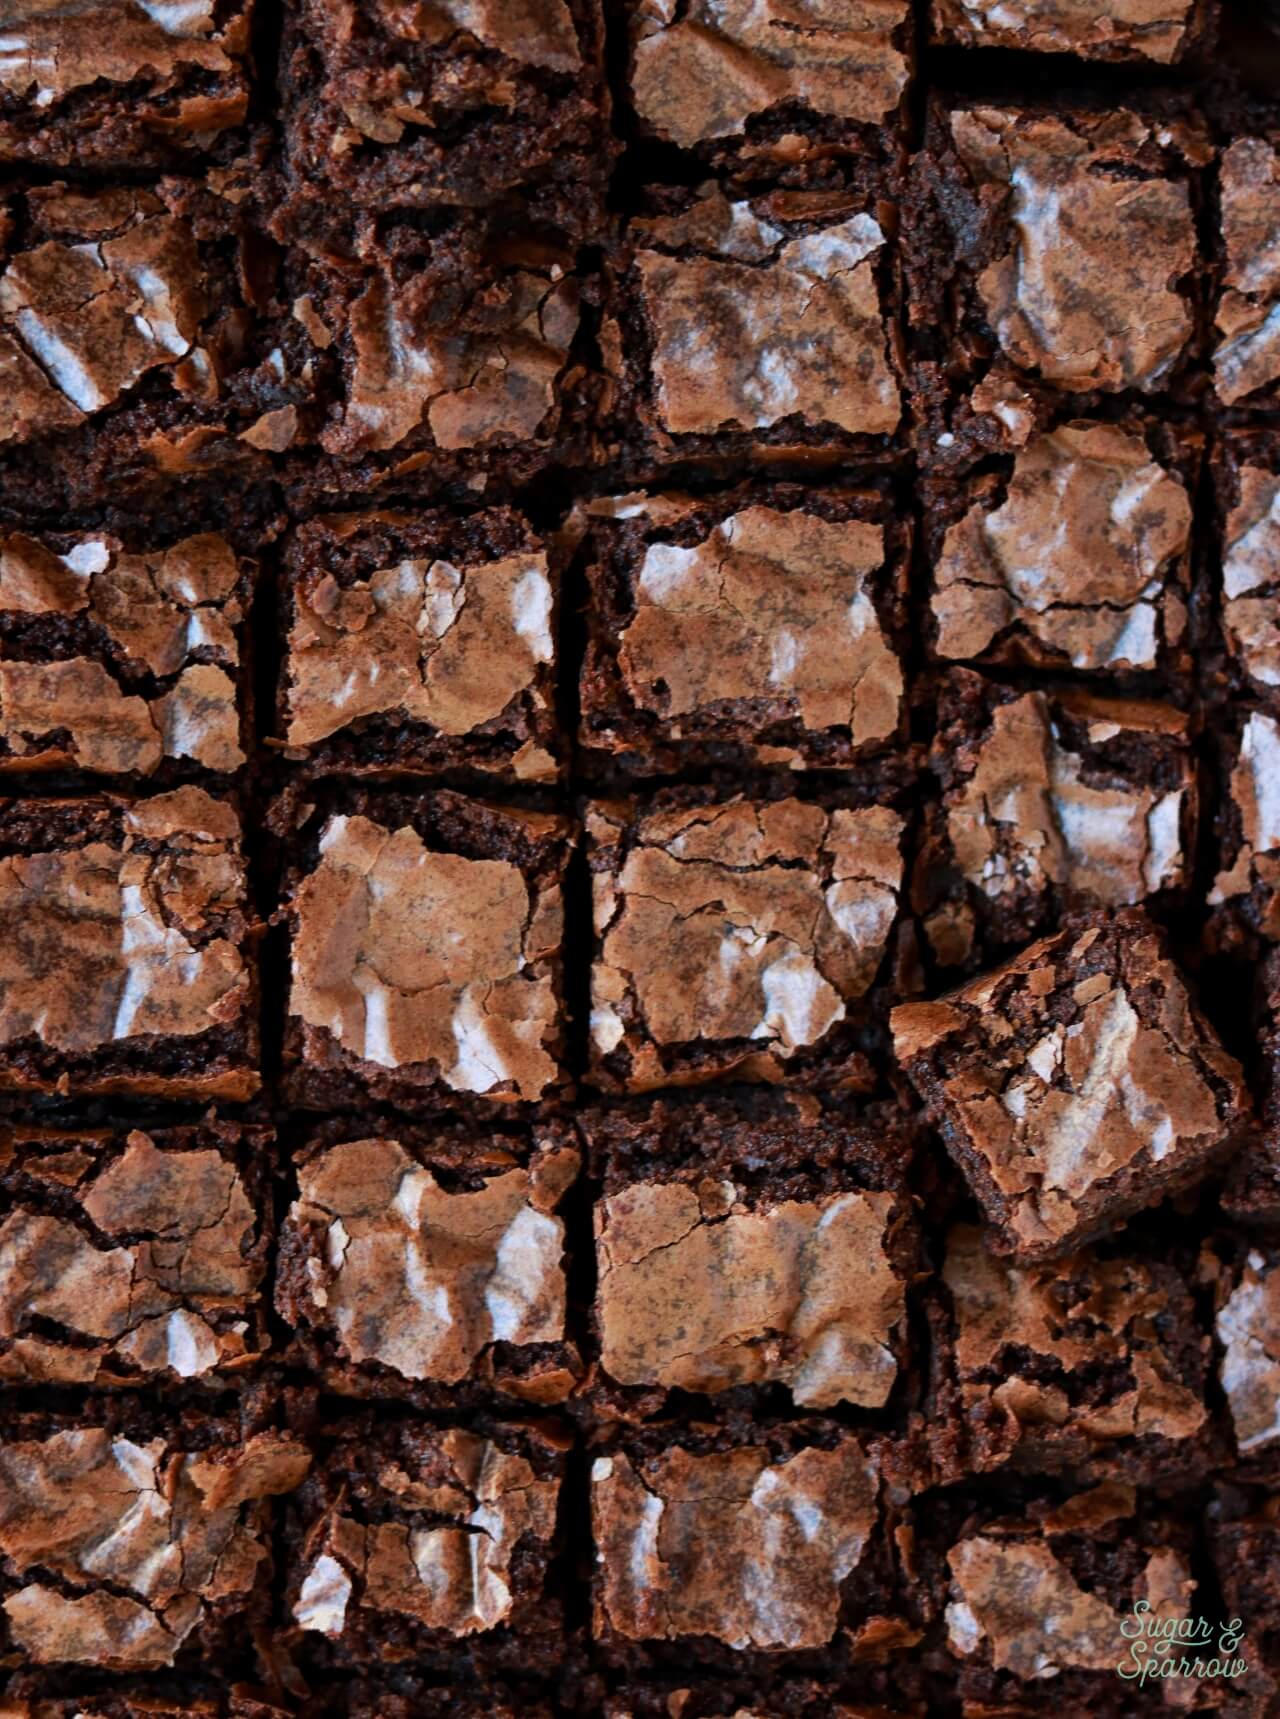
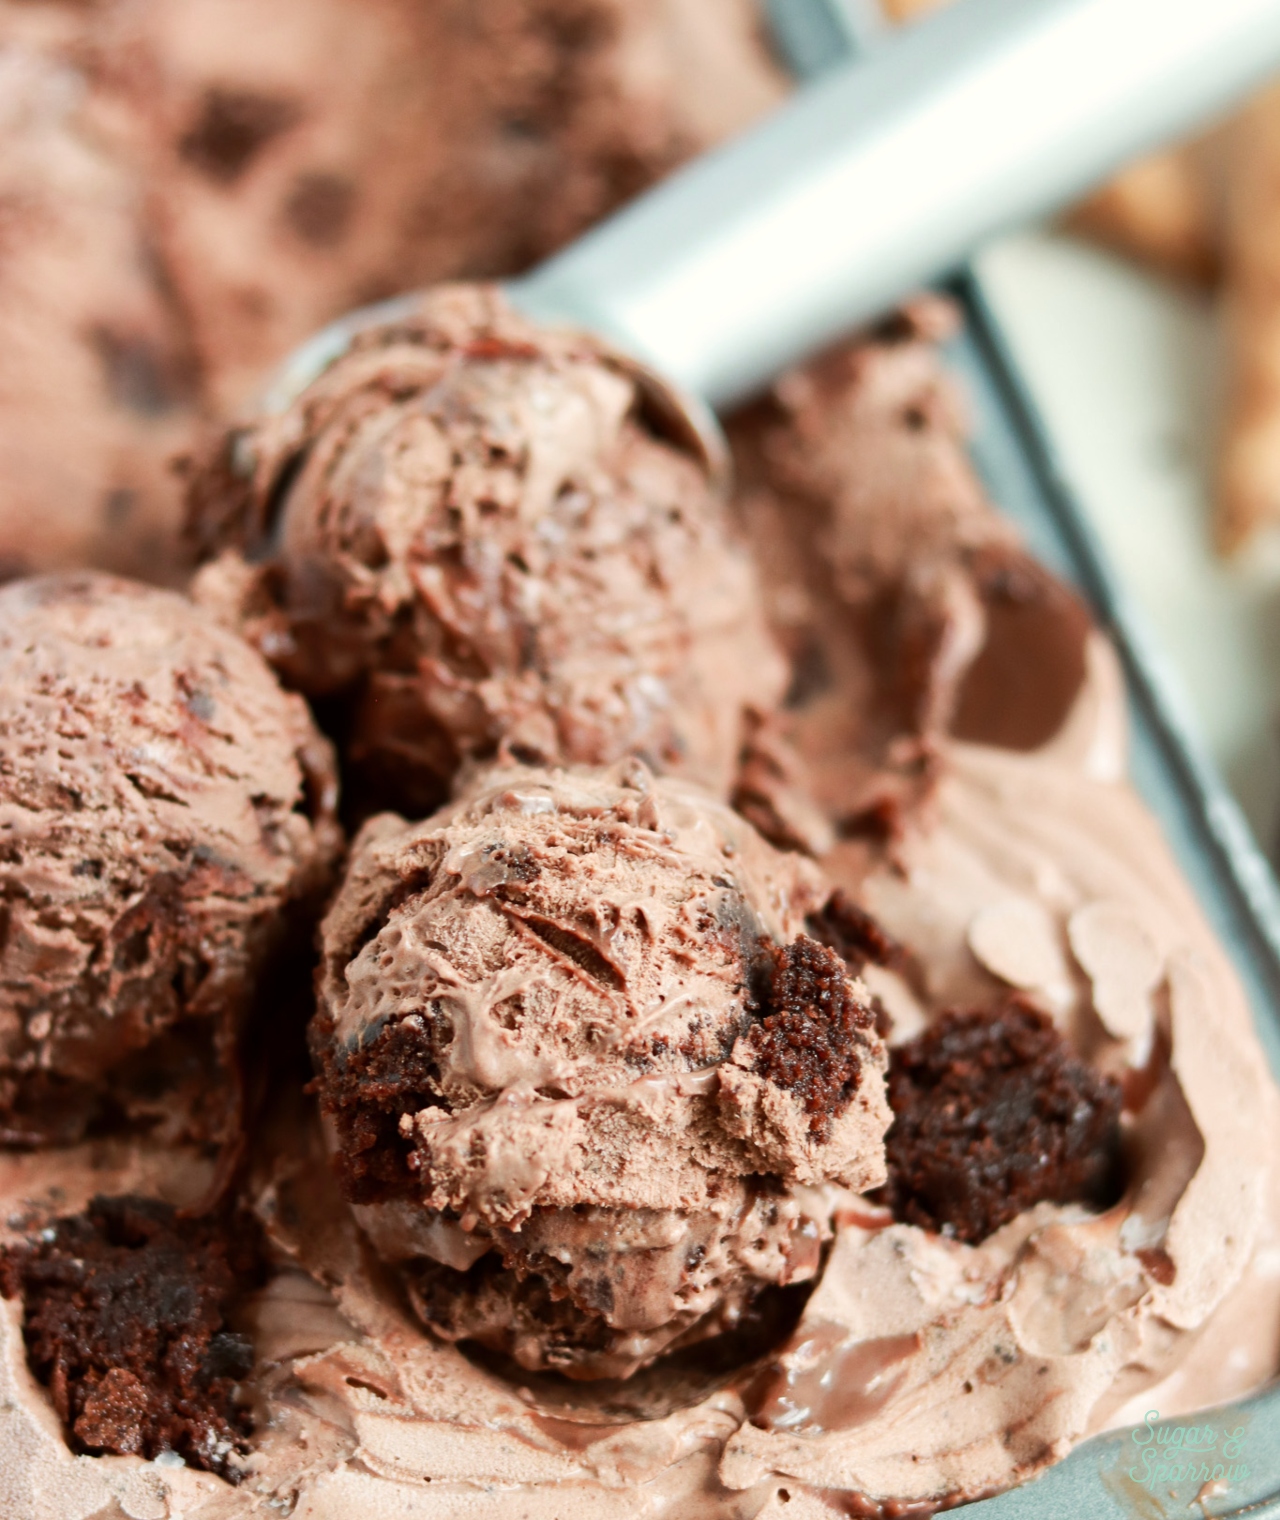
- Brownies. Chop up some homemade or store bought brownies to make brownie ice cream! I also love adding hot fudge sauce to make this flavor extra fudgy.
- Cookie Dough. Fold in ½ batch of my edible chocolate chip cookie dough to create chocolate cookie dough ice cream.
- Rocky Road. Add ½ cup finely chopped toasted almonds, ½ cup of roughly chopped chocolate, and 1 cup of mini marshmallows to make this iconic flavor.
- Chocolate Chips or Chopped Chocolate. To make it extra chocolatey and indulgent.
- Chocolate S’mores. Use my no-churn s’mores ice cream recipe with this chocolate base for an extra rich version! Fold in 1 ½ Cups of toasted mini marshmallows and ½ cup of roughly chopped graham crackers, and then ribbon the mixture with marshmallow creme and hot fudge sauce.
- Chopped Oreos. Or up to 2 cups of any chopped cookies to give it some extra crunch.
- Caramel Ribbons. Swirl the ice cream in the loaf pan with ribbons of thick caramel sauce or salted caramel.
- Mocha. Add 2 tablespoons of instant espresso powder to the sweetened condensed milk mixture to create chocolate mocha ice cream.
- Peanut Butter Pretzel. Swirl warm, creamy peanut butter and chunks of chopped pretzels into the loaf pan to create an irresistibly sweet and salty ice cream.
- Chocolate Raspberry. Swirl in ribbons of reduced raspberry puree or raspberry jam and 1 Cup of chopped dark chocolate.
- Mint Chocolate. Make a more decadent version of mint chocolate chip by adding 1 teaspoon of mint extract to the condensed milk mixture and fold in 1 Cup of chopped chocolate or mini chocolate chips at the end.
No-Churn Ice Cream FAQs
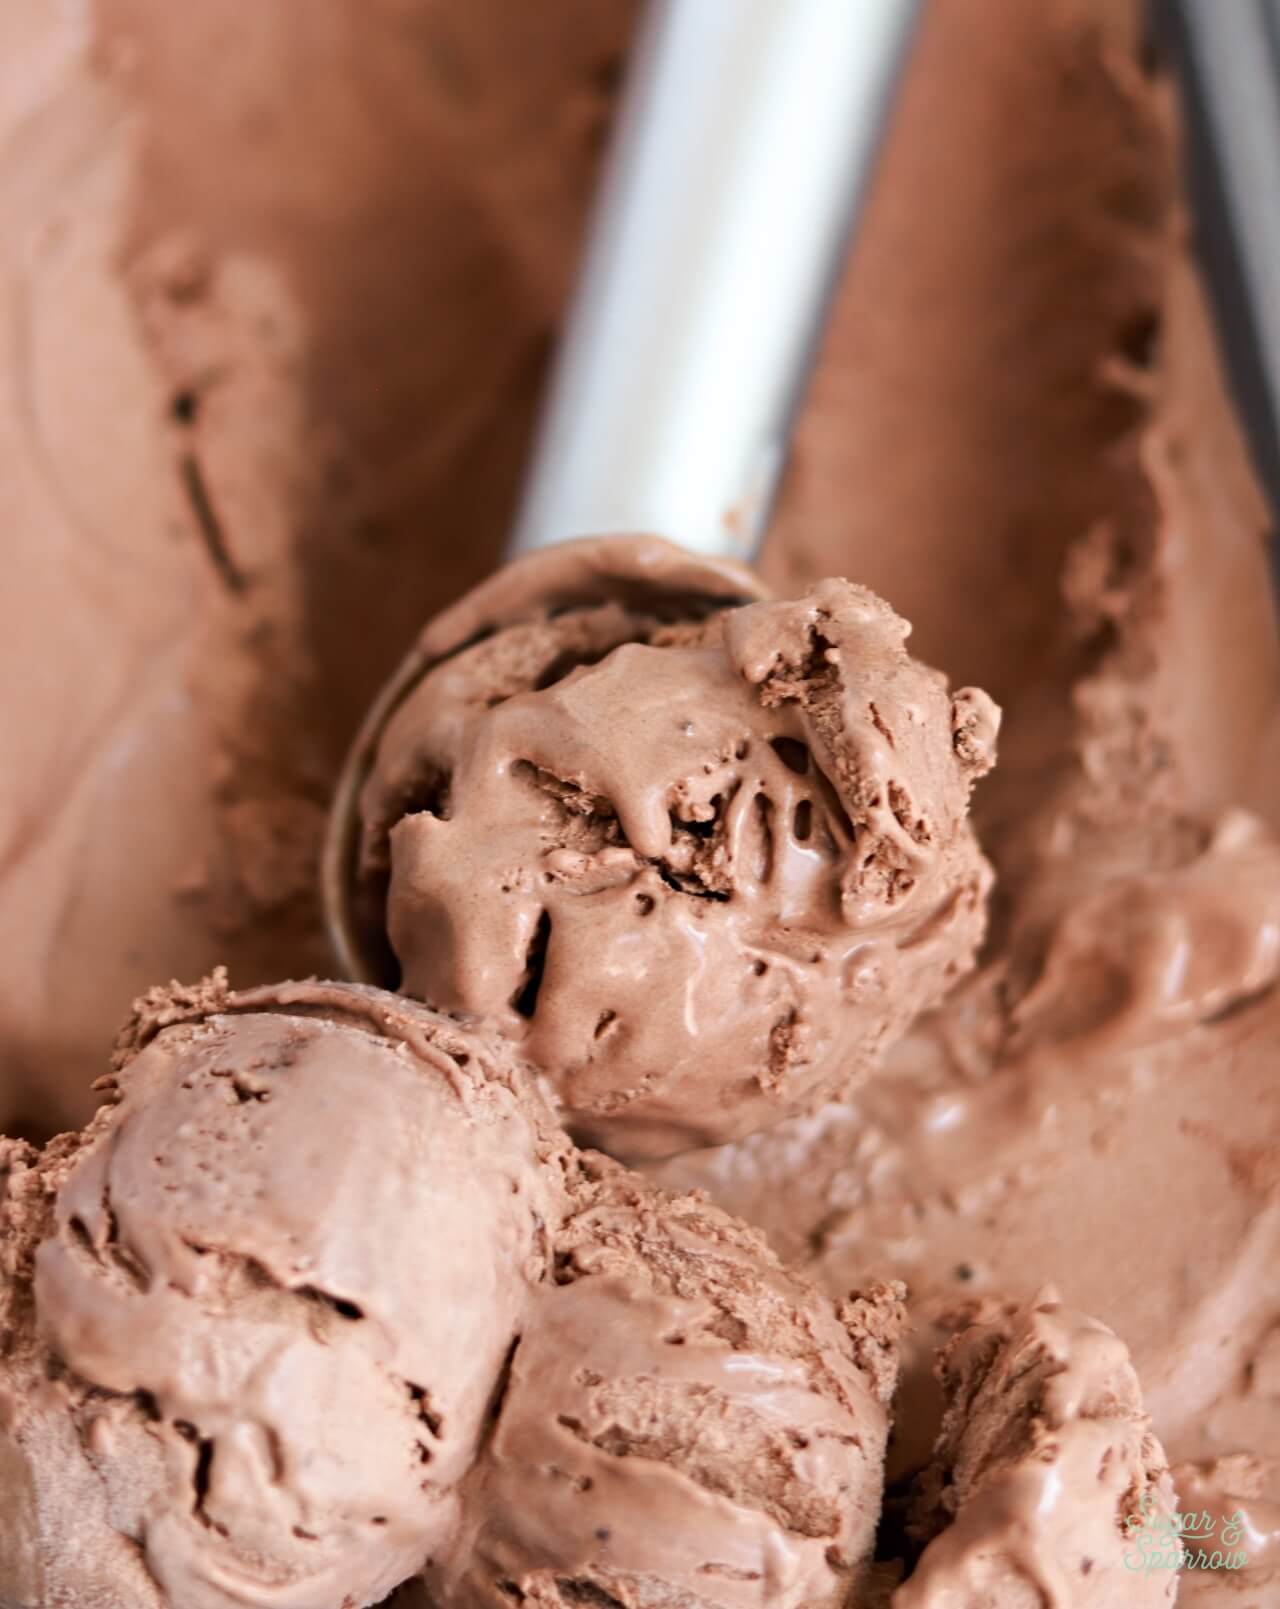
- How does it work without a machine? Whipping the heavy cream to stiff peaks adds just the right amount of air to make the ice cream structured and smooth, and the sweetened condensed milk lowers the freezing point so it stays creamy and velvety.
- Can I use evaporated milk instead of sweetened condensed milk? No. While the cans look similar and they’re often sold right next to each other, evaporated milk and sweetened condensed milk are entirely different and will not work the same.
- How do I make a dairy-free no-churn ice cream? Swap the heavy whipping cream for full-fat coconut cream (refrigerated until cold) and the sweetened condensed milk for sweetened condensed coconut milk.
- How do I store no-churn ice cream? I always make mine in a loaf pan and cover it with aluminum foil or plastic wrap initially. If you’re planning on storing it for longer than a few days (mine never lasts that long in a house full of boys!), add it into an airtight plastic container and it will keep in the freezer for up to 2 months.
Try These Recipes Next
If you’re a no-churn ice cream fan now, here are some more recipes from my blog to add to your baking list:
- No-Churn S’mores Ice Cream
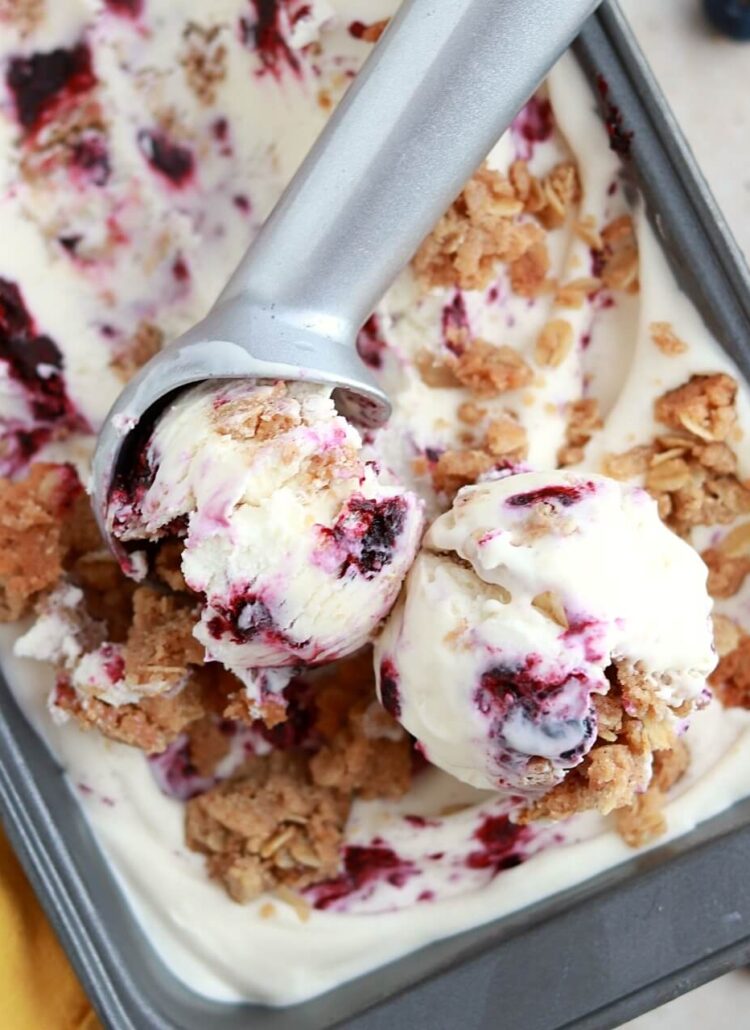
- No-Churn Berry Crisp Ice Cream
- No-Churn Strawberry Shortcake Ice Cream
- No-Churn Dulce de Leche Ice Cream
- No-Churn Mint Chocolate Chip Ice Cream
I hope you love this chocolate ice cream recipe as much as I do! Let me know if you make it in the comments below (be sure to leave a star rating!) and feel free to tag @sugarandsparrowco on Instagram to show me if you post a photo. I love to see what you create with my recipes!
No-Churn Chocolate Ice Cream
Equipment
Ingredients
- 2 Cups (480ml) heavy whipping cream
- 3/4 Cup (4oz, 135g) semi-sweet chocolate chips
- 14 Oz sweetened condensed milk
- 1/3 Cup (30g) unsweetened cocoa powder Dutch-processed or natural
- 1 tsp pure vanilla extract
- pinch of salt
Instructions
- Place a large metal bowl into the refrigerator to chill for at least 20 minutes.
- Remove the large chilled metal bowl from the refrigerator and add the heavy whipping cream into it. Beat with a hand mixer (or using the whisk attachment on your stand mixer) until stiff peaks form, about 2-4 minutes. Place the whipped cream into the refrigerator while you move on.
- Place the chocolate chips in a microwave-safe bowl and heat in 30-second increments, stirring after each one, until melted and smooth.
- In a separate medium bowl, add the sweetened condensed milk and melted chocolate. Whisk together until combined, then add the cocoa powder, vanilla, and salt. Whisk until combined and as smooth as possible (don't worry if there are a few small lumps). The mixture will be thick and resemble brownie batter.
- Remove the whipped cream from the refrigerator and use a silicone spatula to fold about 1 cup of it into the chocolate condensed milk mixture. Then, pour the chocolate mixture into the remaining whipped cream and fold together until fully combined. If you're planning on adding any mix-ins, fold those in at this point.
- Add the chocolate ice cream into the loaf pan and cover the top with plastic wrap or aluminum foil, then freeze for 6-8 hours, after which the ice cream should be semi-firm, scoop-able, and ready to enjoy!

Leave a Reply