
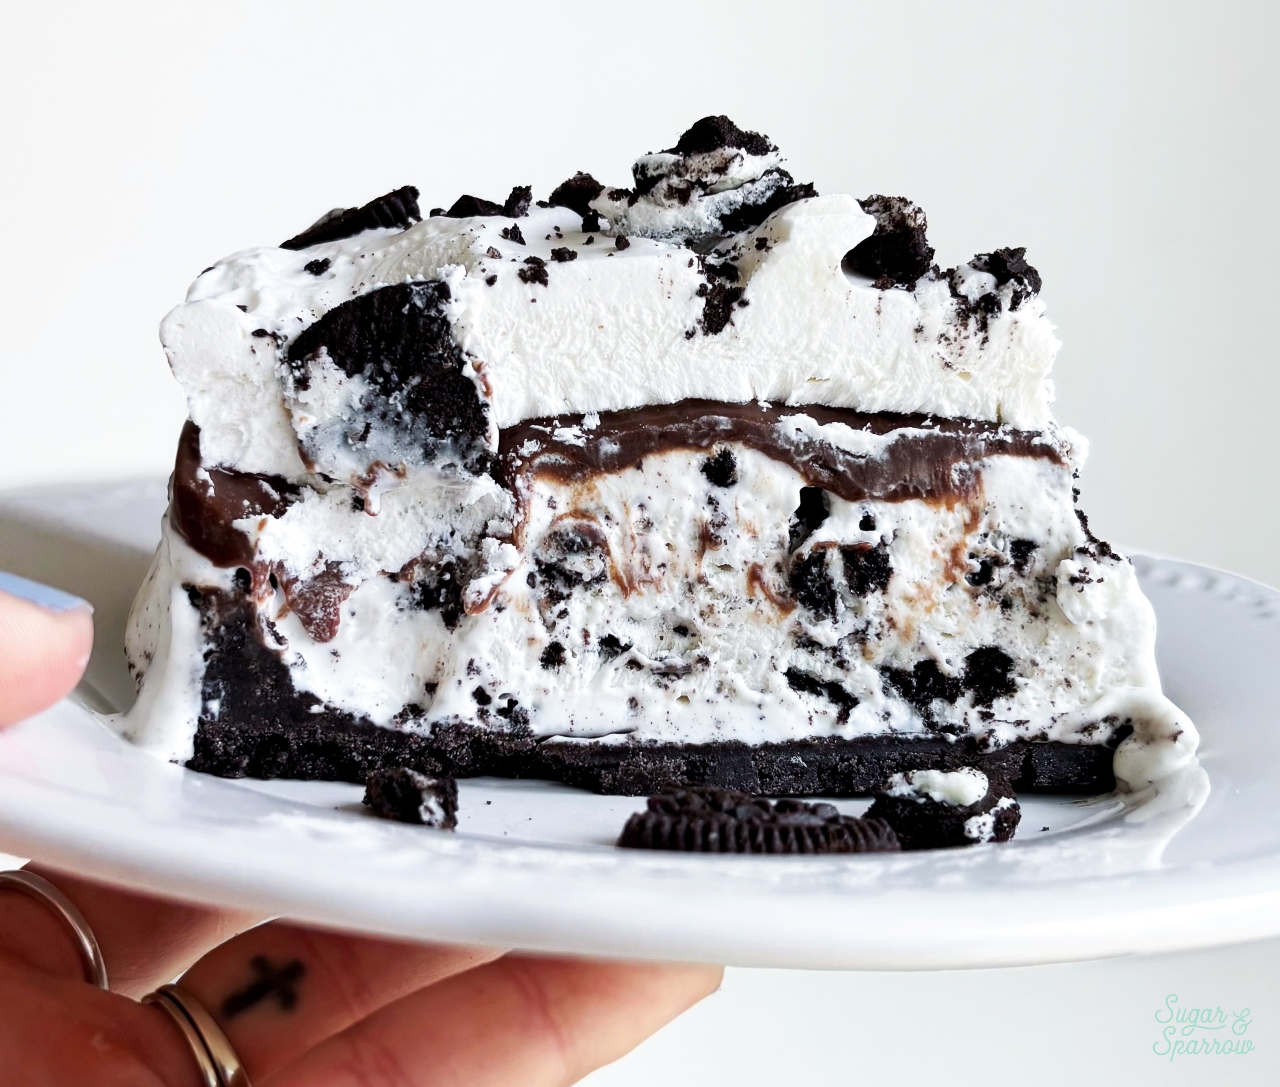
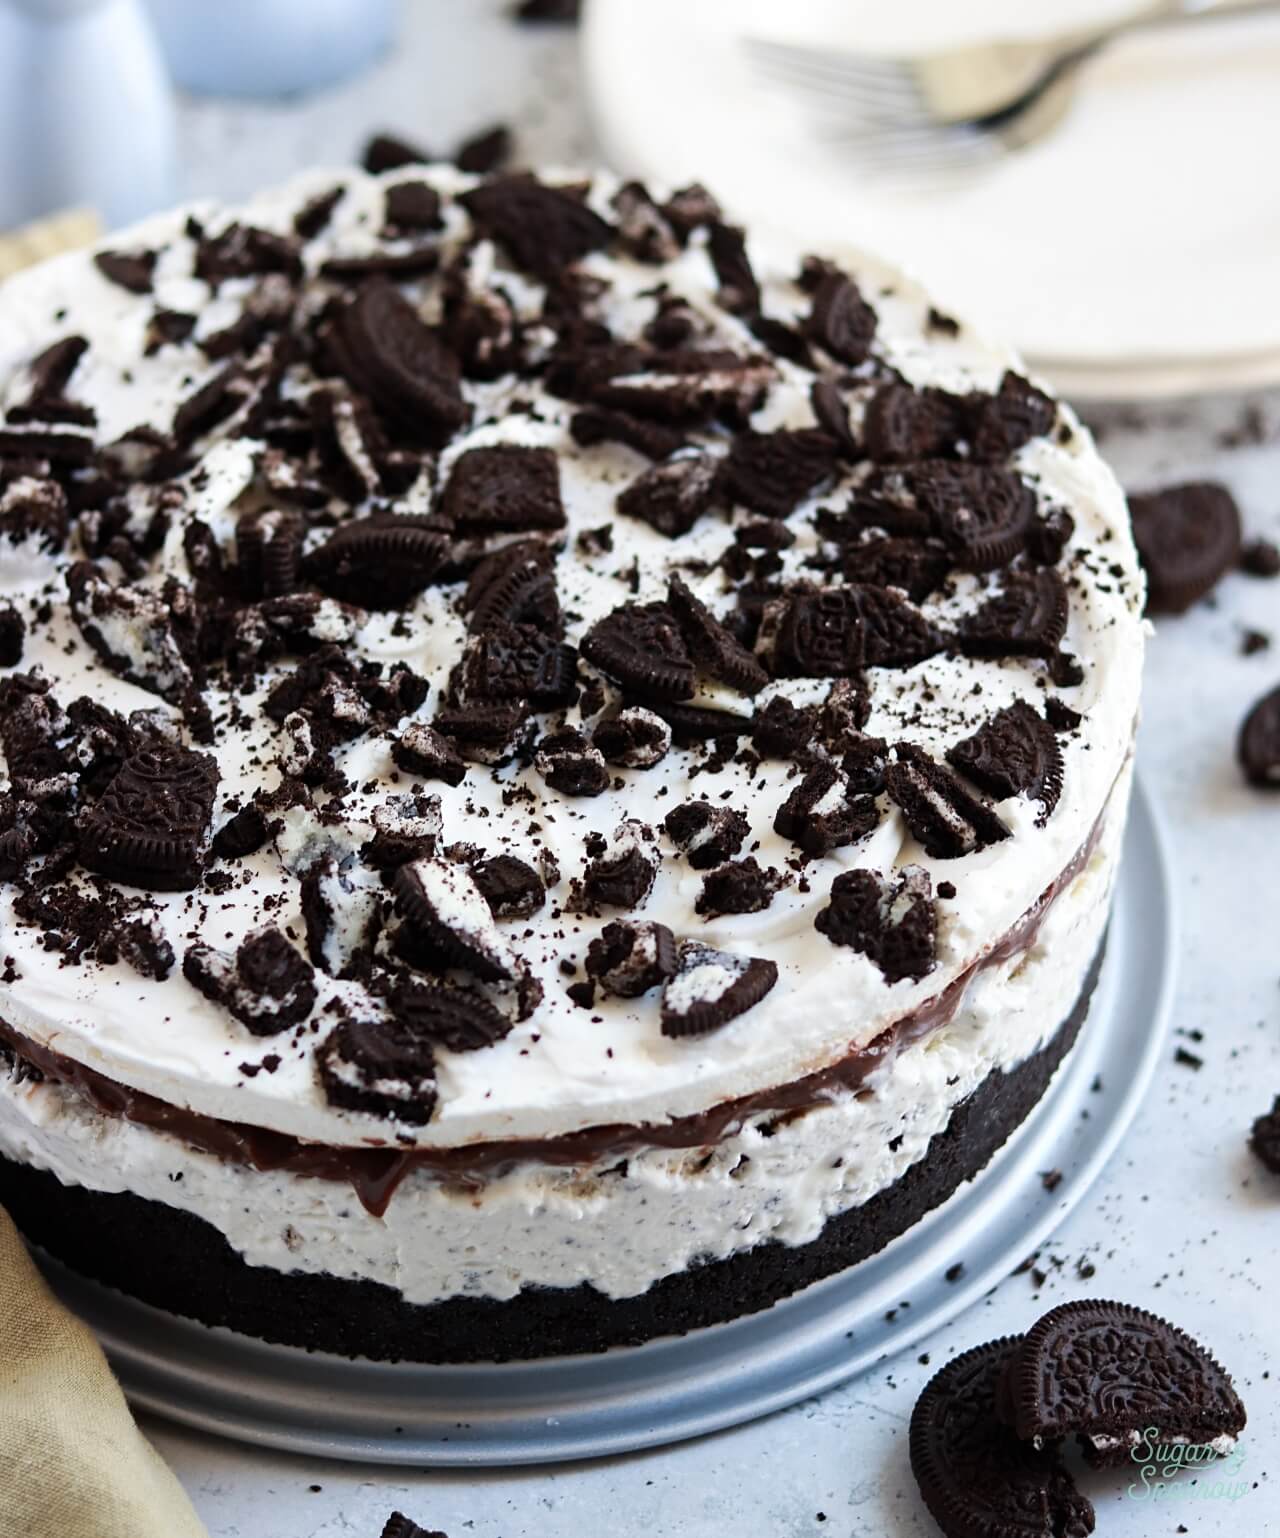
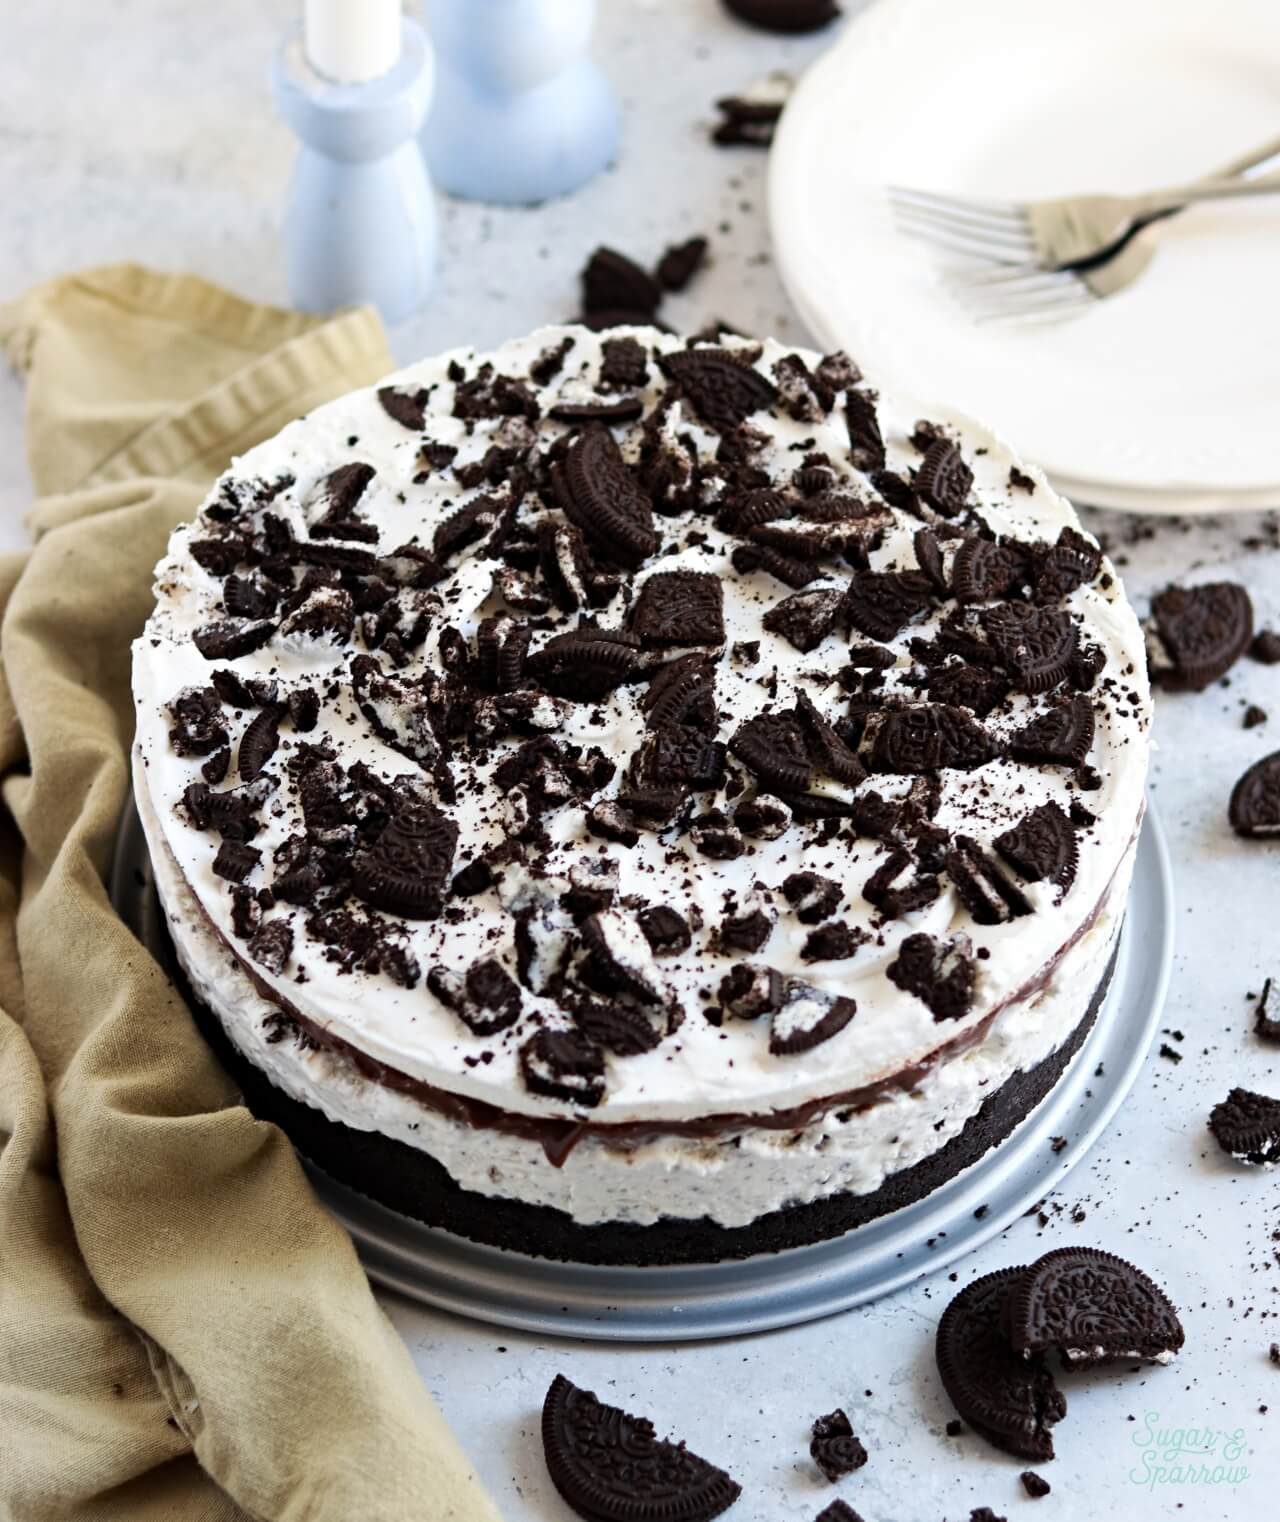
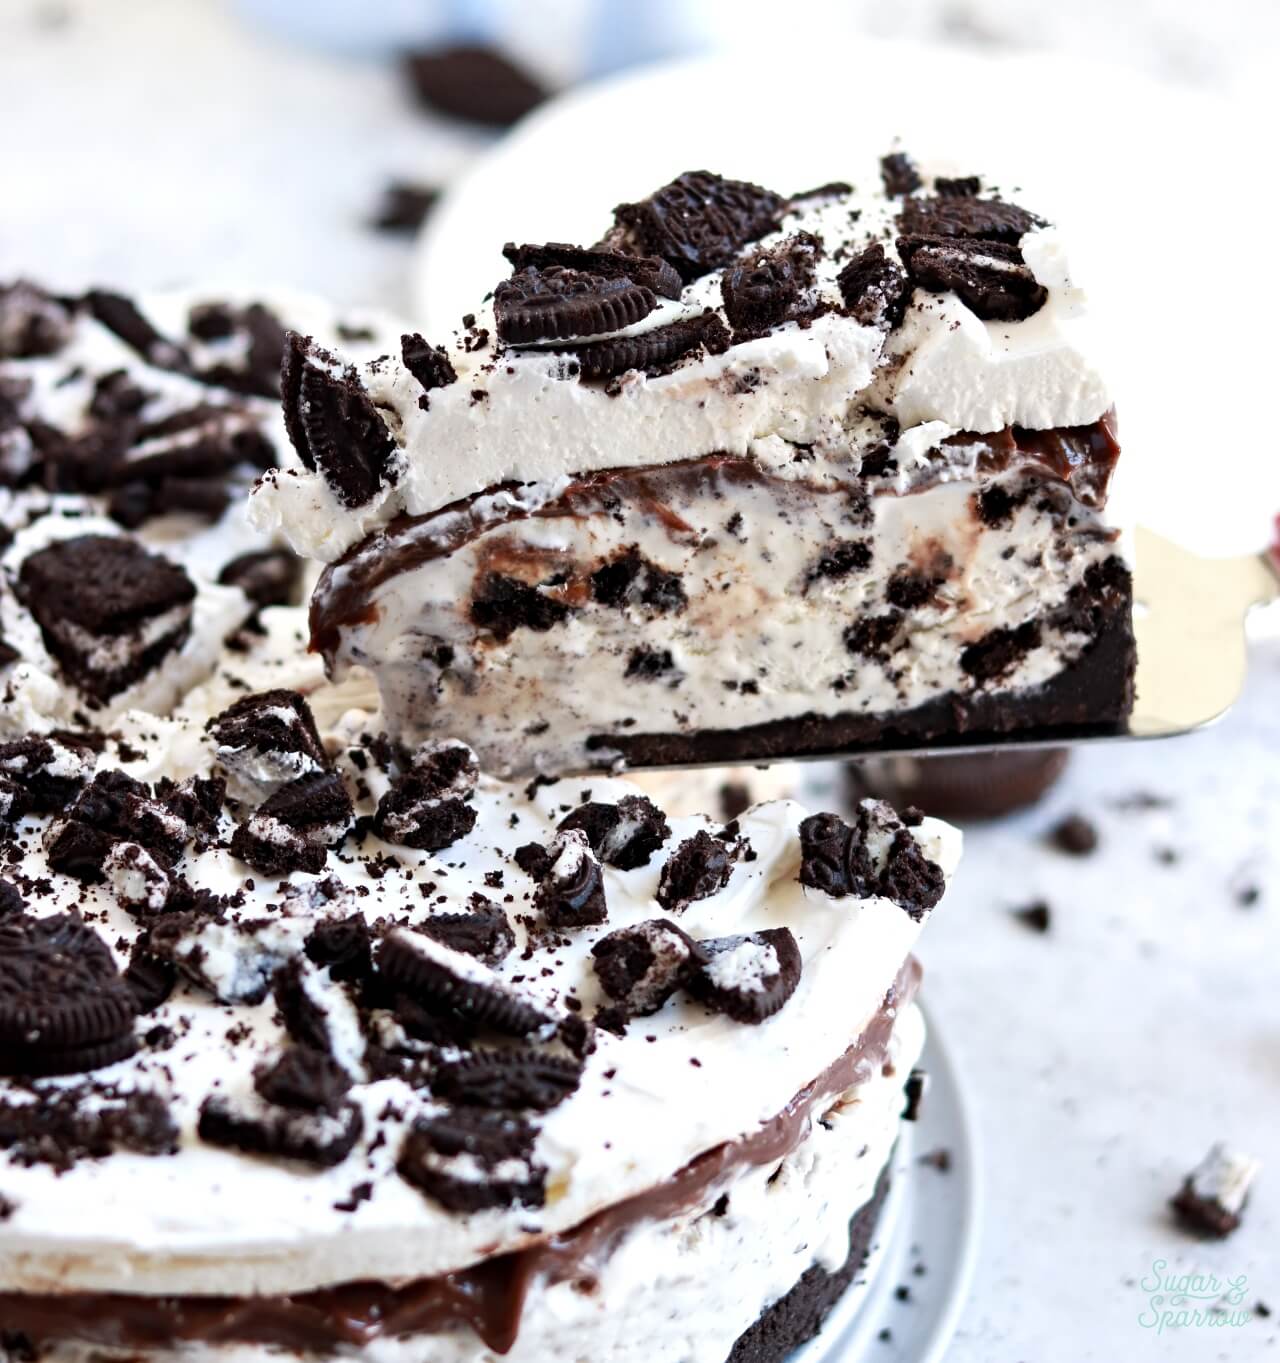
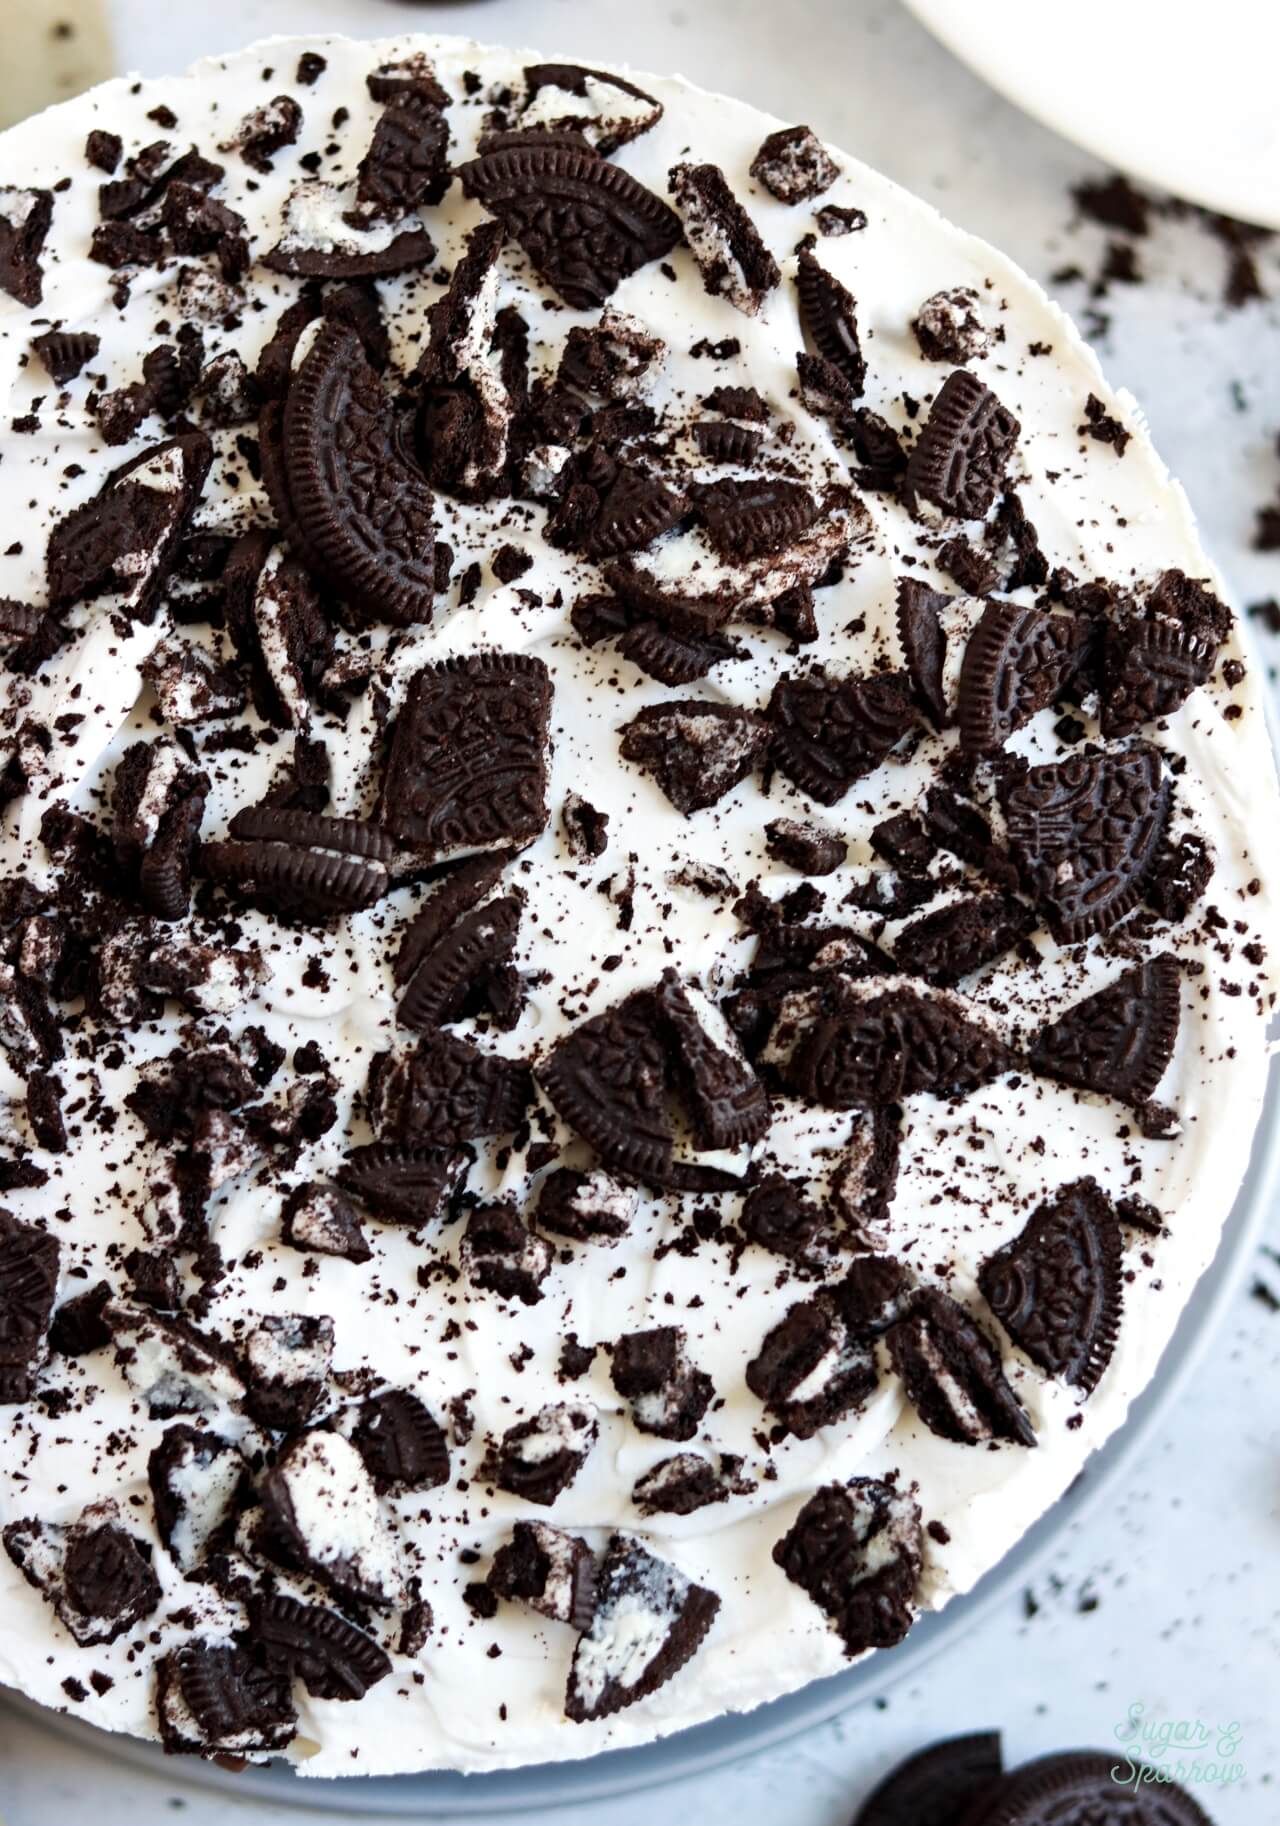
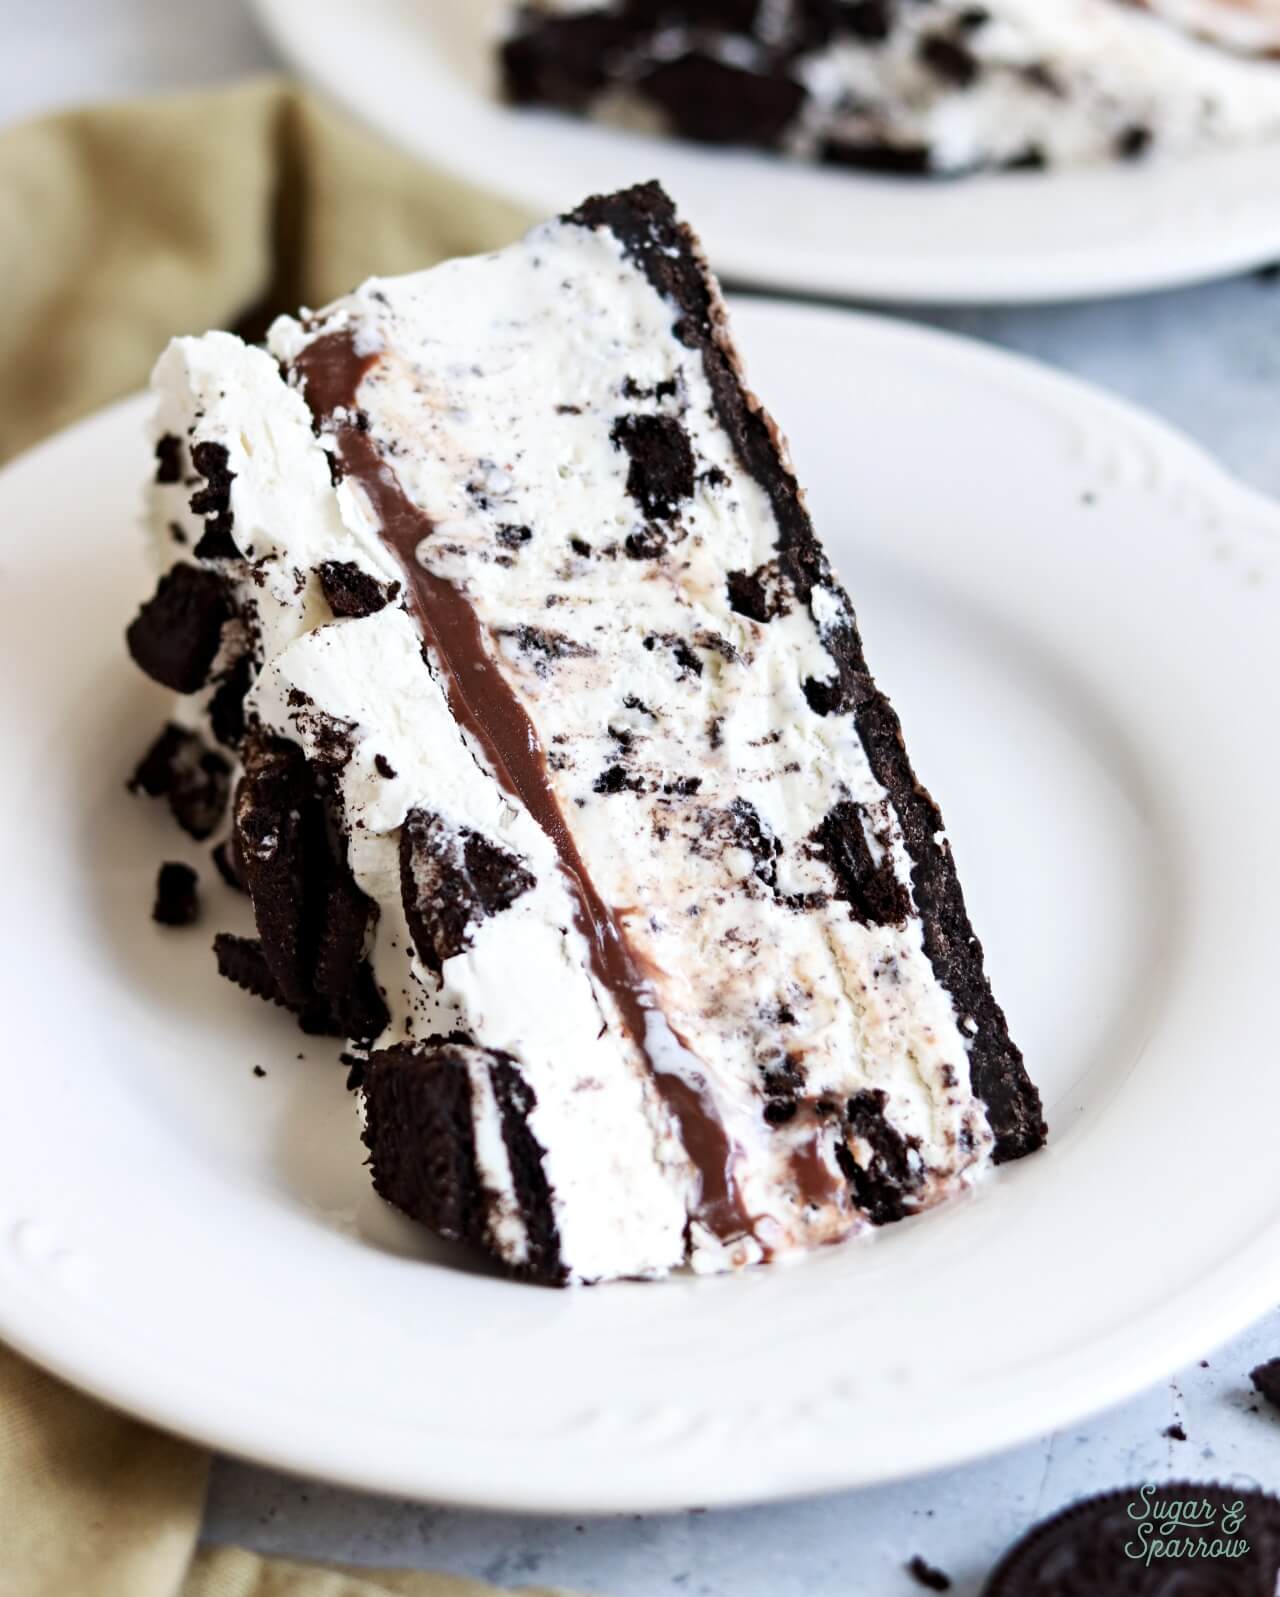
This cookies & cream ice cream cake is every Oreo lover’s dream! It’s perfectly decadent with an Oreo cookie crust, delicious no-churn cookies & cream ice cream, a layer of hot fudge, and whipped cream frosting with crushed cookies on top. Every slice is loaded with Oreo cookies and it feels so right! I love that each layer of this cake is so easy to make with less than a handful of ingredients per component. You can easily make it ahead of time and have a deliciously refreshing ice cream cake ready to go any time you’re ready to party!
Cookies & Cream Ice Cream Cake Components
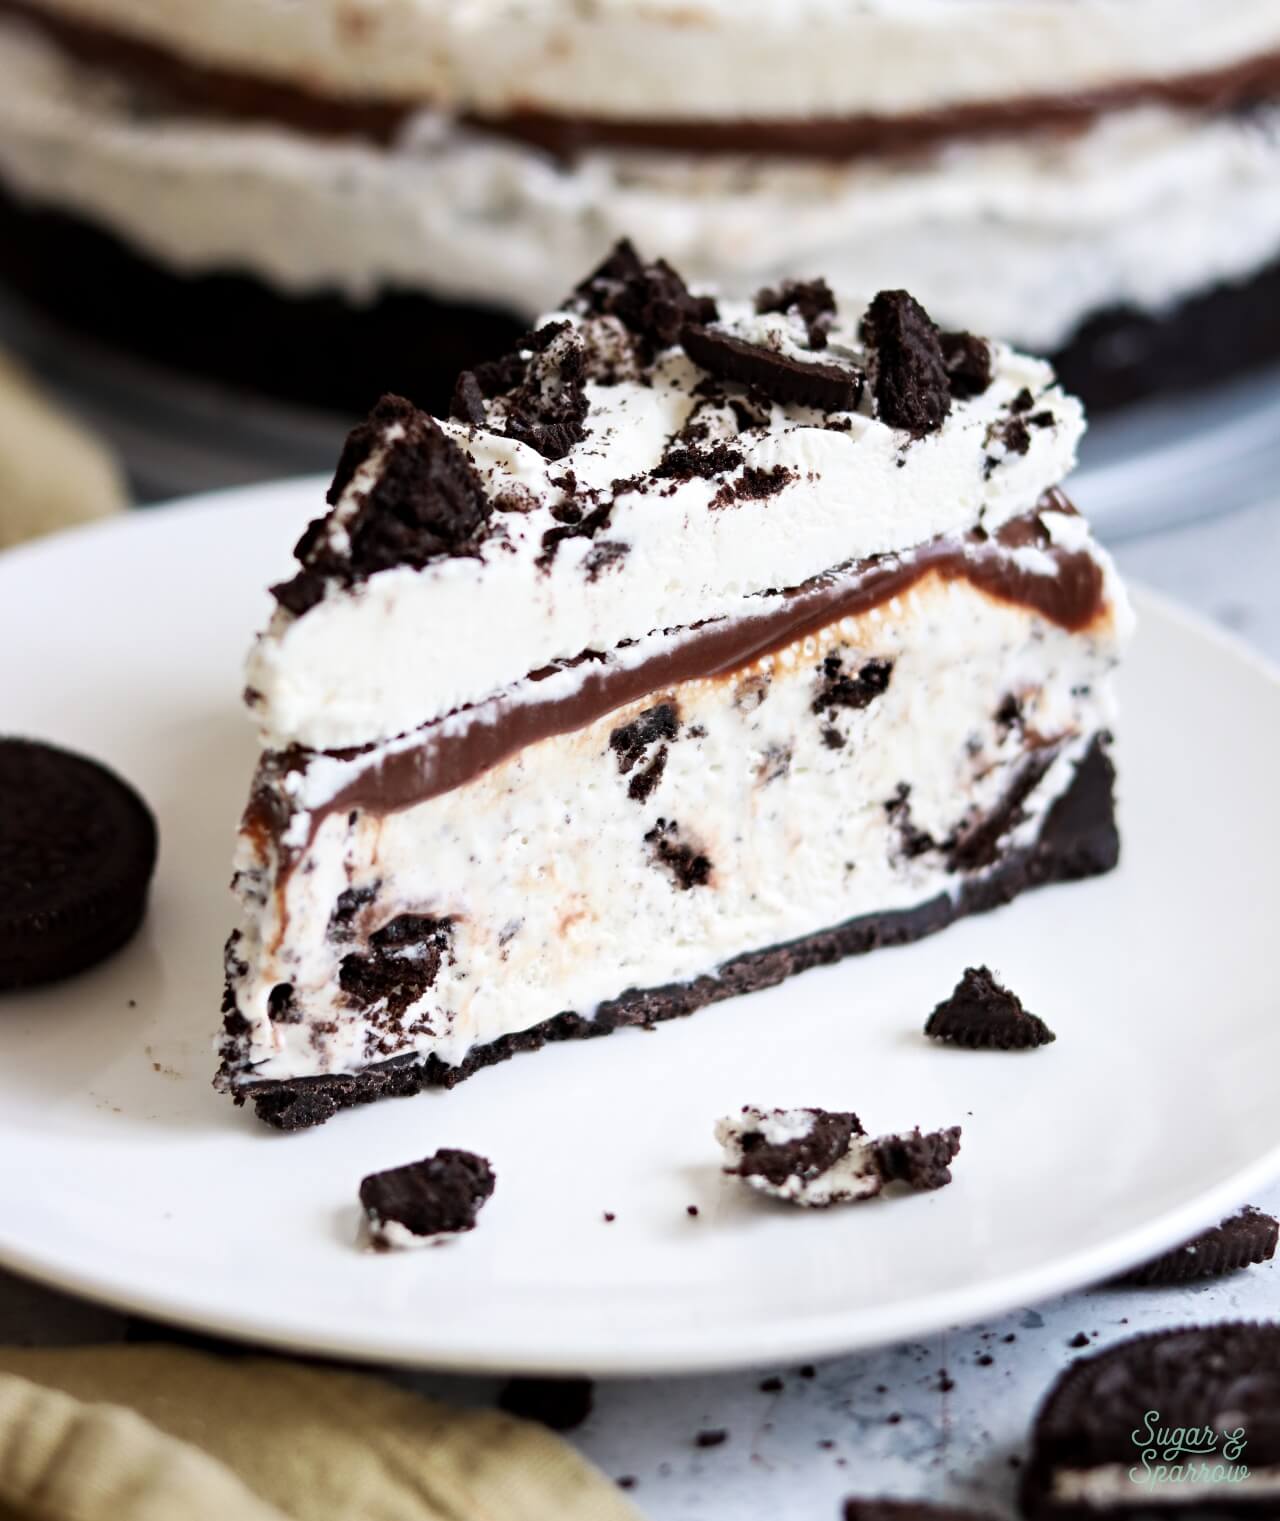
There are four different layers that make up this cookies & cream ice cream cake:
- Oreo Cookie Crust. Made with just two ingredients (Oreo cookie crumbs + melted butter), this cookie crust is so simple to make and I honestly could eat it all on its own.
- No-Churn Cookies & Cream Ice Cream. I added chopped Oreo cookies to an easy no-churn vanilla ice cream base to make the cookies & cream ice cream. It comes together in minutes and sets into the ideal creamy, sliceable ice cream texture!
- Hot Fudge Topping. To keep things simple, I used store bought hot fudge topping as the fudge layer in this dessert. You can find this wherever your local grocery store has ice cream toppings or make your own if you have a go-to recipe.
- Whipped Cream Frosting. The whipped cream frosting is stabilized with a little gelatin so it will hold its shape in the freezer (without it, whipped cream will just weep and deflate). With the crushed Oreos on top, it’s the perfect crowning layer to this ice cream cake!
Perfect 2-Ingredient Oreo Cookie Crust
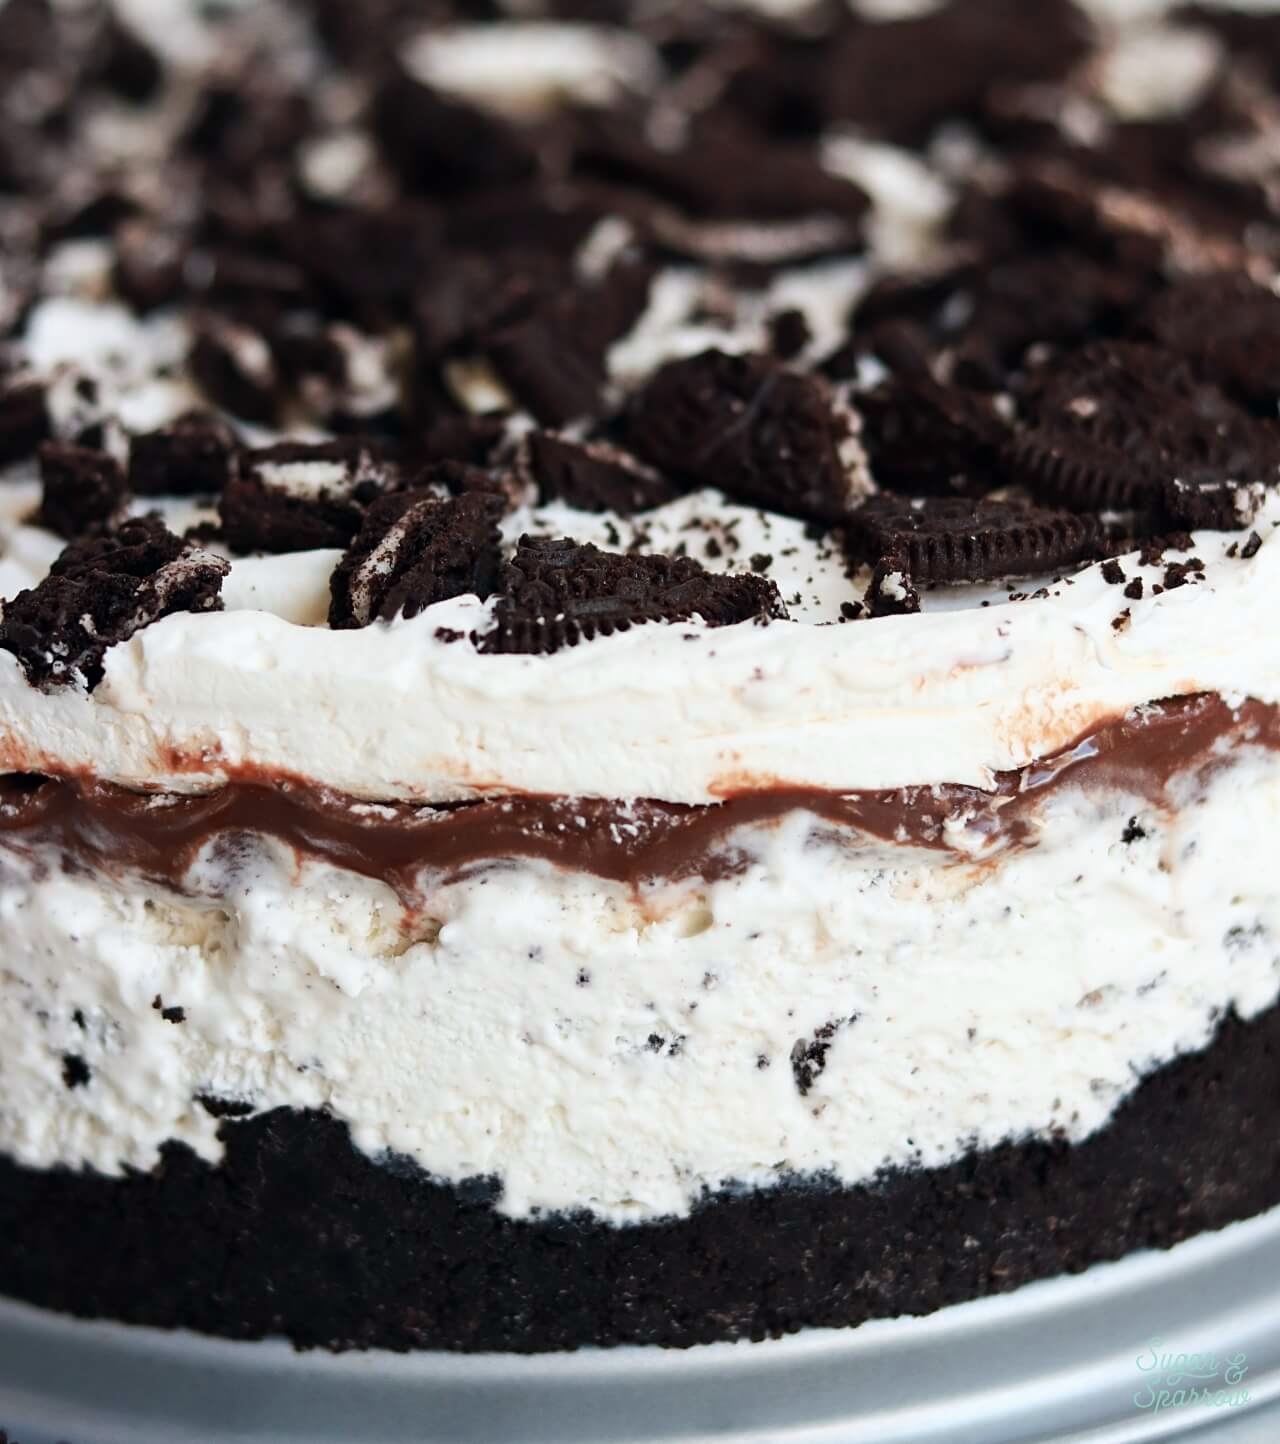
The base of this ice cream cake is a decadent Oreo cookie crust made with just two ingredients: Oreo cookies (ground into crumbs) and melted butter. A food processor makes grinding the cookies into fine crumbs really easy, but if you don’t have one, you can add the cookies into a large ziploc bag and use a heavy rolling pin to crush them by hand. You’ll crush them whole – no need to scrape out the filling from in between the cookies.
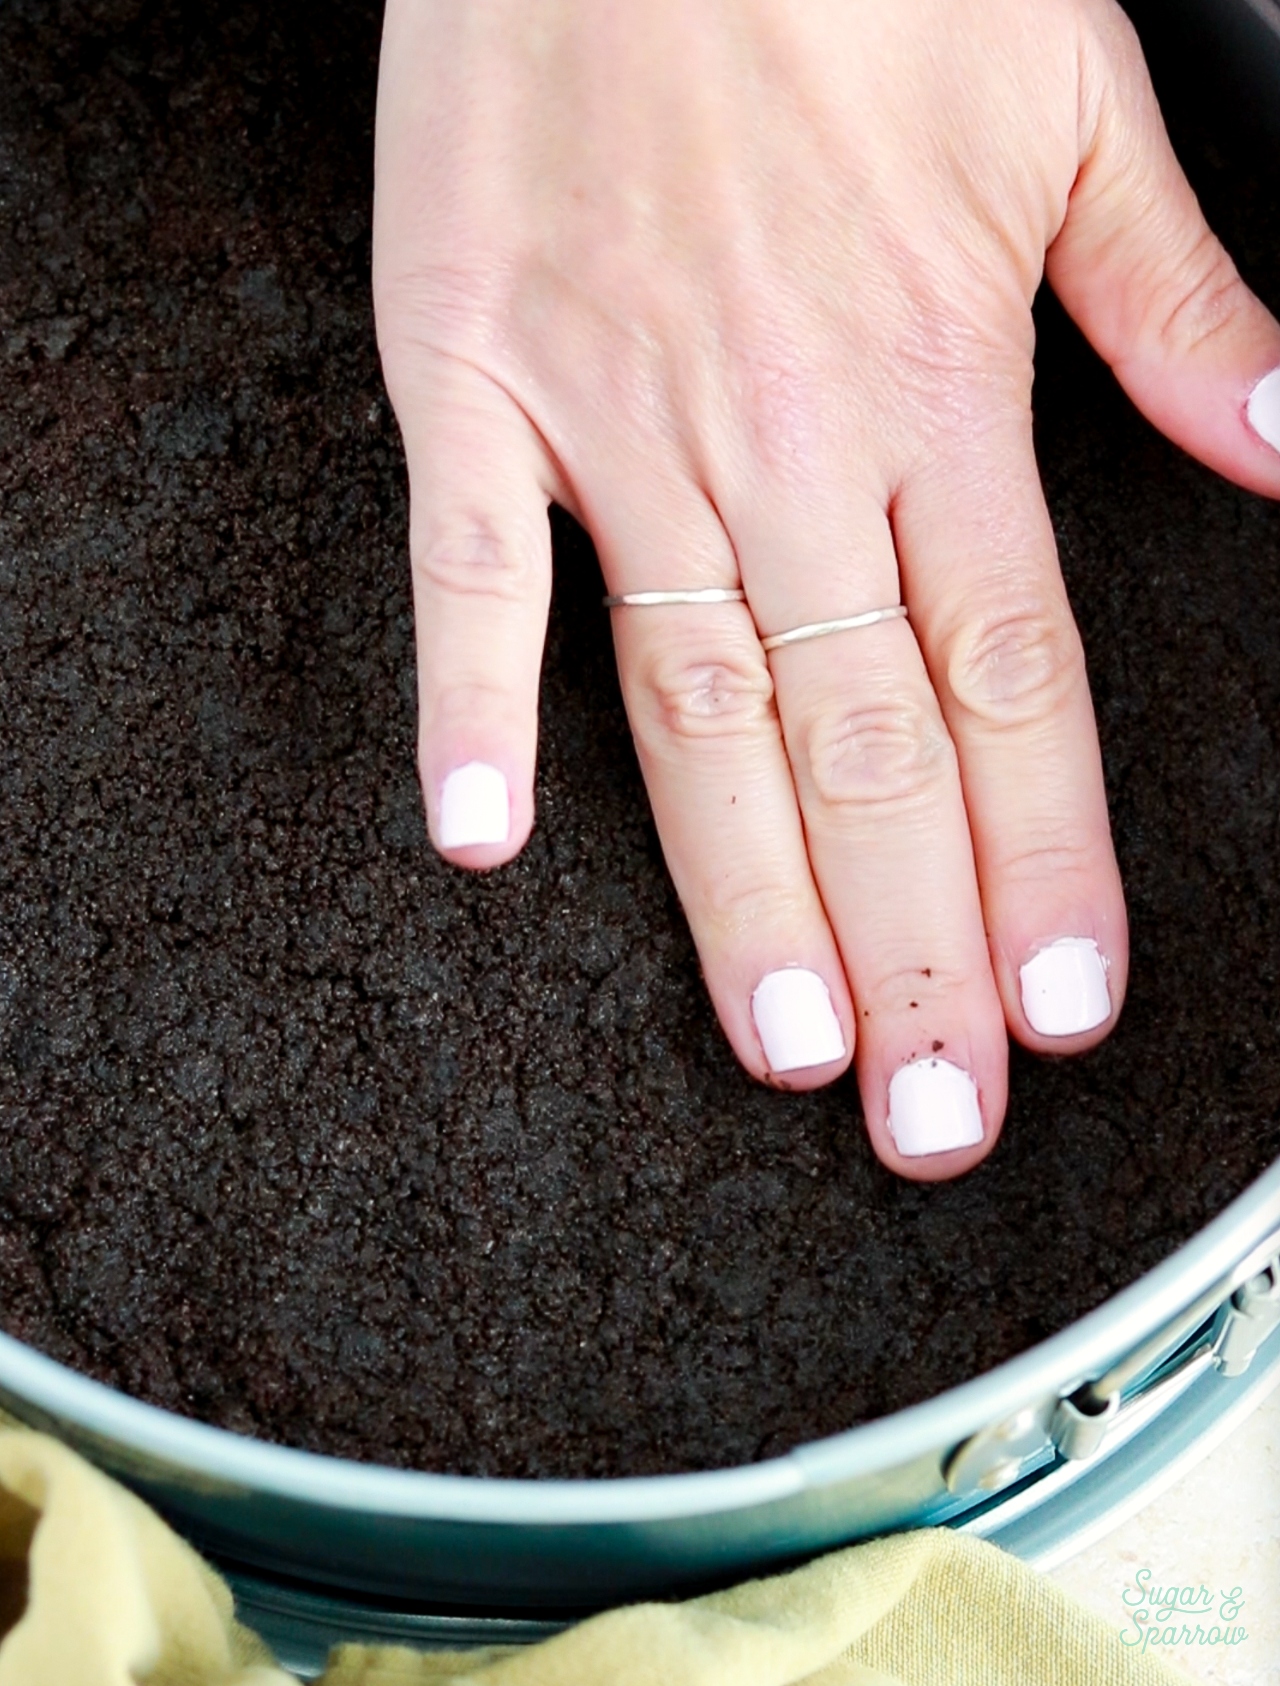
Once you’ve got the Oreo cookie crumbs, you’ll combine them with melted butter until the mixture looks like wet sand, then press it into the bottom and up the sides of a 9-inch springform pan. It’s really important to pack the crust in tightly so it stays together when you slice it, so I do recommend spending some extra time pressing it in with your hands and/or a jar.
The Easiest Homemade Cookies & Cream Ice Cream
If you’ve never made no-churn ice cream before, this recipe is about to rock your world with how easy it is to make! It involves whipping heavy whipping cream to stiff peaks, then folding it together with vanilla and sweetened condensed milk until it resembles softened vanilla ice cream. Fold in chopped Oreos, pile it on top of the cookie crust, freeze overnight, and it becomes the perfect sliceable (or scoopable!) ice cream consistency. After it sets, I top it with a layer of hot fudge, whipped cream frosting, and more chopped/crushed Oreos.
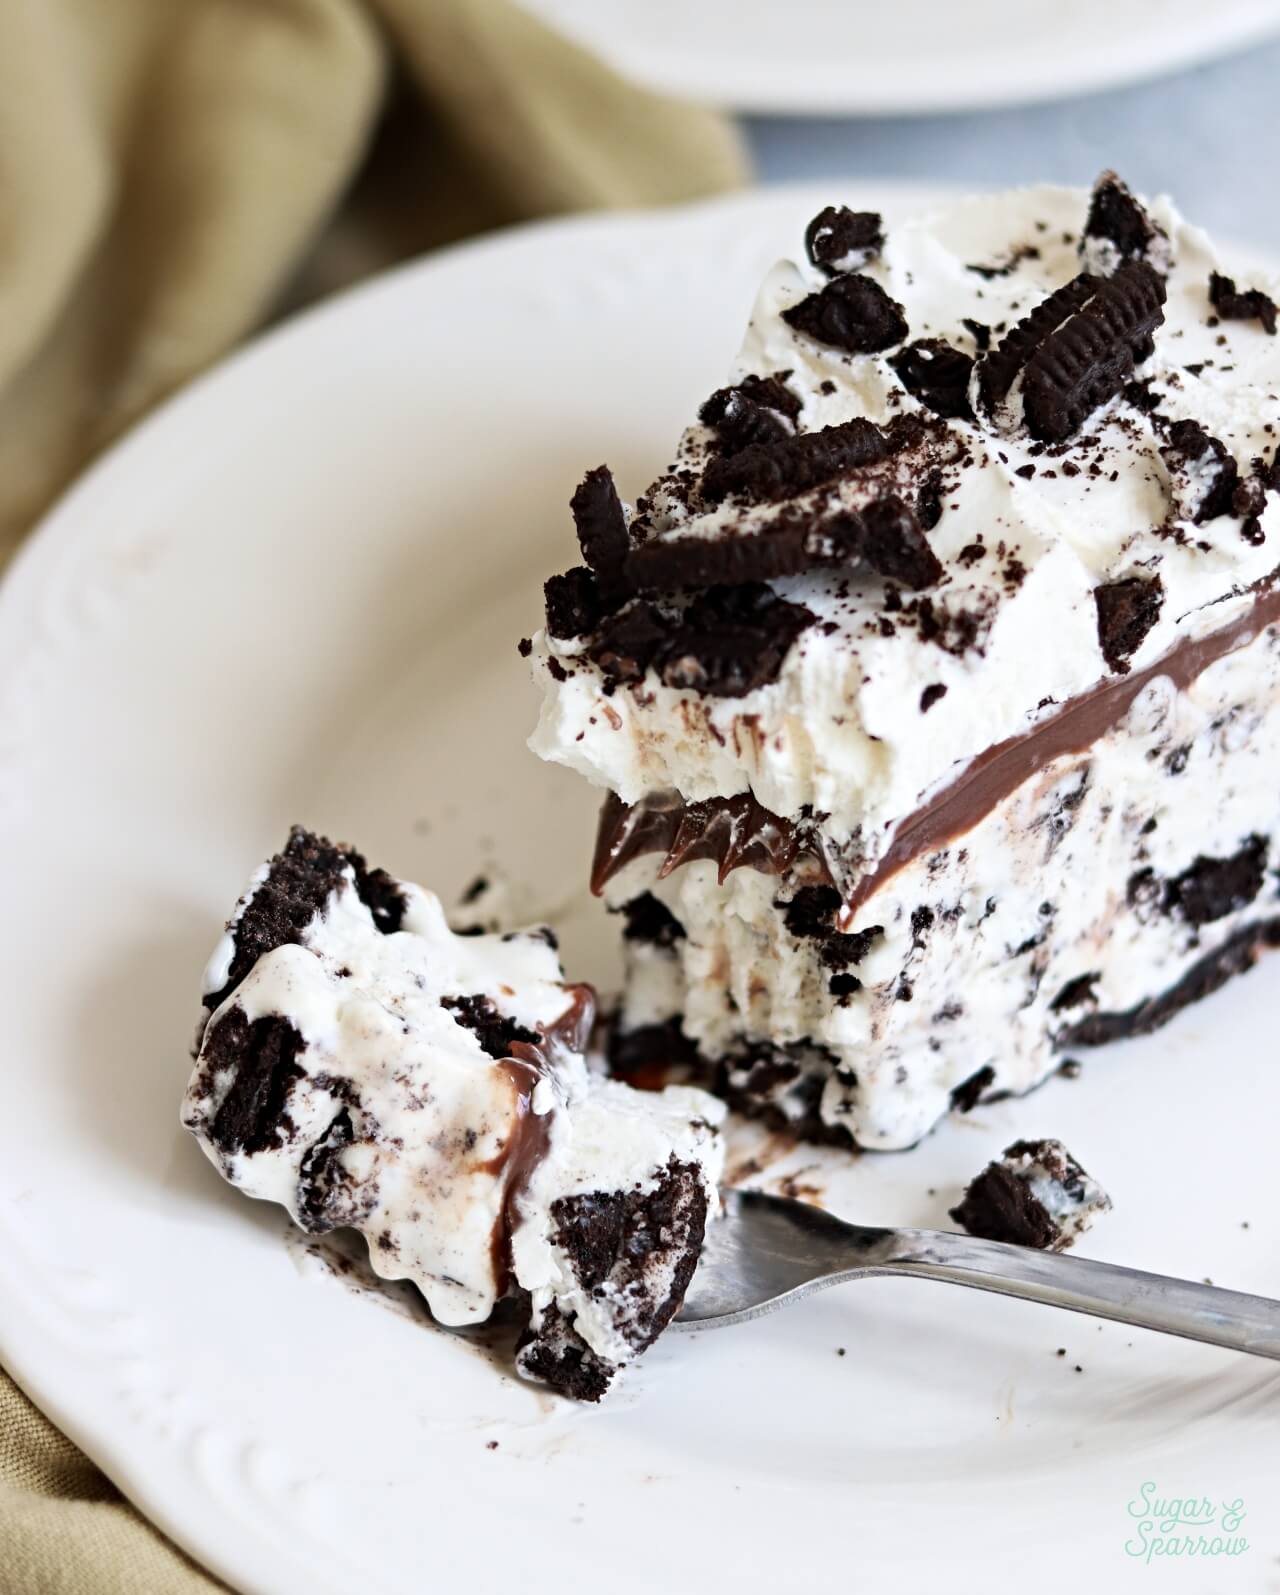
This no-churn ice cream method has been such a game changer for me – I’ve gone on to create lots of flavors with this base. I love that it doesn’t require any fancy equipment or cooking eggs like most homemade ice cream recipes. If you’d rather not make homemade ice cream, you can substitute this component with softened store-bought ice cream. It will take 3 pints of ice cream if you go this route.
Simple & Stable Whipped Cream Frosting
Initially I thought that I could top this ice cream cake with regular ol whipped cream, but then I learned that a whipped cream topping must be stabilized so it holds its shape and ends up the perfect texture once frozen. You’ll want to make the whipped cream frosting right before you’re ready to frost the top of the cake, after the ice cream is set and the hot fudge layer has been added. After topping the cake and adding more Oreos, you can pop the whole thing back in the freezer until you’re ready to serve it!
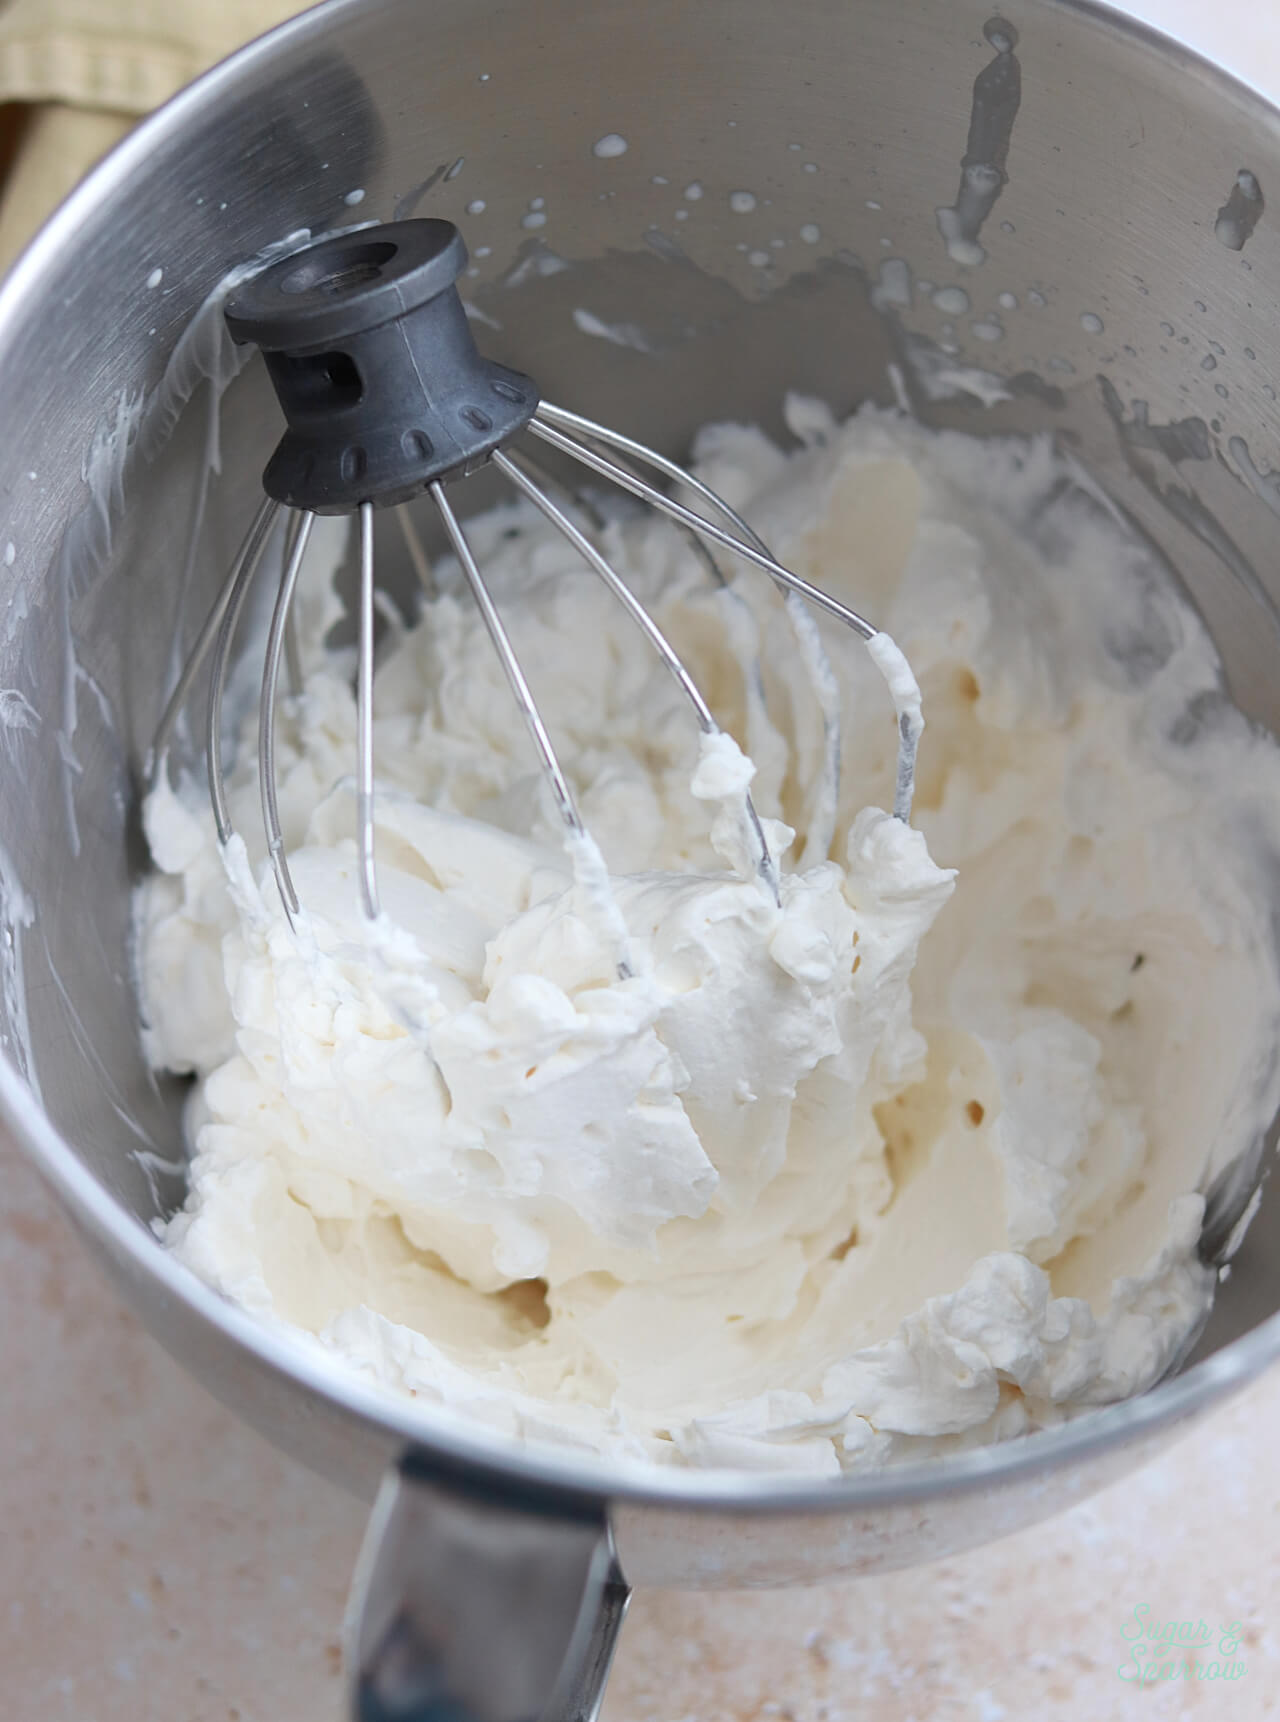
There are a few different ways to stabilize whipped cream, but the gelatin method is really easy and straightforward. You’ll dissolve some powdered, unflavored gelatin in cold water while you mix together heavy whipping cream, vanilla, and powdered sugar, then whip it just shy of soft peaks. Add the gelatin, then whip the mixture to stiff peaks and you’re good to go! It takes just about 5 minutes from start to finish and ends up deliciously light and silky.
How to Assemble Cookies & Cream Ice Cream Cake
Step 1: Make the Oreo Cookie Crust. Mix together Oreo cookie crumbs and melted butter, then press it into the bottom and partway up the sides of a 9-inch springform pan. Pack it in as tight as you can, then freeze while you make the ice cream.
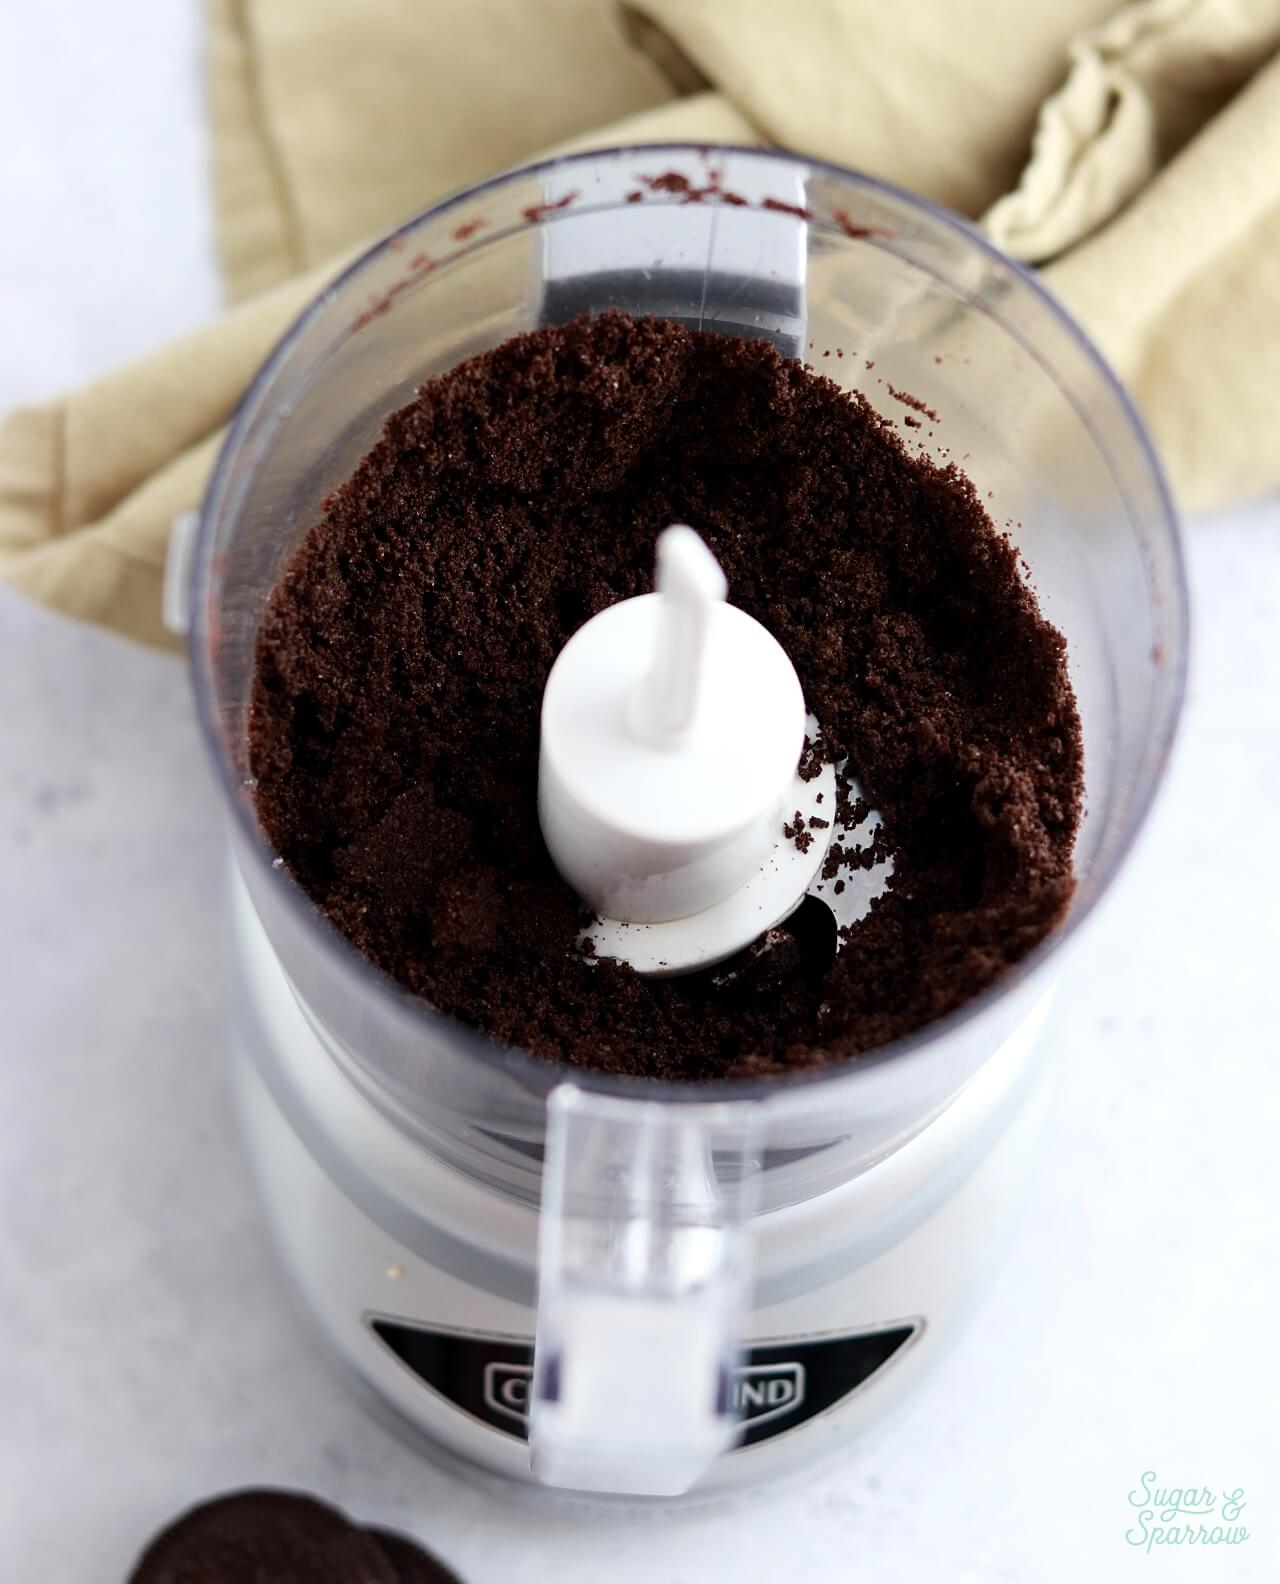
Step 2: Make the No-Churn Ice Cream. Beat together heavy whipping cream and vanilla extract until stiff peaks form, then fold it together with a can of sweetened condensed milk. Add crushed Oreos and fold those in until evenly dispersed.
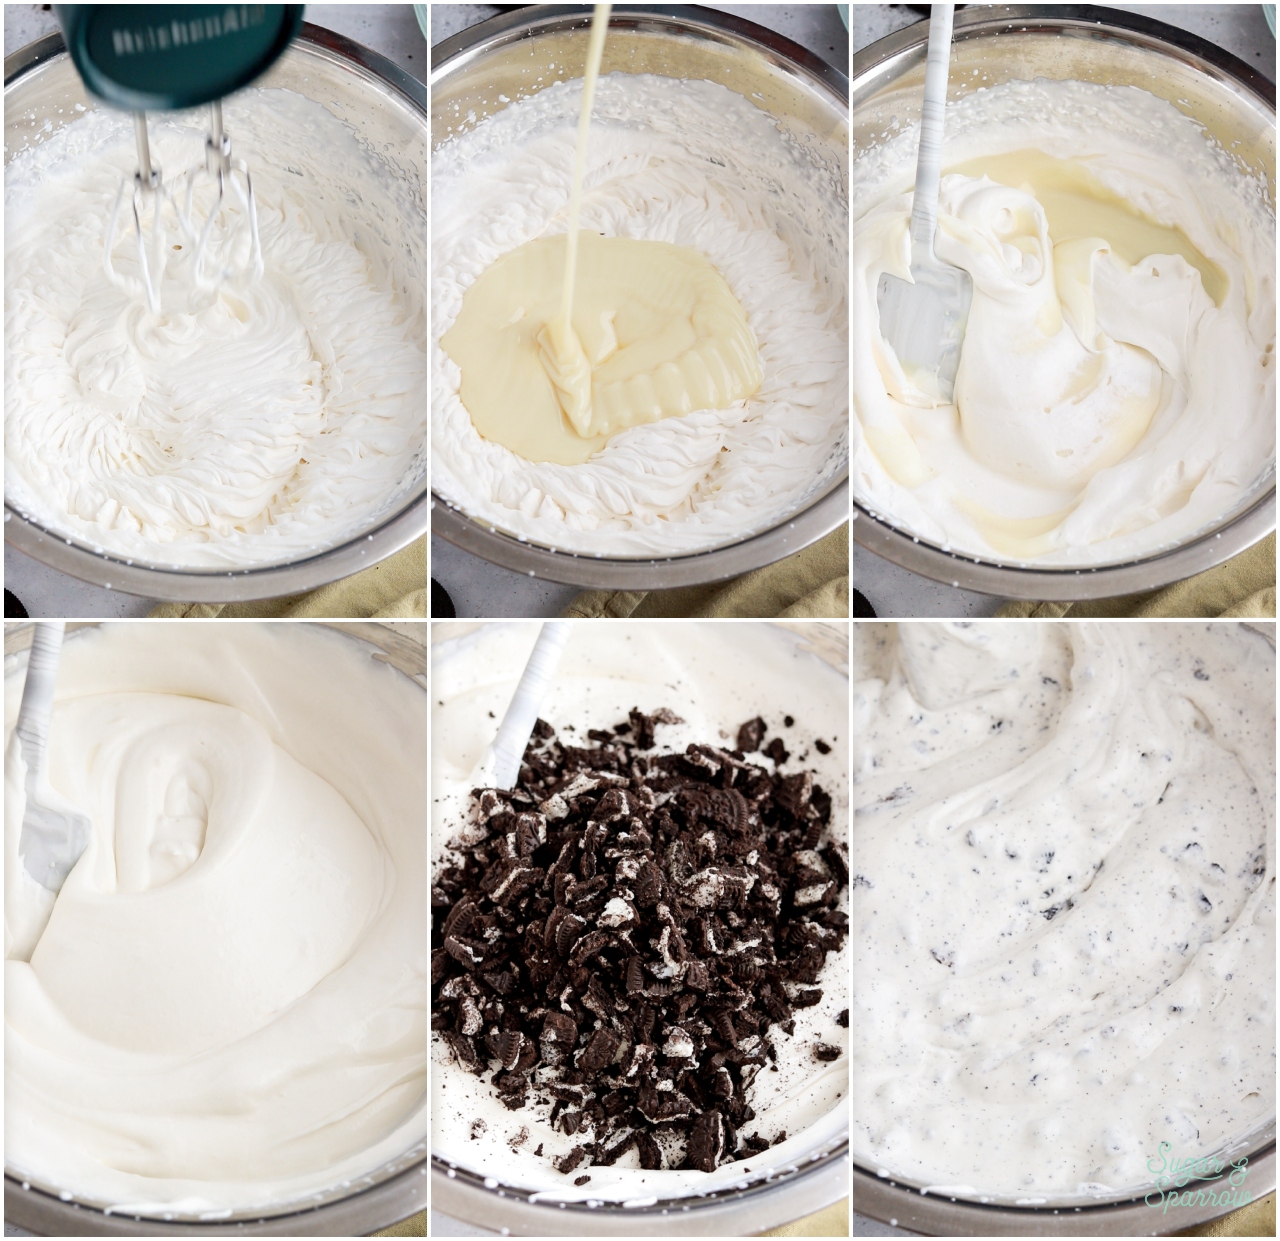
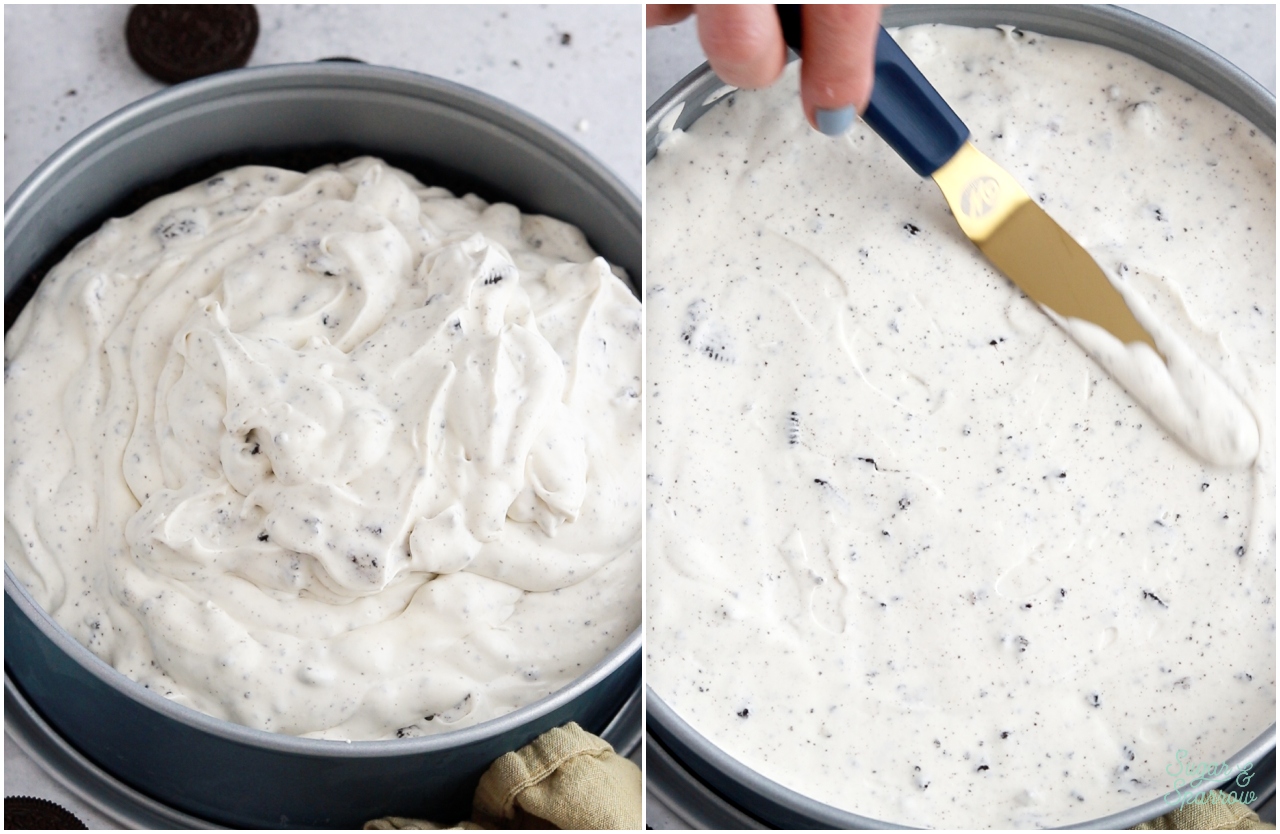
Step 3: Add the Ice Cream to the Cookie Crust & Freeze. Pile the cookies & cream ice cream on top of the Oreo cookie crust, use an angled spatula to smooth it down. Cover the top of the pan with aluminum foil or plastic wrap and freeze overnight (or for at least 8 hours).
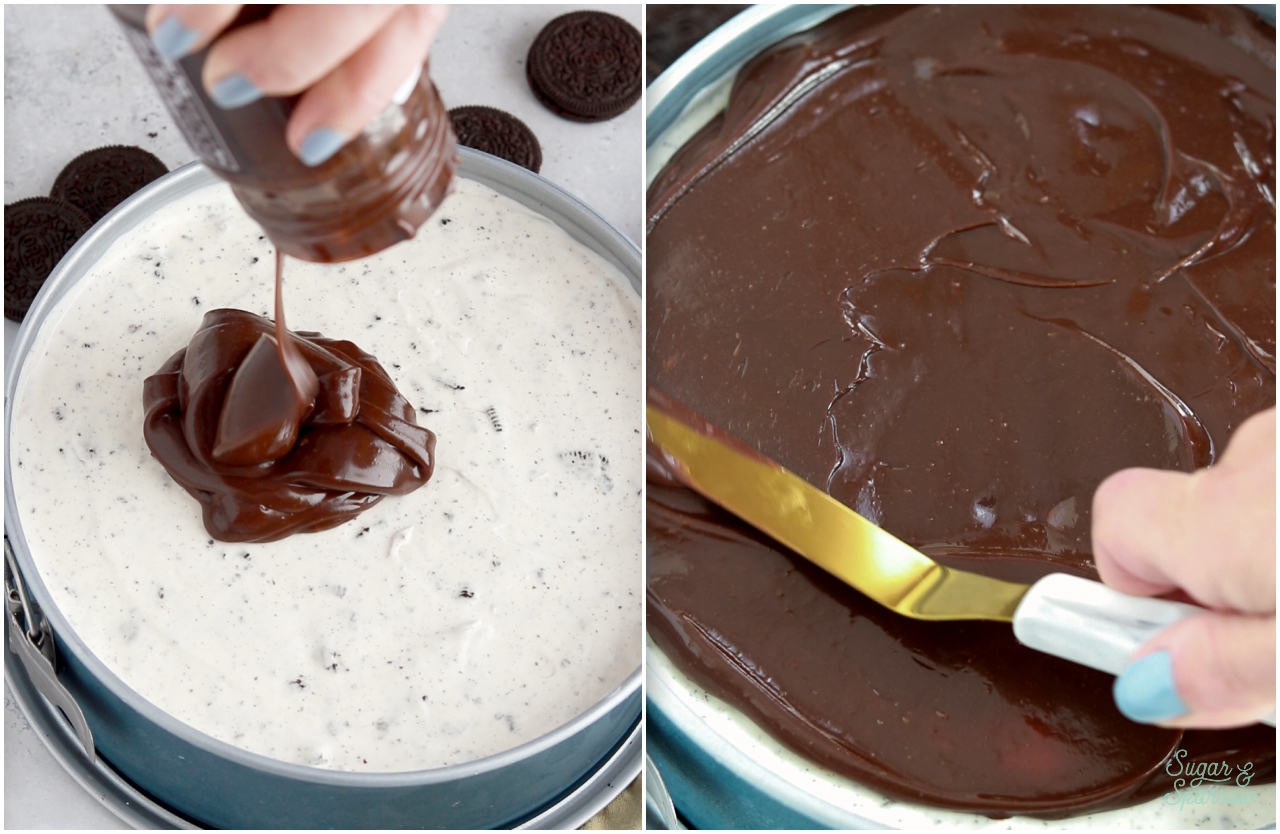
Step 4: Top with Hot Fudge Sauce. When the ice cream has set, warm a 12-ounce jar of hot fudge sauce in the microwave in 5-second increments until it’s pourable but room temperature or just slightly warm (not hot). Pour it over the top of the set ice cream and smooth it with an angled spatula until level. Place back in the freezer while you make the whipped cream frosting.
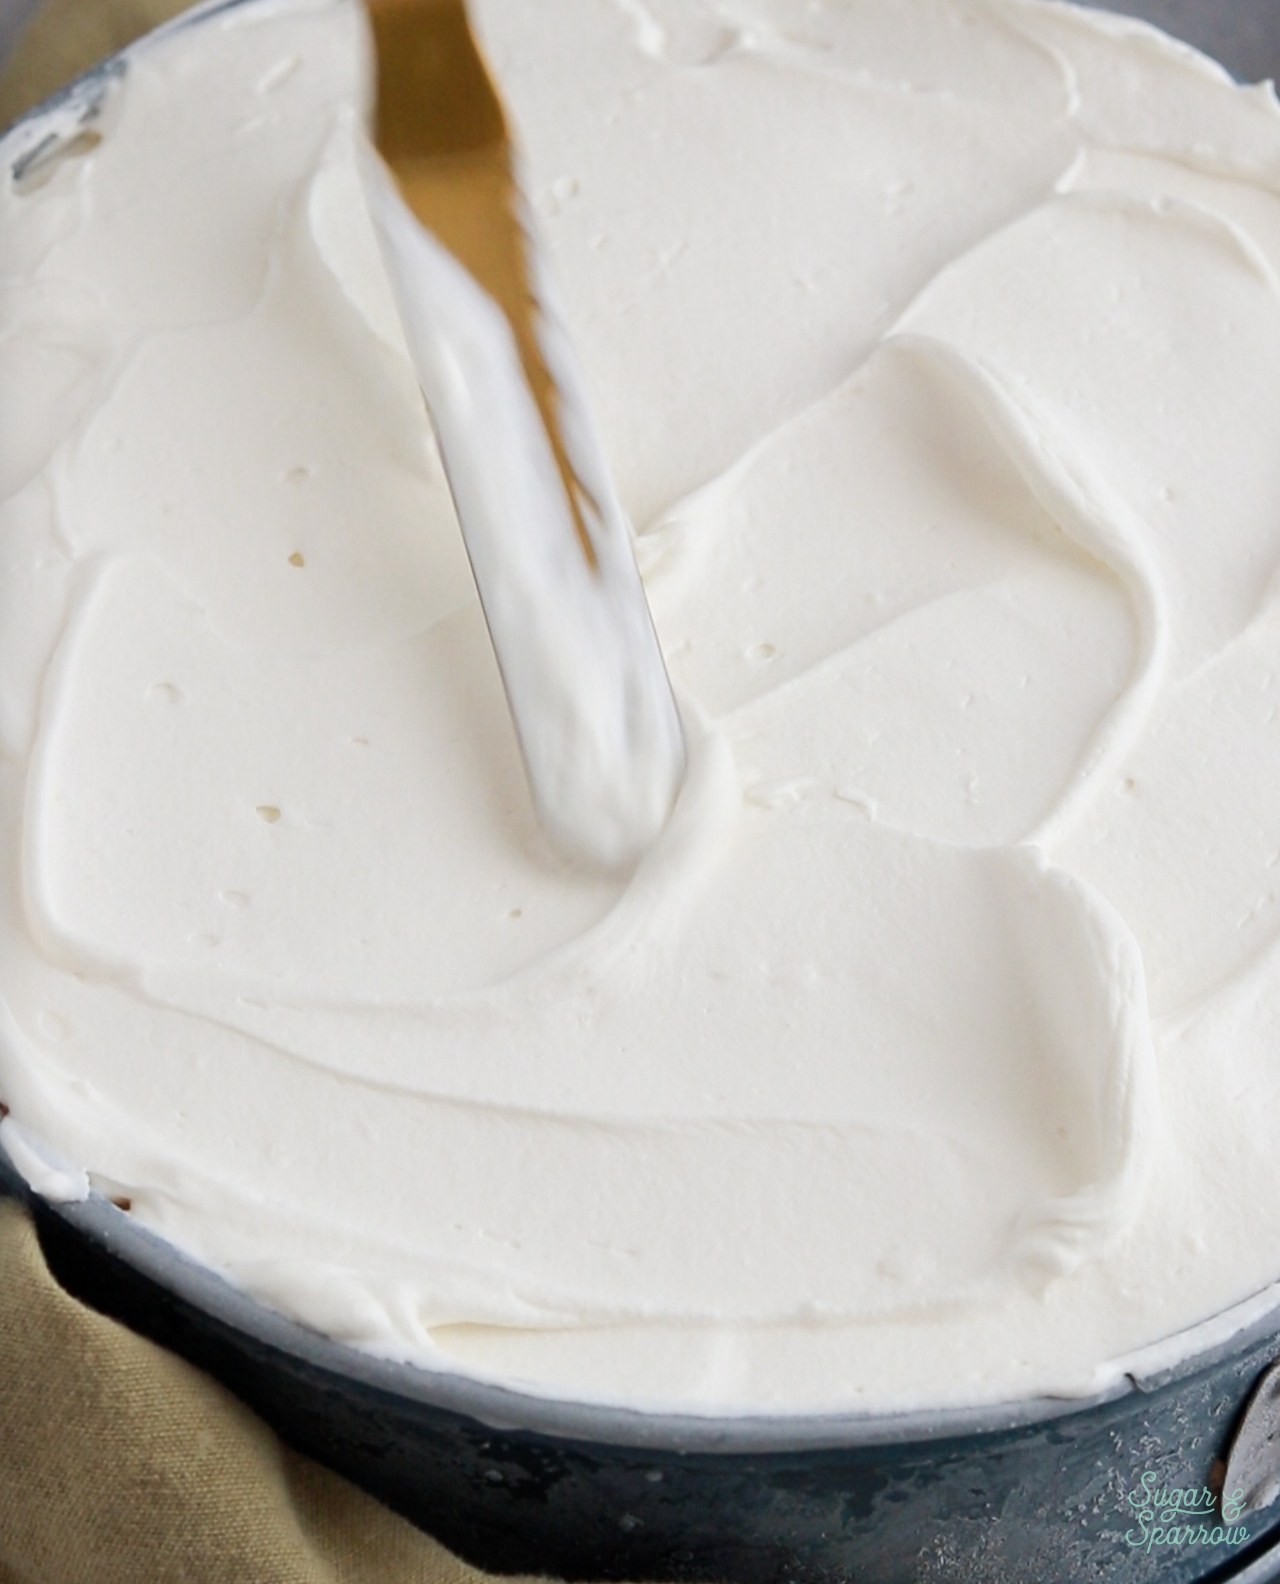
Step 5: Make and Add the Whipped Cream Frosting. Make the whipped cream frosting according to the instructions in the recipe card below, then pile it all on top of the hot fudge layer and smooth it down with an angled spatula and frost some swoops and swirls into the surface to make the texture rustic.
Step 6: Decorate and Serve (or Store for Later). While the whipped cream frosting is still tacky, top it with crushed and/or chopped Oreos. Place back in the freezer until you’re ready to serve (covered with aluminum foil or plastic wrap).
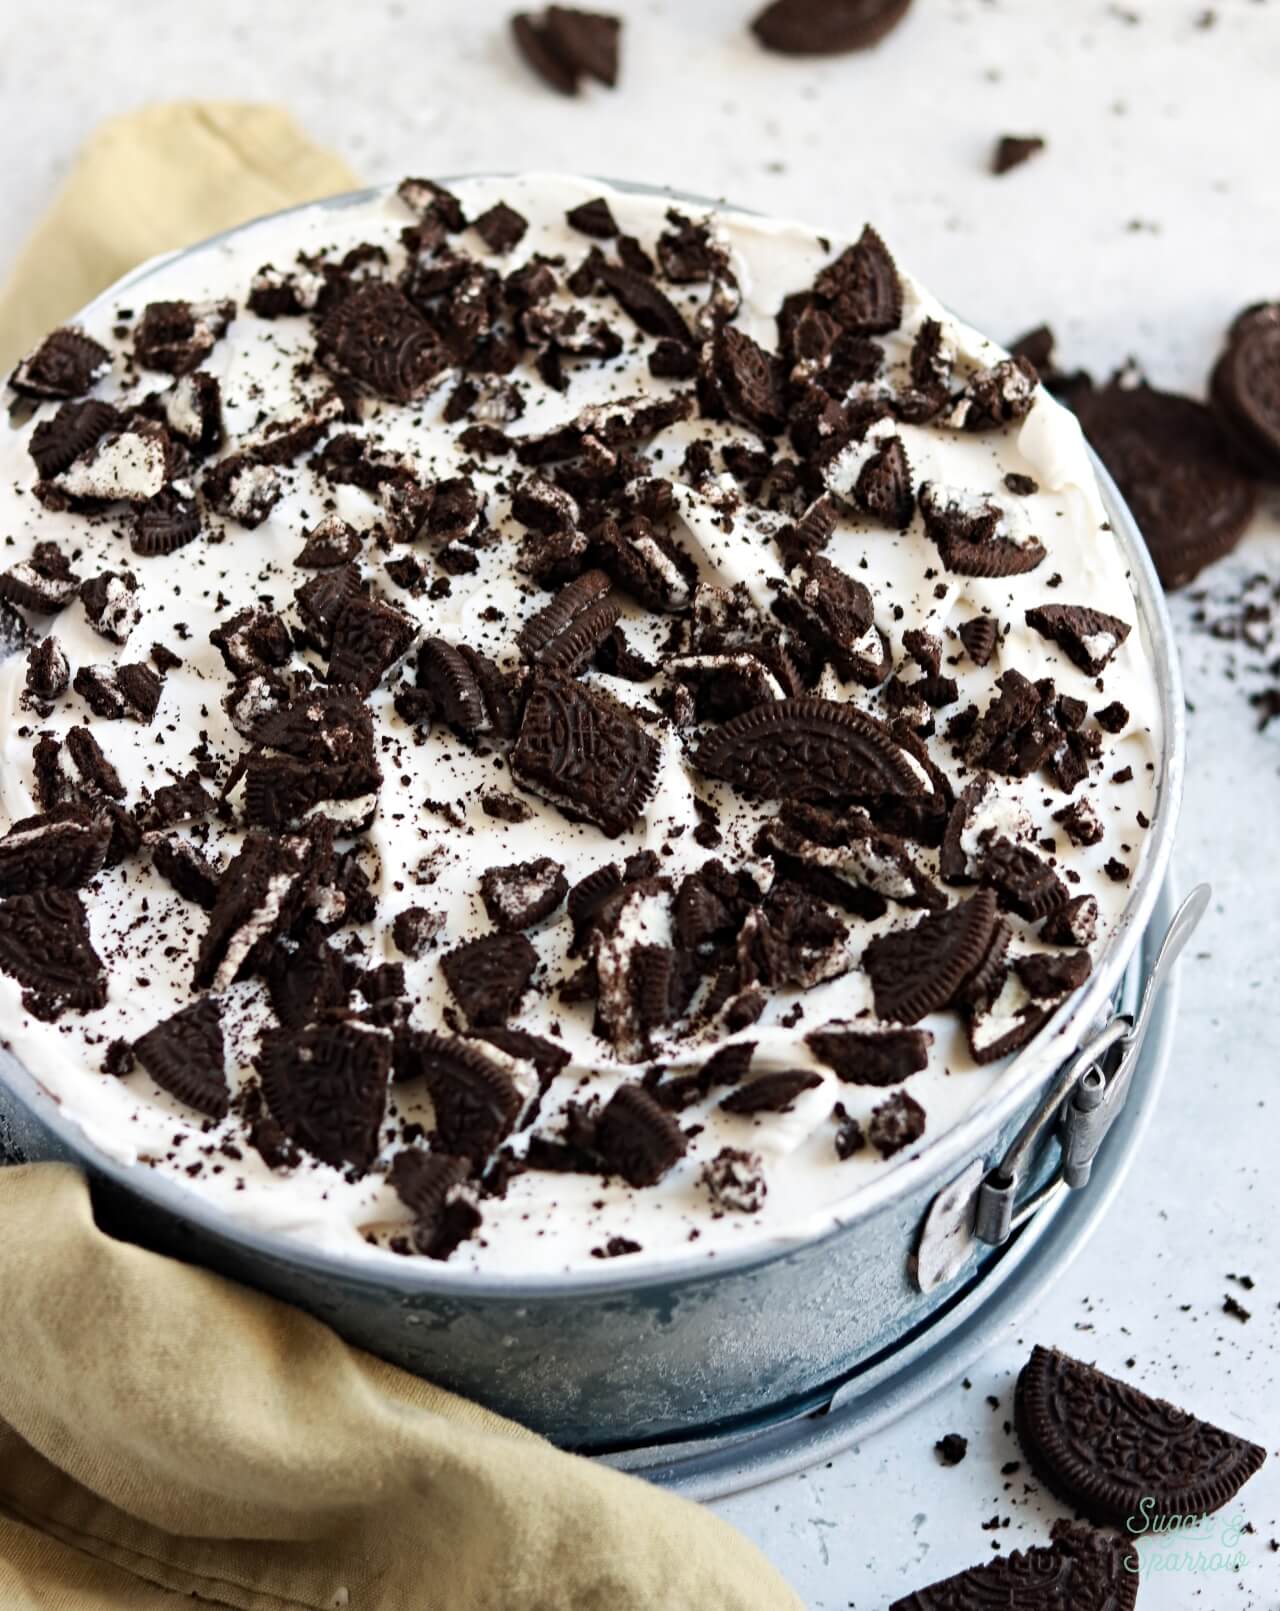
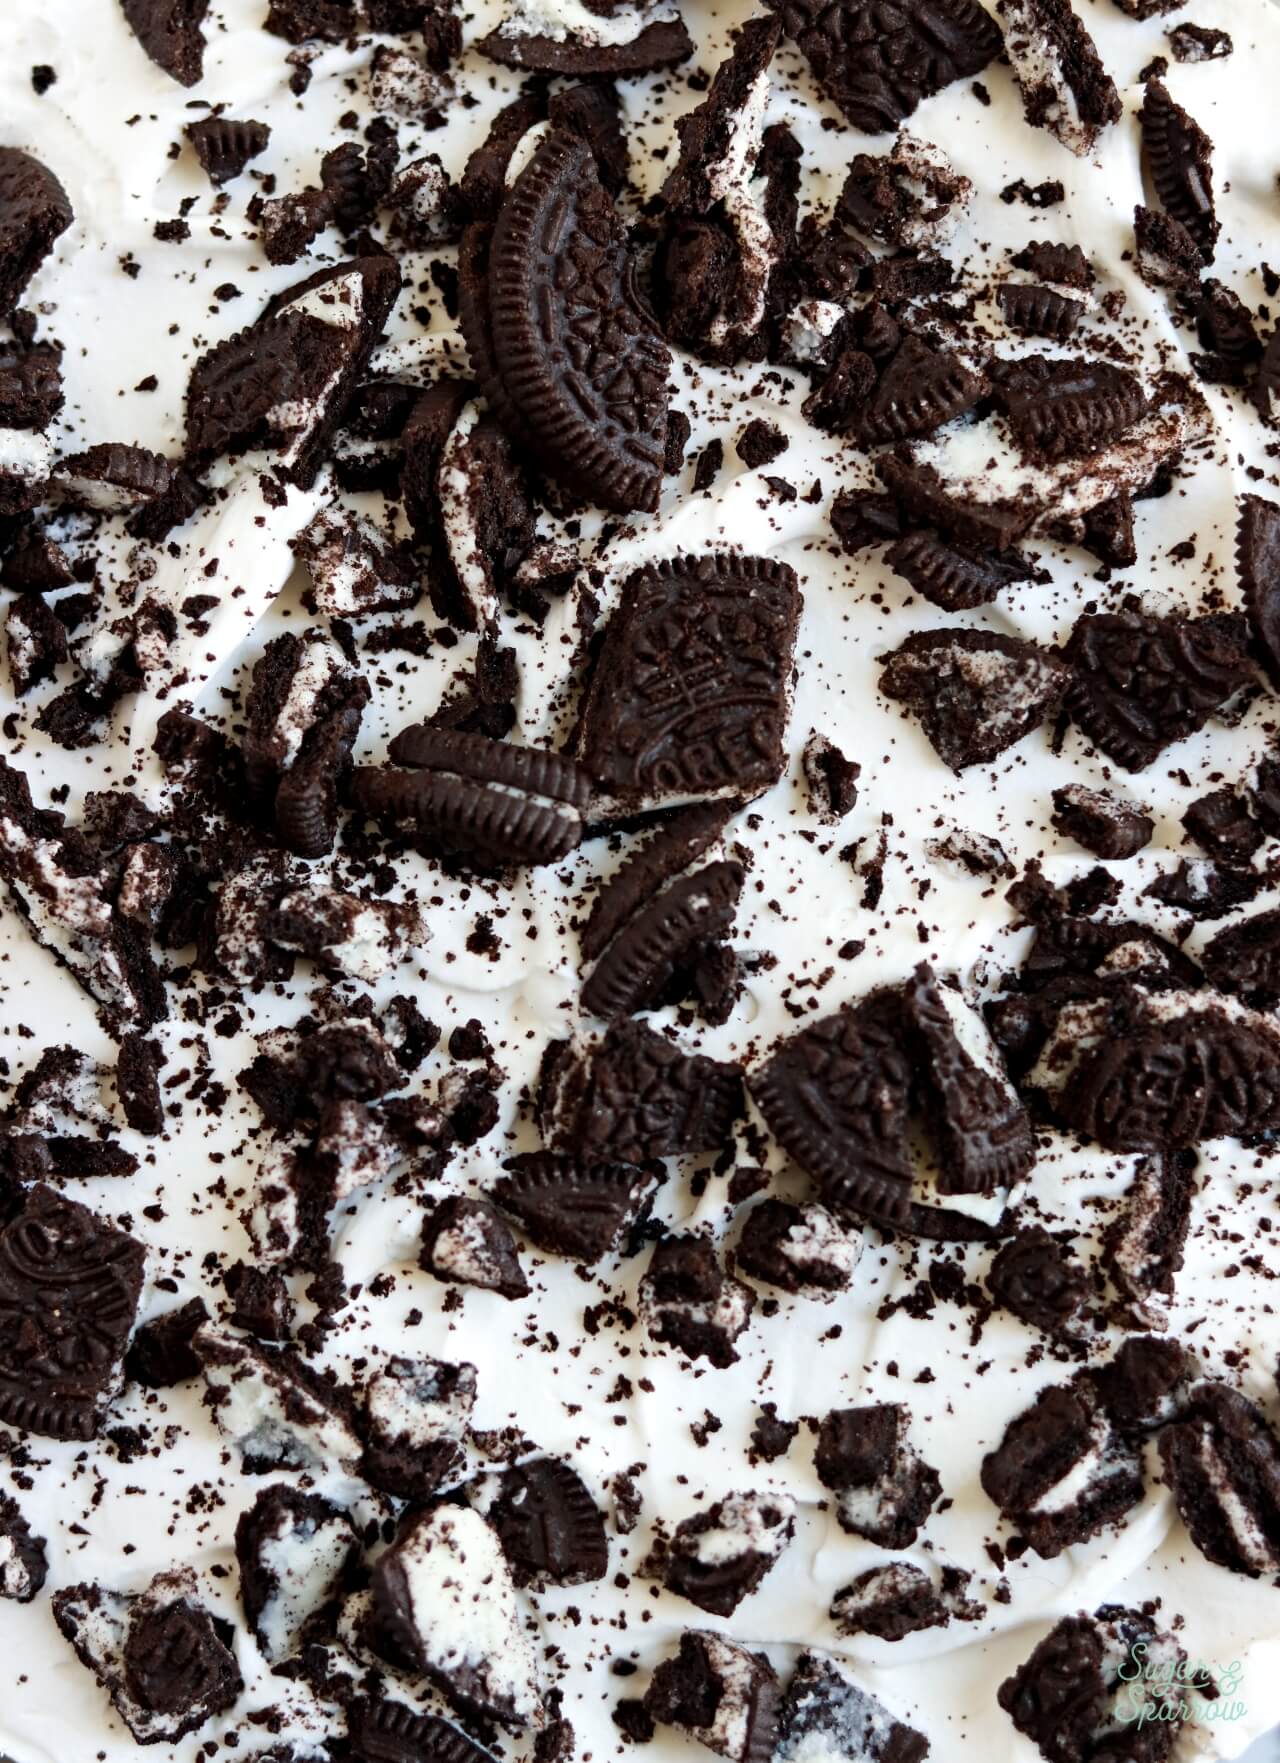
When you’re ready to serve the cake, remove the collar of the springform pan and slice! If you want to display the cake before serving, you can take it out of the freezer about 20-30 minutes before serving. Longer than that and it will begin to soften (but will still taste amazing).
Recipe FAQs
- How far in advance can I make this ice cream cake? If covered well, you can technically make and store this cake in the freezer for up to 3 months. I don’t think it will last that long (it’s too irresistible)! For best results, I’d recommend making it anywhere between 1-5 days ahead of time.
- Do I need to thaw before serving? No, you can slice it straight from the freezer. You can also take it out of the freezer for about 20-30 minutes before serving and it will begin to soften at that point.
- What is the texture of no-churn ice cream? This ice cream method yields a creamy and velvety yet scoopable/sliceable ice cream. Loaded with Oreos, I’d say this tastes comparable to churned ice cream but softens a little quicker. It’s absolutely delicious!
- Can I use store-bought ice cream? Yes, if you want to! You can use 3 pints of store-bought ice cream for this recipe in place of the no-churn ice cream layer. Just soften it slightly in the microwave in short increments until it’s soft enough to spread into the springform pan. Then, freeze for 6-8 hours until completely solid.
- What if I Don’t Have a Springform Pan? You can use a regular 9-inch round cake pan with 3-inch tall sides, or an 8-inch square baking pan (glass or metal). I recommend pressing a couple overlapping pieces of plastic wrap into the bottom of the pan and leaving a long overhang so you can lift the ice cream cake out of the pan when you’re ready to serve it.
More Ice Cream Cake Recipes You’ll Love
If you’re looking for more ice cream cake recipes, I’ve got a growing collection on my blog, as well as some fun no-churn ice cream flavors! Here are a few of my favorite ice cream cakes:
- S’mores Ice Cream Cake
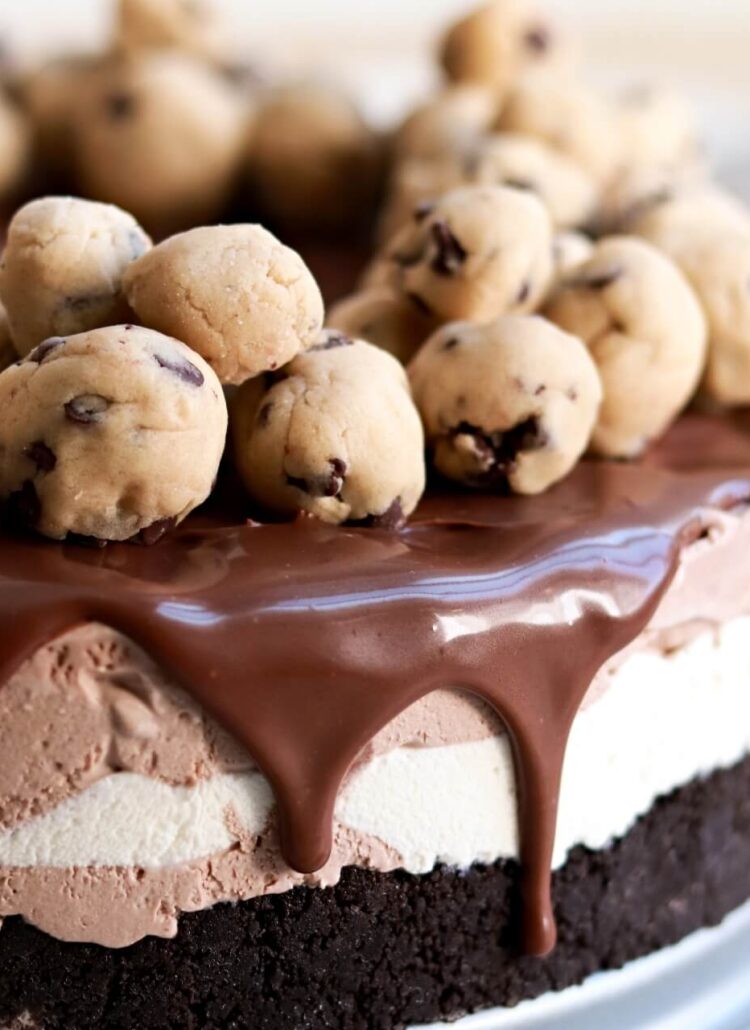
- Cookie Dough Ice Cream Cake
- Neapolitan Ice Cream Cake
- Strawberry Shortcake Ice Cream Cake
- Mint Chocolate Chip Ice Cream Cake
I hope you love this cookies & cream ice cream cake as much as I do! It was such a hit for my birthday and I can’t stop thinking about it. If you make it, let me know in the comments below (don’t forget to rate the recipe!) and feel free to tag @sugarandsparrowco on Instagram to show me!
Cookies & Cream Ice Cream Cake
Equipment
Ingredients
Oreo Cookie Crust
- 22 (250g) Oreo cookies
- 5 Tbsp (72g) unsalted butter, melted
No-Churn Cookies & Cream Ice Cream
- 2 Cups (480ml) heavy whipping cream, cold
- 2 tsp pure vanilla extract
- 14 Oz sweetened condensed milk
- 15 Oreo cookies, roughly chopped
- 12.8 Oz jar of hot fudge
Whipped Cream Frosting
- 1 tsp unflavored gelatin
- 2 Tbsp cold water
- 1 Cup (240ml) heavy whipping cream, cold
- 1/4 Cup (46g) powdered sugar
- 1/2 tsp pure vanilla extract
Additional Topping
- 4 Oreo cookies, chopped
Instructions
Make the Oreo Cookie Crust
- Using a food processor, grind the Oreo cookies into a fine crumb. Add the cookie crumbs into a medium bowl and pour the melted butter on top. Mix until uniform, then press the mixture into the bottom and part-way up the sides of a 9-inch springform pan. Use a round glass or jar to pack the crust as tightly as possible (this helps keep it together when you cut the ice cream cake slices later). Freeze the Oreo cookie crust in the pan for while you prepare the ice cream layer.
Make the No-Churn Cookies & Cream Ice Cream
- Place a large metal bowl or the metal bowl of a stand mixer into the refrigerator to chill for 10-15 minutes. Roughly chop the Oreo cookies while the bowl is chilling and set aside.
- Add the heavy whipping cream and vanilla into the chilled bowl and use the whisk attachment on your stand mixer (or a hand mixer) to whip it on high speed until stiff peaks form, about 2-3 minutes. Pour the sweetened condensed milk over the top of the whipped cream and use a silicone spatula to fold together until combined, then fold in the chopped Oreo cookies. Reserve the hot fudge for later, after the ice cream layer has set.
Assembly
- Remove the Oreo cookie crust from the freezer and top it with the cookies & cream ice cream mixture. Smooth the top with an angled spatula and cover the top of the pan with aluminum foil. Freeze the ice cream cake for at least 6 hours (overnight is best).
- When the Oreo ice cream has set, gently warm the jar of hot fudge until it's spreadable (but won't melt the ice cream). Pour it onto the surface of the ice cream cake and smooth it down with an angled spatula, then place back into the freezer while you make the whipped cream frosting.
Make the Whipped Cream Frosting + Decorate
- Make the whipped cream right before you plan on topping the ice cream cake (it will keep in the freezer for up to 2 months after adding it). Get started by chilling the metal bowl of your stand mixer in the refrigerator or freezer for 10-15 minutes.
- Sprinkle the gelatin into a small glass measuring cup or microwave safe dish. Add the cold water and whisk until the gelatin is dissolved. Set the mixture aside for 5 minutes to let the gelatin set.
- While the gelatin is setting, add the heavy whipping cream, powdered sugar, and vanilla extract into the chilled metal bowl of your stand mixer fitted with the paddle attachment and mix on low speed to combine. Turn the mixer to high speed and beat until the mixture is thickened, stopping just shy of reaching soft peaks, about 1 min.
- At this point, the gelatin should be solidified. If so, pop it into the microwave for 5-10 seconds, until the mixture has re-liquified but is still cool to the touch. Use a whisk to briefly stir the gelatin mixture together to make sure it's smooth.
- With the mixer on low speed, drizzle the liquid gelatin into the cream. Slowly increase the speed to medium-high and continue to beat until you have reached stiff, fluffy peaks, about 2 minutes.
- Remove the ice cream cake from the freezer and add all of the whipped cream frosting on top. Smooth it down with an angled spatula and frost some swoops and swirls into the surface to make the texture rustic.
- While the whipped cream frosting is still tacky, top it with crushed and/or chopped Oreos. Place back in the freezer until you’re ready to serve (covered with aluminum foil or plastic wrap). When you’re ready to serve the cake, remove the collar of the springform pan and slice! If you want to display the cake before serving, you can take it out of the freezer about 20-30 minutes before serving. Longer than that and it will begin to soften (but will still taste amazing).
Notes
- Oreo Cookie Crust: After making and freezing the crust, it can be covered and stored in the refrigerator until you add the ice cream filling (1-2 days ahead is best for the freshest flavor).
- No-Churn Ice Cream: Cannot be made ahead, so wait until you’re ready to assemble the ice cream cake before making it.
- Whipped Cream: I don’t recommend making this ahead. Instead, make it right before you plan on topping and decorating the ice cream cake after it’s set and the hot fudge layer has been added.
- Assembled Ice Cream Cake or Leftovers: Store in the freezer, wrapped well in plastic wrap or in an airtight container, for up to 2 months.


Leave a Reply