Many years ago I worked in a little eyeglass shop that was right next to a Coldstone Ice Creamery. Needless to say, I ate my fair share of ice cream during my lunch breaks, and I’d always gravitate toward the same menu item: the Birthday Cake Remix. It’s everything I could ever want in an ice cream sundae: birthday cake ice cream, generously sized brownie chunks, ribbons of hot fudge, and plenty of rainbow sprinkles. I haven’t had it in such a long time, but when Amoretti sent me their Natural Birthday Cake Artisan Flavor, I couldn’t help myself from thinking about recreating the Birthday Cake Remix experience in ice cream cake form. And since my ACTUAL BIRTHDAY was coming up, I decided I more than deserved it.
This post may contain affiliate links. For more information, see our disclosure policy.
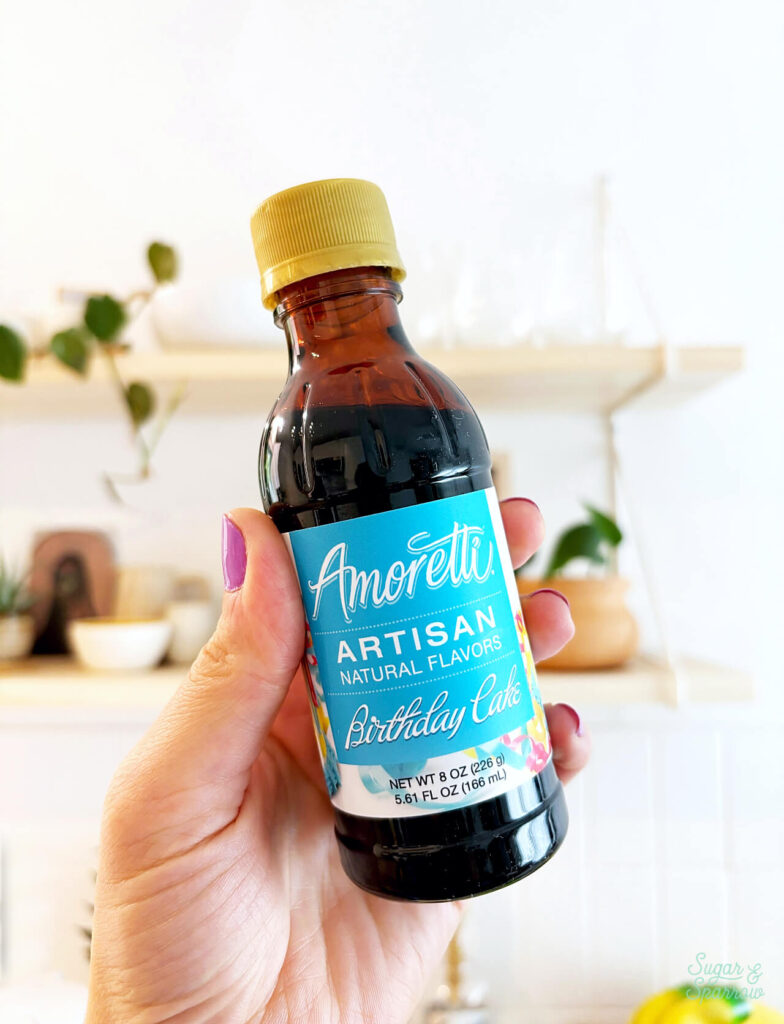
PS: This birthday cake artisan flavor is part of my collection of favorites at amoretti.com! Get $10 off your order at Amoretti with my code WHITNEY10
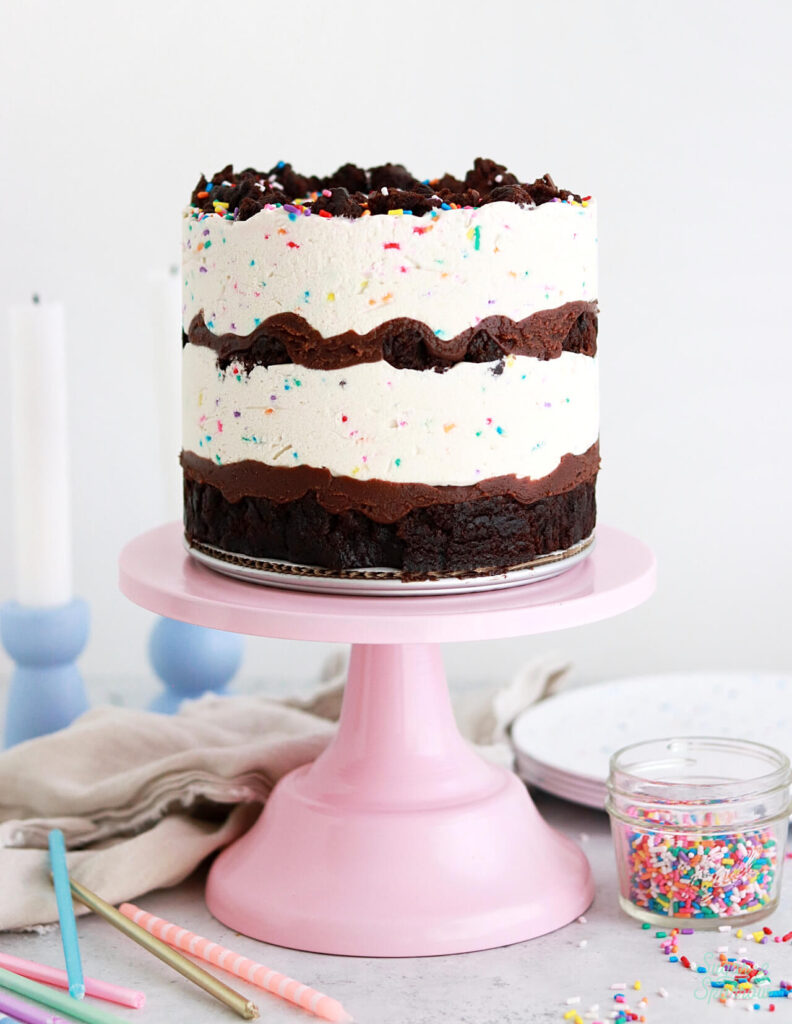
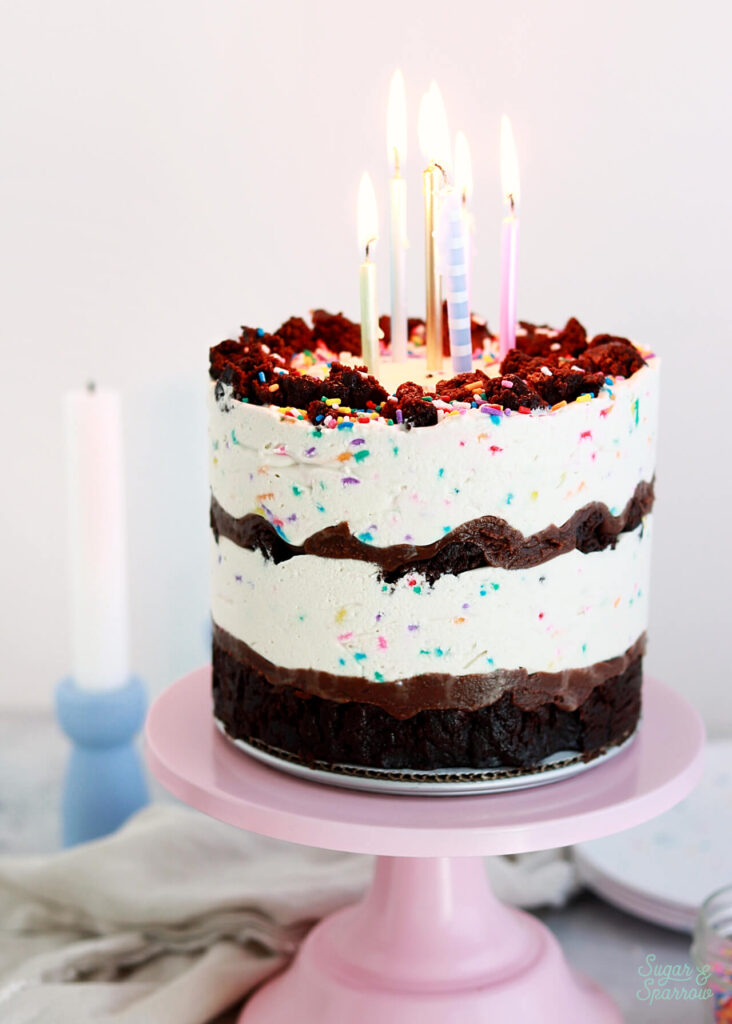
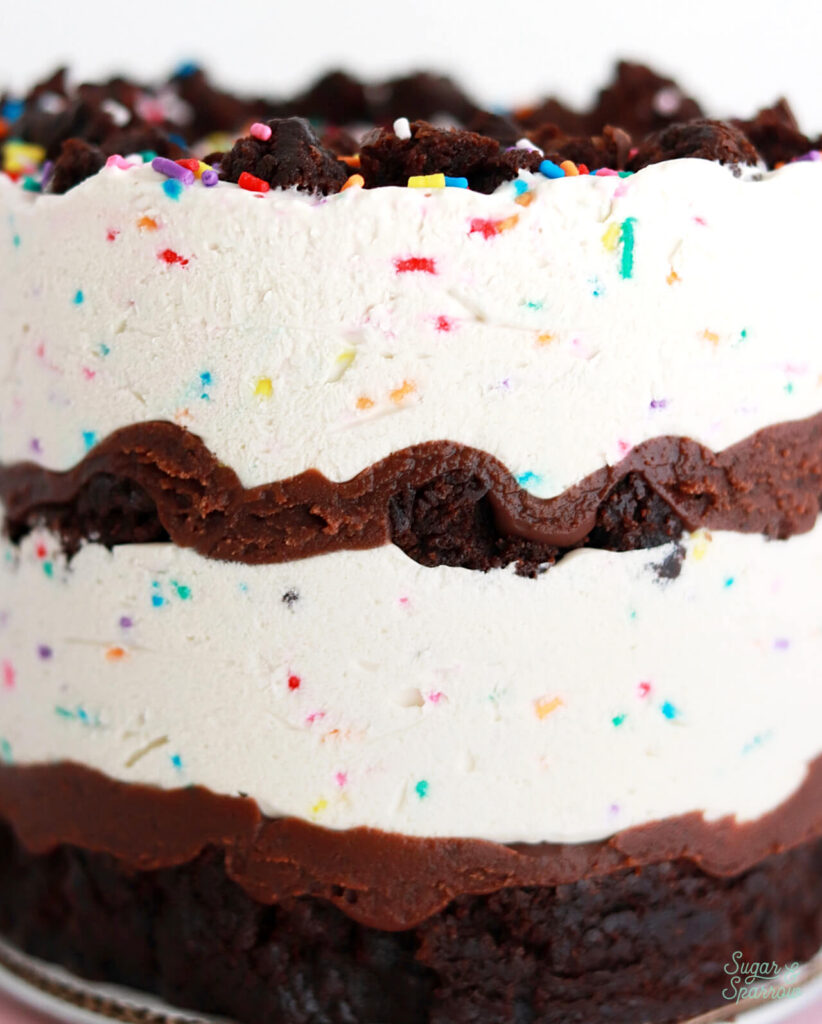
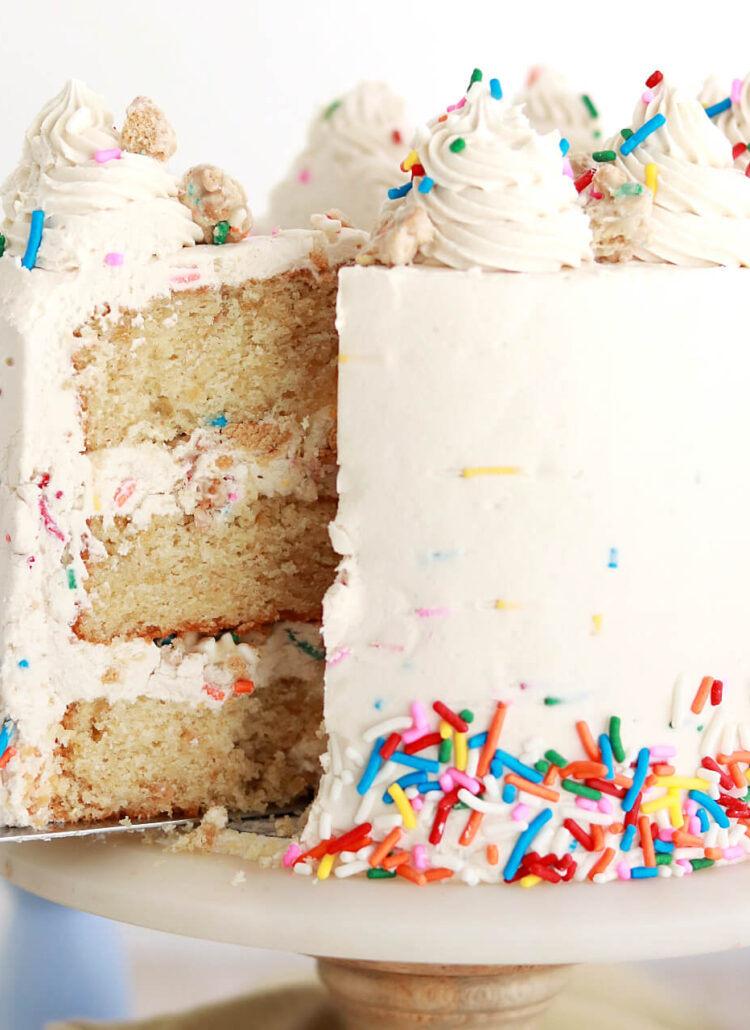
This turned out to be my favorite ice cream cake I’ve ever made (and I LOVE my ice cream cake recipes). It has layers of amazingly fudgy brownies, homemade hot fudge sauce, no-churn birthday cake ice cream, and plenty of rainbow sprinkles. The perfect nod to my old favorite lunch break treat and the perfect cake to celebrate my birthday. I was legitimately sad when the last piece had been eaten (by me, of course).
No-Churn Birthday Cake Ice Cream Magic
Let’s talk about the most celebratory layer: the birthday cake ice cream. It had the perfect vanilla cake batter flavor that reminded me so much of the Coldstone version I know and love. I used my favorite no-churn ice cream base and added just a tablespoon of Amoretti Natural Birthday Cake Artisan Flavor, then folded in lots of rainbow sprinkles for good measure.
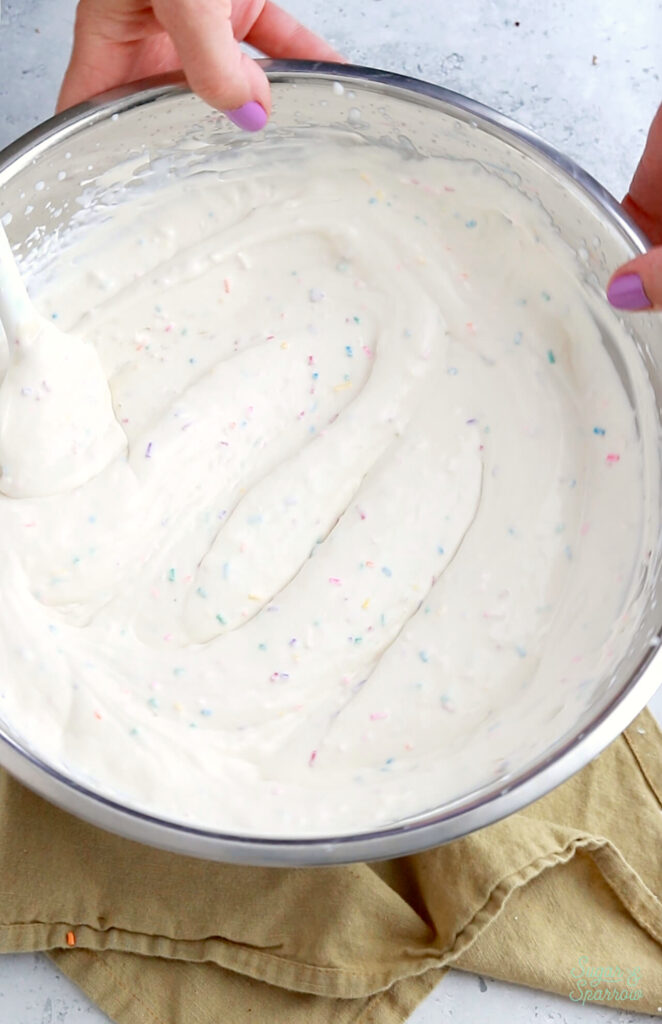
I love no-churn ice cream because it’s so easy to throw together in just a few minutes and the freezer does the rest of the work for you. There are just a few simple ingredients involved:
- Heavy Whipping Cream
- Sweetened Condensed Milk
- Flavoring (Amoretti Natural Birthday Cake Artisan Flavor)
- Any add-ins you wish (I went with rainbow sprinkles)
That’s it! And in 6+ hours it magically turns creamy and delightful every single time!
Perfect, Fudgy Brownies
I’m gonna let you in on a little secret: I haven’t yet found a homemade brownie recipe that can top this Ghirardelli Chocolate Supreme brownie mix. So naturally, I went the box mix route for the brownie layers, but you are welcome to use your favorite from-scratch recipe as a substitute. You’ll just need enough to bake in an 8 x 8 inch pan.
My biggest fear with this cake was that the brownies were going to be frozen solid after the trip to the freezer. But after some research I learned a secret to keeping the brownie layers soft: just make sure they’re slightly underbaked. I simply baked them for a few minutes less, just until a toothpick inserted an inch from the edge came out clean. If you wait for a toothpick inserted into the center to come out clean, they’ll be overbaked for this recipe, meaning they may not be as fudgy or easy to slice after they’re frozen.
Homemade Hot Fudge
One thing I did opt to make from scratch was the hot fudge, but you can certainly use your favorite store bought brand. I love this recipe because it stays soft yet holds its shape when frozen, so it helps with the overall structure of the cake. It’s made with both chocolate chips and cocoa powder (so, extra chocolatey) and a few other simple ingredients you just cook together in a saucepan. It will look very thin at first, but will thicken beautifully as it cools.
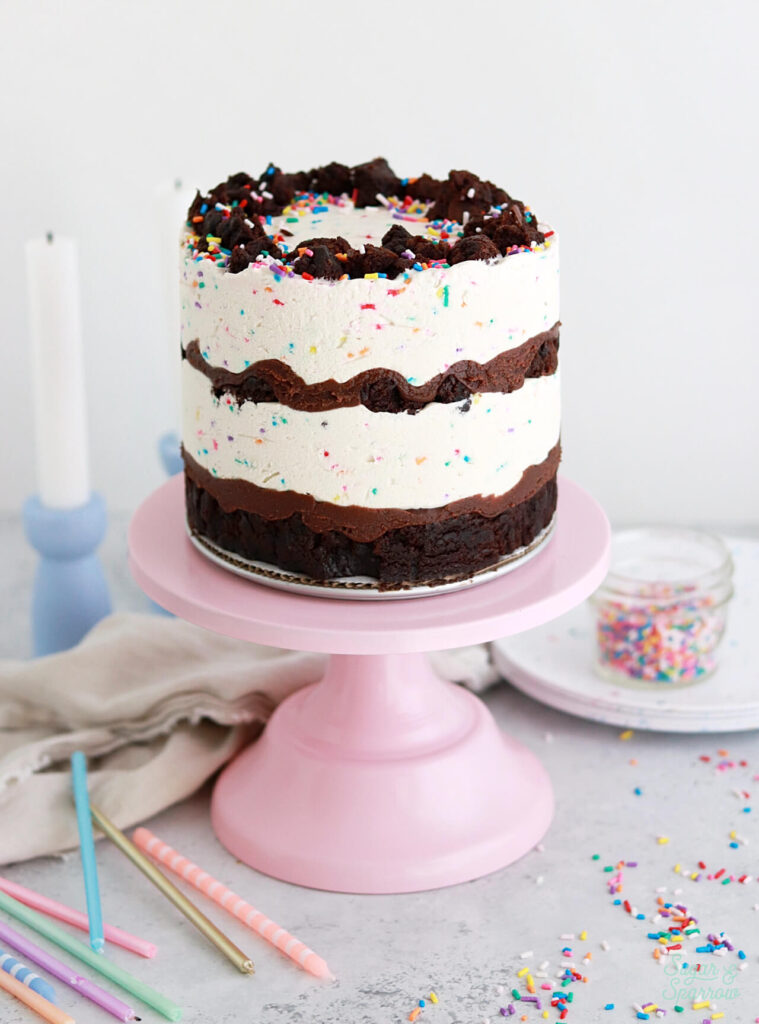
I added half of the hot fudge on top of the brownie base and the other half on top of the brownie chunk layer. Just look at how gorgeous all of the layers look together:
I will say, all of these flavors go together so perfectly, but the birthday cake ice cream really takes things to the next level. Amoretti really nailed the vanilla cake batter flavor with this Artisan and I can’t wait to try it with more recipes. I’m already planning on adding it to waffle batter for my birthday breakfast!
How to Store & Serve Birthday Cake Ice Cream Cake
One of the beautiful things about ice cream cakes is that you can make them ahead! Weeks in advance if you’d like. You’ll assemble this birthday cake ice cream cake in a springform pan with an acetate collar. This way the cake will hold its shape as it sets and the sides will be protected from the elements. Add a layer of plastic wrap over the top of the cake, pop it in the freezer, and voila – you’re done making dessert!
I like to make ice cream cakes the night before a party, which gives it plenty of time to set, but you can make it up to two months in advance so long as you wrap it properly.
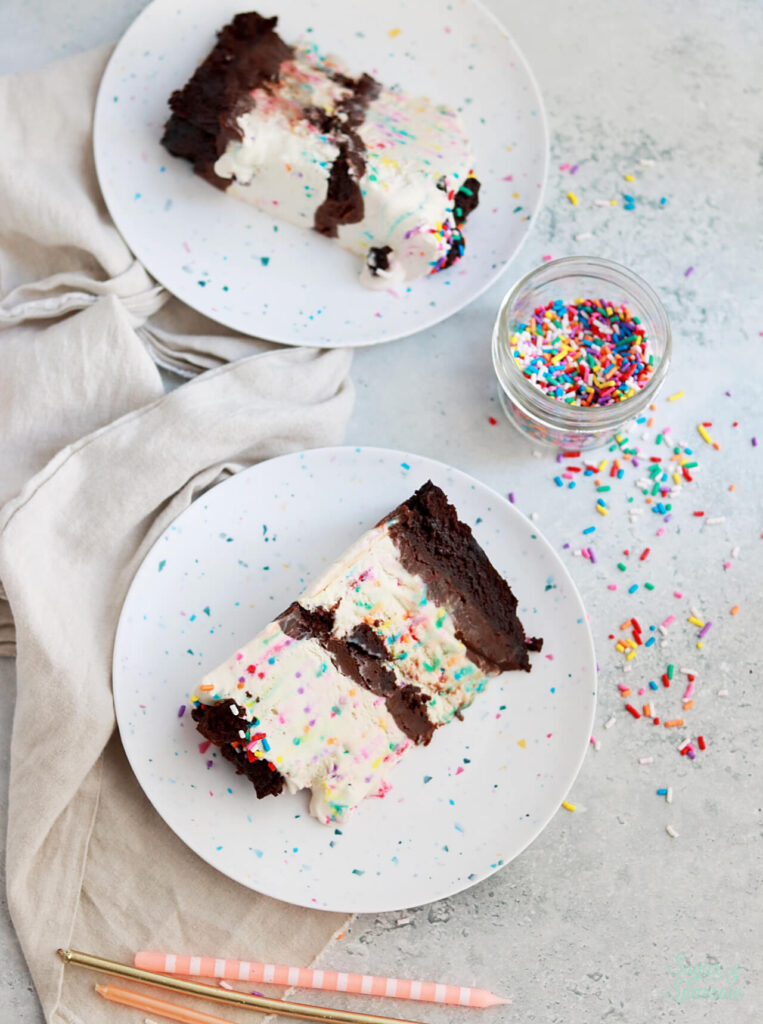
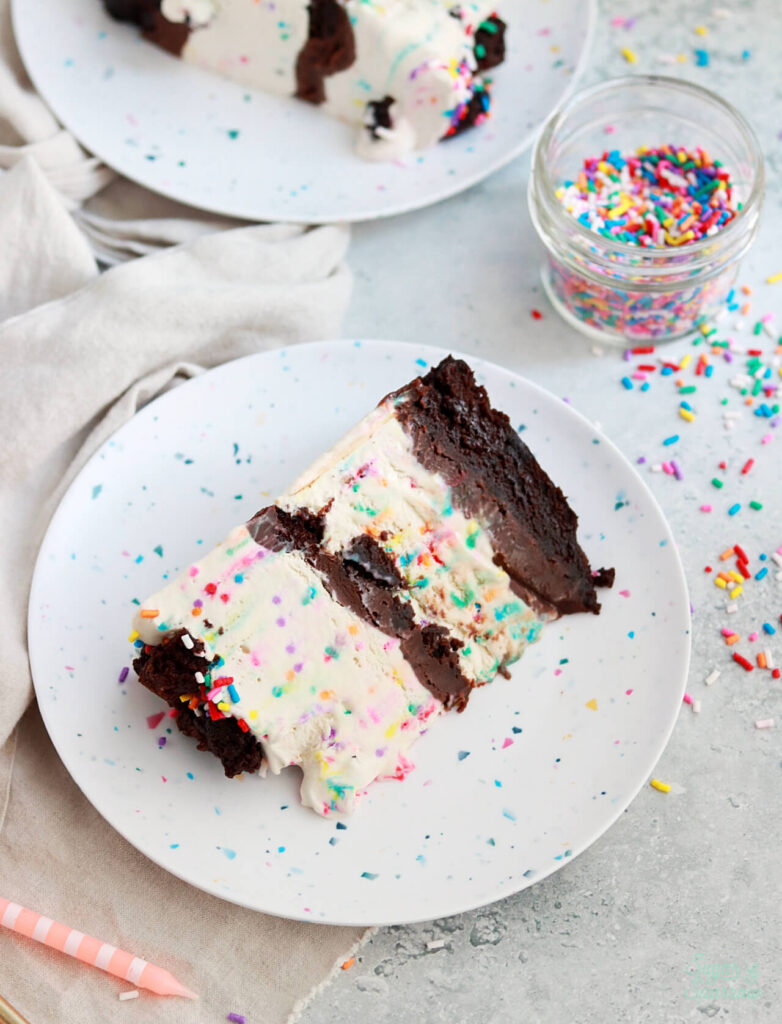
When you’re ready to serve the cake, leave it out for 10-15 minutes to let things soften and then dig right in. It took me about an hour after unwrapping the acetate to film and photograph the final product, and it didn’t look melty after that (but it was definitely soft), so don’t feel like you have to rush to eat it. If you have leftovers, you can wrap them in plastic wrap and pop them back in the freezer to enjoy at a later time.
I will one-thousand percent be making this birthday cake ice cream cake again and I hope you get a chance to make it too. And note that you can use any of Amoretti’s Artisan flavors with this recipe but the Natural Birthday Cake Artisan Flavor makes it the most celebratory! Be sure to use my code WHITNEY10 for $10 off your order.
Birthday Ice Cream Cake
Equipment
- 1 6-inch springform pan
- acetate or parchment paper (for collar)
- scotch tape
Ingredients
Hot Fudge Filling
- 1 Cup (240ml) heavy whipping cream
- 1/4 Cup (60ml) light corn syrup*
- 1/2 Cup (100g) granulated sugar
- 1/2 Cup (113g) unsalted butter
- 1 tsp pure vanilla extract
- 1/4 tsp salt
- 6 Oz (175g) semi-sweet chocolate chips
- 1/4 Cup (22g) unsweetened natural cocoa powder
No-Churn Birthday Cake Ice Cream
- 2 Cups (480ml) heavy whipping cream
- 14 Oz sweetened condensed milk
- 1 Tbsp Amoretti Natural Birthday Cake Artisan Flavor
- 1 Cup (100g) rainbow sprinkles
Additional Layers & Ingredients
- brownies (homemade or storebought), baked in an 8x8inch pan and cooled completely
- 1/4 Cup (25g) rainbow sprinkles
Instructions
Make the Hot Fudge Filling
- In a medium saucepan over medium heat, combine the heavy whipping cream, corn syrup, sugar, salt, butter, and vanilla. Whisk constantly until the butter is fully melted and the mixture begins to simmer.
- Reduce heat to medium-low and add the chocolate chips. Stir until melted.
- Whisk in the cocoa powder and continue to cook on low until fully incorporated and glossy, about 1 minute.
- Place the hot fudge into an airtight container and store in the refrigerator until room temperature, 50-60 minutes. It will thicken significantly as it cools.
Make the No-Churn Birthday Cake Ice Cream
- Wait to make this element until right before you're ready to assemble the cake (the brownies should be baked and cooled and the hot fudge filling should be completely cooled as well). Place a large metal or glass bowl into the refrigerator for at least 20 minutes to chill before you get started.
- Add the heavy whipping cream into the chilled bowl, then whip it with a hand mixer on high speed until stiff peaks form, 2-3 minutes. You can alternatively use a stand mixer with the whisk attachment for this part.
- In a separate small bowl, whisk together the sweetened condensed milk and Amoretti Birthday Cake Artisan Flavor until combined. Gently fold the sweetened condensed milk mixture into the heavy whipping cream with a rubber spatula, then fold in the rainbow sprinkles.
Assembly
- Place a 6-inch cardboard cake circle over the top of the brownies and use a sharp knife to trace around it and cut out a 6-inch brownie circle. Place the brownie circle on top of the cardboard cake circle and place it into the bottom of a 6-inch springform pan. Wrap a sheet of acetate around the brownie layer and tape it together once it's the same diameter as the cake layer. Here are more detailed instructions on how to prepare the acetate collar.
- Chop the rest of the brownie scraps (the leftovers from around your brownie circle tracing) into small chunks and set them aside.
- Add half of the (room temperature) hot fudge filling onto the top of the brownie layer and smooth it down until it reaches the acetate. Add half of the birthday cake ice cream on top and smooth it down.
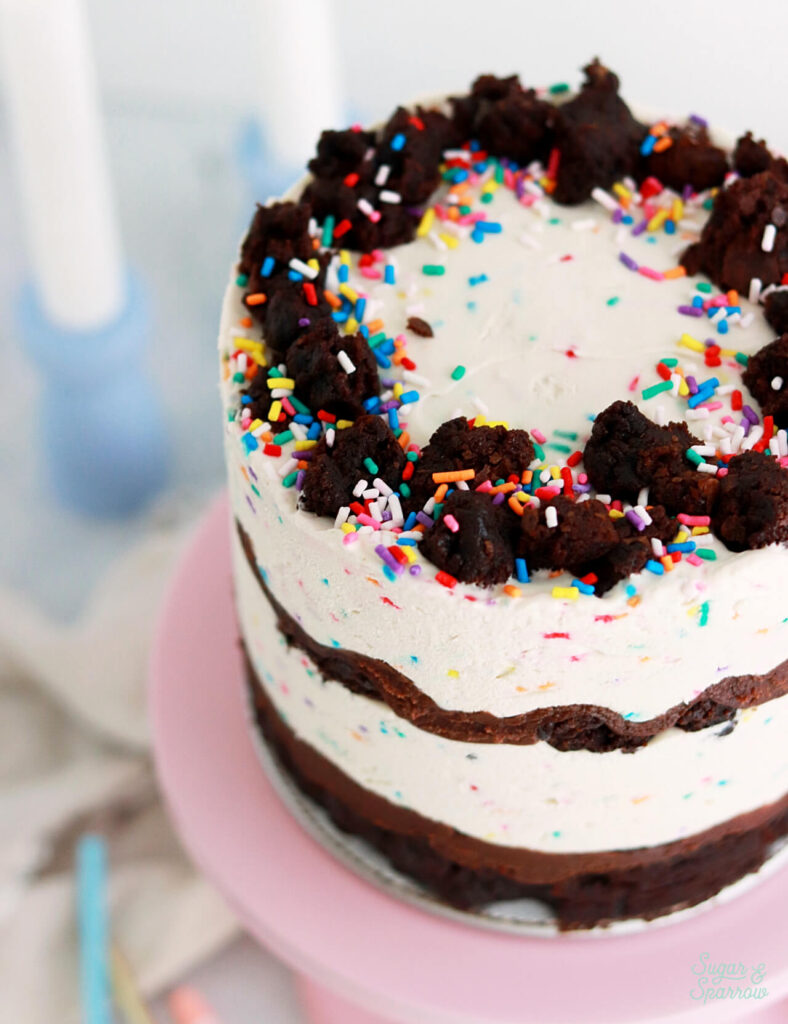
- Reserve about ⅓ of the brownie chunks for the top of the cake, then sprinkle the rest in a layer on top of the ice cream. Add the rest of the hot fudge filling on top of the brownie chunks, then add the remaining birthday cake ice cream and smooth it down.
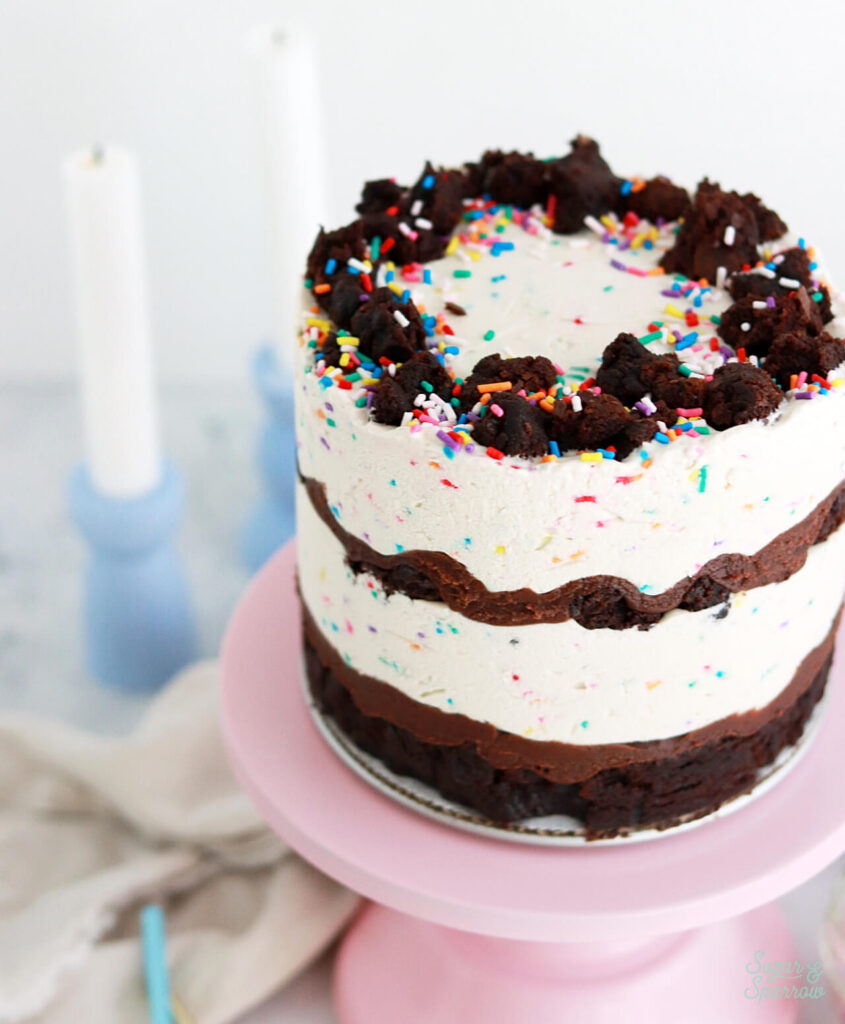
- Sprinkle the reserved brownie chunks around the top edges of the final ice cream layer and top them with rainbow sprinkles.
- Place a piece of plastic wrap over the opening of the acetate, then freeze the ice cream cake for at least 8 hours. When you're ready to serve it, remove the cake from the springform pan and unwrap the acetate.
Notes
- The hot fudge filling can be made ahead and stored in an airtight container in the refrigerator for up to two weeks. When you’re ready to use it, gently reheat it in the microwave in 10 second intervals until spreadable.
- The birthday cake ice cream must be made right before assembling the cake and cannot be made ahead.
- The assembled cake or leftovers can be stored in the freezer, wrapped in acetate or plastic wrap, for up to two months.
Disclaimer: I was compensated by Amoretti for my work of creating this project, styling, filming, photographing, and writing about their products. As always, all opinions are honest and my own. Thank you for supporting brands that support Sugar & Sparrow.

Hi! What changes should I make for a large springform! I’m in the middle of it and I already doubled my brownies. Double ice cream? Help
Hi Cal! How large of a springform pan? If you doubled the brownies I think you could either 1.5x or double the ice cream. You could also alter the recipe to have just one ice cream layer depending on how large your springform pan is. Hope that helps!
Maravilhoso