Hot cocoa is such a cozy drink on it’s own, but when you add peppermint, it basically becomes a cup of Holiday cheer! Now, imagine those flavors in cake form: layers of hot cocoa infused chocolate cake, peppermint buttercream, and some marshmallow creme filling to bring it all together. It’s the perfect blend of festive flavors and makes an eye-catching centerpiece for your Holiday dessert table!
If you love a peppermint hot cocoa at your local coffee shop, you’ll be obsessed with this cake. It all starts with my favorite one-bowl chocolate cake recipe, only I’ve infused it with hot cocoa to give it the perfect flavor. It’s moist, decadent, and pairs perfectly with the peppermint buttercream and marshmallow creme. The buttercream gives it just the right amount of peppermint flavor. After trying lots of peppermint buttercream recipes that tasted like toothpaste, I was very intentional in the amount of peppermint extract I added. Turns out it doesn’t take much!

Now let’s talk about this striped filling, because just look at it! I alternated adding peppermint buttercream (tinted red) and store bought marshmallow creme to create this striped effect when you cut into it. I think it’s such a fun touch! You can get this look with your filling by piping alternating circles – first peppermint buttercream, then marshmallow creme, then repeat until you reach the center of the cake. It will look like a bullseye when you’re finished, but it’ll be striped when you cut the slices.

If you’d rather use all marshmallow creme as the filling or all peppermint buttercream, go for it! You can’t go wrong with these flavors. To use all marshmallow creme as the filling, be sure to follow the method for soft fillings in this blog post to ensure it doesn’t squish out between your cake layers.
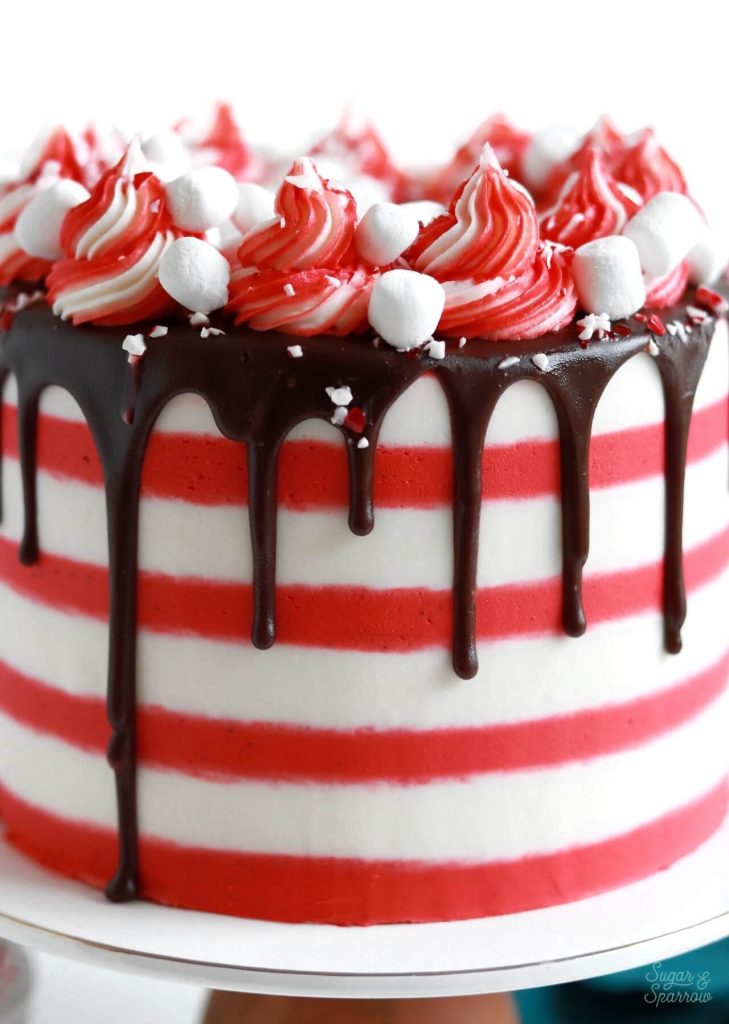
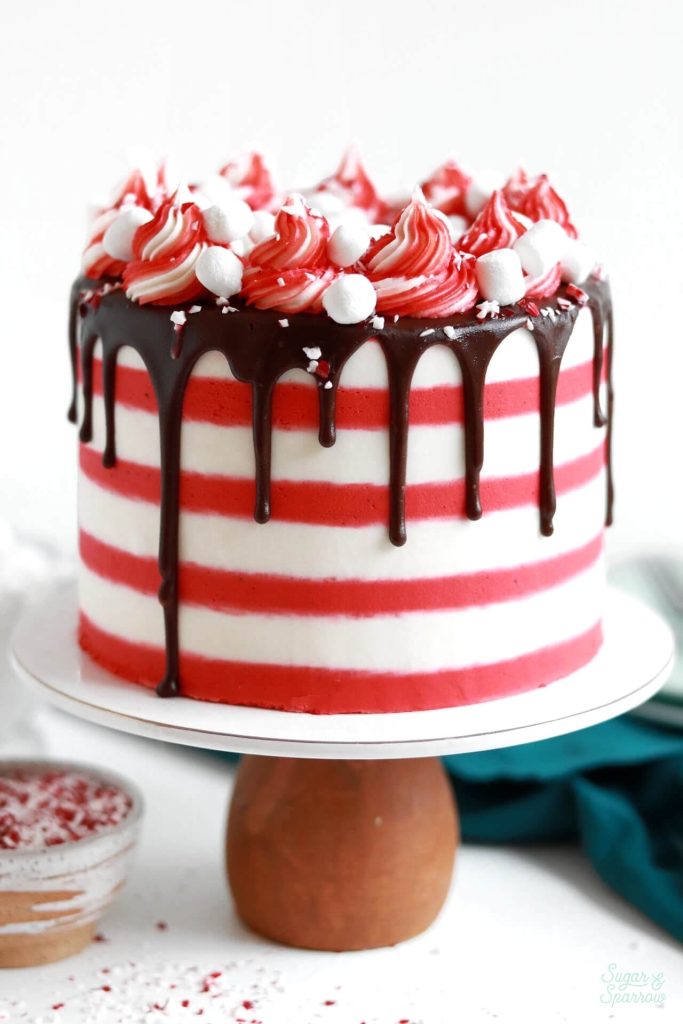
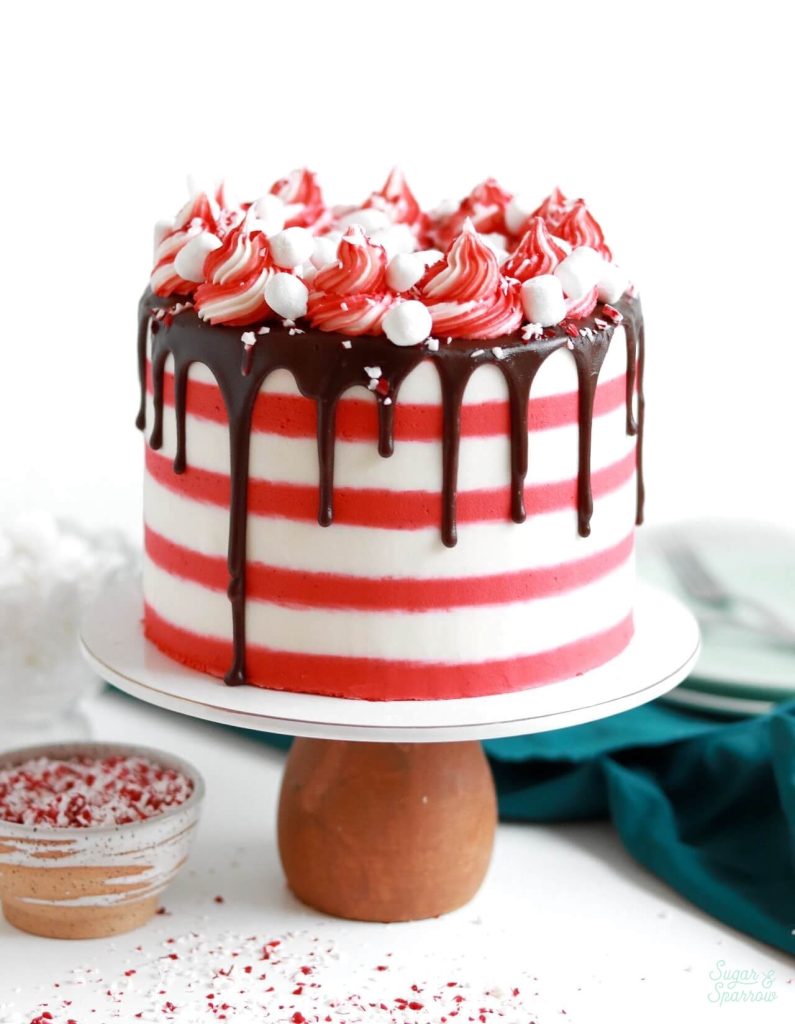
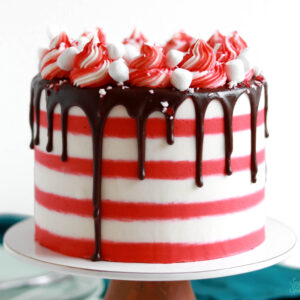
It’s been awhile since I’ve made a striped buttercream cake but I just had to with this one. Not only do the red and white stripes make me think of peppermint, they’re iconic of the Holidays. You’ll need a good cake comb (here’s the one I use) and red food color gel to get this striped finish. If you’ve never attempted buttercream stripes before, here’s a post that will show you how to create them.
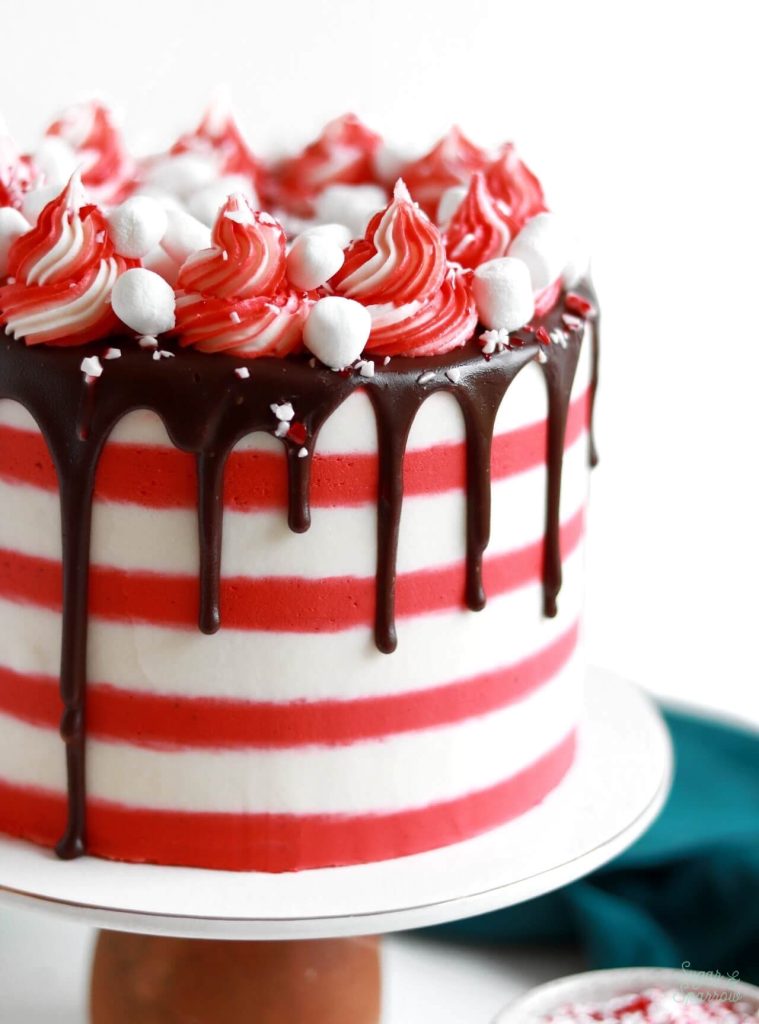
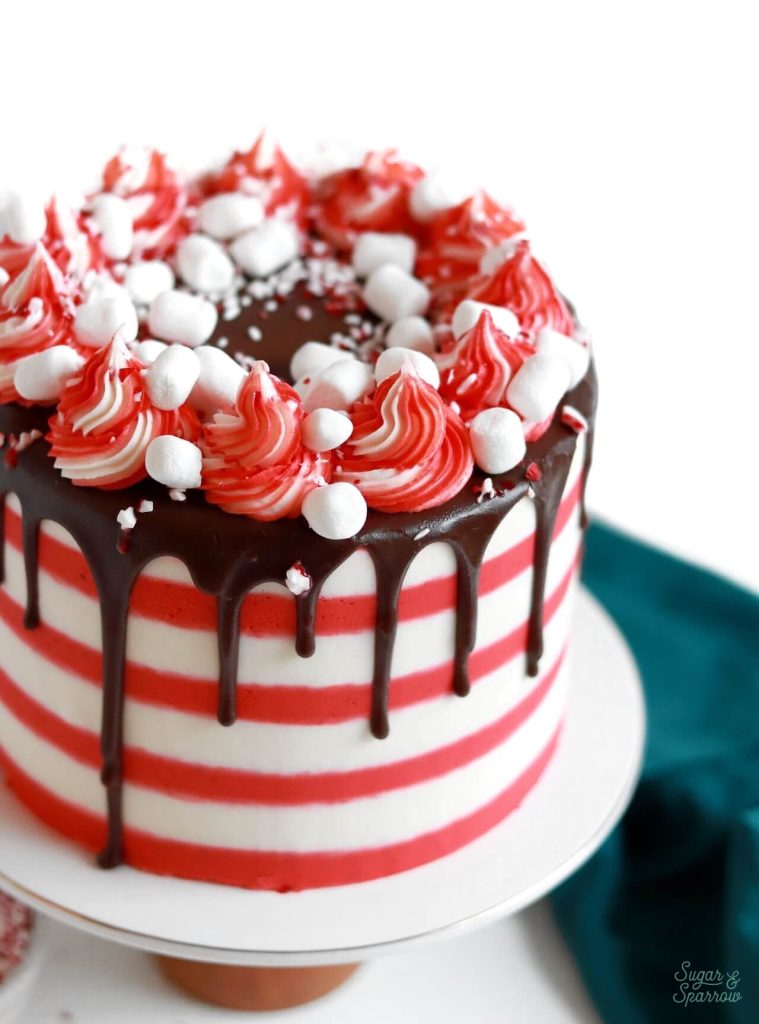
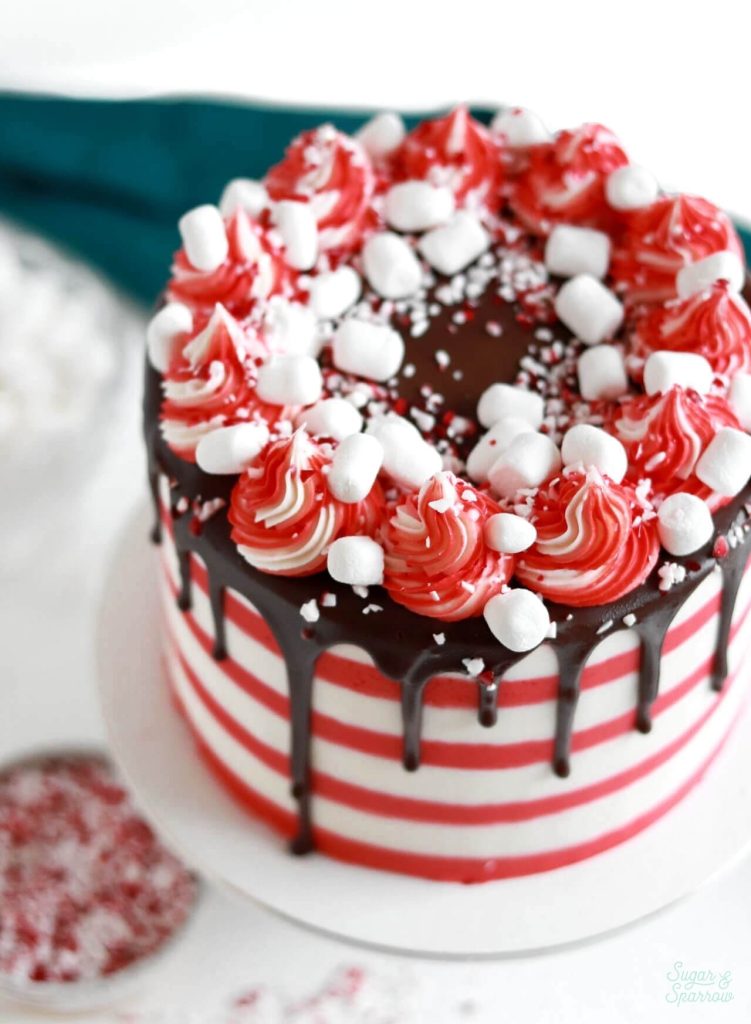
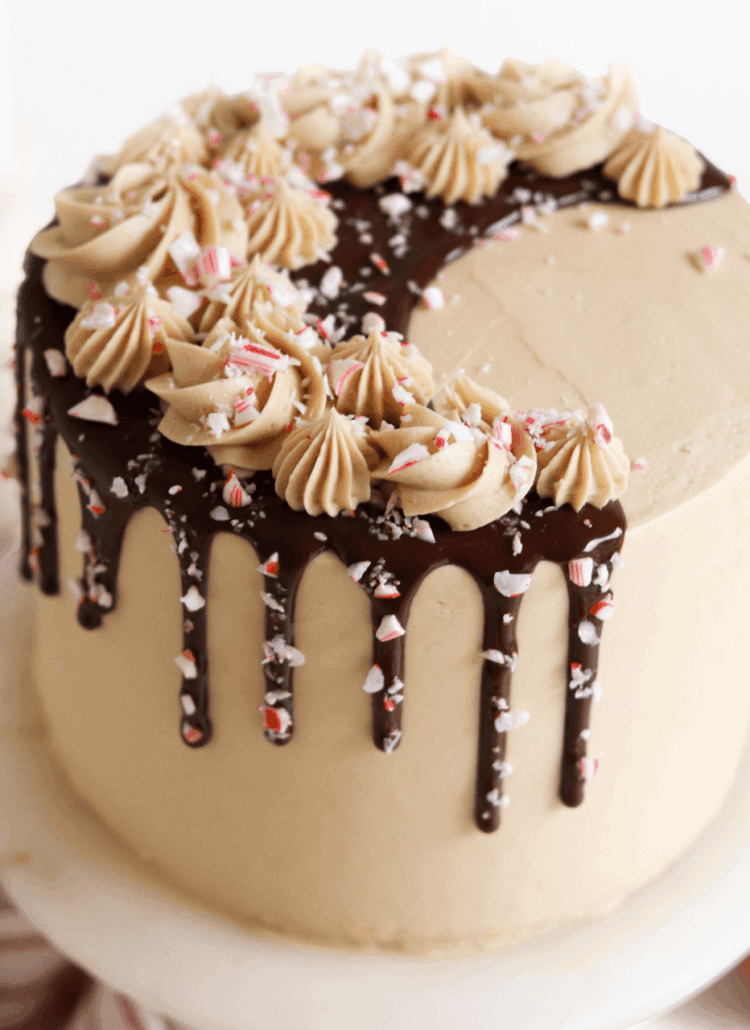
To finish this Peppermint Hot Cocoa Cake design, I added chocolate ganache drips, then combined red and white peppermint buttercream in the same piping bag before piping it into swirls with Wilton Tip 4B. I sprinkled crushed candy canes and mini marshmallows all over the top of the cake to give it some extra texture. If you’re storing the decorated cake in the refrigerator like I always do, be sure to hold off on sprinkling the candy canes until the last minute. They tend to liquify when going between room temperature and the refrigerator. My advice is to add the crushed candy canes at the point when you take the cake out of the refrigerator, which should be an hour or two before serving it. Cake always stores best in the refrigerator but tastes best at room temperature.
No matter how you decorate, I am so excited for you to try this Peppermint Hot Cocoa Cake recipe and hope you love it as much as I do!
Peppermint Hot Cocoa Cake
Ingredients
Hot Cocoa Cake
- 3 Tbsp hot cocoa powder
- 1 Cup (240ml) whole milk, room temperature
- 2 Cups (265g) all purpose flour
- 1 1/2 Cups (300g) white granulated sugar
- 2/3 Cup (60g) unsweetened natural cocoa powder
- 2 tsp baking soda
- 1 tsp baking powder
- 1/2 tsp salt
- 1/2 Cup (120ml) vegetable oil
- 2 large eggs, room temperature
- 1 1/2 tsp pure vanilla extract
- 1 Cup (240ml) hot water
Peppermint Buttercream
- 2 Cups (226g) unsalted butter, room temperature
- 7 Cups (840g) powdered sugar
- 1 tsp pure vanilla extract
- 3/4 tsp pure peppermint extract
- 3 Tbsp whole milk, room temperature
- 1/4 tsp salt, or to taste
- red food color gel (optional)*
Chocolate Ganache Drip (Optional)
- 1/2 Cup (95g) semi sweet chocolate chips
- 1/2 Cup (120ml) heavy whipping cream
Additional Fillings & Toppings
- 3 Oz marshmallow creme
- crushed candy canes
- mini marshmallows
Instructions
Make the Hot Cocoa Cake
- Preheat the oven to 350ºF and prepare three 6-inch or two 8-inch cake pans by spraying the sides with cooking spray and fitting the bottoms with a wax paper or parchment cake circle.
- Whisk the hot cocoa powder into the whole milk and set aside. Place all of the dry ingredients into the bowl of a stand mixer and stir on low for 30 seconds to fully combine them. Add the vegetable oil, eggs, vanilla, and hot cocoa mixture and stir on low until just combined.
- Ensure that the hot water has been heated to a simmer, then with the mixer still on low, add the hot water in a slow stream. Turn the mixer to medium and beat until smooth, about 2 minutes. The batter will be very thin.
- Pour into prepared cake pans no more than 2/3 full and bake for 35-40 minutes, until a wooden toothpick inserted comes out clean. Cool completely before frosting.
Make the Peppermint Buttercream
- With a hand mixer or paddle attachment on your stand mixer, cream the butter on medium-high until it’s creamy and light (almost white) in color. About 7 minutes.
- Turn the mixer to low and add the sifted powdered sugar a few cups at a time, scraping down after each addition and making sure each cup is fully incorporated before adding the next one. Add vanilla extract, peppermint extract, milk, and salt and mix on low for another minute until fully incorporated.
- Reserve half of the peppermint buttercream in a separate bowl. Add red food color gel to the half that’s still in the bowl of your stand mixer and mix on low until you achieve a red color. Keep in mind that it may take 30 minutes or more for the color to deepen and develop fully.
Make the Chocolate Ganache (Optional)
- Place chocolate chips into a heat resistant bowl (glass or metal). In a saucepan over medium-high heat, warm the heavy whipping cream until it just starts to simmer. I always look for small bubbles forming around the edge and a soft simmer starting in the middle. When it's reached this point, pour the cream into your bowl of chocolate and let sit for about 30 seconds.
- Whisk the mixture together until it’s uniform in consistency and there are no bits of chocolate left on your whisk. Allow to cool at room temperature for 10-20 minutes, or until the ganache itself is room temperature or slightly above, before using it as a drip. See the notes below for making this part ahead or troubleshooting if you don’t get the timing just right for your drip.
Assembly
- Once the Hot Cocoa Cake layers have cooled completely, level and torte each one to your desired height. Place the first layer onto a cake turntable.
- Prepare two piping bags by snipping off a ½ inch opening. Fill the first piping bag with red tinted Peppermint Buttercream and the second with marshmallow fluff. Pipe a circle of red Peppermint Buttercream along the outer edge of the cake layer on your turntable. Then, alternate piping subsequent smaller circles of marshmallow fluff and red Peppermint Buttercream until you reach the center of the cake layer. The filling should look like a bullseye.
- Place the second cake layer on top and repeat the filling process before adding the final layer on top, upside down so that the bottom of the layer is the top of the cake. Crumb coat the cake with red Peppermint Buttercream. Place the crumb coated cake into the refrigerator for at least 30 minutes to let the frosting firm up.
- Frost the crumb coated cake with the un-tinted Peppermint Buttercream and use this tutorial to create red and white stripes with a cake comb. Once the cake has its final layer of frosting, place it back into the refrigerator for at least 20 minutes before dripping with chocolate ganache.
- Finish the look with Peppermint Buttercream swirls along the top edge of the cake (I used Wilton Tip 4B for the ones pictured), then sprinkle crushed candy canes and mini marshmallows all over the top.
Notes
- The Hot Cocoa Cake layers can be made ahead and stored, wrapped in plastic wrap, at room temperature for up to two days. Alternatively, you can store the wrapped cake layers in the freezer for up to 2 months before thawing and frosting.
- The Peppermint Buttercream can be made ahead and stored in an airtight container in the refrigerator for up to two weeks. When you’re ready to use it, bring it back to room temperature and re-whip in your stand mixer to bring back to smooth buttercream consistency.
Did you make this Peppermint Hot Cocoa Cake recipe? I want to know how it went! Let me know in the comments below and feel free to tag @sugarandsparrowco on Instagram and show me! I love to see what you create.

I got in to baking and struggled to find a basic recipe that I loved and enjoyed making. I stumbled upon your website and hot cocoa cake and it was easy to make and delicious! Now I have used your recipes for all of my cakes – thank you so much for sharing!
Yay, Ashley! That makes me so happy to hear. I’m cheering you on in your baking!