
One of the most frequent questions I get as a cake decorator is how I get my buttercream cakes so smooth and sharp. To answer you, I’m going to be completely candid here and not pretend that my cakes are absolutely flawless every time. The truth is, with most of the cakes I design, there are plenty of opportunities to hide small flaws in the buttercream finish. A ganache drip over this crease, sprinkles around that bottom edge, and before you know it the cake appears flawless with all those problem areas covered up! Ok, maybe that’s just me being lazy creative. Despite that, I have developed some skills and learned some tips over the years that help me get pretty darn close to a flawless buttercream finish, and I’m excited to share them all with you!
I’m a visual person, having learned everything I know about cakes on YouTube. So if you’re like me, here’s a handy video tutorial on how I get those edges sharp and those sides smooth as can be. Read on after the video for my best tips to getting the look:
Disclosure: this post does contain some affiliate links, meaning I may receive a small commission if you click them and purchase items I’ve recommended. Clicking these links won’t cost you any extra money, but they do help to keep Sugar & Sparrow up and running. Thank you for your support!
You Will Need
- Cake layers and filling
- Thin consistency buttercream like this one
- Piping bag(s)
- Cake turntable
- Metal bench scraper
- Metal angled spatula
- Hot water and towel
Step 1: Gather The Right Tools
The right tools make all the difference when you’re trying to achieve a smooth finish. You’ll notice that I’ve specified metal spatulas and scrapers in the list above. These materials allow you to heat up the tools when you’re smoothing, and just like ironing a shirt, a little heat will help smooth over any wrinkles and blemishes in the cake finish. I have used this 6-inch stainless steel bench scraper and Wilton’s 13-inch angled spatula since the beginning, and they’ve helped tremendously.
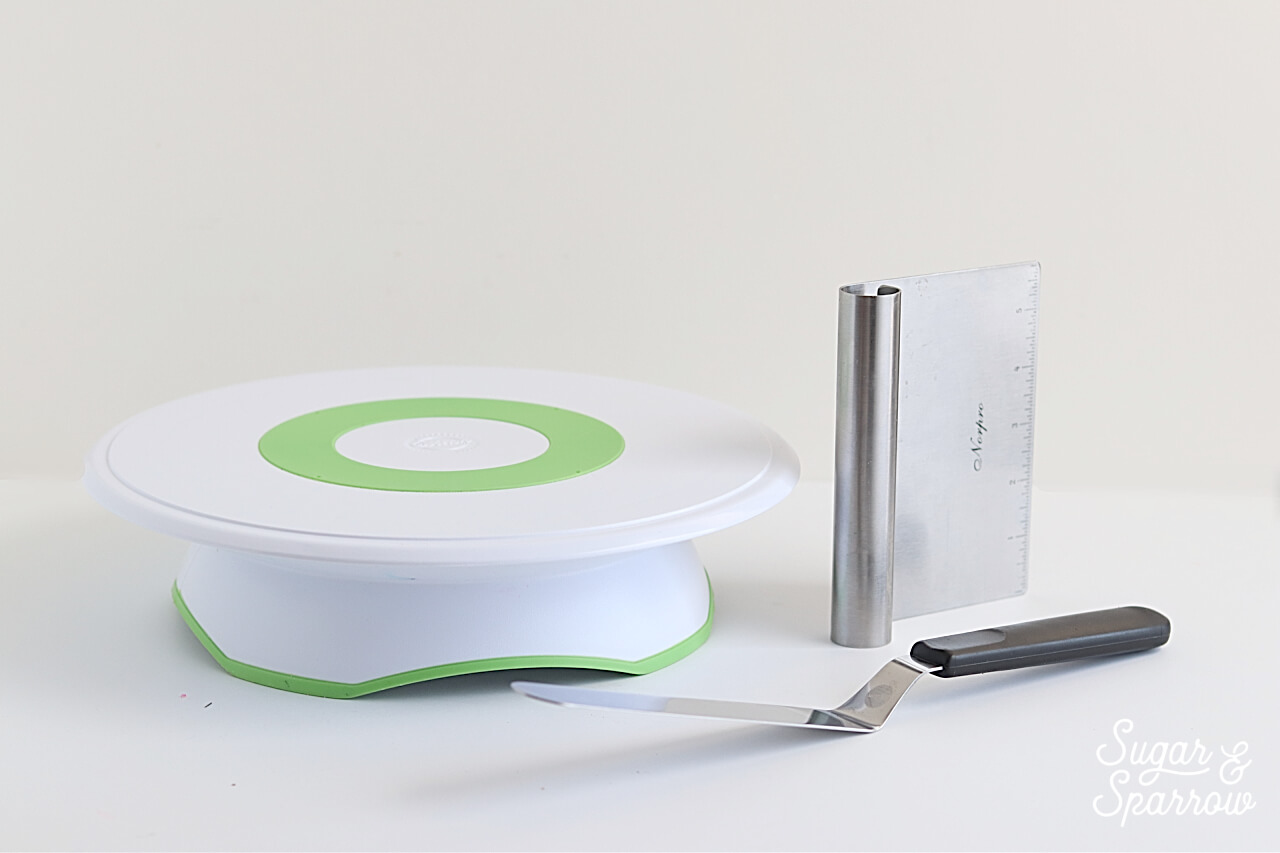
A good cake turntable is a must, and I have two of them that I love. The cheapest of the two is this one by Wilton, pictured above. It has a nice rubber circle built in to the top to prevent your cake from sliding around. I also have this Ateco turntable that comes with a rubber pad to prevent from slippage. The Ateco turntable is not only functional, it’s really pretty, and I use it to photograph my cakes on all the time.
Step 2: Perfection Starts Inside The Cake
As they say, it’s what’s on the inside that counts. If you want a perfectly level cake, you’ve got to start with perfectly level layers. This means torting cakes that have a little too much rise in the center. My favorite tool for this is Wilton’s Cake Leveler. You can adjust the height of the leveler and slice off any extra cake in seconds, creating perfectly even layers for stacking.

As you’re filling your cakes, make sure the height of the filling is level as well. It helps to get down to eye level and make sure it’s not slanted in any way.
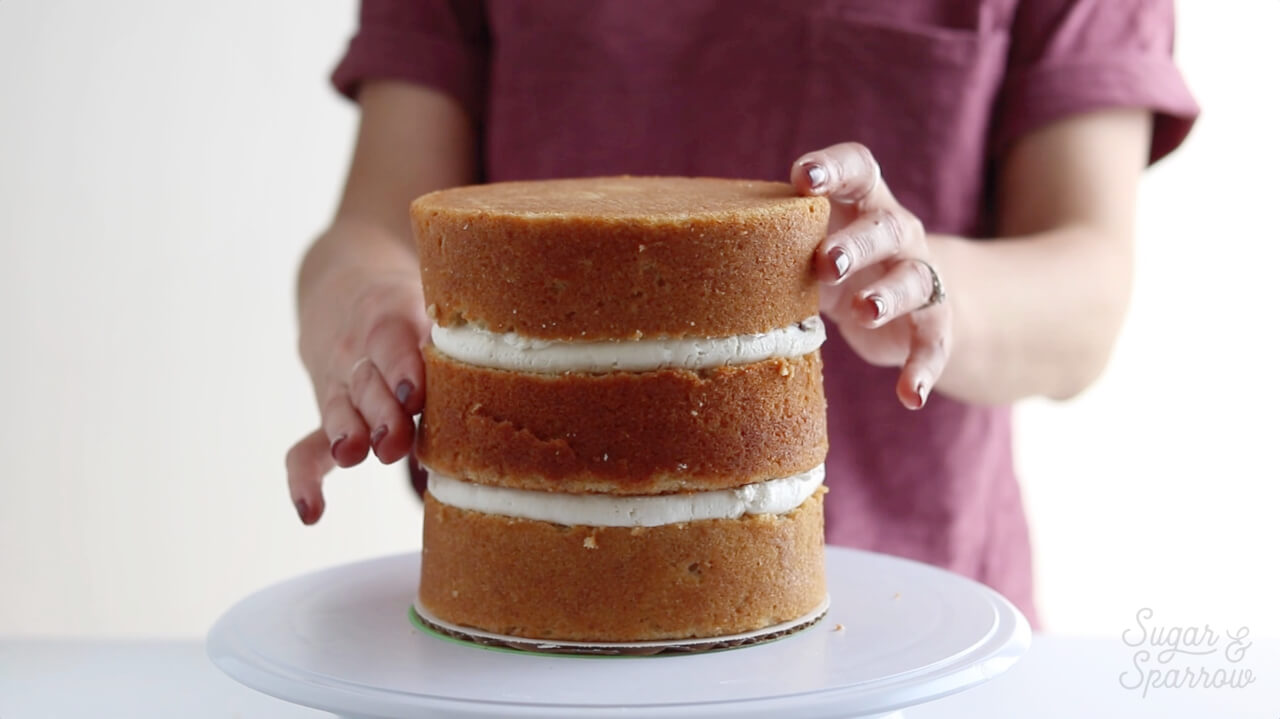
If you’ve got extra time on your hands, you can let the cakes settle at room temperature after you stack them, so gravity will do it’s thing before you start frosting. I almost never let my cakes settle because I keep them so cold all the time, plus I am a bit impatient, but I know this is a step that a lot of cake makers swear by.
Step 3: Mix Up The Right Buttercream Consistency
When you’re frosting a cake, you want the buttercream to be thin consistency, meaning that it’s easy to spread and holds its shape without being runny. This vanilla buttercream recipe is foolproof for this, but whatever recipe you use, test it before adding it onto the cake. A good way to test is dip a rubber spatula into the frosting. It should form peaks that aren’t too stiff, and easily spread when you move your finger over it.
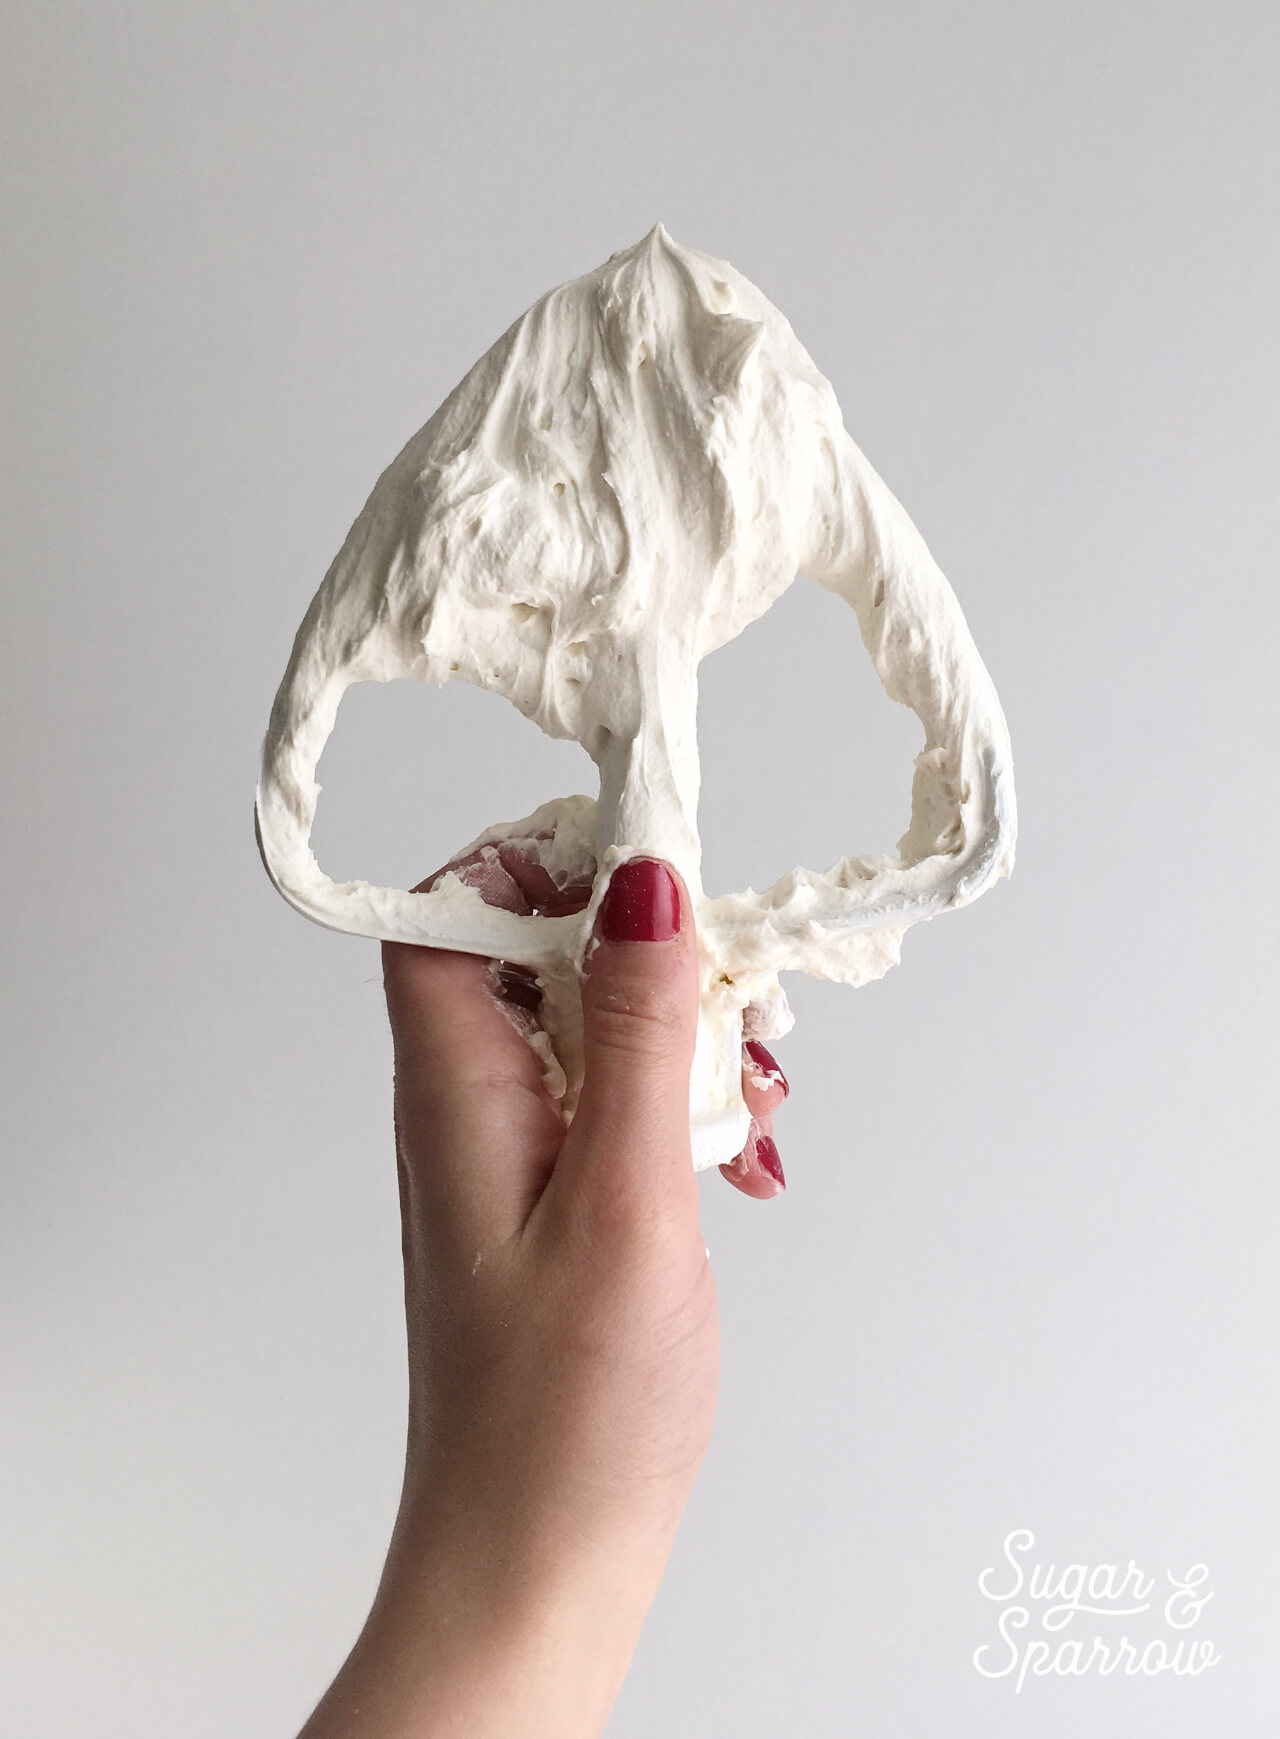
If your frosting is too thick, it’ll be hard to get the sides smooth and will feel like you’re basically ripping through it. The end result can often look airbubbly and have a finish that looks like stucco. No bueno. To fix it, all you have to do is add more liquid (in most cases heavy whipping cream or whole milk) to thin it out to the perfect consistency.
Step 4: Stir The Buttercream To Reduce Air Bubbles
Air bubbles happen all the time. It usually starts with over-mixing the buttercream as the whisk or paddle attachment ends up whipping too much air into it. Sometimes it’s just a fact of life, and I still struggle with airbubbly buttercream at times, even when I’m sure not to over-mix.
In my experience with buttercream, one super helpful trick to greatly reducing air bubbles is this: before you add any buttercream to the cake, give it several stirs with your rubber spatula and press it against the sides of your mixing bowl. This will force out any unwanted air that might be trapped inside the buttercream due to your mixer. You’ll visibly see it becoming smoother and air pocket free as you stir it up.
Step 5: Apply A Crumb Coat
I know some bakers don’t believe all cakes need a crumb coat, but I do. This way, all of the crumbs end up in the first frosting layer (hence the term crumb coat) and never in the final layer. It’s just prettier that way.
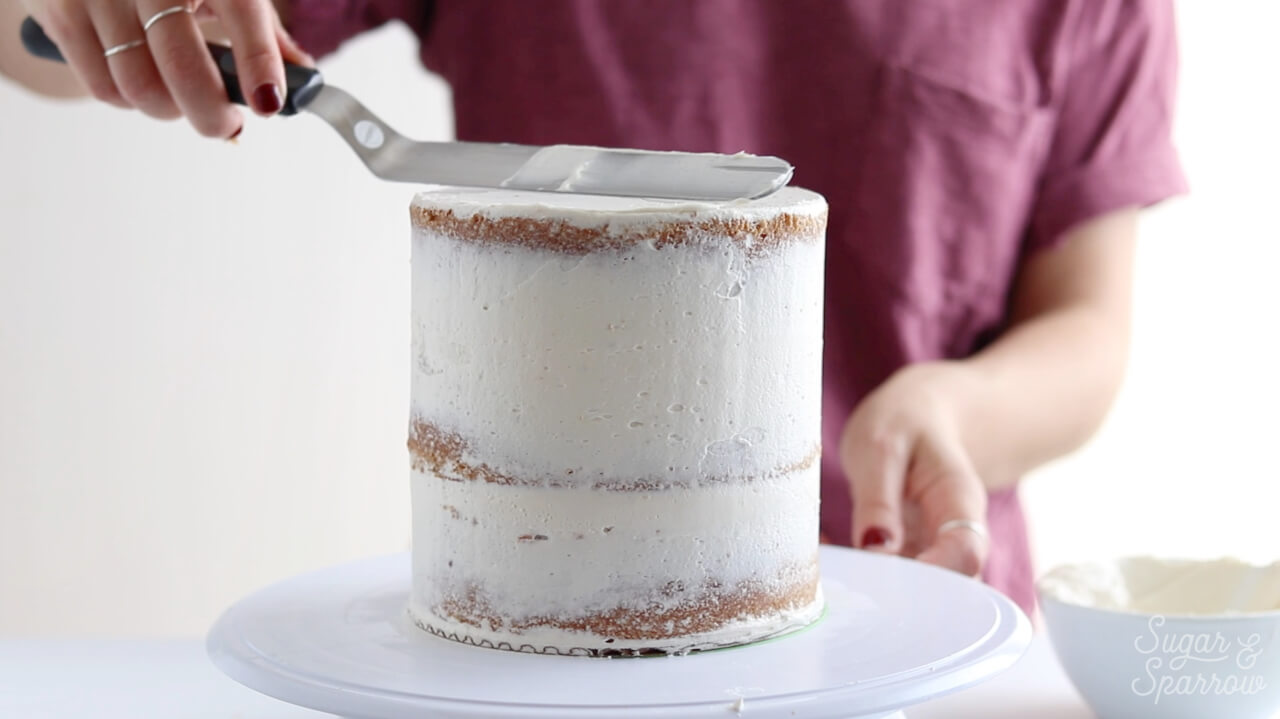
To add a crumb coat, spread a thin layer over the entire cake with an offset spatula, filling in all the cracks and holes (like in between layers), and smooth it all with your bench scraper. When you’re done, it should look like a semi-naked cake that’s pretty close to level on all sides and the top. Stick it in the fridge for at least 20 minutes (even overnight is a good idea!) to let it firm up a bit before adding your final layer. Starting the final layer with a sturdy foundation is a huge help when it comes to getting a smooth buttercream finish.
Step 6: Apply The Final Layer
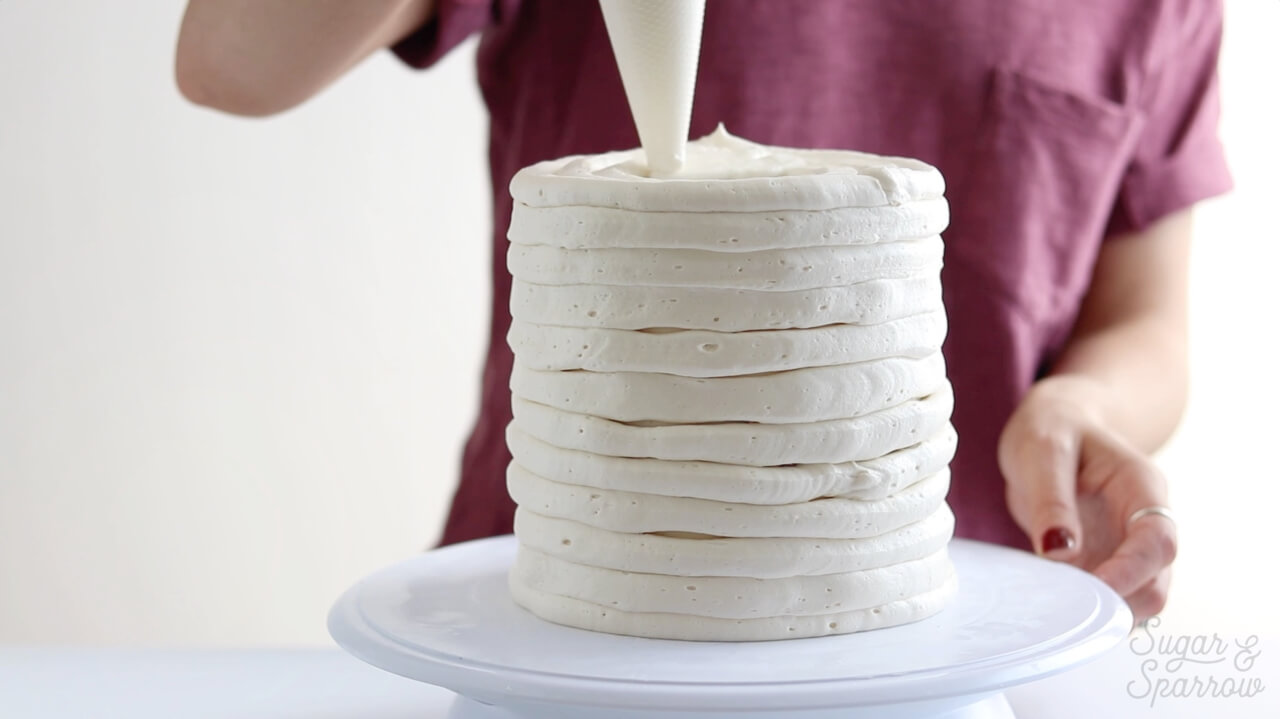
After your crumb coat has set, you’re ready to make that perfect buttercream cake become a reality. I’ve learned that piping the buttercream around the cake instead of applying buttercream with a spatula is a huge game changer for me. It helps to keep the buttercream even over the entire cake and makes it way easier to smooth out.
Starting at the bottom of the cake and working your way to the top, pipe the buttercream in even lines as you rotate the turntable. When you reach the top, pipe a ring around the top edge and then fill in the center of the top with buttercream.
First, smooth the top of the cake so that it’s perfectly level and smooth.
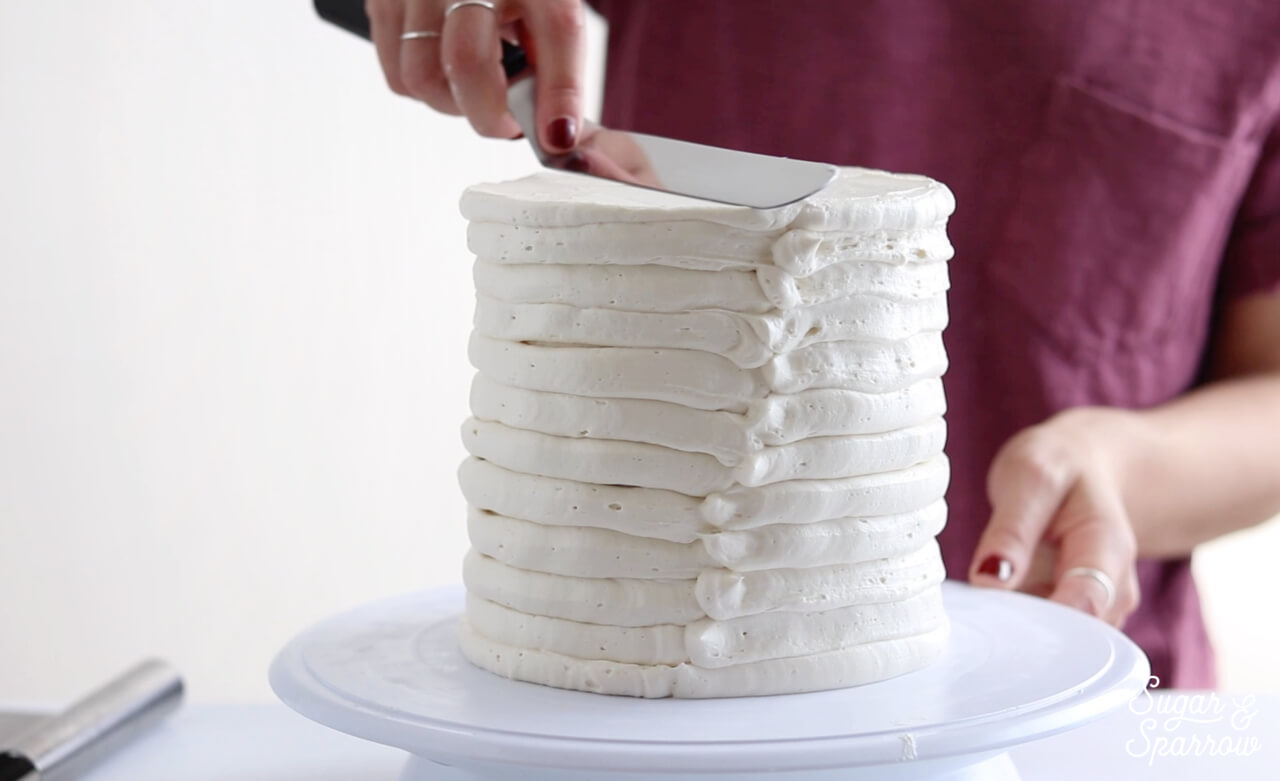
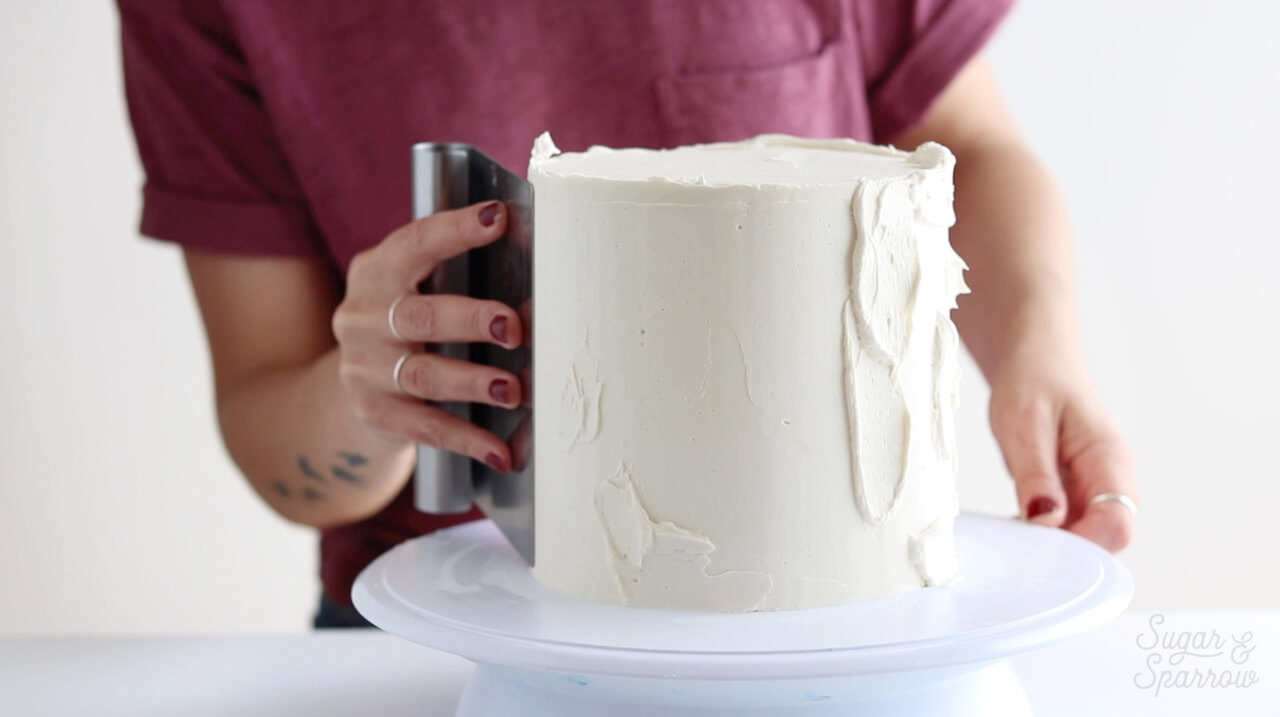
Next, use your bench scraper to smooth the sides, scraping the excess buttercream off of the scraper each and every time. Make sure that as you scrape, the scraper is vertically level, but also about a 45 degree angle toward the side of the cake (tighter angles help reduce those unsightly lines in the cake finish). Feel free to be slow and intentional with this process.
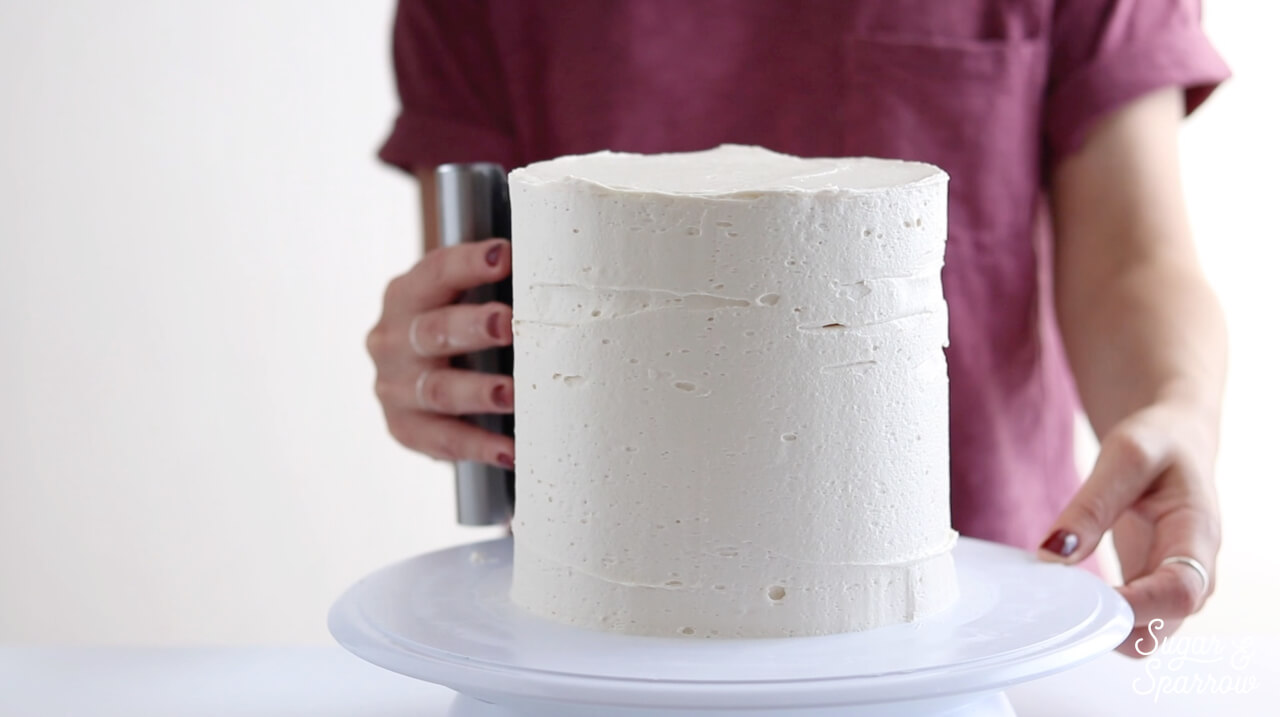
If you notice any gaps in your cake finish, simply fill them in with buttercream and keep scraping.
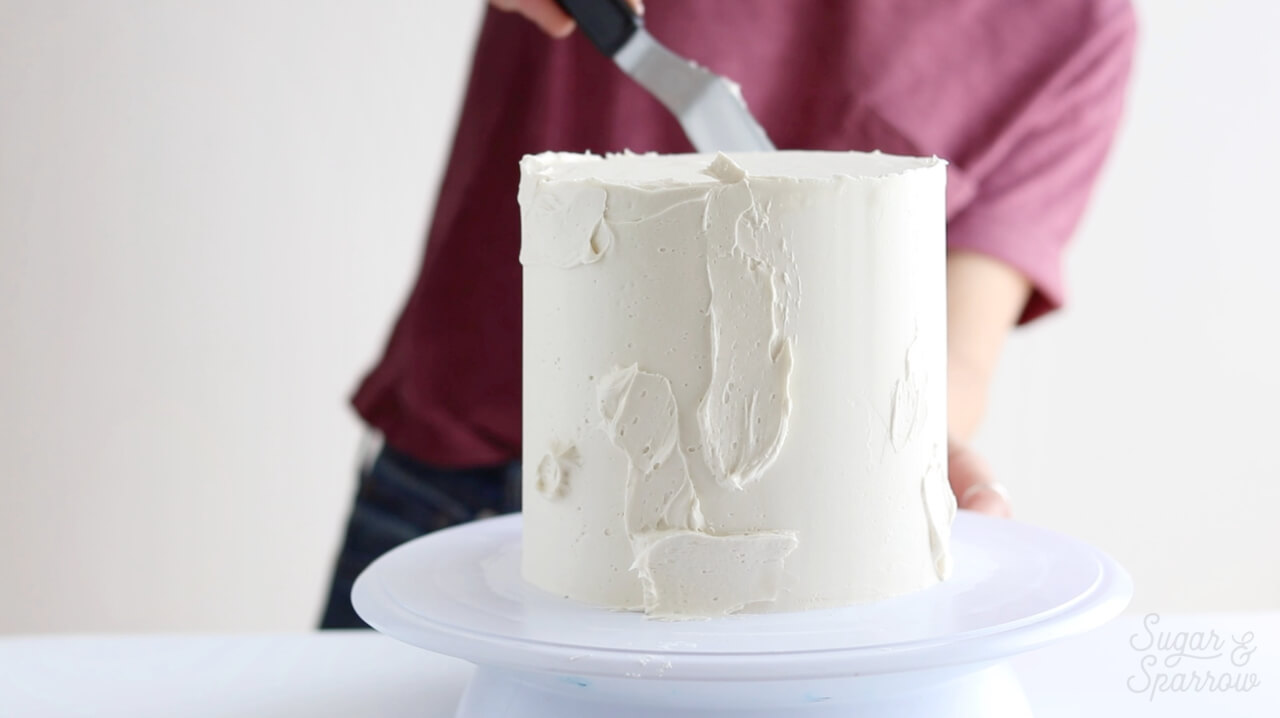
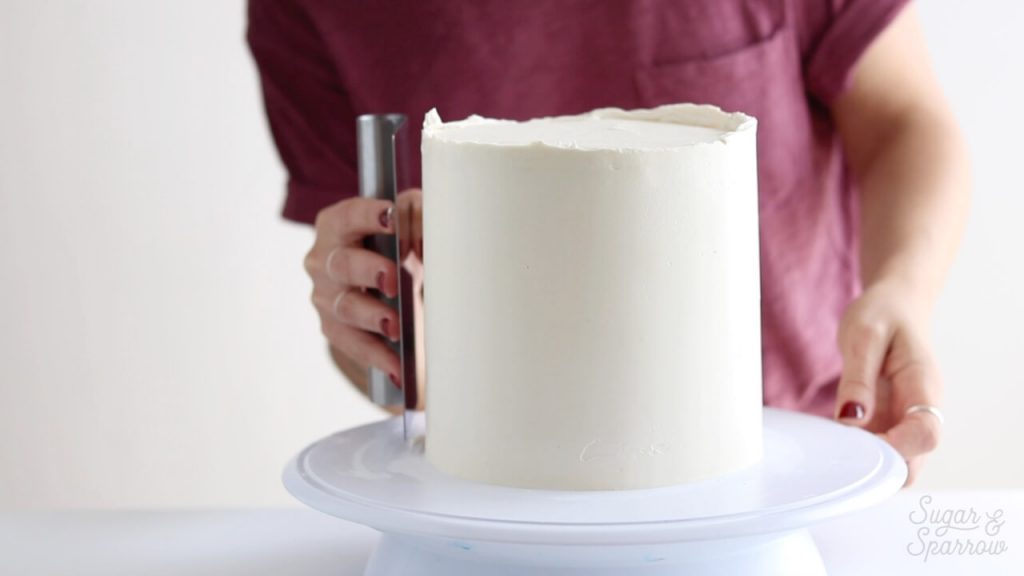
As you smooth the sides of your cake, the buttercream on the sides will begin to reach higher than the top of the cake like a crown. This is what you want. To get a clean, sharp edge, take your angled spatula and level off the top, smoothing the outsides of the buttercream crown toward the center of your cake. Remember to continue scraping off the excess buttercream and cleaning your tools before smoothing the cake.
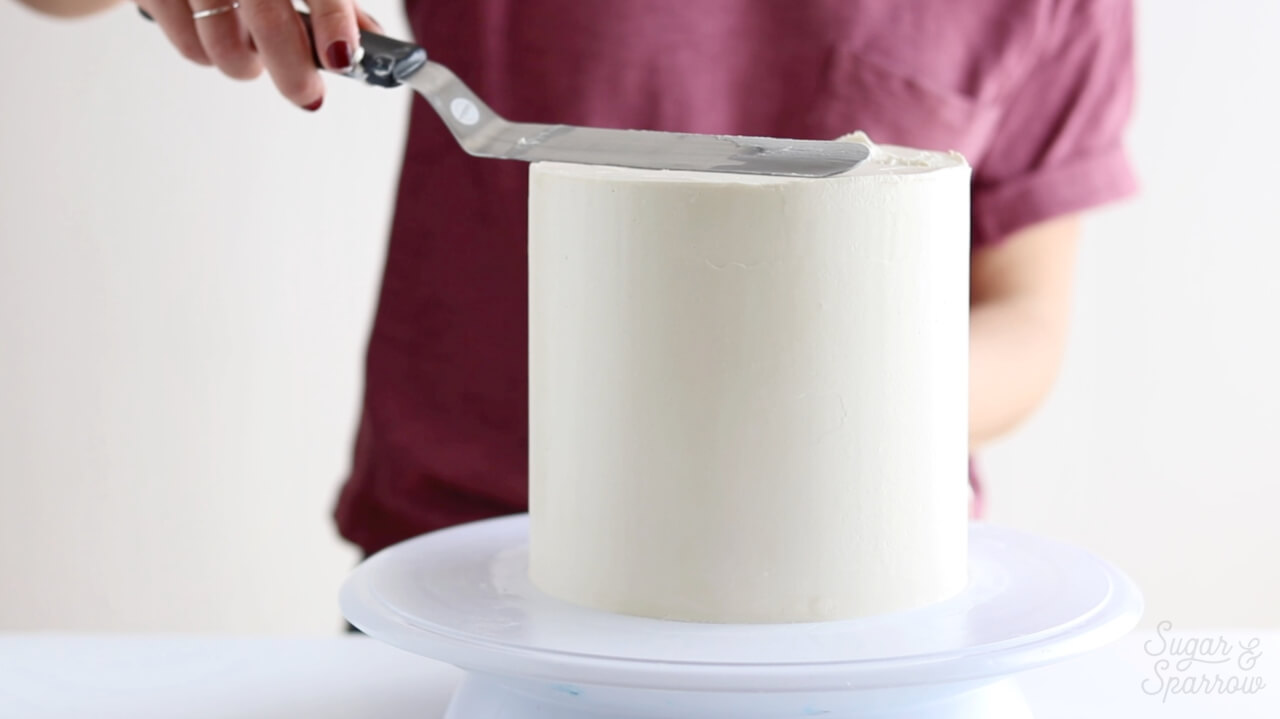
Don’t be afraid to get down to eye level and make sure your top is level. Need to raise up one side of the top? Add more buttercream and smooth it down till all is level.
Step 7: Apply A Little Heat
Even if you still have some little flaws in your buttercream finish, here is the magical tip that I’ve discovered that will literally erase them: a hot spatula. Remember how I talked about needing a metal bench scraper and angled spatula? This is why.
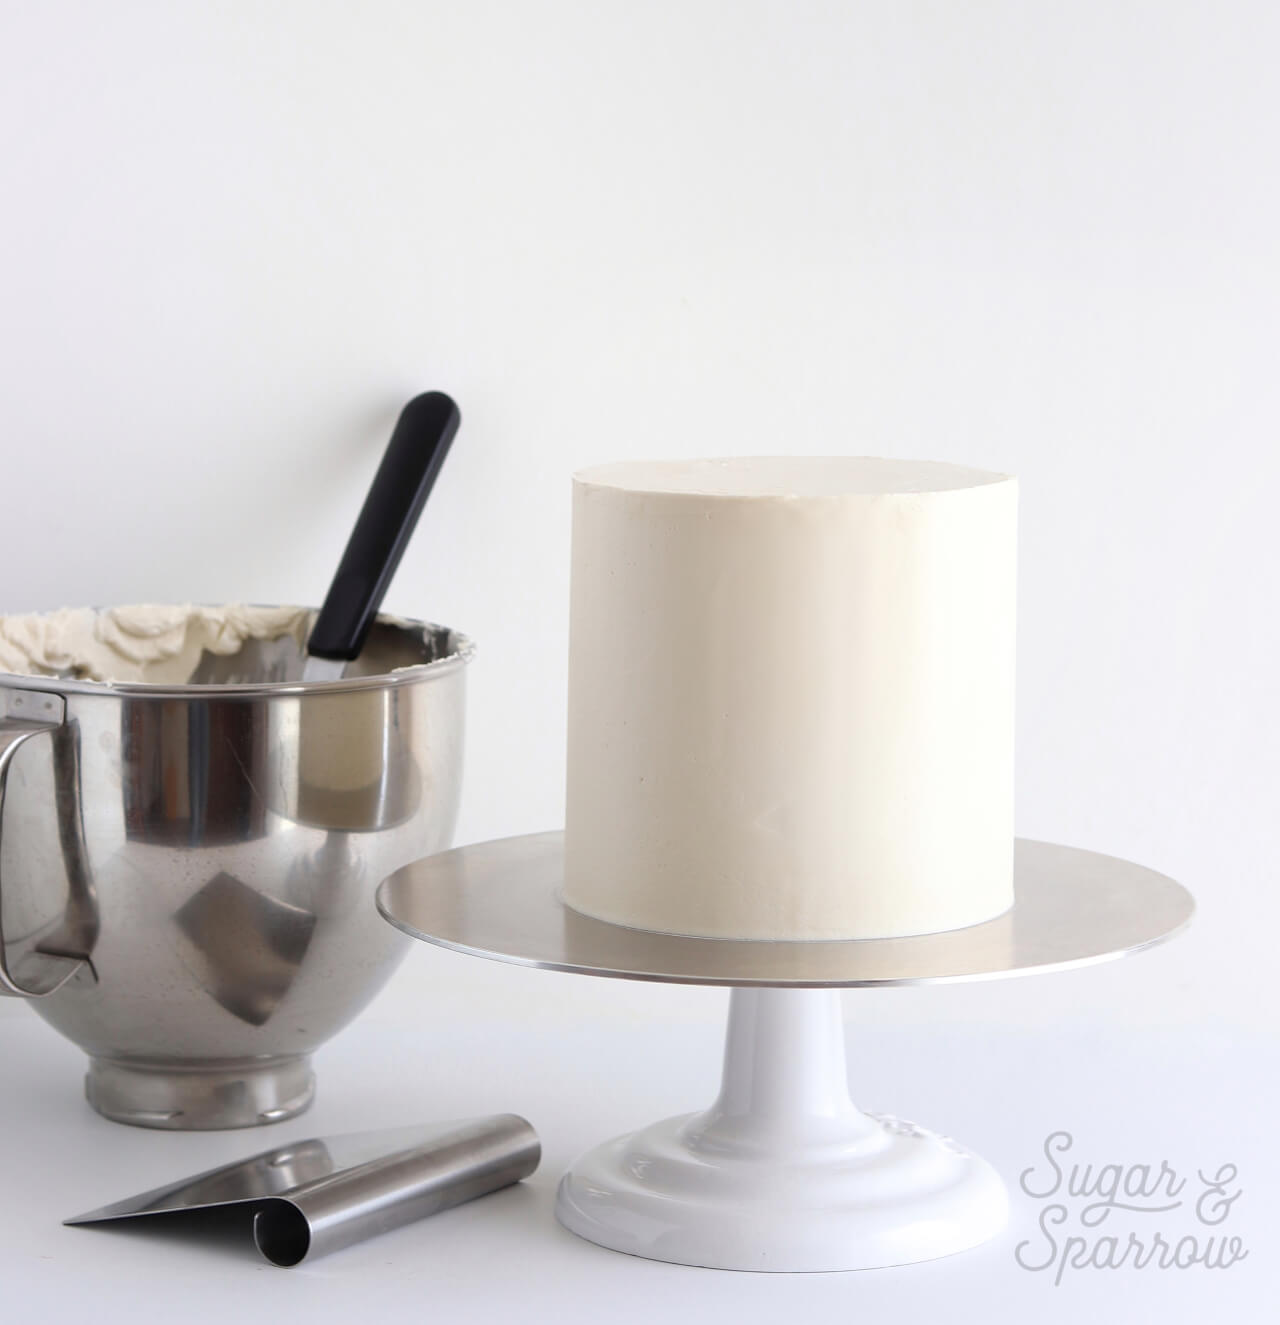
Run your metal scraper or offset spatula under super hot water and wipe it clean with a towel so that it’s dry but warm to the touch. Slowly smooth the sides and/or top with this heated device and you will be amazed at how smooth the buttercream becomes. Repeat heating your tools, drying them off, and smoothing the cake until you’ve got the smoothest buttercream you’ve ever seen.
Step 8: Extra Magic
If you’re finding that you’ve been at this process of smoothing for awhile and your cake is still looking a bit flawed, there’s another trick I’ve learned. Stop what you’re doing and put the cake in the refrigerator for at least an hour. The finish will harden and be much easier to work with after you’ve waited awhile.
When the buttercream is good and chilled, pick up where you left off. Apply a very thin layer of new buttercream to the entire cake and smooth it out. You will be amazed at how easy it is to smooth the buttercream when you’ve got a really firm foundation underneath to work with. This part does take a bit more time, and I don’t always do it unless I’m desperate for a smooth finish and the final design depends on it. But when I do, it’s smooth city.
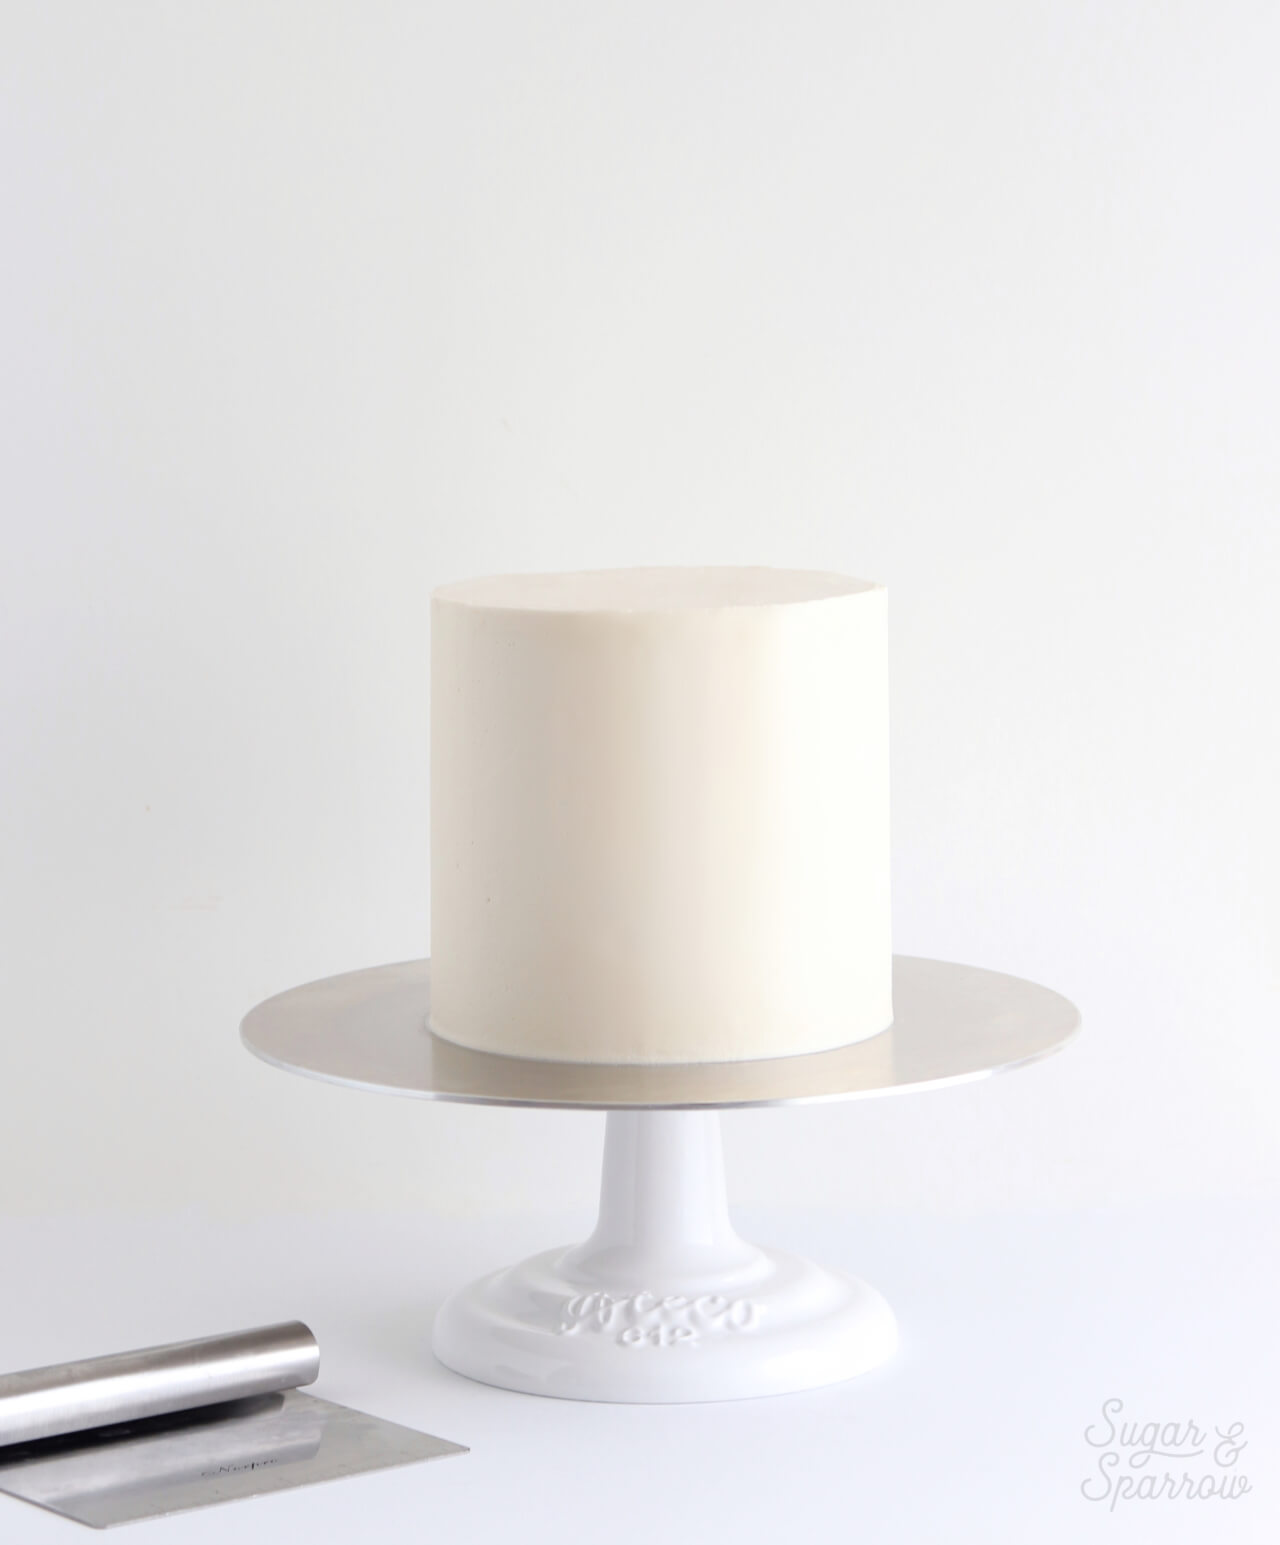
Smooth buttercream cakes don’t have to be intimidating. With enough practice and finding the techniques that work for you, you’ll be a pro at this in no time. If you found the video tutorial portion of this helpful, be sure to check out my other YouTube videos! I’m adding new ones all the time, so subscribe to keep up with them.




Hi! How many cups of buttercream would you recommend to coat an 8 inch cake?
Hi Cassandra! To just coat the 8 inch cake (and not fill or crumb coat it), you’ll need about 3 cups of buttercream which is the amount of one batch of my vanilla buttercream recipe: https://sugarandsparrow.com/vanilla-buttercream-recipe
New baker here, I really wanted to learn.
Baking cake has been a trial and error to me. Ingredients are expensive here in my country so when I bake, and its a fail it really makes me sad.
So sorry for this dumb question.
When you pop the crumb coated cake into the fridge, what do you do with the remaining buttercream frosting while waiting?
Hi there! I just cover the frosting bowl with a clean kitchen towel while waiting for the crumb coat to set in the refrigerator. Hope that helps!
This is so helpful! Thank you! My 17th birthday is tomorrow and I’m making a cake for myself (since I’d never trust any of my family in the kitchen LOL)! One question; is this frosting good for piping/decorating or should I use something else?
Yay, Natania! Happy birthday to you! Yes, this frosting is what I use all the time for piping and decorating in addition to frosting and filling cakes.
How far ahead can I make the cake before serving? Can it be a few days?
Hi Jennifer! I like to bake my cakes a couple days ahead and decorate the day before, but you could decorate up to two days before and be just fine. If you do so, be sure to make all your elements no more than three days ahead so everything is fresh and ready to go.
Hi! I always find that when I’m smoothing the sides of my cake I end up scraping it off and having to reapply it again because it gets too thin. What’s the best way to smooth the sides without removing the buttercream? Also how do you bake your cakes to get soft edges? Mine caramelise too much and need to be trimmed which is annoying. Thanks!
Hi Kayleigh! There are a couple ways to troubleshoot the frosting scraping issue: 1) make sure you start with a crumb coated cake that’s been chilled for at least 30 minutes before adding your final layer of frosting. The coldness of the crumb coat will make the final layer semi-set as you smooth it, which makes it a bit easier to work with and less likely that you’ll scrape too much off. Here’s a post I just made about the crumb coating process: https://sugarandsparrow.com/crumb-coat/ and 2) If you’re finding that you’re removing too much of the buttercream because you’re unhappy with the smoothness of the finish, the best thing to do is get it kinda close to smooth and then pop the whole thing in the refrigerator for about 20 min before adding another thin coat of buttercream on top. It’s much easier to get a smooth finish that way. I’ve got more details on this post: https://sugarandsparrow.com/smooth-buttercream-cake-tutorial/
And as far as the cake edges, I don’t really do anything special there besides letting them cool all the way to room temp before wrapping them in plastic wrap to store overnight. They’re always soft in the morning and easy to work with.
Does this buttercream recipe holds well for hot weather?
Hi Jennifer! If the temperature is 80 degrees or above and the cake is going to be out for awhile on display, I do recommend swapping at least half of the butter in the recipe for vegetable shortening to make it more heat resistant. It gets pretty hot in the summer here (in Oregon), and what I usually do is store the cake in the refrigerator until about an hour before serving to greatly decrease the chances of it heating up too fast and melting while on display.
Please my challenge is how to scrap my buttercream neatly and smoothly
This tutorial should help, Sarah! Practice makes perfect.
I don’t have a spinner for the cake is there anything else I could use
Unfortunately, it’s really hard to get a smooth finish without a turntable. You’ll need to somehow rotate yourself around the cake as you smooth (as opposed to rotating the cake while you stay in one place). To save yourself the headache, I recommend either investing in a cake turntable or foregoing the smooth finish for a more rustic look.
I am going to try my microwave plate and the circle thing with wheels underneath the plate.
Hi! I just wanted to say that ever since I came across your blog recently, I’ve been in love with all of your cake decorations! They all look so amazing, and professionally done! I’ve always been wondering how people get those perfectly looking sharp corners when frosting cakes, and how they’re able to magically get rid of those super pesky air bubbles in their frosting, and so I found your tutorial super helpful! I had a question about making the buttercream though. Whenever I make any American buttercream frosting, it almost always starts getting really melty after a while—sometimes, even right after I’ve made a batch it turns out like that! I’ve tried refrigerating it, but once I mix up that cold buttercream, the same problem still happens soon afterwards! I don’t think it’s because the butter I use (I use the Costco brand) is too warm, because I almost always use it a little colder than room temperature. I also don’t tend to add any milk/cream to it (even the amount the recipe says to add) because it’s thin enough already. And I’ve tried adding a lot of powdered sugar to it to make it stiffer (up to 3-4 extra cups sometimes!) but it doesn’t help much in terms of stiffening it up…it only gets much, much sweeter. I’m from the southern part of the U.S, and so I’m not entirely sure if the humidity down where I live is somehow affecting the consistency of my frosting. Would you happen to know if there’s something else I’m missing that I could be doing wrong? Thanks so much in advance! 🙂
Hi Anita! The only thing I can think of is the humidity/temperature of your kitchen environment. All-butter buttercream starts to get melty above 73 degrees, so unless your kitchen is air conditioned, it may not be the best kind of frosting to use in your cake decorating. However, you can try substituting half (or all!) of the butter in this recipe with vegetable shortening to make it more stable and heat resistant!
Do you chill your undecorated cakes in the fridge or freezer and do you wrap them in wax paper.
Hi Kristine! I only store my cakes in the fridge when they’ve been either crumb coated or fully frosted. If I’m making the cake layers ahead of time, I wrap them in plastic wrap and place them in a ziploc bag in the freezer. They’ll keep for up to two months this way and when I’m ready to use them, I just leave them out on the counter until they’re fully thawed (a few hours). Hope that helps!
Hi i am new in baking. I m from india . We rarely use buttercream frosting for cake as we easliy get whipped cream frosting it taste so good. But since lockdown going on i have to try buttercream. Can u tell me after cake is ready for birthday party. We should store at room temperature or in fridge. I doubt that if we keep in fridge as its butter the buttercream become hard. Pls suggest
Hi Payal! I always store my buttercream cakes in the fridge until about 2 hrs before serving, but you can certainly store them at room temperature as long as your environment isn’t hotter than 75 degrees (the melting point).
this literally just answered all my questions i have on buttercream. i think ill try this method for my birthday cake next week
Yay, Zee! So happy to help. Happy early birthday!
This is exactly what I’ve needed to read forever. Buttercream is my nemesis and I feel so much more prepared to tackle it now. I’m throwing a cactus themed baby shower and I was so excited to see your tutorial for the cactus cake. I’m so excited to try it this week! Thanks!!
Yay, Emily! So happy this tutorial is giving you confidence and I hope these tips help tremendously. And I’m excited for you to make my cactus cake design – it’s one of my all time faves!
Will a 9inch cake make a good Barrel cake or does it need to be smaller round cake.Can edible glue be used on a buttercream cake . I need to make clouds for a baby shower cake. So can the glue be used ? Clouds may be in 3D form .
Hi Cathy! Any size cake can be made into a barrel cake, but I recommend following a tutorial like this one if you want it to be particularly tall: https://sugargeekshow.com/news/cake-decorating-basics-easy-double-barrel/ as far as gluing things to buttercream, it all depends on how heavy the clouds are and what they’re made of. If it’s a flat (non-3D) or super lightweight fondant cloud, you can use a little bit of edible glue or water to secure it to buttercream, as long as the buttercream is nice and cold (firm to the touch). For a 3D look on the side of a buttercream cake, I would recommend just piping on the cloud designs with white buttercream. It really depends on the material your clouds are made of and the weight of them.
Is this icing stiff enough for decorating as well?
Hi Heather! It is. I use it all the time for frosting and decorating. If you like it more stiff consistency you can always mix in a little more powdered sugar for the decorating part.