
This orange poppyseed cake is tender and moist, bursting with bright citrus flavor, and kept so light and refreshing with whipped mascarpone frosting! You get the crunch of poppy seeds in every bite which I find so satisfying. Every part of the orange is used to create the perfect citrus flavor in this cake – the orange zest is combined with the sugar to release all the natural oils and the juice is added to the batter as well. The mascarpone frosting comes together really quickly and ends up the consistency of a stabilized whipped cream frosting. It’s perfect for filling and frosting the cake layers, so easy to decorate with, and tastes INCREDIBLE with the orange poppyseed flavor profile!
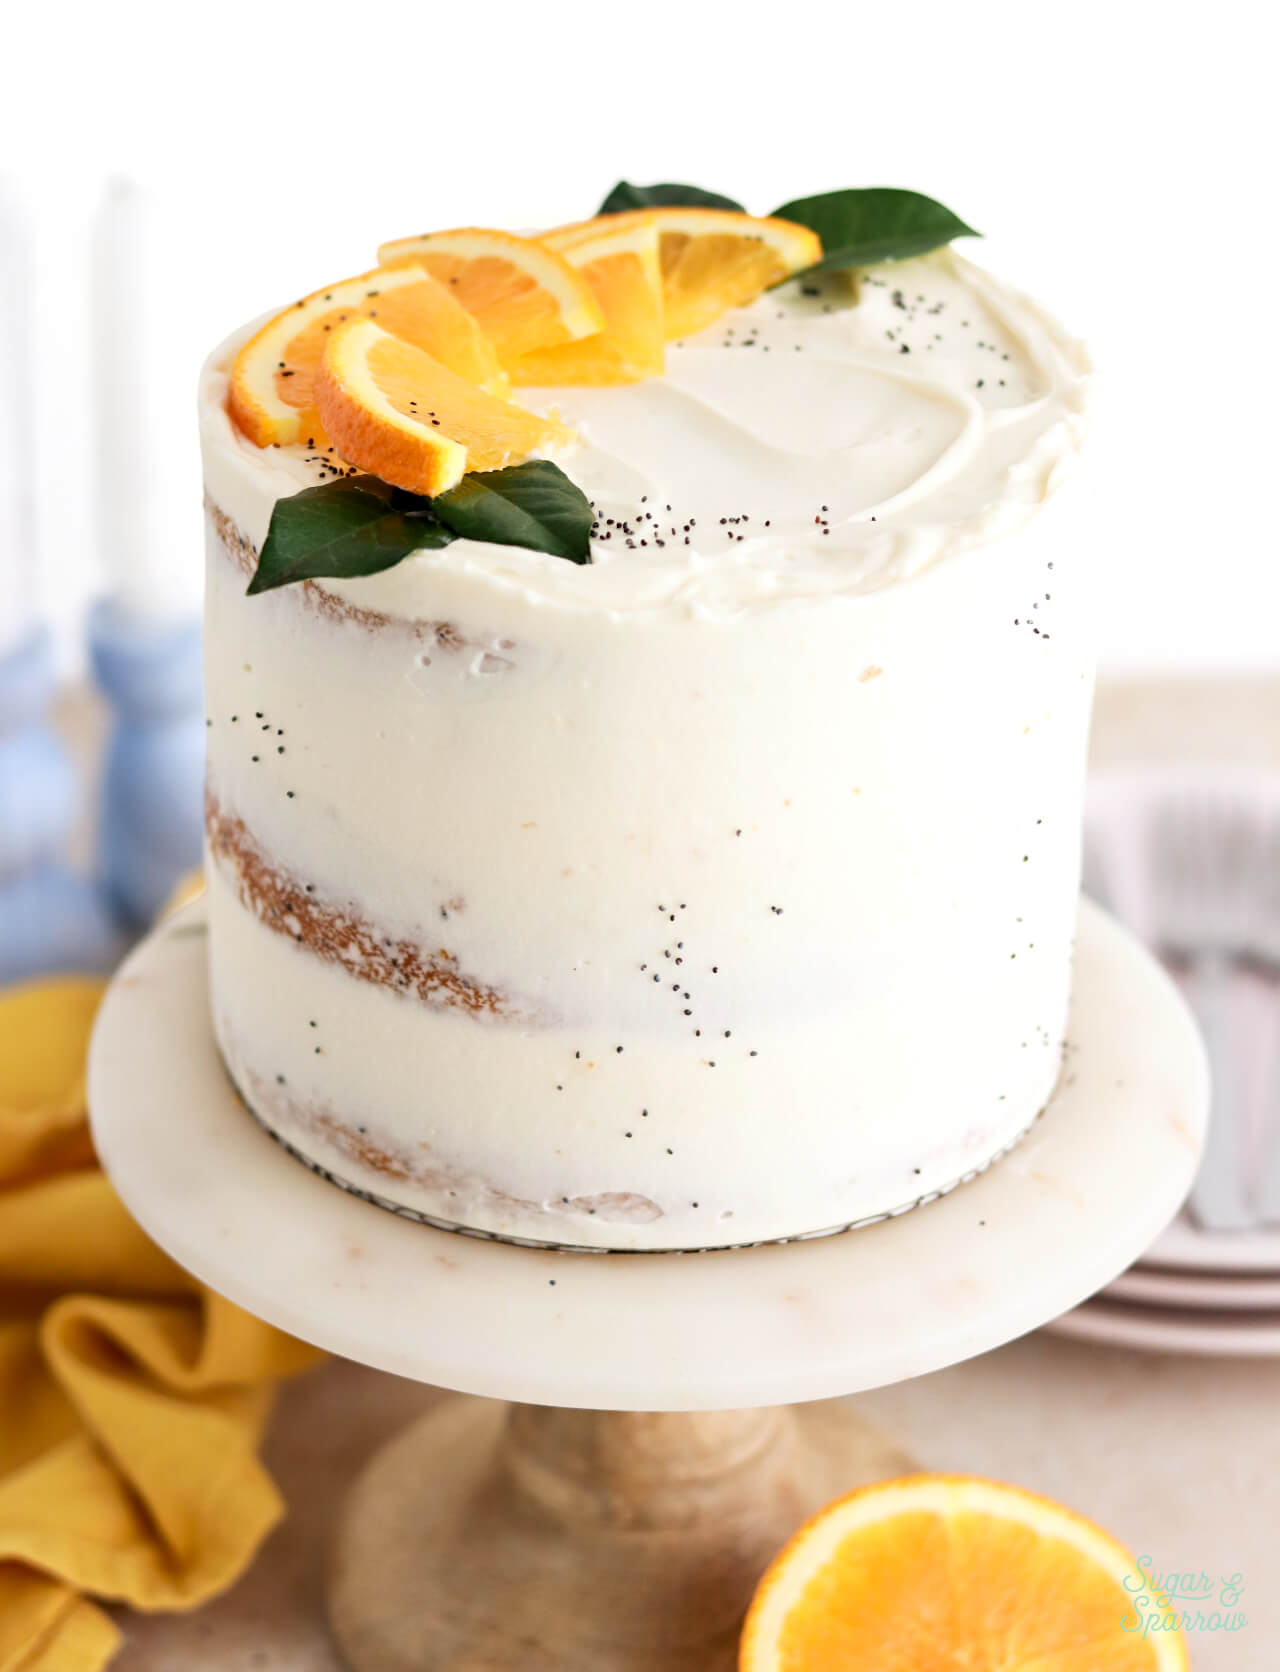
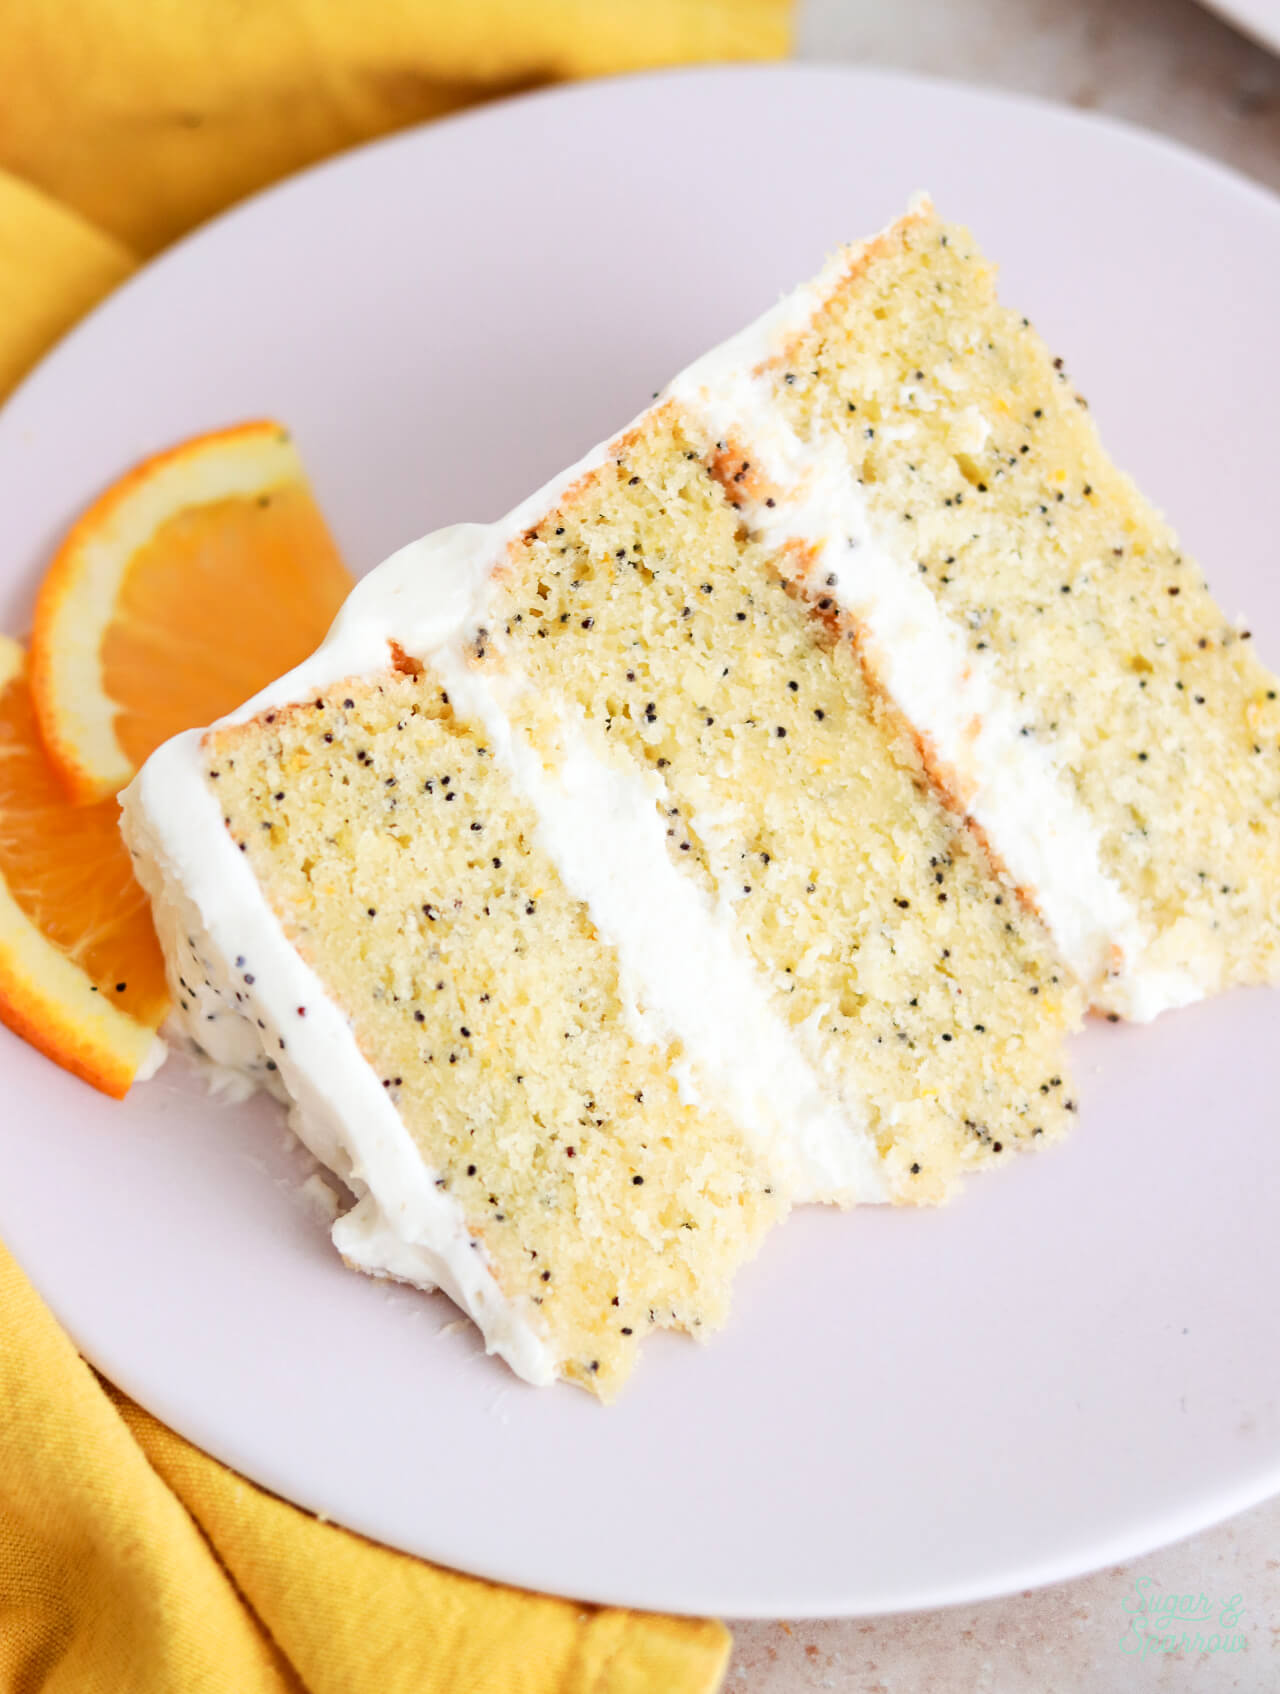
Soft & Moist Orange Poppyseed Cake
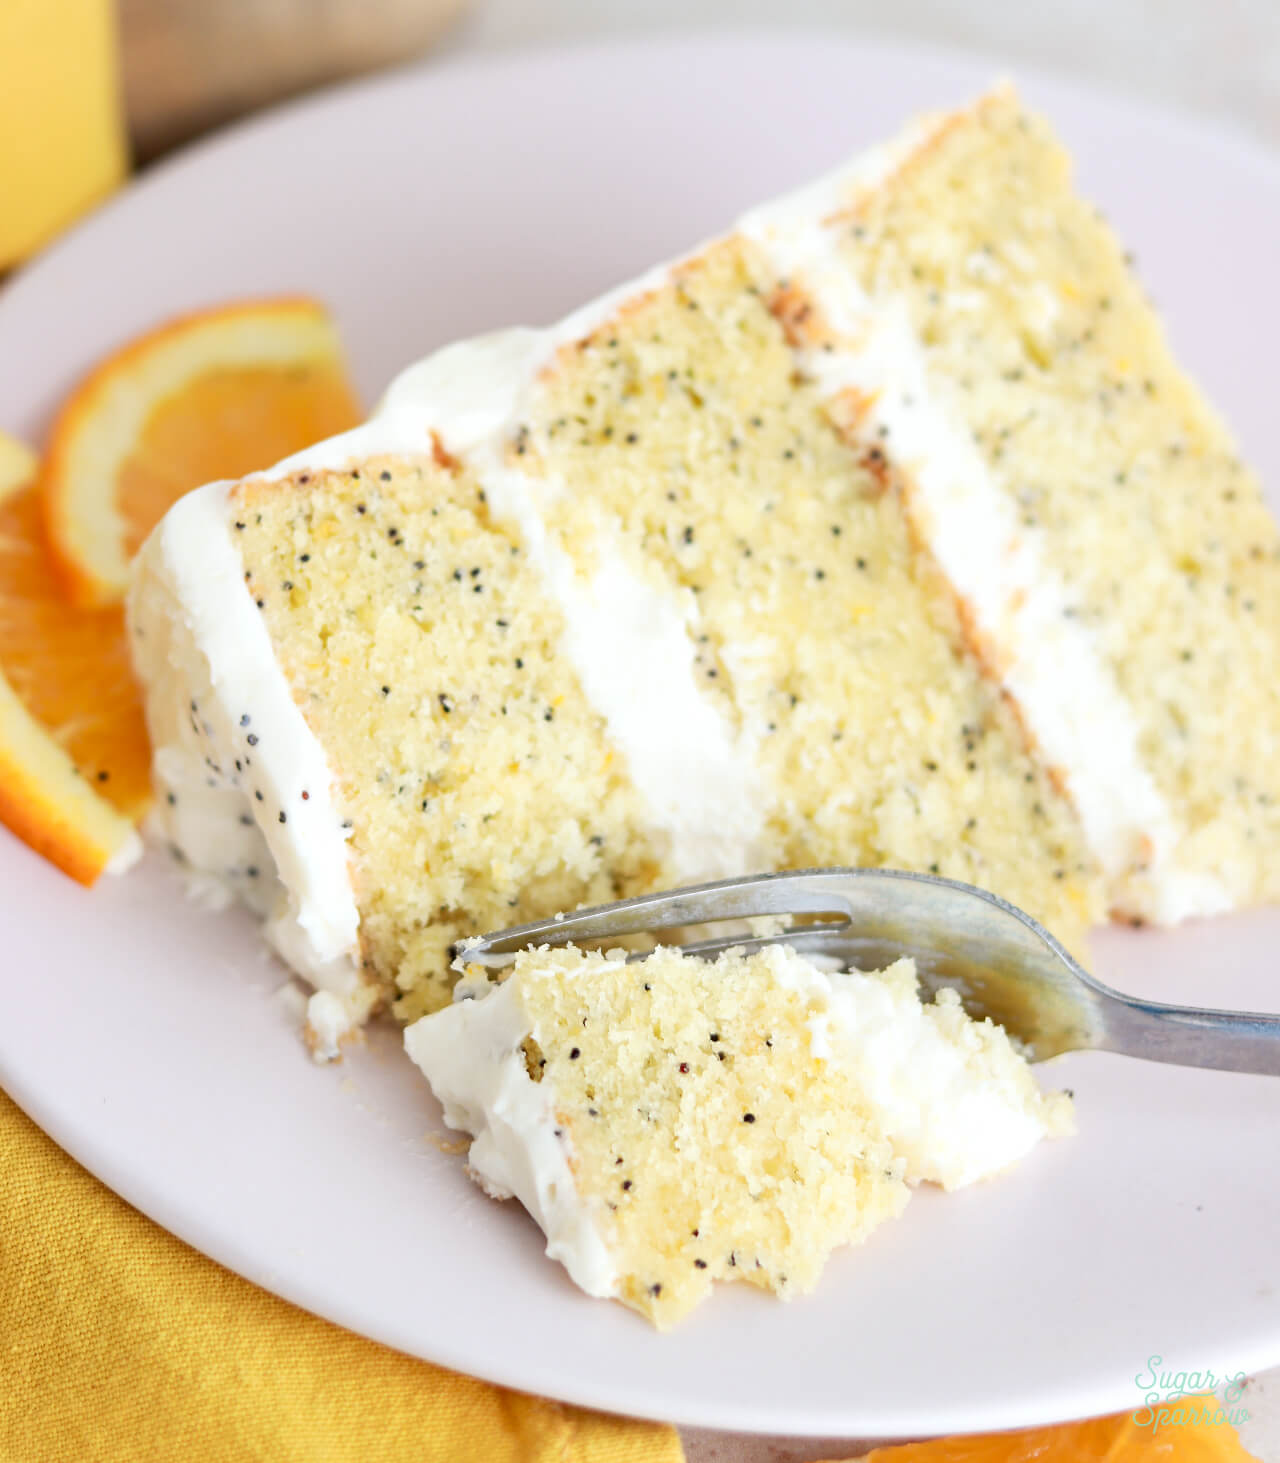
As a starting point for the orange poppyseed cake layers, I used my cranberry orange cake recipe, only I swapped out the cranberries for two tablespoons of poppy seeds. The cake layers are super moist, tender, and packed with fresh orange flavor due to some key ingredients:
- Cake flour. To achieve the super soft bakery-style texture in this cake, you’ll need to use cake flour. It produces a much fluffier cake than all-purpose (or plain) flour because of its lower protein content (the more protein in your flour the stiffer the dough and less ability to maintain moisture). You can find cake flour at most grocery stores, but if all you’ve got is all-purpose flour in your pantry, here are instructions for how to make your own cake flour. Keep in mind that if you do use the homemade version, the gram measurement will weigh more (295g instead of 265g) since all-purpose flour is heavier than cake flour.
- Baking powder. With the amount of citrus in the recipe, baking soda reacts too intensely, which is why you don’t see it in the ingredients list. Instead, baking powder is used to give this cake the perfect rise.
- Fresh orange zest and juice. Every part of the orange is used to create the ideal citrus flavor in this cake. Zest is blended with the sugar at the beginning of the recipe to release all those natural oils from the beginning, then the juice is added in with the milk at the end. If you’d rather use another kind of citrus (like lemon), you can substitute an equal amount of zest and juice!
- Granulated sugar. This not only sweetens the cake, it creates a tender crumb as well. You can substitute this with caster sugar if you wish and it will be even more soft.
- Butter + oil. A combination of butter and oil are used as the base fats here. The butter adds richness and structure while the oil keeps the crumb super moist and flexible. If you only have salted butter on hand, you can use that and omit the salt in the recipe. And while I like to use plain vegetable oil, you can substitute an equal amount of any neutral oil you’re used to baking with (canola, refined avocado, etc).
- Large eggs. This recipe uses three large eggs, which add a great amount of moisture while providing structure and giving the cake rise.
- Whole milk. Since it has the highest fat percentage of any milk (aside from buttermilk), the whole milk creates a rich crumb while binding the ingredients together. You can technically substitute this for another kind of milk, but whole milk is going to yield the best results.
- Vanilla + salt. These are the flavor enhancers that perfectly compliment the citrus flavor.
- Poppy seeds. These provide a subtle crunch while adding lots of visual intrigue. I love the look of those poppy seeds suspended in the cake layers!
Silky & Stable Whipped Mascarpone Frosting
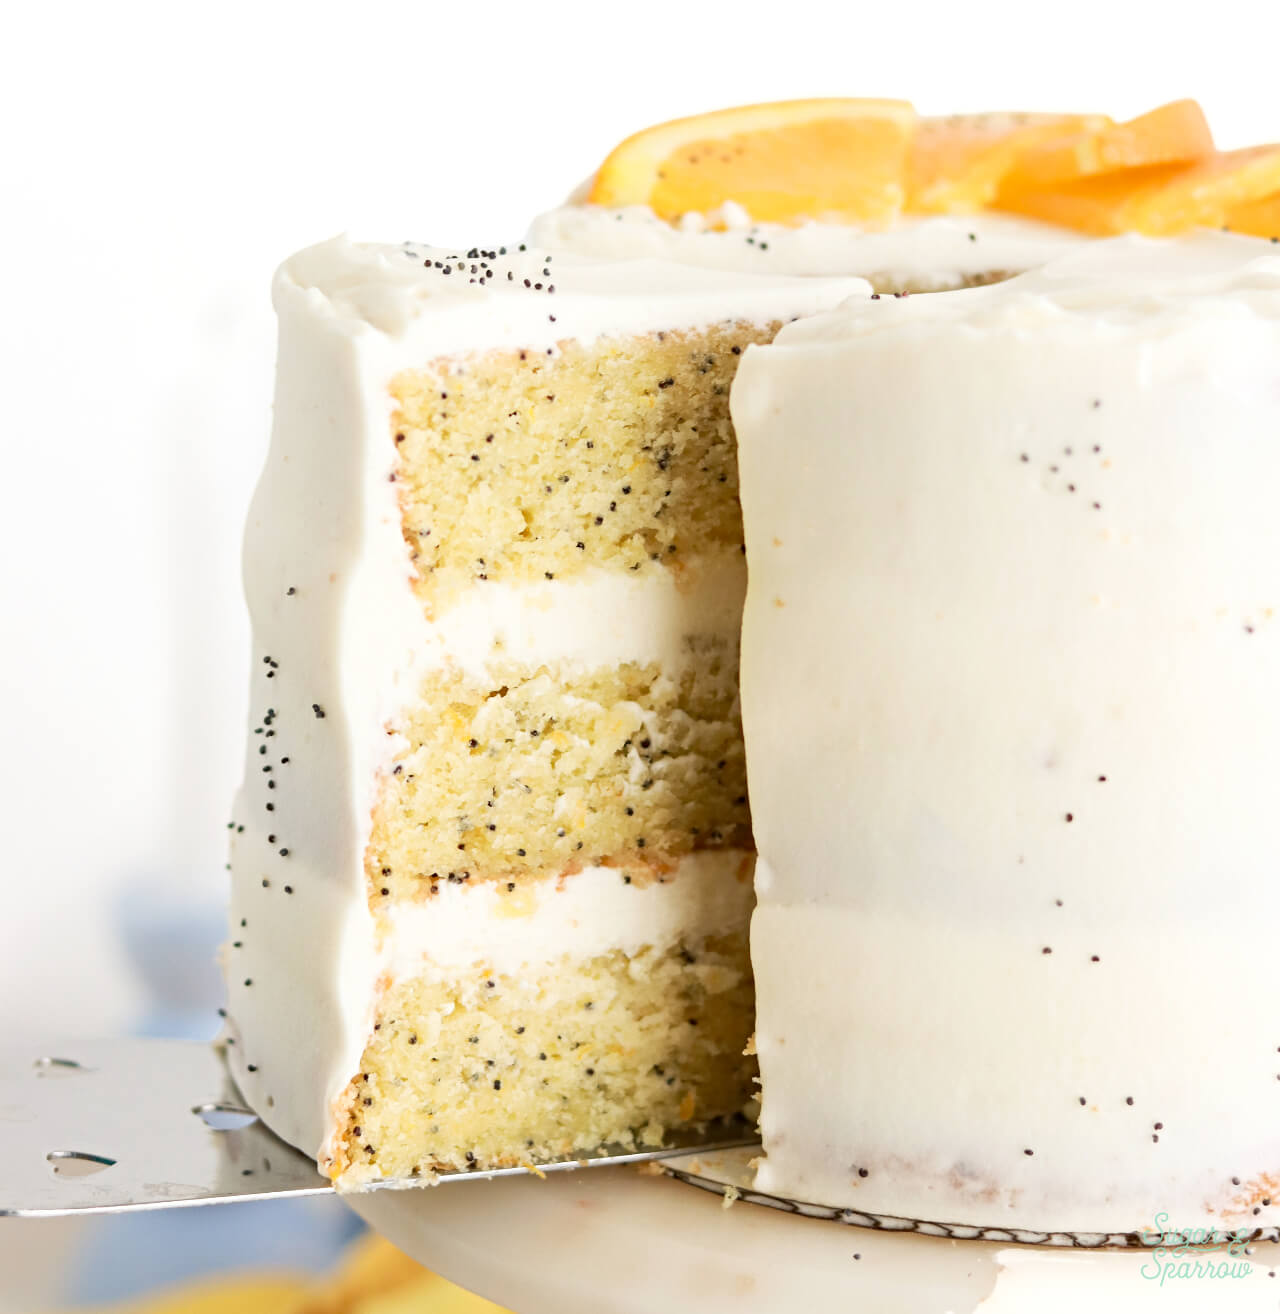
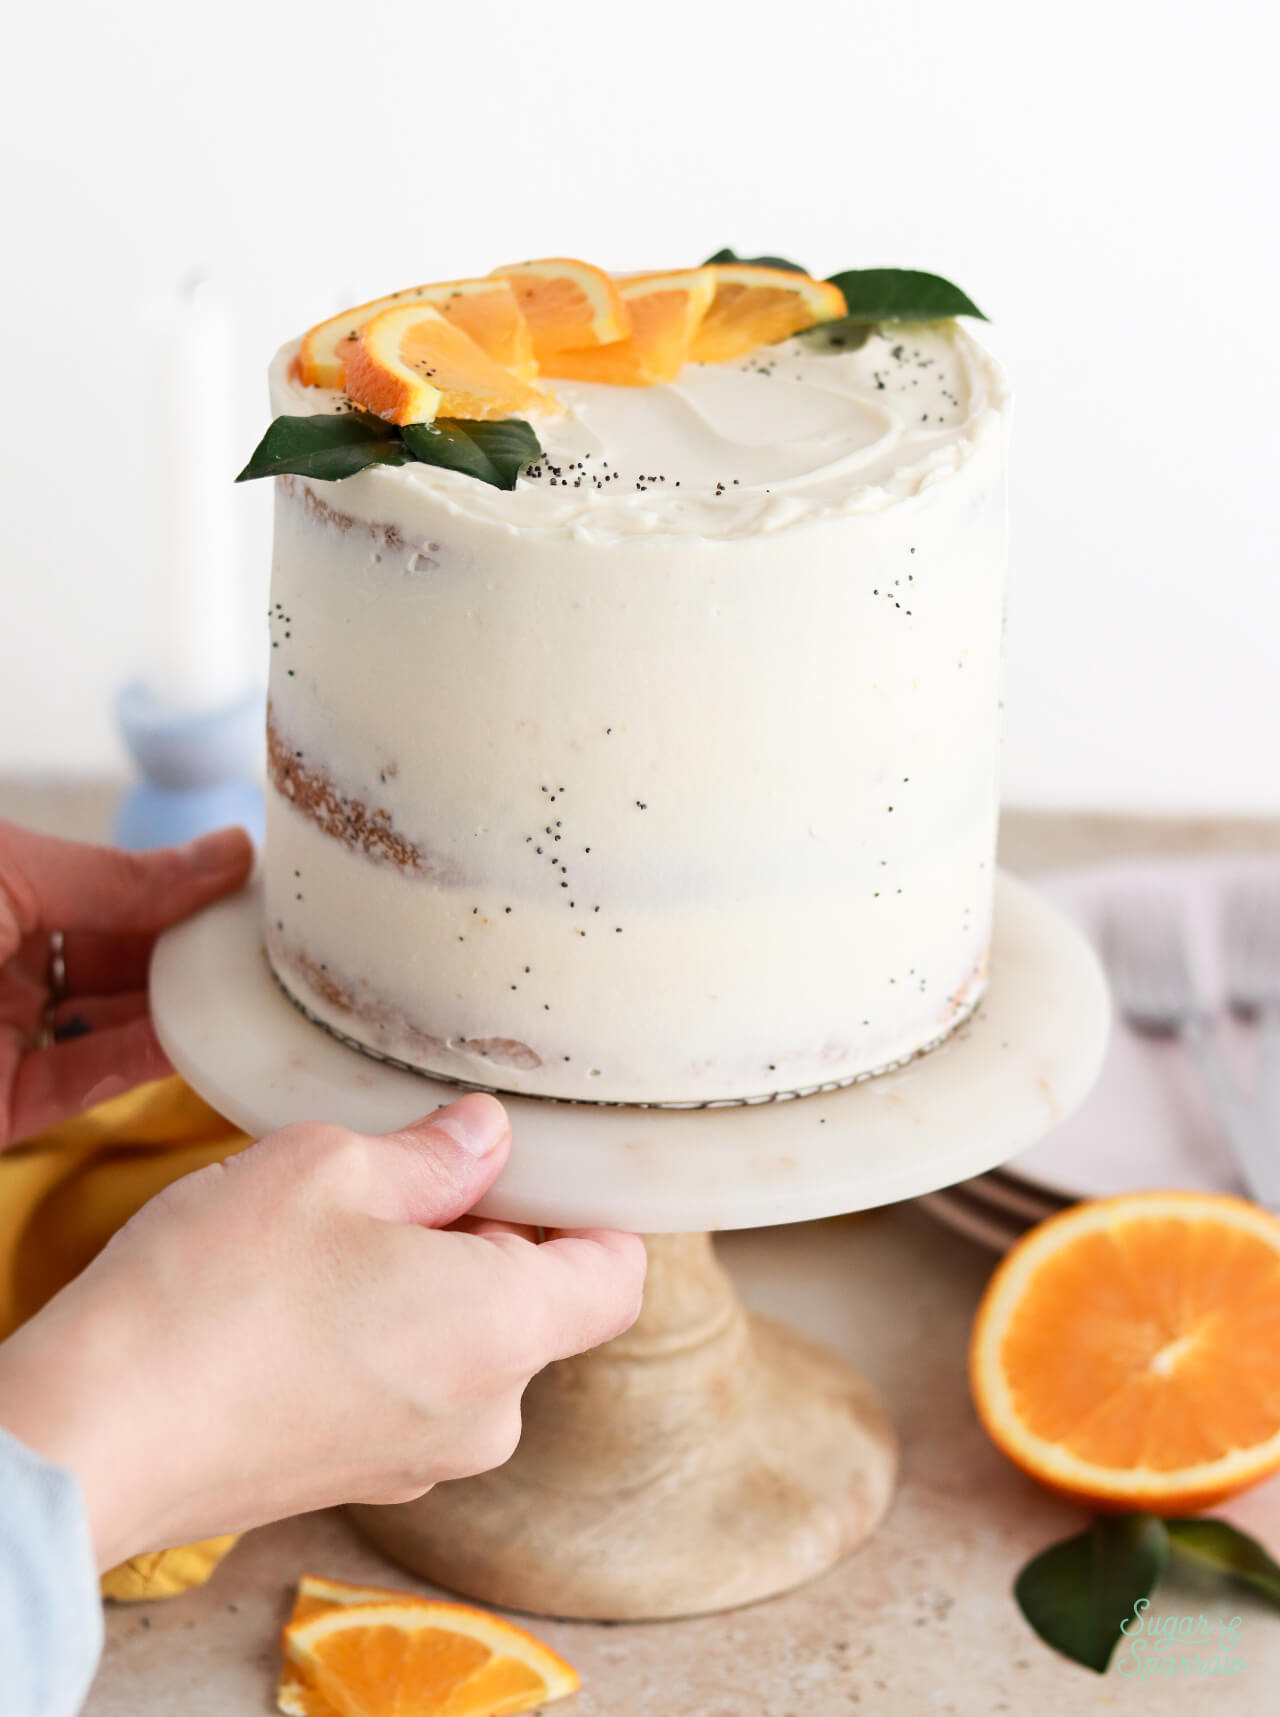
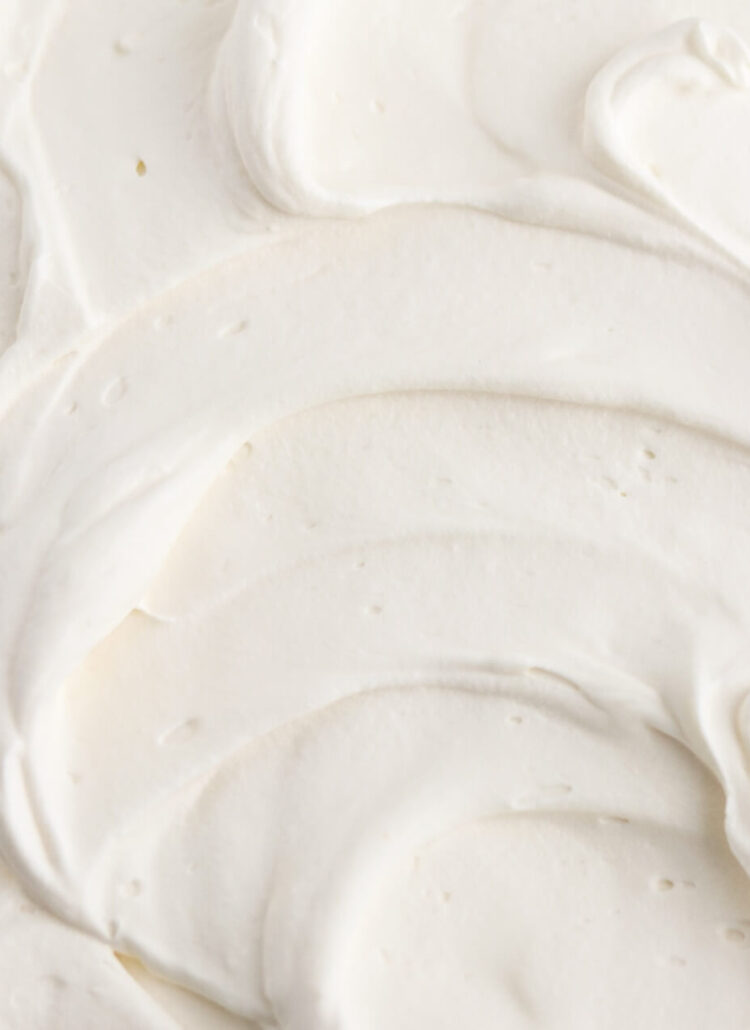
The whipped mascarpone frosting comes together so quickly with just five ingredients, and I love that the dairy in the recipe needs to be COLD instead of room temperature. That means you can whip it up on a whim. It has the consistency of silky, stabilized whipped cream frosting, and is the perfect amount of thickness for supporting the orange poppyseed cake layers as the filling and frosting. I used it to frost a rustic top on the cake before frosting the sides with a semi-naked finish and raw edges. I’m so happy to say that it holds its shape extremely well and there wasn’t even a hint of bulging out from in between the cake layers!
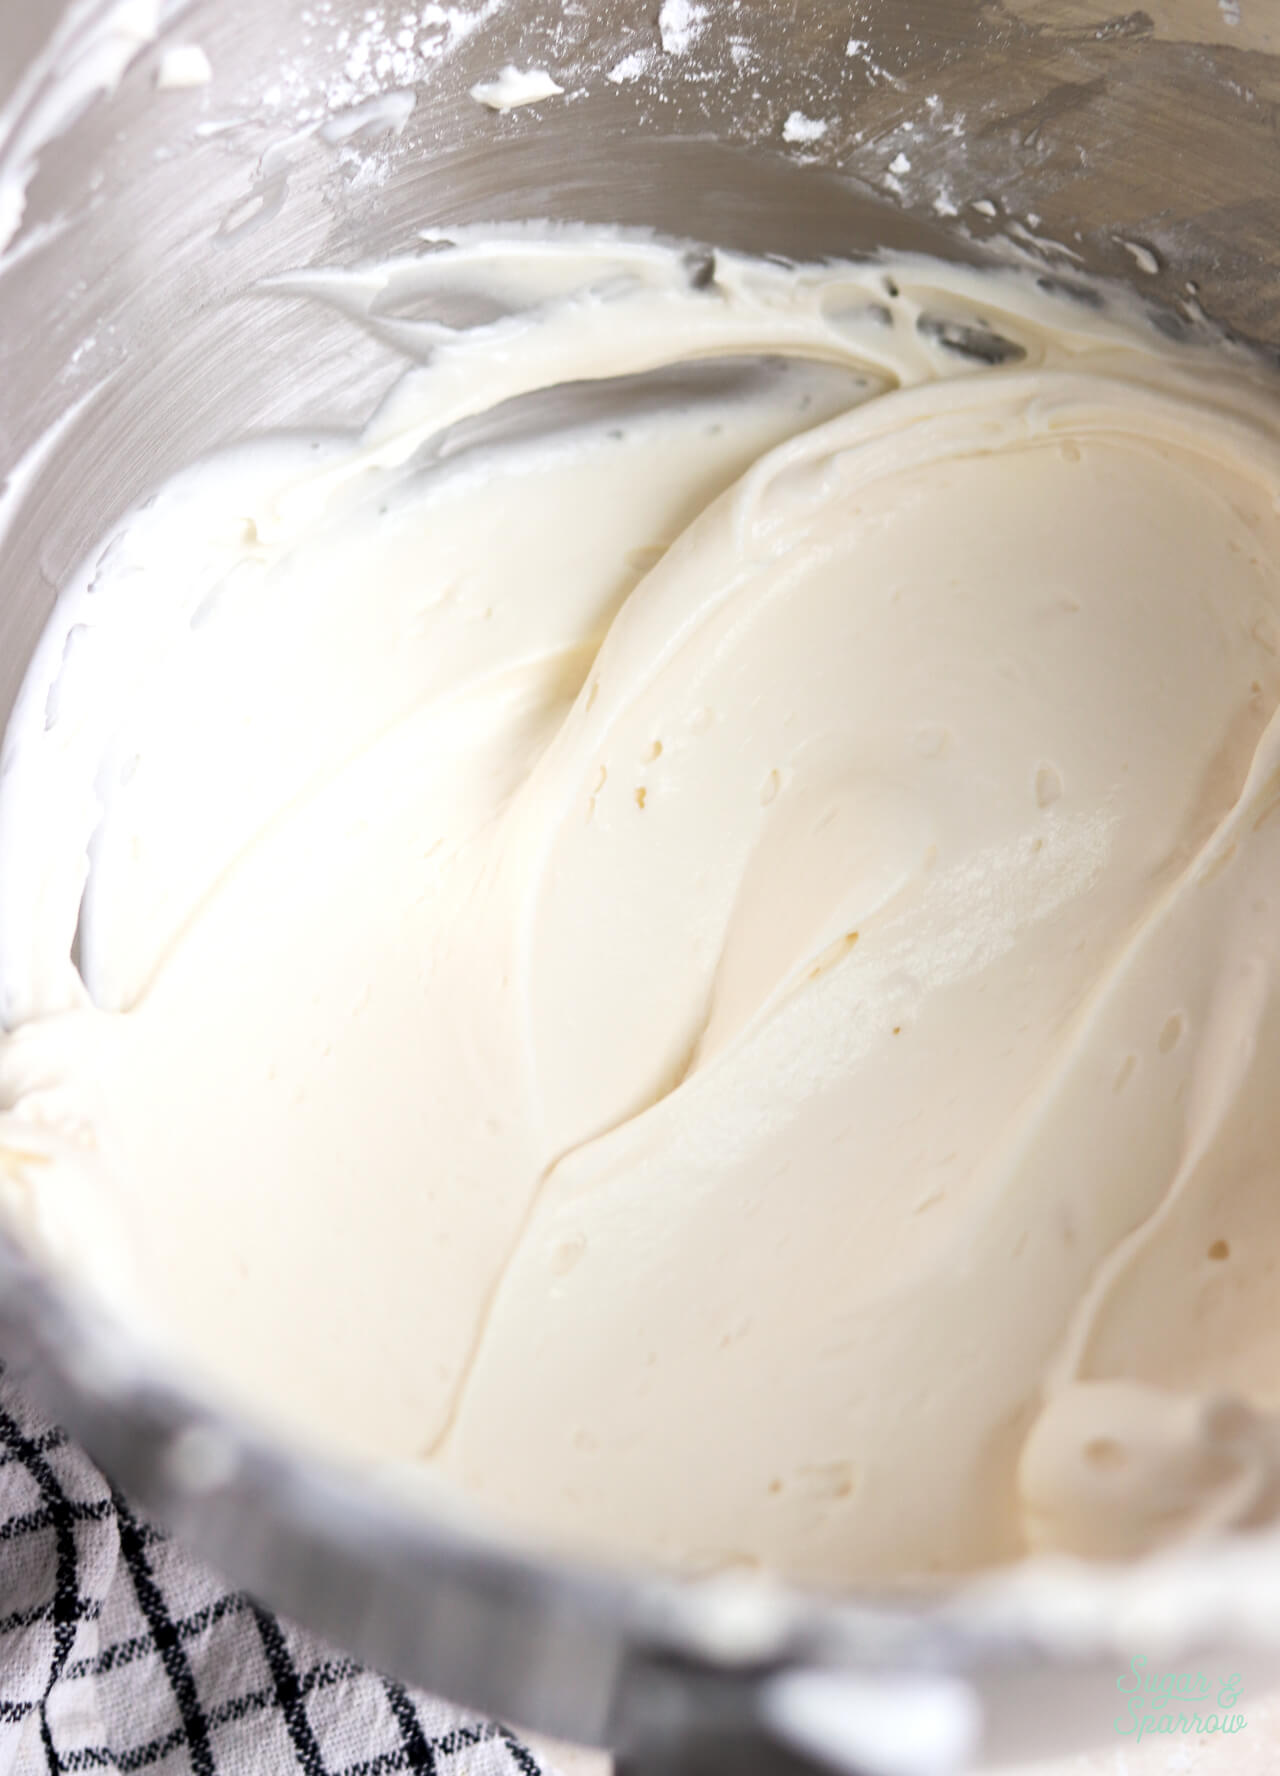
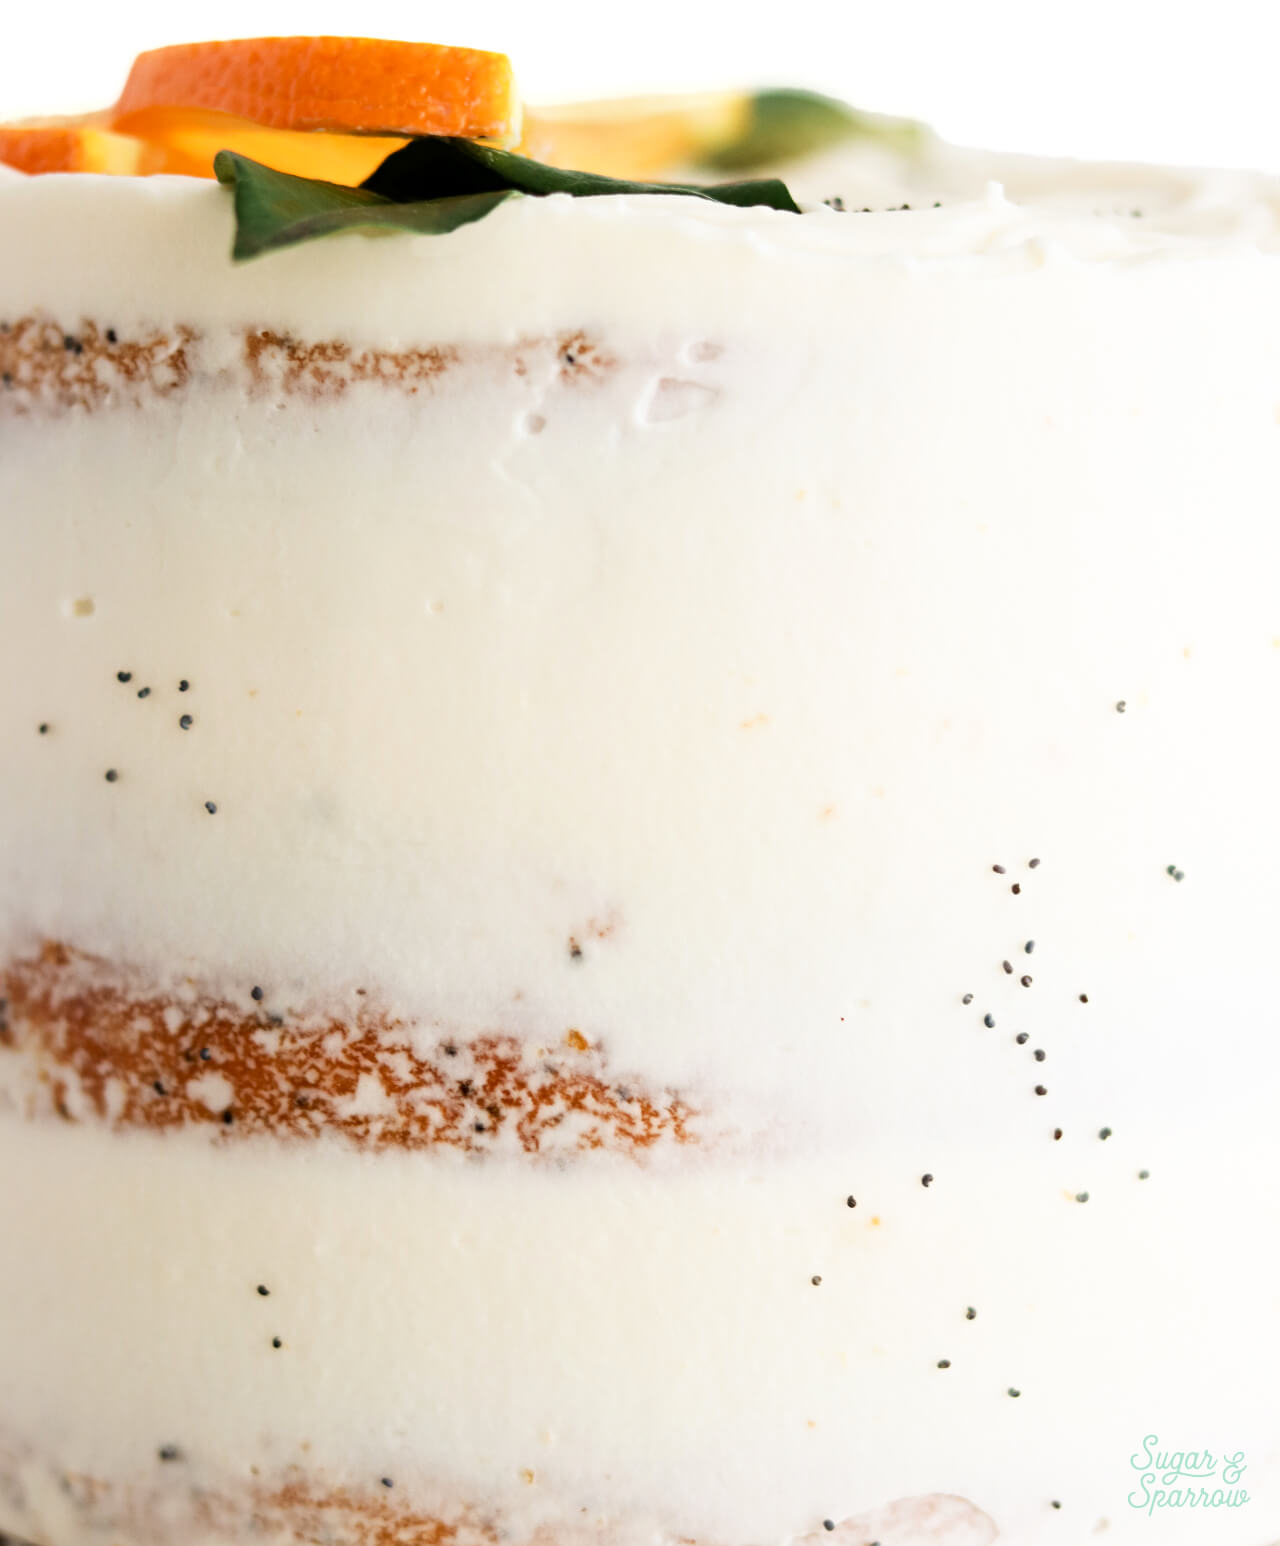
The flavor of the whipped mascarpone is rich and complex, yet somehow super light. If you’ve had whipped cream frosting before, imagine that but with an undertone of delicious mascarpone cheese. I kind of want to put it on everything now!!
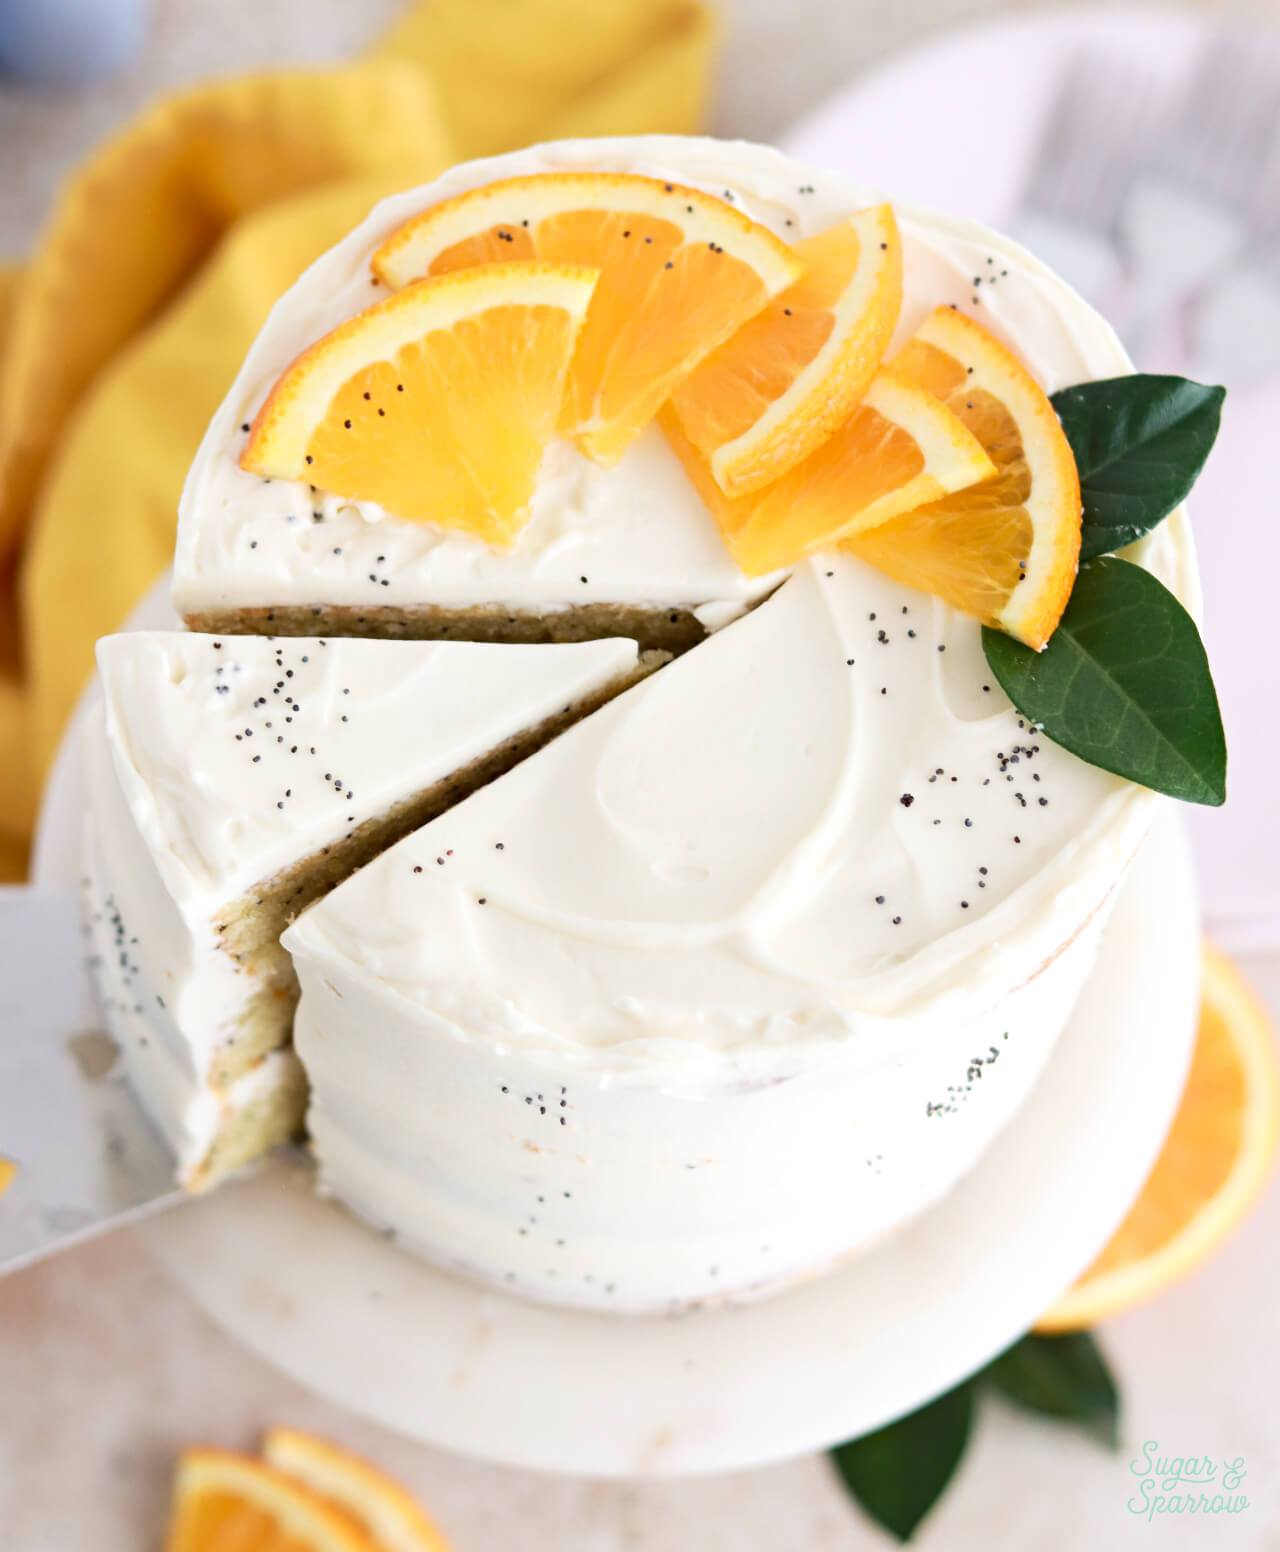
How to Assemble Orange Poppyseed Cake with Mascarpone Frosting
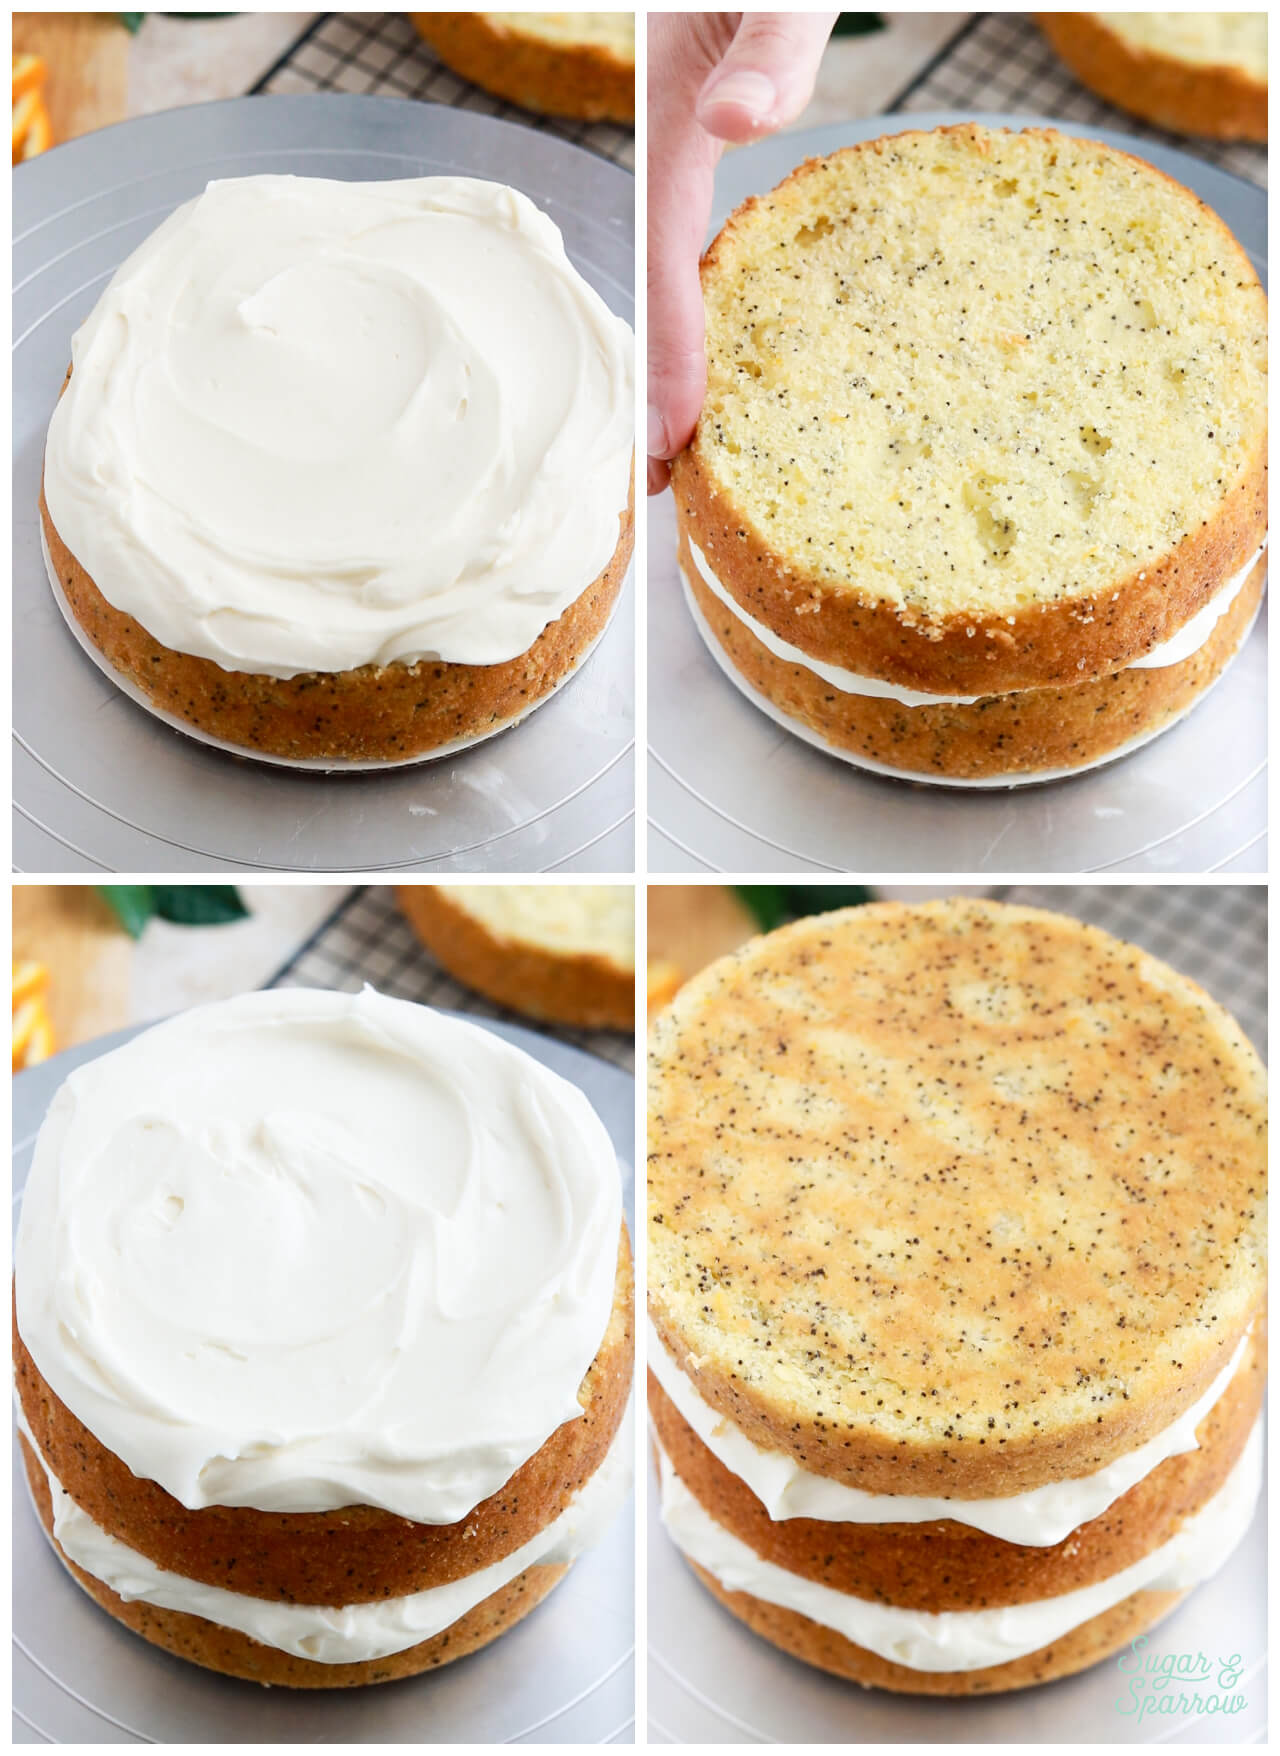
Step 1: Fill and stack the cake layers. Once you’ve baked the orange poppyseed cake layers, level them to your desired height. Add a swipe of frosting onto a cardboard cake round and place one of the cake layers on top. Place onto a turntable with a non-slip pad underneath. Add mascarpone frosting on top of the cake layer and smooth it down until it’s about ½ inch tall, then place the next cake layer on top and repeat. When you reach the final cake layer, place it upside down so that the bottom of the layer is the top of the cake.
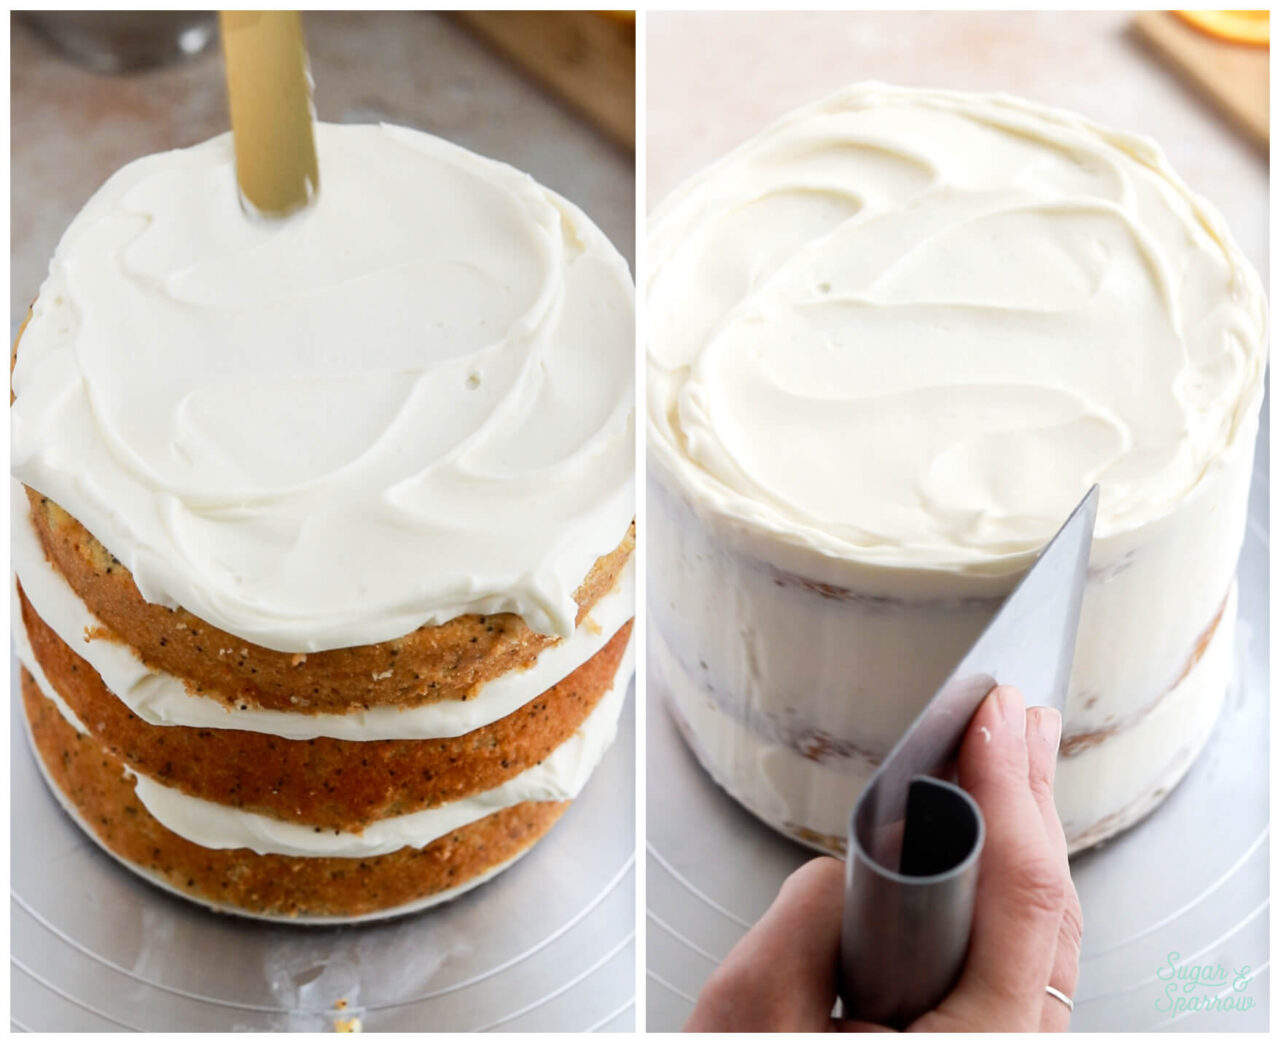
Step 2: Frost a semi-naked finish. To create the look pictured, frost the top of the cake with rustic texture by swooping an angled spatula through the frosting on top. The goal is to create a rippled look. Next, add the rest of the mascarpone frosting to the sides of the cake and use an icing smoother to create smooth sides with little peeks of the cake layers popping through (aka a semi-naked finish). I kept the top edge raw and unfinished.
Step 3: Garnish. Toss a few pinches of poppy seeds at the cake so they stick to the frosting in clusters. Then, arrange some quartered orange slices on top of the cake just along ¼ of the edge. My oranges came with orange leaves that I also used as garnish, but this cake will look pretty without them if you can’t find any!
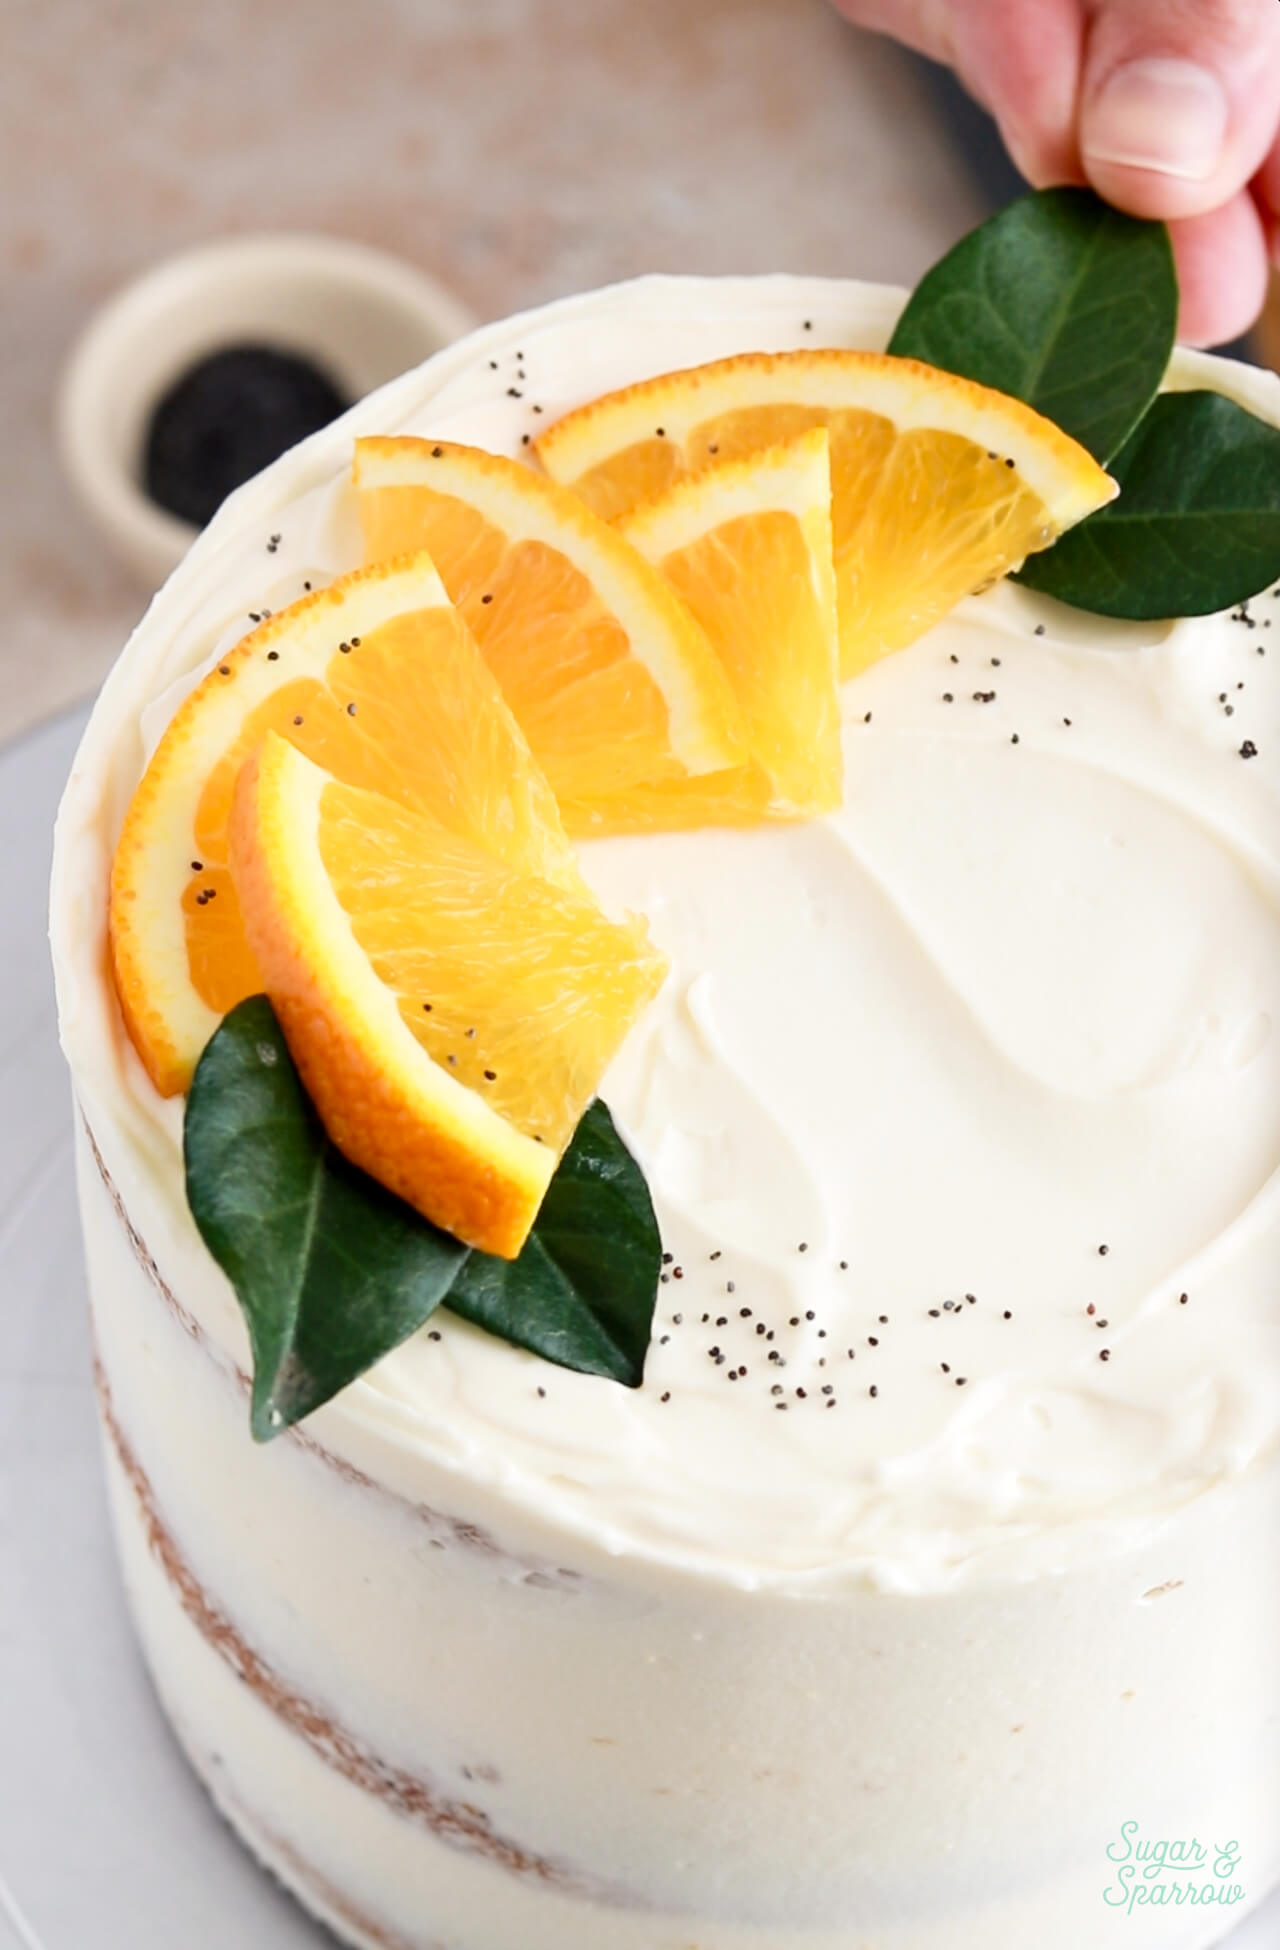
I love how simple this cake is to decorate and was so pleasantly surprised at the mascarpone frosting! It was super easy to work with, stable as a cake filling, and so silky smooth as a frosting. It’s not a crusting buttercream, meaning it won’t get firm in the refrigerator, so be mindful that the frosting will smudge if you touch it (but that also means it’s easy to fix if need be).
Recipe FAQs
- Can I make the whipped mascarpone frosting ahead of time? For best results, I recommend using the frosting right after making it. It tends to lose air in the storage process, but if you do need to make it ahead, keep the frosting in the refrigerator in an airtight container for up to 2 days. You will most likely need to re-whip the frosting on medium-high speed using the whisk attachment on your stand mixer for 30 seconds to 1 minute to incorporate some air back into the frosting.
- Can I make this recipe as a lemon poppyseed cake? Yes! You can substitute an equal amount of lemon zest and lemon juice in place of the orange zest and orange juice.
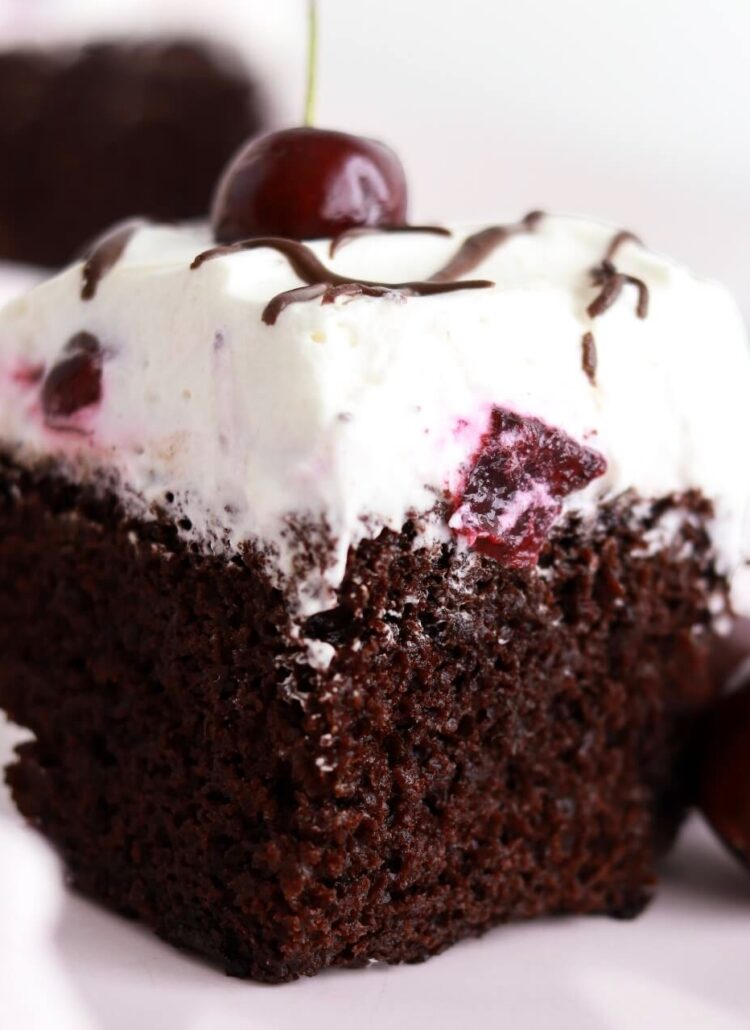
- What if I can’t find mascarpone cheese? You can use 8oz full-fat brick style cream cheese in place of the mascarpone cheese, or make the stabilized whipped cream frosting from my black forest cake recipe instead.
- Can I omit the poppy seeds? Yes! This cake will bake just fine without the poppy seeds if you just want an orange-flavored cake.
More Citrus Cake Recipes You’ll Love
If you love this orange poppyseed cake, here are some other recipes from my blog to try:
- Chocolate Orange Cake
- Cranberry Orange Cake
- Lemon Layer Cake or Lemon Cupcakes
- Lemon Blueberry Cake or Lemon Blueberry Cupcakes
- Lemon Strawberry Cake
Did you make this orange poppyseed cake with mascarpone frosting? I want to know how it went! Let me know in the comments (be sure to leave a star rating!) and feel free to tag @sugarandsparrowco on Instagram to show me a photo. I love to see what you create with my recipes!

Orange Poppyseed Cake with Mascarpone Frosting
Ingredients
Orange Poppyseed Cake
- 2 1/2 Cups (265g) cake flour, sifted before measuring
- 2 1/2 tsp baking powder
- 2 Tbsp poppy seeds
- 1/2 tsp salt
- 1 Tbsp orange zest from about 1/2 large orange
- 1/2 Cup (120ml) fresh squeezed orange juice from about 2 large oranges
- 3/4 Cup (180ml) whole milk, room temperature
- 1 1/2 Cups (300g) granulated white sugar
- 3/4 Cup (170g) unsalted butter, room temperature
- 1/4 Cup (60ml) vegetable oil
- 3 large eggs, room temperature
- 1 tsp pure vanilla extract
Whipped Mascarpone Frosting
- 1 Cup (8oz, 227g) mascarpone cheese*, cold see notes for substitutes
- 2 tsp pure vanilla extract
- 1/8 tsp salt
- 1 Cup (240ml) heavy whipping cream, cold
- 2 1/4 Cups (270g) powdered sugar
Garnish (optional)
- quartered orange slices
- 2 tsp poppy seeds
Instructions
Make The Orange Poppyseed Cake
- Preheat the oven to 350ºF (177ºC) and prepare three 6-inch or two 8-inch cake pans by spraying the sides with baking spray and placing a parchment paper circle into the bottom of each one.
- In a medium bowl, add the sifted cake flour, baking powder, poppy seeds, and salt. Whisk together and set aside. Mix together the orange juice and milk and set aside.
- Using a stand mixer fitted with the paddle attachment, mix together the sugar and orange zest until fragrant and well combined, about 1 minute. Add the butter and vegetable oil, then cream together with the orange-sugar mixture on medium speed until light and fluffy, 2-3 minutes.
- Add the eggs one at a time, mixing thoroughly after each addition. Add the vanilla, then mix for one minute on medium-high, scraping down the bowl and paddle once more.
- With the mixer on low speed, add the dry ingredients and mix until just incorporated. Add the milk-orange juice mixture in a steady stream and mix until just incorporated. Scrape down the sides and bottom of the bowl and give it a few stirs to make sure there are no lumps.
- Divide the batter evenly between the cake pans (fill them no more than ⅔ full) and bake for 30-35 minutes, until a toothpick inserted comes out clean. Cool the cakes in the pan for five minutes before removing and continuing to cool on a wire rack or flat surface.
Make The Whipped Mascarpone Frosting
- Make the frosting right before you're ready to fill and stack the cake (it may lose air and become softer if stored for too long). Place the bowl of your stand mixer (or other large metal bowl if using a hand mixer) into the refrigerator for about 20 minutes to chill before starting the frosting.
- Using the whisk attachment on your stand mixer (or a hand mixer with a large bowl), beat the mascarpone, vanilla, and salt together at medium speed until creamy, about 1-2 minutes.
- Turn the mixer to low speed and add the heavy whipping cream slowly, then turn the mixer to medium-high speed and beat until soft peaks form. You should be able to dip a spatula into the mixture and a peak forms but slightly droops when you hold the spatula upright. This could take less than 1 minute, so keep a close eye on your mixer! If it looks curdled at this point it means you've over-whipped. See the troubleshooting tip in the notes section below for the fix!
- Once you've reached soft peaks, add the powdered sugar all at once and mix on low speed until incorporated, then turn the mixer to medium-high speed and whip for about 30 seconds longer, until the frosting is thick and silky. Use the frosting right away for best results, or place in the refrigerator until you're ready to fill and frost the cooled cake layers, ideally that same day.
Assembly
- Once the orange poppyseed cake layers have cooled completely, level them to your desired height. Add a swipe of frosting onto a cardboard cake round and place one of the cake layers on top. Place onto a turntable with a non-slip pad underneath. Add mascarpone frosting on top of the cake layer and smooth it down until it’s about ½ inch tall, then place the next cake layer on top and repeat. When you reach the final cake layer, place it upside down so that the bottom of the layer is the top of the cake.
- To create the look pictured, frost the top of the cake with rustic texture by swooping an angled spatula through the frosting on top. Than, add the rest of the mascarpone frosting to the sides of the cake and use an icing smoother to create smooth sides with little peeks of the cake layers popping through (aka a semi-naked finish). Keep the top edge raw and unfinished. Garnish with quartered orange slices, orange leaves, and poppy seeds.
Notes
- The orange poppyseed cake layers can be made ahead and stored, wrapped in plastic wrap, at room temperature for up to two days. Alternatively, you can store the wrapped cake layers in the freezer for up to 2 months before thawing and frosting.
- The mascarpone frosting is best used right away, as it will be the most aerated and easy to work with. You can technically store it in the refrigerator for 1-2 days in an airtight container, but it may lose some air in the storage process and become softer. If this is the case, you can try re-whipping with the whisk attachment on your stand mixer for 30 seconds to 1 minute to incorporate some air back in.
Just made this and found it difficult to frost. The cake is dense and squashes the filling out. I used dowels to stop it sliding which seemed to help but omitted the third layer because of the weight. A firmer frosting could be the answer. Absolutely delicious.
Hi Judith! I’m happy to hear that you loved the flavor of this cake and frosting! Did you make the mascarpone frosting ahead of time and store it before using it? If so, I wonder if that’s why it became softer/less stable. It’s the thickest and easiest to work with right after making it, so for best results I recommend using it right away.