I’m usually a layer cake girl through and through, but during the holiday hustle and bustle I often reach for easy desserts I can throw together and make ahead of time. Ever since I discovered the no-bake method for cheesecake it’s becoming more and more of a go-to! It’s so easy to whip up a day (or more!) ahead of time and the flavor possibilities are endless. My latest flavor concoction: this no-bake eggnog cheesecake with a biscoff cookie crust. If you love eggnog, drop everything you’re doing and MAKE THIS for your next festive gathering!
This post may contain affiliate links. For more information, see our disclosure policy.


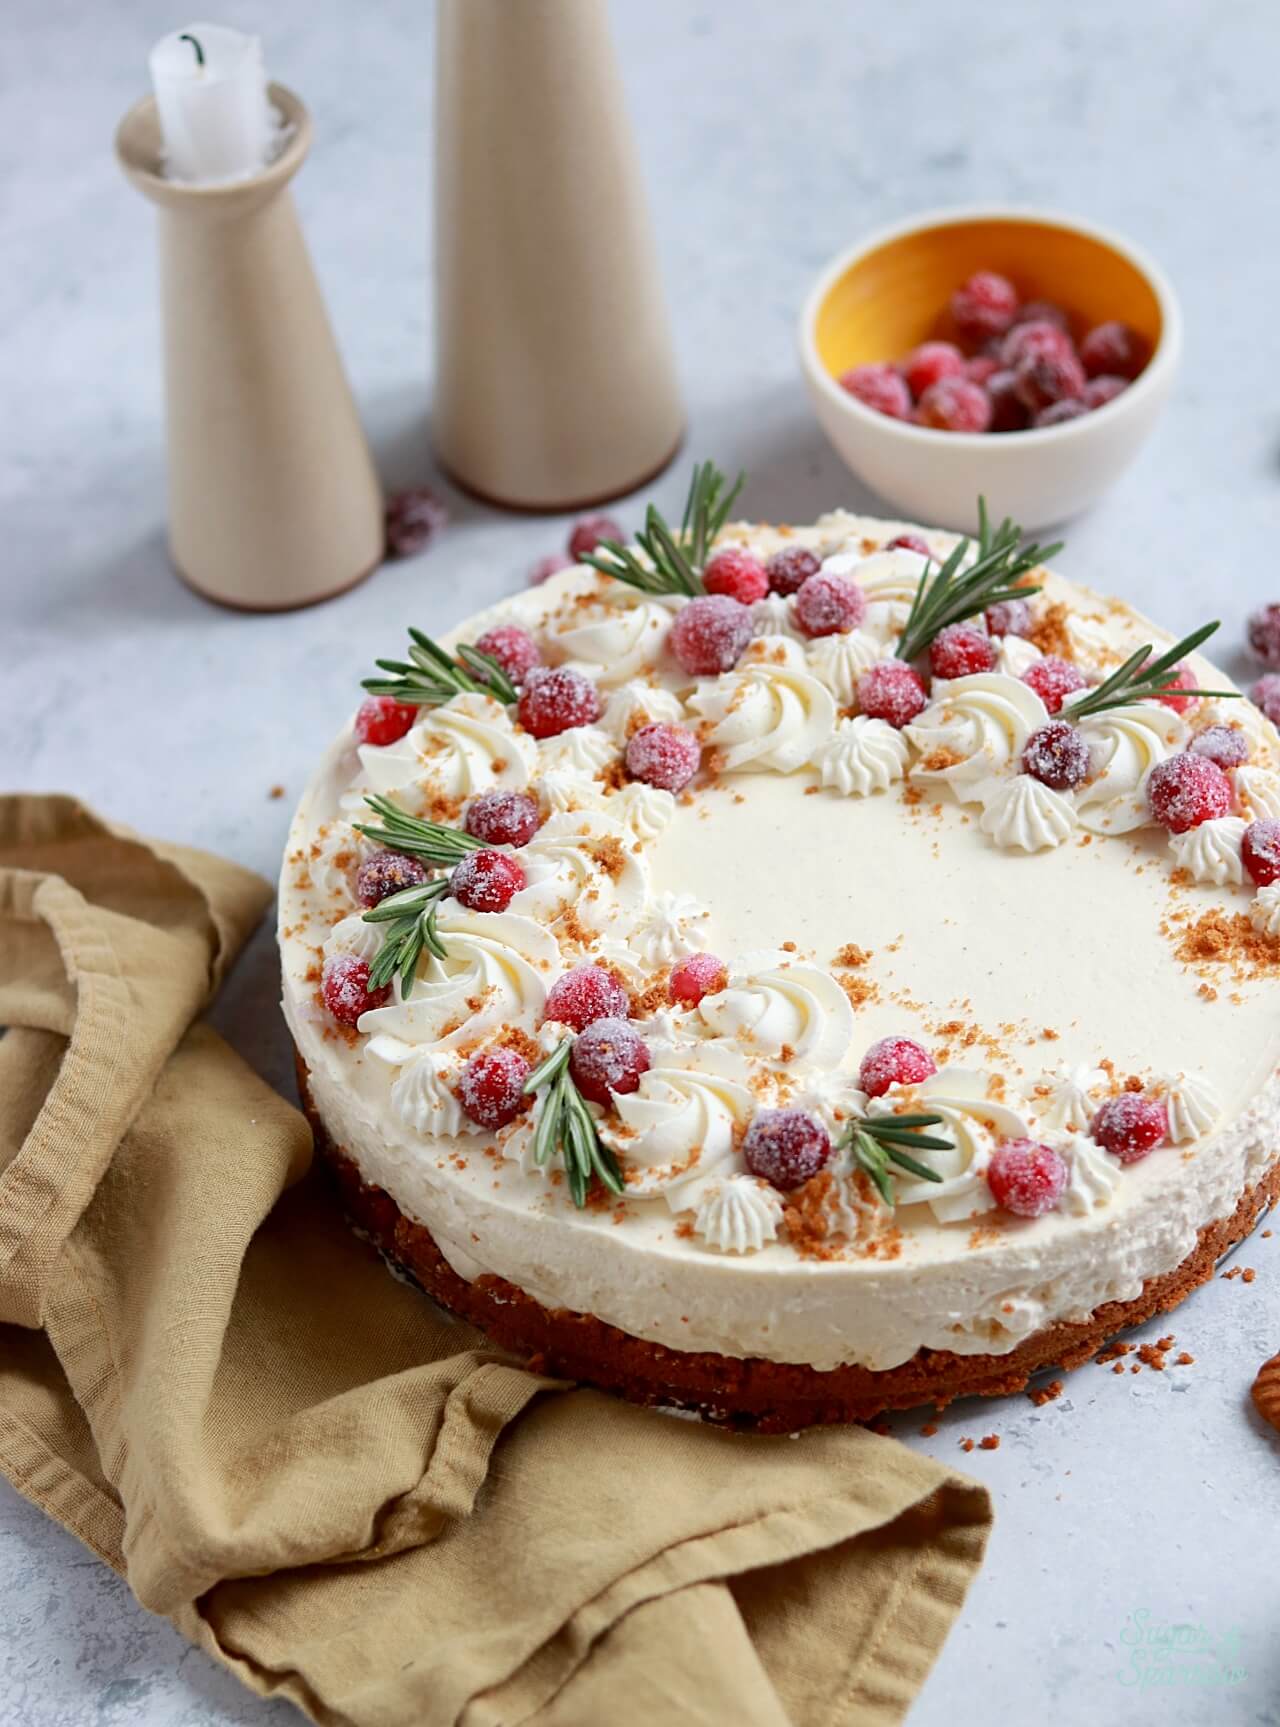
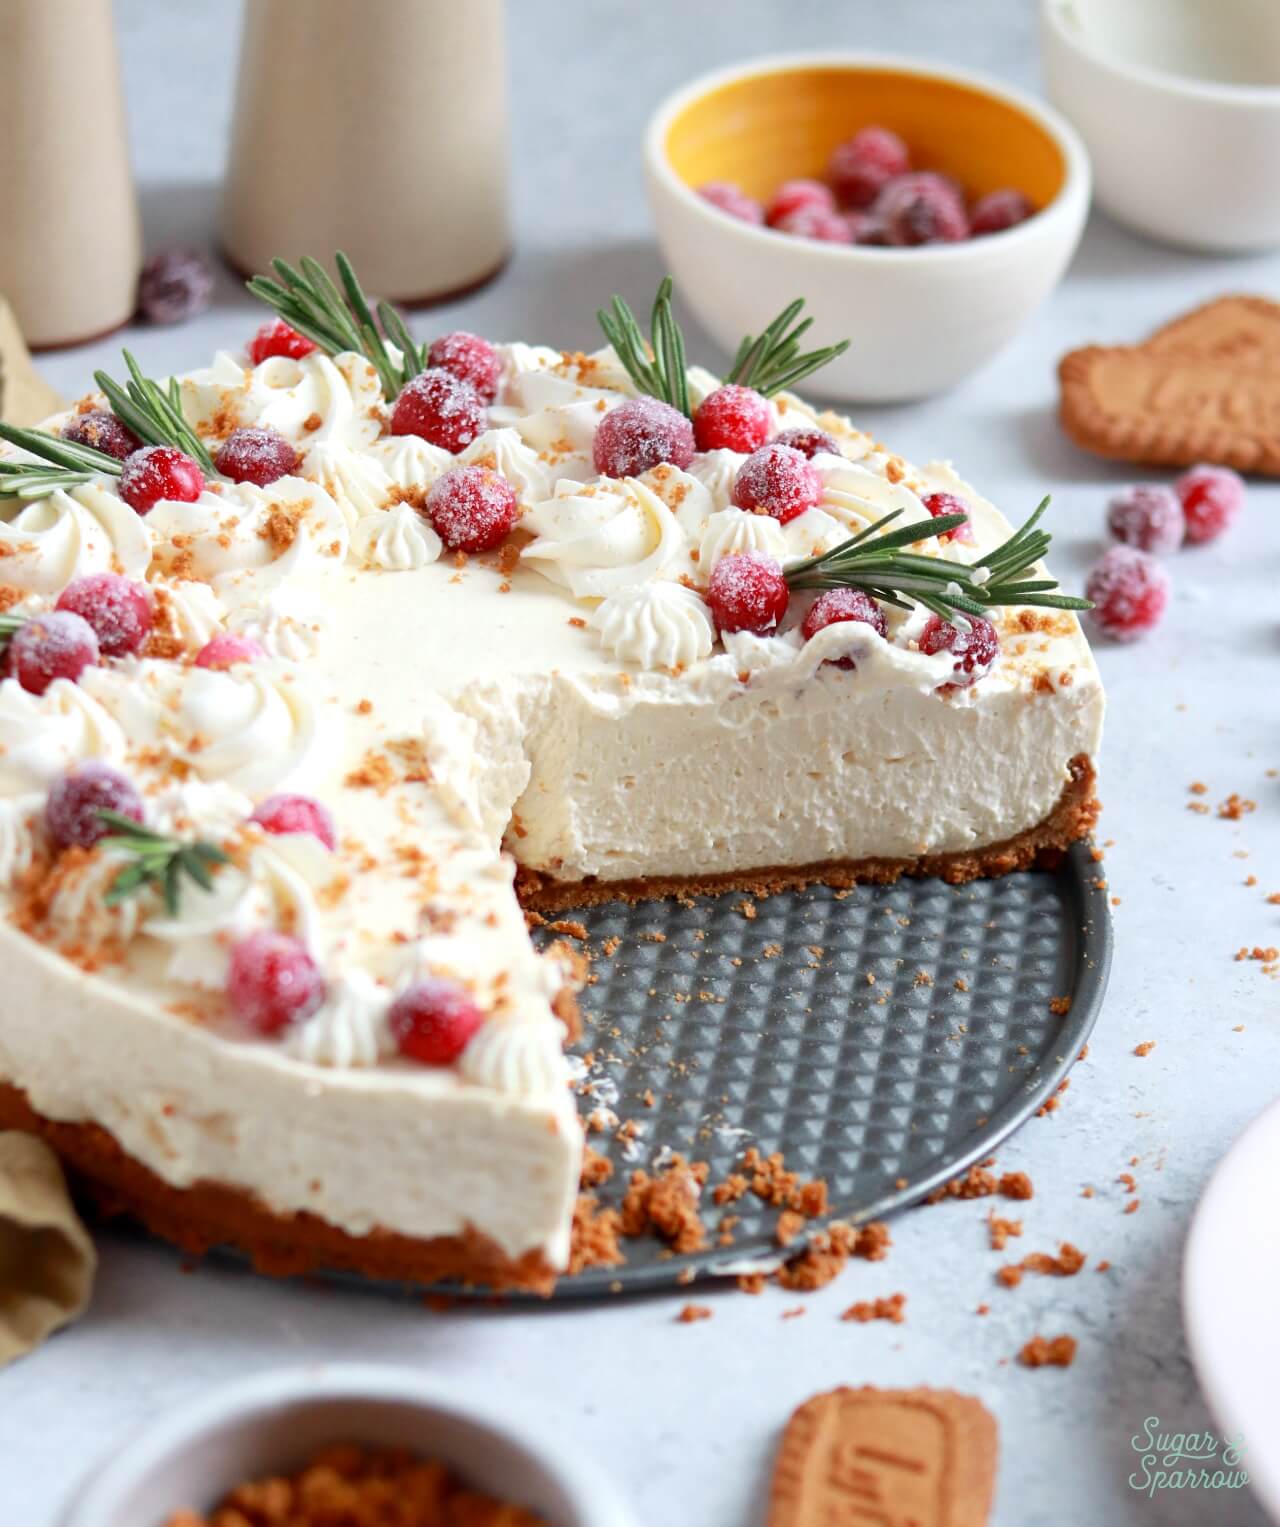
This no-bake eggnog cheesecake is creamy and custard-like, perfectly spiced, packed with eggnog flavor, and couldn’t be easier to make. You’ll basically whip most of the ingredients together to combine them and gently fold in some whipped cream before pouring it into a Biscoff cookie crust. Once refrigerated, the filling sets into a thick mousse-like consistency – rich and creamy yet easily holds its shape when cut into slices. I love the no-bake method because it’s so fail-proof and yields such a delicious result with minimal effort!
The biscoff cookie crust takes this no-bake eggnog cheesecake one step beyond and adds caramel spice notes that make the whole dessert even more festive! If you’d prefer a more traditional crust, you could substitute the biscoff cookie crumbs in the recipe below for graham cracker crumbs.
Key Ingredients for No-Bake Eggnog Cheesecake
Let’s talk about the key ingredients involved in this no-bake eggnog cheesecake filling:
- Cream Cheese – essential for adding that classic tangy cheesecake flavor and for creating a thick filling. You must use full-fat brick-style cream cheese in this recipe in order to create the perfect filling consistency. Cream cheese spreads and low fat options contain a lot more water, which will end up turning your filling into eggnog cheesecake soup.
- Granulated Sugar – this helps break down the cream cheese and adds just the right amount of sweetness. There’s not a ton of sugar in this recipe so that the tangy cheesecake flavor comes through.
- Heavy Whipping Cream – beating the heavy whipping cream (or double cream) into stiff peaks is the key to achieving a thick and custard-like cheesecake filling. Don’t substitute this or settle for soft peaks! You’ll want to whip it with a whisk attachment or hand mixer for about 2-3 minutes.
- Eggnog – I used traditional store-bought eggnog for this recipe, but feel free to experiment with different types of eggnog! If you have a homemade recipe you love, it should work.
- Rum Extract – I never have alcohol on hand (I’m straight edge) but feel free to substitute this for actual rum if you want to! If you’d rather use rum extract you should be able to find this in the baking aisle at your local grocery store.
- Spices – to really amplify the eggnog flavor I added extra cinnamon, nutmeg, and cloves.
How to Decorate No-Bake Eggnog Cheesecake
Once the no-bake cheesecake is set (after 8+ hours), you can decorate however you’d like! I removed mine from the springform pan and piped on some homemade whipped cream (that I spiked with a little eggnog!) in a crescent formation using Wilton Tip 1M for the rosettes and Tip 32 for the stars. Then, I garnished the piping with Biscoff cookie crumbs, sugared cranberries, and little sprigs of rosemary. Feel free to get creative and decorate however you’d like!

Making No-Bake Cheesecake Ahead of Time
One of the greatest things about this no-bake cheesecake is you can make it ahead of time! After you add the filling into your Biscoff cookie crust, you’ll place it in the refrigerator to set up for at least 6-8 hours (but overnight is best). You can make it up to two days in advance, which is a game changer when it comes to planning for holiday hoopla.


If you want to make it even further in advance you can freeze this no-bake eggnog cheesecake after the filling is set. So basically refrigerate it overnight and then pop it in the freezer for up to 3 months! Just be sure to wrap it well – I recommend removing the sides from the springform pan and covering the cheesecake surface and sides with one layer of plastic wrap and one layer of aluminum foil.

This no-bake eggnog cheesecake is sure to be a hit at your next holiday party! I can’t wait for you to make it.

No-Bake Eggnog Cheesecake with Biscoff Cookie Crust
Equipment
Ingredients
Biscoff Cookie Crust
- 1 package (250g) Biscoff cookies
- 1/3 Cup (75g) unsalted butter, melted
Eggnog Cheesecake Filling
- 2 Cups (480ml) heavy whipping cream, cold
- 16 Oz (452g) full-fat brick-style cream cheese, room temperature NOT the spread
- 1 Cup (200g) granulated sugar
- 1/2 Cup (120ml) eggnog
- 1 tsp rum extract or rum
- 1/2 tsp ground nutmeg
- 1/4 tsp ground cinnamon
- 1/4 tsp ground cloves
Eggnog Whipped Cream
- 1 Cup (240ml) heavy whipping cream, cold
- 1/4 Cup (60ml) eggnog
- 1/4 tsp ground nutmeg
- 1/3 Cup (40g) powdered sugar
Additional Garnish
- fresh rosemary sprigs
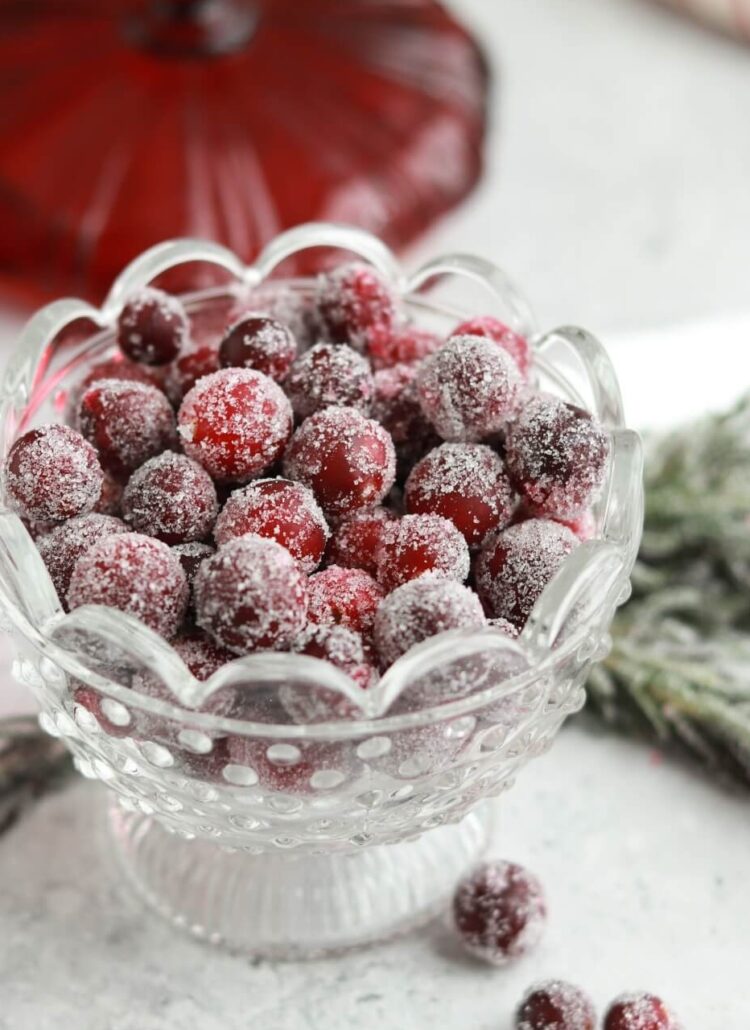
- sugared cranberries
- Biscoff cookie crumbs
Instructions
Make the Biscoff Cookie Crust
- Using a food processor, grind the Biscoff cookies into a fine crumb. You can alternatively place the Biscoff cookies in a large Ziploc bag and use a rolling pin to crush them into crumbs.
- Add the Biscoff cookie crumbs into a medium bowl and pour the melted butter on top. Mix until uniform, then press the mixture into the bottom and up the sides of a 9-inch springform pan or 10-inch springform pan. Use a round glass or jar to pack the crust as tightly as possible (this helps keep it together when you cut the cheesecake slices later). Freeze the Biscoff cookie crust in the pan for 10-20 minutes while you prepare the eggnog cheesecake filling.
Make the Eggnog Cheesecake Filling
- Using a hand mixer with a medium bowl or a stand mixer fitted with a whisk attachment, whip the cold heavy cream on medium-high speed until stiff peaks form, about 4–5 minutes. Set aside.
- In another large bowl (either with a hand mixer or stand mixer), beat the cream cheese and granulated sugar together on medium until creamy. Scrape down the bowl and paddle as needed. Add the eggnog, rum extract (or actual rum), nutmeg, cinnamon, and cloves. Beat on medium-high speed until smooth and combined (no lumps), about 2–3 minutes.
- Use a rubber spatula to gently fold the whipped cream into the cheesecake filling until combined.
- Remove the Biscoff crust from the freezer and add the eggnog cheesecake filling into it. Spread the filling to the edges of the crust and smooth the top using an angled spatula, then cover it tightly with plastic wrap or aluminum foil. Refrigerate for at least 8 hours and up to 2 days. For best results, chill the cheesecake overnight. This will yield the most set filling.
Make the Eggnog Whipped Cream
- Place the metal bowl from your stand mixer and the whisk attachment (or a medium metal bowl and hand mixer attachments) into the freezer for 10 minutes to chill.
- Add all of the eggnog whipped cream ingredients into the chilled bowl. mix together on low speed until combined, then increase the speed to high and beat until stiff peaks form, 2-3 minutes.
Assembly
- When you’re ready to serve the no-bake eggnog cheesecake, remove the rim from the springform pan. Divide the eggnog whipped cream between two piping bags, one fitted with Wilton Tip 1M and one fitted with Wilton Tip 32. Pipe rosettes with Tip 1M and stars with Tip 32 in a crescent formation. Garnish with sugared cranberries and fresh rosemary sprigs.
Notes
- After making and freezing the Biscoff cookie crust, it can be covered and stored in the refrigerator until you add the filling (1-2 days ahead is best for the freshest flavor).
- You can make and assemble the no-bake eggnog cheesecake up to 2 days in advance, stored in the refrigerator and covered in aluminum foil or plastic wrap. You can alternatively freeze the cheesecake for up to 3 months after it’s set in the refrigerator. Be sure to cover well if freezing. I recommend one layer of plastic wrap and one layer of aluminum foil.
This no-bake eggnog cheesecake is sure to be a hit for the holiday season! I hope you love it as much as I do. Let me know what you think in the comments below and feel free to tag @sugarandsparrowco on Instagram if you post a pic! I love to see what you create.


Hi Whitney,
This is one of the most beautiful cheesecakes I’ve ever seen! I absolutely love the way it is decorated and the idea of a Biscoff cookie crust instead of the usual graham cracker. But, I truly hate eggnog and have been trying to think of another flavor profile that would complement the Biscoff crust and these beautiful decorations. Any suggestions?
Hi Stephanie! I would suggest either my no-bake pumpkin cheesecake (https://sugarandsparrow.com/no-bake-pumpkin-cheesecake/) or no-bake biscoff cheesecake (https://sugarandsparrow.com/no-bake-biscoff-cheesecake/). Hope you enjoy one of those!
If we are making this outside of the holiday season and eggnog is not out the stores anymore, what would be a good substitute, without having to make eggnog at home?
Hi Shannan! I’m not sure what I would use as an eggnog substitute because I haven’t made this cheesecake with anything else. If you’re going for the flavor profile of eggnog, I’d probably make this recipe as a base: https://sallysbakingaddiction.com/no-bake-cheesecake/ and then add the nutmeg, cinnamon, cloves, and rum extract (or real rum) if using. Hopefully that helps!
If I do the whipped cream design will it hold it’s shape in the fridge for a day? I worry since it’s whipped cream that it’ll deflate and I really don’t want to assemble right before we eat.
Hi Morgan! Yes, the whipped cream does hold its shape for a day in the refrigerator.
Can I use this recipe to make mini cheesecakes in a muffin tin?
Yes, you absolutely can! Just press the crust into the muffin tins, pipe or spoon the cheesecake filling on top, then refrigerate for at least 3 hours. Enjoy!
Excellent, my family loved it. The sourness
Of the cranberries were the perfect balance.
Yay, Christina! I’m so happy it was a hit!
What kind of rum do ya’ll use? White? Spiced? Etc…
I used rum extract! But you could use any kind of rum in place of the extract
Run extract
Hi, I’m going to make this for Christmas dinner. Did you use the nine or the 10 inch? I have both and did they both end up serving 12 people? Thank you.
Hi Treese! So excited for you to make this for Christmas! I used a 9-inch pan. The 10-inch will yield a slightly shorter cheesecake but ends up making 14 slices instead of 12.
Thanks, I will use the 9”…Diana
I’ll post a pic on Instagram, we’ll see how I do!!!
Hi Jackie! I wonder what happened – the consistency of this cheesecake should be custard-like and soft and the slices should hold their shape. Did you use block-style cream cheese or the spreadable kind in the tub? The spreadable kind has a lot more liquid in it which will affect the consistency of the final result (make it soupy). Another thing that could contribute to a liquidy filling is not whipping the heavy whipping cream to stiff peaks. Let me know if you did both of those things though, I’d love to help you get to the bottom of it.
The same thing happened to mine. I used block cream, and it was in the fridge overnight. It literally oozed everywhere. It does taste delicious though.
Amber, did you use full-fat block-style cream cheese, or was it reduced fat? The low-fat kind has more water content than full-fat and that’s the only reason I can think of why it wouldn’t set.