
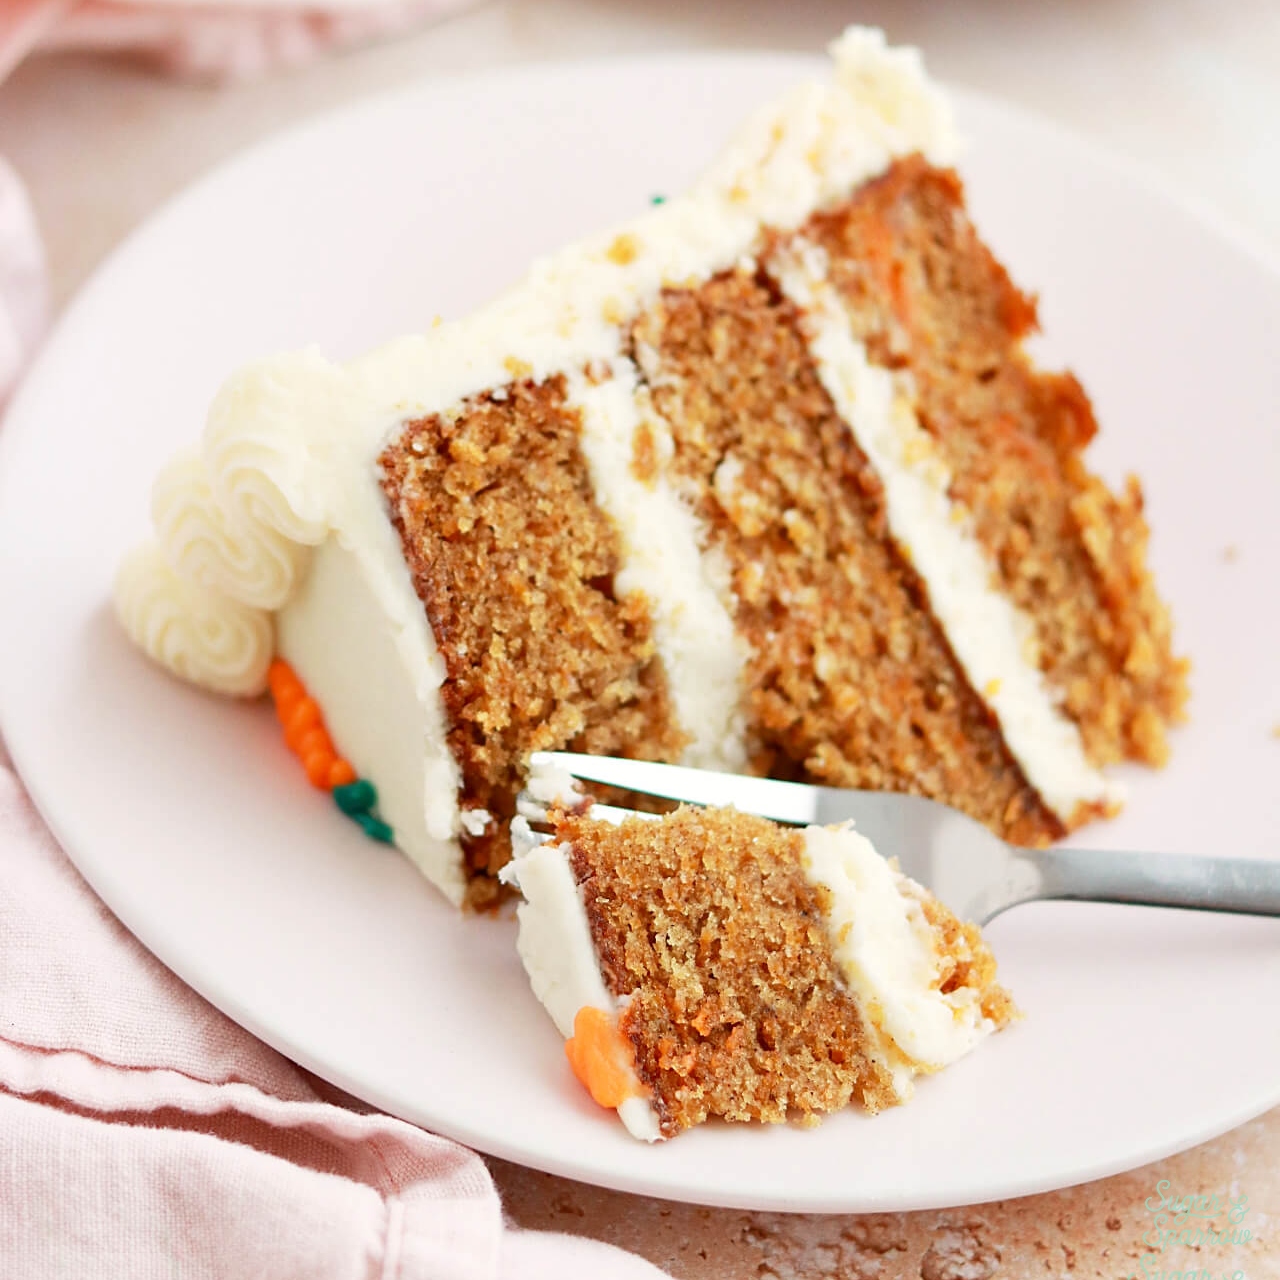
Cream cheese buttercream has a reputation for being difficult to work with – the consistency is naturally soft, which can make filling, frosting, and decorating cakes a challenge. If you love the flavor of cream cheese frosting but have had bad experiences working with it in the past, you’ve come to the right place! I’m sharing everything I know about how to stabilize cream cheese frosting without sacrificing flavor (or making it too sweet), plus all my best tips for decorating cakes and cupcakes with it.

How to Prevent Runny Cream Cheese Frosting
Before I share methods for making cream cheese frosting EXTRA stable, I want to talk about some best practices that will naturally make your frosting more stable and set you up for success. Knowing these things before you even start the recipe can make a huge difference:
- Use full-fat brick style cream cheese. I use Philadelphia brand, but any brick-style cream cheese that’s not low fat will do. Other kinds of cream cheese (low fat or the spreadable kind in the tub) contain too much water content and will always result in a soupy frosting that’s too thin for filling and frosting a cake. If you don’t have access to brick-style cream cheese, I suggest making a different kind of frosting that you have ingredients for vs. trying to make the spreadable cream cheese work (it truly doesn’t!).
- Use room temperature ingredients. Both the butter and cream cheese in your recipe should be room temperature (about 68ºF) before starting, and you can even get away with the cream cheese being slightly cooler than that. Any warmer than room temperature and you will risk the final frosting being too soft.
- Don’t overmix. After beating together the butter and cream cheese, I keep the mixer on low speed for the rest of the recipe. Once all the sugar, vanilla, salt, and stabilizer (if using) is mixed in and dissolved, turn the mixer off. When cream cheese frosting is overbeaten or mixed for too long, the frosting starts to break down and become runny.
- Use a high ratio of butter to cream cheese. Using more butter in a cream cheese frosting helps naturally stabilize it. Some recipes call for a 1:1 ratio of butter to cream cheese in light of this. My recipe (below) uses half as much butter as cream cheese because I find that a 1:1 ratio creates more of a buttery flavor, but if stability is more important to you than taste, this is an option to consider.
- Use shortening (if necessary). Replacing some or all of the butter with shortening (especially high ratio shortening if you can find it!) will make your cream cheese frosting extra stable and heat resistant. This is an ideal option for warm and humid climates.
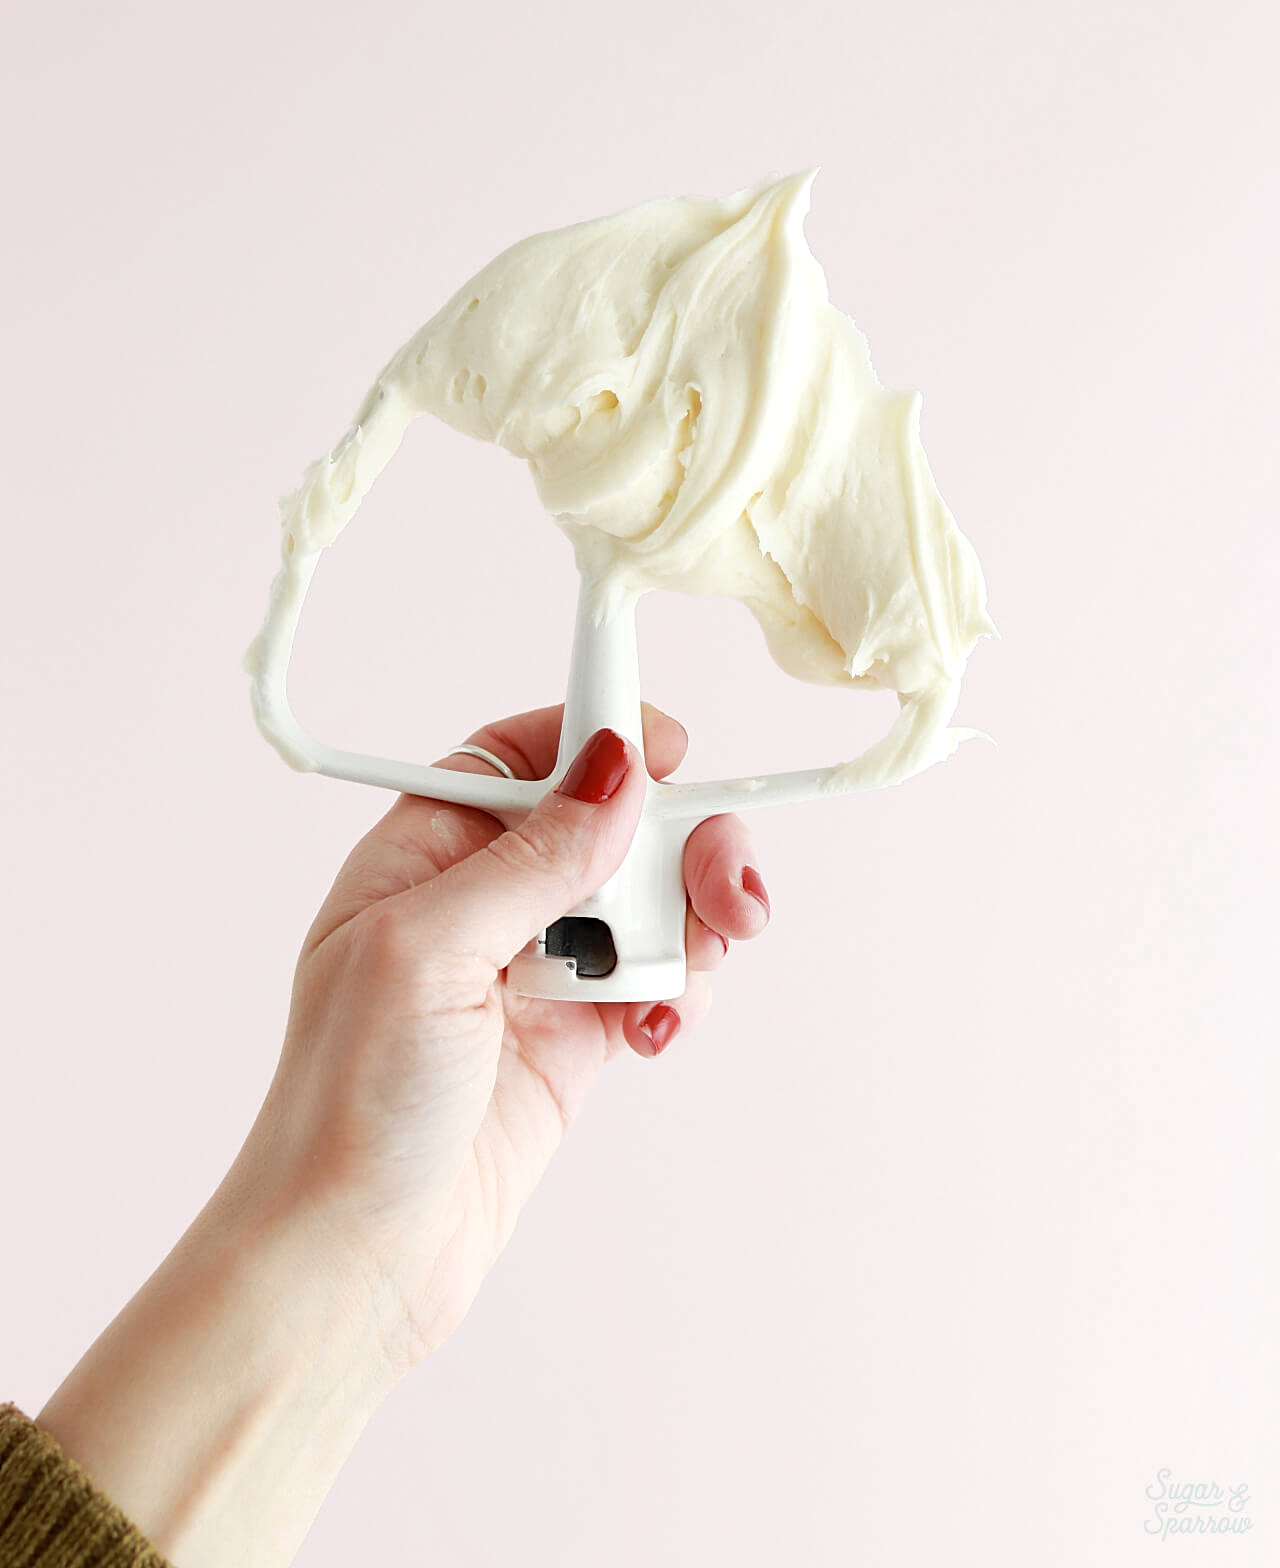
- Change up the mixing order. Recently, I learned that you can change up the order of ingredients and end up with a more stable cream cheese frosting! Basically, you whip only the butter until it’s creamy and pale (about 5-7 minutes), then mix in the powdered sugar, vanilla, and salt. The mixture will be kind of crumbly from all the powdered sugar by this point. Then, add cold brick-style cream cheese and continue mixing on low speed until it comes together as a frosting. It takes a few minutes, but I can attest that it works!
3 Ways to Stabilize Cream Cheese Frosting
Now that you know how to prevent runny cream cheese frosting from the get-go, here are some ways to make your already naturally stable cream cheese buttercream even MORE stable:
- Buttermilk Powder. This is my new favorite way to stabilize cream cheese frosting! I add ¼ cup per batch of cream cheese buttercream. The extra powder thickens the frosting without making it too sweet (like extra powdered sugar would), and the buttermilk flavor enhances the tanginess of the cream cheese flavor. It’s so good! You can actually use any kind of milk powder for this, but I use this cultured buttermilk powder.
- Cornstarch. Adding ¼ Cup of cornstarch per standard batch of buttercream was my preferred method before discovering the buttermilk powder, and it’s still a great way to stabilize your frosting. Since powdered sugar already contains cornstarch, it’s like adding extra powdered sugar without the sweetness.
- Meringue Powder. Adding 1 tablespoon of meringue powder per standard batch of cream cheese buttercream is a great way to make it a thicker consistency for easier cake decorating. The proteins in the meringue powder help soak up some of the excess water content. Just be sure to whisk this into your powdered sugar before adding it to the frosting so it’s evenly distributed.
What if the Cream Cheese Frosting is Still Too Soft?
One final tip for working with cream cheese buttercream: if you find that your kitchen environment is humid or the frosting is still a bit soft, pop it in the refrigerator for 10-15 minutes, then re-mix it on low speed in your stand mixer. The butter in the recipe will solidify a little bit in the refrigerator, so the overall buttercream should feel a bit thicker afterwards.
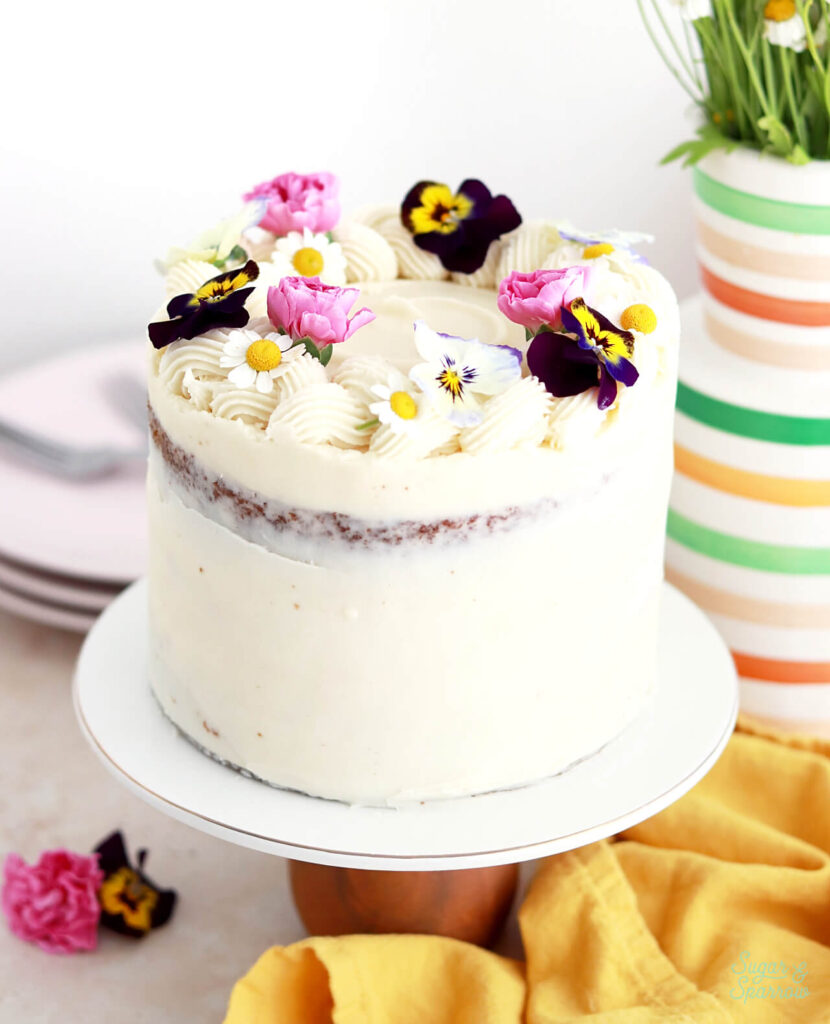
The refrigerator is your friend while filling and frosting a layer cake with cream cheese buttercream as well. I like to fill, stack, and crumb coat the cake, then pop it into the refrigerator for 20-30 minutes to let the crumb coat firm up before moving on to frosting the cake. This is something I do with nearly every layer cake I make, but it’s especially important when working with cream cheese frosting!
Cakes to Pair with Cream Cheese Frosting
Cream cheese buttercream is amazing on pretty much any cake! If you’re inspired to make some cream cheese buttercream but can’t think of what to pair it with, here are some recipes from my blog to try. Just be sure to make a double batch of the frosting recipe below if you want to have enough to fill, frost, and decorate a layer cake:
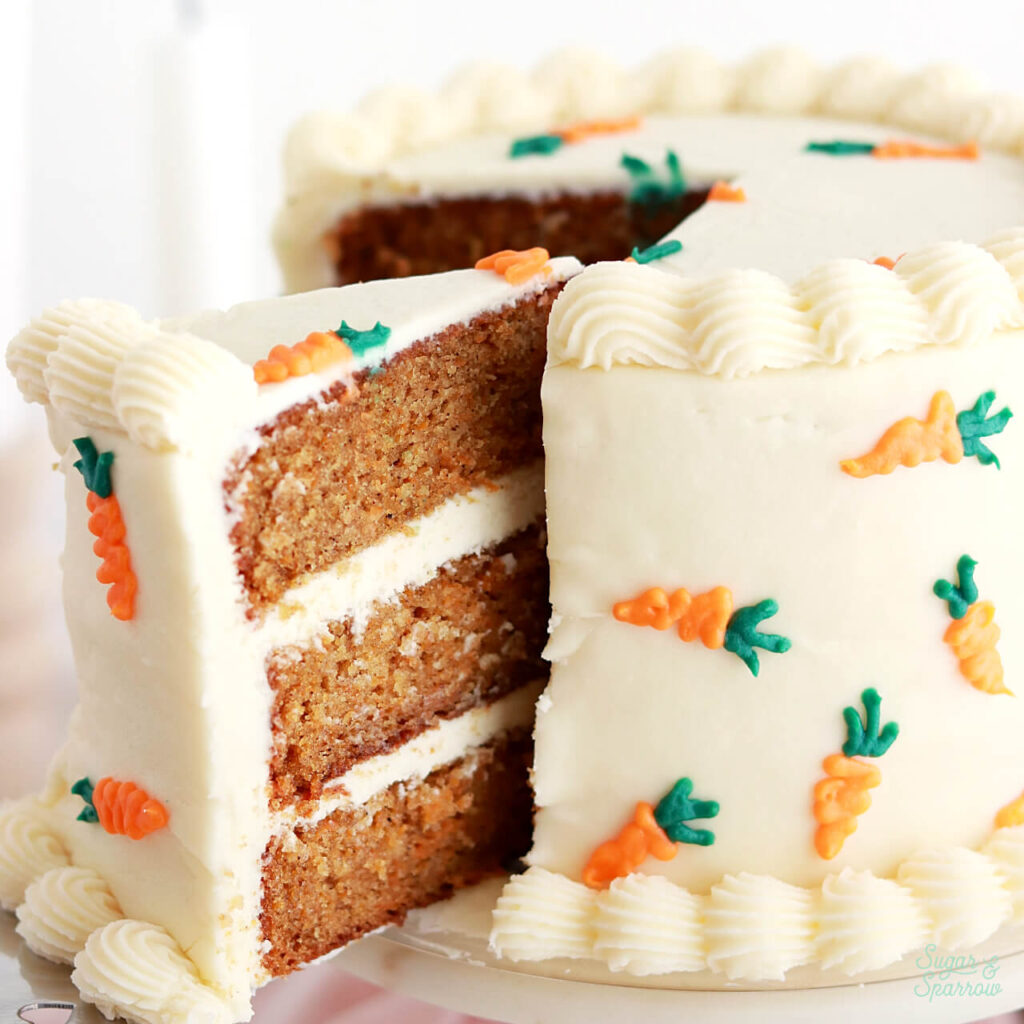
- Carrot Cake
- Lemon Cake
- Lemon Blueberry Cake
- Red Velvet Cake
- Coconut Cake
- Pumpkin Cake
- Spice Cake
- Chocolate Cake
I hope you found these tips helpful for your next batch of cream cheese frosting! If you make this frosting, let me know how it goes in the comments below (be sure to leave a star rating!) and feel free to tag @sugarandsparrowco on Instagram and show me! I love to see your creations and hear your feedback.
Cream Cheese Buttercream
Ingredients
- 4 Cups (480g) powdered sugar
- 1/4 Cup (32g) buttermilk powder or cornstarch (optional)*
- 1/2 Cup (113g) unsalted butter, room temperature
- 8 Oz (226g) full-fat cream cheese, room temperature brick-style, not the spread
- 1 1/2 tsp pure vanilla extract
- 1/4 tsp salt
Instructions
- Sift together the powdered sugar and buttermilk powder or cornstarch (if using) and set aside. In the bowl of a stand mixer fitted with the paddle attachment, cream the butter and cream cheese on medium-high until light, fluffy, and uniform (no lumps), about 5 minutes.
- Turn the mixer to low speed and add the powdered sugar and cornstarch mixture a few cups at a time, mixing thoroughly after each addition and scraping down the bowl and paddle as needed. Add the vanilla and salt and mix on low for another minute, until fully combined and smooth.
Notes
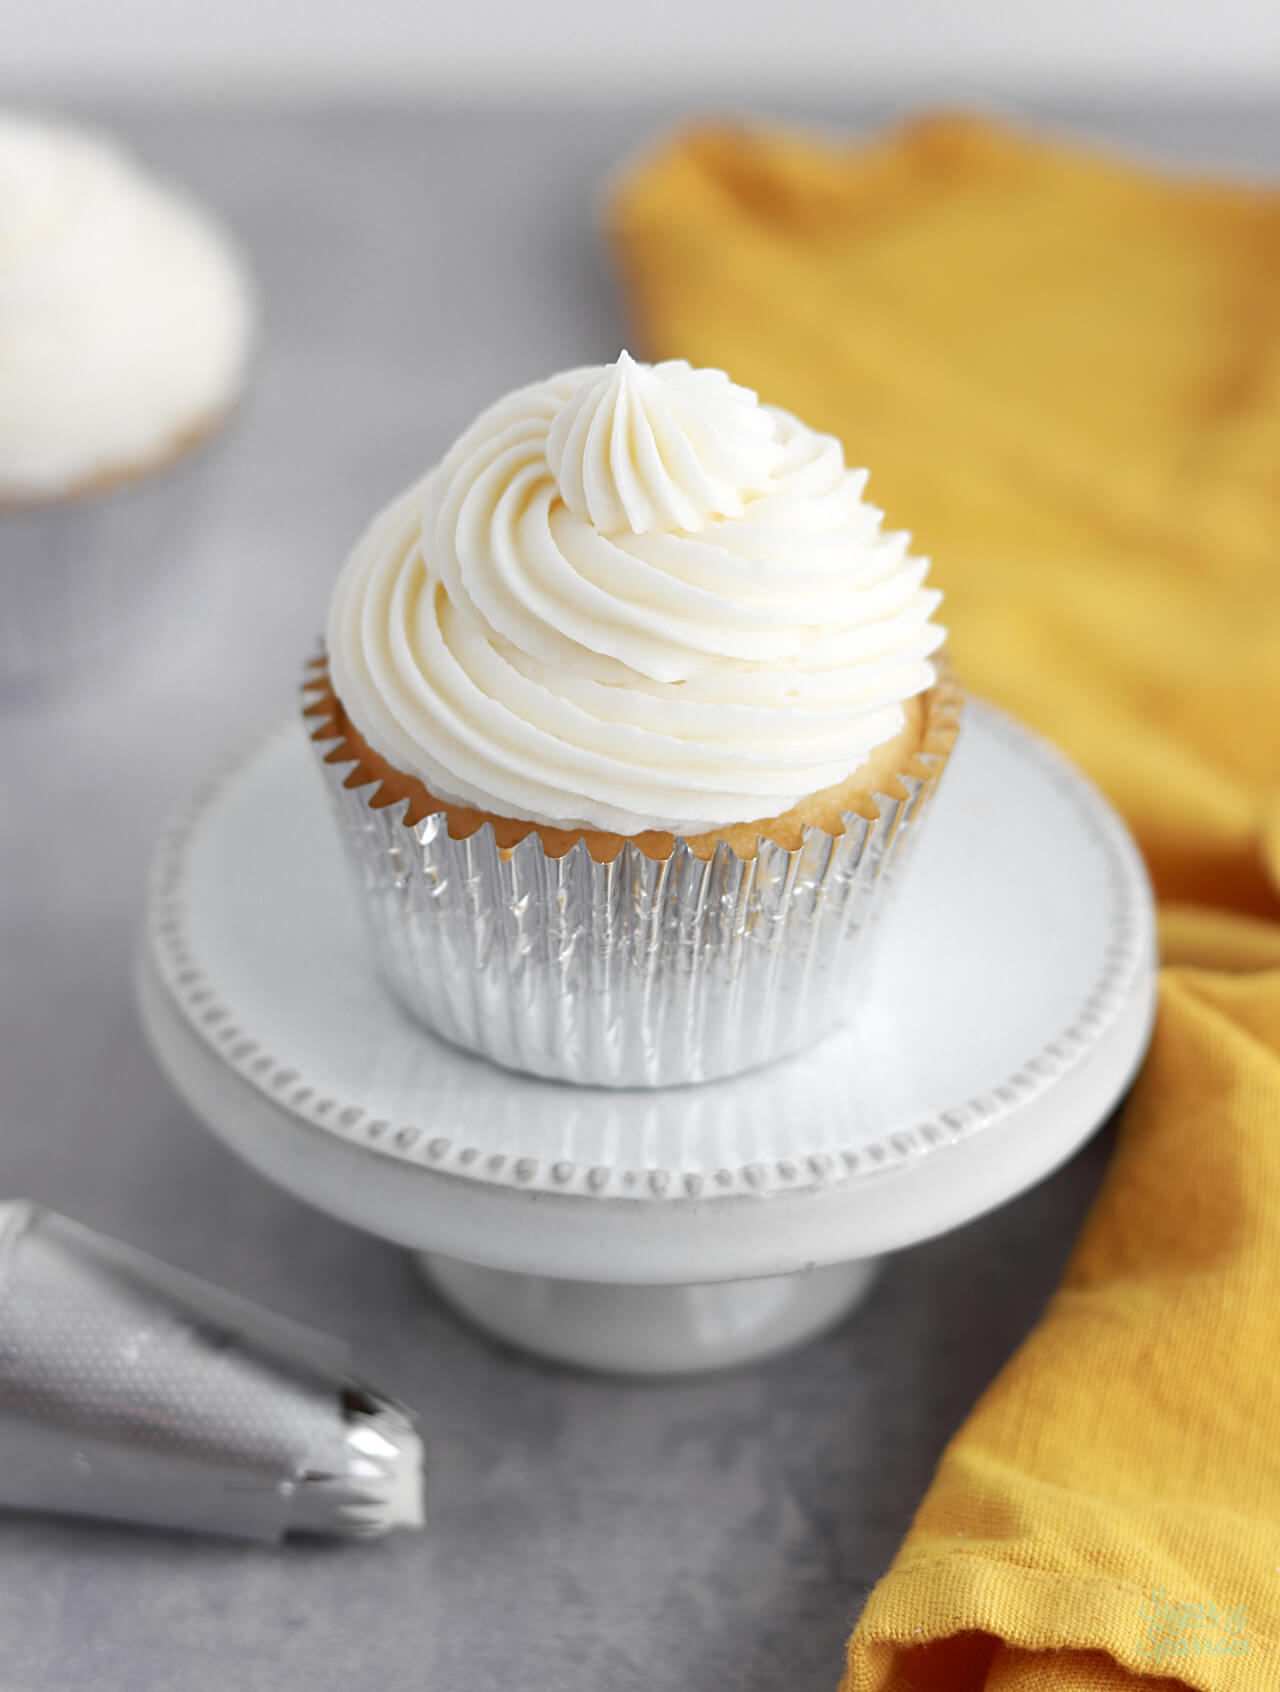
- Frost 15-20 cupcakes with a piping bag
- Fill and crumb coat a three-layer 6-inch cake or two-layer 8-inch cake. To have enough for frosting and decorating as well, double the recipe.


If I wanted to add some strawberries that’s been cooked down is that possible
Hi Claudette! If you want to make strawberry cream cheese buttercream, the best way will be to add freeze-dried strawberries ground into powder (about 1/4 cup of strawberry powder per batch of this recipe). Using freeze-dried strawberries will ensure powerful strawberry flavor without adding extra liquid that can alter the consistency of the frosting. Cream cheese can get really runny/soft when you add extra liquid, even cooked down strawberries, so I wouldn’t recommend it. You can usually find freeze-dried strawberries in the snack section your local grocery store (especially natural food stores) and also on Amazon: https://amzn.to/44Q8XD0
Thanks for sharing these great tips. If I want to add cocoa powder to make this a chocolate cream cheese buttercream, what’s the best way to do that?
Hi Marguerite! You can make this a chocolate cream cheese buttercream by replacing 1/2 cup of the powdered sugar with cocoa powder. Enjoy!
Is it ok to freeze this recipe and then rewhip it?
Hi Rita! Yes, you can freeze this frosting for up to 3 months (in an airtight container or double Ziploc), then thaw and re-mix on low speed. Enjoy!
Hola me encantó tu receta pero mi betún siempre pero siempre se me corta nunca sabe rico, al final termino tirándolo y no sé por qué?? Algunas recetas que he leído dicen que la mantequilla y el queso Philadelphia deben de estar a temperatura ambiente. Me ayudas por favor.
Hi Erika! Have you tried my recipe yet? I do specify that the cream cheese and butter should be room temperature before you begin. Sometimes when you start with cold cream cheese and butter the frosting will curdle, or curdling can happen when too much liquid is added. If you haven’t tried my recipe yet and this has just been your experience with other cream cheese frostings, I’d recommend giving mine a try! I’ve never had an issue with curdling.
I have been searching and searching and searching for the perfect cream cheese frosting. The one you get at a high-end bakery. The one that has that extra little tangy after taste. OMG this is it!!!! So delicious, so indulgent, so yummy!!! I will never use another cream cheese recipe. The Search is over. Perfecto!! Chef’s kiss! Thank you thank you thank you!!!
That makes me so happy, Kay! Thanks for letting me know how much you loved this recipe and I’m so happy your search is over!
Can I keep a cream cheese frosted caked in fridge uncover for a day or two serving?
Hi Desiree! Yes, it’s totally fine to keep a cake uncovered in the refrigerator for a day or two. The frosting will keep the cake layers underneath from drying out. Just make sure there’s nothing in your refrigerator that smells strongly like takeout – if there is, put that kind of stuff in an airtight container to keep it from transferring scents/flavors to your cake. Hope that helps!
Hi
How much do I use of the buttermilk powder, when making the small batch cream cheese frosting, Also, can I use it in the brown butter cream cheese frosting too.
Hi Jackie! I would add 2 Tablespoons of buttermilk powder to the small batch cream cheese frosting recipe and yes, you can use it in the brown butter cream cheese frosting as well. Enjoy!