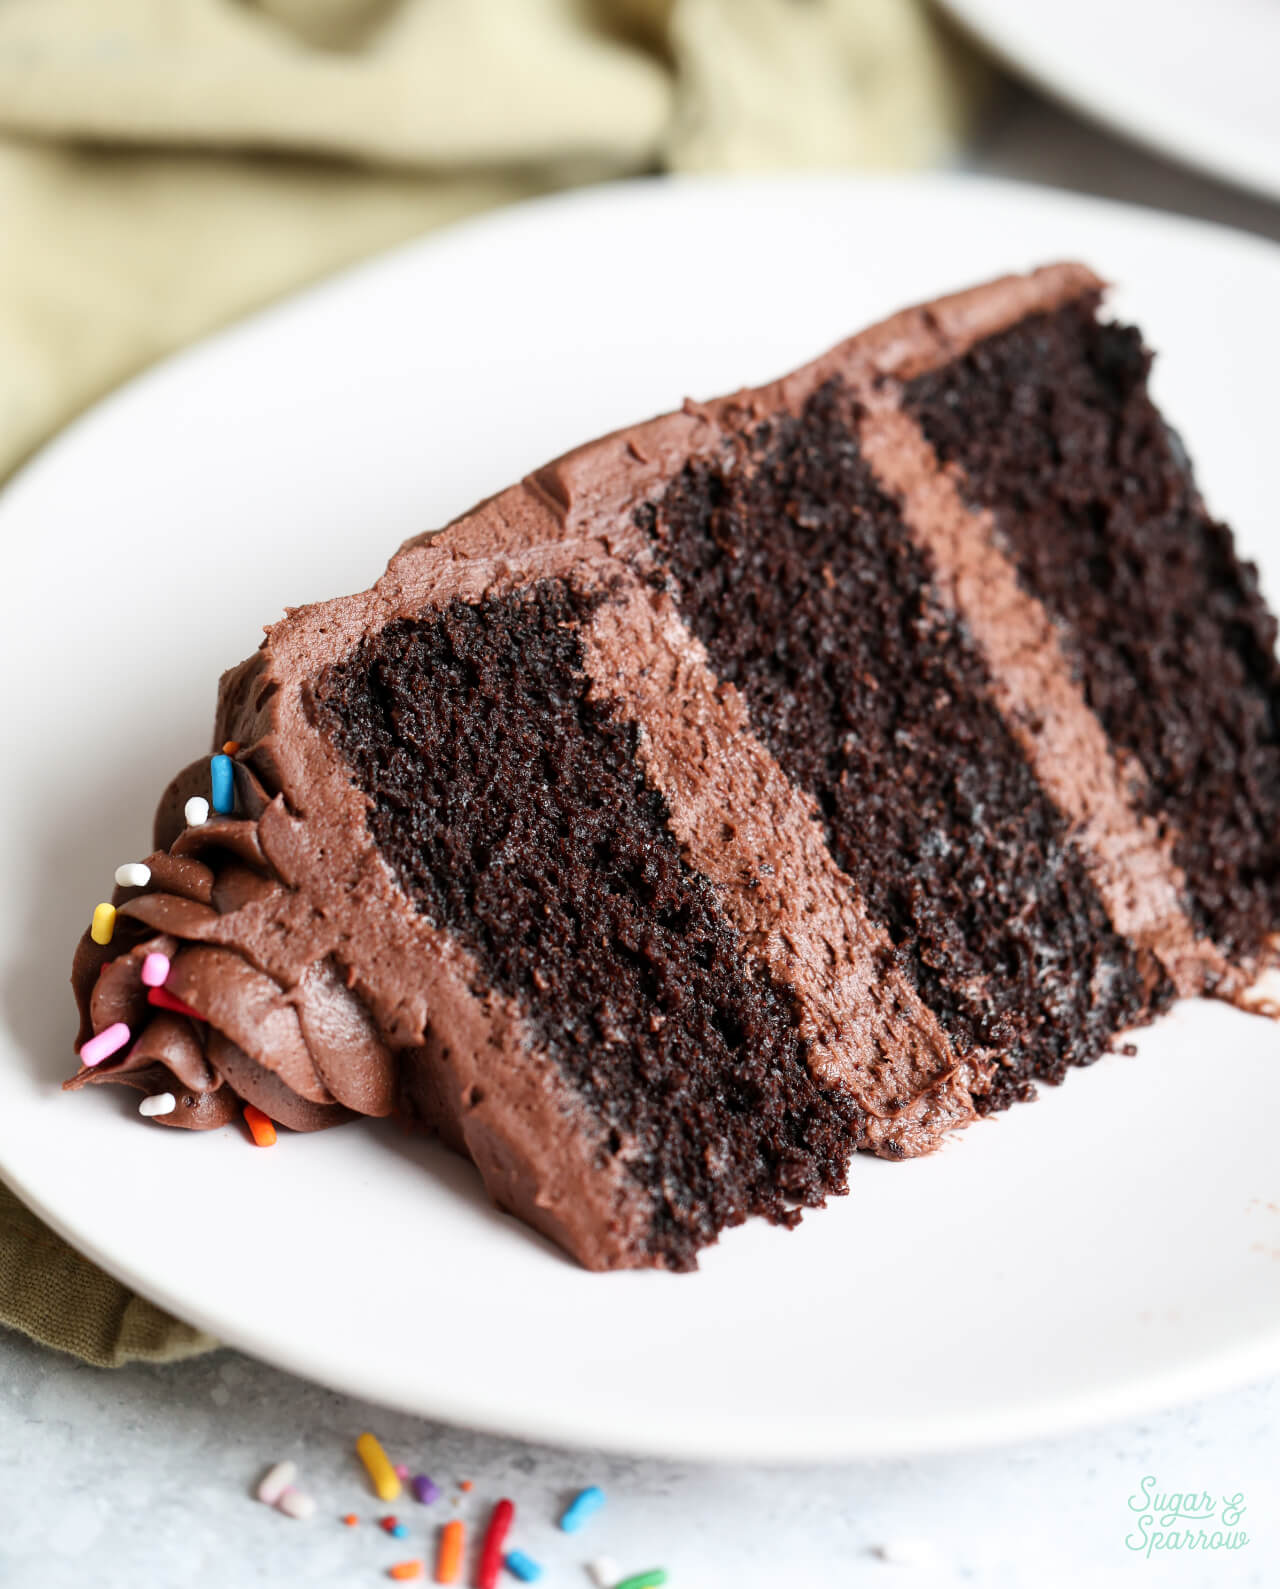
This gluten-free chocolate cake is super rich and fudgy, so easy to make, and truly doesn’t taste like it’s gluten-free! It’s extra moist with the addition of brown sugar and easy homemade buttermilk, and has the perfect chocolate flavor which is amplified by lots of vanilla and hot coffee (or hot water, if you prefer) to bloom the cocoa. Paired with decadent chocolate buttercream, it’s the ultimate cake for any chocolate lover, gluten-free or not.
Tips for Making the BEST Gluten-Free Chocolate Cake
Over the years, I’ve received many comments from readers making my cake recipes gluten-free (with success!), simply by swapping the flour in the recipe for gluten-free baking flour. Curiosity finally got the best of me and I had to try the swap for myself, starting with my favorite one-bowl chocolate cake as a base. It turns out that there’s more to gluten-free baking than simply swapping out the flour – I learned a TON during my recipe testing and the result is so worth it: a super moist (but not gummy) texture, perfect rise, and excellent chocolate flavor. Here are a few takeaways from my recipe testing that will be KEY to making the best GF chocolate cake:
- Use 1:1 Gluten-Free Baking Flour. A gluten-free baking flour like this one will already contain xanthan gum which is necessary for providing structure in a gluten-free cake. I was originally testing this recipe with gluten free all-purpose flour and didn’t realize that the mixturedidn’t contain xanthan gum, which caused my experiments to sink after taking them out of the oven.
- Use Room Temperature Ingredients. With the exception of the hot coffee, make sure your milk and eggs are at room temperature. This will help the batter come together more easily and prevent overmixing.
- Whisk the Batter By Hand. When I first started testing this recipe, I was using my stand mixer on low speed and my cakes kept sinking after coming out of the oven. It turns out that using an electric mixer, even at low speed, incorporates too much air! Instead, whisk together this recipe by hand.
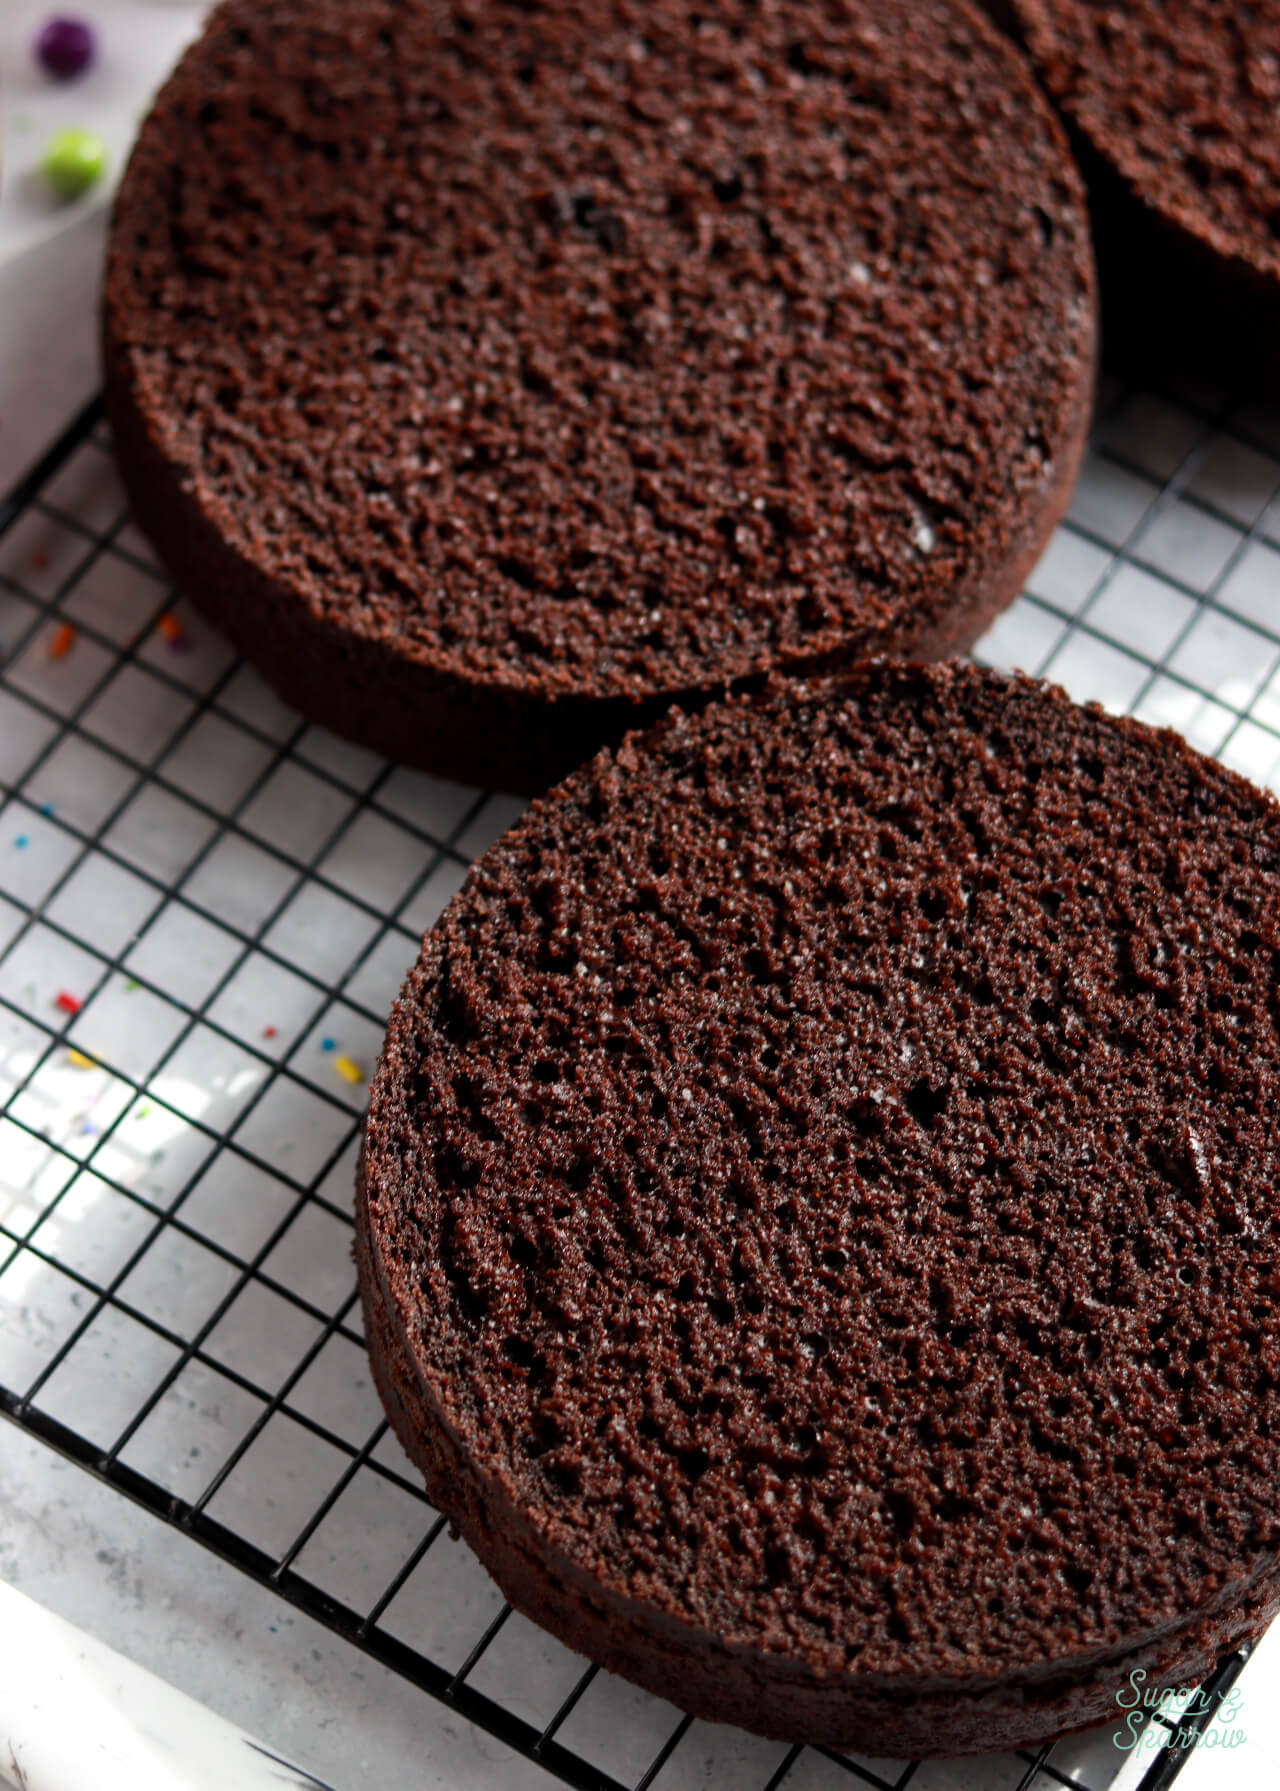
- Use Cake Strips (Optional). Just like my beloved one-bowl chocolate cake recipe, these cakes will dome in the oven unless you use cake strips. I usually just level my cakes when they have domes.
Gluten-Free Chocolate Cake Ingredients
Now that you know the best practices for making the absolute best version of this gluten-free chocolate cake, here are the ingredients I used and info about any substitutions I can recommend, if needed:
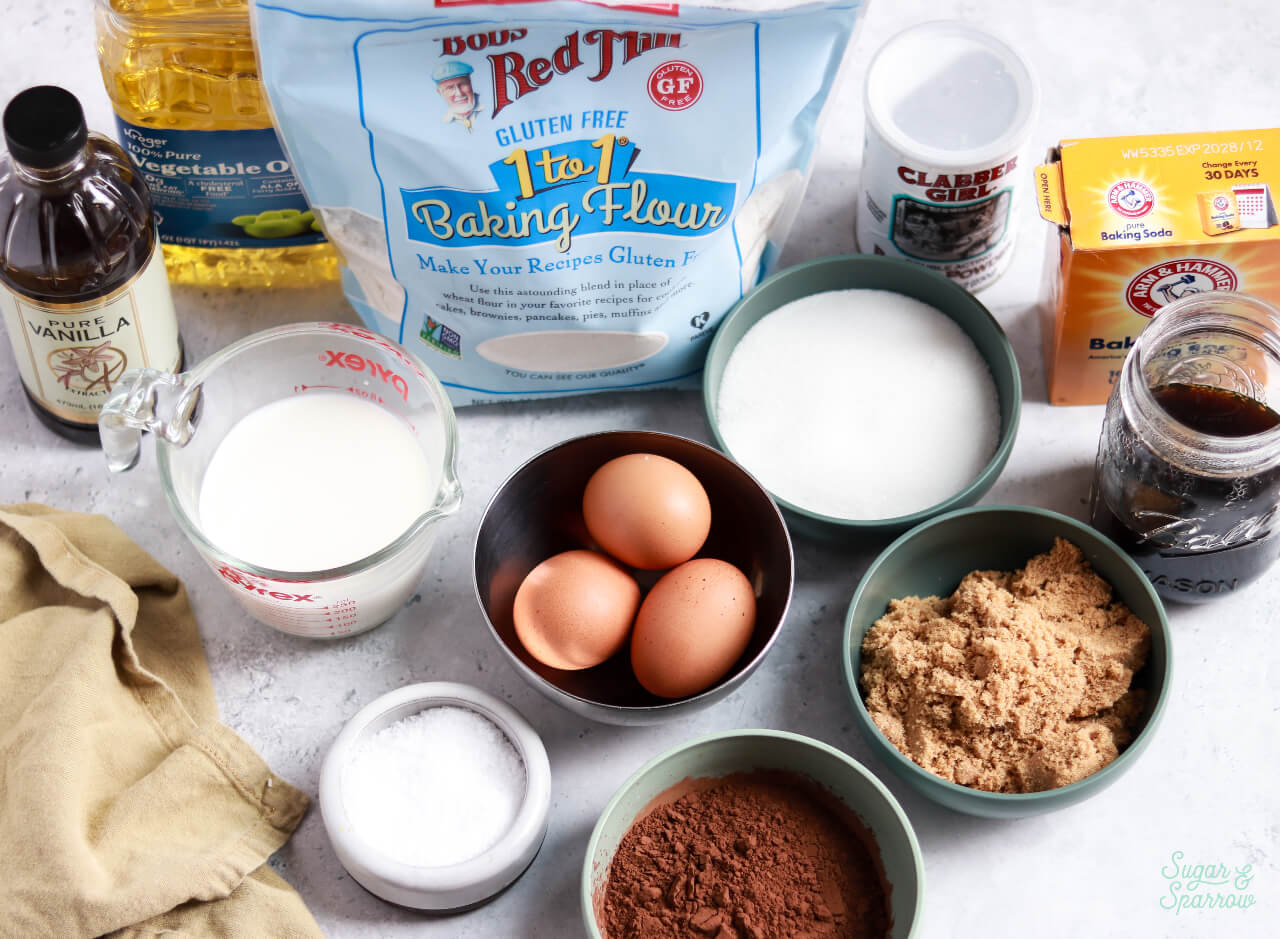
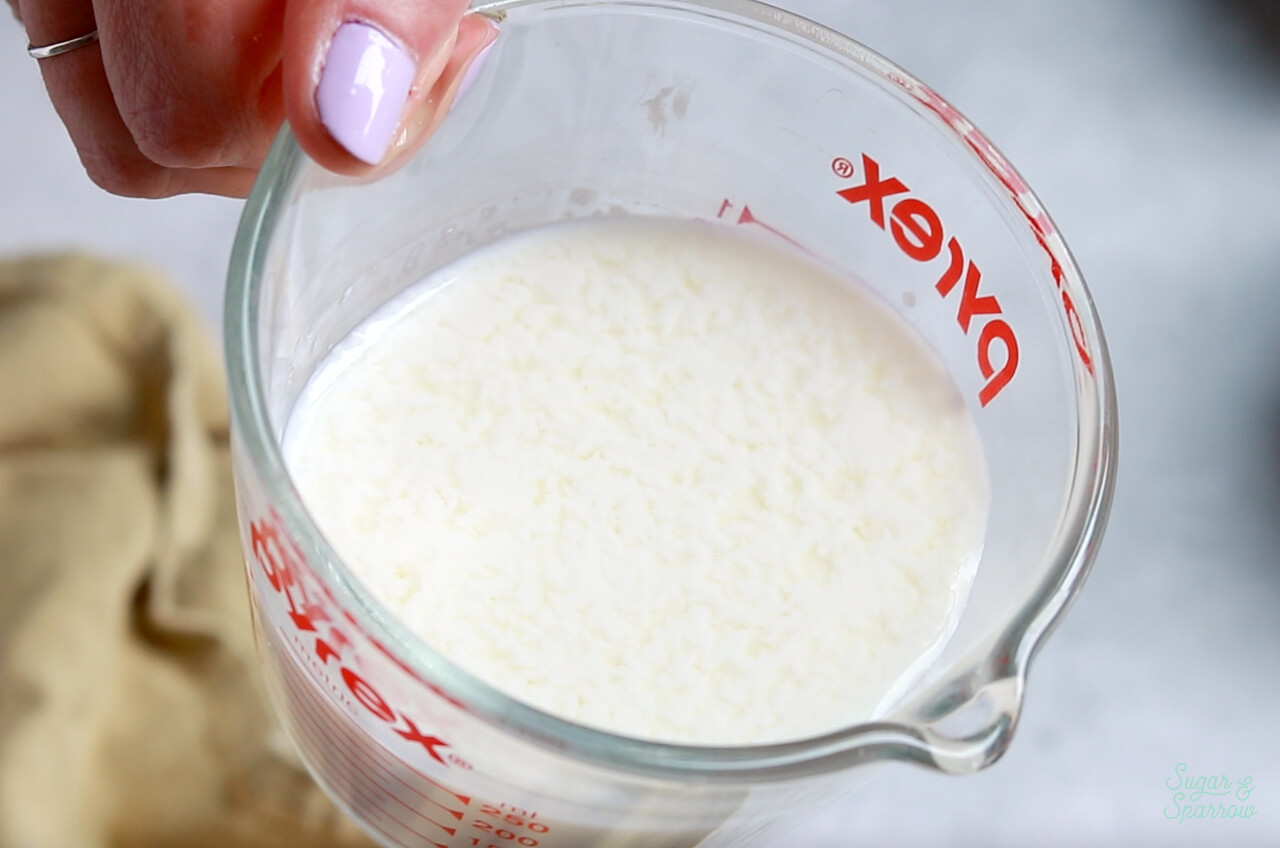
- Whole Milk + Vinegar (DIY Buttermilk). The recipe begins with mixing together whole milk and white vinegar, which creates a homemade buttermilk mixture that contributes to the moist texture of this cake. You can swap the whole milk for dairy-free milk if you want (soy is a great choice), and use either white vinegar or apple cider vinegar.
- 1:1 Gluten-Free Baking Flour. It’s important to choose a gluten-free baking flour that contains xanthan gum, which acts as an essential binder in gluten-free recipes. I used Bob’s Red Mill 1:1 Gluten-Free Baking Flour but any brand of one to one (or cup for cup) gluten-free flour will work, as long as it contains xanthan gum.
- Granulated Sugar + Brown Sugar. Both sweeten this cake and contribute to the soft texture, but the brown sugar adds extra moisture because of the molasses it contains. If you’d rather not use brown sugar, you can replace it with an equal amount of granulated sugar.
- Unsweetened Cocoa Powder. The cocoa powder is responsible for the rich chocolate flavor of this cake, and you can use either Dutch-processed or natural unsweetened cocoa powder in this recipe.
- Baking powder + baking soda. Both are used as the leavening agents to help this cake rise.
- Salt + Vanilla Extract. These enhance the chocolate flavor in this cake, especially the vanilla. I use a whole tablespoon of vanilla and the results are perfect!
- Vegetable Oil. This is an oil-based cake, which makes it extra moist and lends the perfect amount of fat. I use plain vegetable oil, but you can also use melted coconut oil, avocado oil, canola oil, or any neutral oil you prefer.
- Large Eggs. In gluten-free baking, eggs provide a necessary amount of structure and act as binders for the batter.
- Hot Coffee. The heat of the coffee at the end of the recipe blooms the cocoa powder, which enriches the chocolate flavor, and causes the ingredients to blend together more smoothly into a thin, uniform batter. The coffee is wonderful for enhancing the chocolate flavor, and you can’t taste it in the final baked cake, but if you’d rather not use coffee you can use an equal amount of hot water.

How to Make Gluten-Free Chocolate Cake
Step 1: Make homemade buttermilk. Whisk together the vinegar and whole milk and set it aside while you measure the dry ingredients. It will curdle by the time you add it in Step 3, and that’s what we want.
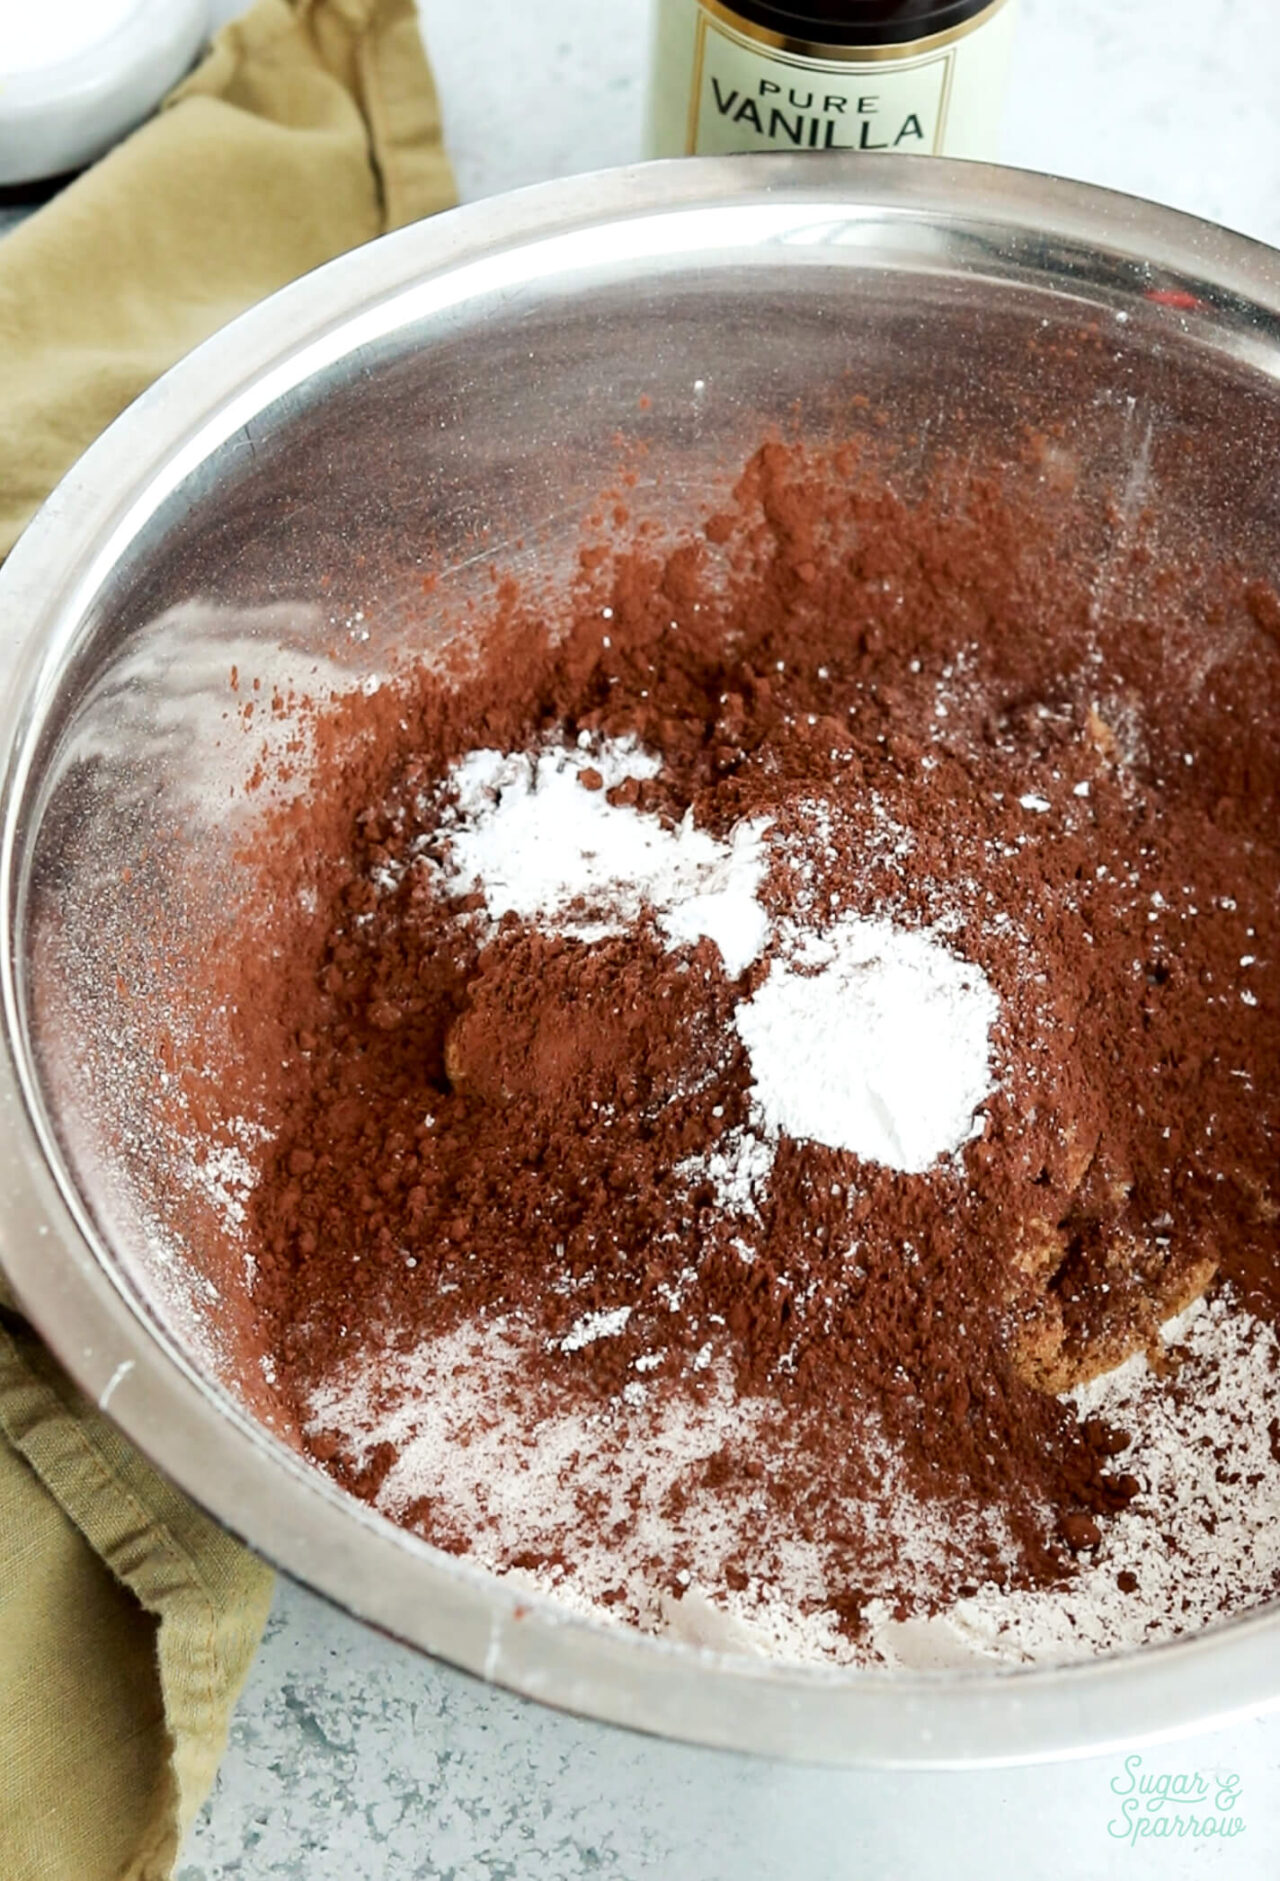
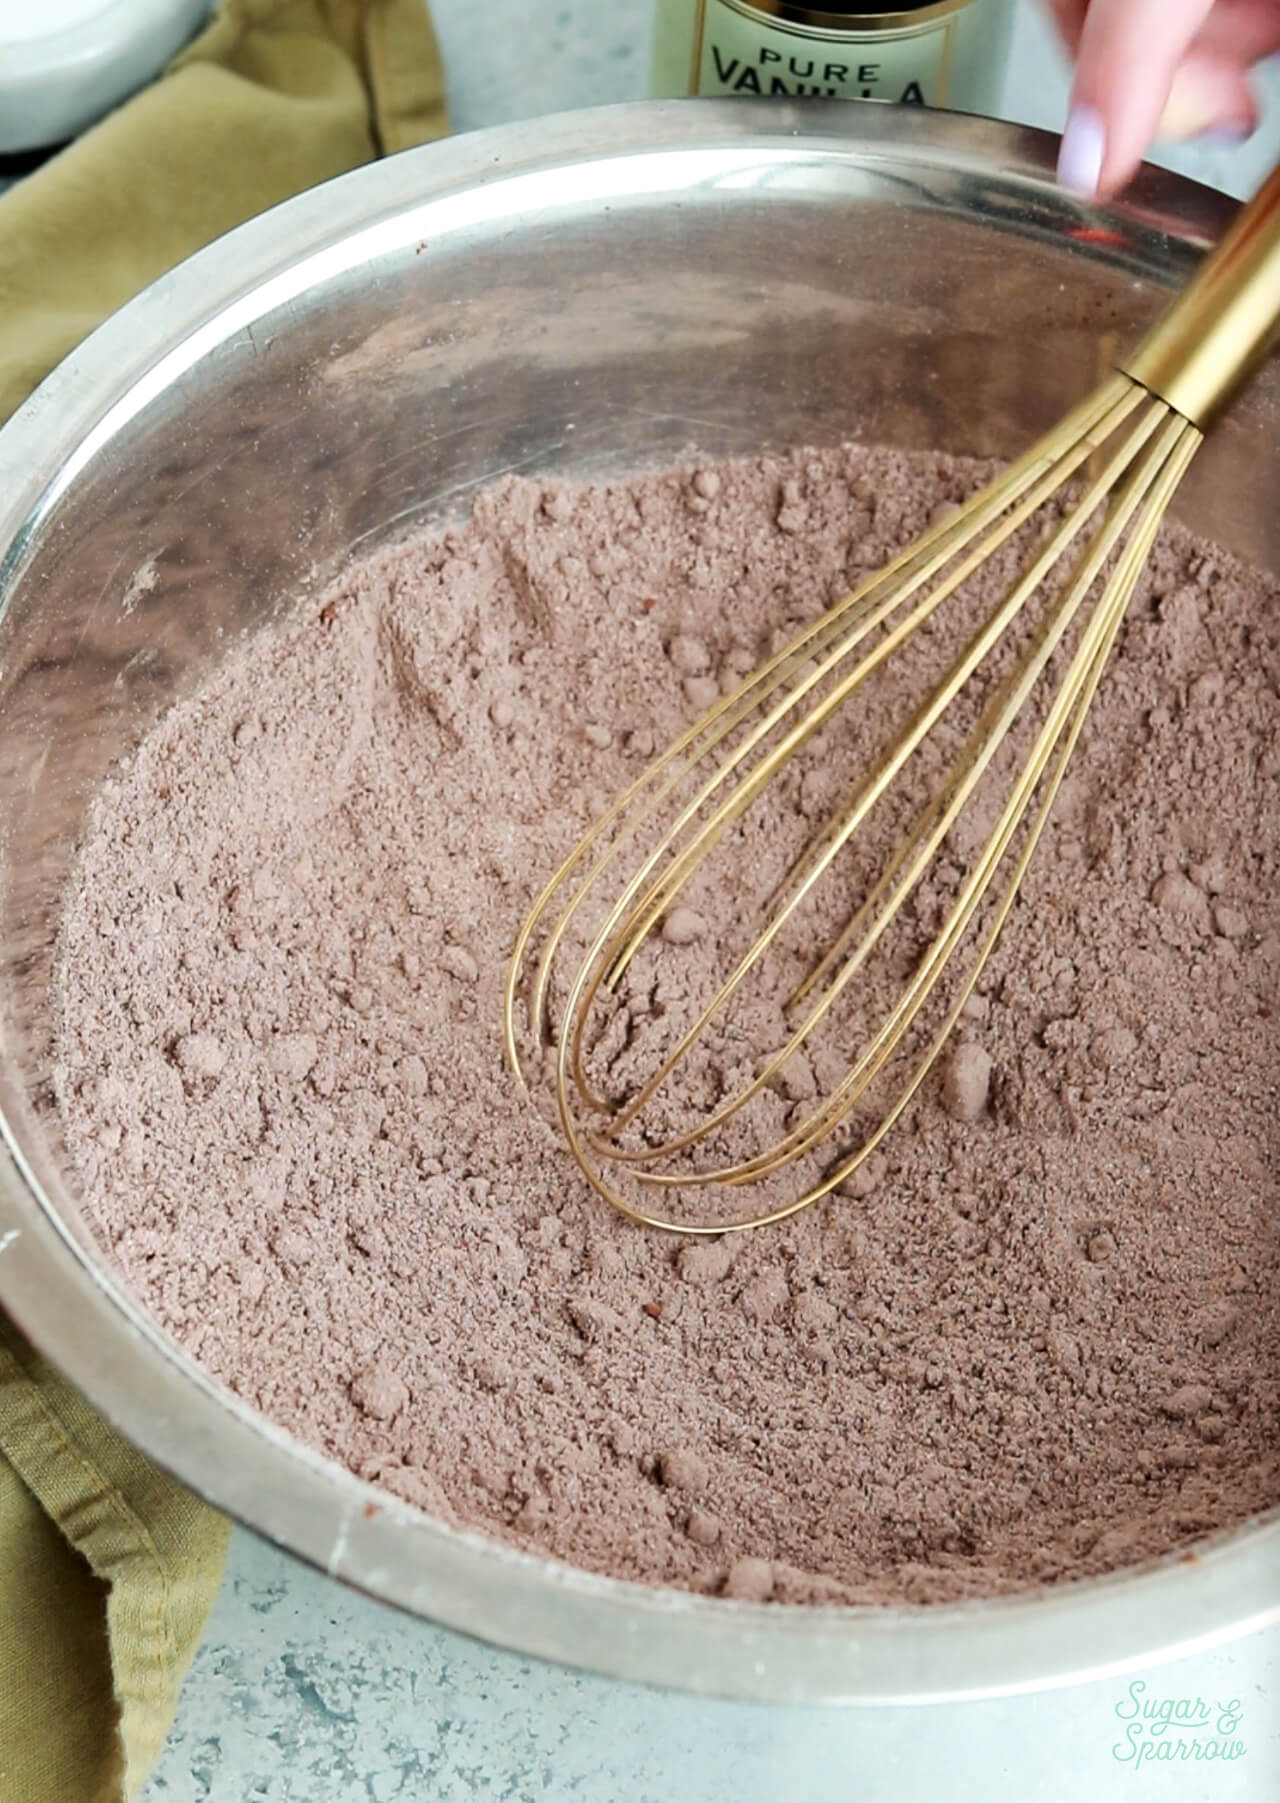
Step 2: Combine the dry ingredients. In a large bowl, whisk together the gluten-free baking flour, sugars, cocoa powder, baking powder, baking soda, and salt.
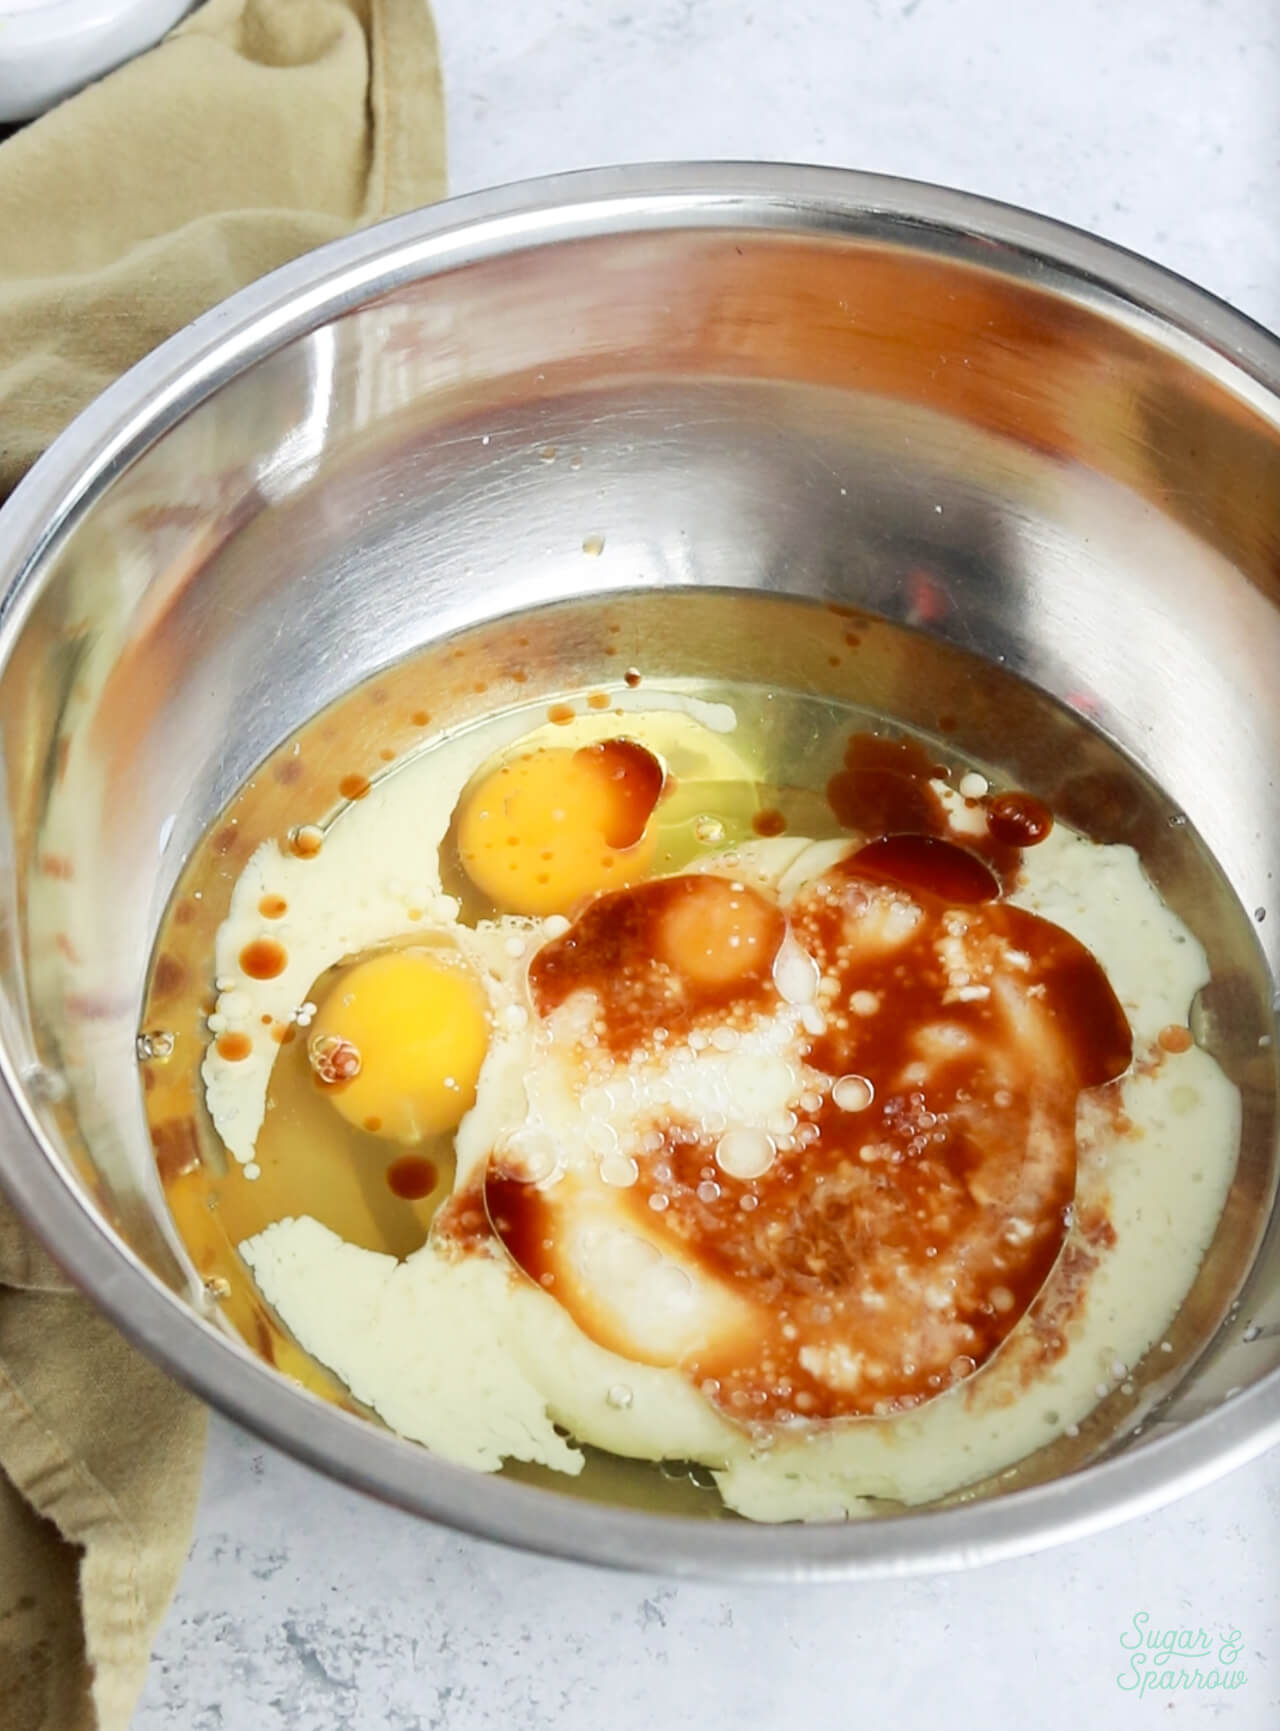
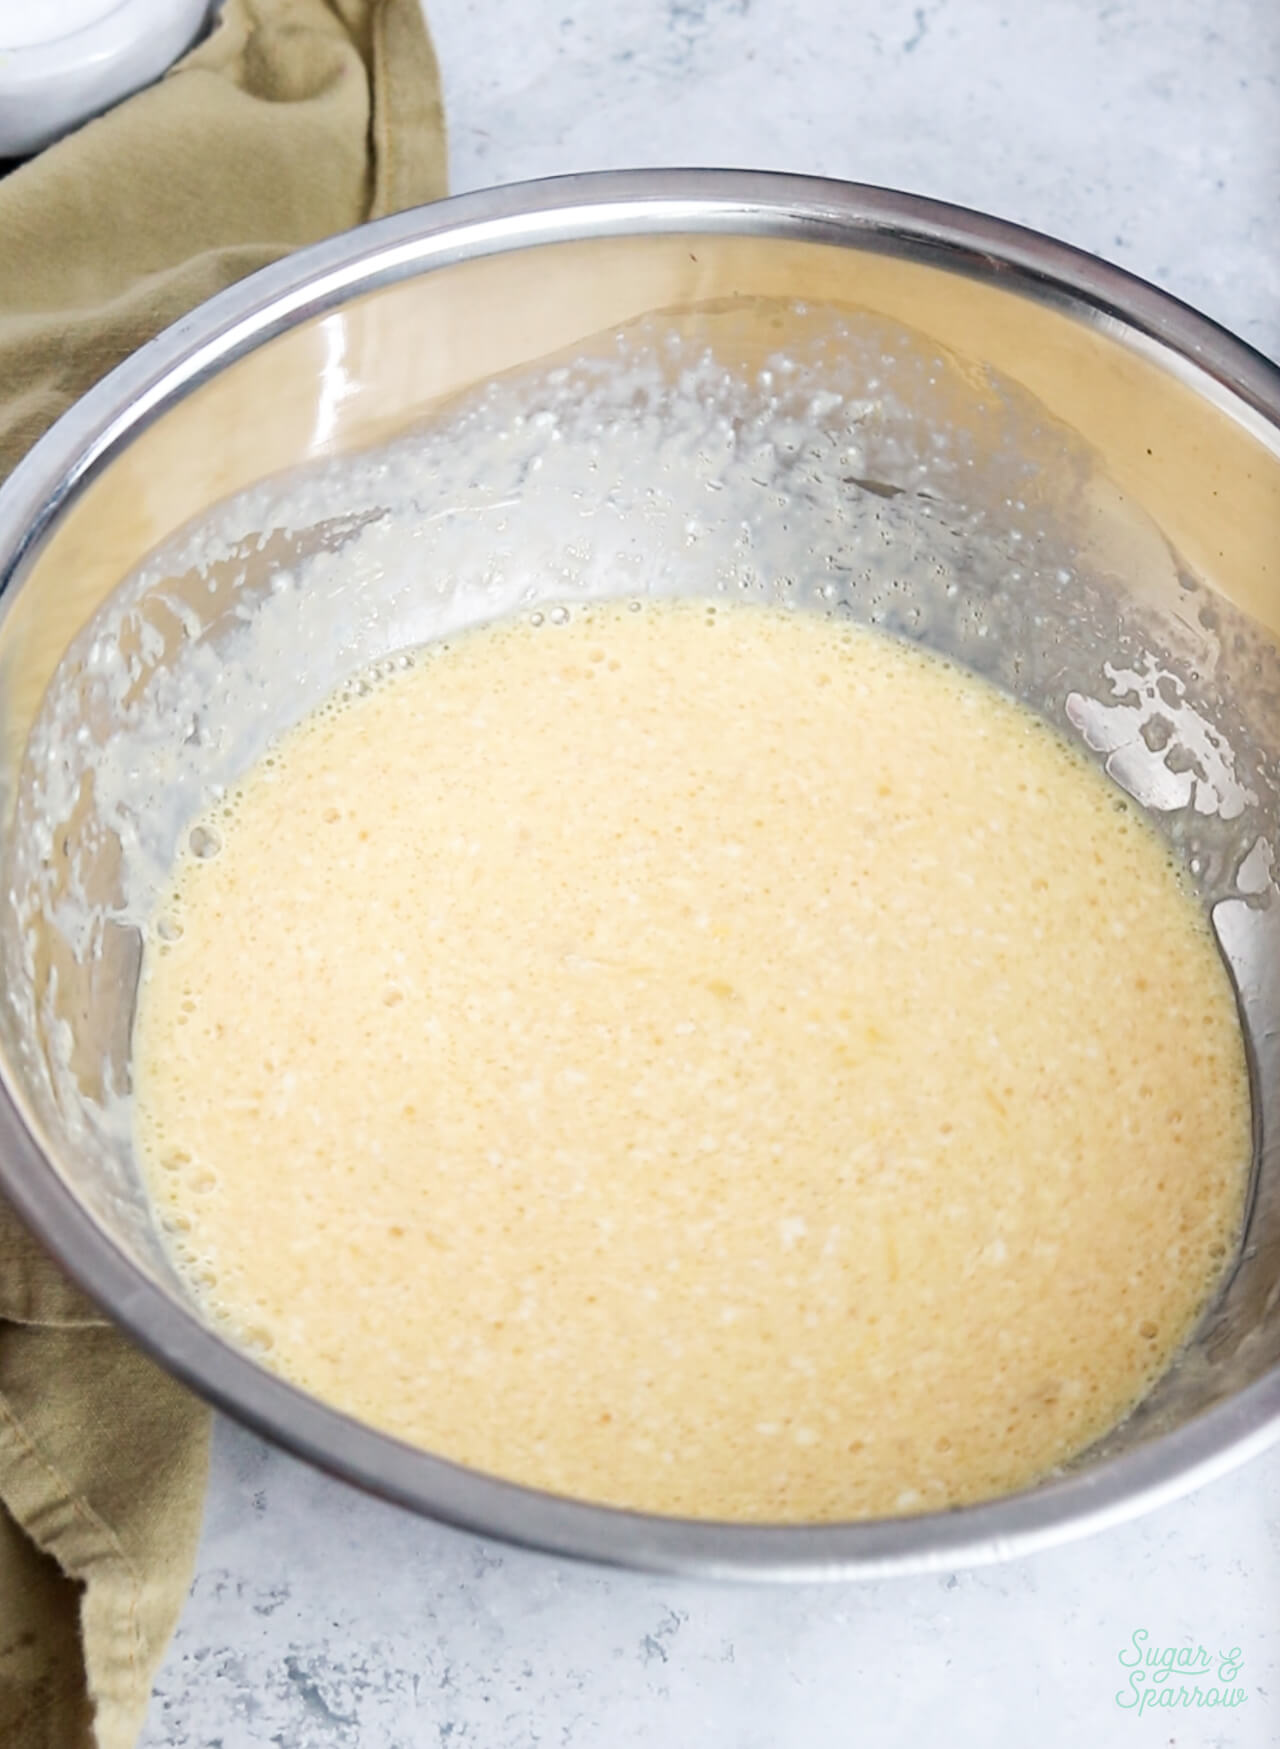
Step 3: Whisk together the wet ingredients. In a separate medium bowl, whisk together the oil, eggs, vanilla, and homemade buttermilk you made in Step 1.
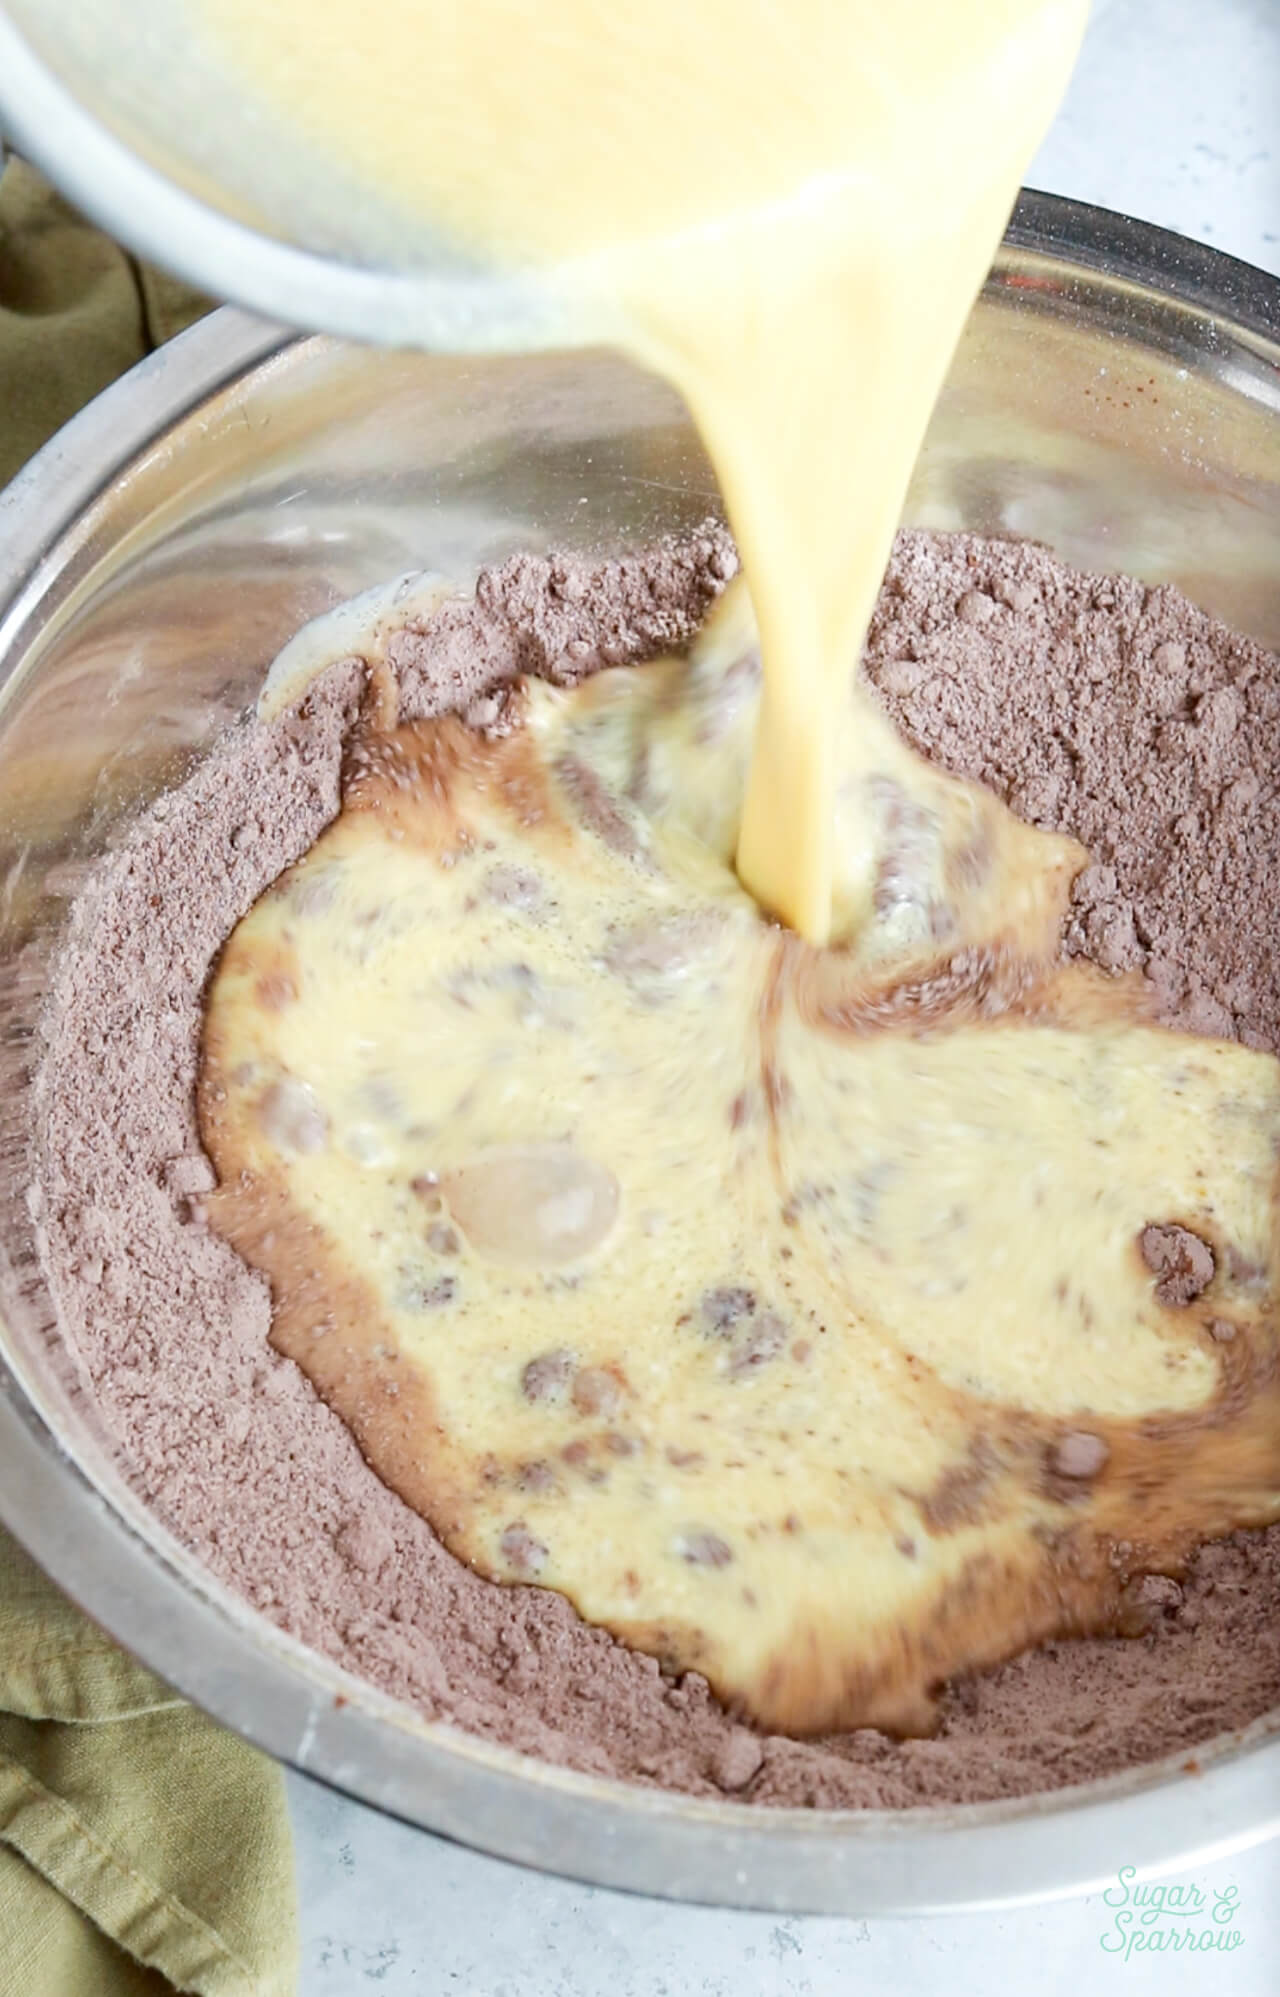
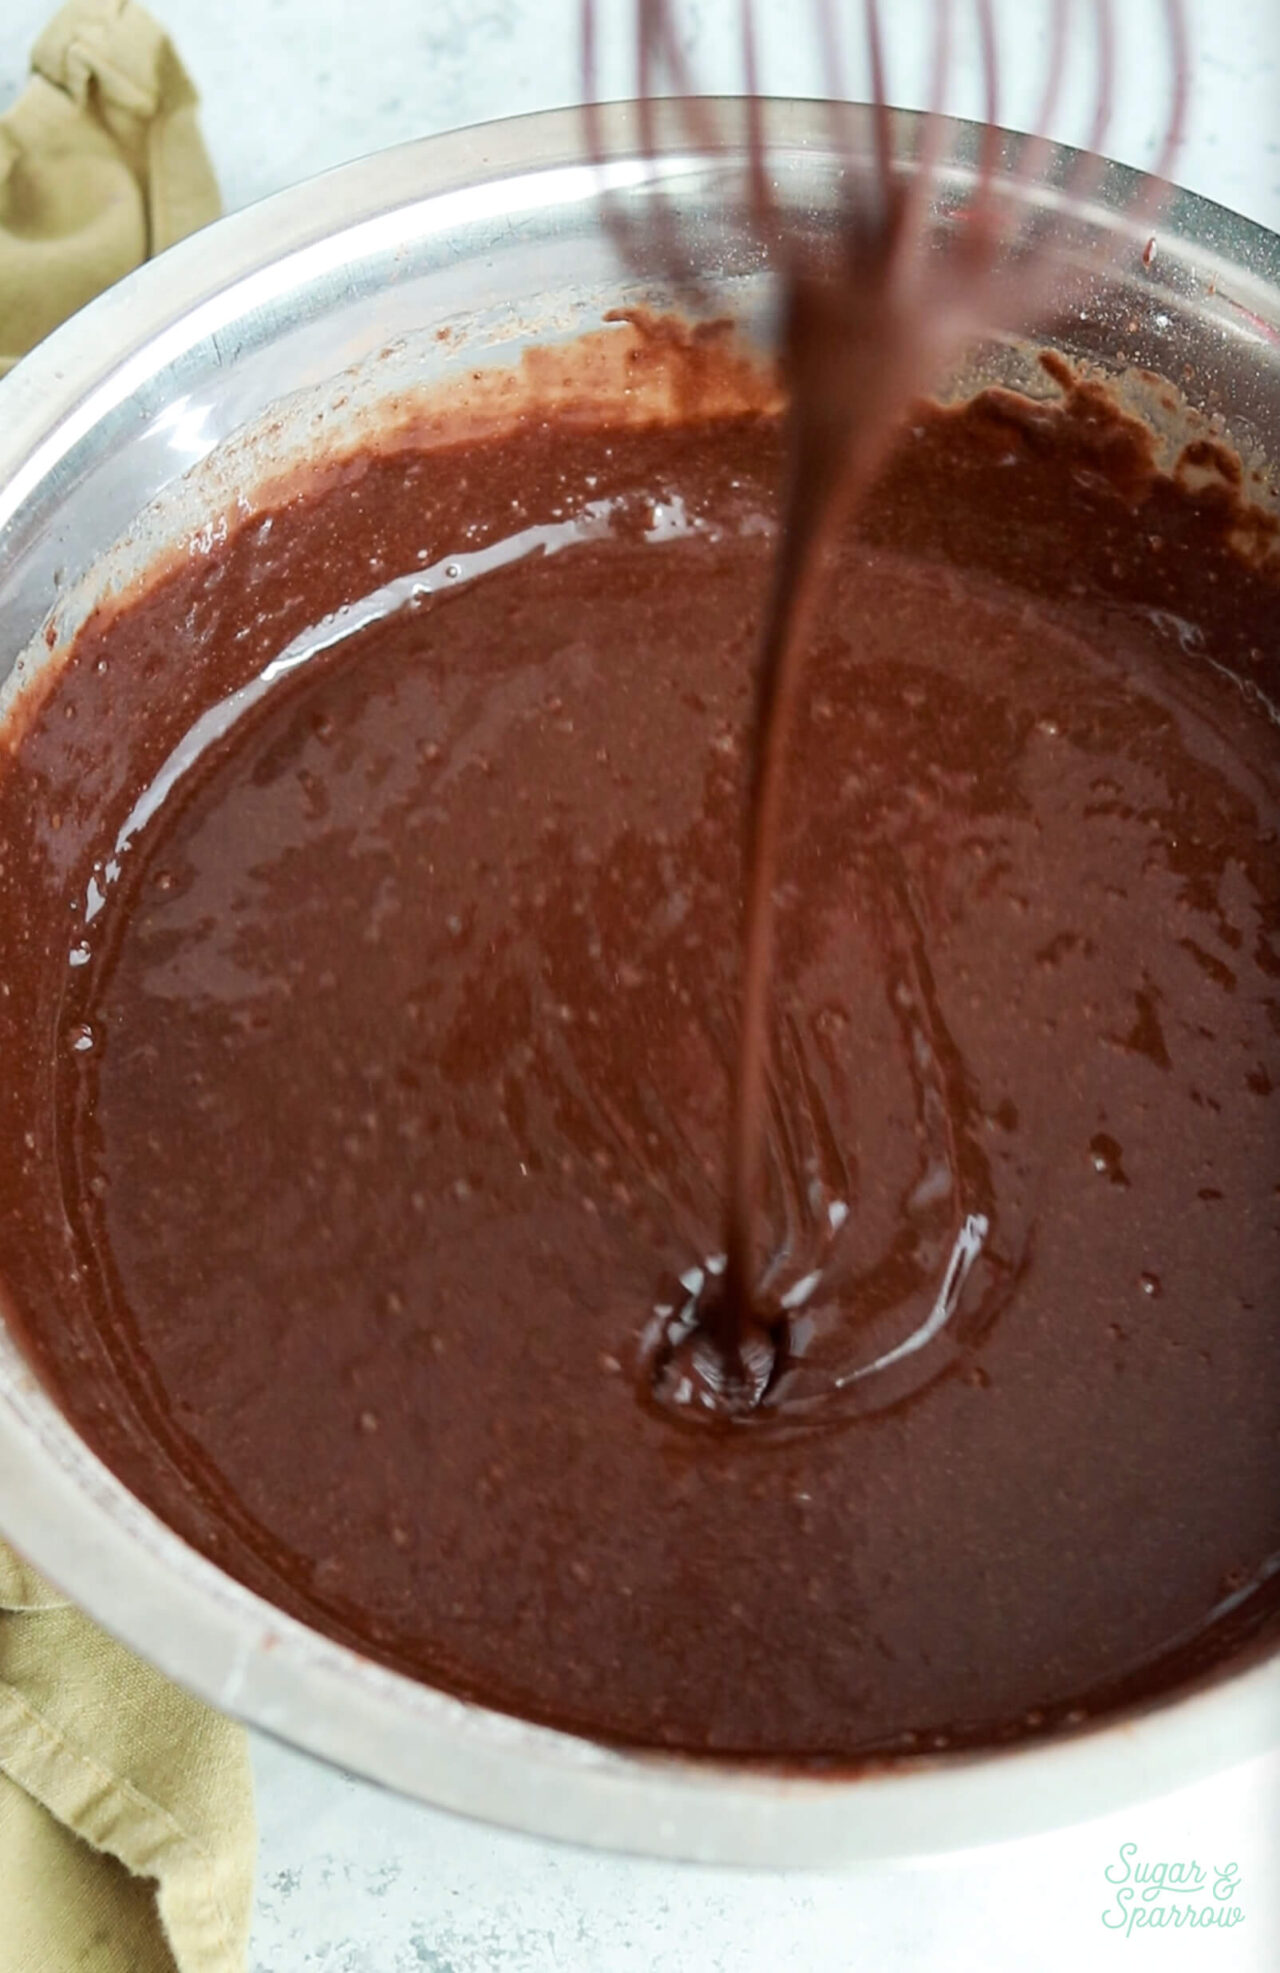
Step 4: Combine the wet and dry ingredients. Add the wet ingredients to the dry ingredients and whisk together to combine.
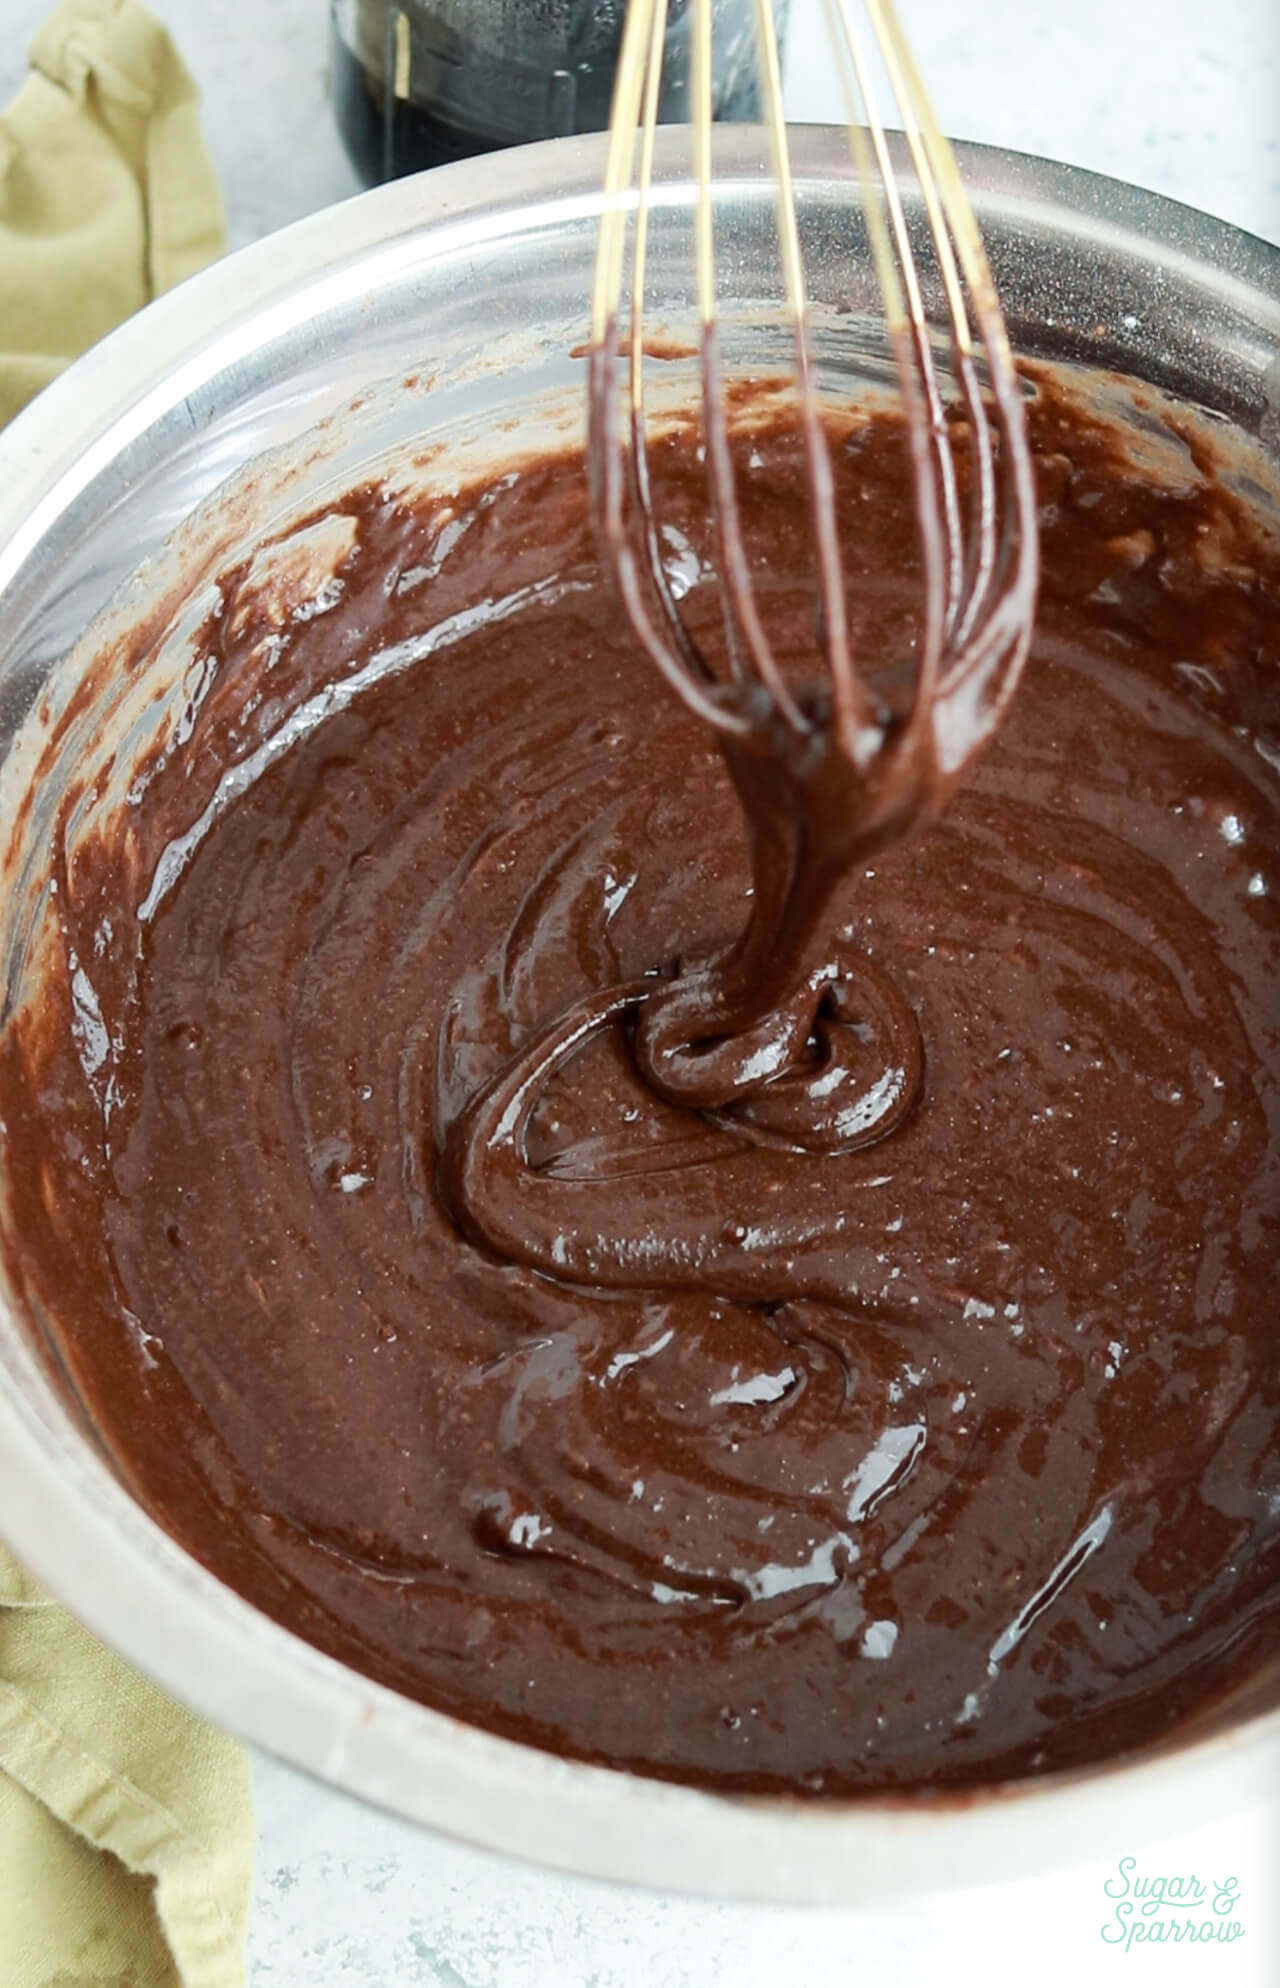
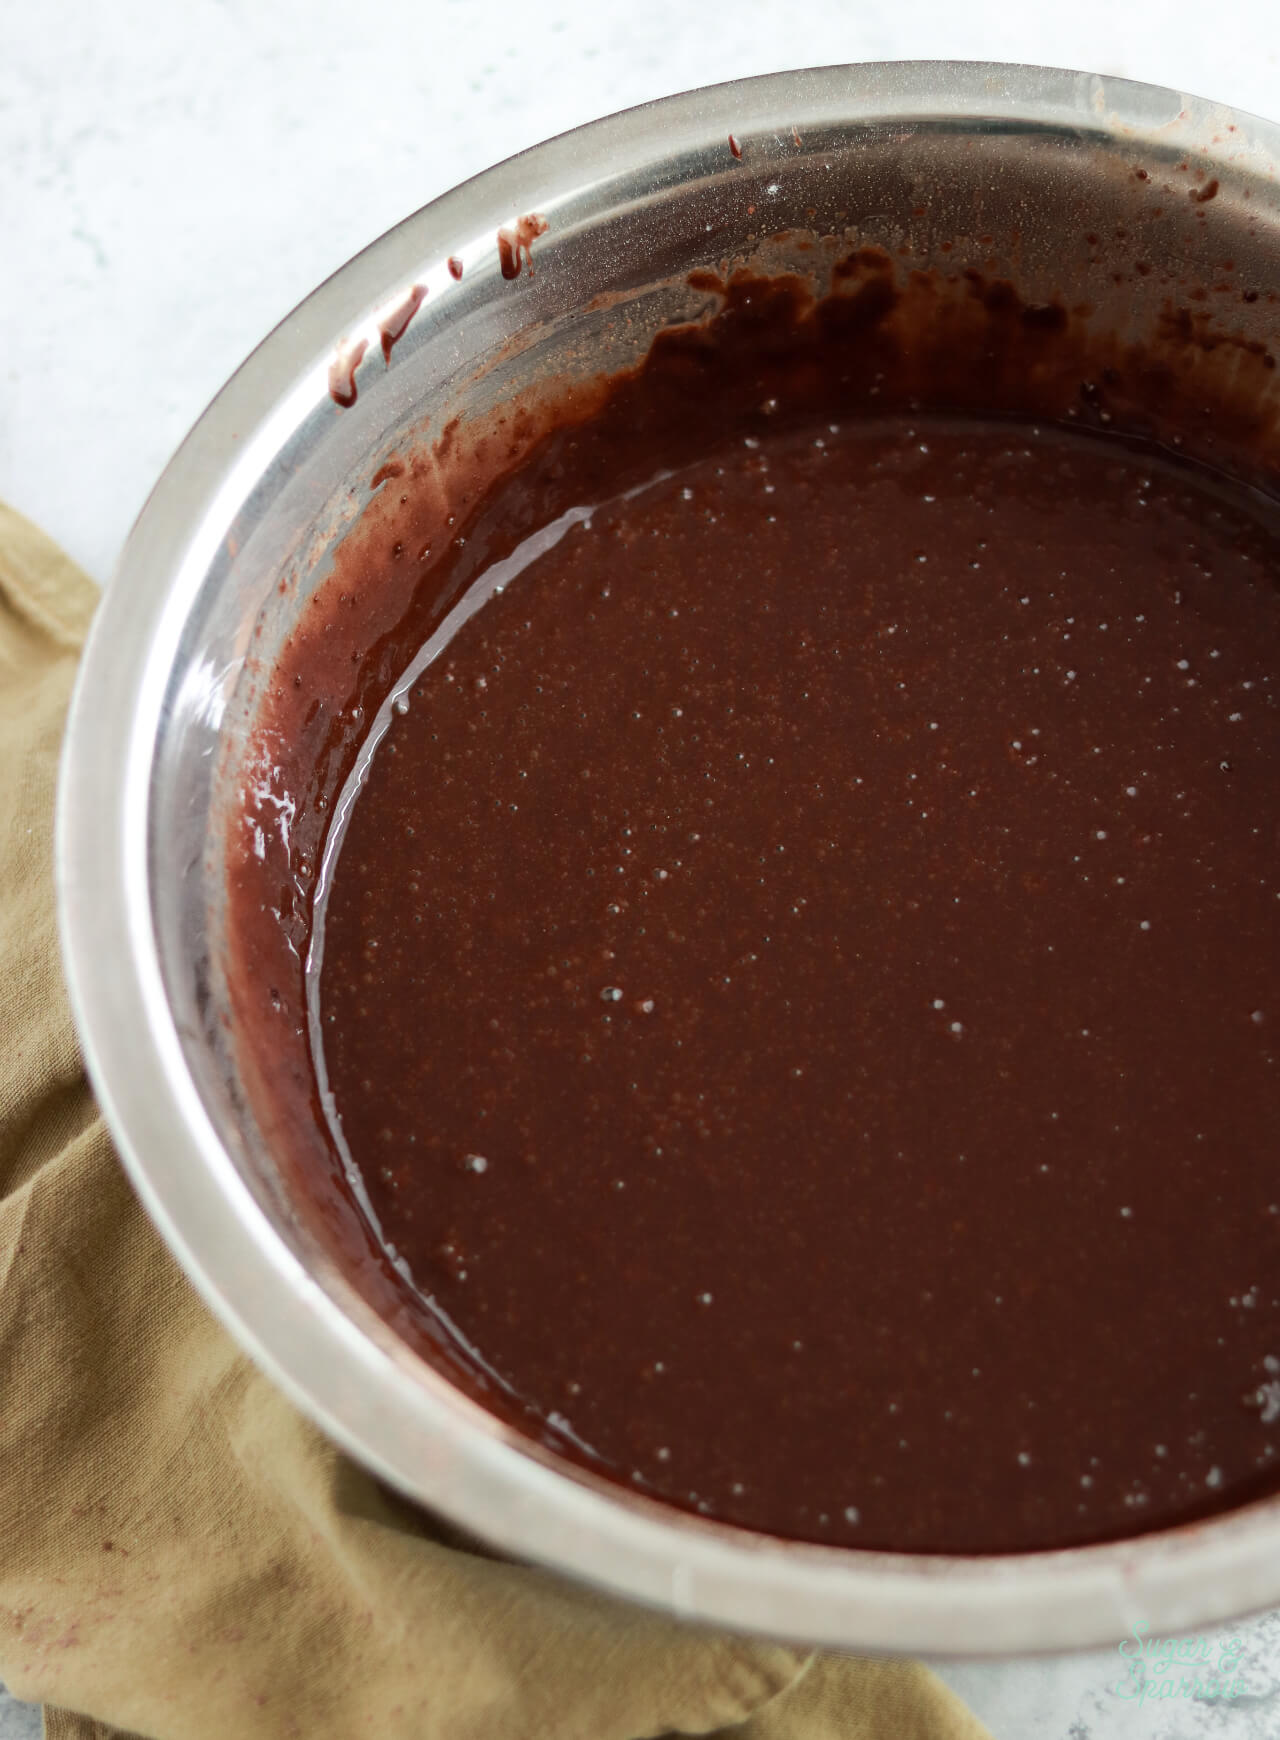
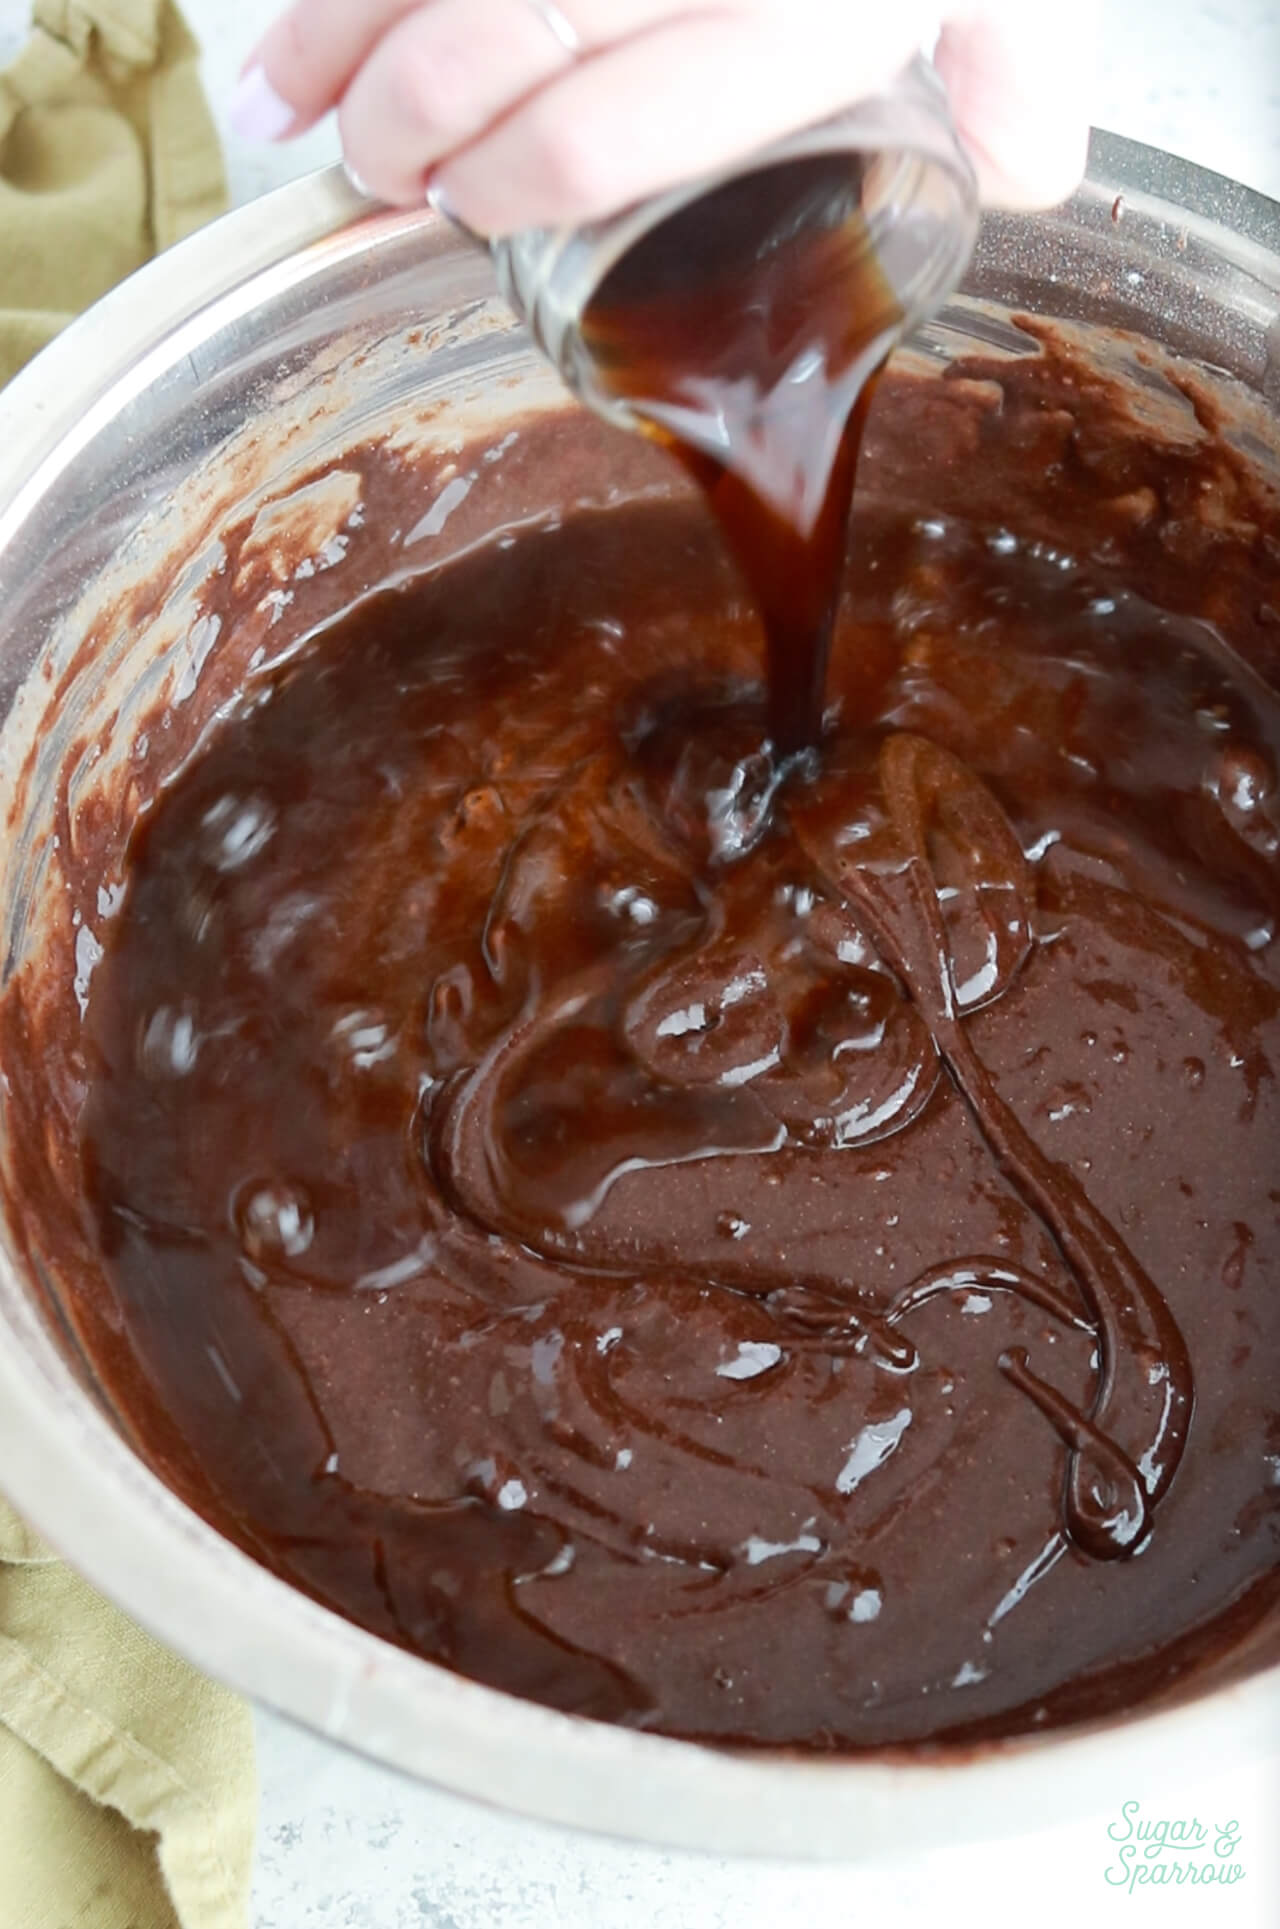
Step 5: Add the hot coffee. Finally, whisk in the hot coffee. The batter will be very thin.
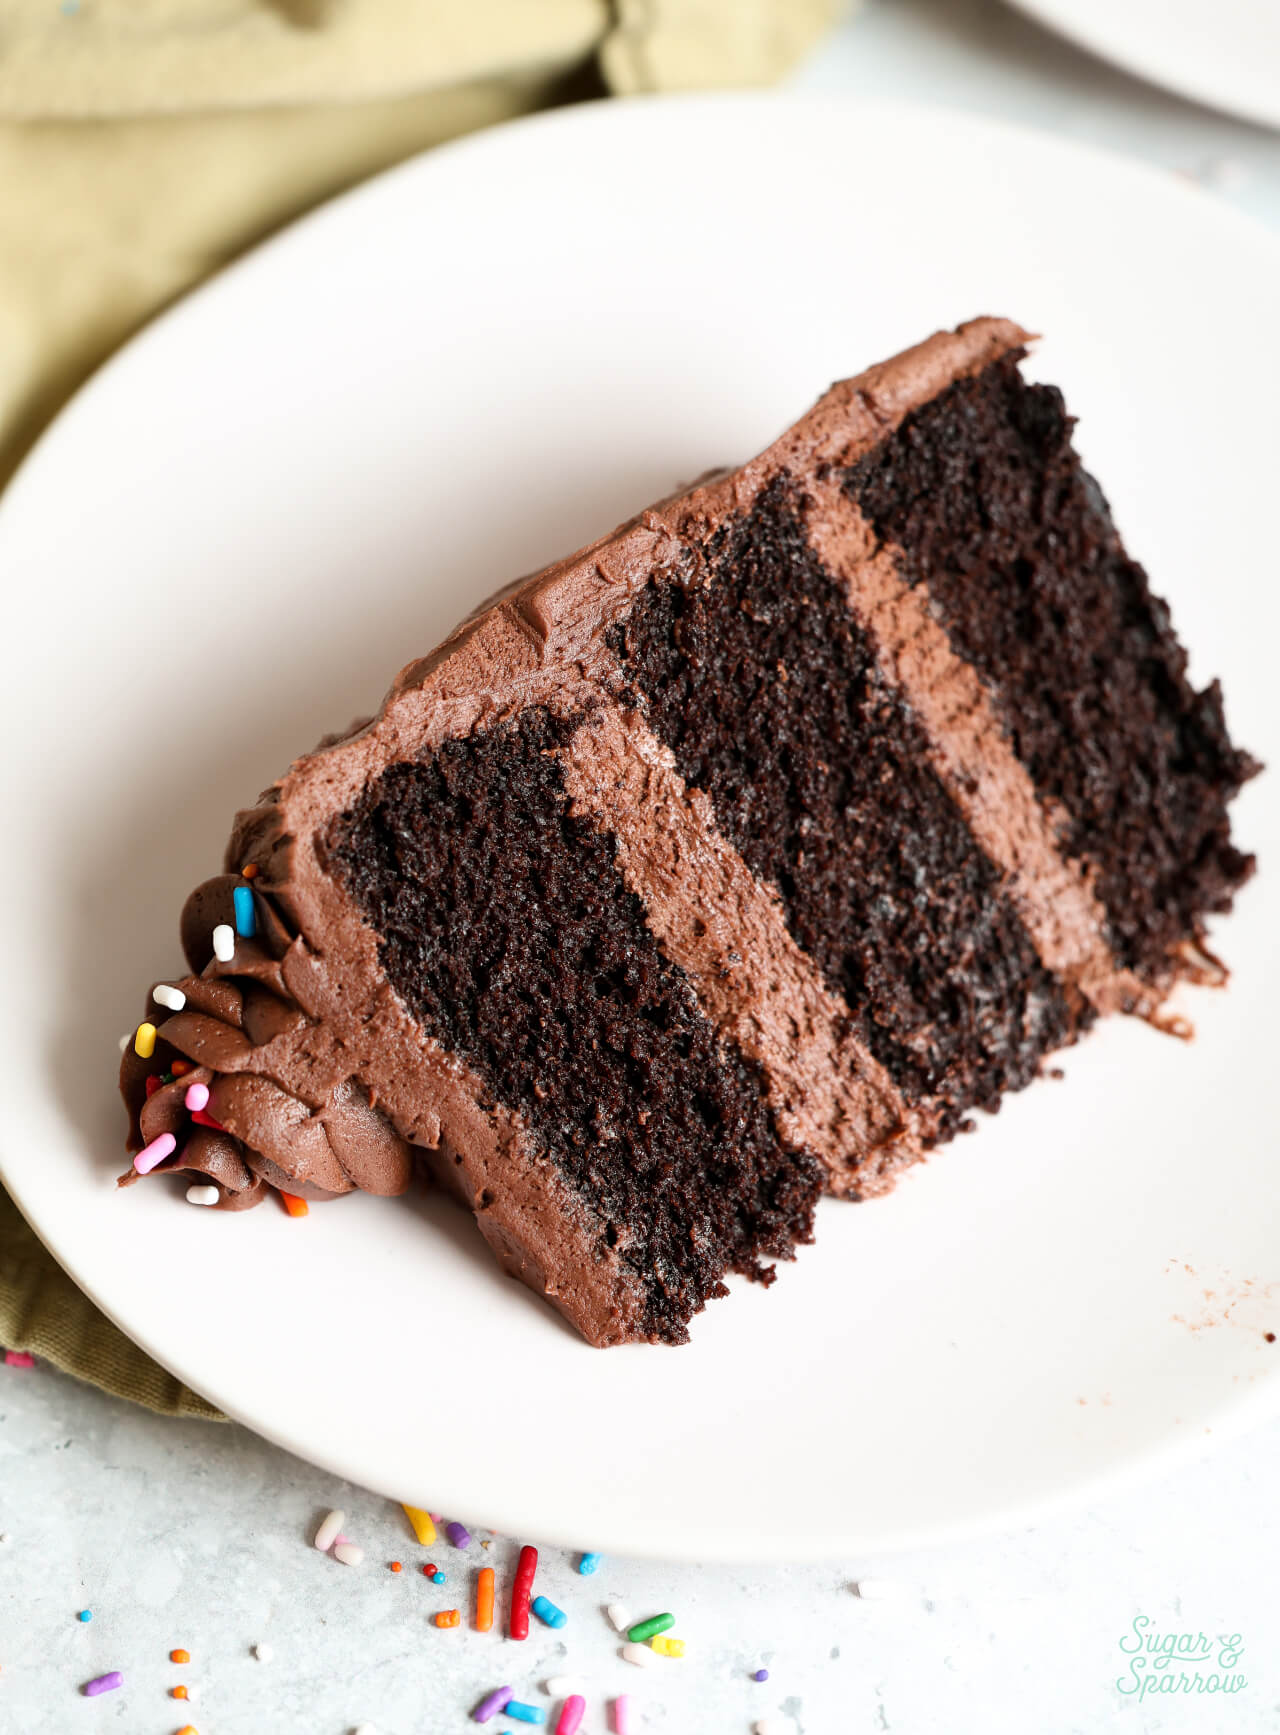
Step 6: Bake the cakes. Pour the batter evenly into cake pans that have been greased and lined with parchment paper, either three 6-inch pans (as pictured throughout this post) or two 8-inch pans.
Gluten-Free Chocolate Cake Recipe Video
I whipped up a recipe video for this gluten-free chocolate cake so you can see the whole process:
If you love recipe videos like this one, be sure to check out my YouTube channel! I’ve got a growing collection of cake recipes, decorating tutorials, and Cake Basics over there. Hit the subscribe button on my page so you never miss a new video.
Chocolate Frosting for a Gluten-Free Cake
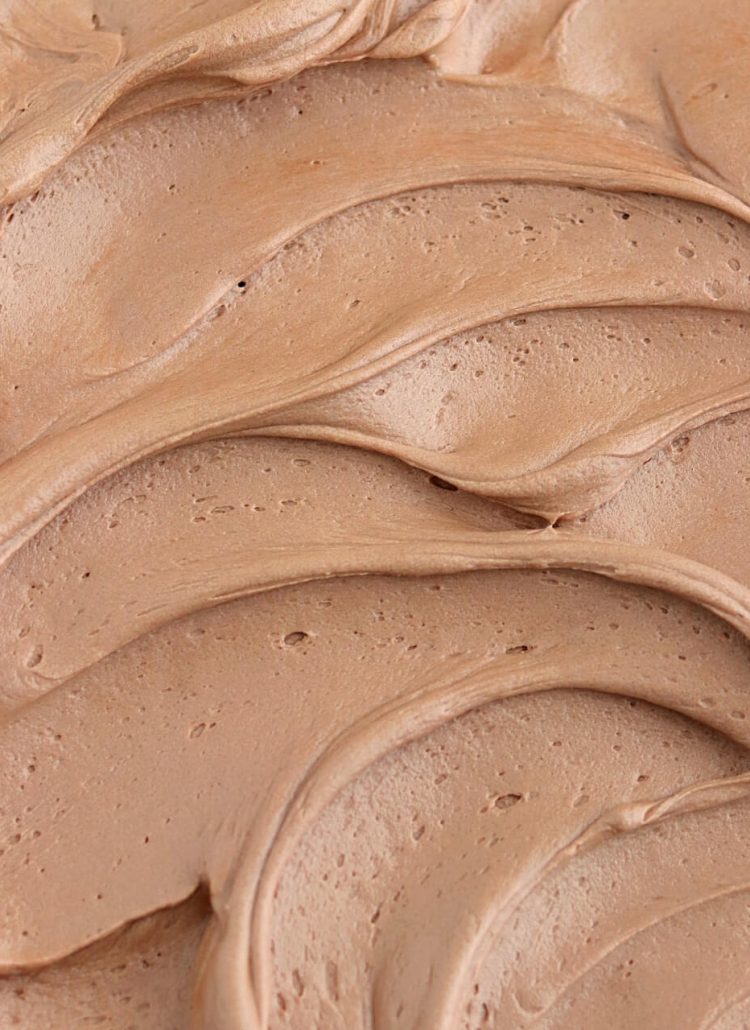
My favorite chocolate buttercream is already gluten-free (as are nearly all of my frosting recipes), so that’s what I gravitated towards for filling and frosting this cake. It’s SO GOOD – silky smooth, perfectly chocolatey, and just the best pairing for this cake if you want it to be all chocolate. It’s a simple recipe you can make with either Dutch-processed cocoa powder or natural unsweetened cocoa powder, and it comes together in about fifteen minutes.
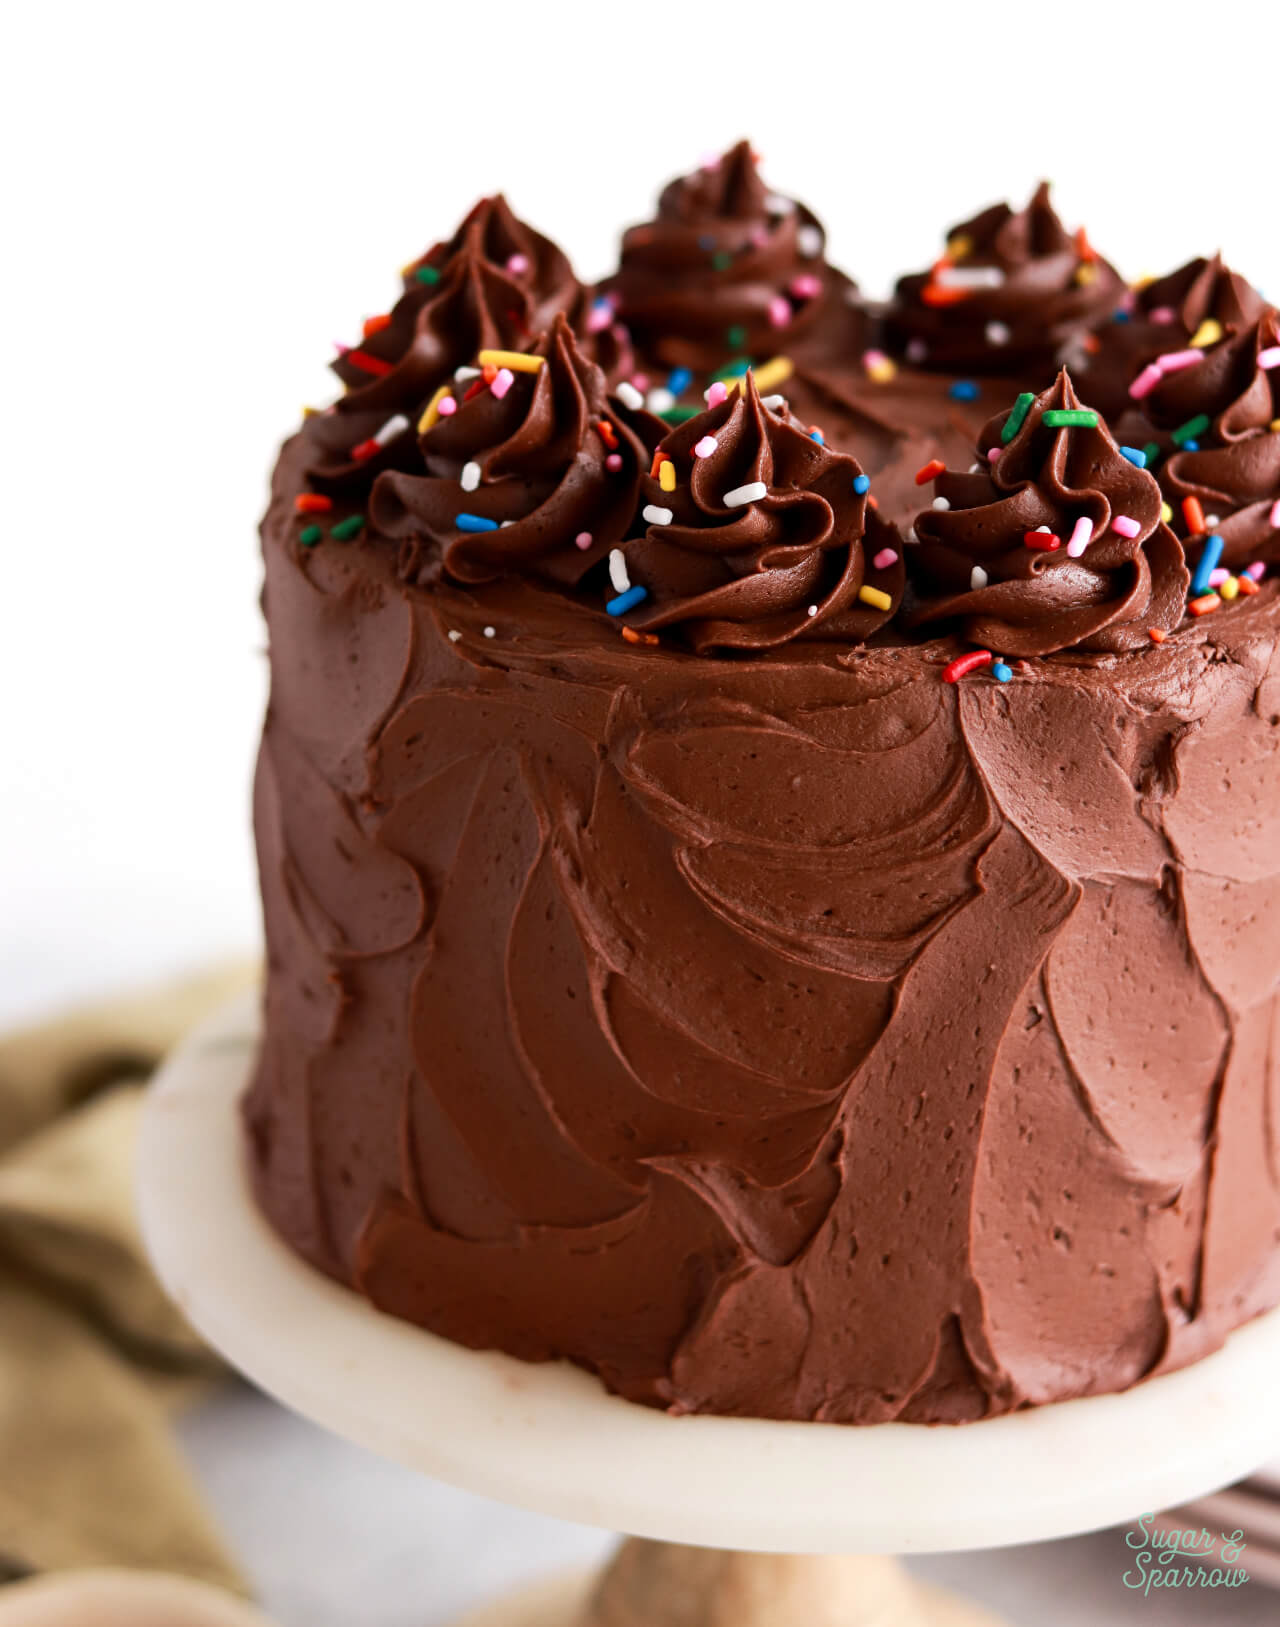
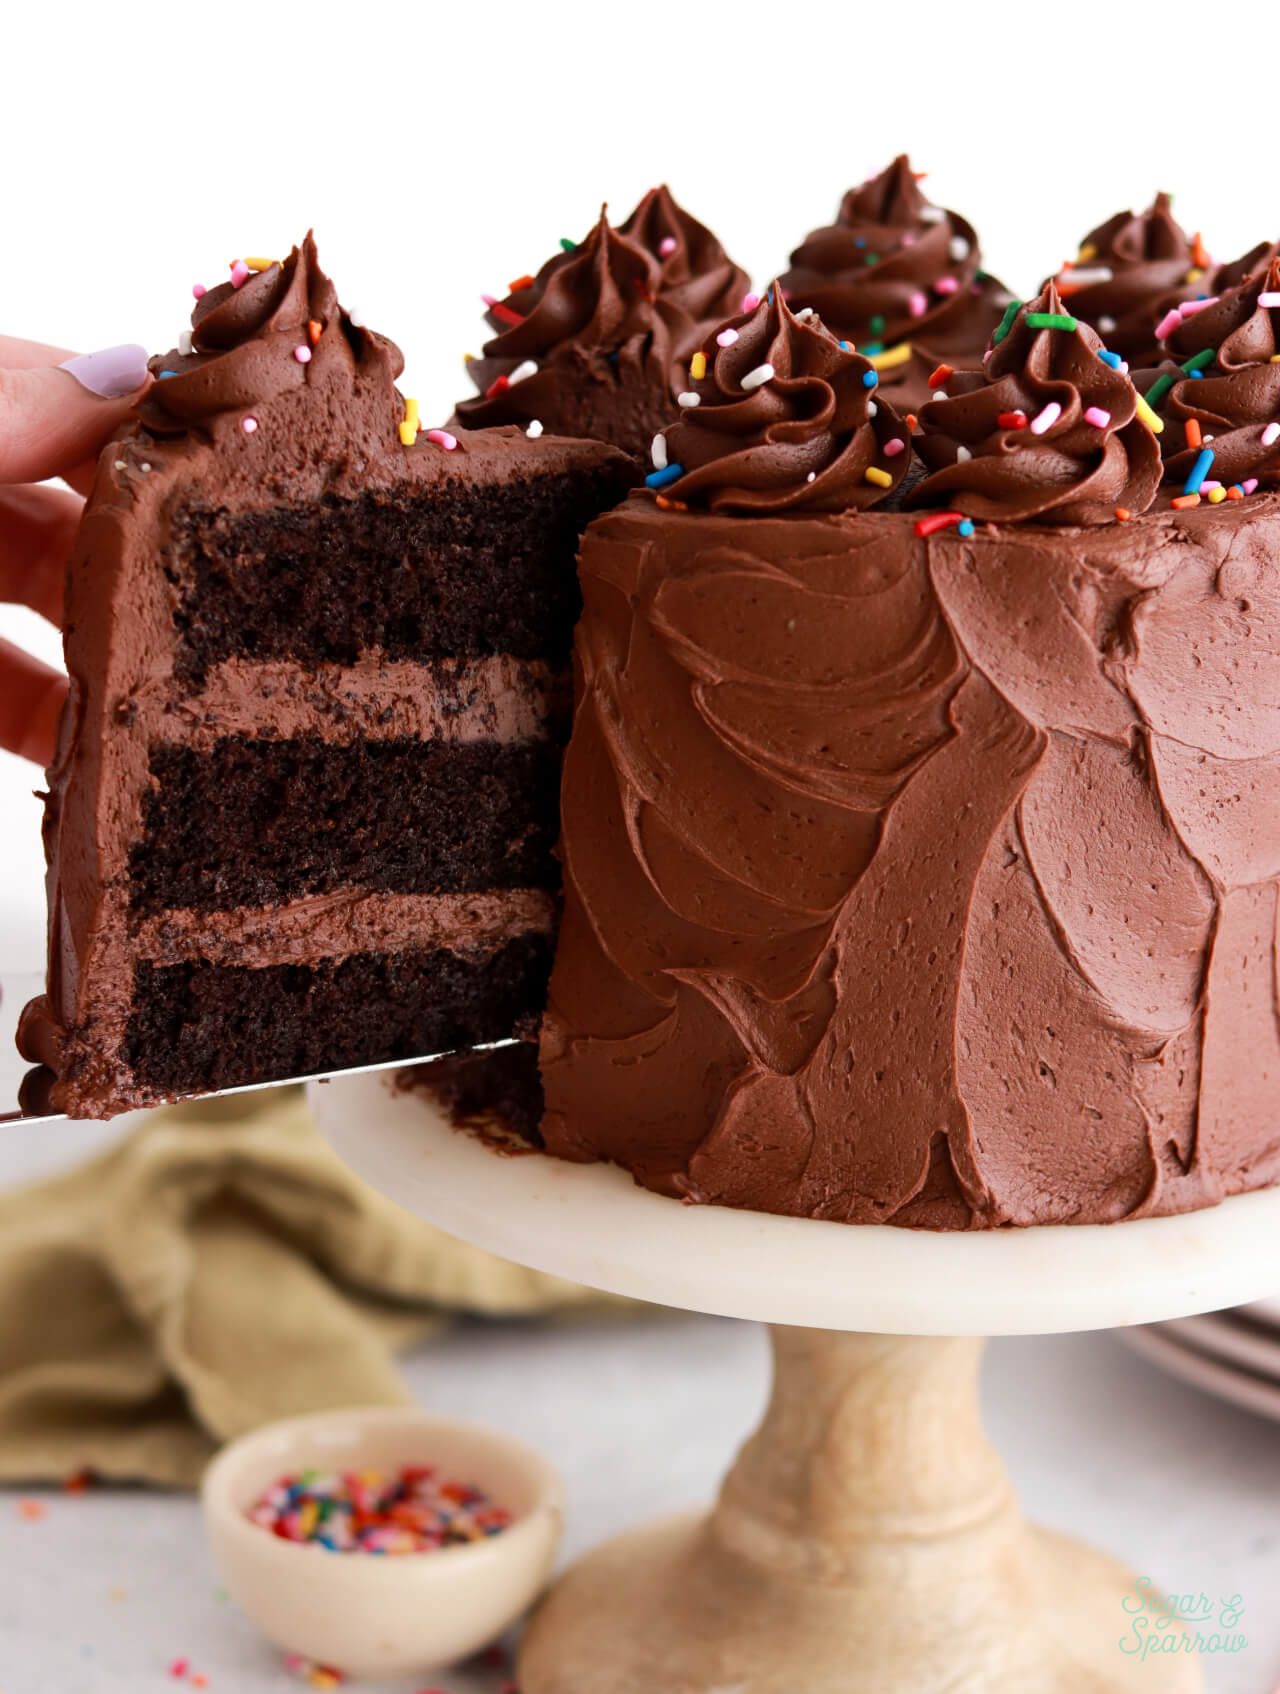
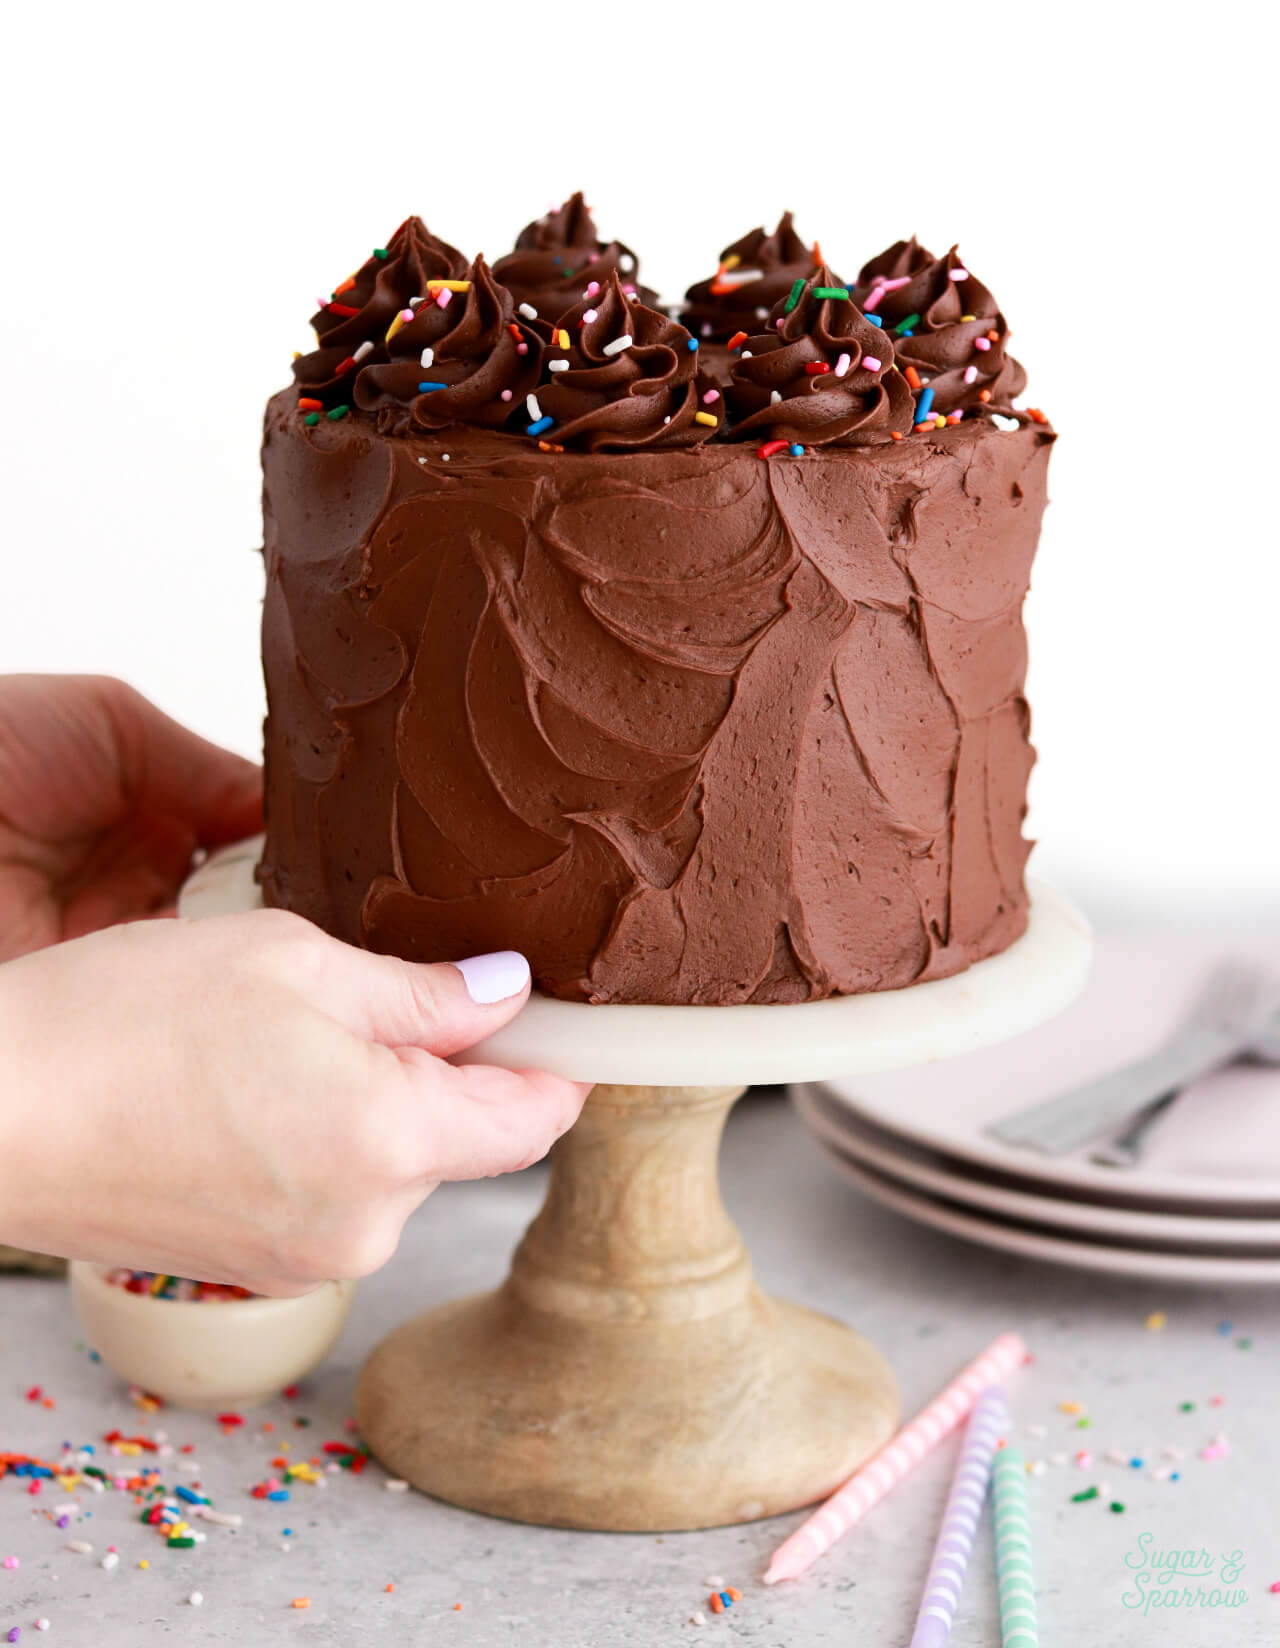
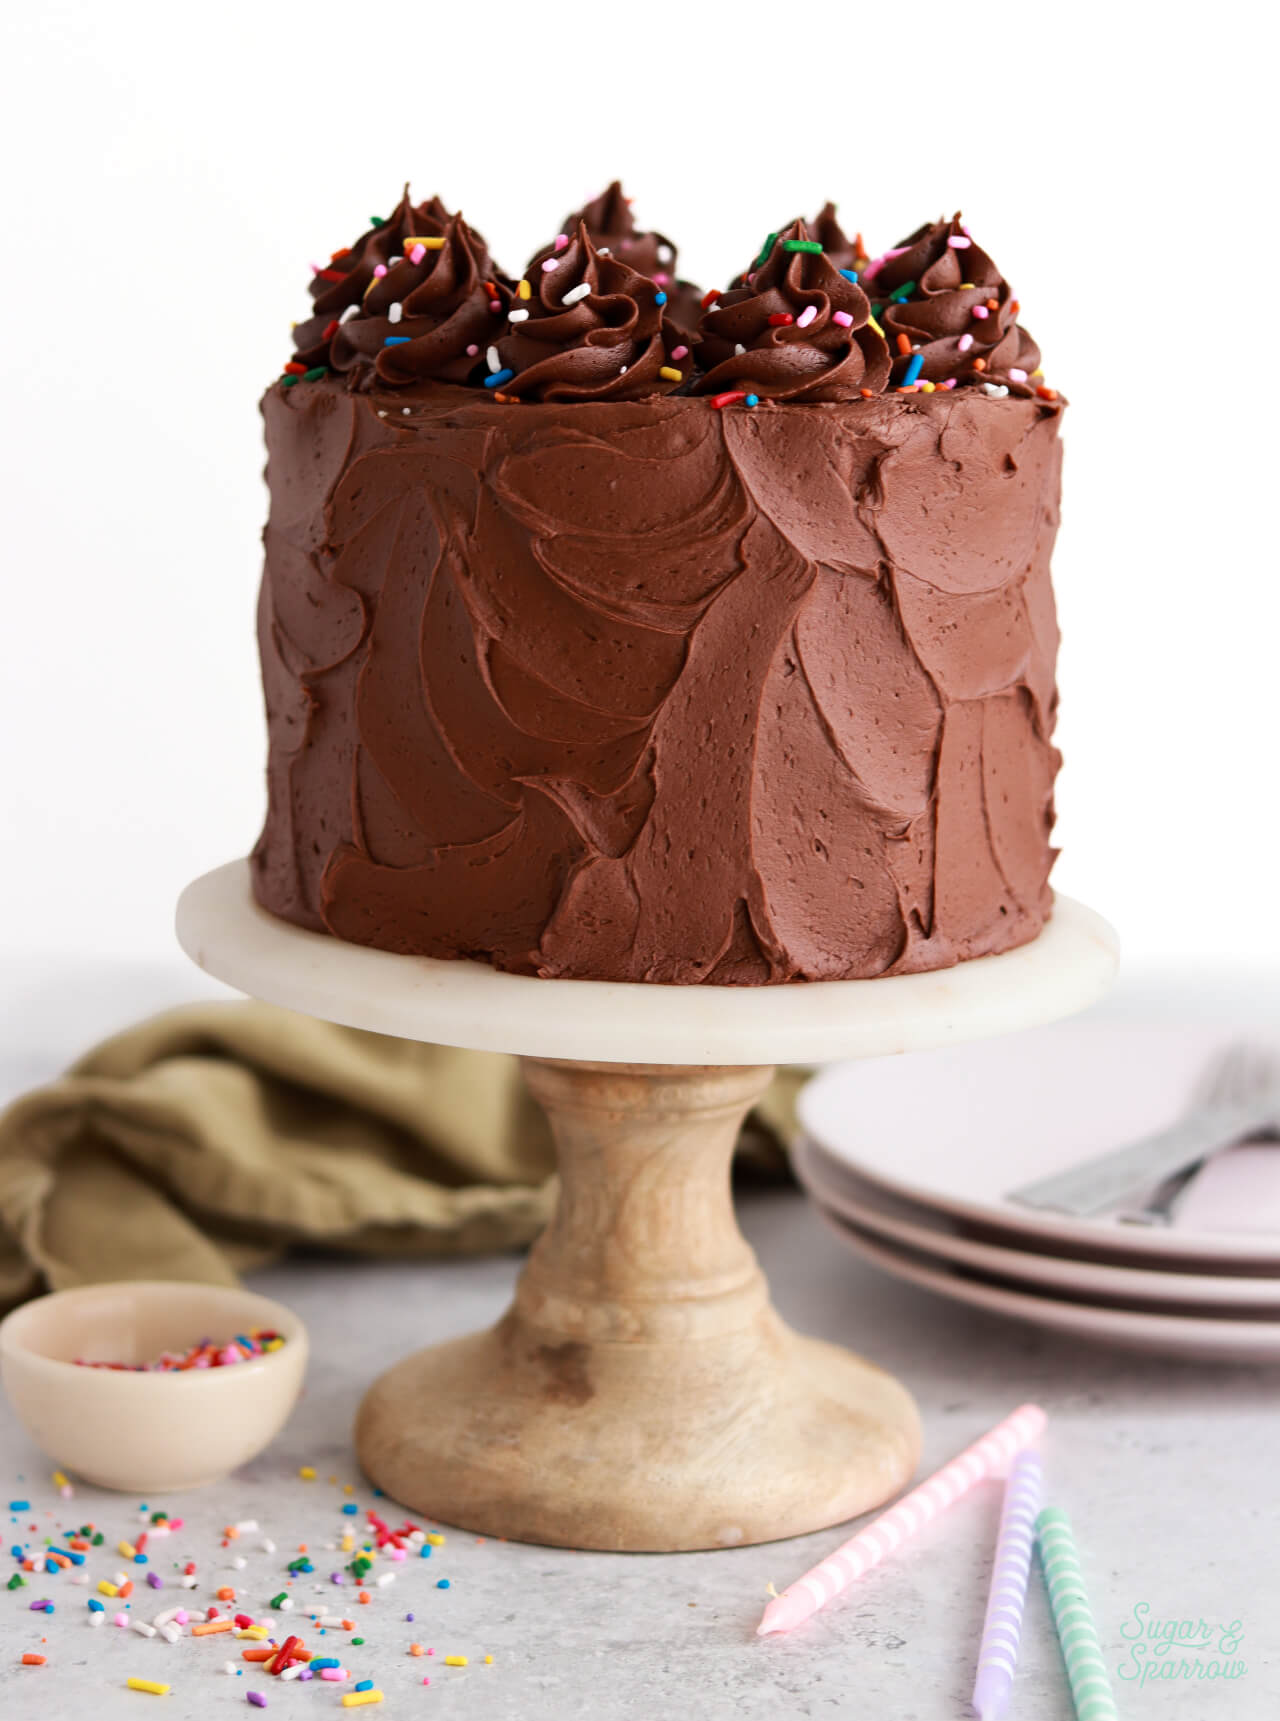
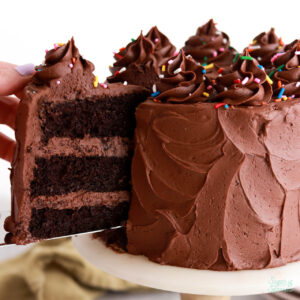
After leveling the cake layers, I used the chocolate buttercream to fill and stack them, crumb coat the cake, and frost it with rustic texture. The goal here was to make it look effortless and tempting, and it definitely checks those boxes for me! The frosting technique works with a small angled spatula or a butter knife, and I have a tutorial you can follow if you need some guidance with the frosting. Finally, I added some swirls on top using Wilton Tip 1M and added some gluten-free sprinkles on top, because sprinkles are always a good idea.
I hope you love this gluten free chocolate cake as much as I do! Let me know what cake flavor you paired it with in the comments below and feel free to tag @sugarandsparrowco on Instagram to show me if you post a photo. I love to see what you create with my recipes!
Gluten-Free Chocolate Cake
Ingredients
Gluten-Free Chocolate Cake
- 1 Cup (240ml) whole milk, room temperature
- 1 Tbsp white vinegar or apple cider vinegar
- 2 Cups (280g) 1:1 gluten-free baking flour
- 1 Cup (200g) granulated sugar
- 3/4 Cup (150g) packed brown sugar light or dark
- 2/3 Cup (60g) unsweetened cocoa powder natural or Dutch-processed
- 1 1/2 tsp baking powder
- 1 tsp baking soda
- 1/2 tsp kosher salt
- 1/2 Cup (120ml) vegetable oil
- 3 large eggs, room temperature
- 1 Tbsp pure vanilla extract
- 1 Cup (240ml) hot coffee or hot water
Chocolate Buttercream
- 2 Cups (452g) unsalted butter, room temperature
- 6 Cups (720g) powdered sugar
- 1 Cup (90g) unsweetened cocoa powder natural or Dutch-processed
- 6 Tbsp whole milk, room temperature
- 4 tsp pure vanilla extract
- 1/4 tsp salt, or to taste
Instructions
Make the Gluten Free Chocolate Cake
- Preheat the oven to 350ºF and prepare three 6-inch or two 8-inch cake pans by spraying the sides with baking spray and fitting the bottoms with a parchment cake circle. If you have them, wrap the pans in dampened cake strips (it's optional though).
- Add the vinegar into the whole milk, stir, and set aside. This will begin to curdle as you measure out the rest of the ingredients, which is a good thing! It means the right chemical reaction is happening.
- In a large bowl, add all of the dry ingredients: gluten-free baking flour, granulated sugar, brown sugar, cocoa powder, baking powder, baking soda, and salt. Whisk together and set aside.
- In a separate medium bowl, add the vegetable oil, eggs, vanilla, and the vinegar-milk mixture. Whisk together until fully combined, then add these wet ingredients into the bowl with the dry ingredients and whisk until combined and uniform. Then, whisk in the hot coffee until combined. The batter will be very thin.
- Pour the batter into the prepared cake pans and bake for 32-36 minutes, until a toothpick inserted comes out clean. Let the cakes cool in the pan for about 10 minutes before removing and transferring to a wire rack to cool completely to room temperature.
Make the Chocolate Buttercream
- In a stand mixer fitted with a paddle attachment (or with a hand mixer and large bowl), beat the butter on medium-high speed until creamy and light in color, 4-5 minutes.
- Scrape down the bowl and paddle, then add half of the powdered sugar, half of the cocoa powder, all of the milk, vanilla, and salt. Cover the mixer with a clean kitchen towel (to prevent ingredients flying out of the bowl), then turn the mixer to low speed and mix until the ingredients start to come together. Add the rest of the powdered sugar and cocoa powder, then continue mixing on low speed until fully combined and uniform.
Assembly
- Once the cake layers are completely cooled, level them to get rid of any domed tops and create even layers. Add a swipe of chocolate buttercream onto a cardboard cake circle and place the first cake layer on top. Add a layer of chocolate buttercream and smooth it down to about 1/2 inch of filling, then place the next layer on top. Continue the process of filling and stacking the cake layers with the chocolate buttercream before placing the final cake layer on top, upside down so that the bottom of the cake becomes the top. Then, crumb coat the cake with chocolate buttercream. Refrigerate the cake for 15-20 minutes to let the crumb coat firm up.
- To create the look pictured, use the chocolate buttercream to frost a rustic finish on the cake, then pipe swirls on top with Wilton Tip 1M. Garnish with gluten free rainbow sprinkles.
Notes
- The gluten-free chocolate cake can be made ahead and stored at room temperature, covered tightly in plastic wrap, for up to two days. Alternatively, you can cover with plastic wrap and store in the freezer for up to two months before thawing to room temperature.
- The chocolate buttercream can be made ahead and stored in an airtight container at room temperature for up to 1 day. Alternatively, you can store it in an airtight container in the refrigerator for up to two weeks. When you’re ready to use it, bring it back to room temperature and rewhip with your stand mixer to bring back to frosting consistency.

Can you subsitute the milk for a dairy free milk option?
Hi Jenna! Yes, dairy-free milk should be fine. I recommend soy milk for the best flavor/texture!
Thanks for replying so quick.can you upload it fast coz my kids birthday is on the this Saturday .
Can you plz upload gluten free vanilla cake?I tried your chocolate cake it was too good.i received lots of compliments. So dont want to try others recipe.
Hi Pranali! I haven’t published a GF vanilla cake recipe yet BUT I have one finalized and just need to make + photograph it. I promise I’ll let you know as soon as it’s up!
I am going to try this recipe for my daughter’s birthday. If you already have buttermilk can you use that instead of making it with whole milk and vinegar?
Hi Melanie! I think using an equal amount of buttermilk will work just fine.
Just made this for my daughter’s birthday and although I’ve only eaten the cut off tops, it’s delicious and does NOT taste GF. I also let the batter sit for 10 mins before baking. Thanks for a great recipe.
Yay, Jessica! I’m so happy you made this recipe to celebrate your daughter! I hope she loves it 🙂
Hi. I am planning to make this for a friends birthday as she has gluten sensitivity but i cant find bobs red mill 1:1, i only gave the red mill GF all purpose baking flour, will this work?
Hi Aiza! If you can’t find a 1:1 GF baking flour (any brand will do!), using a GF all-purpose flour will be fine as long as you add xanthan gum to the flour. You’ll need to add 1/2 tsp of xanthan gum per cup of flour, so for this recipe you’ll need to add 1 teaspoon of xanthan gum to the dry ingredients before whisking them together in Step 3. Hope that helps!