• Cake
  • Frosting
  • YouTube
  • My Favorite Tools
  • Nav Social Icons

  • Skip to primary navigation
  • Skip to main content
  • Skip to primary sidebar
  • Skip to footer
  • Recipes
    • Cake
    • Cupcakes
    • Frosting
    • Ice Cream
    • Vegan
  • Cake Basics
  • Tutorials
  • Blog
  • About
  • Mobile Menu Widgets

    Connect

    Search

Sugar & Sparrow logo in script font

Sugar & Sparrow

Lifestyle and Cake from Portland Oregon

  • Cake Basics
  • Recipes
    • Cake
    • Cupcakes
    • Cookies & Bars
    • Filling
    • Frosting
    • Ice Cream
    • No-Bake
    • Small Batch
    • Vegan
  • Tutorials
  • Book
  • Blog
  • About

No-Churn Fudge Brownie Ice Cream

August 1, 2026 · In: Featured, Ice Cream, No-Bake, Recipes, Seasonal, Summer

Jump to Recipe

This no-churn fudge brownie ice cream is every chocolate lover’s DREAM! It’s my favorite easy no-churn chocolate ice cream base that’s delicious and deeply chocolatey all on its own, but with brownie chunks and ribbons of hot fudge mixed into every bite, the flavor is out of this world. And even if you’ve never made ice cream before, you can nail this recipe with simple ingredients and the easiest no-churn ice cream technique ever – no ice cream maker or fancy equipment necessary. You can even use store-bought brownies and hot fudge to keep it effortless! 
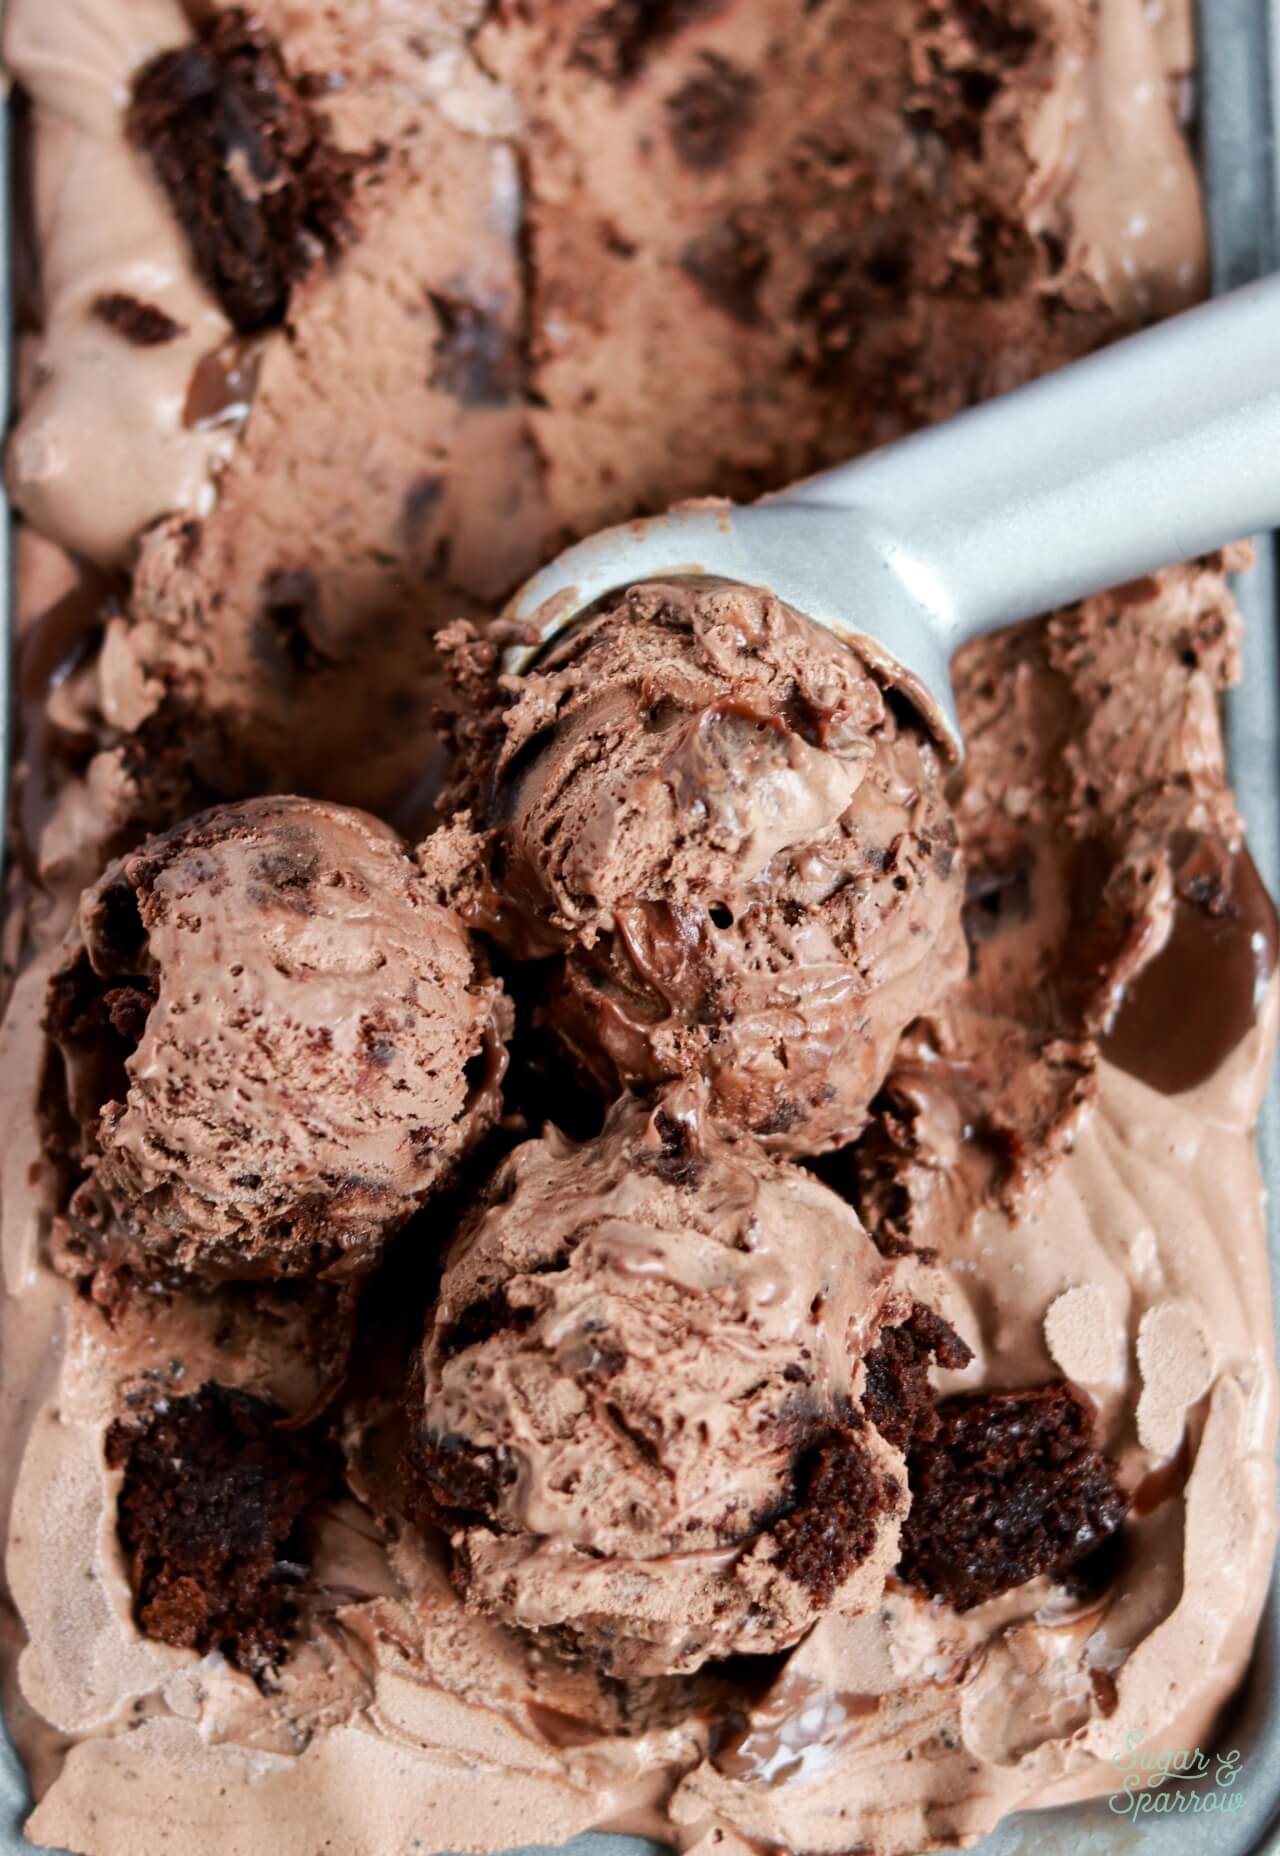
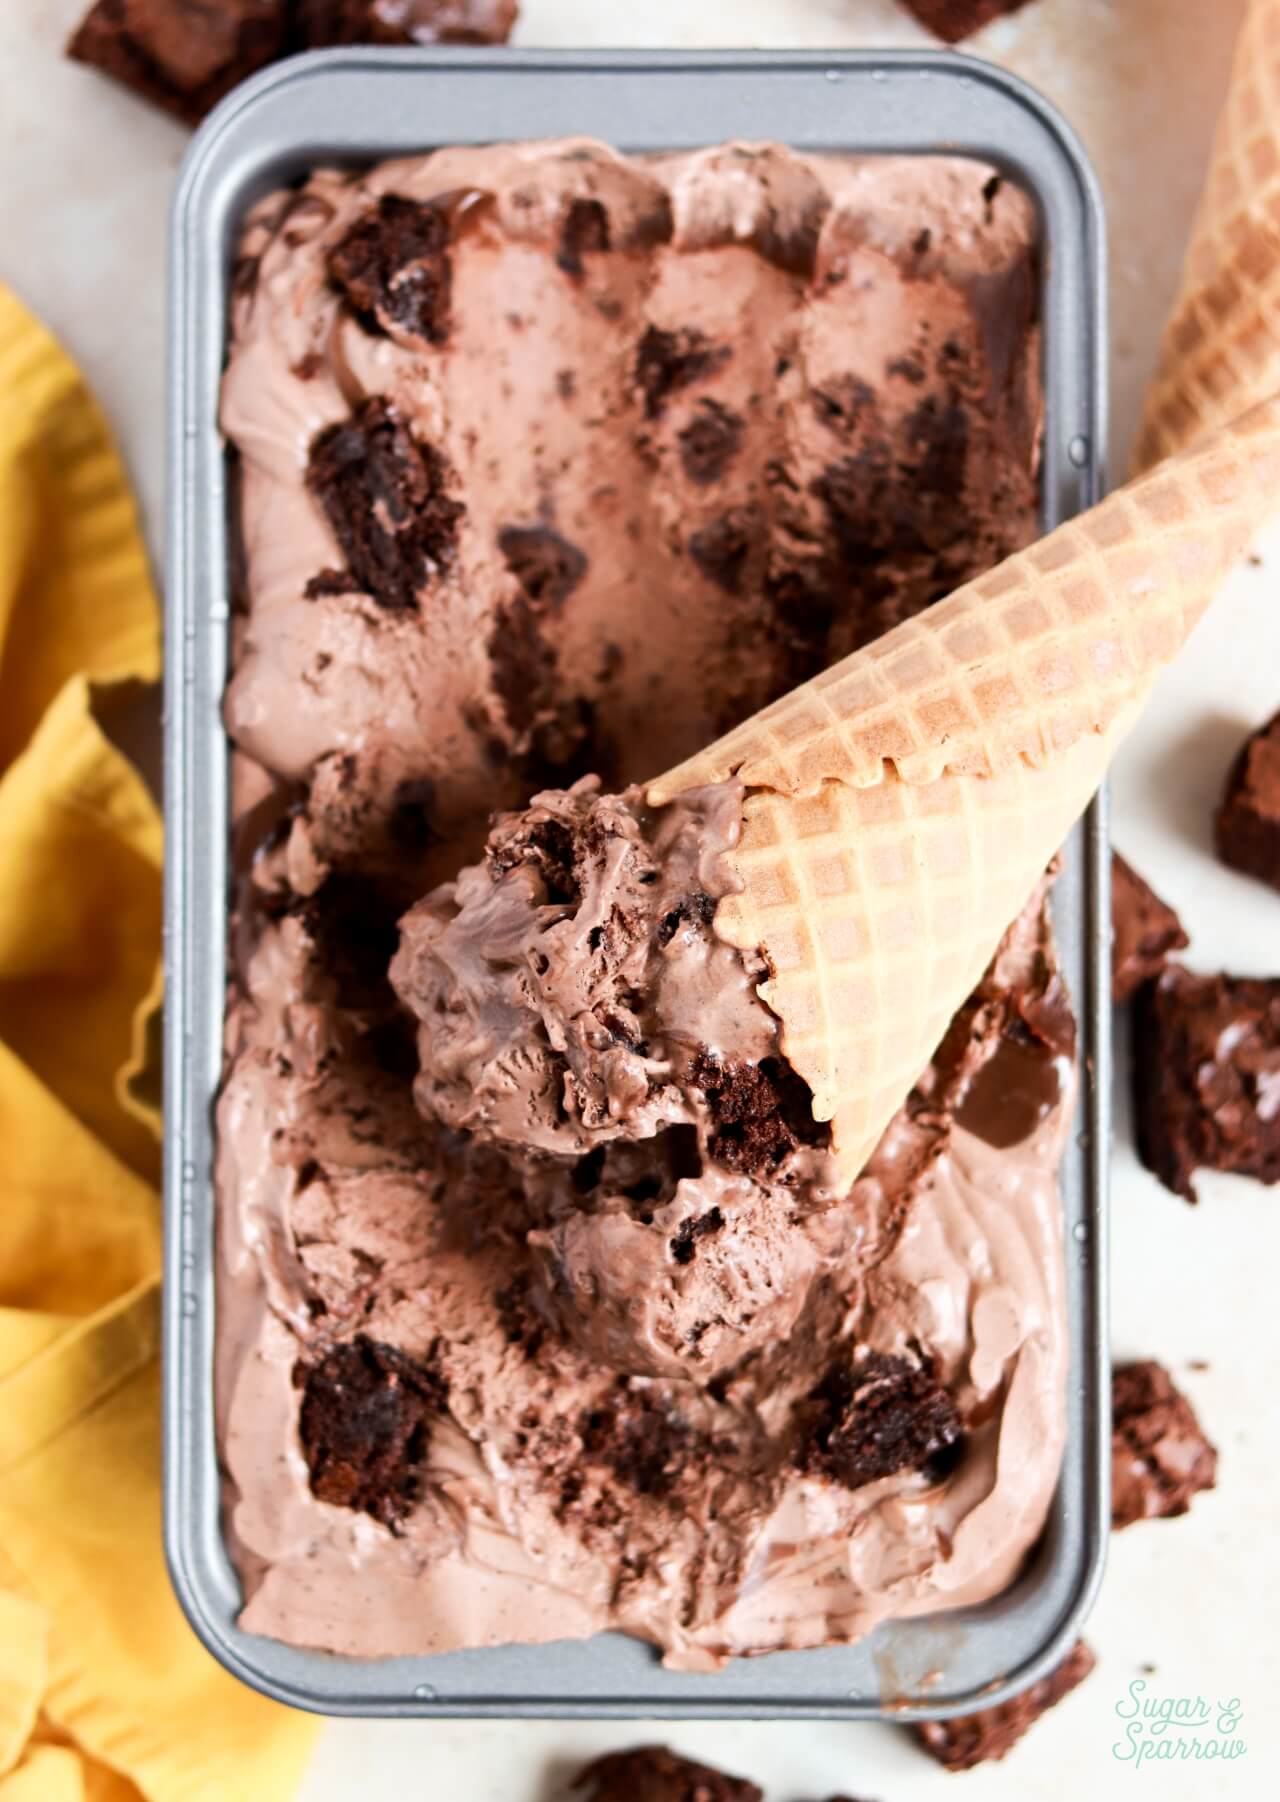
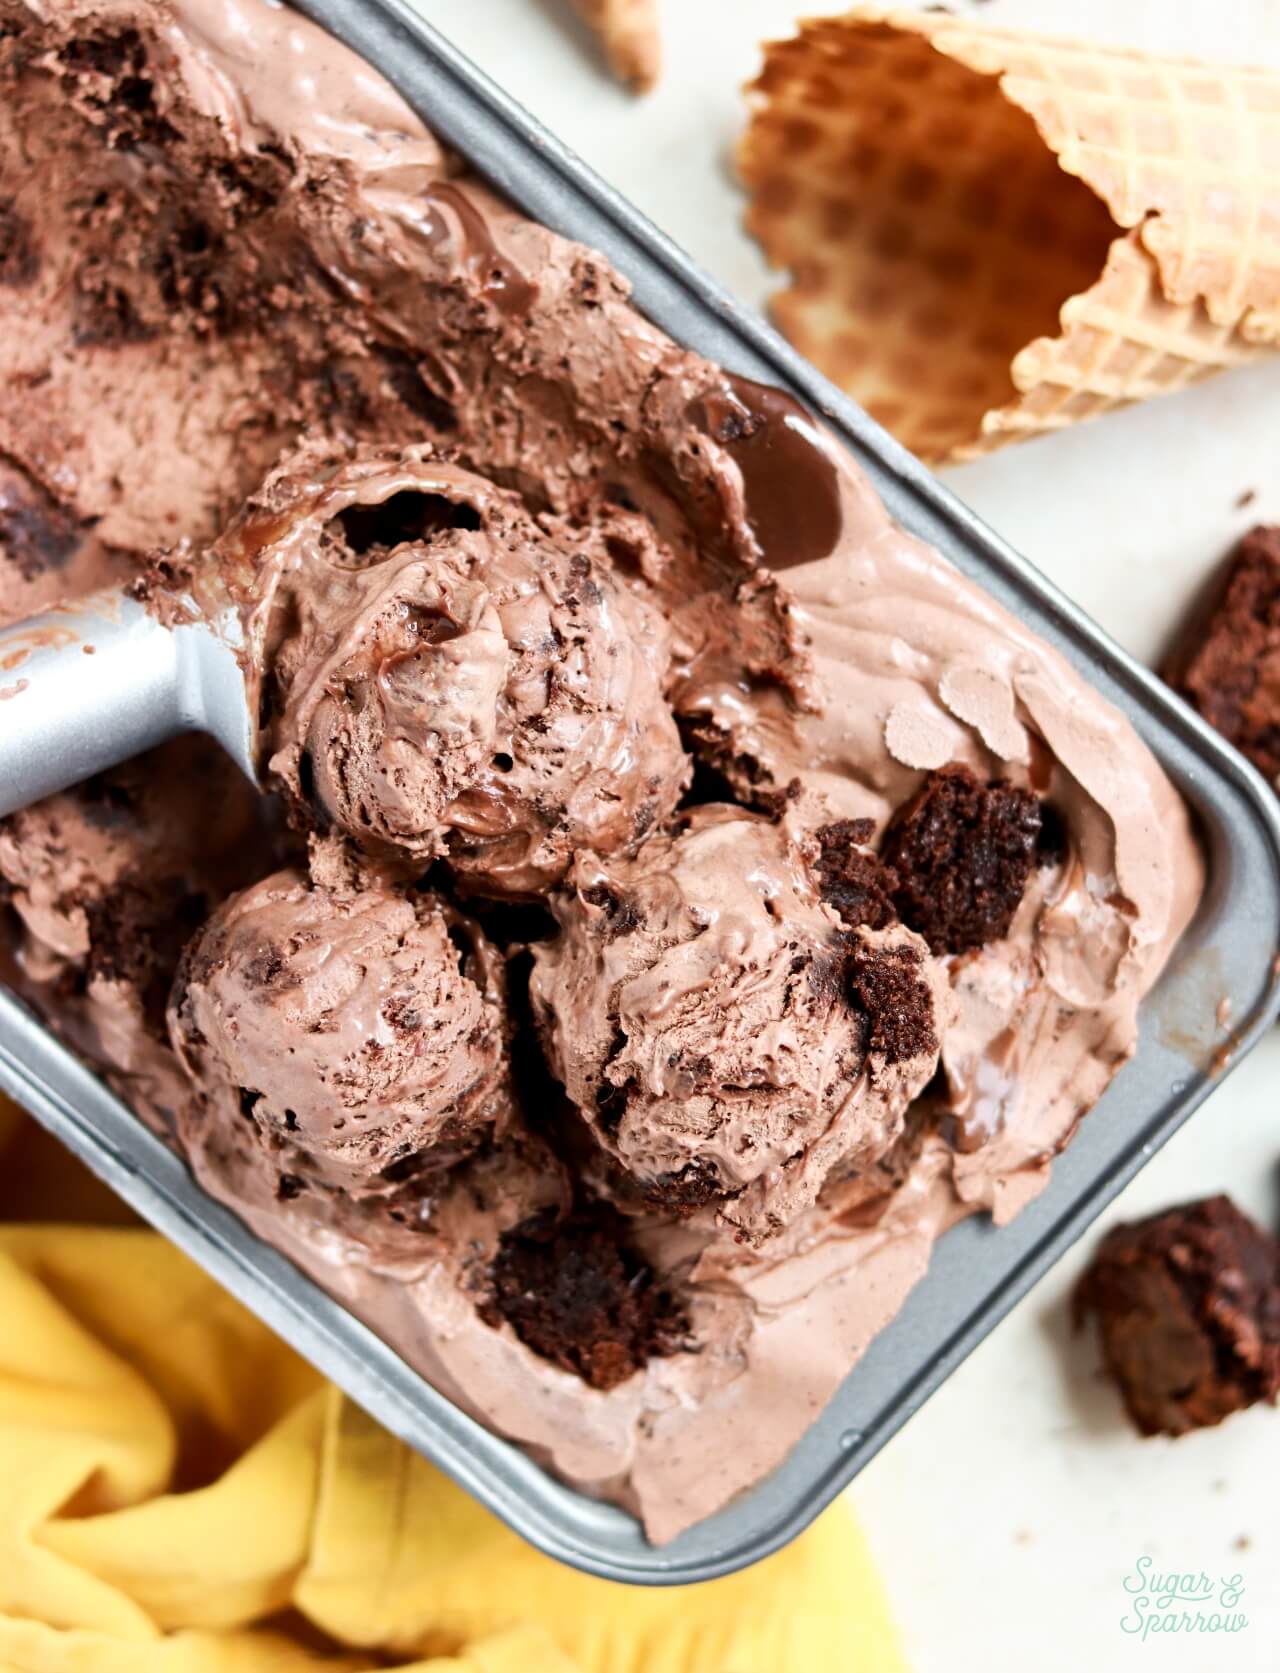
no churn chocolate brownie ice cream scoops in a loaf pan
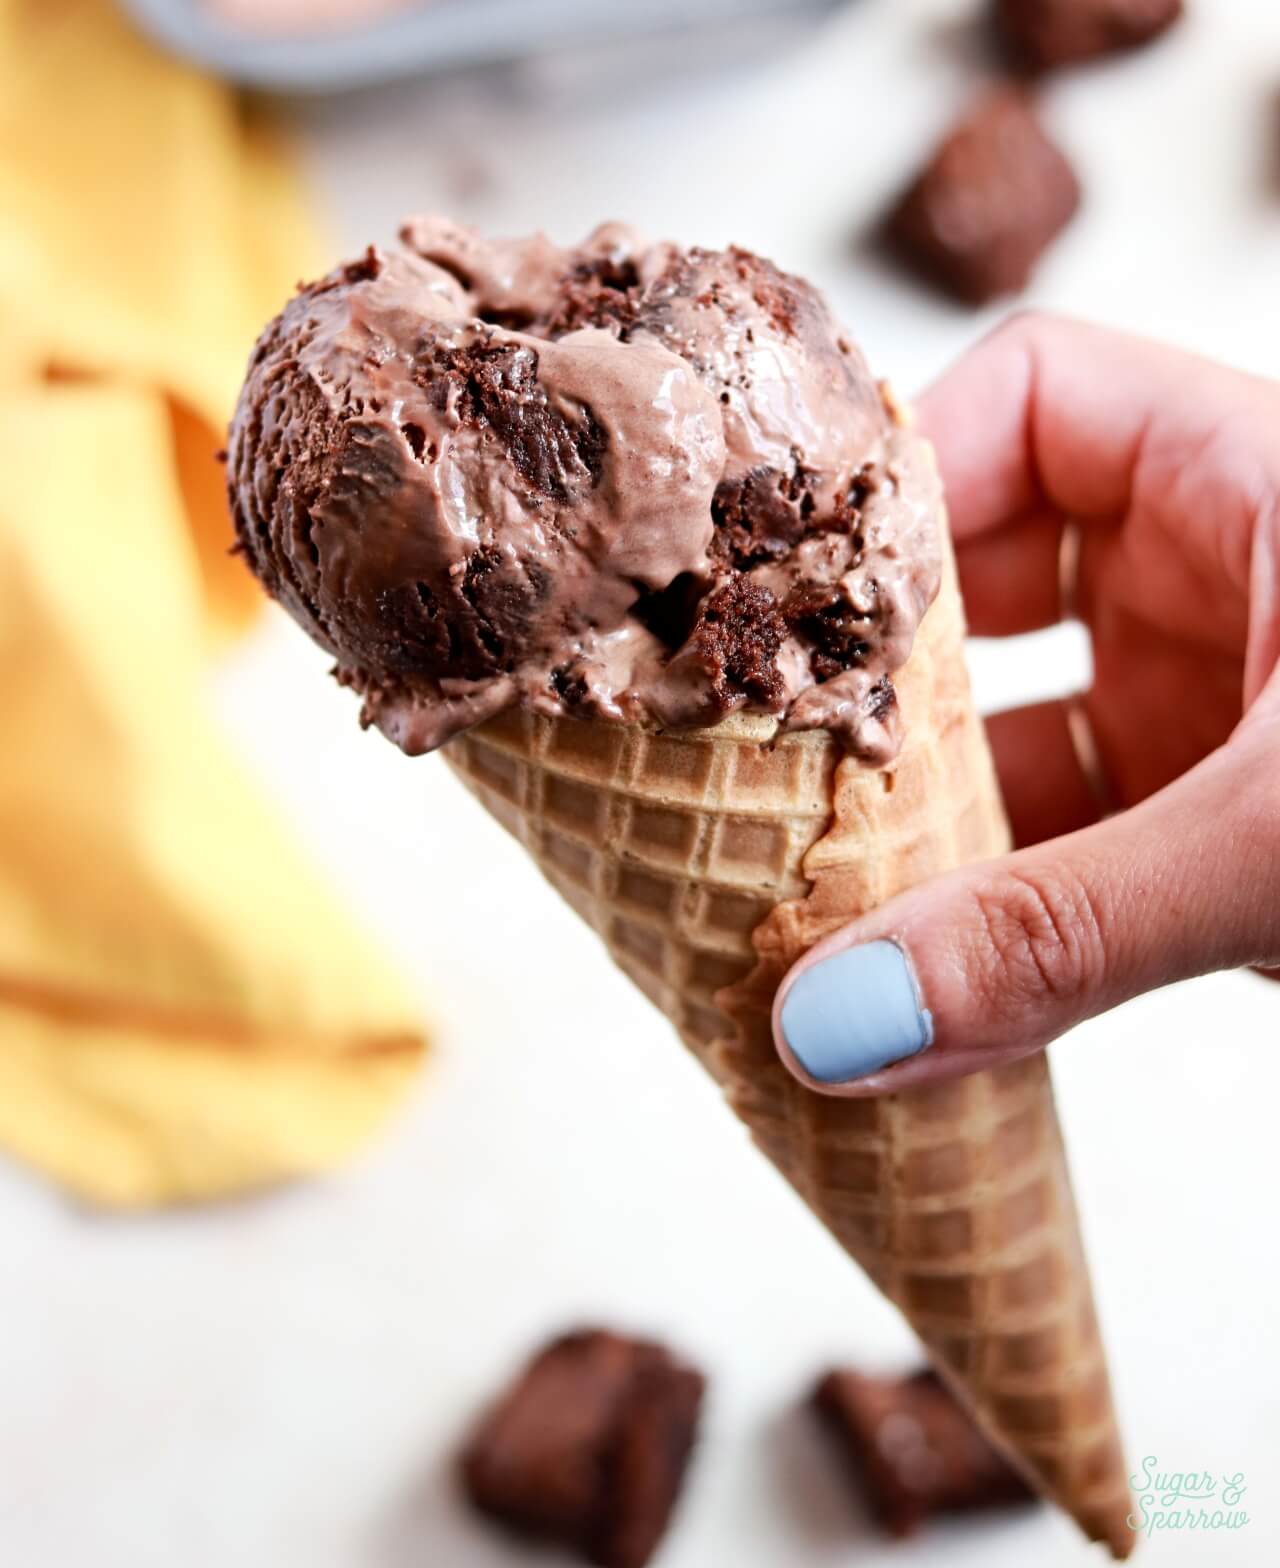
chocolate brownie ice cream in a waffle cone

Why You’ll Love this Fudge Brownie Ice Cream

  • Irresistibly Fudgy and Decadent. Every bite has the perfect ratio of brownie, hot fudge ribbons, and creamy chocolate ice cream!
  • Easiest Ice Cream Ever. The no-churn chocolate ice cream base comes together in minutes with just a handful of ingredients. The only extra mix-ins you’ll add at the end are brownies and hot fudge sauce, both of which can be store-bought for simplicity (unless you really want to make those from scratch). 
  • The Perfect Make-Ahead Dessert. After mixing up the ice cream, it sets in the freezer in 6-8 hours and can be stored for up to 2 months. That means you can whip it up far in advance! 
  • No Need for an Ice Cream Maker. Using the no-churn method, you don’t need any fancy equipment to make this delicious brownie ice cream! All you need is a stand mixer or hand mixer, a few mixing bowls, and a container to freeze the ice cream in.   
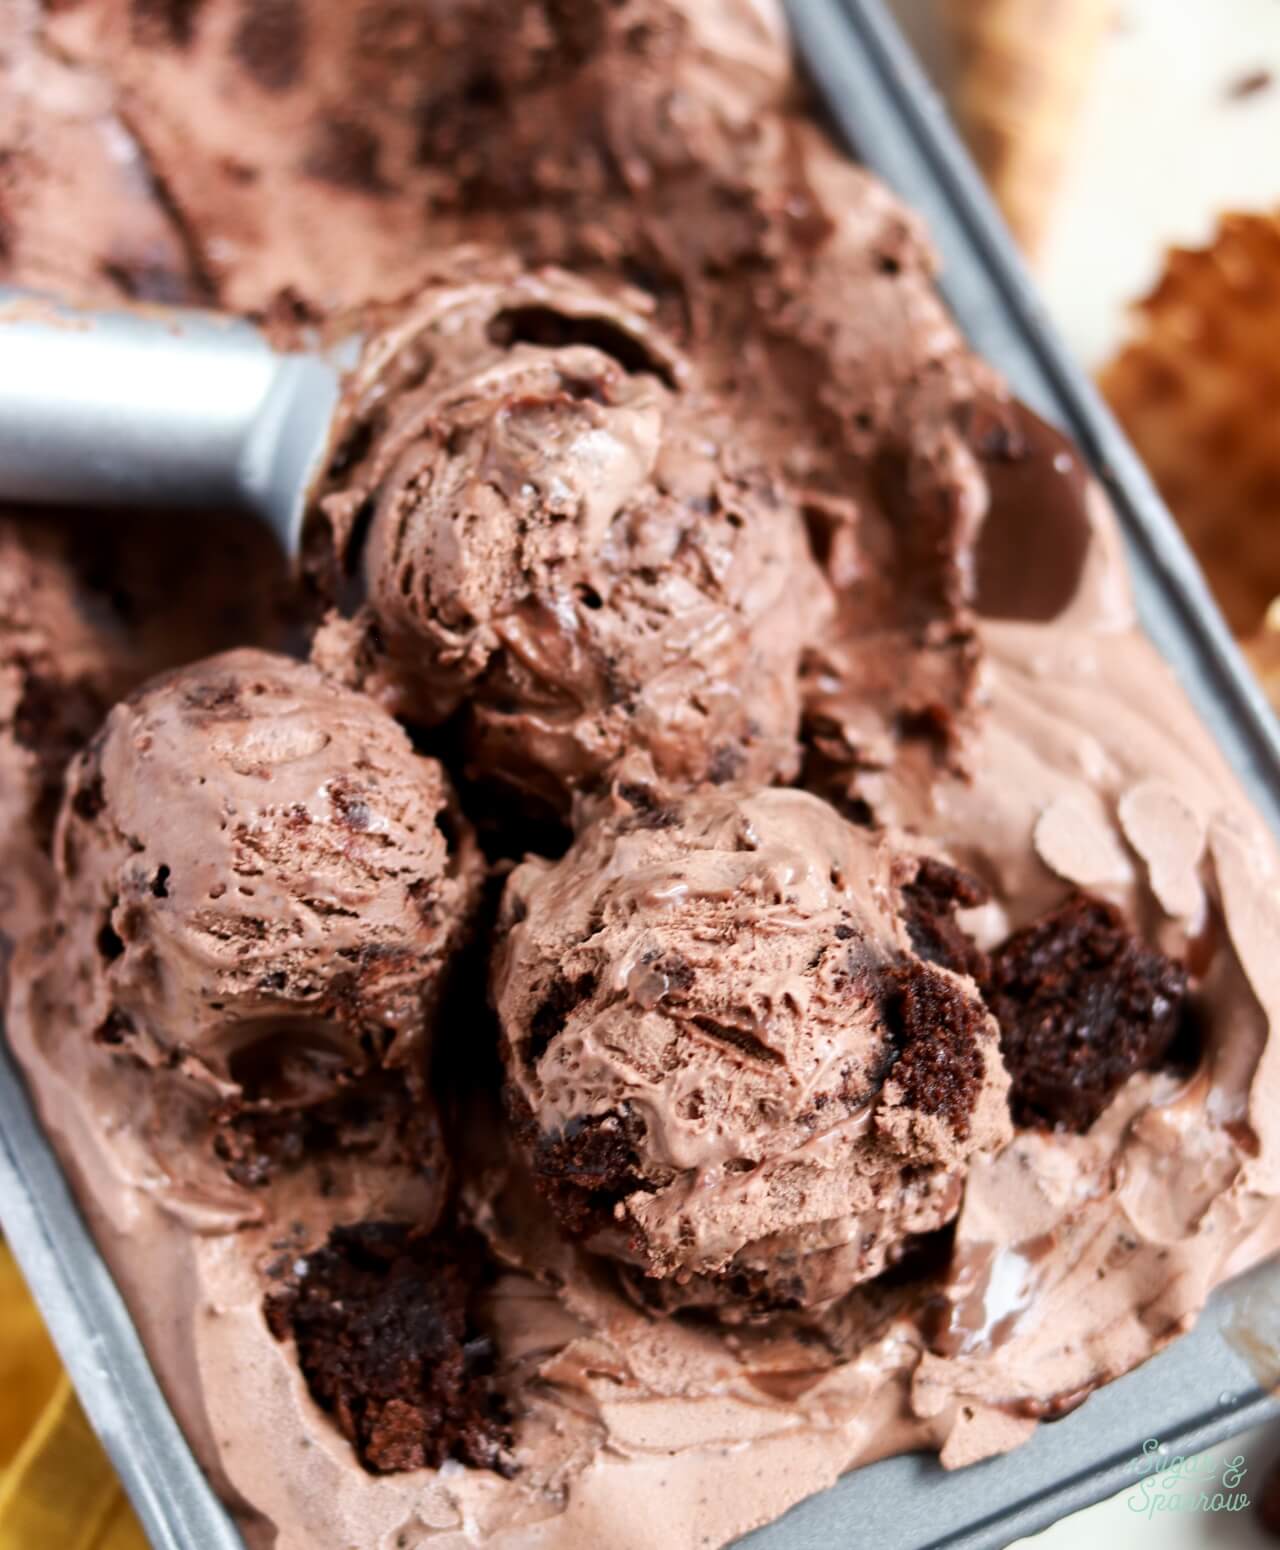
no churn brownie ice cream recipe

No-Churn Brownie Ice Cream Ingredients

  • Heavy Whipping Cream. After beating to stiff peaks, the heavy whipping cream is folded together with the rest of the ingredients to add structure and create that creamy, velvety texture.
  • Sweetened Condensed Milk. Not only sweetens the ice cream but also acts as a building block for the ice cream flavor. 
  • Melted Semi-Sweet Chocolate. I used chocolate chips for this recipe but you can also chop up a high-quality chocolate bar before melting it. 
  • Unsweetened Cocoa Powder. This adds even more chocolate flavor to the ice cream and if you want it really rich, use Dutch-processed cocoa powder. 
  • Vanilla + Salt. These are the flavor enhancers that balance the chocolate flavor beautifully. 
  • Brownies + Hot Fudge Sauce. There are chunks of brownie and ribbons of hot fudge in every bite of this ice cream! You can use store-bought brownies (or brownie mix) and a jar of hot fudge to keep things super easy, or make those elements from scratch if you’d rather. 
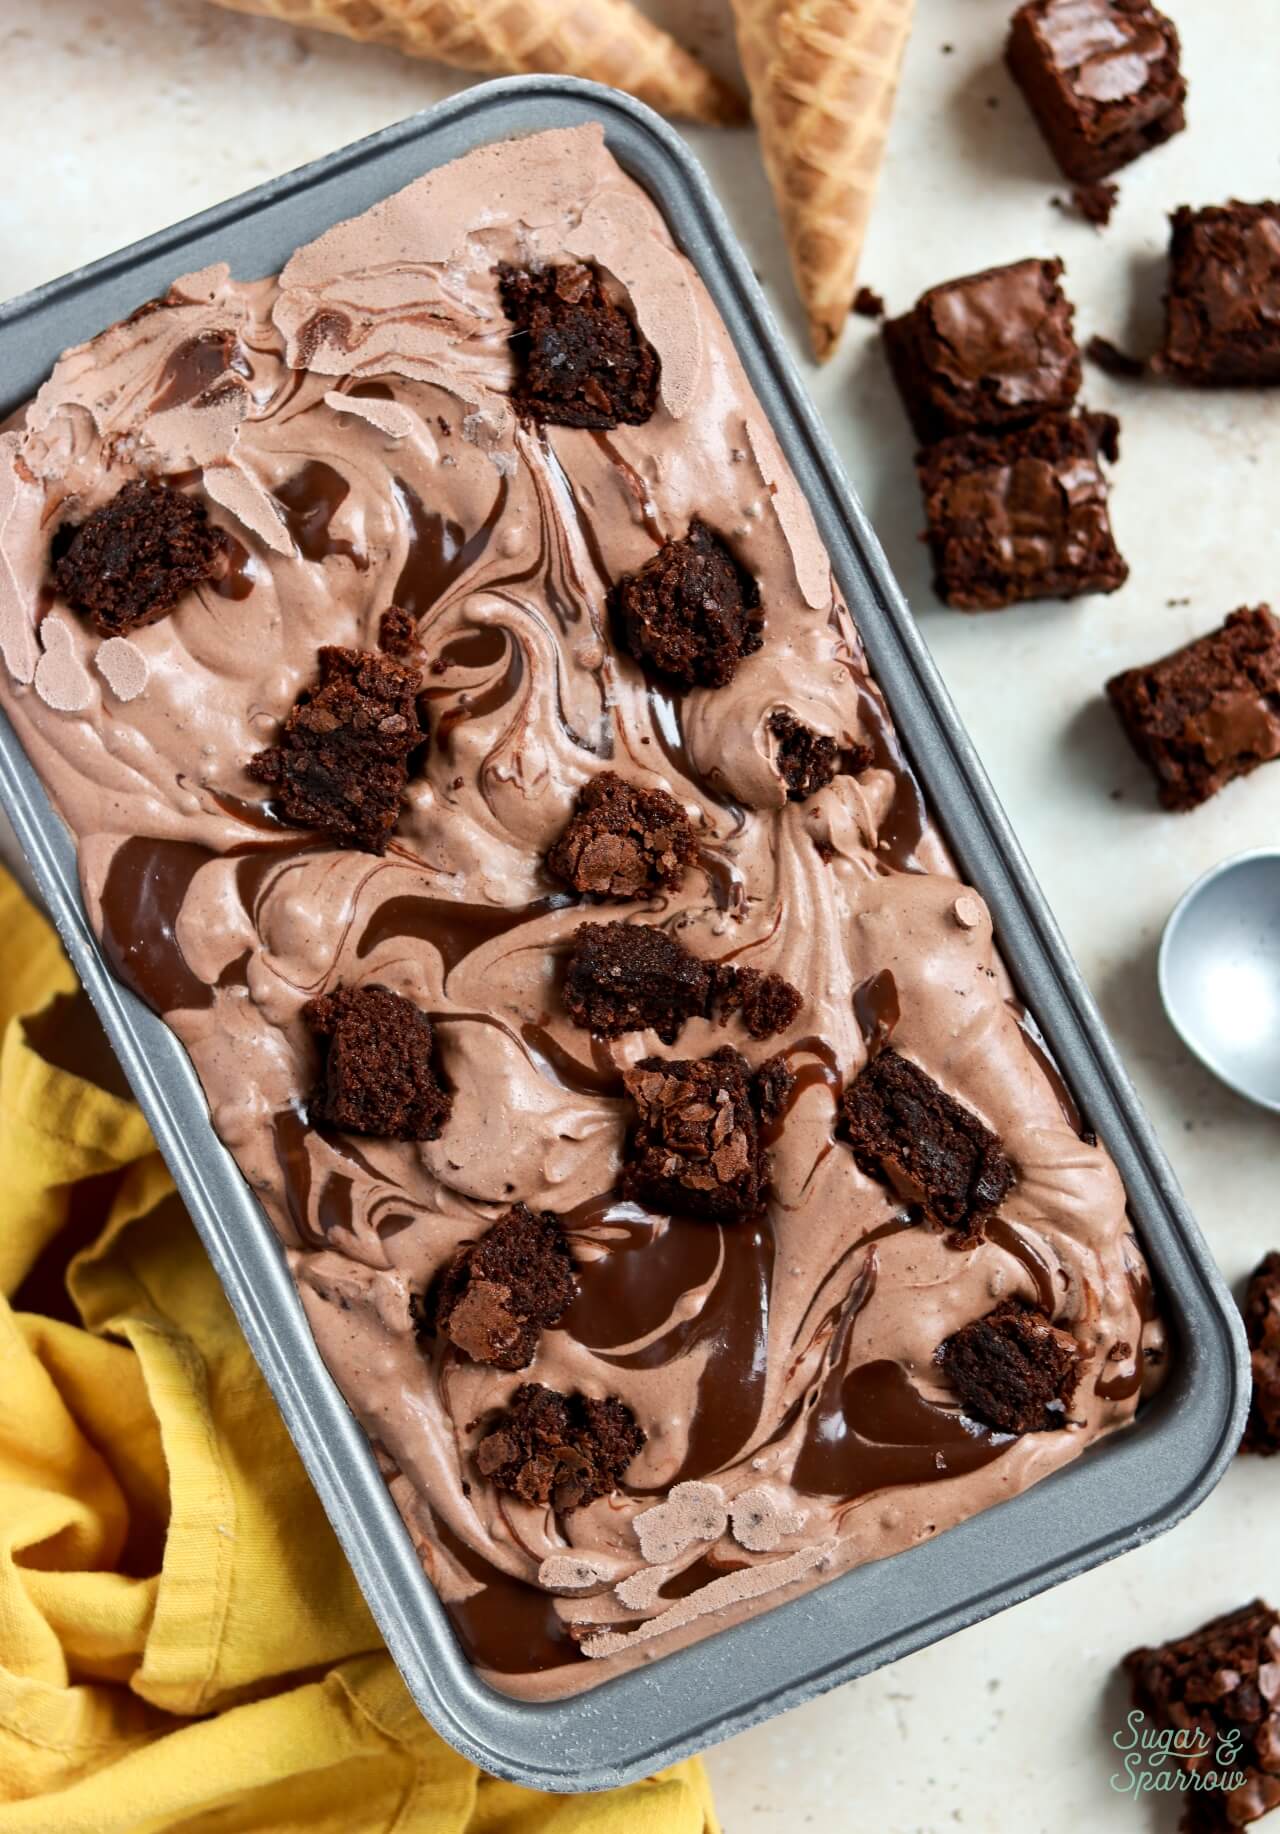
no churn brownie ice cream in a loaf pan

How to Make No-Churn Brownie Ice Cream

Mix Up the No-Churn Chocolate Ice Cream Base

Whip the heavy whipping cream to stiff peaks in a large chilled bowl. Combine the sweetened condensed milk with the melted semi-sweet chocolate, cocoa powder, vanilla, and salt in a separate bowl. Fold the chocolate mixture into the whipped cream until smooth. 
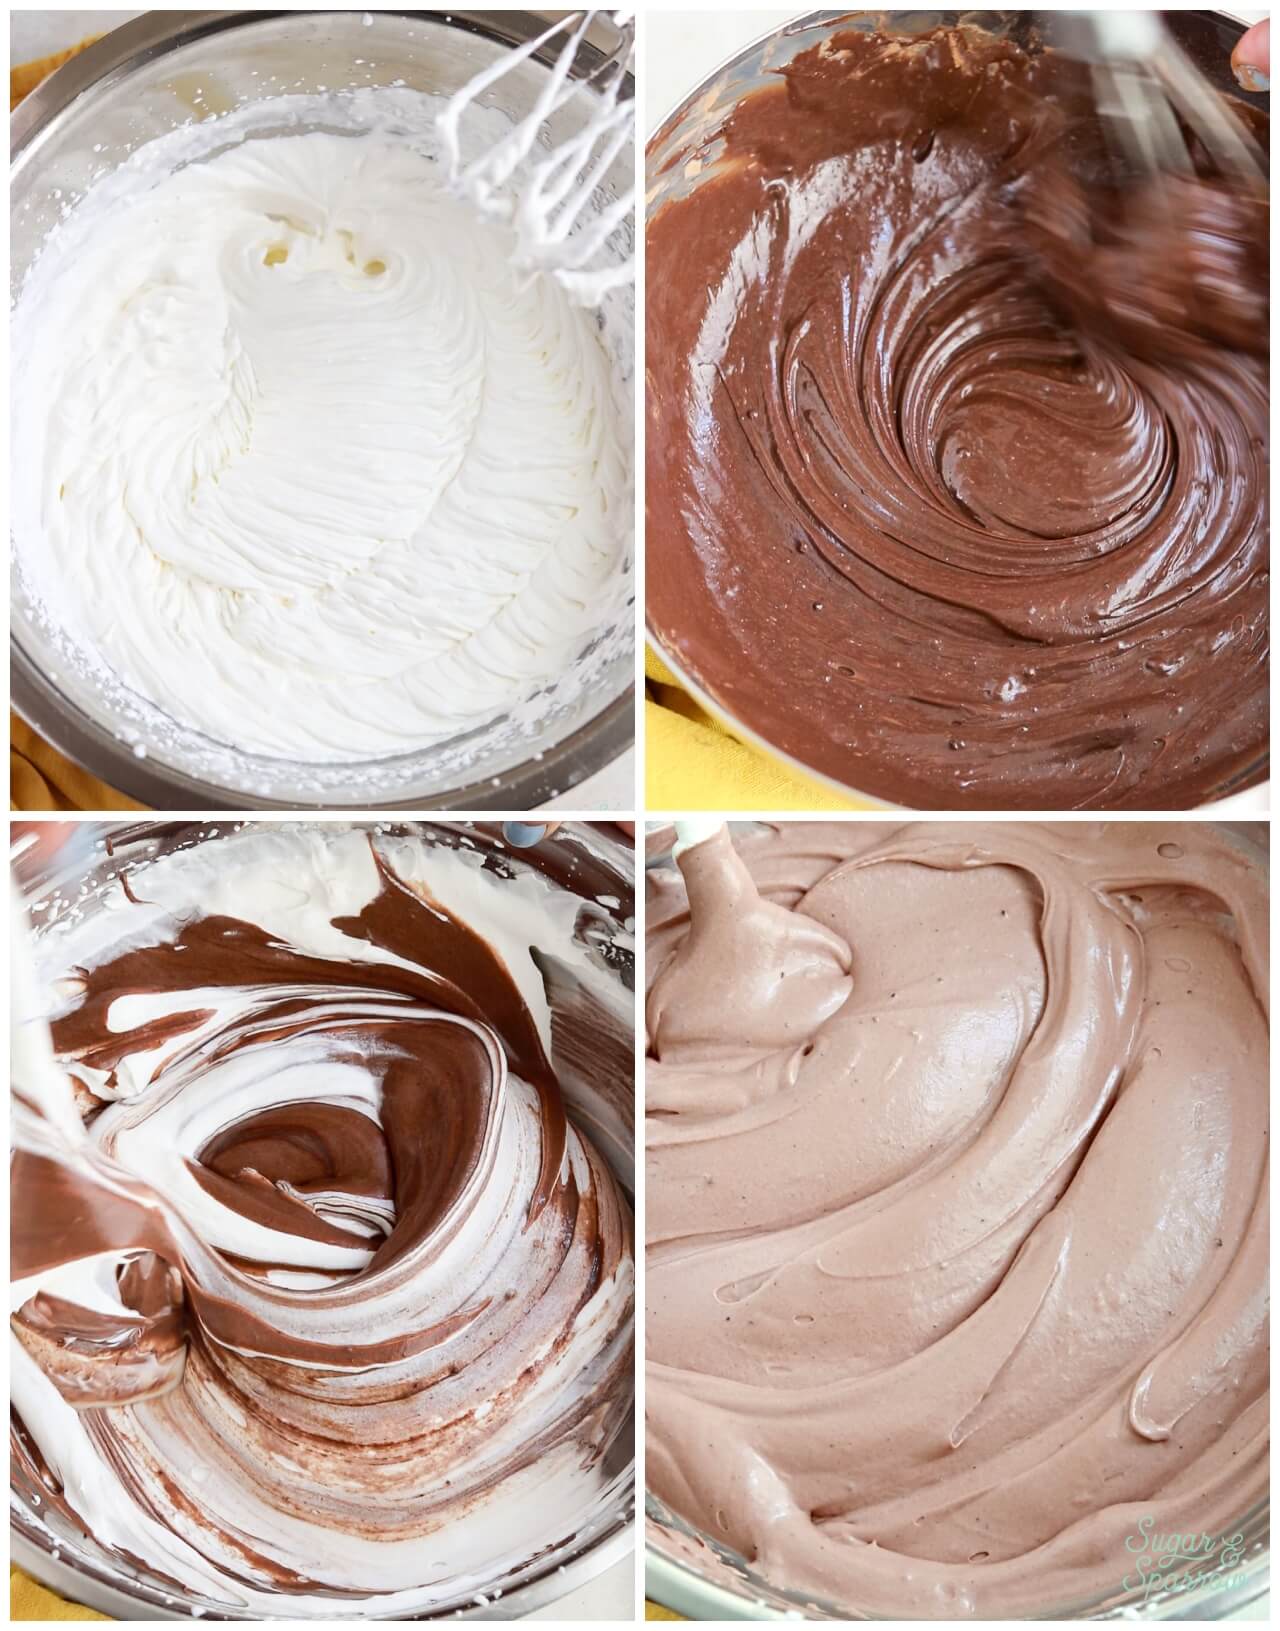
how to make no churn chocolate ice cream
without an ice cream maker

Add the Brownies 

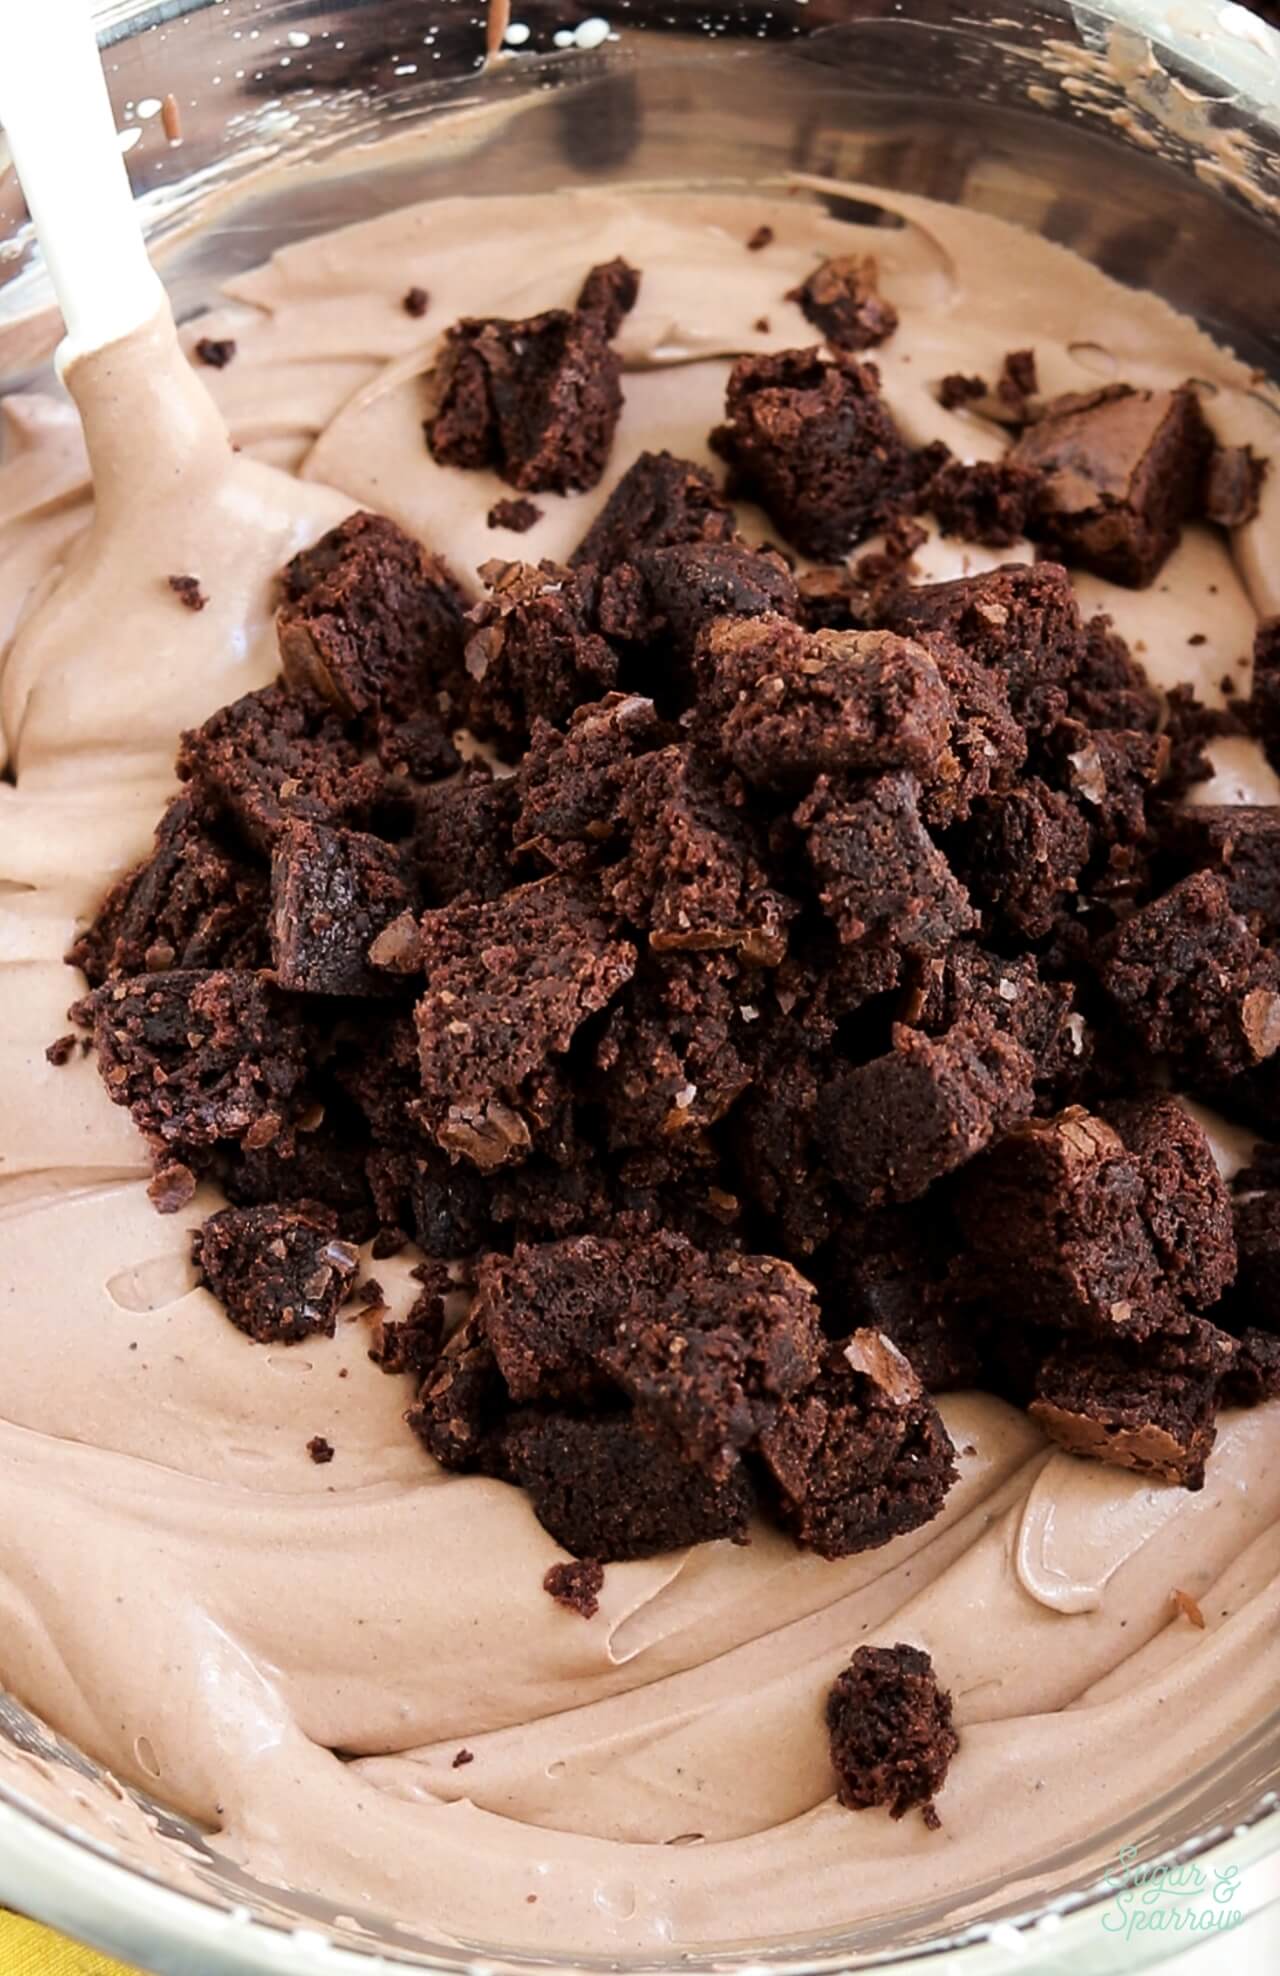
Chop the brownies up into ½ inch cubes and fold them into the chocolate ice cream mixture. 
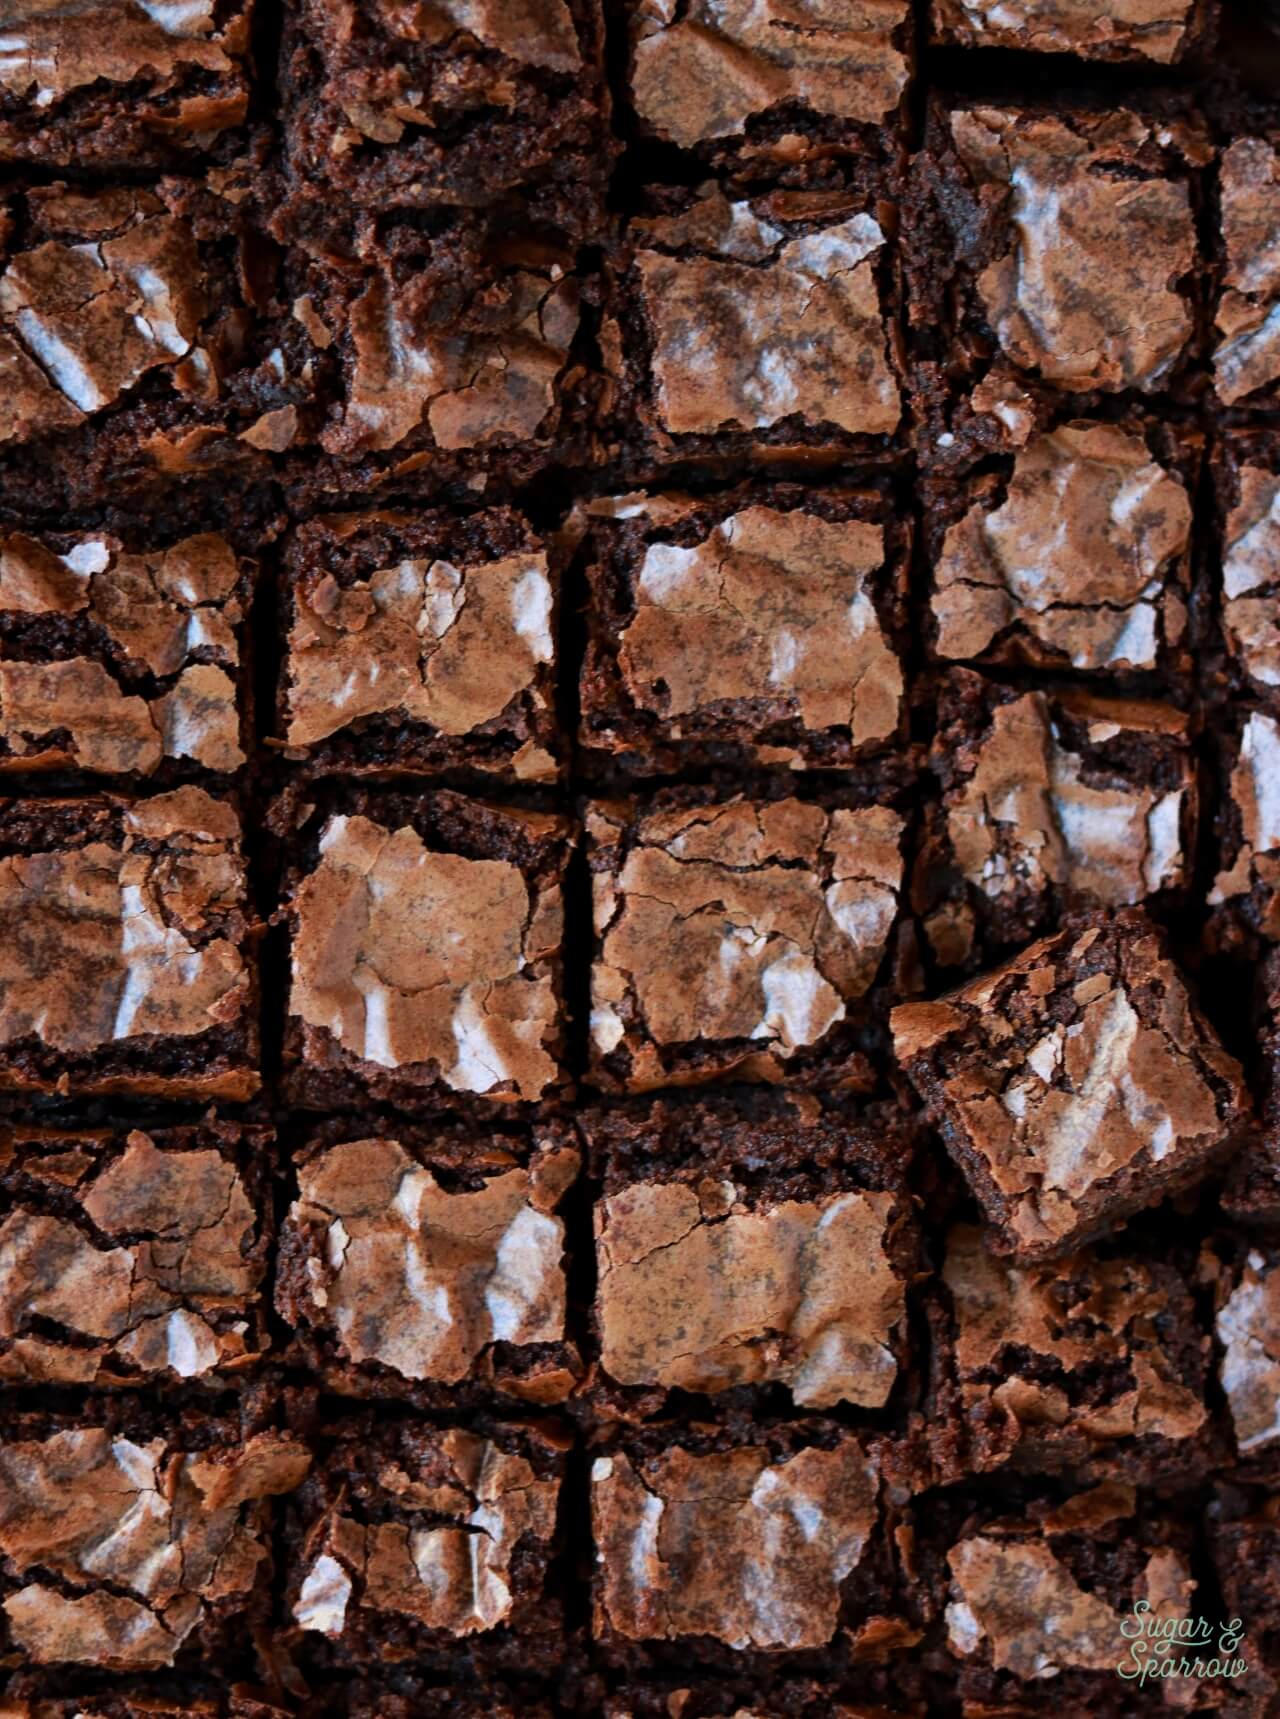
brownie chunks for ice cream recipe
folding brownie bites into no churn chocolate ice cream

Assemble with the Hot Fudge Sauce

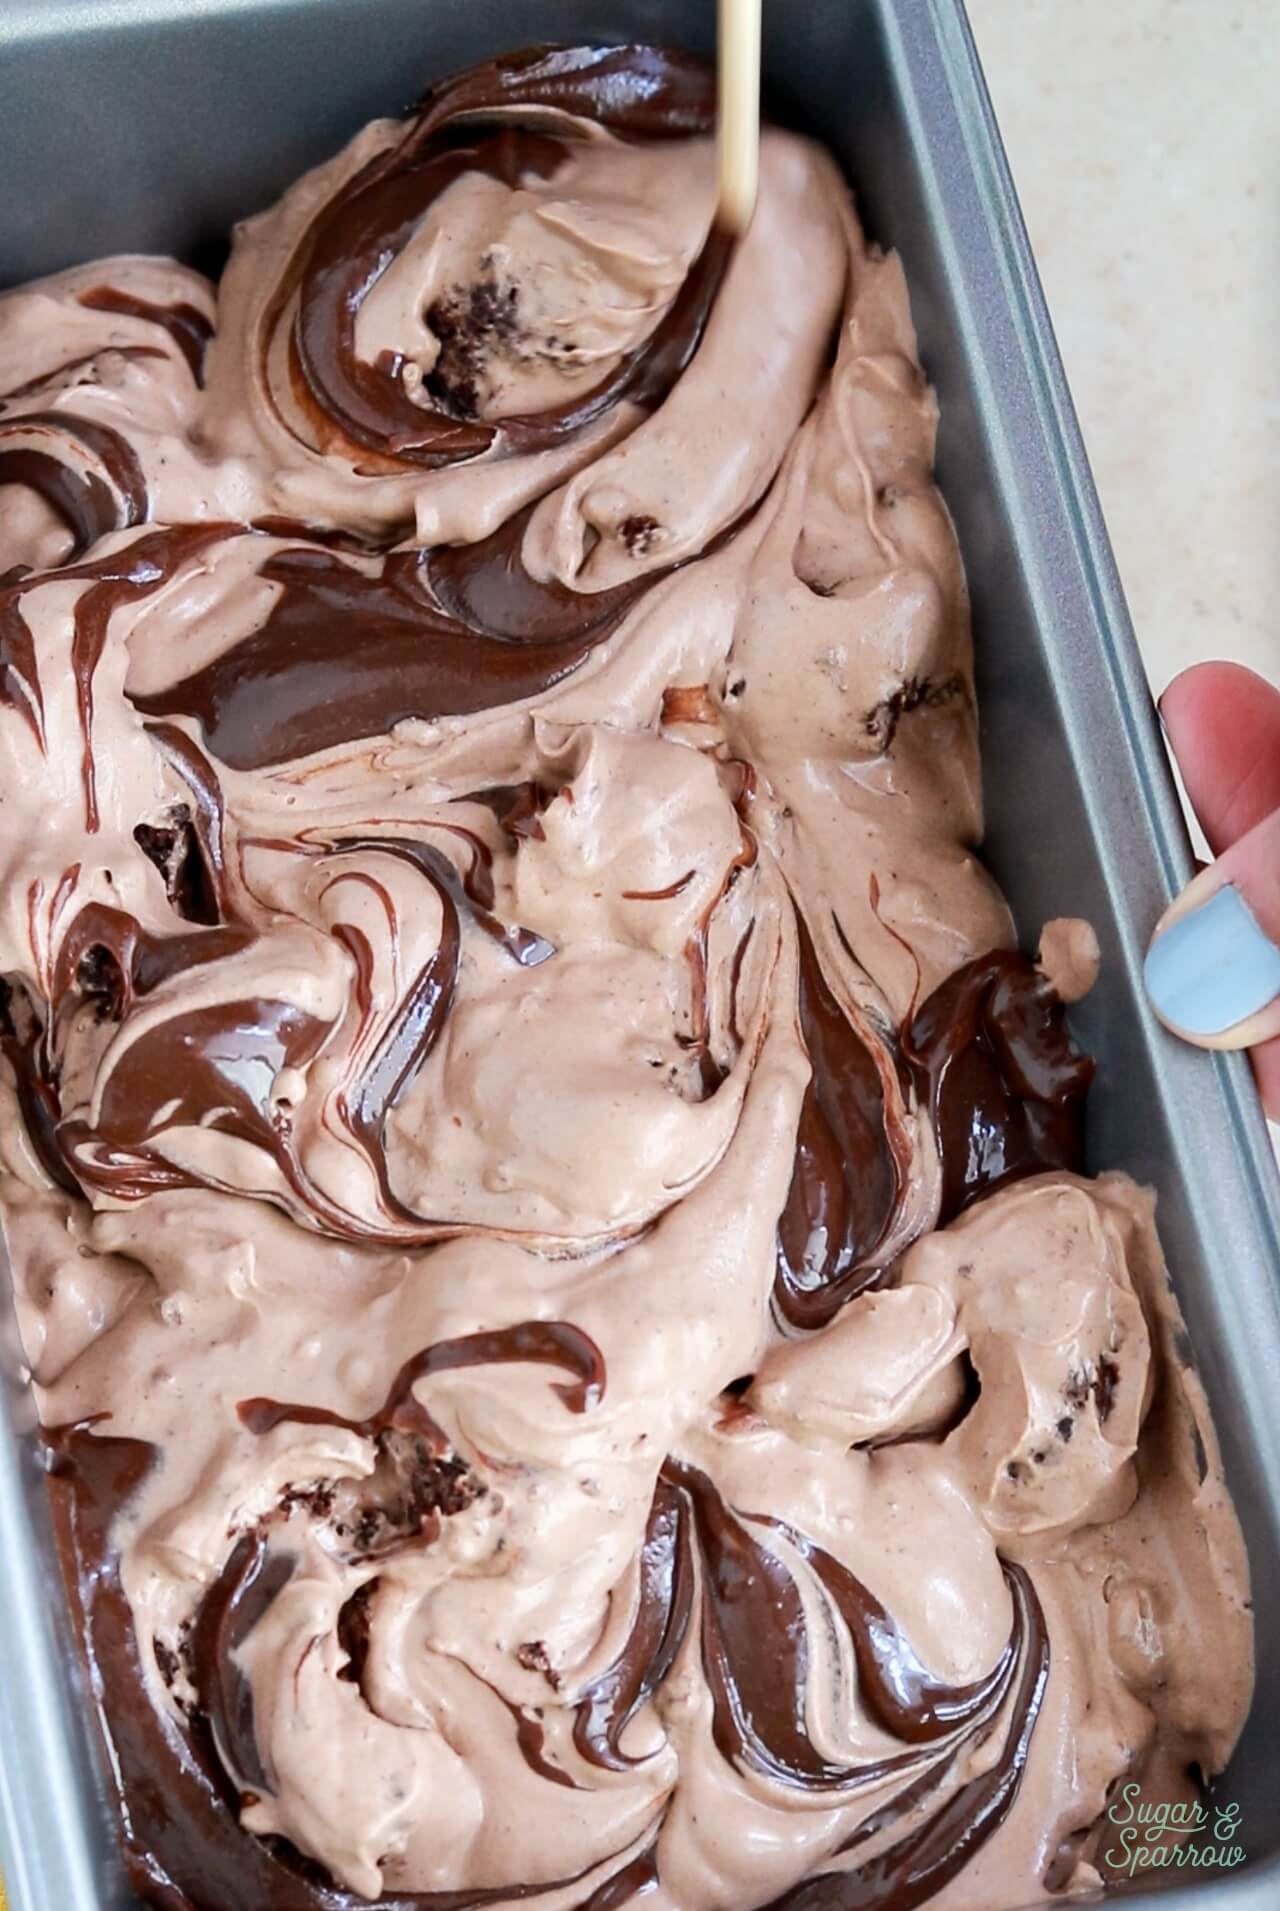
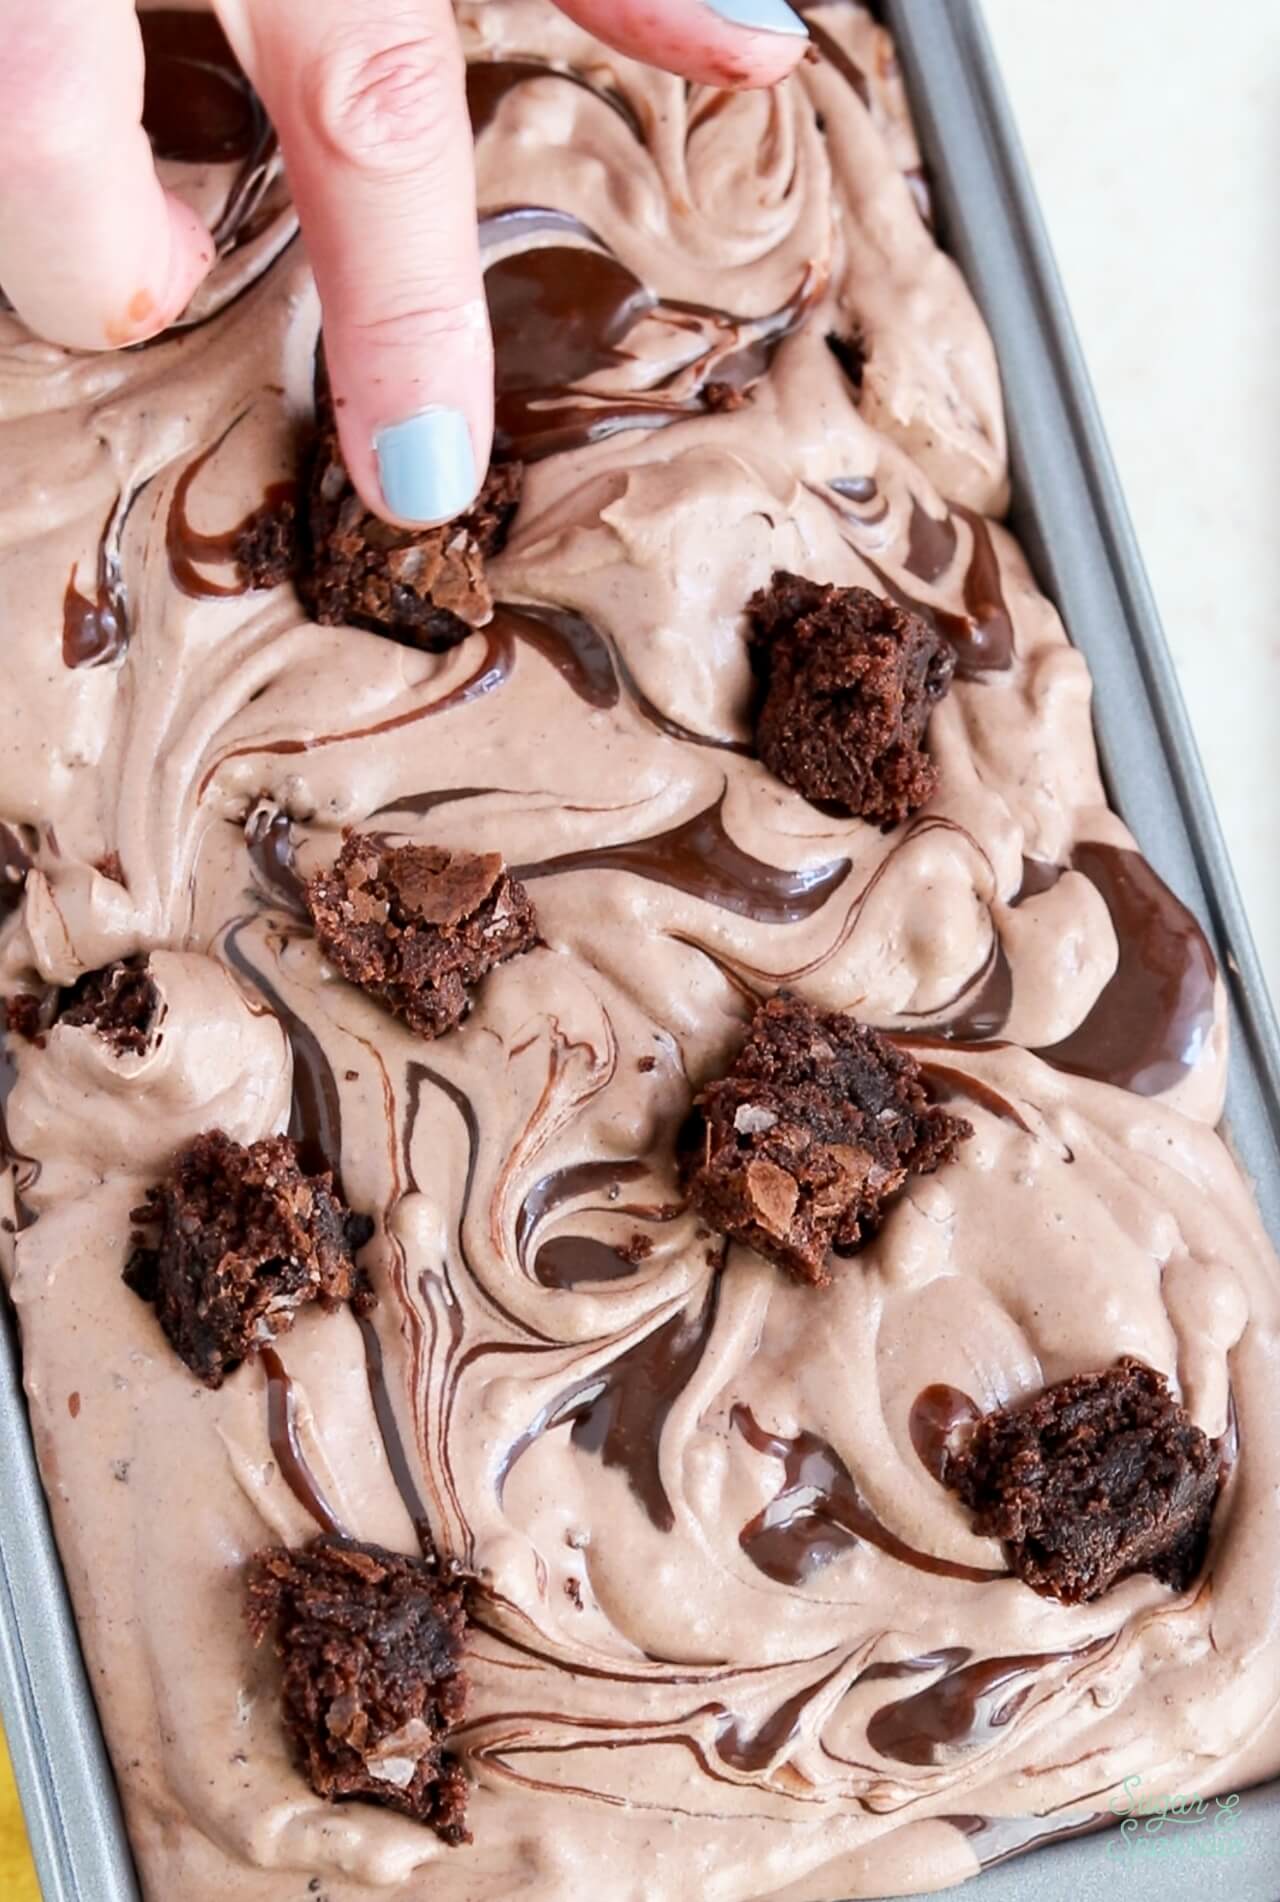
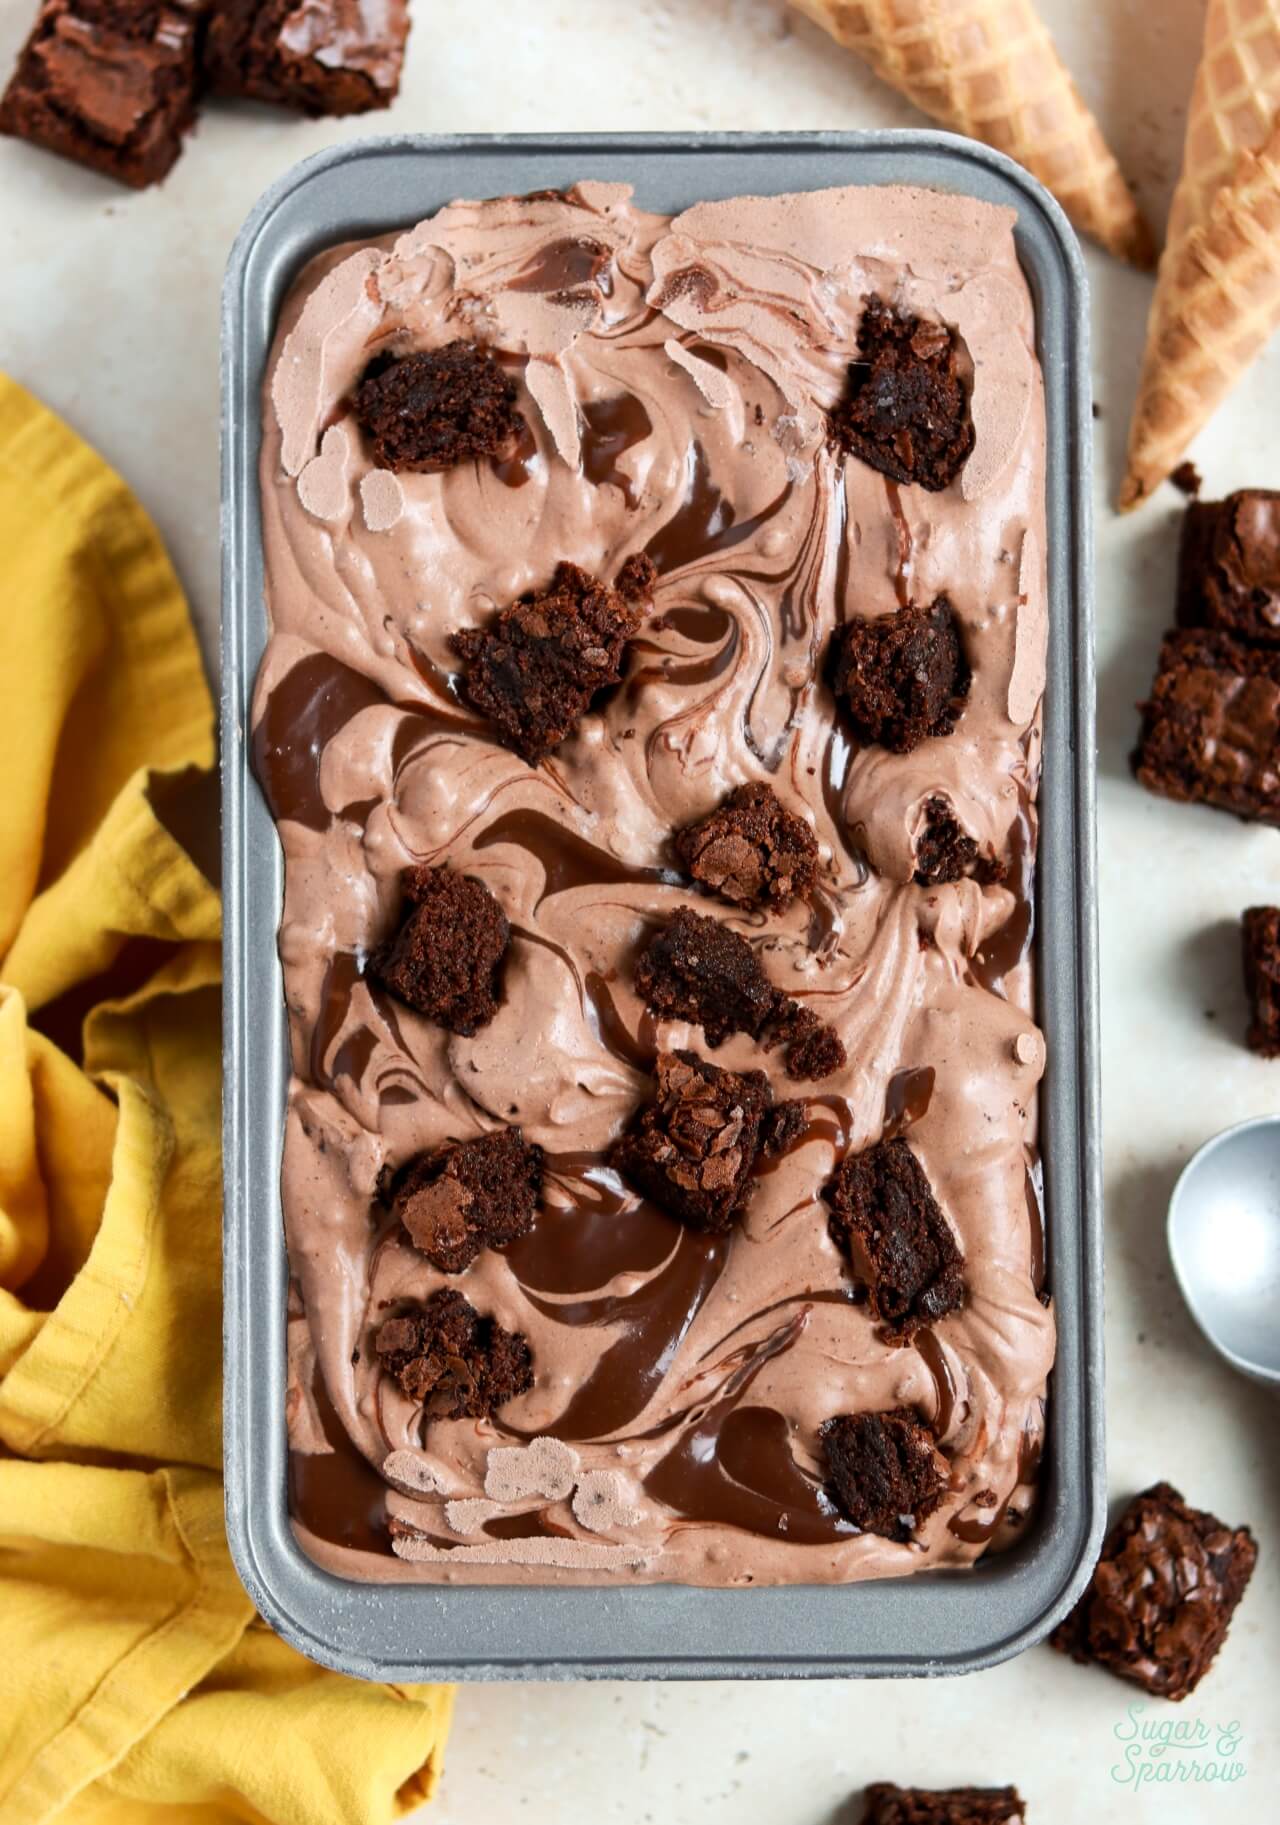
Scoop large spoonfuls of the chocolate brownie ice cream into a loaf pan, adding spoonfuls of hot fudge sauce every so often and swirling it in with a butter knife or wooden skewer as you go. Feel free to press in a few extra brownie chunks on top once all the ice cream is added. 

assembling no churn chocolate brownie ice cream in a loaf pan
making no churn chocolate brownie ice cream

Freeze

Cover the ice cream with plastic wrap or aluminum foil and freeze for 6-8 hours, after which it will be solid and scoopable. 

homemade chocolate fudge brownie ice cream recipe in a loaf pan

FAQs

  • What is the texture of this no-churn ice cream? The chocolate ice cream base ends up creamy and velvety, yet solid and scoopable. It’s a little softer than traditional ice cream made with an ice cream maker, but more firm than soft serve. The chunks of brownie and ribbons of hot fudge add the perfect amount of extra texture. 
  • How does the no-churn method work? Whipping the heavy cream to stiff peaks adds just the right amount of air to make the ice cream structured and smooth, and the sweetened condensed milk lowers the freezing point so it stays creamy and velvety. 
  • Where do I get brownie chunks? I baked a batch of brownie mix in an 8×8 baking pan and used about half of it for creating the brownie chunks in this ice cream. You can easily chop up some store bought (already baked) brownies to save time, or use any homemade brownie recipe you love. 
  • Can I use evaporated milk instead of sweetened condensed milk? No. While the cans look similar and they’re often sold right next to each other, evaporated milk and sweetened condensed milk are entirely different and will not work the same. 
  • How do I store no-churn ice cream? I always make mine in a loaf pan and cover it with aluminum foil or plastic wrap initially. If you’re planning on storing it for longer than a few days (mine never lasts that long in a house full of boys!), add it into an airtight plastic container and it will keep in the freezer for up to 2 months. 
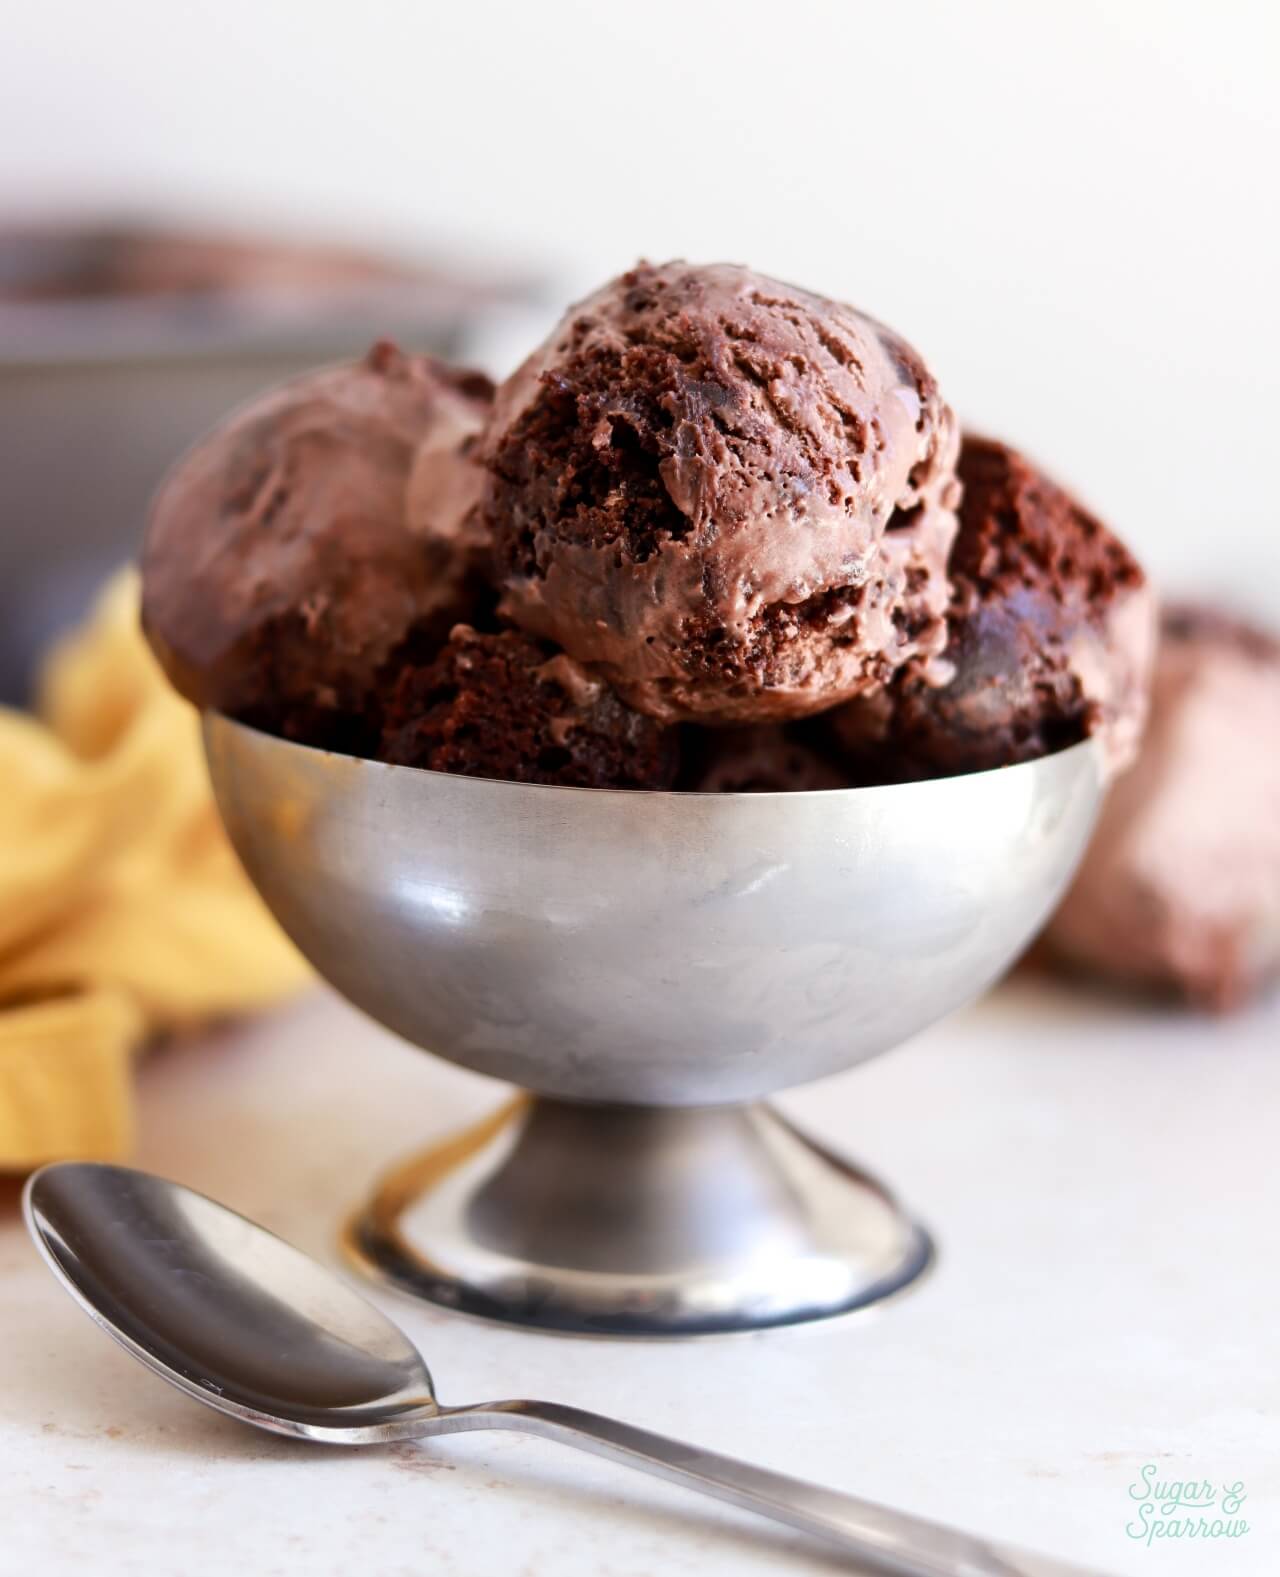
No churn chocolate brownie ice cream in a silver dish
no churn chocolate brownie ice cream scoops in a loaf pan

More No-Churn Ice Cream Flavors to Try 

If you love this fudge brownie ice cream, here are some no-churn ice cream flavors to try next:

  • No-Churn S’mores Ice Cream
  • No-Churn Samoa Ice Cream
  • No-Churn Dulce de Leche Ice Cream
  • No-Churn Strawberry Shortcake Ice Cream
  • No-Churn Chocolate Ice Cream

I hope you love this fudge brownie ice cream recipe as much as I do! Let me know what you think in the comments below (don’t forget to rate the recipe!) and feel free to tag @sugarandsparrowco on Instagram to show me a photo.

no churn chocolate fudge brownie ice cream scoops

No-Churn Fudge Brownie Ice Cream

Decadent homemade chocolate ice cream with ribbons of fudge and brownie chunks in every bite! It's made with the no-churn method (no ice cream maker!), uses simple ingredients, sets up perfectly in the freezer, and is a chocolate lover's DREAM.
Print Recipe Pin Recipe
Prep Time:30 minutes mins
Freeze Time:6 hours hrs
Total Time:6 hours hrs 25 minutes mins
Course: Dessert
Cuisine: American
Servings: 6 Cups (12 servings)

Equipment

  • 9×5 loaf pan

Ingredients

  • 2 Cups (480ml) heavy whipping cream
  • 3/4 Cup (4oz, 135g) semi-sweet chocolate chips
  • 14 Oz sweetened condensed milk
  • 1/3 Cup (30g) unsweetened cocoa powder Dutch-processed or natural
  • 1 tsp pure vanilla extract
  • pinch of salt
  • 2 Cups brownie chunks (1/2 inch pieces) use store-bought brownies or 1/2 batch of brownies made with mix
  • 6 oz hot fudge sauce

Instructions

  • Place a large metal bowl into the refrigerator to chill for at least 20 minutes.
  • Remove the large chilled metal bowl from the refrigerator and add the heavy whipping cream into it. Beat with a hand mixer (or using the whisk attachment on your stand mixer) until stiff peaks form, about 2-4 minutes. Place the whipped cream into the refrigerator while you move on.
  • Place the chocolate chips in a microwave-safe bowl and heat in 30-second increments, stirring after each one, until melted and smooth.
  • In a separate medium bowl, add the sweetened condensed milk and melted chocolate. Whisk together until combined, then add the cocoa powder, vanilla, and salt. Whisk until combined and as smooth as possible (don't worry if there are a few small lumps). The mixture will be thick and resemble brownie batter.
  • Remove the whipped cream from the refrigerator and use a silicone spatula to fold about 1 cup of it into the chocolate condensed milk mixture. Then, pour the chocolate mixture into the remaining whipped cream and fold together until combined. Reserve a few brownie chunks to decorate the top of the ice cream in the next step, then fold the rest of the brownie chunks into the chocolate ice cream mixture.
  • Scoop a few large spoonfuls of the brownie ice cream mixture into the loaf pan along with a few smaller spoonfuls of the hot fudge sauce. Use a wooden skewer or butter knife to swirl the hot fudge and create ribbons as you go. Continue adding spoonfuls of brownie ice cream, hot fudge sauce, and swirling until all of it is in the loaf pan.
  • Press the reserved brownies into the top of the ice cream, then cover the top of the loaf pan with plastic wrap or aluminum foil. Freeze for 6-8 hours, after which the ice cream should be semi-firm, scoop-able, and ready to enjoy!
Notes

Cocoa Powder: You can use unsweetened natural cocoa powder and Dutch-processed cocoa powder interchangeably in this recipe, but opt for Dutch-processed cocoa powder if you want the most rich, deeply chocolatey flavor.
Brownies: I baked a batch of brownie mix in an 8×8 baking pan and used about half of it for creating the brownie chunks in this ice cream. You can easily use store bought (already baked) brownies to save time, or use any homemade brownie recipe you love. 
Storage Tips: This no-churn ice cream is best stored in an airtight container in the freezer. It will last for 2 months (if you can make it last that long). 

By: Whitney · In: Featured, Ice Cream, No-Bake, Recipes, Seasonal, Summer · Tagged: brownie ice cream, fudge brownie ice cream, homemade ice cream, no churn chocolate ice cream

you’ll also love

no-churn cookie dough ice cream cake recipe by sugar and sparrowThe BEST Cookie Dough Ice Cream Cake
easter egg cake tutorialColorful (Edible!) Easter Egg Cake Toppers Tutorial
rafaello cake recipe by sugar and sparrowRafaello Cake Recipe

Join the List

Stay up to date & receive the latest posts in your inbox.

Reader Interactions

Leave a Reply Cancel reply

Your email address will not be published. Required fields are marked *

Recipe Rating


Next Post >

No-Churn Chocolate Ice Cream (with Video!)

Primary Sidebar

Welcome to Sugar & Sparrow

Welcome to Sugar & Sparrow

Helping you whip up pretty desserts with confidence and creativity. And hopefully sharing a few laughs with you along the way!

Learn More

Connect

let’s bake!

Get my very best recipes, baking tips, and decorating tutorials sent to your inbox

Featured Posts

baked graham cracker crust recipe for pies and cheesecakes

Perfect Graham Cracker Crust Recipe

using a kitchen scale

Baking With The Metric System: My New OXO Kitchen Scale

berries and cream sheet cake by sugar and sparrow

Berries & Cream Sheet Cake

Search

Archives

Follow Along

@sugarandsparrowco

BROWN BUTTER CHOCOLATE CHIP COOKIE BARS 🤎 (recipe BROWN BUTTER CHOCOLATE CHIP COOKIE BARS 🤎 (recipe below) These disappear in MINUTES every time and they couldn’t be easier!! Brown butter gives them the perfect rich, caramelized flavor notes and there are a few other special ingredients that make them thick, fudgy, and so irresistible.

Full recipe at https://sugarandsparrow.com/brown-butter-chocolate-chip-cookie-bars/ 

INGREDIENTS
10 Tbsp (141g) unsalted butter
1/2 Cup (100g) packed light or dark brown sugar
1/3 Cup (67g) granulated sugar
1 large egg
1 large egg yolk
2 tsp pure vanilla extract
1/2 tsp cornstarch
1/2 tsp baking soda
1/4 tsp baking powder
1/2 tsp salt
1 1/2 Cups (199g) all-purpose flour
1 Cup (175g) semi-sweet chocolate chips

INSTRUCTIONS
1. Add the butter into a large frying pan and cook over medium heat until the butter melts, stirring occasionally. Cook for another 2-5 minutes while stirring constantly and watching closely. Once you see little flecks of milk solids turn medium brown (without crossing over into the burnt/dark brown territory), remove from heat and transfer to a glass container.
2. Preheat the oven to 350ºF (177ºC). Grease and line an 8-inch square baking pan with a parchment paper overhang.
3. In a large bowl, combine the sugars and brown butter. Whisk in the the egg, egg yolk, and vanilla until uniform, then whisk in the cornstarch, baking soda, baking powder, and salt.
4. Fold in the flour until smooth cookie dough forms. Set aside 1/4 Cup of the chocolate chips, then fold in the remaining chocolate chips.
5. Press the cookie dough into the prepared pan in an even layer. Sprinkle the reserved chocolate chips on top and press them in, then bake for 17-20 minutes, until evenly puffed and the edges are lightly golden. It might seem soft in the middle but don’t be tempted to over-bake! 
6. Let the cookie bars cool in the pan for about 30 minutes, then transfer to a wire rack to cool completely to room temperature before slicing into squares (or enjoy warm!).

#brownbutter #cookiebars #chocolatechipcookies #dessertlover #easydessert
KEY LIME PIE CAKE 💚 everything I love about key li KEY LIME PIE CAKE 💚 everything I love about key lime pie, in layer cake form! It’s soft key lime cake filled with homemade key lime curd and buttery graham cracker crumble, frosted with tangy key lime buttercream. The IDEAL summer cake and it honestly might be better than the pie if you ask me 🙃

Get the full recipe link in my bio or at https://sugarandsparrow.com/key-lime-pie-cake/ 

#keylimepie #keylimecake #keylime #cakedecorating #layercake
LEMON RASPBERRY CAKE 🍋♥️ this cake has the dreamie LEMON RASPBERRY CAKE 🍋♥️ this cake has the dreamiest layers: soft and zesty lemon cake with raspberries baked into every bite, thick homemade raspberry filling, and lemon raspberry buttercream with the prettiest natural color 😍 
 
✨recipe linked in my bio or at https://sugarandsparrow.com/lemon-raspberry-layer-cake/
 
#lemonraspberry #lemoncake #raspberrycake #pinkcake #layercake
SALTED CARAMEL BUTTERCREAM ✨I could eat this salty SALTED CARAMEL BUTTERCREAM ✨I could eat this salty-sweet caramel frosting by the spoonful but it’s absolutely delicious on cakes, cupcakes, macarons, and more 🙌🏽 I use my homemade EASY salted caramel recipe here but you can use any salted caramel sauce that you love.⁣

✨Full recipe (including homemade salted caramel) + cake pairing suggestions are on my blog at https://sugarandsparrow.com/salted-caramel-buttercream-recipe/ 
⁣
SALTED CARAMEL BUTTERCREAM⁣
Yield: 2.5 Cups ⁣
⁣
INGREDIENTS⁣
1 Cup (226g) unsalted butter, room temperature⁣
3 1/2 Cups (420g) powdered sugar⁣
2 tsp vanilla extract⁣
1/2 Cup (120ml) salted caramel sauce, room temperature⁣
Pinch of salt⁣
⁣
INSTRUCTIONS:⁣
1. In a stand mixer fitted with the paddle attachment, whip the butter on high until it’s creamy and light in color, 5-6 minutes. ⁣
2. Turn the mixer to low and add the powdered sugar a few cups at a time, scraping down the bowl and paddle after each interval.⁣
3. With the mixer still on low, mix in the vanilla extract, salted caramel, and a pinch of salt. Continue mixing on low speed until fully combined. ⁣
⁣
#saltedcaramel #caramel #cakedecorating #frosting #buttercream
NO-CHURN BERRY CRISP ICE CREAM✨you don’t need any NO-CHURN BERRY CRISP ICE CREAM✨you don’t need any fancy equipment to whip up this delicious ice cream that tastes JUST like berry crisp a la mode! I layered my favorite 3-ingredient no-churn vanilla ice cream base with ribbons of homemade berry filling + buttery oat streusel in every bite. Even if you’ve never made ice cream from scratch before, I promise you can master this recipe!! 
 
🍦Full recipe linked in my bio or find it at https://sugarandsparrow.com/no-churn-berry-crisp-ice-cream/

#nochurnicecream #icecream #icecreamlover #berries #summerdessert

Footer

On the Blog

  • Cake Basics
  • Recipes
  • Tutorials

Info

  • About
  • Privacy Policy & Disclosure

stay in the know

Copyright © 2026 · Theme by Sugar & Sparrow