• Cake
  • Frosting
  • YouTube
  • My Favorite Tools
  • Nav Social Icons

  • Skip to primary navigation
  • Skip to main content
  • Skip to primary sidebar
  • Skip to footer
  • Recipes
    • Cake
    • Cupcakes
    • Frosting
    • Ice Cream
    • Vegan
  • Cake Basics
  • Tutorials
  • Blog
  • About
  • Mobile Menu Widgets

    Connect

    Search

Sugar & Sparrow logo in script font

Sugar & Sparrow

Lifestyle and Cake from Portland Oregon

  • Cake Basics
  • Recipes
    • Cake
    • Cupcakes
    • Cookies & Bars
    • Filling
    • Frosting
    • Ice Cream
    • No-Bake
    • Small Batch
    • Vegan
  • Tutorials
  • Book
  • Blog
  • About

No-Churn Vanilla Ice Cream Recipe (with Video!)

August 6, 2026 · In: Featured, Ice Cream, Recipes, Seasonal, Summer

Jump to Recipe

You’ll be AMAZED at how easy it is to make delicious homemade vanilla ice cream using the no-churn method (no need for an ice cream maker)! It only takes four ingredients and sets into the perfect creamy and velvety, yet firm and scoopable consistency in the freezer. You can use vanilla extract, vanilla bean paste, or an actual vanilla bean to flavor this ice cream beautifully. And while it’s absolutely delicious all on its own, it also makes the perfect base recipe for creating all kinds of other flavors! A few of my favorite mix-ins and flavor ideas are listed at the end of this blog post. 
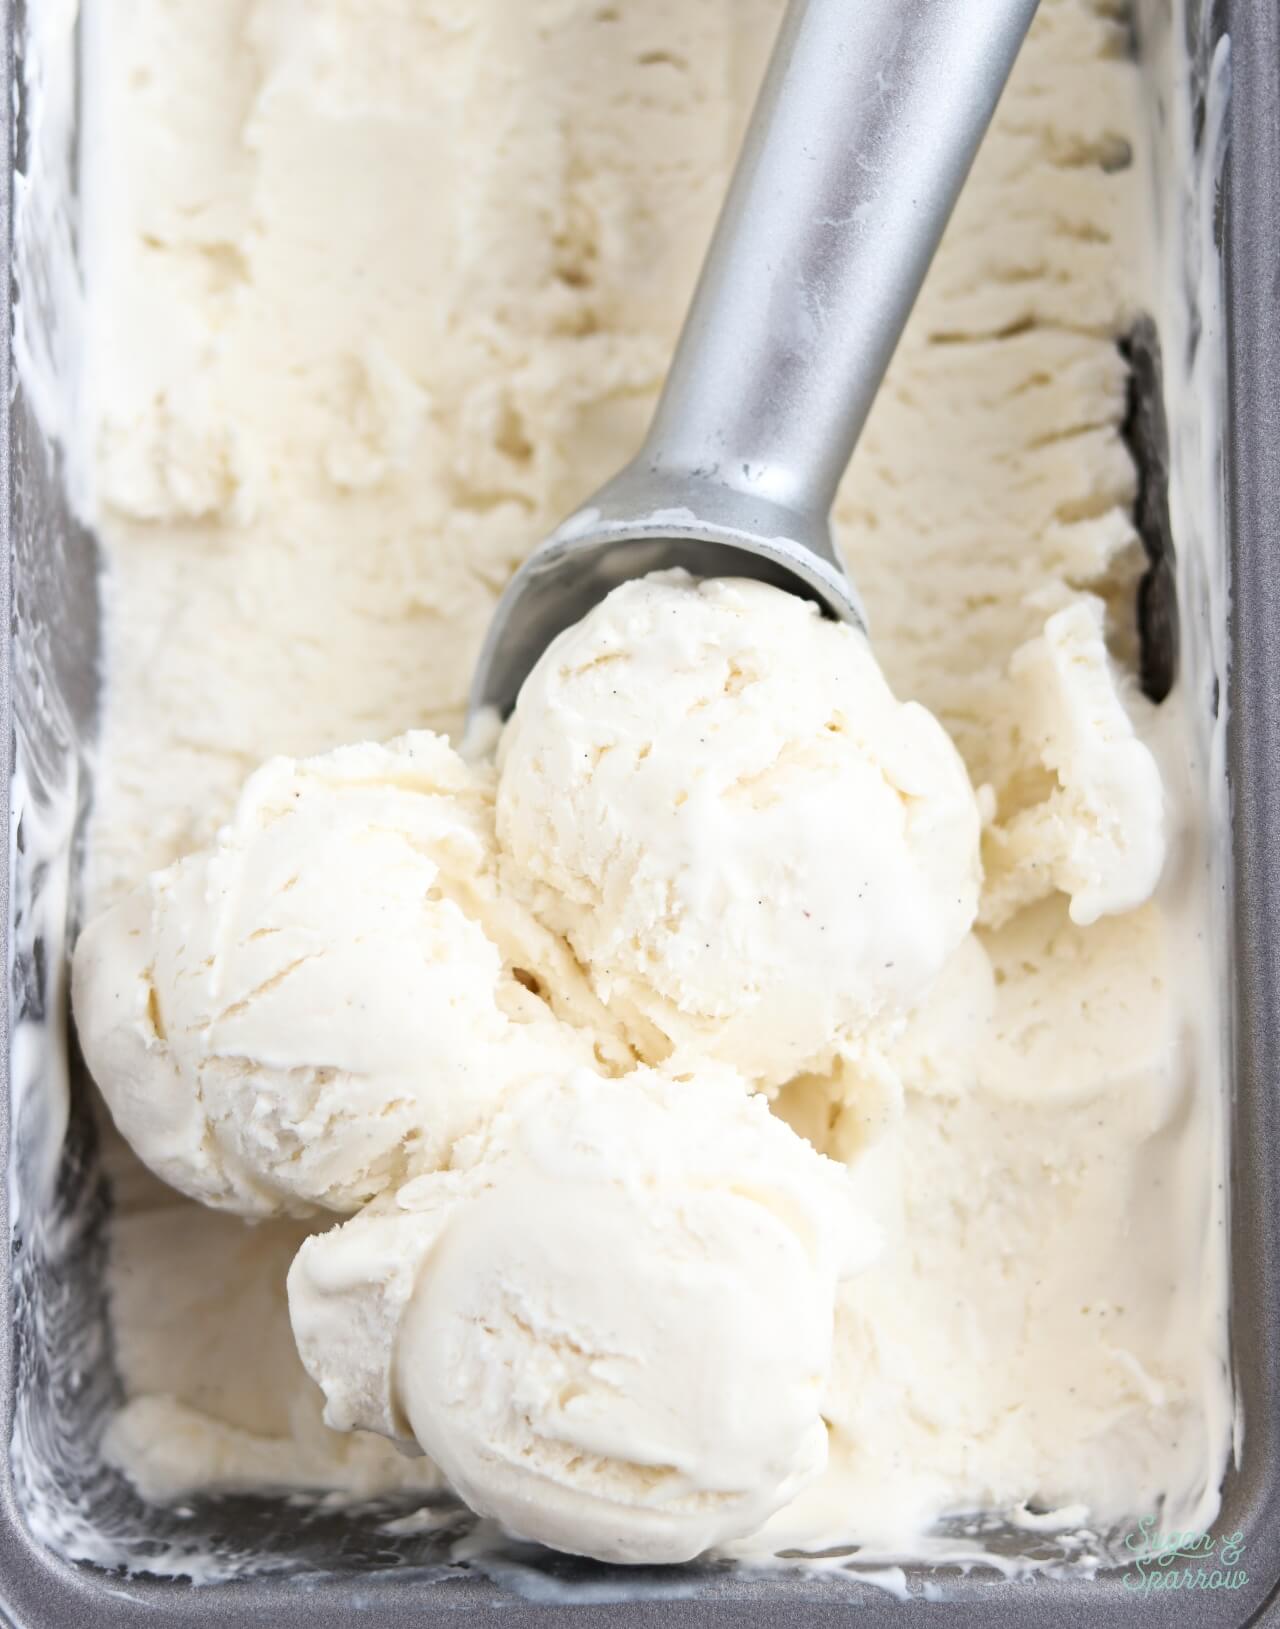
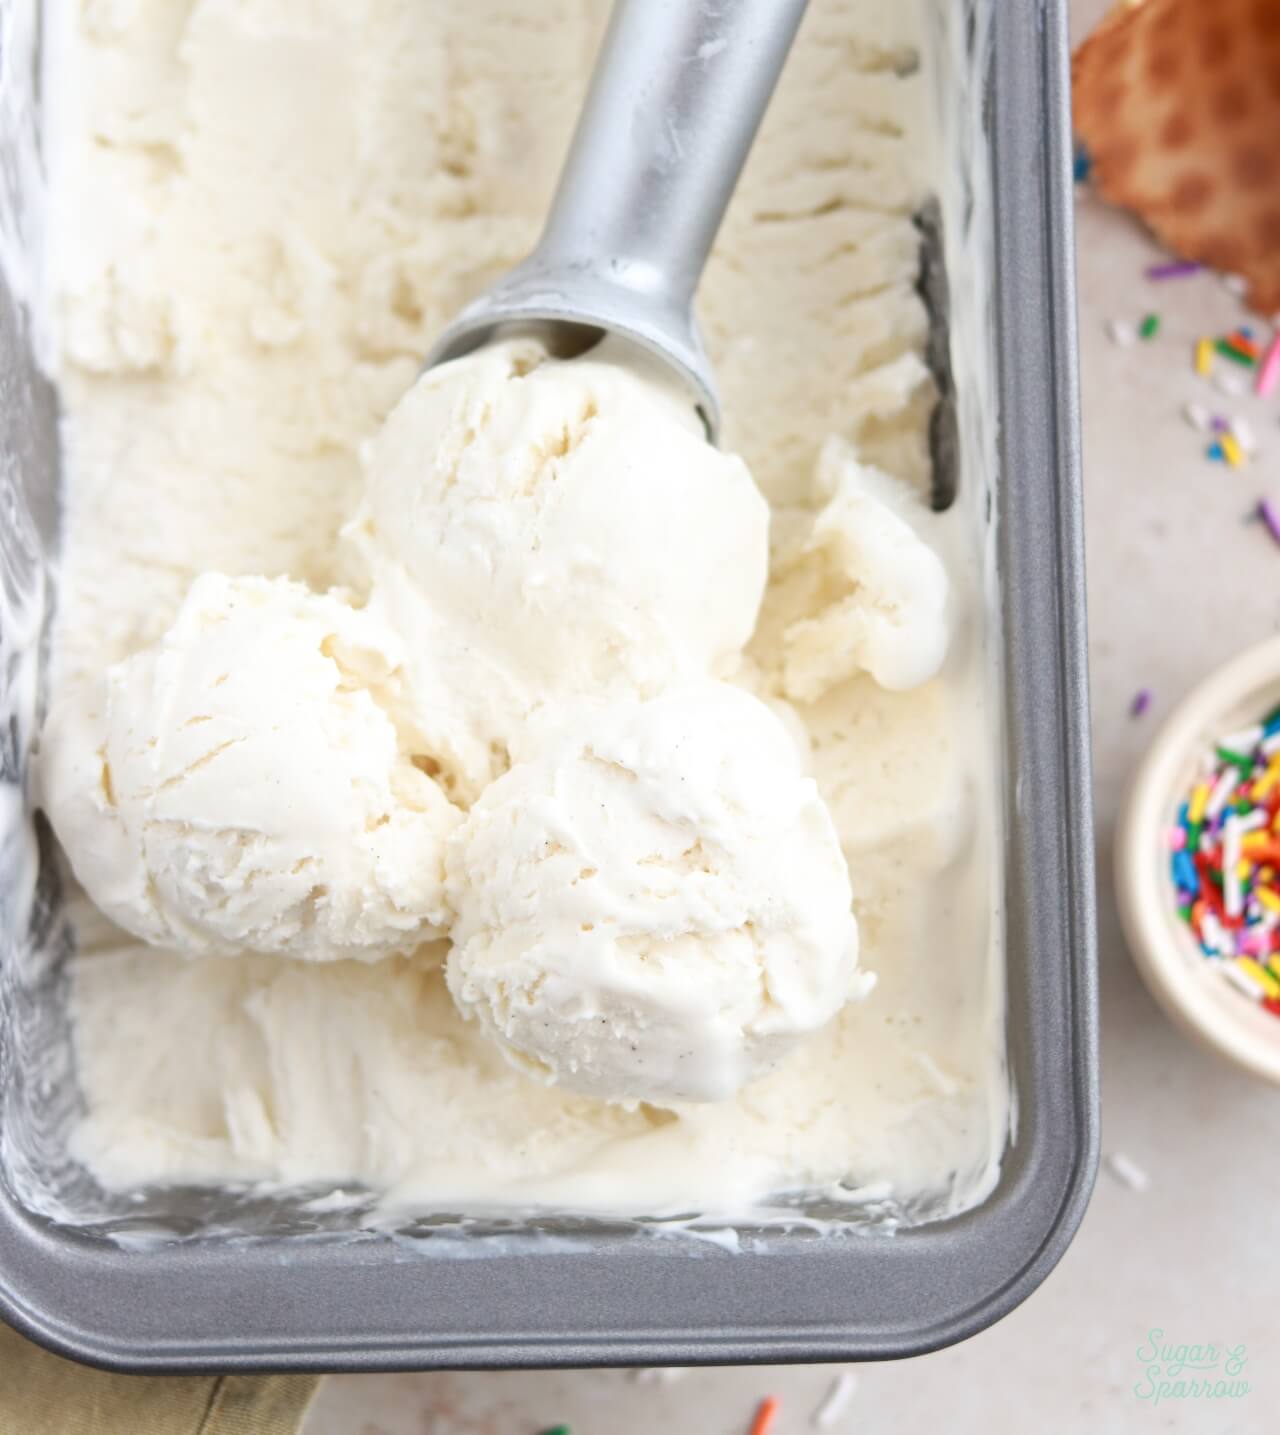
no-churn vanilla ice cream scoops in a loaf pan
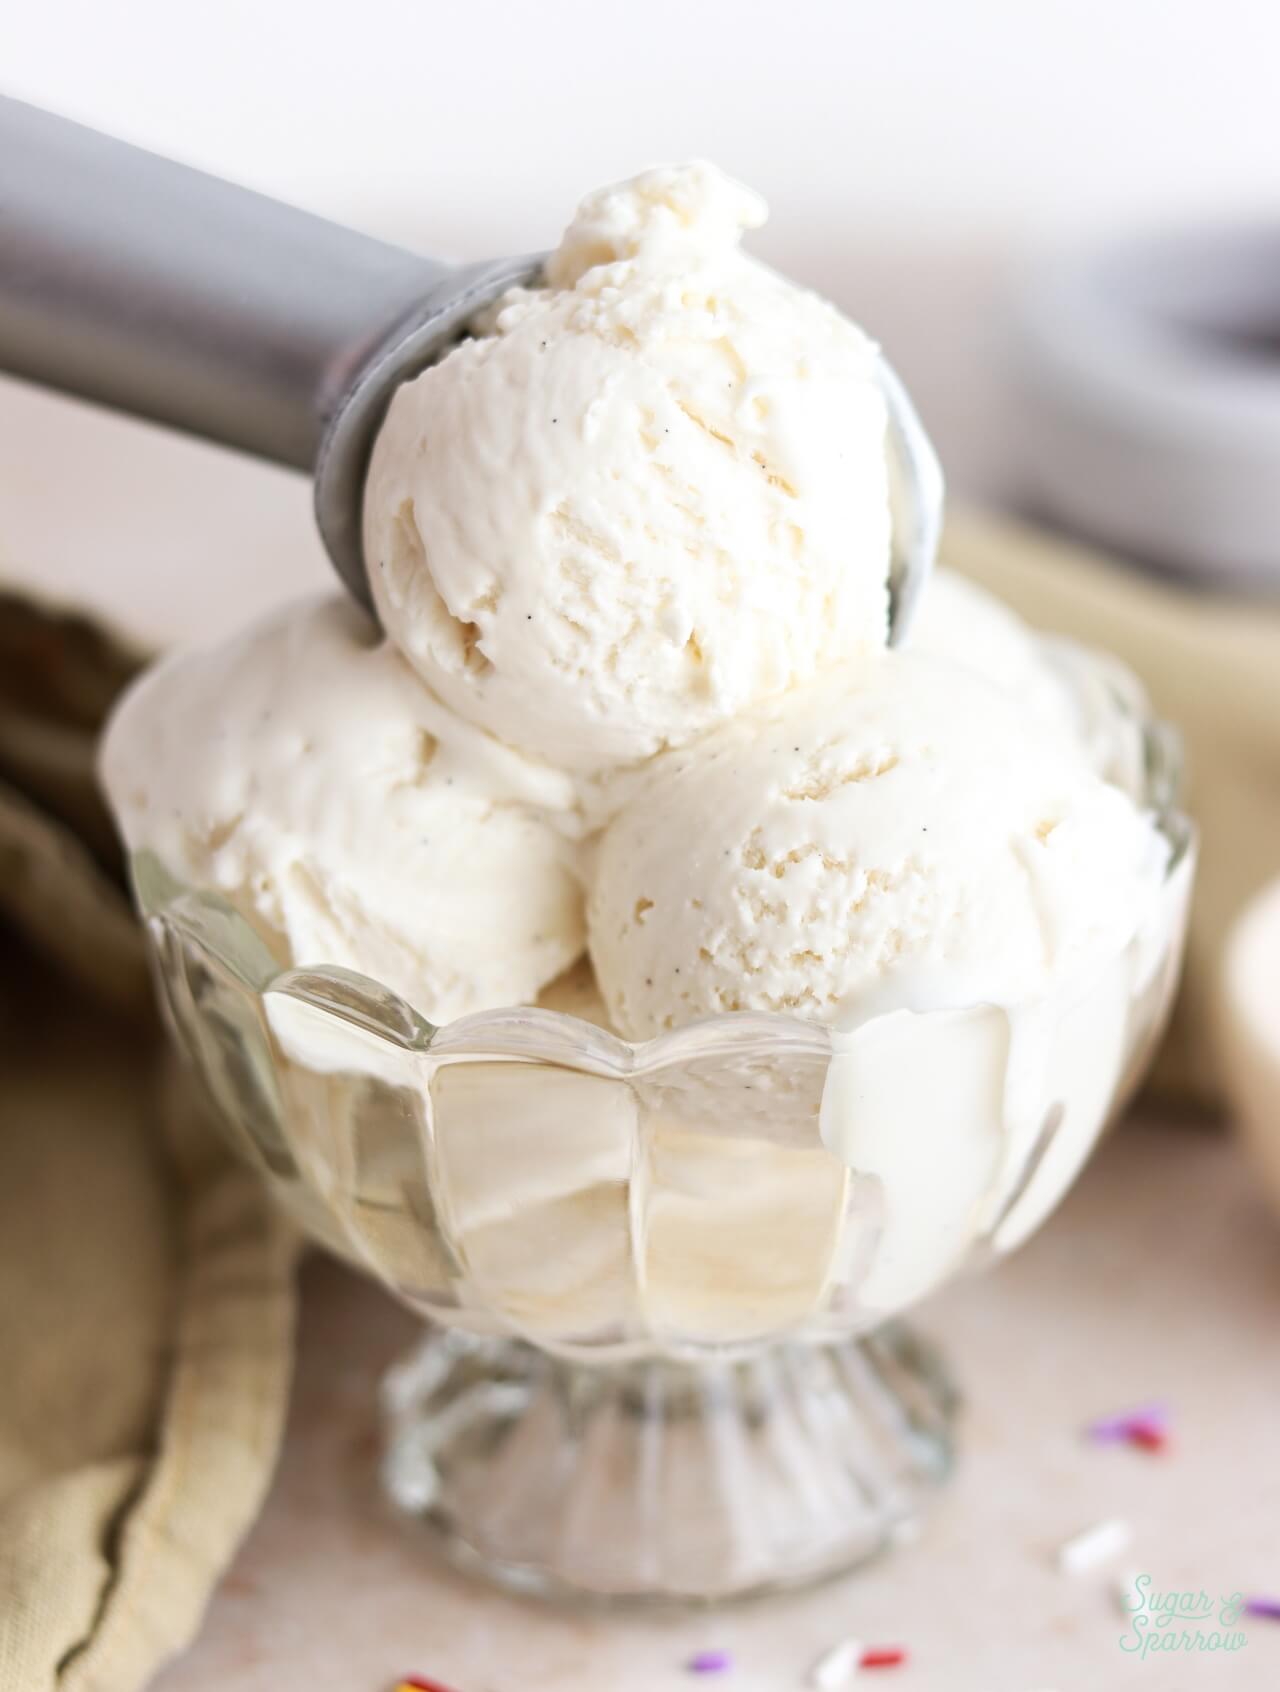
no-churn vanilla ice cream scoops in a glass dish

No-Churn Vanilla Ice Cream Ingredients

There are just four ingredients that go into this no-churn vanilla ice cream recipe:

  • Heavy Whipping Cream. After beating to stiff peaks, the heavy whipping cream is folded together with the rest of the ingredients to add structure and create that creamy, velvety texture.
  • Sweetened Condensed Milk. Not only sweetens the ice cream but also acts as the foundation for the ice cream flavor. 
  • Vanilla. You can use vanilla extract, vanilla bean paste, or a vanilla bean for flavoring this ice cream! I used vanilla bean paste for ice cream pictured and love seeing the little vanilla bean flecks.
  • Pinch of Salt. To balance the sweetness beautifully. 
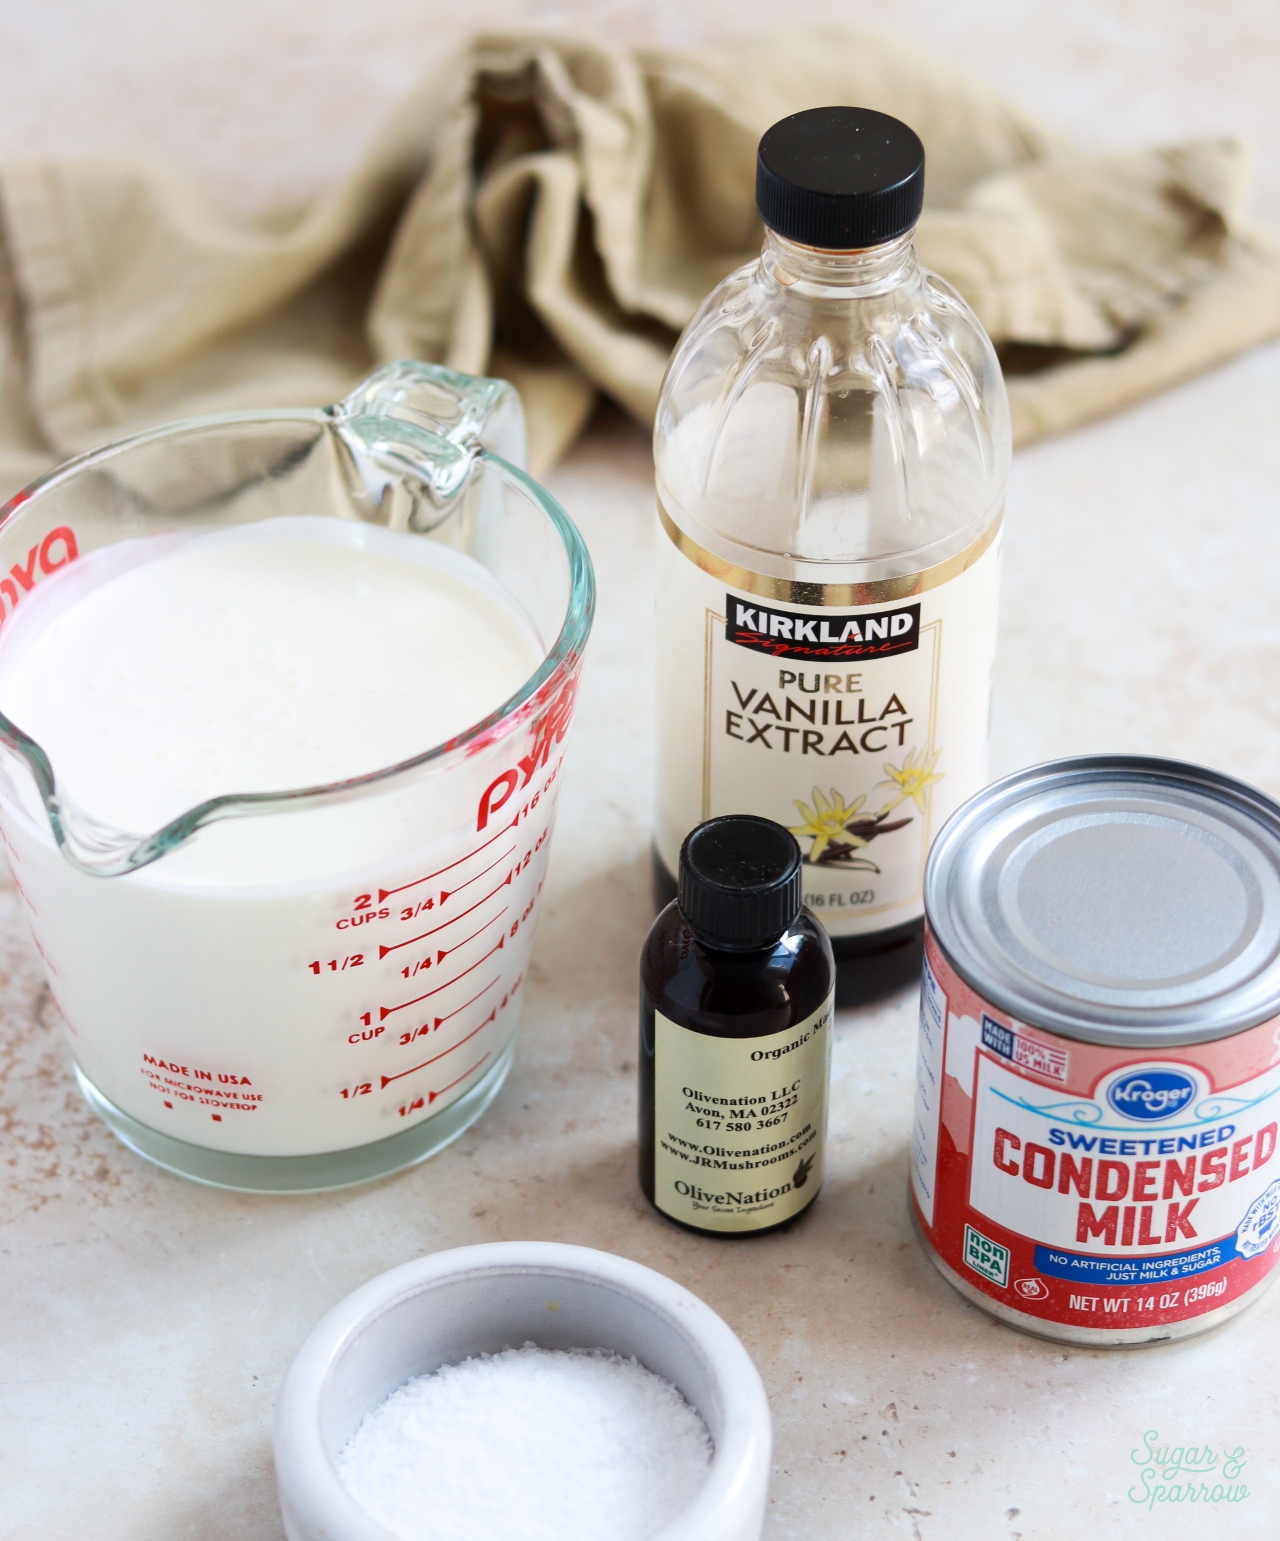
no churn vanilla ice cream ingredients

How to Make No-Churn Vanilla Ice Cream

Beat the Heavy Whipping Cream

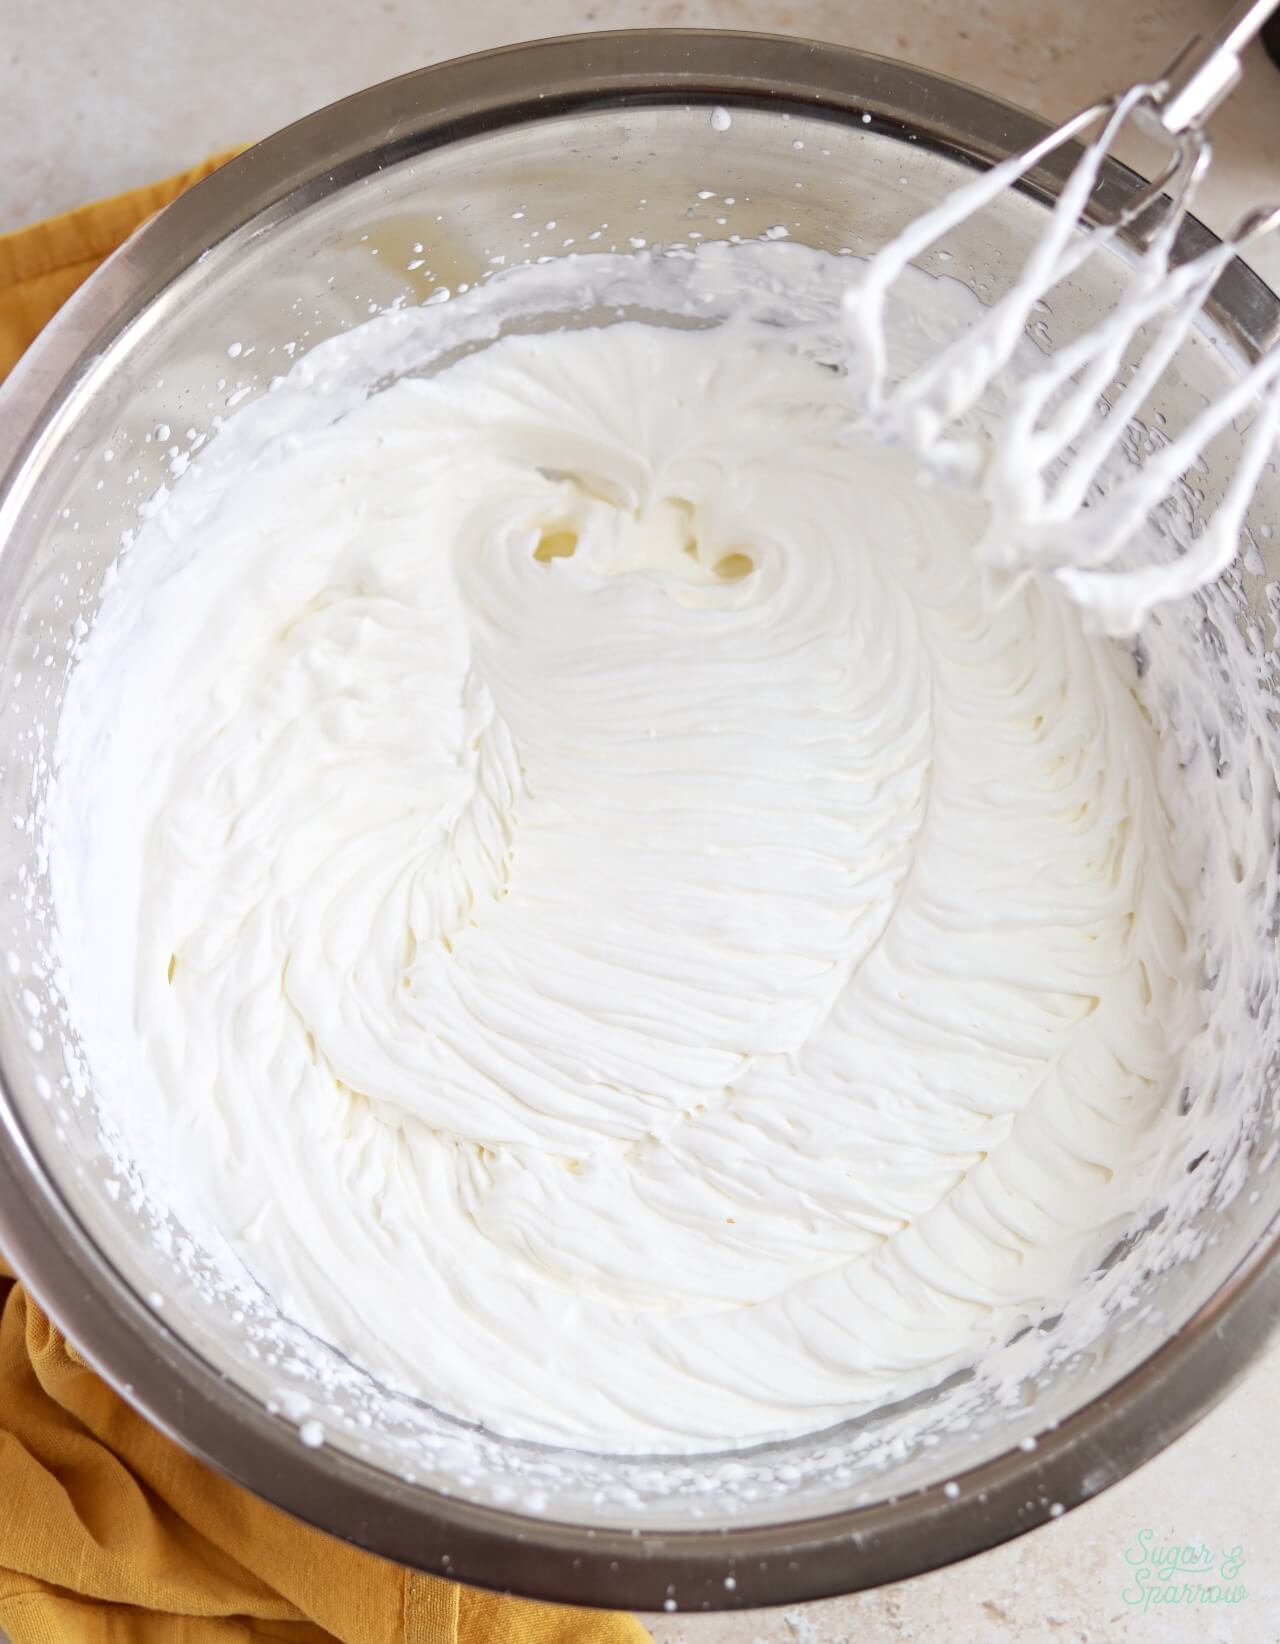
In a large chilled bowl, beat the heavy whipping cream to stiff peaks and place back in the refrigerator. 
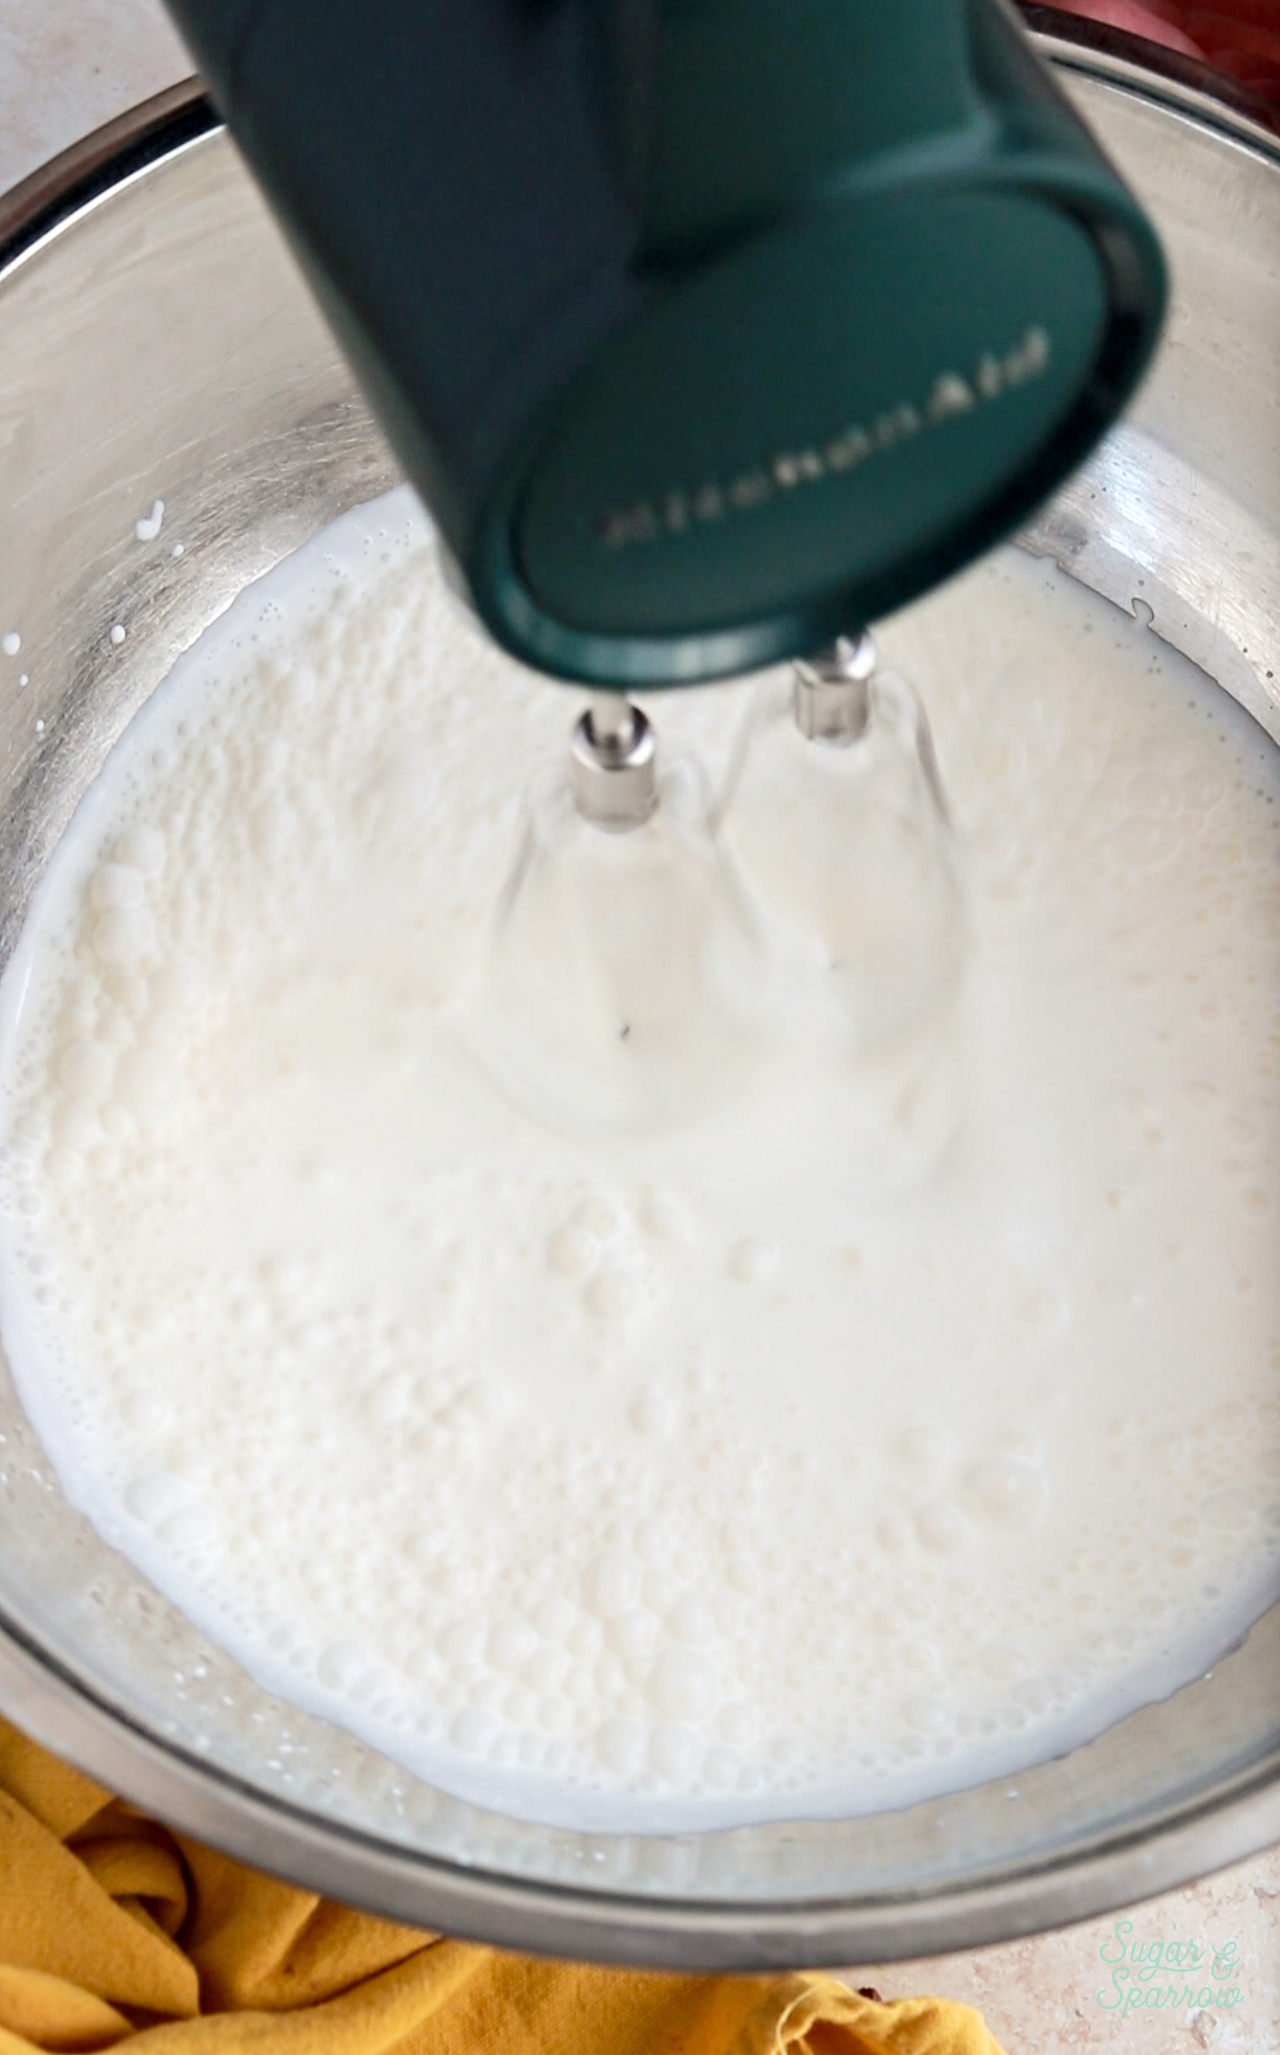
making no churn ice cream with heavy whipping cream
heavy whipping cream stiff peaks

Combine the Rest of the Ingredients

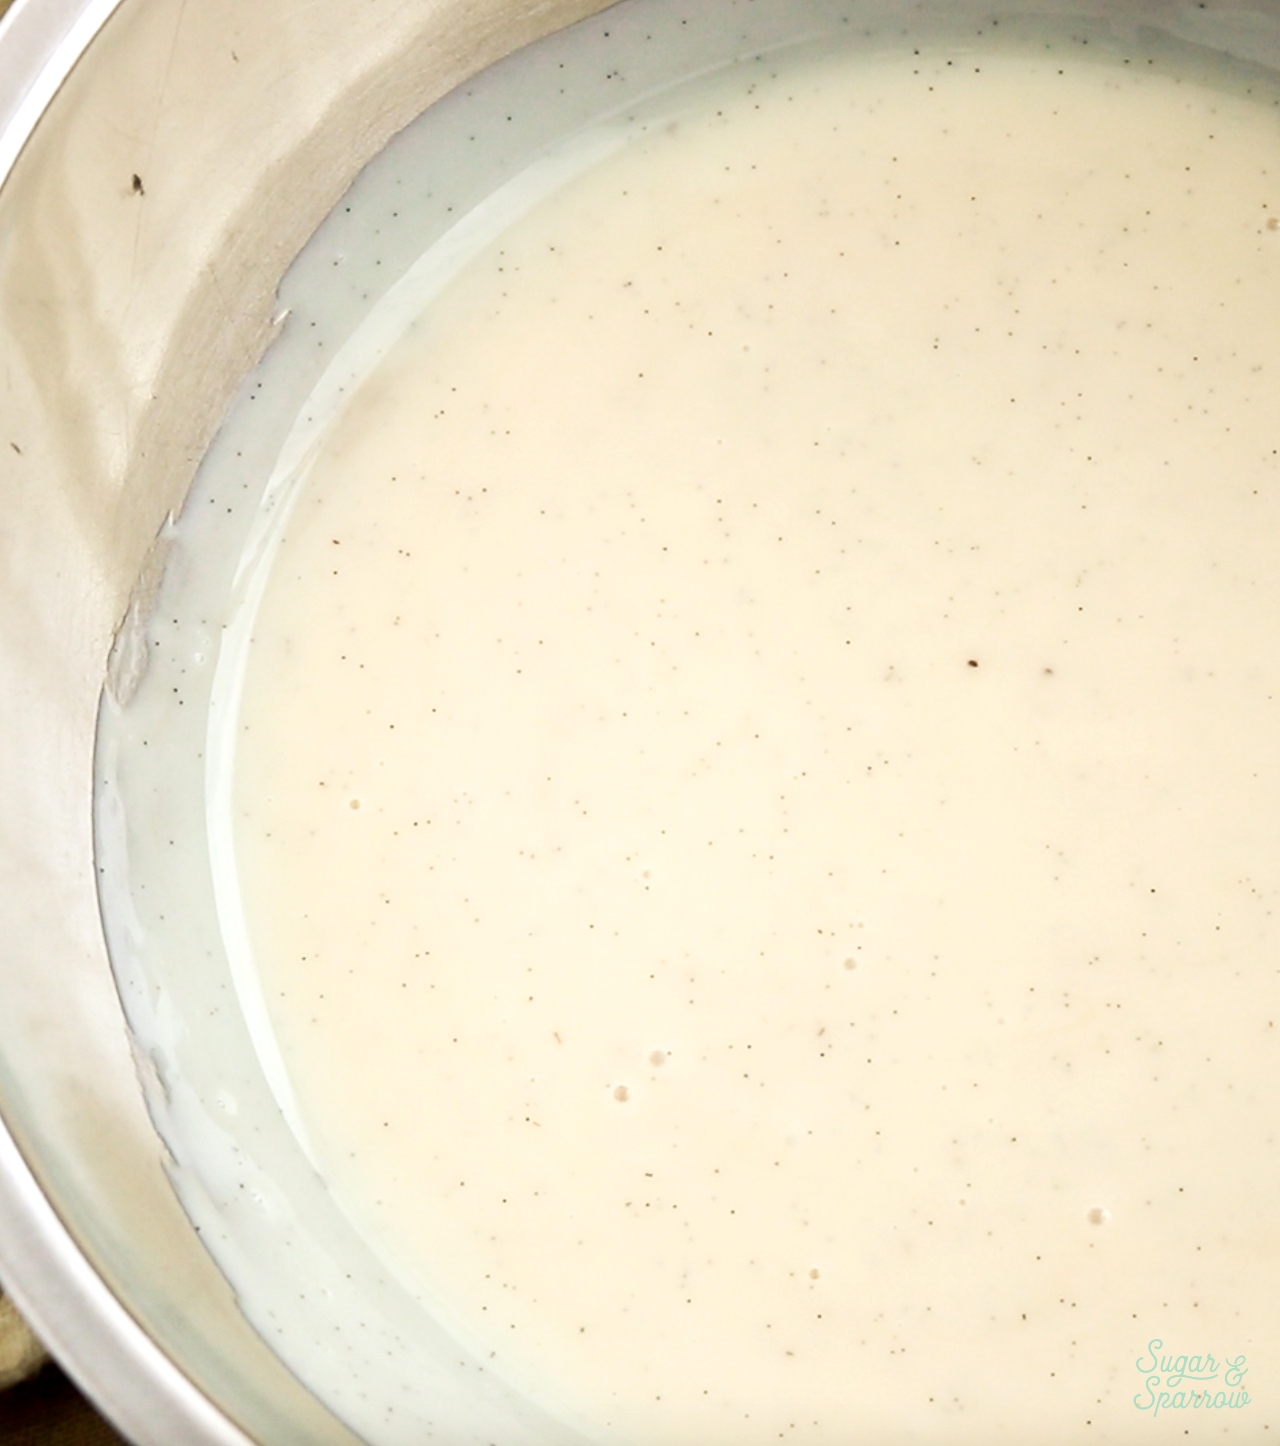
Pour the sweetened condensed milk into a medium bowl, then whisk in the vanilla and a pinch of salt. 
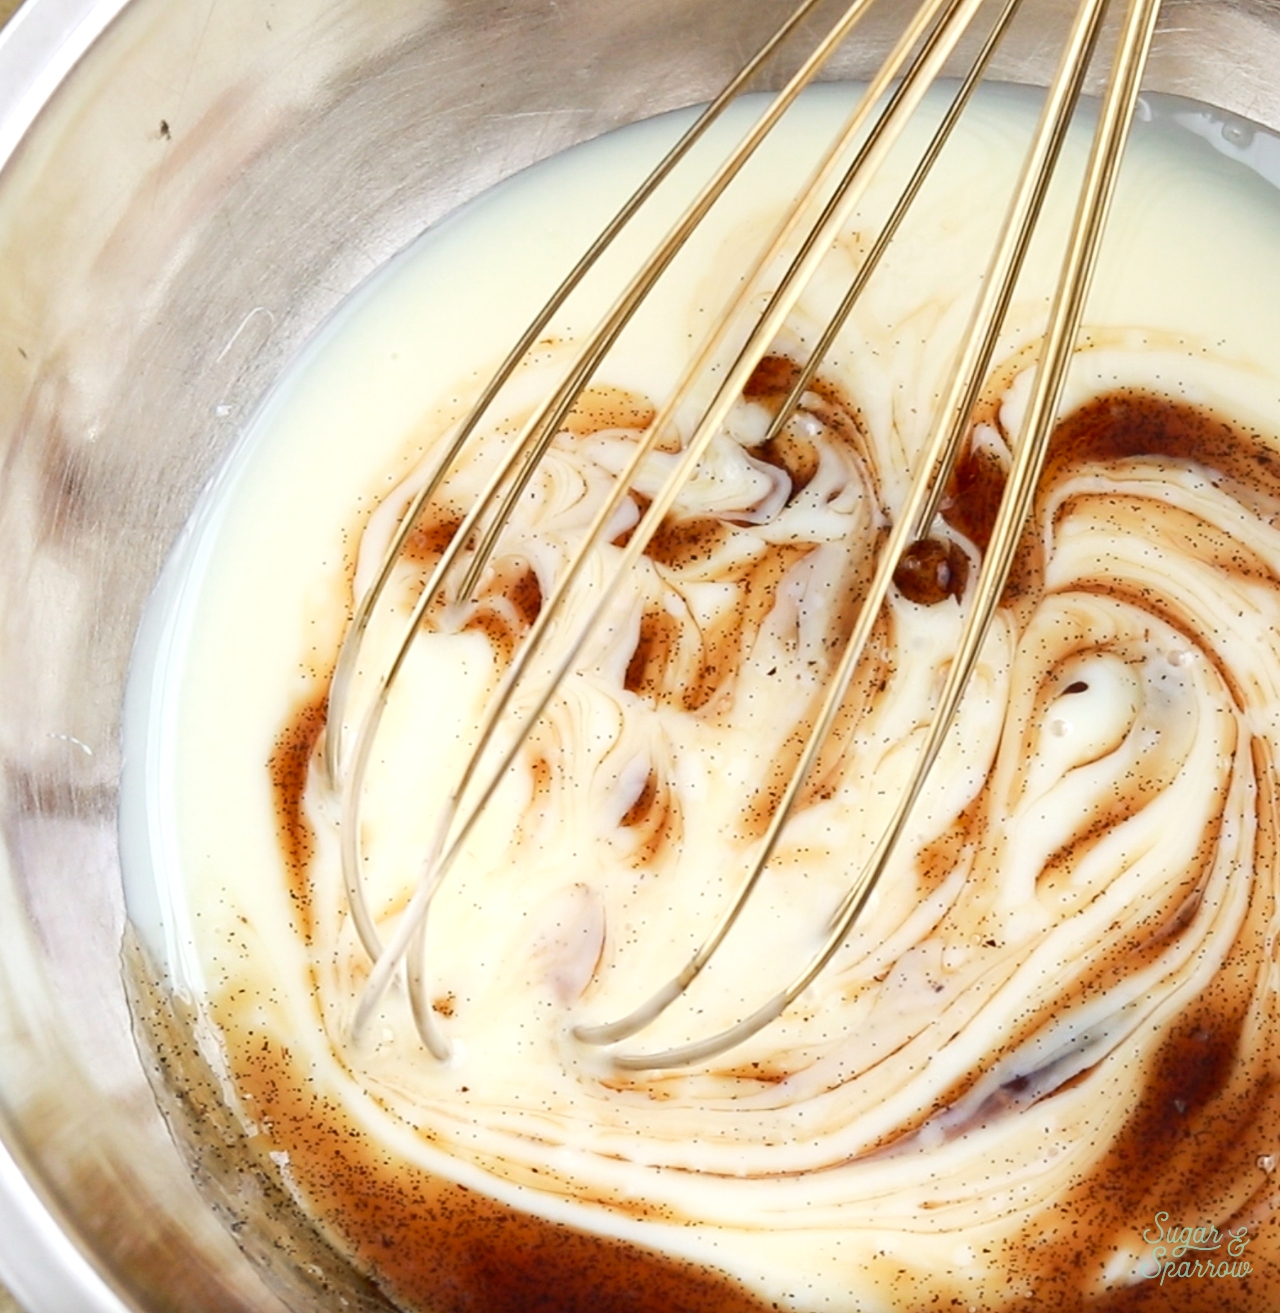
making no churn vanilla ice cream with vanilla bean paste
no churn vanilla bean ice cream recipe

Fold with the Heavy Whipping Cream

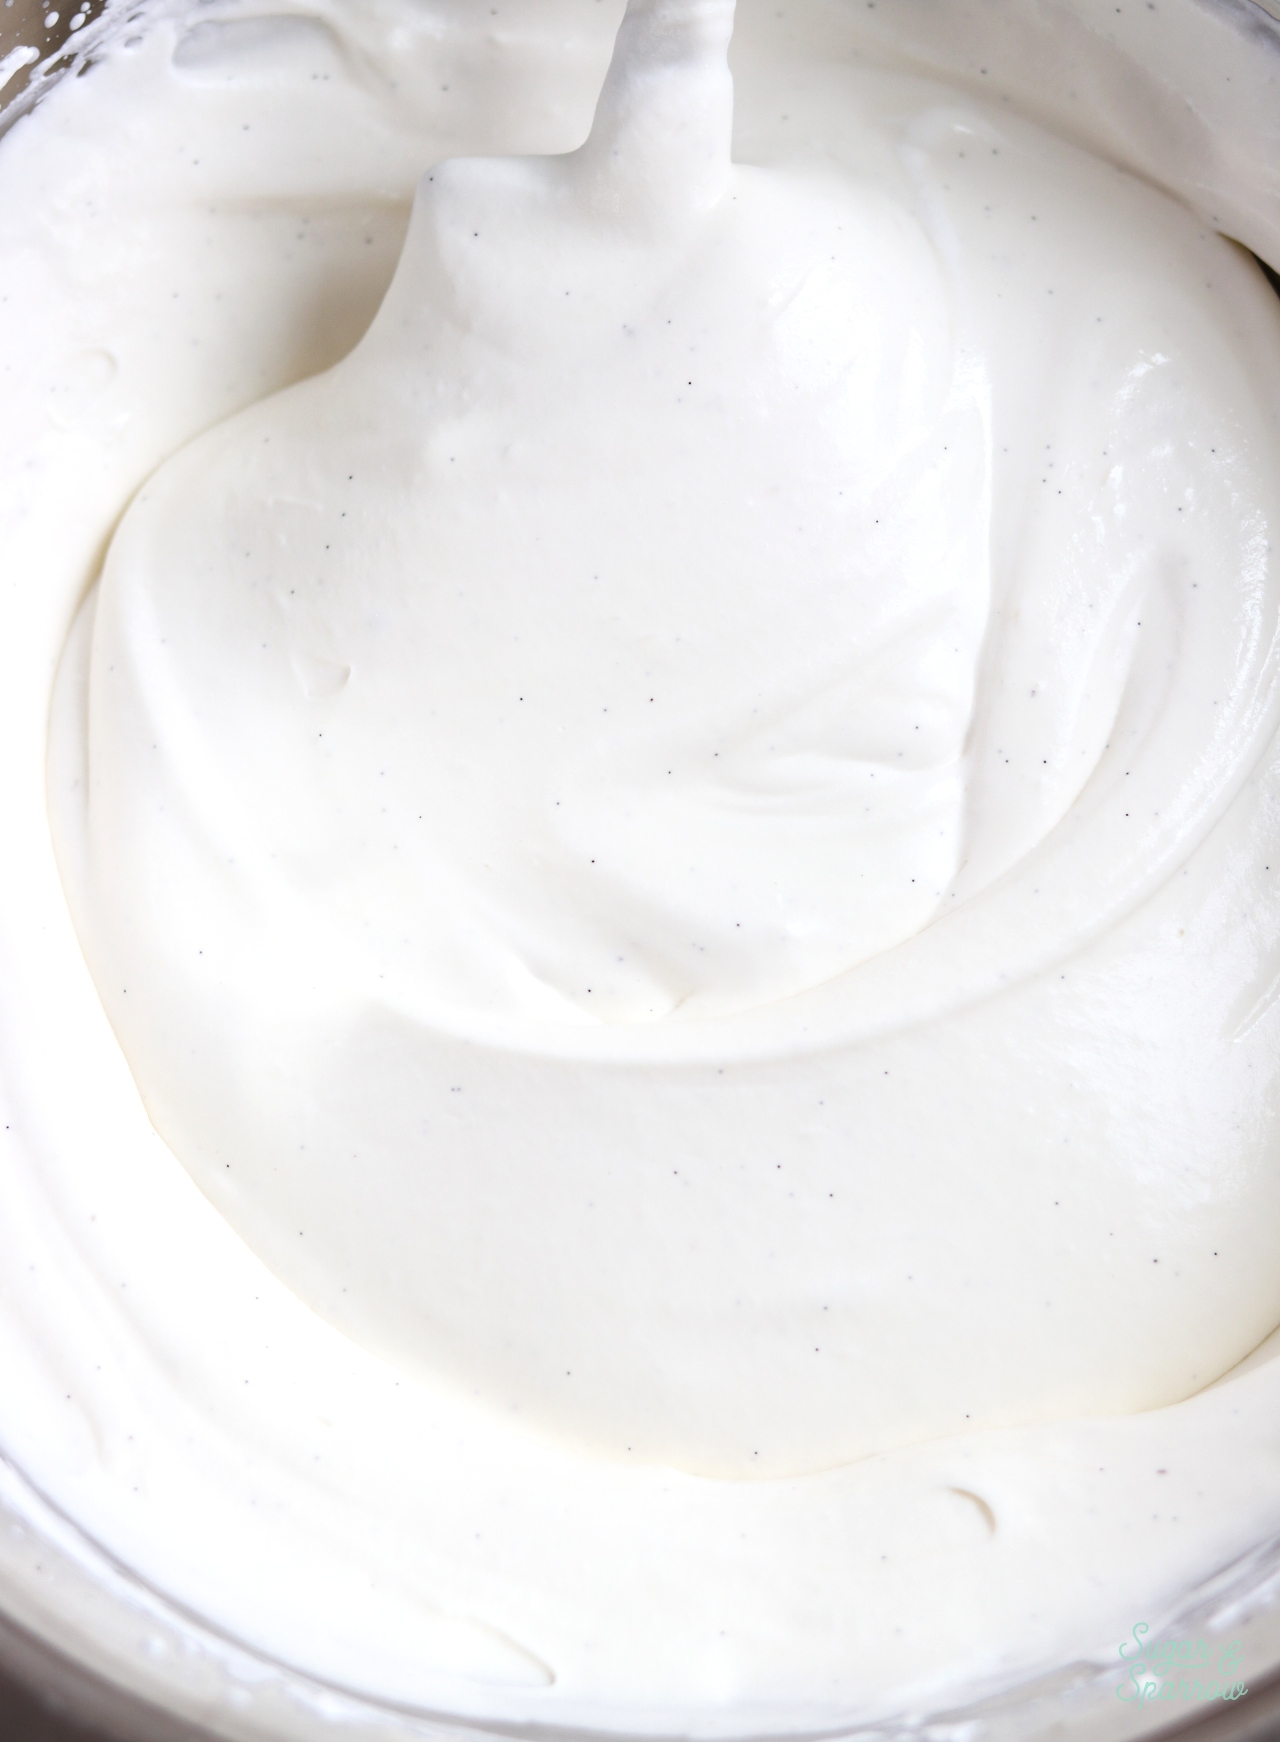
Pour the vanilla condensed milk mixture into the whipped cream and fold until well combined. 
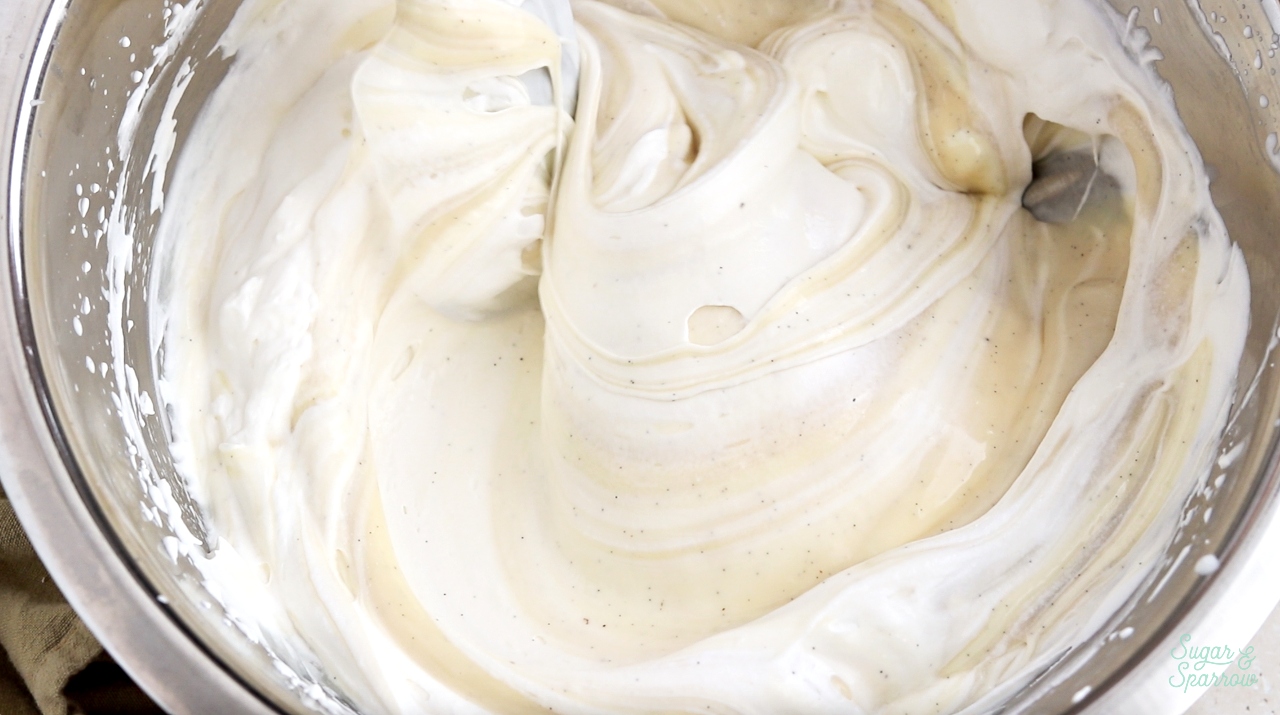
folding sweetened condensed milk into heavy whipping cream
no churn vanilla bean ice cream recipe

Add into a Container and Freeze

Add the vanilla ice cream mixture into a container (I always use a loaf pan), then cover with aluminum foil or plastic wrap and freeze overnight (or for 6-8 hours). 
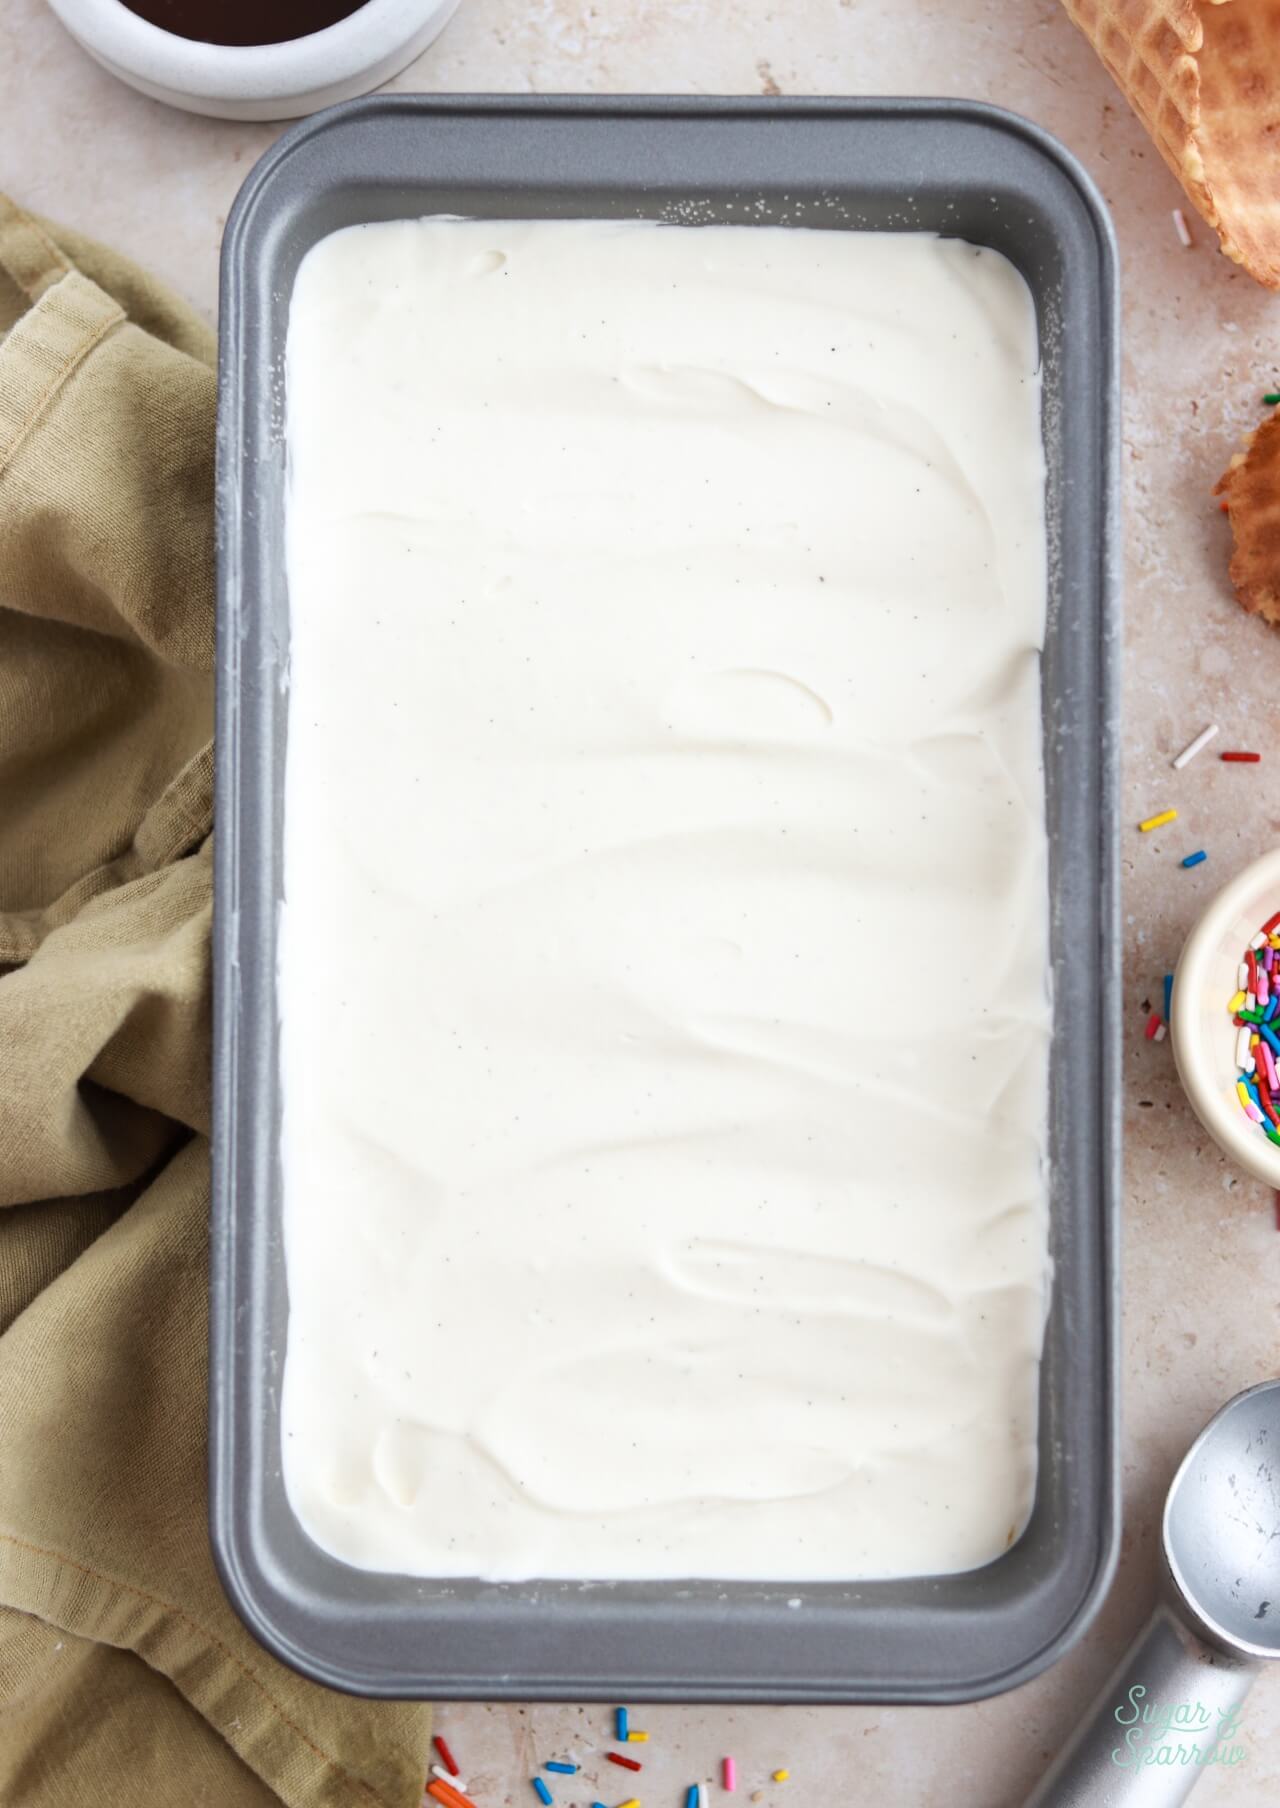
no churn vanilla ice cream in a loaf pan

No-Churn Vanilla Ice Cream Video Tutorial

Here’s a quick video I made to show you the entire process of making this no-churn vanilla ice cream. Be sure to subscribe to my YouTube channel for more recipe videos like this one! 

No-Churn Vanilla Ice Cream Toppings & Mix-In Ideas 

One of my favorite things about no-churn ice cream is that you can mix in all kinds of things to create other flavors. Just be sure to limit the amount of add-ins to 2 cups or less so your loaf pan isn’t overflowing. Here are a few of my favorite ideas for a no-churn vanilla ice cream base. 

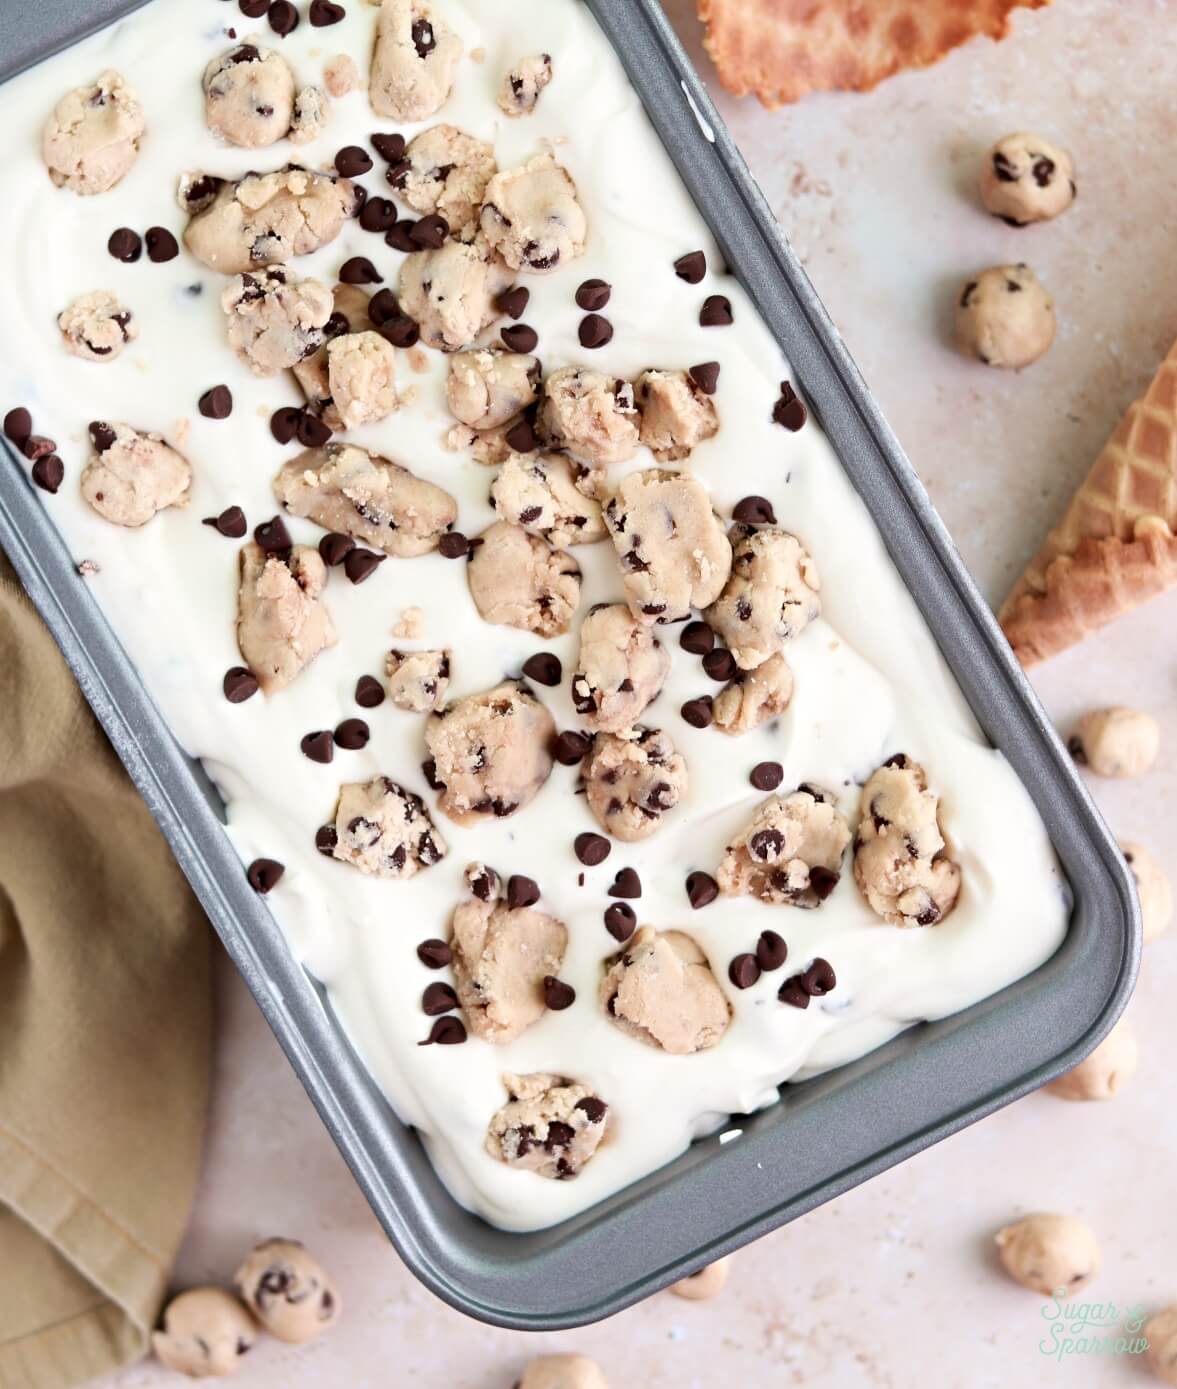
  • Cookie Dough. Fold in ½ batch of my edible chocolate chip cookie dough to create cookie dough ice cream.
  • S’mores. My no-churn s’mores ice cream recipe uses this vanilla ice cream base, but with graham crackers and toasted mini marshmallows folded in, plus ribbons of marshmallow creme and fudge sauce.
  • Chopped Oreos. Add up to 2 cups of chopped Oreos (or any crunchy cookie) to make cookies & cream ice cream! 
  • Coffee. Add 2 tablespoons of instant espresso powder to the sweetened condensed milk to make coffee ice cream! This flavor is amazing with mini chocolate chips or a chopped chocolate bar folded in at the end too. 
  • Fruit Preserves. Ribbon the vanilla ice cream in the loaf pan with fruit preserves for pockets of jammy goodness! 
  • Caramel Ribbons. Swirl the ice cream in the loaf pan with ribbons of thick caramel sauce or salted caramel.
  • Mint Chocolate Chip. Make mint chocolate chip by adding 1 teaspoon of mint extract to the condensed milk mixture and folding in 1 Cup of chopped chocolate or mini chocolate chips at the end. 
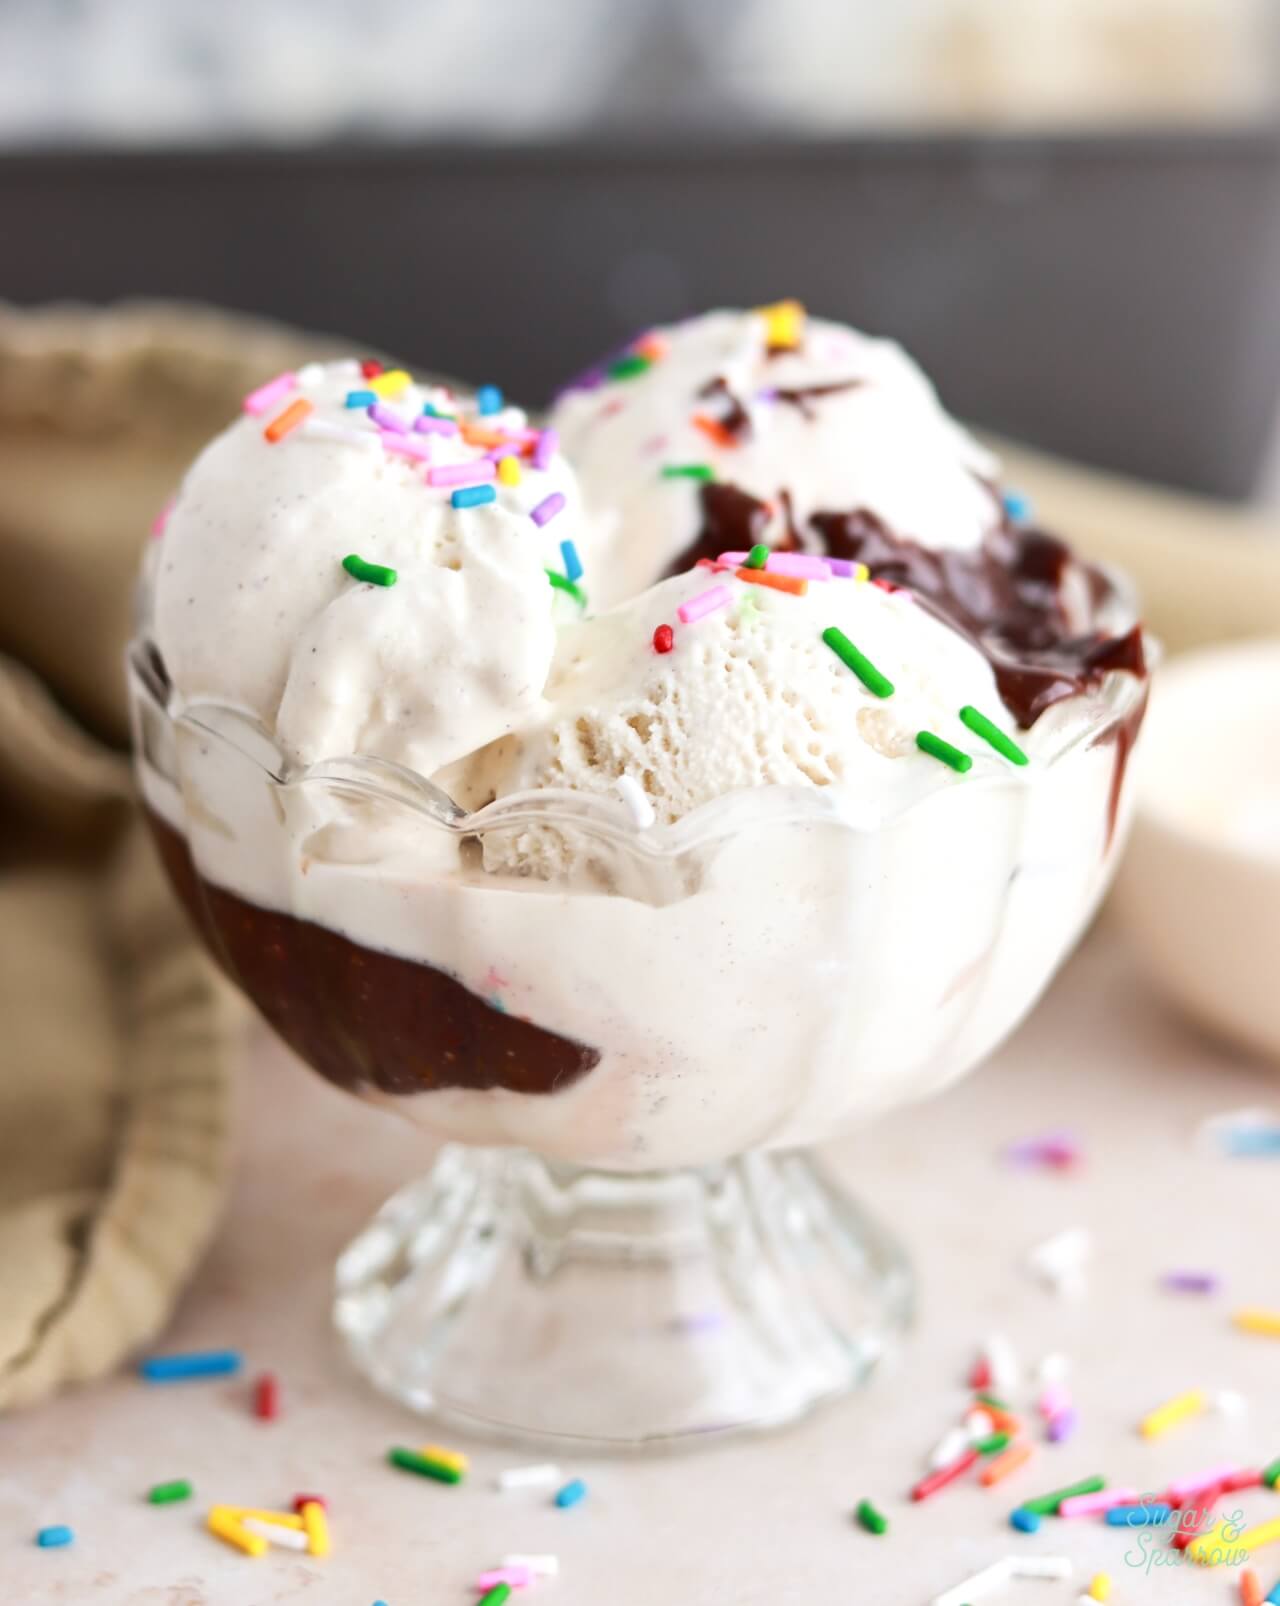
  • Ice Cream Sundae. Top the vanilla ice cream with hot fudge sauce and rainbow sprinkles for a classic ice cream sundae.
no-churn cookie dough ice cream in a loaf pan

No-Churn Ice Cream FAQs

  • How does it work without a machine? Whipping the heavy cream to stiff peaks adds just the right amount of air to make the ice cream structured and smooth, and the sweetened condensed milk lowers the freezing point so it stays creamy and velvety. 
  • Can I use evaporated milk instead of sweetened condensed milk? No. While the cans look similar and they’re often sold right next to each other, evaporated milk and sweetened condensed milk are entirely different and will not work the same. 
  • How do I make a dairy-free no-churn ice cream? Swap the heavy whipping cream for full-fat coconut cream (refrigerated until cold) and the sweetened condensed milk for sweetened condensed coconut milk. 
  • How do I store no-churn ice cream? I always make mine in a loaf pan and cover it with aluminum foil or plastic wrap initially. If you’re planning on storing it for longer than a few days (mine never lasts that long in a house full of boys!), add it into an airtight plastic container and it will keep in the refrigerator for up to 2 months. 
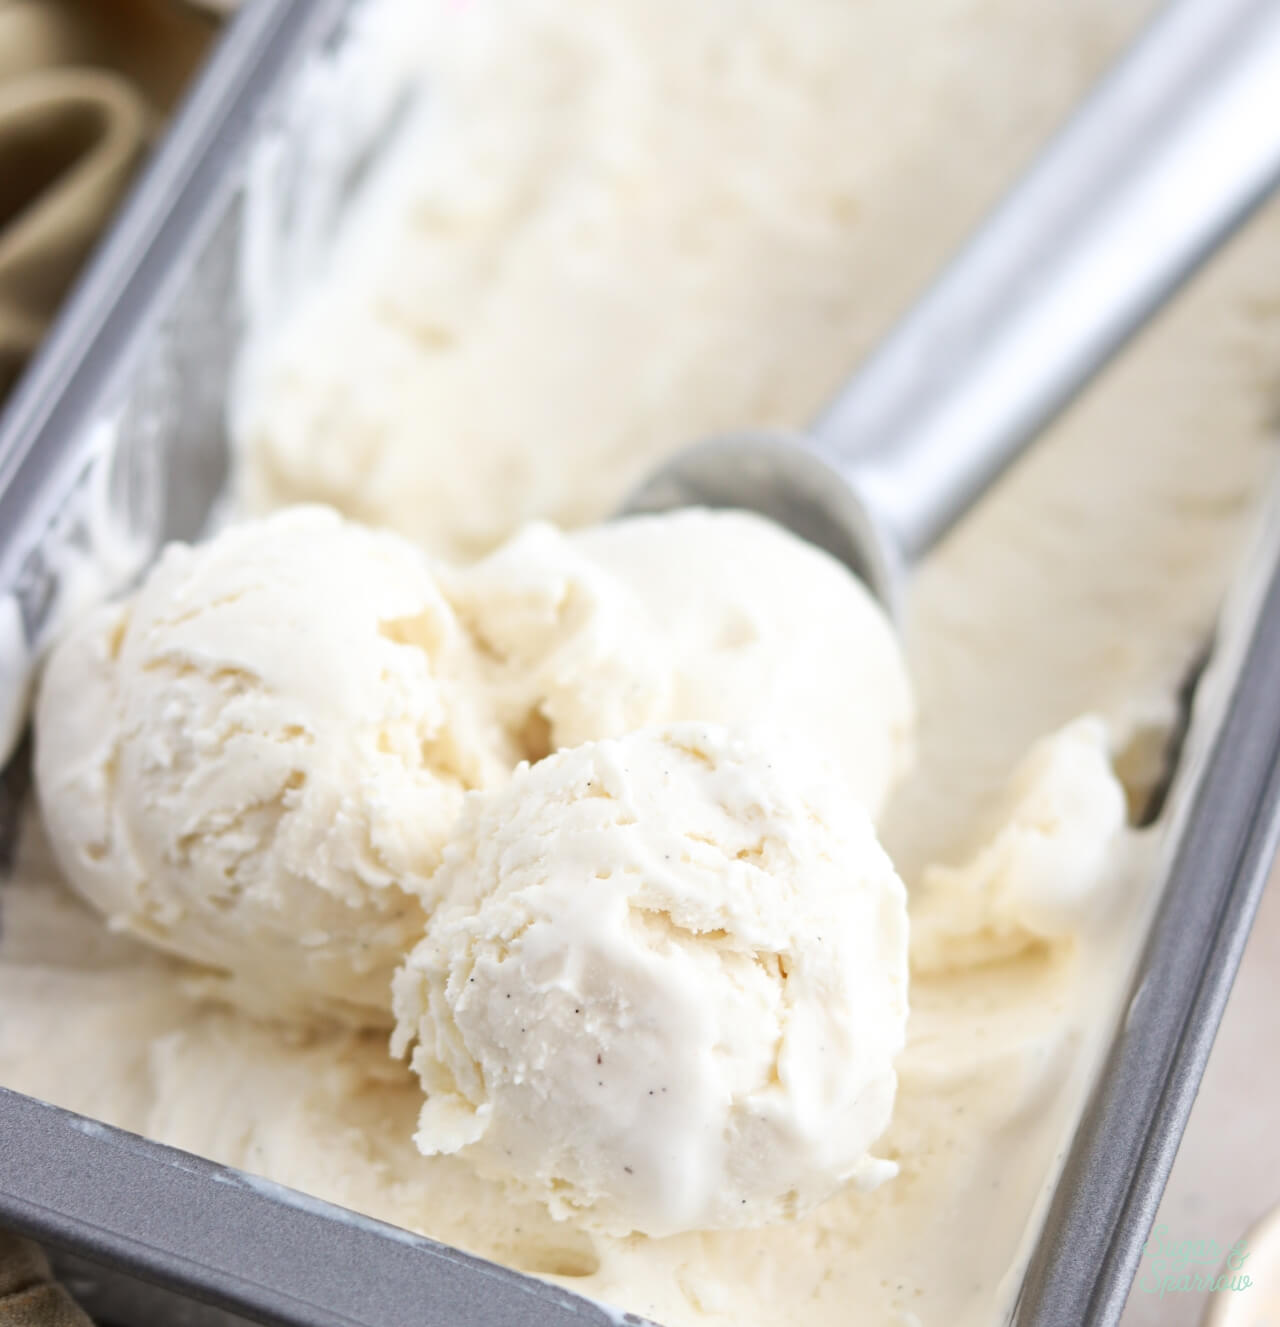
no churn vanilla bean ice cream
easy homemade vanilla ice cream recipe

Try These Recipes Next

If you’re a no-churn ice cream fan now, here are some more recipes from my blog to add to your baking list:

  • No-Churn Berry Crisp Ice Cream
  • No-Churn Strawberry Shortcake Ice Cream
  • No-Churn Mint Chocolate Chip Ice Cream
  • No-Churn Chocolate Ice Cream
  • No-Churn S’mores Ice Cream

I hope you love this homemade vanilla ice cream recipe as much as I do! Let me know what you think in the comments below (don’t forget to rate the recipe!) and feel free to tag @sugarandsparrowco on Instagram to show me a photo.

no churn vanilla ice cream recipe

No-Churn Vanilla Ice Cream

Delicious homemade vanilla ice cream made with just four ingredients using the no-churn method – no ice cream maker or fancy equipment necessary! This easy ice cream ends up creamy and velvety yet firm and scoop-able and is bursting with natural vanilla flavor.
Print Recipe Pin Recipe
Prep Time:15 minutes mins
Freeze Time:6 hours hrs
Total Time:6 hours hrs 15 minutes mins
Course: Dessert
Cuisine: American
Servings: 6 Cups (12 servings)

Equipment

  • 9×5 loaf pan

Ingredients

  • 2 Cups (480ml) heavy whipping cream
  • 14 Oz sweetened condensed milk
  • 1 Tbsp vanilla bean paste OR 2 tsp vanilla extract OR 1 vanilla bean, scraped
  • pinch of salt

Instructions

  • Place a large metal bowl into the refrigerator to chill for at least 20 minutes.
  • Remove the large chilled metal bowl from the refrigerator and add the heavy whipping cream into it. Beat with a hand mixer (or using the whisk attachment on your stand mixer) until stiff peaks form, about 2-4 minutes. Place the whipped cream into the refrigerator while you move on.
  • In a separate medium bowl, add the sweetened condensed milk, vanilla, and salt. Whisk together until combined.
  • Pour the vanilla condensed milk mixture into the large bowl of whipped cream and use a silicone spatula to fold together until fully combined. If you're planning on adding any mix-ins, fold those in at this point.
  • Add the vanilla ice cream into the loaf pan and cover the top with plastic wrap or aluminum foil, then freeze for 6-8 hours, after which the ice cream should be semi-firm, scoop-able, and ready to enjoy!
Notes

Vanilla: I used 1 tablespoon of vanilla bean paste for the ice cream pictured throughout this blog post (I love seeing the little vanilla bean flecks) but you can alternatively use 2 teaspoons of pure vanilla extract or 1 scraped vanilla bean. 
Storage Tips: This no-churn ice cream is best stored in an airtight container in the freezer. It will last for 2 months (if you can make it last that long). 

By: Whitney · In: Featured, Ice Cream, Recipes, Seasonal, Summer · Tagged: easy ice cream, homemade ice cream, no churn vanilla, vanilla ice cream

you’ll also love

no churn chocolate fudge brownie ice cream scoopsNo-Churn Fudge Brownie Ice Cream
neapolitan ice cream cake by sugar and sparrowNeapolitan Ice Cream Cake
favorite things winter 2026A Few of My Favorite Things (Winter 2026)

Join the List

Stay up to date & receive the latest posts in your inbox.

Reader Interactions

Leave a Reply Cancel reply

Your email address will not be published. Required fields are marked *

Recipe Rating


Next Post >

No-Churn Fudge Brownie Ice Cream

Primary Sidebar

Welcome to Sugar & Sparrow

Welcome to Sugar & Sparrow

Helping you whip up pretty desserts with confidence and creativity. And hopefully sharing a few laughs with you along the way!

Learn More

Connect

let’s bake!

Get my very best recipes, baking tips, and decorating tutorials sent to your inbox

Featured Posts

baked graham cracker crust recipe for pies and cheesecakes

Perfect Graham Cracker Crust Recipe

mini christmas tree cakes by sugar and sparrow

How To Make Mini Christmas Tree Cakes

yellow cake recipe with chocolate frosting and rainbow sprinkles

Yellow Cake with Chocolate Frosting (Classic Birthday Cake)

Search

Archives

Follow Along

@sugarandsparrowco

The BEST pumpkin cake with cream cheese frosting 🧡 The BEST pumpkin cake with cream cheese frosting 🧡 this pumpkin layer cake is easy to make, perfectly spiced, so moist, irresistible with cream cheese frosting, and uses the ENTIRE 15oz can of pumpkin (no awkward leftovers!). Top it with pretty piped pumpkins to make it extra cute 🥰

Comment RECIPE to get the full recipe (with frosting + cake decorating tutorial) or find it linked in my bio and at https://sugarandsparrow.com/pumpkin-layer-cake-recipe/

INGREDIENTS
2 Cups (265g) all-purpose flour
2 tsp baking powder
1 tsp baking soda
1 tsp salt
2 tsp ground cinnamon
1 tsp allspice
1 tsp nutmeg
1/2 tsp ground ginger
1 Cup (200g) packed brown sugar
1/2 Cup (100g) granulated sugar
1 Cup (240ml) vegetable oil or melted butter
4 large eggs, room temp
15 Oz (425g) canned pumpkin puree
2 tsp pure vanilla extract

INSTRUCTIONS
1. Preheat the oven to 350ºF (177ºC). Grease and line three 6-inch or two 8-inch cake pans.
2. In a medium bowl, whisk together the all-purpose flour, baking powder, baking soda, salt, cinnamon, allspice, nutmeg, and ground ginger. Set aside.
3. In a separate large bowl, add the brown sugar, granulated sugar, oil (if using melted butter in place of the oil, cool it for 5-10 minutes prior to adding here), eggs, pumpkin puree, and vanilla extract. Whisk together until uniform, then add the flour mixture and whisk until smooth.
4. Pour the batter evenly between the prepared cake pans and bake for 32-36 minutes, until a toothpick inserted comes out clean or with just a few moist crumbs. Cool the cakes completely to room temp before frosting!

#pumpkincake #creamcheesefrosting #layercake #cake #fallbaking
EASY HOMEMADE SALTED CARAMEL✨(recipe below) even i EASY HOMEMADE SALTED CARAMEL✨(recipe below) even if you’ve never made salted caramel from scratch before, this recipe is VERY beginner friendly + nearly fail proof! There are only 4 ingredients involved, no candy thermometer required, and takes just 10 minutes to make 👏🏽 this is my go-to caramel for drip cakes, drizzling desserts, flavoring coffee, adding it to buttercream, and so much more! 🍯  
 
Full recipe (with video + detailed instructions) linked in my bio or at https://sugarandsparrow.com/salted-caramel-recipe/
⁣ 
SALTED CARAMEL 
Yield: 1.25 Cup⁣s
⁣⁣ 
Ingredients:⁣⁣ 
1 Cup (200g) white granulated sugar⁣⁣ 
6 Tbsp (85g) unsalted butter, room temperature, cut into cubes⁣⁣ 
1/2 Cup (120ml) heavy whipping cream, room temperature⁣⁣ 
1 1/4 tsp kosher salt⁣⁣ 
⁣⁣ 
Instructions:⁣⁣ 
1. Place the sugar in a medium saucepan over medium-high heat and stir constantly until it melts into an amber-colored liquid and no sugar clumps remain, 5-6 minutes. ⁣⁣ 
2. Reduce the heat to medium. Carefully add the butter (it will bubble up when you do) and use a whisk to combine it with the sugar mixture until the butter is fully melted and incorporated, 2-3 minutes. ⁣⁣ 
3. Add the heavy whipping cream in a steady stream while whisking. As soon as the cream is incorporated, let the caramel boil for a full minute before removing it from the heat and stirring in the salt. ⁣⁣ 
4. Let the caramel cool to room temperature before using it in a cake recipe or as a drip. If you’re using it to drizzle over ice cream or warm baked goods, you only need to cool it slightly (20 minutes or so). It will thicken as it cools. ⁣⁣ 
⁣⁣ 
#caramel #saltedcaramel #bakedfromscratch #caramelcake #caramelsauce
SPICE CAKE 🤎 filled + frosted with brown butter cr SPICE CAKE 🤎 filled + frosted with brown butter cream cheese frosting for the dreamiest Fall cake!! These spice cake layers are perfectly moist with the ideal amount of spice, and the rich nutty caramel notes combined with the classic tang of cream cheese frosting take the flavor beyond.

Comment RECIPE and I’ll send it right to you! Or find the full recipe linked in my bio + at https://sugarandsparrow.com/spice-cake-recipe/

INGREDIENTS
2 1/4 Cups (298g) all purpose flour
1 tsp baking powder
1 tsp baking soda
1/2 tsp salt
1 Tbsp ground cinnamon
1 tsp ground allspice
1 tsp ground ginger
1/2 tsp ground nutmeg
1/4 tsp ground cloves
1 3/4 Cups (350g) packed brown sugar 
3/4 Cup (180ml) vegetable oil
1 Cup (240g) unsweetened applesauce
4 large eggs, room temperature
2 tsp pure vanilla extract
1 Cup (240ml) buttermilk, room temp

INSTRUCTIONS
1. Preheat the oven to 350ºF (177ºC). Grease and line three 6-inch cake pans or two 8-inch cake pans.
2. In a medium bowl, whisk together the flour, baking powder, baking soda, salt, cinnamon, allspice, ginger, nutmeg, and cloves. Set aside.
3. In a large bowl, add the brown sugar, vegetable oil, and unsweetened applesauce. Whisk together until uniform, then whisk in the eggs one at a time followed by the vanilla.
4. Whisk in half of the dry ingredients, followed by all of the buttermilk, then the rest of the dry ingredients. 
5. Pour the batter evenly between the prepared cake pans and bake for 32-36 minutes, until a toothpick inserted comes out clean or with just a few moist crumbs. Cool completely before frosting (full recipe with brown butter cream cheese frosting linked in my bio)

#spicecake #cakedecorating #layercake #cakelover #creamcheesefrosting
PUMPKIN CUPCAKES 🧡 topped with spiced cream cheese PUMPKIN CUPCAKES 🧡 topped with spiced cream cheese frosting to give every bite the most heavenly pumpkin spice flavor! The perfect cupcakes to kick off your fall baking 🍂

Comment RECIPE and I’ll send it right to you!

You can also find the link in my bio (or google ‘Sugar and Sparrow Pumpkin Cupcakes’) 

#pumpkinspice #pumpkincake #pumpkinseason #falldesserts #creamcheesefrosting
OATMEAL CREME PIE CAKE 🙌🏼 I’m always thinking abou OATMEAL CREME PIE CAKE 🙌🏼 I’m always thinking about this cake during back-to-school season because Oatmeal Creme Pies take me right back to my elementary school days! It’s layers of tender brown sugar oatmeal cake with the gooiest homemade marshmallow filling and tastes just like the real deal in cake form – perfect party cake for an Oatmeal Creme Pie lover! 

Full recipe linked in my bio + at https://sugarandsparrow.com/oatmeal-creme-pie-cake/ 
 
#oatmealcremepie #vintagecake #layercake #partycake #cakedecorating

Footer

On the Blog

  • Cake Basics
  • Recipes
  • Tutorials

Info

  • About
  • Privacy Policy & Disclosure

stay in the know

Copyright © 2026 · Theme by Sugar & Sparrow