
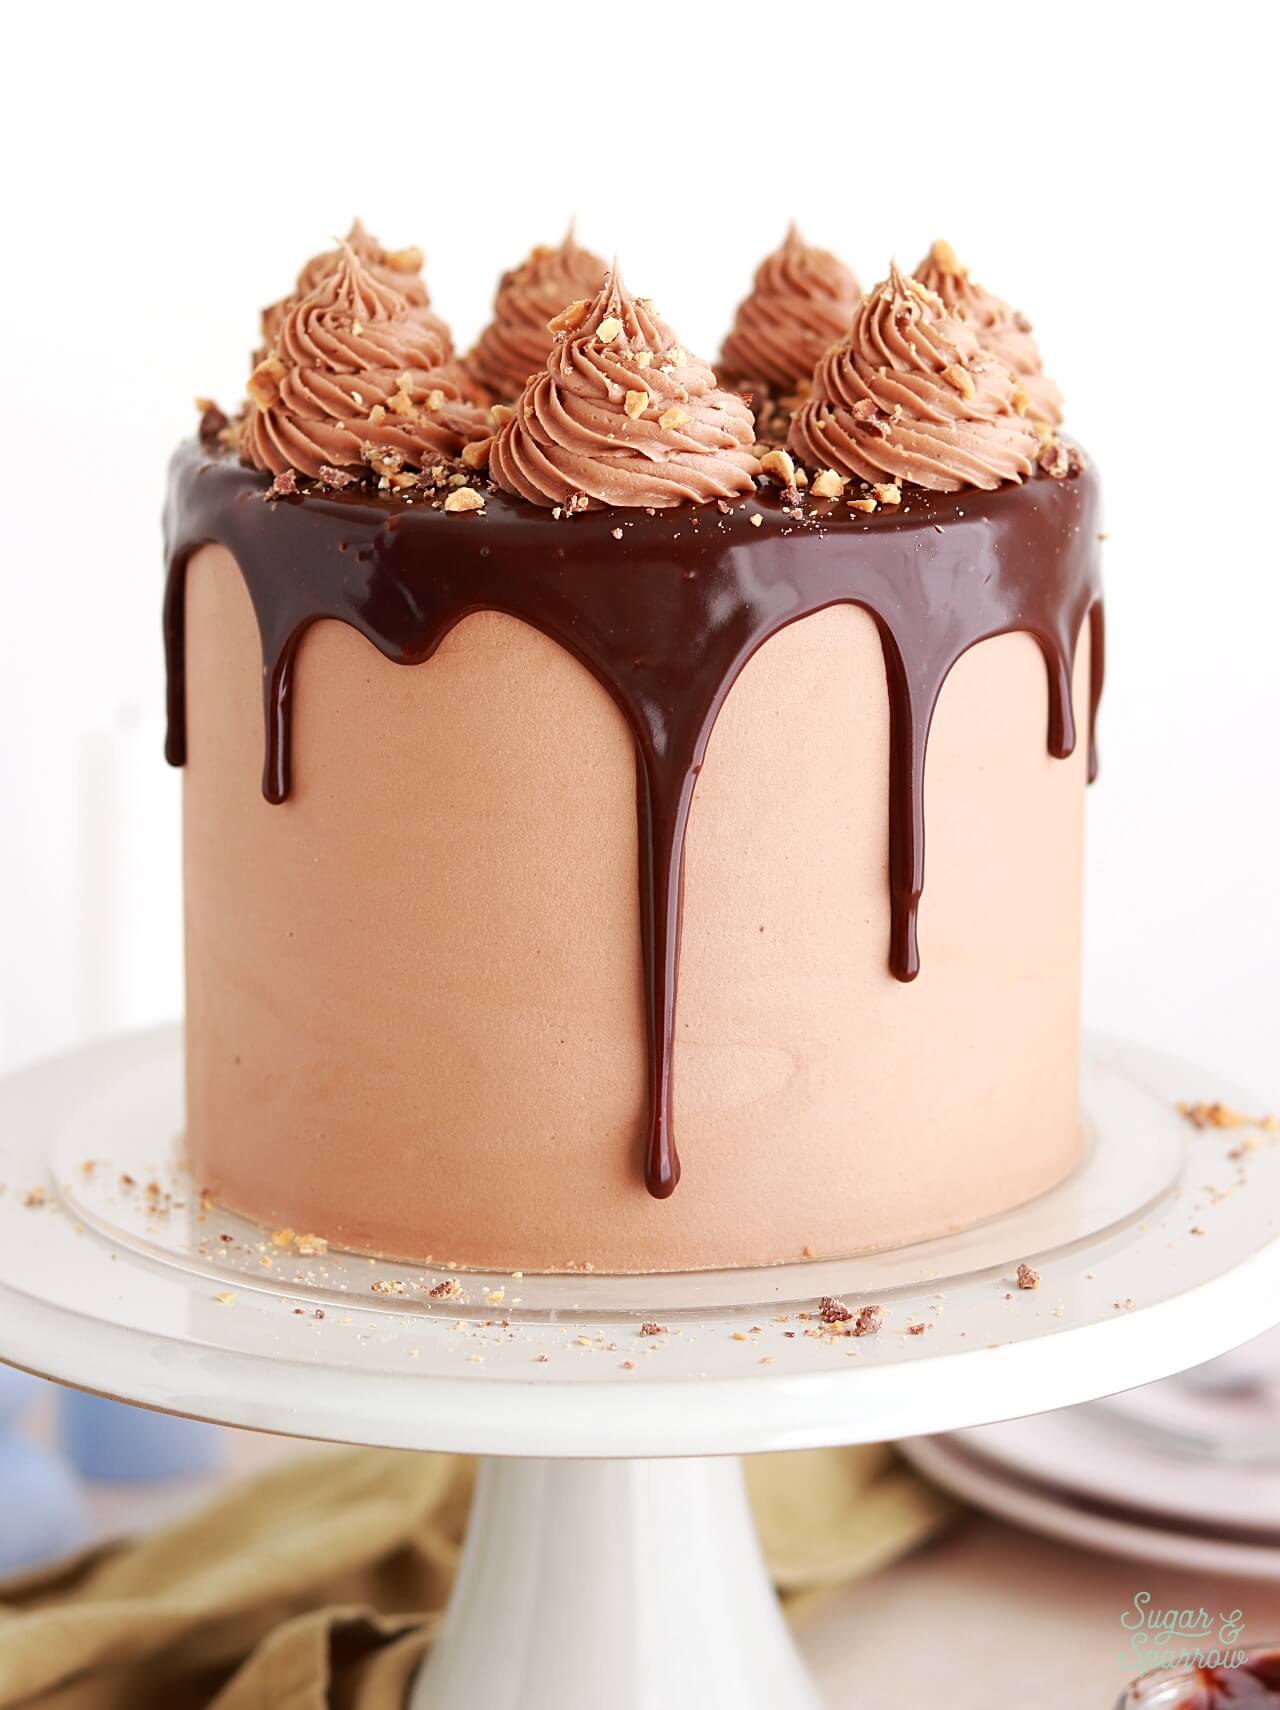
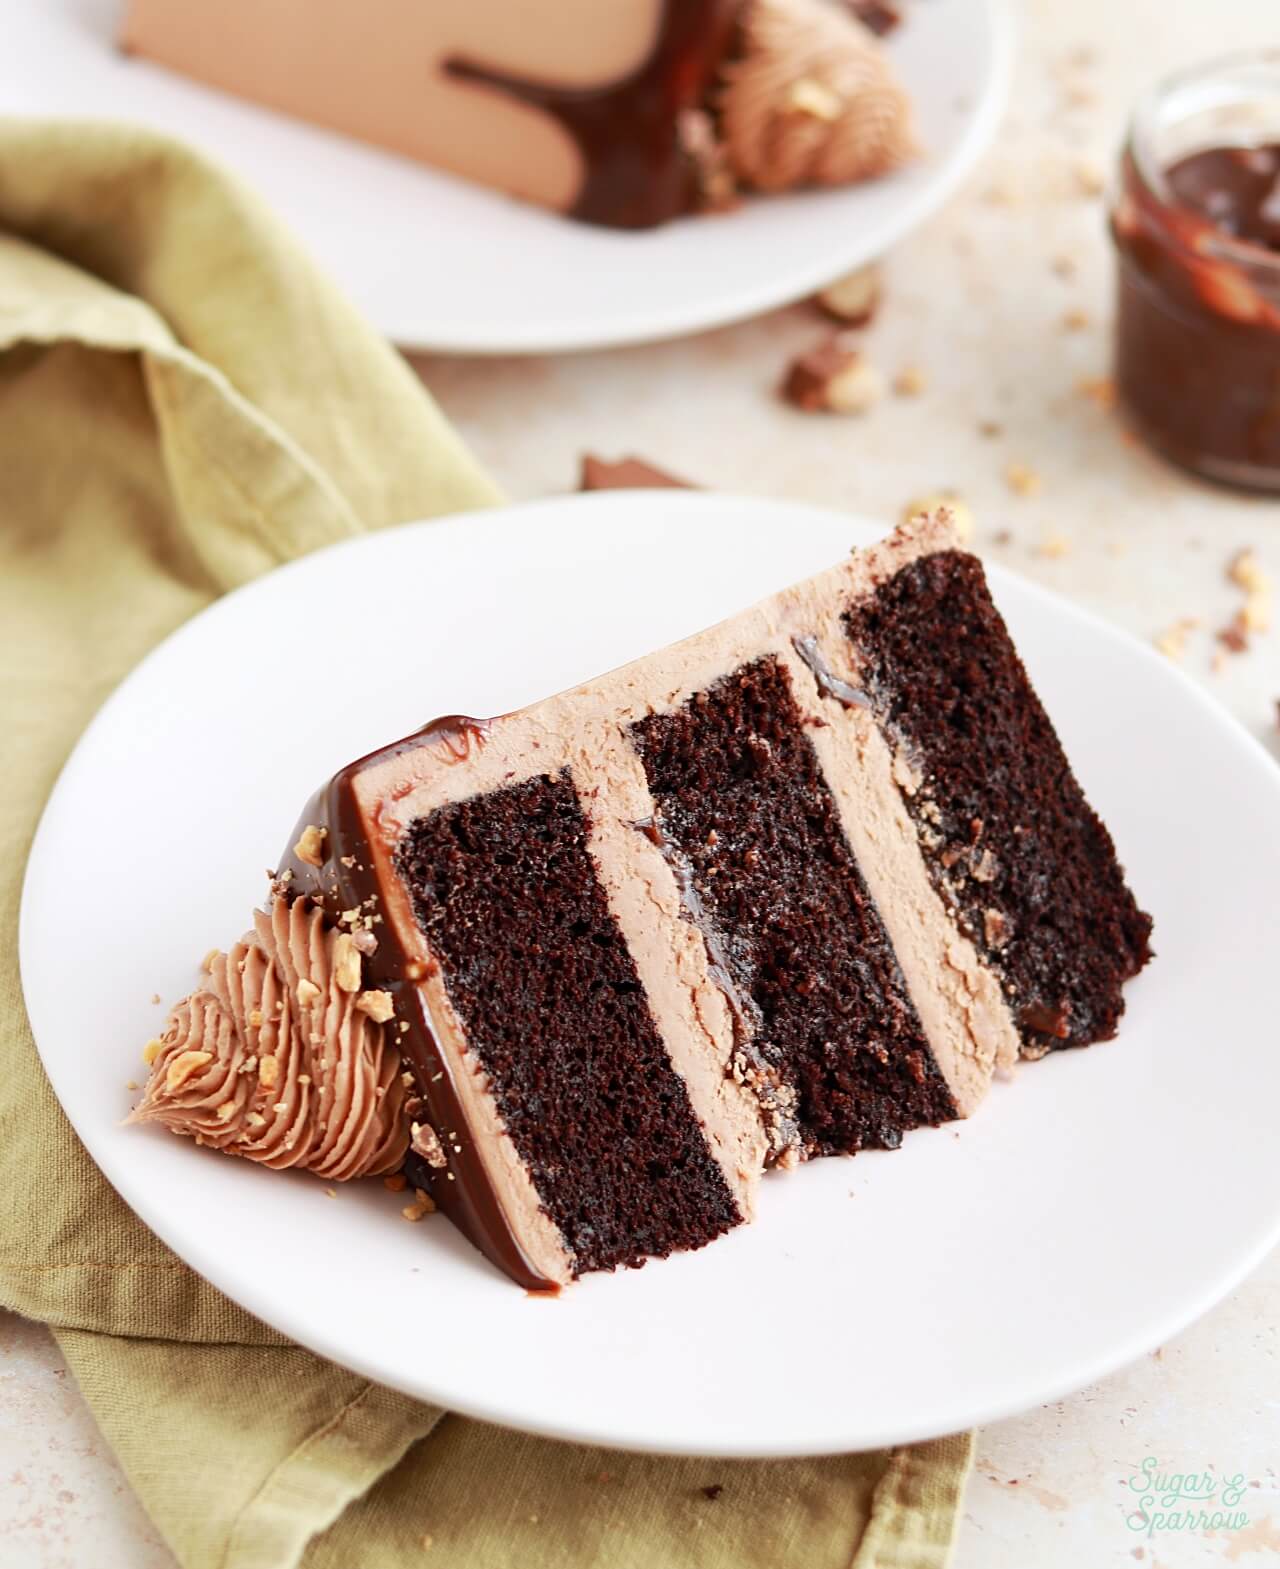
Chocolate and hazelnut were just meant to be and it couldn’t be more evident in this cake! It features layers of extra fudgy chocolate cake, creamy Nutella ganache, and decadent Nutella buttercream. Perfect for any chocolate hazelnut lover and so much fun to make!
Rich & Fudgy Chocolate Cake
I typically use my favorite one-bowl chocolate cake recipe as a base for any chocolate cake recipe I write, and this time I made a few alterations to make it extra decadent. First, I added sour cream along with the buttermilk to make the cake extra fudgy and moist. Second, I used Dutched cocoa powder to create a deeply rich chocolate flavor. You can use regular unsweetened cocoa powder if you want, but I loved the depth of flavor the Dutch-process cocoa powder created.
Here are all the key ingredients and substitutions you can make to the cake portion of this recipe:
- All-Purpose Flour (or Plain Flour). This provides the best structure for this chocolate cake and yields the most perfect crumb. I opt for cake flour in a lot of my vanilla-based cake recipes but for this one I wouldn’t recommend any other type of flour.
- Dutch-Process Cocoa Powder. Like I previously mentioned, I tried this recipe with Dutched cocoa powder and loved the rich flavor profile! If you’d rather use regular unsweetened cocoa powder, you can totally sub that instead.
- Vegetable Oil. Being an oil-based cake is one of the reasons why this cake is so moist. I love using plain vegetable oil because it doesn’t alter the overall flavor. You can absolutely use a different kind of oil (canola, olive, sunflower, avocado, etc) but just be aware that the flavor of the oil will come through slightly in the cake.
- Sour Cream. This is what makes this chocolate cake extra moist and fudgy. Be sure to use full-fat sour cream or substitute with plain greek yogurt. If you’d rather omit this, you’ll still have a great chocolate cake but you’ll need to increase the buttermilk amount to 1 Cup and the hot coffee amount to 1 Cup as well (or just follow this recipe instead).
- Buttermilk. Using full-fat buttermilk will yield the richest crumb for this cake, and since it can be hard to come by I do have a DIY version in the recipe notes below. You can make homemade buttermilk using whole milk + vinegar or lemon juice. I do it all the time!
- Hot Coffee. This will amplify the chocolate flavor so much, as the heat helps bloom the cocoa powder before you bake the cake and the coffee is a natural chocolate flavor enhancer. I promise you can’t taste it in the final baked cake, but if you’d rather not use coffee you can substitute it with an equal amount of hot water.
Heavenly Nutella Ganache Filling & Drip
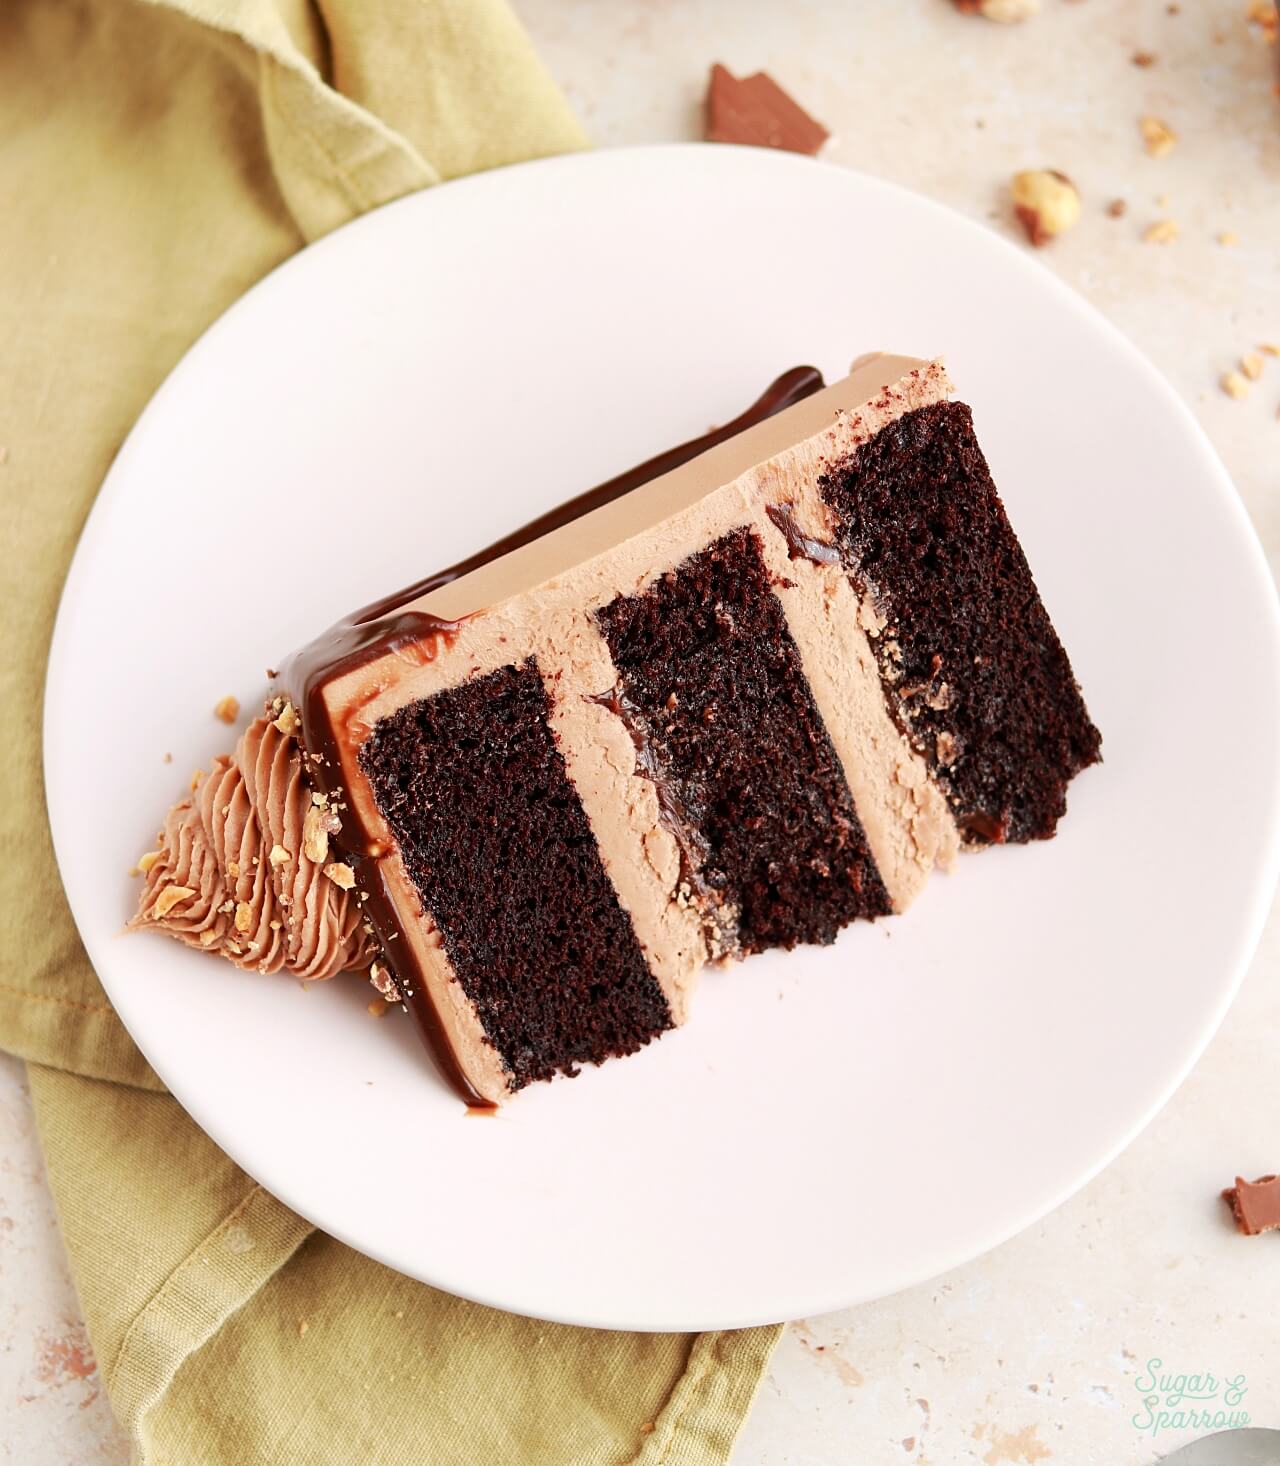
When I learned that you can make ganache using Nutella, it was like a revelation. Not only does it make a beautiful and shiny cake drip, it can also be used as cake filling. There are only two ingredients involved, Nutella and heavy whipping cream, and it’s made in the same way you’d make any other kind of ganache. You’ll heat the heavy whipping cream and pour it over the Nutella, then whisk until you have a uniform ganache.

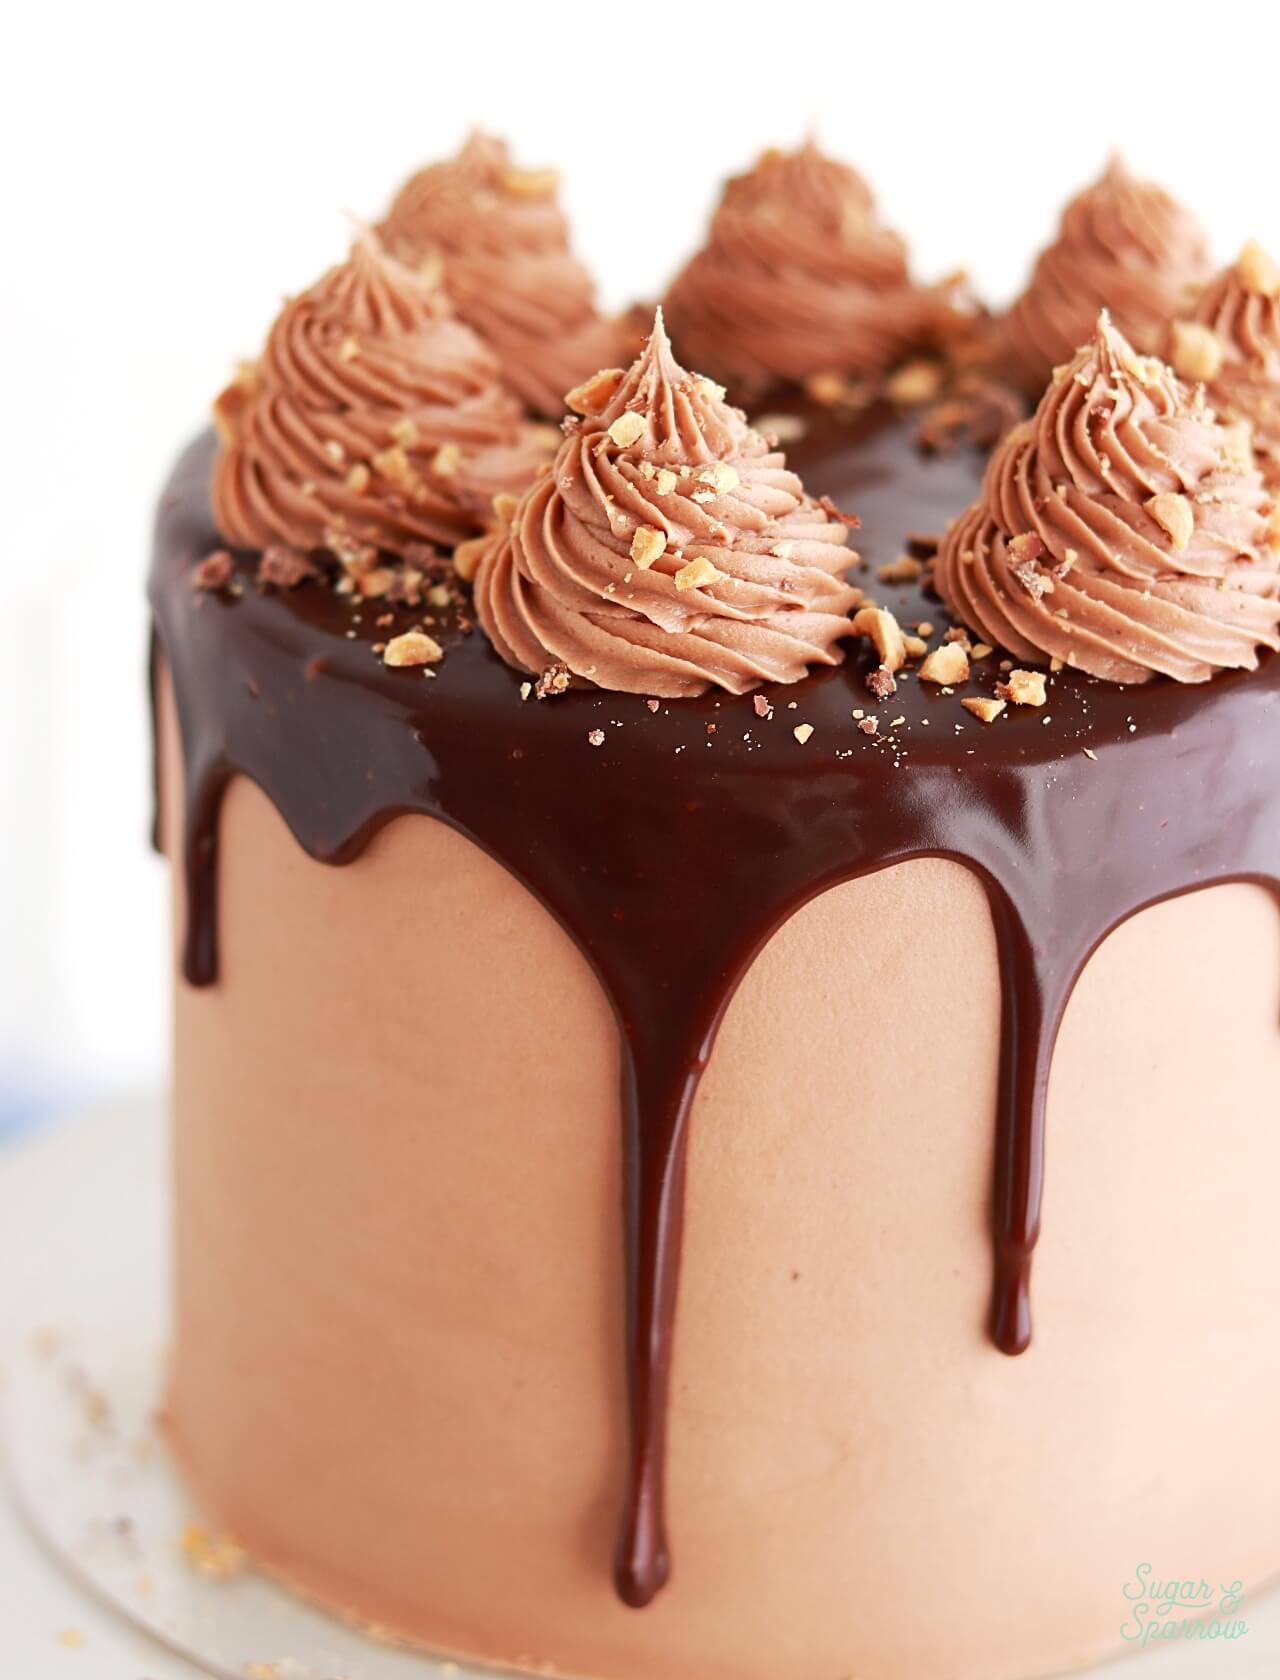
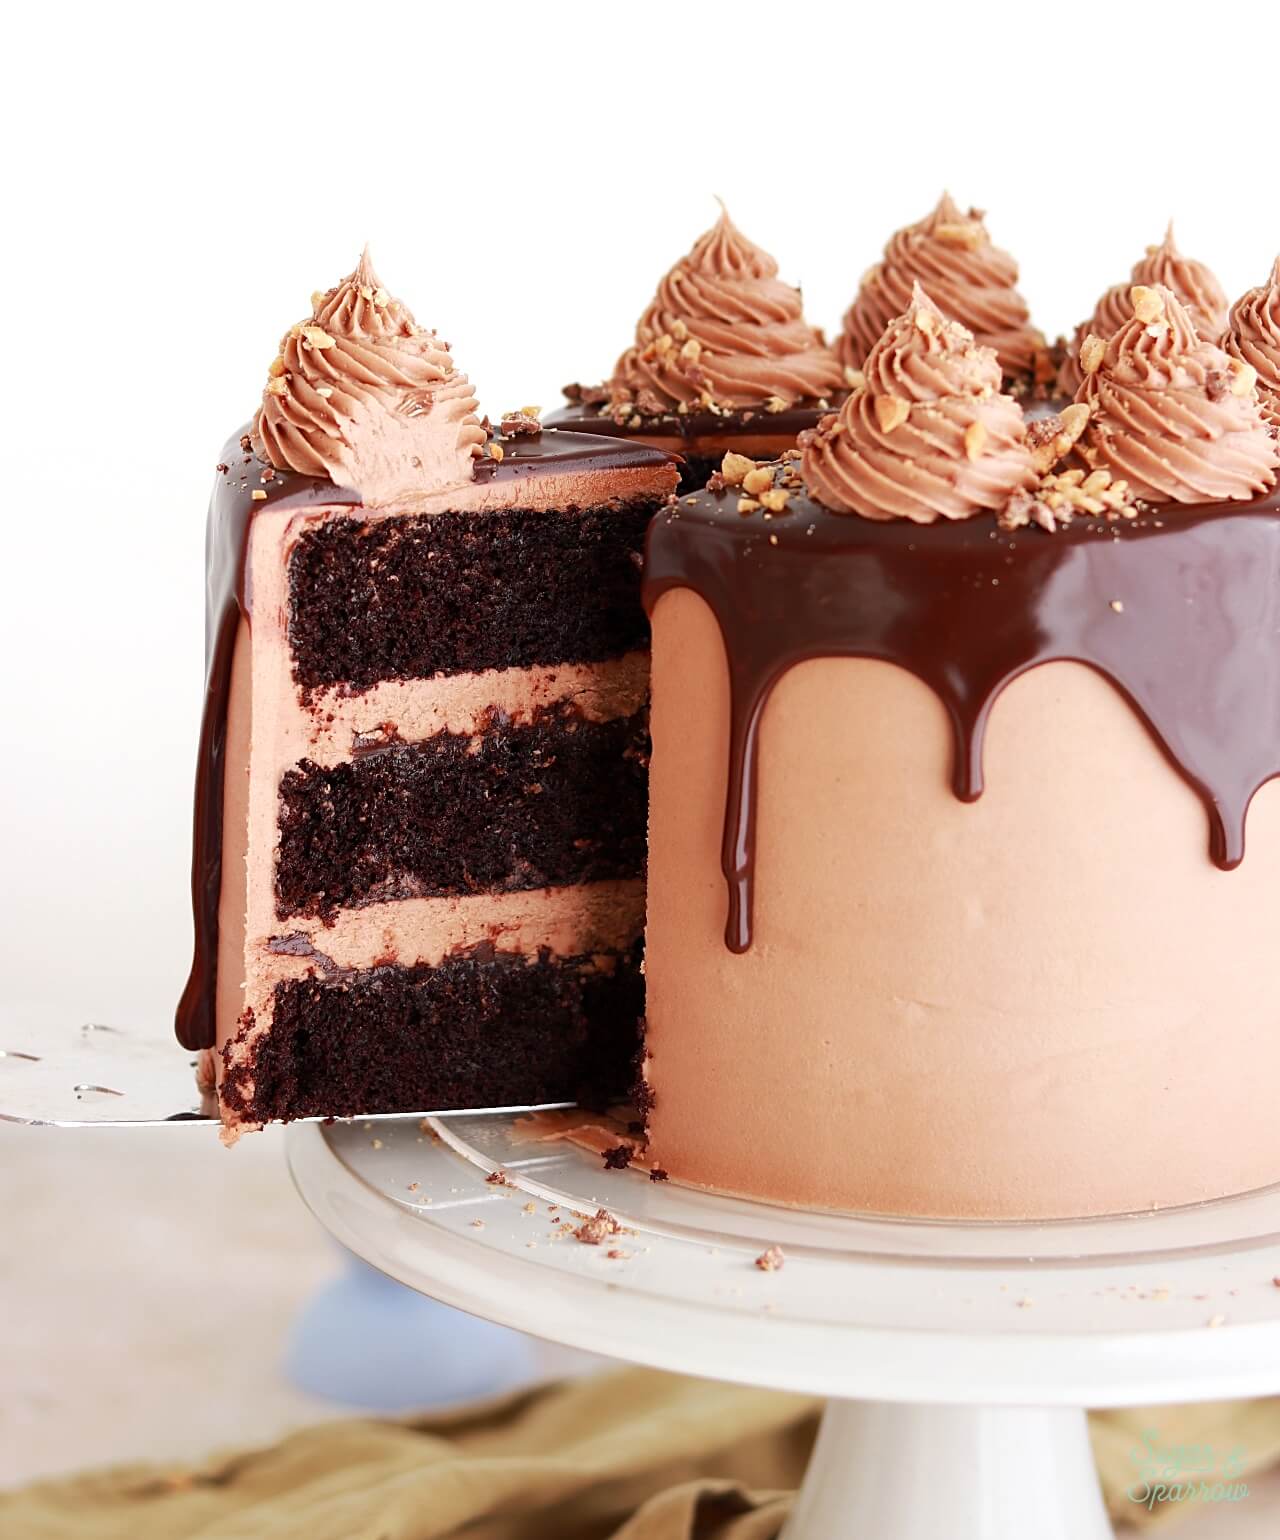
To use the Nutella ganache as a cake filling, it’s essential to create a buttercream dam around the edges of the cake layers to hold the ganache inside since it’s such a soft filling. I used Nutella buttercream to pipe a circle around the edges of the cake, added and smoothed down a layer of Nutella ganache, then covered it with more Nutella buttercream until the filling reached the top of the dam.
The Best Nutella Buttercream
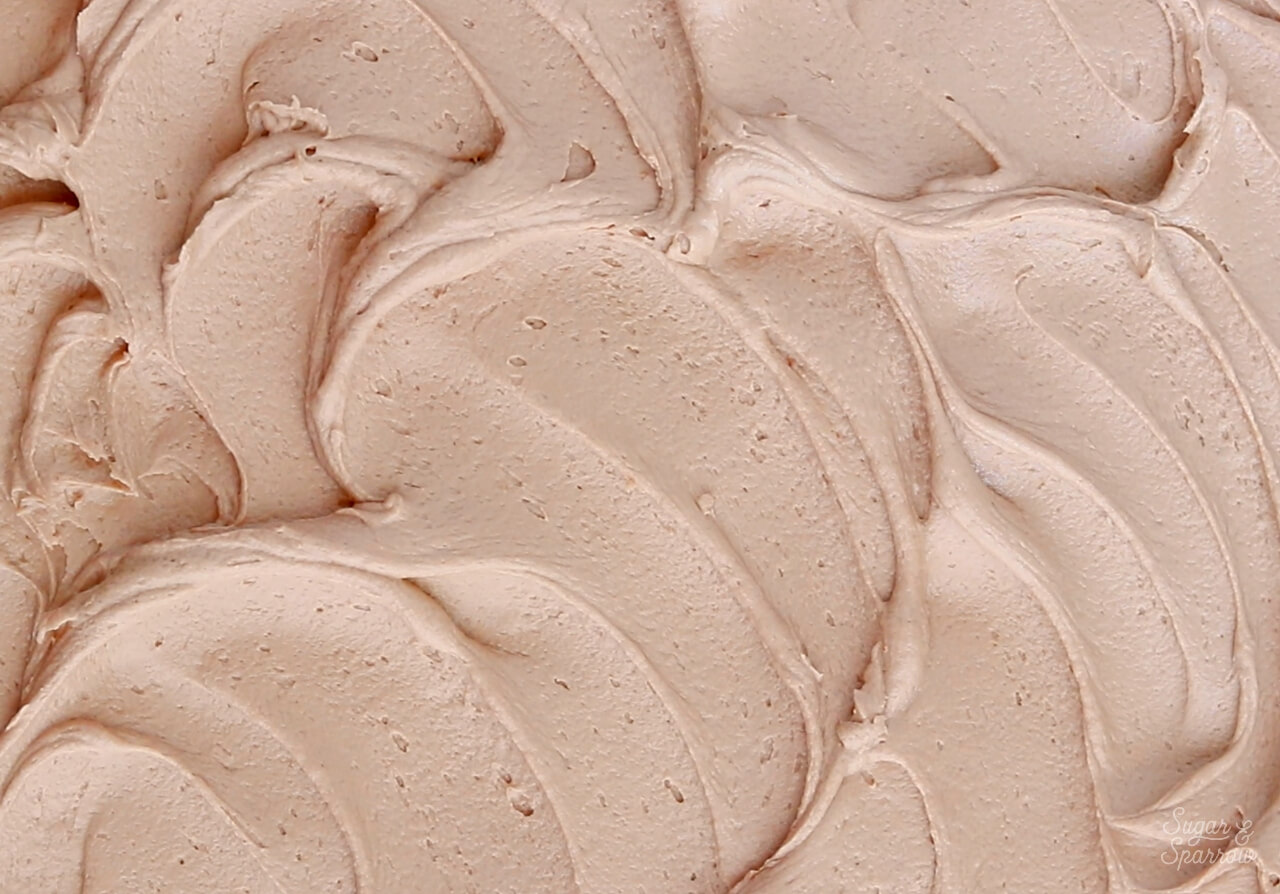
To round out the chocolate hazelnut flavor, I used Nutella buttercream for part of the filling and frosting the cake. It’s so smooth and creamy, easy to whip up, and tastes just like Nutella yet somehow isn’t overly sweet. The flavor is created by adding Nutella right to the buttercream, and it works so well for creating the perfect chocolate hazelnut notes.
How to Decorate a Chocolate Nutella Cake
All of the elements of this chocolate Nutella cake taste amazing together, and you really can’t go wrong with the decorating. You can keep things simple with a rustic finish or go all out with the chocolate hazelnut theme like I did. If you feel inspired by my cake design, here’s what I did:
After filling and stacking the cake with Nutella buttercream and Nutella ganache, I used the remaining Nutella buttercream to frost a smooth finish. Then I completed the look with a curtain drip of Nutella ganache (essentially pouring it on top and gently spreading it until it falls over the sides of the cake), and some piping some swirls around the top edge using Wilton Tip 4B and Nutella buttercream.
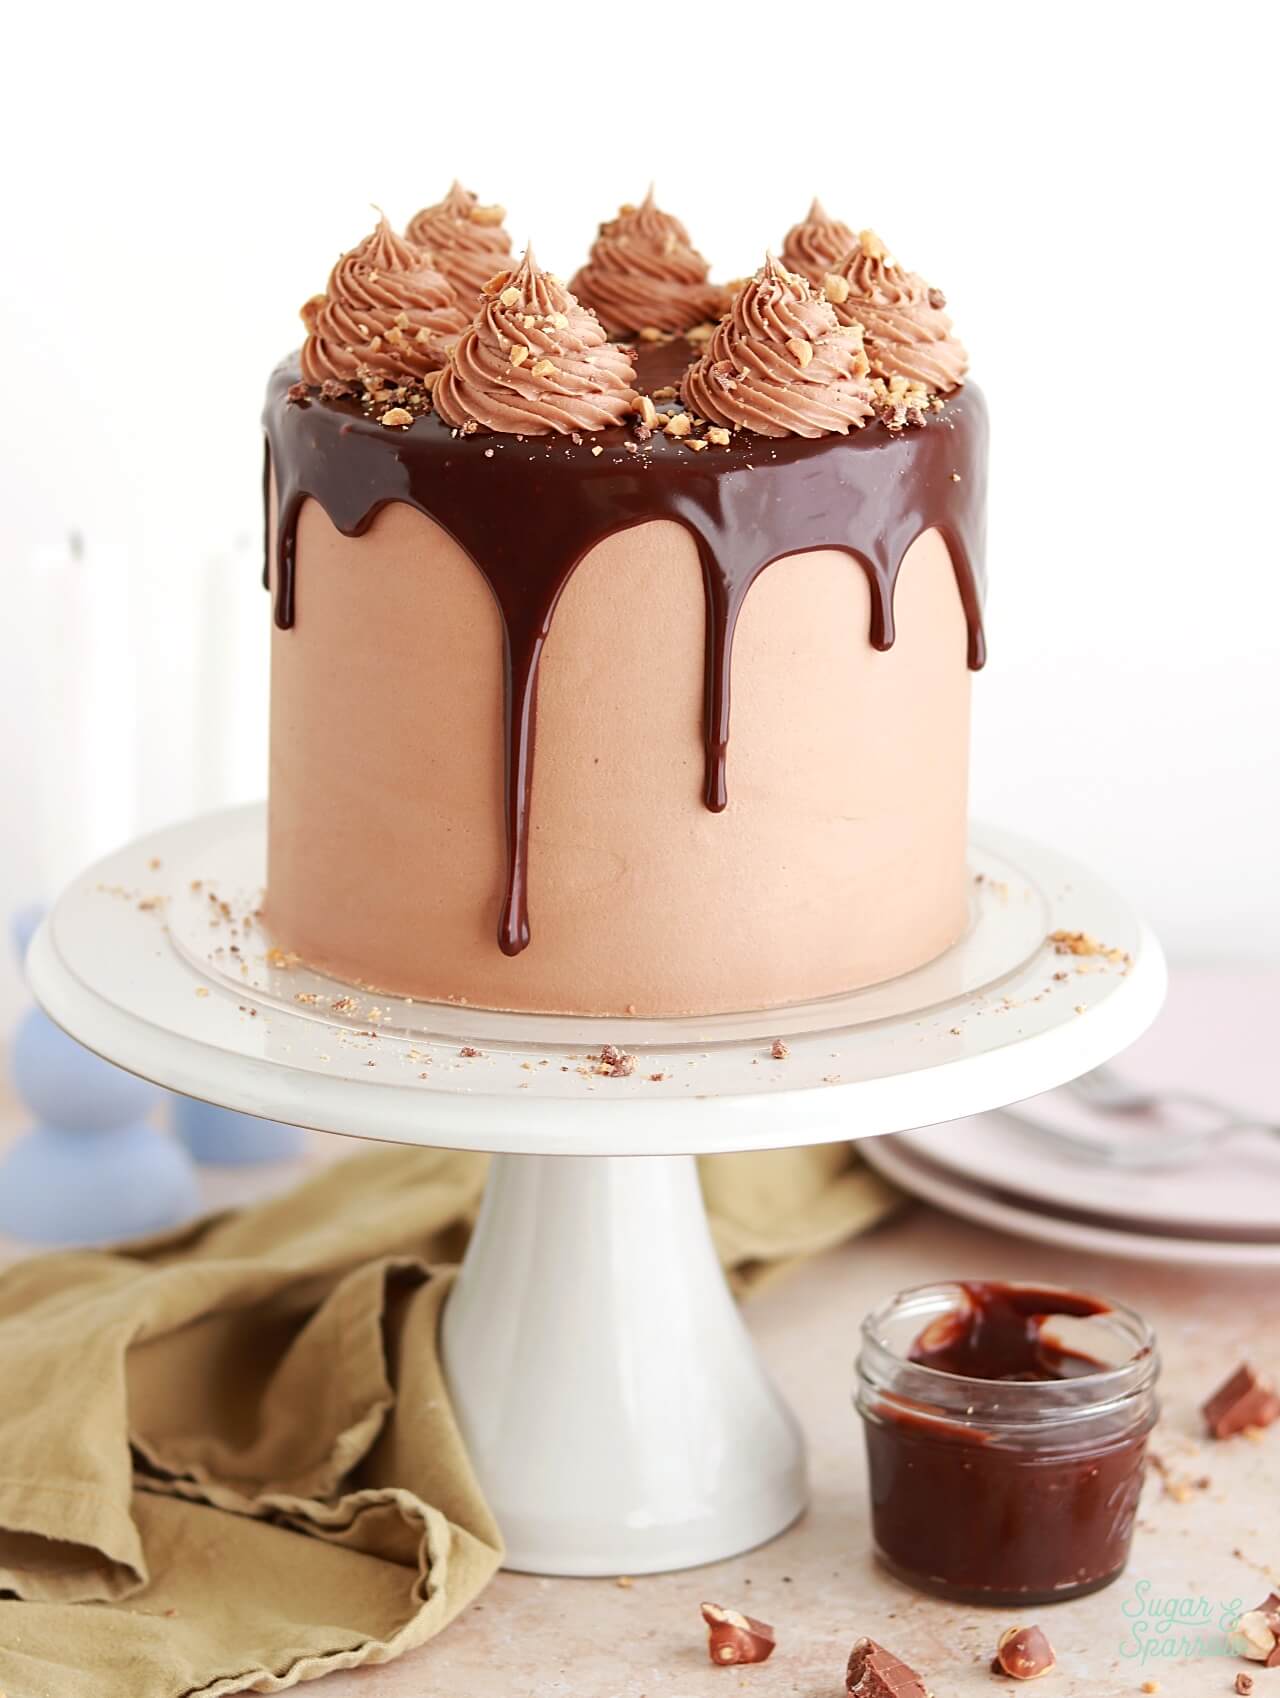
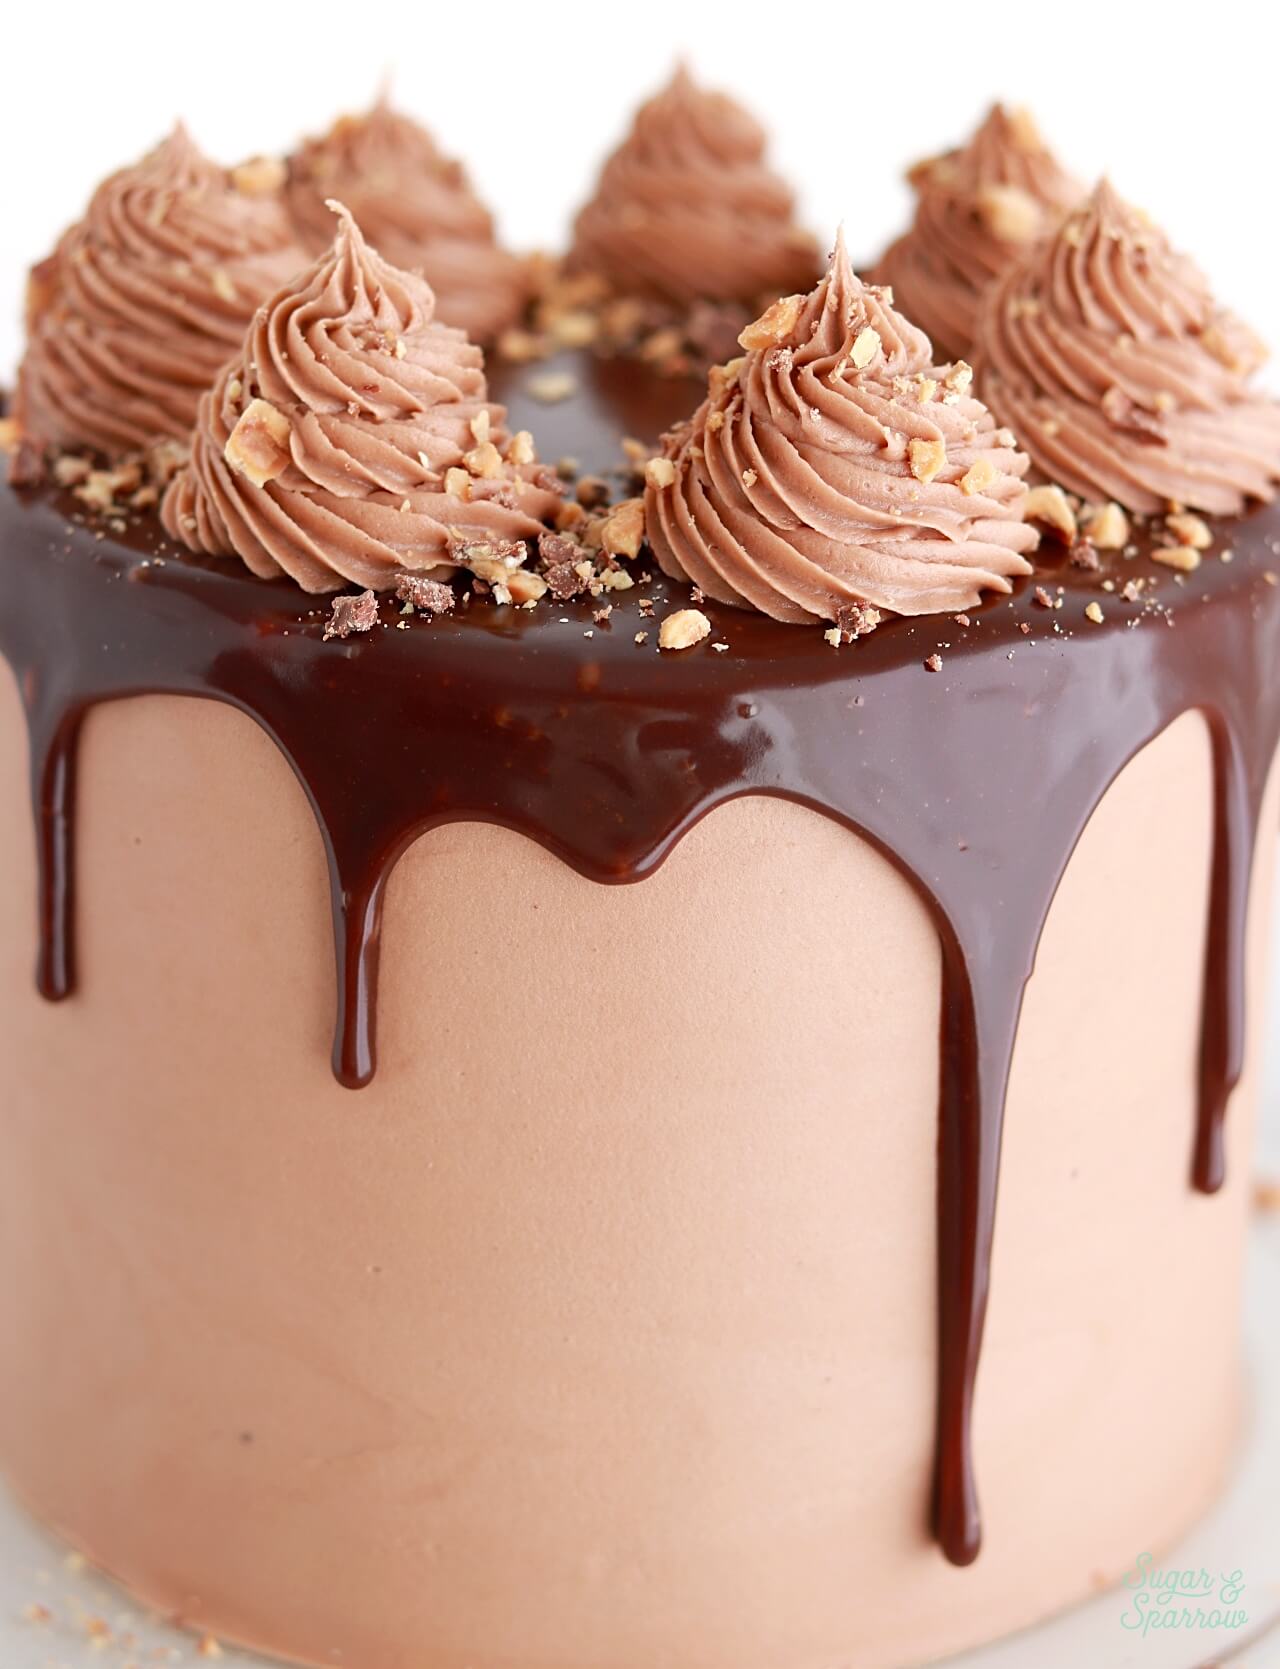
I wanted to top the cake with some chopped hazelnuts but I couldn’t easily find them at my local grocery store. What I did end up finding in the candy section was a chocolate hazelnut bar that I chopped really finely and sprinkled on top of the cake. You can absolutely skip this part or substitute the garnish with a different type of chocolate hazelnut candy, like Ferrero Rocher.
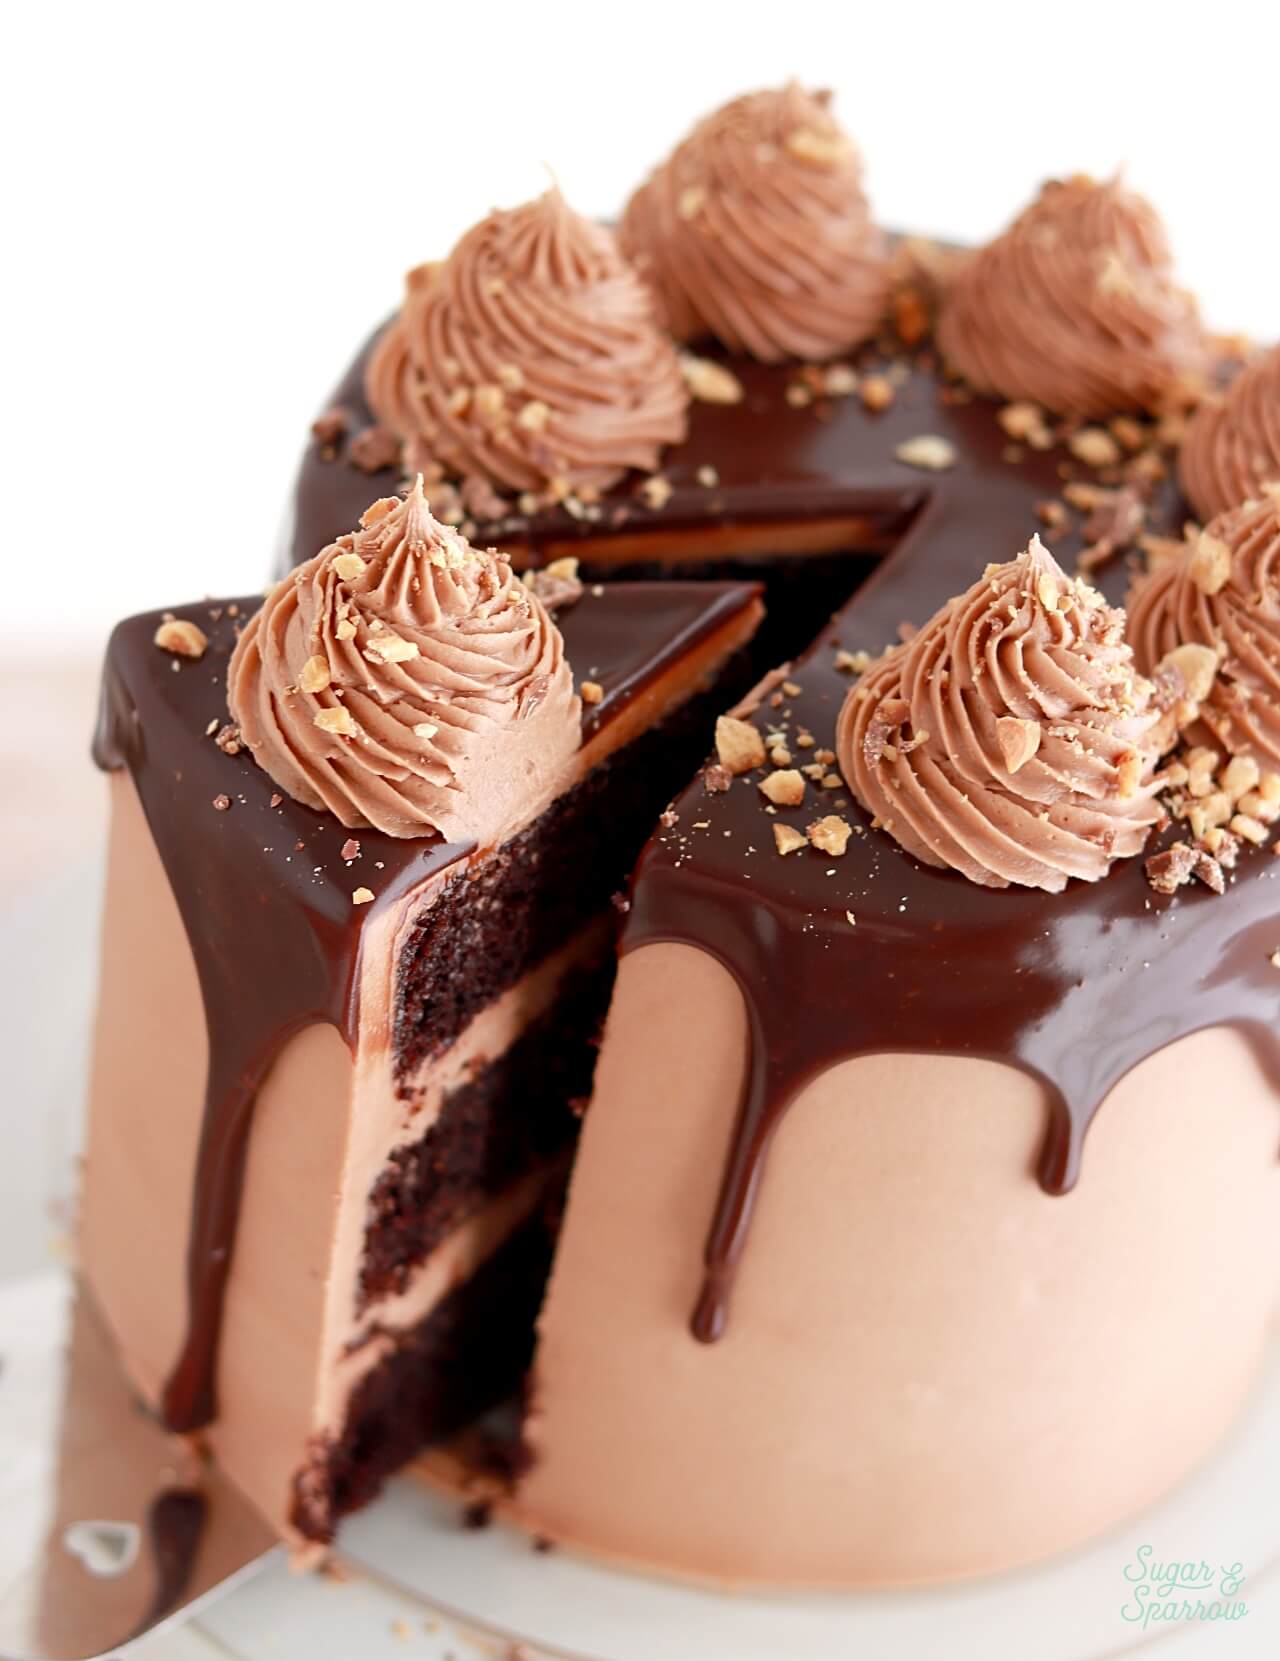
However you decorate, this cake is sure to be a hit with any chocolate hazelnut lover and all of the elements are so much fun to make! I hope you love it as much as I do.
Fudgy Chocolate Nutella Cake
Ingredients
Fudgy Chocolate Cake
- 2 Cups (265g) all-purpose flour
- 1 2/3 Cups (340g) granulated sugar
- 2/3 Cup (60g) unsweetened cocoa powder Dutch-process or regular
- 2 tsp baking soda
- 1 tsp baking powder
- 1/2 tsp salt
- 1/2 Cup (120ml) vegetable oil
- 2 large eggs, room temperature
- 3/4 Cup (180g) sour cream, room temperature
- 1 1/2 tsp pure vanilla extract
- 1/2 Cup (120ml) buttermilk*, room temperature DIY recipe in notes
- 1/2 Cup (120ml) hot coffee or hot water
Nutella Ganache
- 1 Cup (300g) Nutella
- 3/4 Cup (180ml) heavy whipping cream
Nutella Buttercream
- 1 1/2 Cups (339g) unsalted butter, room temperature
- 5 Cups (600g) powdered sugar
- 3/4 Cup (225g) Nutella
- 1 Tbsp pure vanilla extract
- 3 Tbsp whole milk, room temperature
- 1/4 tsp salt, or to taste
Garnish (optional)
- chocolate hazelnut candy bar, chopped finely for sprinkling on top
Instructions
Make the Fudgy Chocolate Cake
- Preheat the oven to 350ºF/177ºC and prepare three 6-inch or two 8-inch cake pans by spraying the sides with cooking spray and fitting the bottoms with a parchment paper circle.
- Place all of the dry ingredients into the bowl of a stand mixer fitted with the paddle attachment (or with a large bowl and hand mixer) and mix on low for 30 seconds to fully combine them. Add the vegetable oil, eggs, sour cream, vanilla, and buttermilk and mix on low until just combined. With the mixer still on low, add the hot coffee in a slow stream. Continue mixing on low until fully combined, 1-2 minutes. The batter will be very thin.
- Pour the batter into the prepared cake pans and bake for 32-36 minutes, until a wooden toothpick inserted comes out clean. Cool completely before frosting.
Make the Nutella Ganache
- Measure the Nutella into a heat resistant bowl (glass or metal) and set aside. In a saucepan over medium-high, heat the heavy whipping cream until it begins to simmer, whisking constantly.
- Once the cream begins to simmer, remove the pan from the heat and pour the cream over the Nutella. Let it sit for about 30 seconds before whisking together until the consistency is uniform and well blended. Let it cool to room temperature before using as a cake filling or dripping the cake.
Make the Nutella Buttercream
- With a paddle attachment on your stand mixer (or using a large bowl and hand mixer), cream the butter on medium-high until it’s creamy and light in color, about 5 minutes.
- Add the powdered sugar a few cups at a time, scraping down after each addition and making sure each cup is fully incorporated before adding the next one. Add the Nutella and beat on med-high speed for a full minute. Scrape down the paddle once more.
- Turn the mixer to low speed and add the vanilla, milk, and salt. Mix for another 1-2 minutes, scraping down the bowl and paddle as needed, until smooth and fully incorporated.
Assembly
- Once the chocolate cake layers have cooled completely, level and torte each layer to your desired height. Place the first layer on a turntable and pipe a circle of Nutella buttercream (aka a buttercream dam) around the edge. Fill the dam part way with (room temperature!) Nutella ganache, then fill in the rest of the space with more Nutella buttercream. Here's a detailed tutorial on this filling method.
- Place the next cake layer on top and repeat the process of piping the buttercream circle and filling in the center with Nutella ganache and Nutella buttercream. Place the final layer on top, upside down so that the bottom of the cake layer is the top of the cake. Crumb coat the cake with Nutella buttercream and place it in the refrigerator for at least 20 minutes to let everything set up.
- To create the cake design pictured, frost a smooth layer of Nutella buttercream around the cake, then place it back into the refrigerator for 20-30 minutes to create a cold foundation for the Nutella ganache drip.
- Meanwhile, prepare the Nutella ganache drip: if it's too thick for dripping the cake, microwave it in 5-10 second increments until it's room temperature and good drip consistency (this post shows examples of perfect drip consistency). When the cake is nice and chilled and the Nutella ganache is perfect drip consistency pour about half of the remaining ganache on top of the cake, then use an angled spatula to gently push it over the edges of the cake and create the curtain drip. Place it back into the refrigerator for 5-10 minutes to let the Nutella ganache drip set.
- Fit a piping bag with Wilton Tip 4B and fill it with the remaining Nutella ganache, then pipe swirls on top of the cake. Sprinkle with chopped hazelnuts or a chopped hazelnut chocolate bar, if desired.
Notes
- The chocolate cake can be made ahead and stored at room temperature, covered tightly in plastic wrap, for up to two days. Alternatively, you can cover with plastic wrap and store in the freezer for up to two months before thawing to room temperature.
- The Nutella ganache can be made ahead and stored in an airtight container for up to two weeks in the refrigerator. When you’re ready to use it, heat the ganache in the microwave in 15 second intervals until it’s room temperature again.
- The Nutella buttercream can be made ahead and stored in an airtight container at room temperature for one day. Alternatively, you can store it in an airtight container in the refrigerator for up to two weeks. When you’re ready to use it, bring it back to room temperature and re-mix with your stand mixer on low speed to bring it back to piping/frosting consistency.
Did you make this cake? I want to know how it went. Let me know in the comments section below or tag @sugarandsparrowco on Instagram to show me a photo. I love to see what you make!


Hi, once made do you store in fridge or pantry?
And how long can you store it?
Regards
Sue
Hi Sue! You can store the assembled cake in the refrigerator for up to 5 days. When you’re ready to serve it, bring back to room temperature by removing it from the refrigerator an hour or two before serving. Enjoy!
Hi, recipe says 1/2 cup buttermilk but your DIY is for 1 cup buttermilk. Is there a typo or it’s correct you make 1 cup and only use half a cup?
Kind regards
Sue
Hi Sue! You’re correct, you should only use 1/2 cup of homemade buttermilk as listed in the ingredients. I updated the notes to reflect that. Enjoy!
Hi! If I want to use this recipe for a 2 layer 9×13 would I need to double the recipe or just 1.5x it?
Hi Amanda! If would double the recipe for two layers and bake the layers separately. This amount will yield two 1.5(ish) inch tall layers. Bake each layer at 325F for 35-40 minutes. I would probably double the amount of buttercream and nutella ganache as well. Hope that helps!
Hi there,
I find that nutella buttercream seems a bit grainy and I can’t get it completely smooth. Do you have any tips to prevent this please?
Thank you.
Hi Mandy! If the Nutella buttercream is grainy it’s most likely because the powdered sugar hasn’t had enough time to dissolve. I would suggest adding about 1-2 tsp more milk and mixing on low speed for a minute or two until it doesn’t taste grainy. Hope that helps!
Boa noite! Fiz essa massa de chocolate para testar e foi a melhor massa de chocolate que já comi na minha vida. Ela fica macia, leve, molhadinha e muito fofinha. Eu amei demais. Muito obrigada por compartilhar sua receita
Yay, Cássia! I’m so happy to hear that you loved this recipe!!