
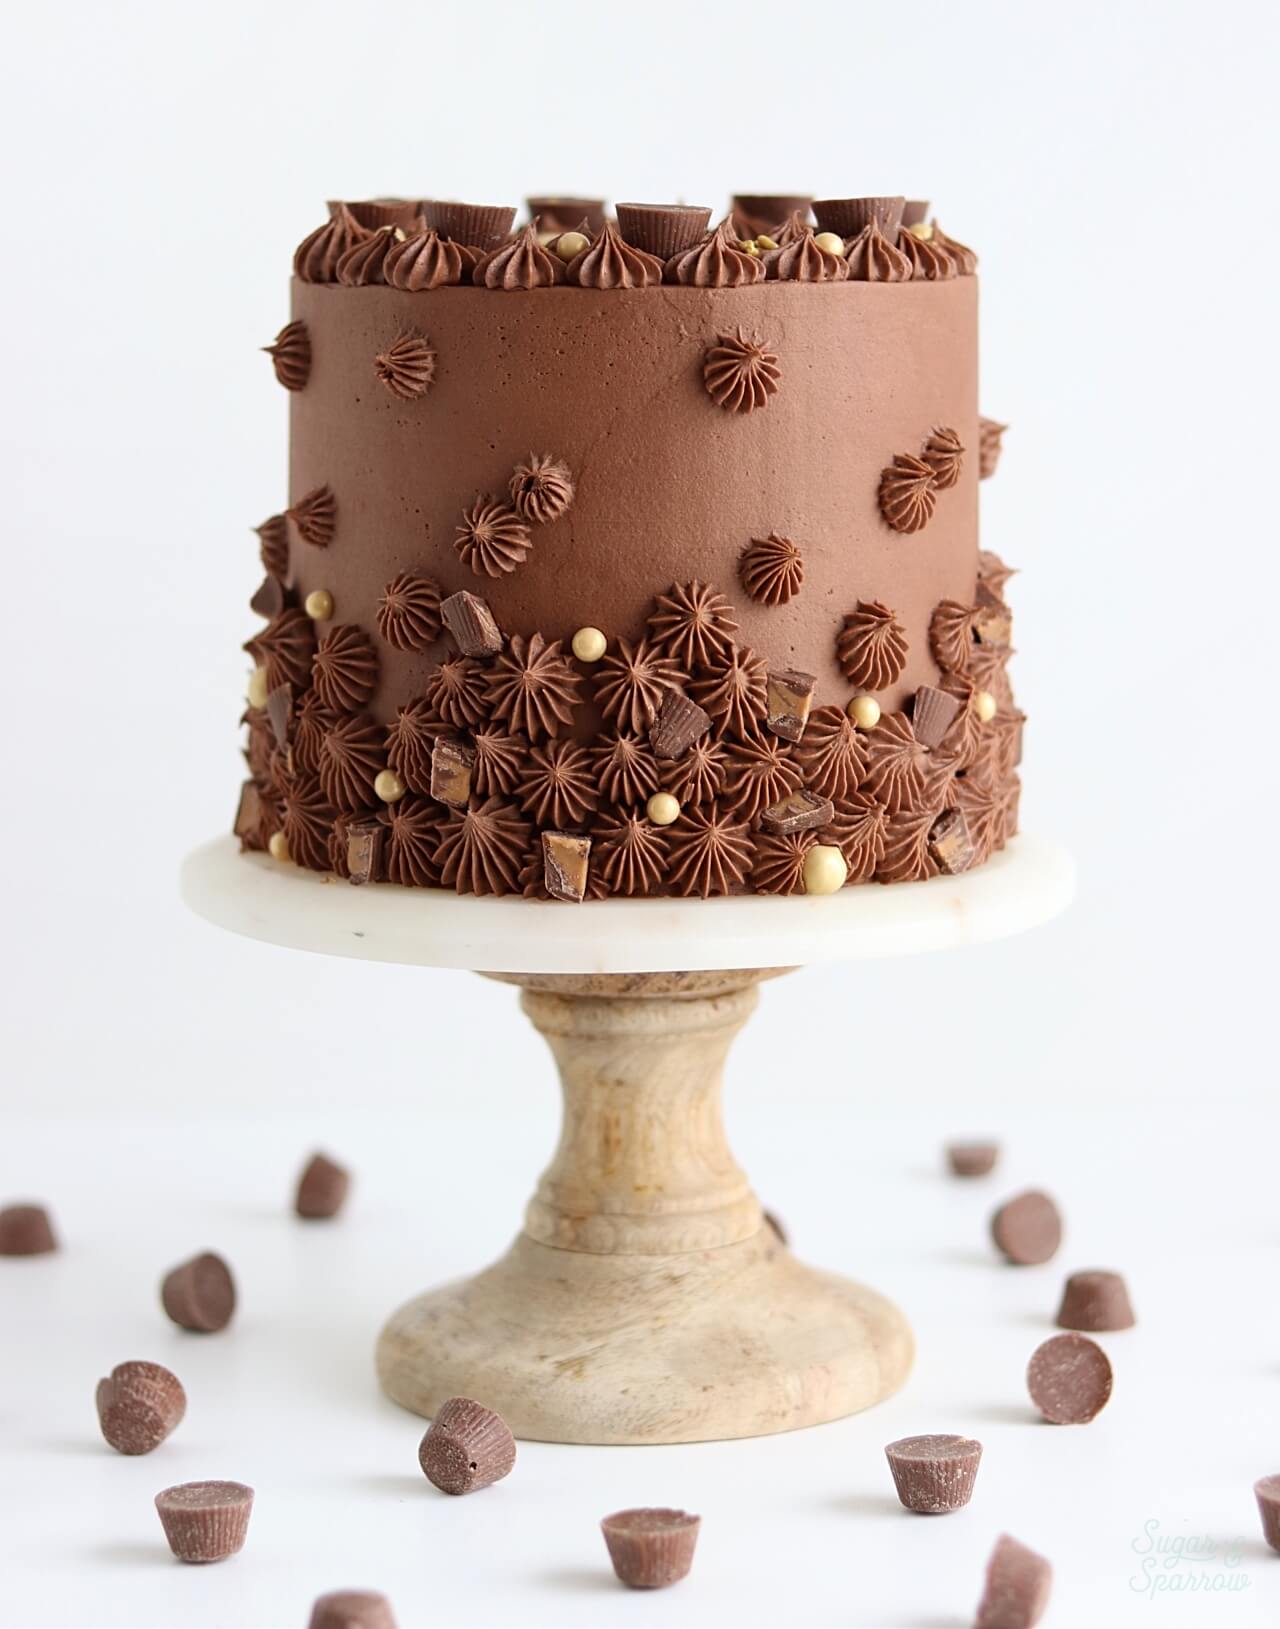
Some say that peanut butter and jelly are the perfect match for each other, but I say peanut butter and chocolate are even better. It’s the best blend of salty and sweet ever, and the sole flavor inspiration behind this Chocolate Peanut Butter Cake. If you’re a chocolate peanut butter fan, this is the cake of your dreams! Behold:
It all starts with a peanut butter cake that’s just as moist and flavorful as it is light and fluffy. It’s flavored with creamy peanut butter and a little brown sugar to send your tastebuds to heaven. You can use any brand of creamy peanut butter in this recipe, but I opt for Simply Jif because it has less sugar than regular Jif. It makes the peanut butter flavor come through beautifully without being too sweet.
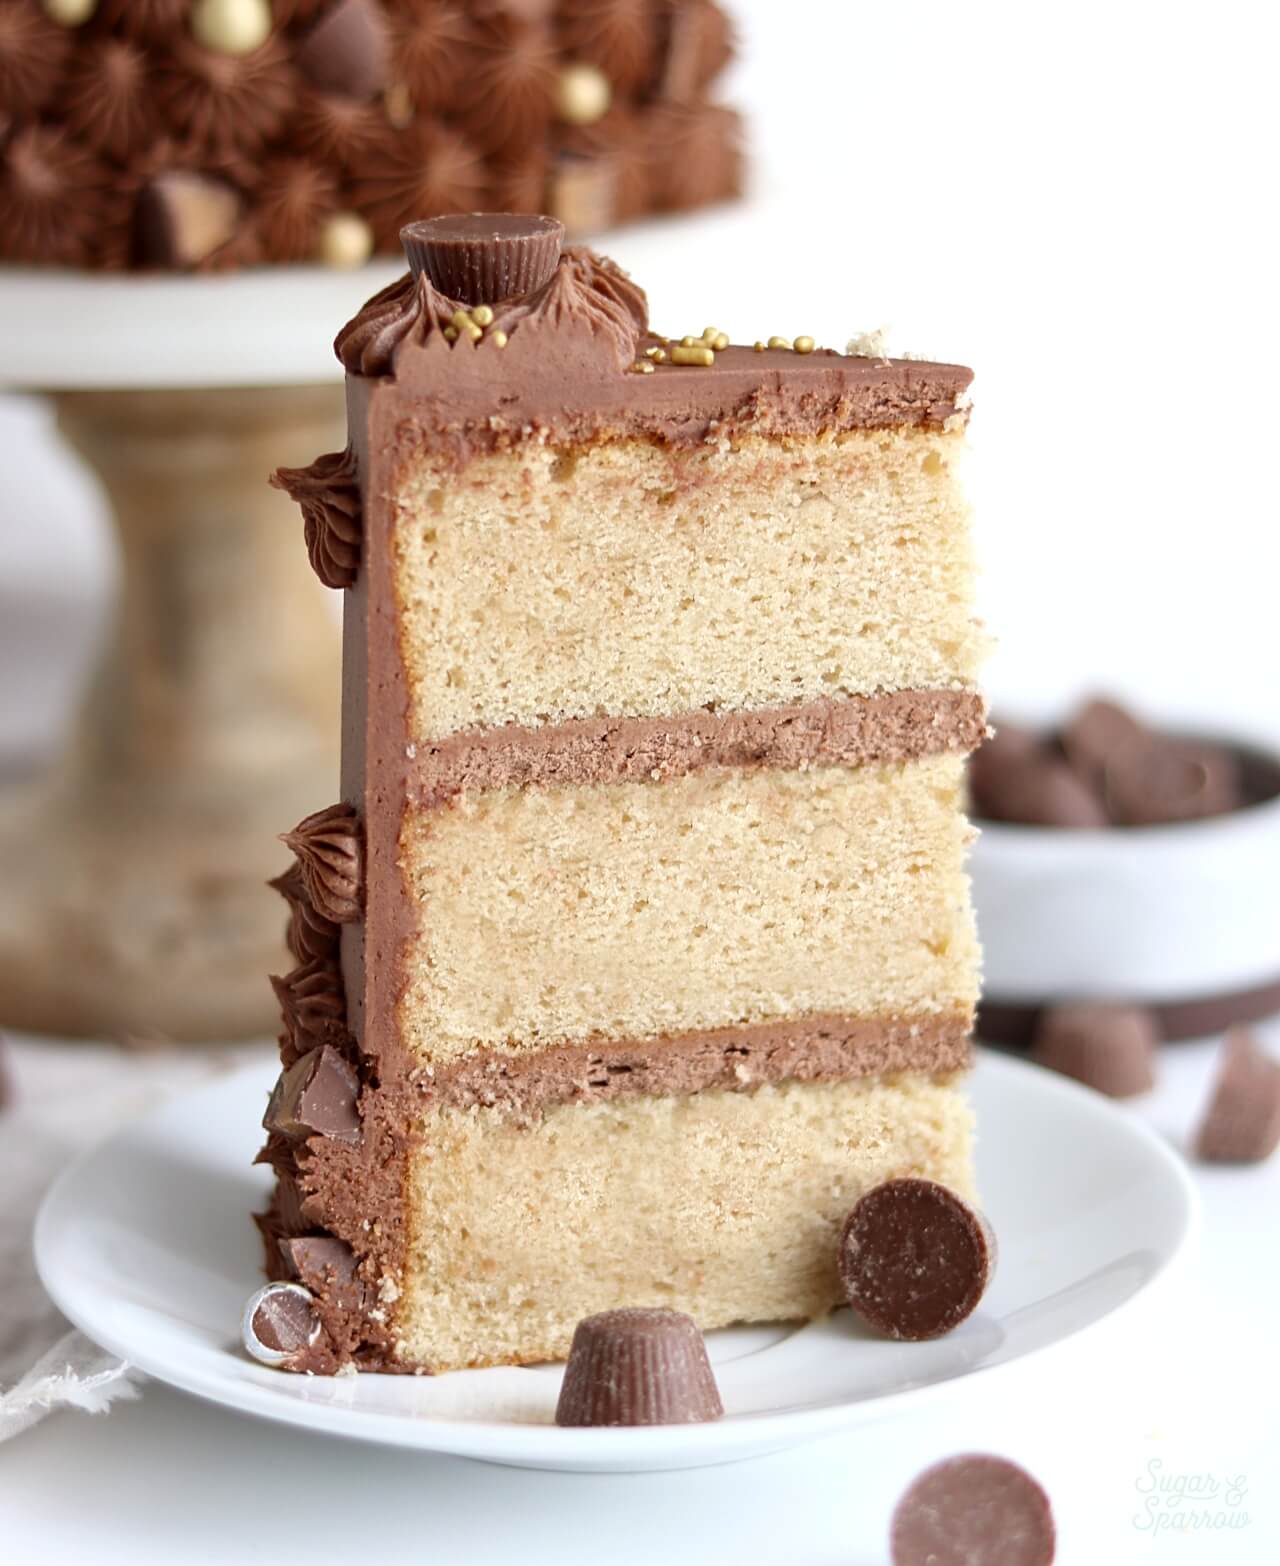
To top this delicious peanut butter cake, I originally thought to use my favorite Chocolate Buttercream recipe, but had an epiphany at the last second: why not add a little peanut butter to the chocolate buttercream? The result was AMAZING and really helps the peanut butter flavor take center stage! Simply whip some creamy peanut butter along with the butter and use it as a base for the chocolate buttercream, and voila.

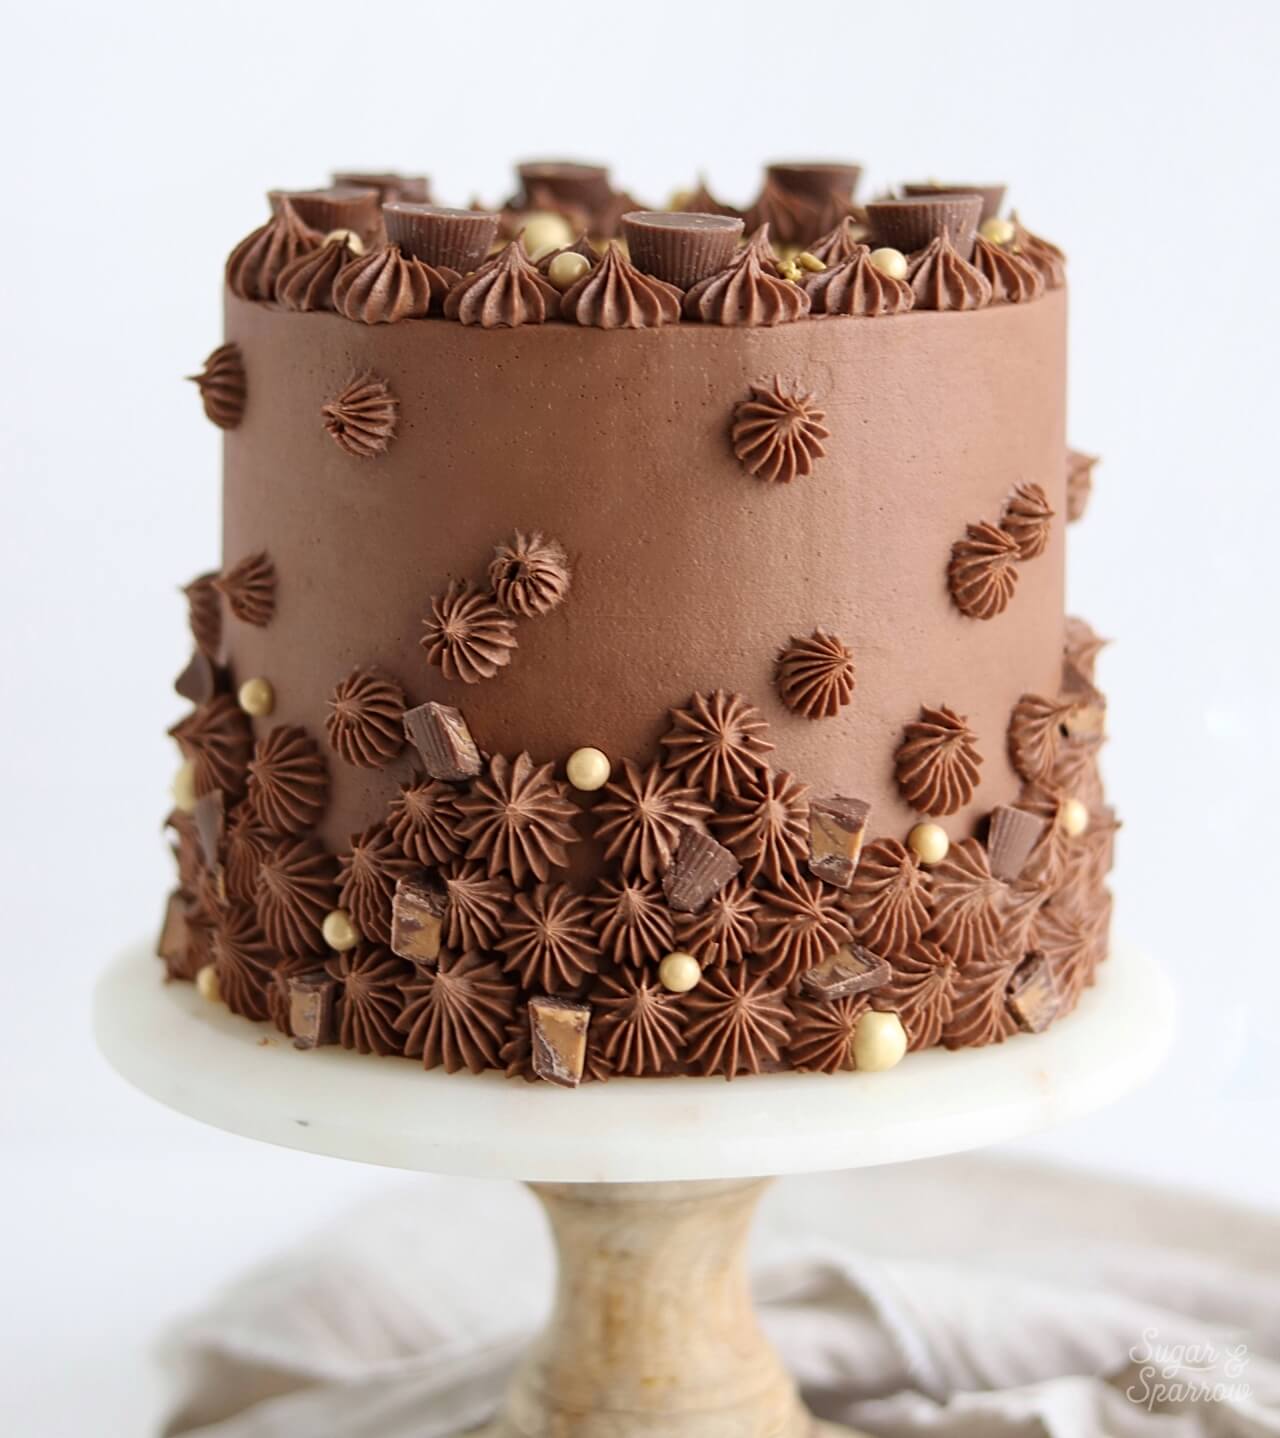
After frosting the peanut butter cakes with a smooth finish of the chocolate peanut butter buttercream (say that five times fast!), I used Wilton Tip 4B to pipe some open stars around the cake in an ombrè style, then used the same piping tip to create two rows of open stars around the top edge. I finished decorating with some mini peanut butter cups and a few SprinklePop sprinkles in the Gold Sprinkle Mix.


You can choose to decorate this cake however you want, because at the end of the day, the flavors are what takes this Chocolate Peanut Butter Cake beyond. It’s perfect for any fan of this flavor combo (who isn’t a fan though!), and so easy to whip up. A total crowd pleaser in my book!
Chocolate Peanut Butter Cake
Ingredients
Peanut Butter Layer Cake
- 3 1/2 Cups (370g) cake flour, sifted before measuring
- 1 Tbsp baking powder
- 3/4 tsp baking soda
- 1 1/2 tsp kosher salt
- 1 1/8 Cup (254g) unsalted butter, room temperature
- 1 Cup (205g) granulated white sugar
- 1/2 Cup (94g) packed brown sugar
- 1 Cup (250g) creamy peanut butter
- 4 eggs, room temperature
- 1/3 Cup (75g) sour cream, room temperature
- 1 1/2 Tbsp vanilla extract
- 1 1/2 Cups (360ml) whole milk, room temperature
Chocolate Peanut Butter Buttercream
- 1 1/2 Cups (339g) unsalted butter, room temperature
- 1/3 Cup (83g) creamy peanut butter
- 4 1/2 Cups (540g) powdered sugar
- 3/4 Cup (63g) natural unsweetened cocoa powder
- 6 Tbsp (89ml) whole milk, room temperature
- 1 Tbsp vanilla extract
- 1/2 tsp kosher salt
Instructions
Make The Peanut Butter Layer Cake
- Preheat the oven to 350°F. Prepare three 8-inch or four 6-inch cake pans by spraying the sides with a cooking spray (Baker's Joy is my favorite) and a wax paper circle fitted to the bottom of the pan. Alternatively, you can grease and lightly flour the pans.
- Sift the cake flour and then measure by spooning and leveling it in your measuring cup. Add the cake flour, baking powder, baking soda, and salt into a bowl and whisk to combine. Set aside.
- In the bowl of your stand mixer (a handheld mixer works fine too!), cream the butter for on high for two minutes until it’s light and fluffy. Add in white sugar, brown sugar, and peanut butter and continue to mix on medium-high for another three minutes, scraping down the bowl and paddle as needed. Add the eggs one at a time, mixing thoroughly after each addition. Add vanilla and sour cream and mix for one minute on medium-high, scraping down the bowl and paddle once more.
- With the mixer on low speed, add in the dry ingredients and mix until just combined. Add the whole milk and mix until just incorporated. Scrape down the sides and bottom of the bowl and give it a few stirs to make sure there are no lumps. Batter will be thick.
- Pour batter evenly into prepared cake pans (no more than 2/3 of the way full), smooth the tops, and bake for 35-40 minutes. They’re done when they spring back to the touch and a toothpick inserted into the middle comes out clean. Let the cakes cool in the pan for five minutes before turning them out onto a wire rack for an additional few hours of cooling. Make sure they’re entirely room temperature before applying any frosting.
Make The Chocolate Peanut Butter Buttercream
- In a stand mixer fitted with a paddle attachment, whip the butter and peanut butter on medium speed until very creamy and well combined, about three minutes. Scrape down the bowl and paddle and turn the mixer to low, then add powdered sugar, cocoa powder, milk, vanilla extract, and salt. Increase the speed to medium and beat for two full minutes.
Assembly
- Fill and frost the Peanut Butter Cake layers with the Chocolate Peanut Butter Buttercream. If you want to recreate the look that’s pictured, frost a smooth finish with the buttercream, then refrigerate the cake for 30 minutes. Prepare a piping bag with Wilton Tip 4B, fill it with more Chocolate Peanut Butter Buttercream, then pipe open stars in an ombre pattern on the sides of the cake. Use the same piping tip to create a buttercream border on top, then top the cake with mini peanut butter cups and gold sprinkles.
Notes
Did you make this recipe? I want to know what you think! Let me know in the comments below or tag me on Instagram. I love to see what you’re caking!




This may be my favorite cake of yours yet in terms of flavor, just delicious. I did have a problem with dry moisture, I think it was because I had to cook mine longer than your suggested time to get a clean toothpick. I used regular creamy jif (could not find simply jif). My only thought was to do a larger pan and thinner layers next time to hopefully get middle done quicker but do you have any suggestions?
Also separately, a request, since I only trust your cake recipes from here on out (they are just better than any I have tried!) I would love to see a carrot and red velvet recipe of yours, let me know if I am missing those in your archives!
Yay, Callie! So happy to hear that you love this recipe and I do wonder why it took longer to cook the layers. It’s hard to say without knowing what kind of pans you’re using, etc. I would start by checking your oven temp with an oven thermometer just to make sure the internal temp is where it should be. If it’s correct, then you could try using bake even strips around your cake pans to get them to cook more evenly, or like you suggested, bake thinner layers. Hope that helps and thank you for the requests – they’re on my list for sure!
Could I adjust this recipe to make cupcakes?
Absolutely, Sarah! Just be sure to fill the tins no more than 2/3 full and bake at 350ºF for 15-18 minutes, or until a toothpick inserted comes out clean. Enjoy!
I’m so excited to try this recipe!!
Yay Ella! Excited for you to try and let me know how it goes!
Hi! This looks delicious! ….I was wondering, to make the frosting lighter in colour, would it be okay to omit the cocoa powder from the buttercream? Or would that affect the consistency of the frosting?
Hi Christina! If you omit the cocoa powder from the buttercream, you’ll end up with a peanut butter buttercream instead of a chocolate peanut butter buttercream. If you’re ok with that, you can omit the cocoa powder from the recipe but may need to add a little more powdered sugar (1/2 cup or so) to make the consistency thick enough to fill and frost the cake with.
Hi, huge peanut butter fan but never been brave enough to try and make a cake with it. Could I use natural peanut butter instead of creamy? Also will probably make cupcakes instead of one large cake, any specific conversion tips? An incredible looking cake though, such an inspiration!
Hi Georgie! Natural peanut butter should work just fine, I chose creamy because I don’t like bits of peanut in the cake so just be aware that if the consistency of the natural peanut butter is chunky, you’ll end up with some crunchy pieces in the cake. And you can certainly make cupcakes instead! This recipe will make a lot of them (40ish?) so if you want a smaller amount I recommend halving the recipe. Fill the tins no more than 2/3 full and bake at 350 for 15-17 min and you’ll be good to go 🙂
Hi Whitney!
I made this beautiful cake (I used choc cake instead) and sprinkled gold stars. Received so many compliments!!! I posted on my Instagram and tagged you. Hope you saw. I find exceptional inspiration from your posts. Even my daughter, who is a trained artist, was looking at your site today with me and was impressed. Looking to make a version of your gradient rainbow cake soon. Love that technique! Thank you very much!!
Hi Paula! I’m so glad the cake was a hit and I did just see your photo on Instagram – it turned out sooo pretty! Thank you for tagging me and taking the time to let me know how much you love the recipe. I’m so excited for you to try the gradient rainbow cake! Can’t wait to see!
This cake was DELICIOUS! The star piping made it easy to decorate and beautiful! That’s something I love about your cakes. You make simple decorations look very special.
Where did you get the cake pedestal?
So happy it was a hit, Jeannine! This is one of my absolute fave recipes. The cake stand was actually a gift from my sis in law and it was so long ago that it’s not available online anymore! I did find a similar one on Amazon though: https://amzn.to/2Ry1dQ6
Hi Whitney! Made this cake tonight and can’t wait to gift it to my father in law tomorrow. Question, is this frosting typically thicker? Mine ended up being a little thicker than I normally would use and I wasn’t sure wether or not to add milk so I just went with it haha.
Hi Kayla! If the frosting ends up being too thick, just add a little more milk to thin it out as desired.
Hi! Is the metric measurement for the white granulated sugar correct? In your other recipes it shows that one cup of granulated sugar is around 200g.
Thanks!
Good catch, Ro! It should be 205g for the white granulated sugar. I will fix that typo!
I made this yesterday for my brother’s birthday. This really is a cake for pb lovers as both the crumb and the frosting are loaded with pb flavor. The crumb was light and moist, and not at all eggy even though the recipe calls for 4 eggs. As recommended in the notes, I used Simply Jiff rather than regular Jiff (which I had in the cupboard) and the frosting was deliciously chocolatey peanut buttery, and had just the right amount of sweetness – not sickly sweet like many frostings tend to be.
I will say that this recipe made A LOT of batter. I used two 6×3 pans and one 6×2 pan. I filled all the pans 2/3 full, including the 6x3s so they baked quite a bit longer, I think 15 minutes longer. I was afraid they’d be dry but they weren’t. They were tall, so I cut them in thirds, and by the time I frosted those six layers, the 6×2 layer could not be piled on because the cake would have been way too tall.
I’m personally not a pb dessert fan but this cake was very good, and the pb dessert lovers in my family loved it!
This is the second one of your cake recipes I’ve tried, Whitney, and I will keep coming back because you know cakes!
That’s so wonderful to hear, Carol! I’m so happy the cake was such a hit 🙂 it’s one of my fave recipes and I love to hear other people enjoying it!
I filled 3 of the 6×2 pans. The batter is too much for 3 of the 6 inch pans. Would be better for 3 of the 8 inch pans.
Thanks for the feedback, Vivian!
The recipe is for 1 cup plus an 1/8 of butter? Just making sure!
Hi Rachel! Yes, that’s correct. 1 1/8 Cups of butter, also measured as 2 1/4 sticks of butter.
This looks stunning and probably tastes even better! I can’t wait to try it for my son’s birthday party this weekend.
So excited for you to try this cake recipe, Eileen! It’s one of my very favorites!
Hey I don’t have 3 six inch pans, will 2 eight inch pans do fir a two layered cake for the same quantity of ingredients?
Hi Mark! Two 8-inch pans will totally work with this ratio of ingredients. Just make sure not to fill the pans more than 2/3 of the way full and you should be good to go!
Hi! I’d love to try this but I don’t keep cake flour handy. Can I use all purpose?
Hi Rose! The reason I love cake flour for this recipe is it makes the cake extra light and fluffy. You can substitute all-purpose flour, but the crumb will be a little more dense. I do have a DIY cake flour recipe that you can create using all-purpose flour, it’s perfect in a pinch:
To make your own cake flour, spoon and level one cup of all-purpose flour and remove 2 Tbsp. Add 2 Tbsp of cornstarch. Repeat per the amount of cake flour you need, then sift the flour and cornstarch mixture 4 times (don’t skip that step!). After sifting, spoon and level to re-measure the amount of cake flour you need.
Looks absolutely scrumptious 🙂
Hi Linda! It’s my favorite flavor combo of the moment 🙂 I hope you try it!