
Sprinkles these days aren’t what they used to be (in the best way). I remember swooning over the little vials of rainbow jimmies and sugar sprinkles in the baking aisle as a kid – little did I know that a few decades later sprinkles would come in all shapes and sizes and colors and textures with names like Bombshell and Party Monster and Unicorn Barf. You can find a sprinkle blend to match any color scheme you could dream of, and I think dressing up cakes with them is one of the easiest ways to add intrigue.

I get questions quite often about adding sprinkles to cake. Mainly: how do you get them to stick to the frosting? And how do you add them without indenting the buttercream? It’s about time I dedicated an entire post to my go-to methods for decorating cakes with sprinkles, and while I already have this post on how to cover an entire cake in sprinkles, this one will share all the little things I do to get the look pictured above. Here’s a quick video to show you the techniques before I get into all the details below:
Want to see more Cake Basics videos like this one? Head to my YouTube Channel to see the growing collection. You’ll also find tons of cake recipes and decorating videos to inspire you and broaden your skill set – be sure to hit the subscribe button so you never miss a new one!
What Kinds of Sprinkles Work with These Techniques?
The cool thing about these techniques is that any sprinkles will work! Keep in mind that the smaller the sprinkles you’re using, the more tedious it will be to add them if you’re placing them one-by-one (like in Step 3). While it’s not impossible to work with teeny tiny sprinkles, it’s just much easier to place the sprinkles when they’re jimmy-size or bigger.
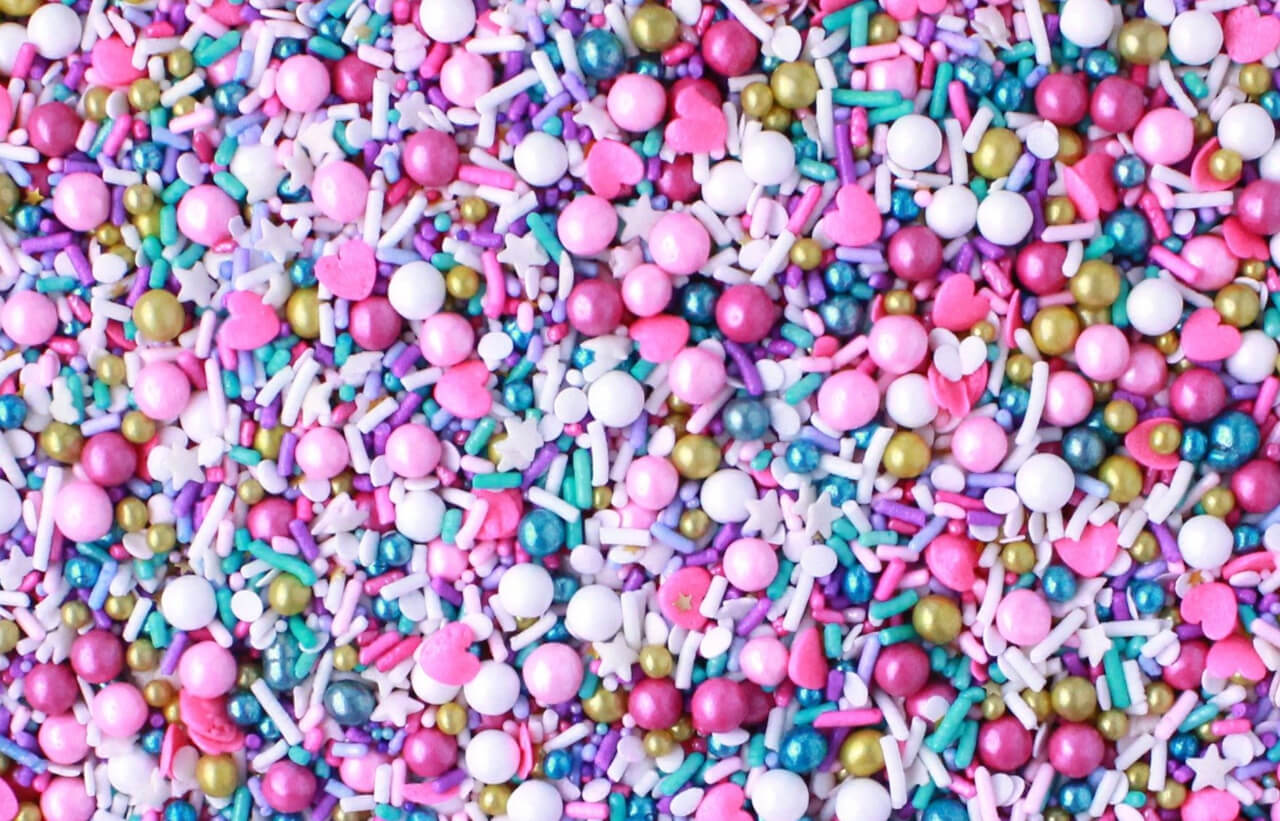
The sprinkles I’m using in my video (and throughout this post) are the Hey Sugar mix by Sprinkle Pop, simply because I love the color scheme and think they go well with my turquoise + fuchsia buttercream. Sprinkle Pop has lots of other mixes to choose from or you can check out other brands like Sweetapolita or the offerings in your local grocery store’s baking aisle.
How Many Sprinkles Do I Need?
Sprinkles typically come in a few different jar sizes: 2oz (sample size), 4oz, 8oz, and beyond. The cake I’m working with throughout this post is a triple layer 6-inch cake that is about 5 inches tall. To get the look pictured (a thicker band of sprinkles around the base of the cake + individually placed sprinkles around the top) with this size of cake, you’ll need a 4oz bottle of sprinkles. In reality, you’ll only use about 2-3oz of sprinkles, but in my opinion, it’s always best to have more than enough than to have just barely enough.
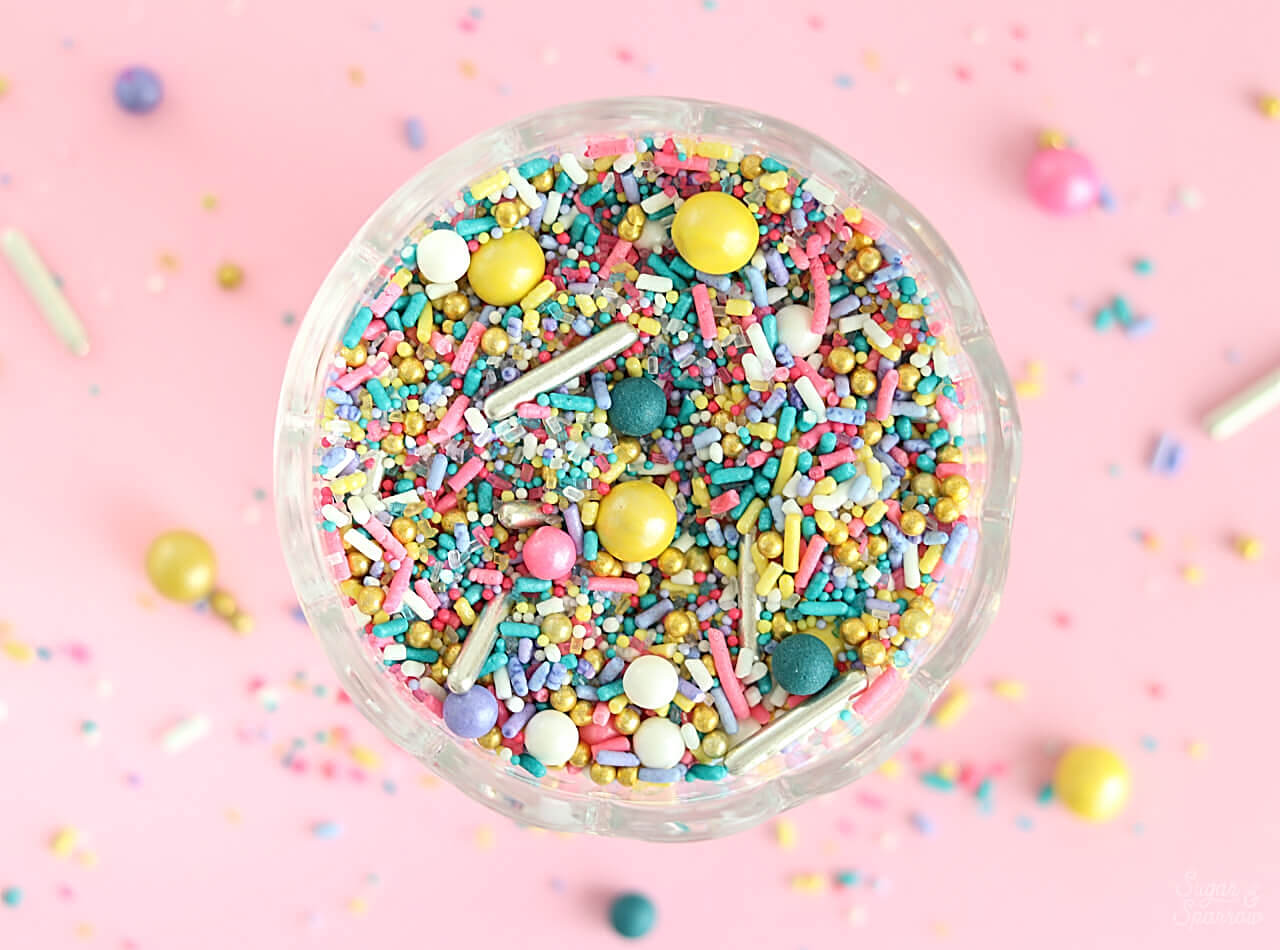
The good thing about this approach (buying a little more than you need) is that sprinkles keep for a long time, so you can always use the extra in future cake and cupcake projects.
When to Add Sprinkles to Your Cake
I always add sprinkles right after I add the final layer of frosting to my cake, while the frosting is still wet to the touch. Beneath that final frosting layer is a crumb coated cake that’s been chilled, which gives the entire cake a sturdy foundation and makes the final layer of frosting semi-set (because of the cold sublayers), yet still fresh enough for sprinkles to adhere easily.

In my experience, this timing is essential to decrease the chances of indenting the frosting finish while you’re placing the sprinkles. If you add the sprinkles without crumb coating and chilling your cake before applying that final layer of frosting, you have an increased risk of the foundation (cake layers and filling) shifting around on you as you decorate. On the other hand, if the final frosting layer is too chilled (aka you placed your cake in the refrigerator after the final layer of frosting was added) before adding the sprinkles, they may not adhere as easily.
While it’s not impossible to place sprinkles on a cake that’s not set enough and a cake that’s too chilled/set, I recommend following the timeline laid out in this Cake Basics series and adding the sprinkles right after that final layer of frosting.
Step 1: Prepare Your Cake & Workspace
Once your cake has been frosted with the final layer of buttercream, you’re ready to prepare your workspace and start adding sprinkles. To make cleanup super easy and ensure that you don’t waste a ton of sprinkles in the process, I recommend placing a large sheet pan underneath your cake, which should still be on its turntable.
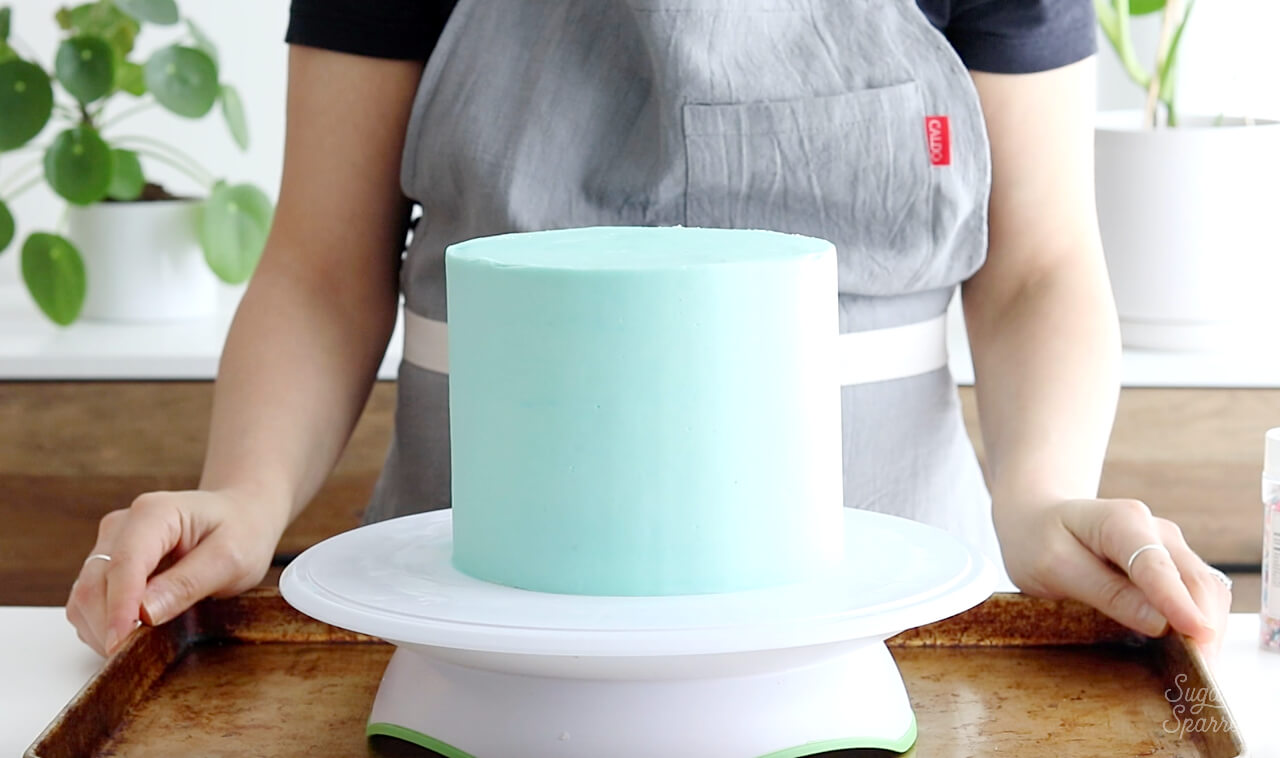
I also recommend pouring the sprinkles out into a bowl and mixing them up, just so you don’t end up with all of the larger sprinkles in only one area of the cake.
Step 2: Add the Concentrated Sprinkles
To add a concentrated amount of sprinkles around the bottom of the cake, I find it easiest to pour some sprinkles into the palm of my hand, then gently press them by the palmful onto the side of the cake.
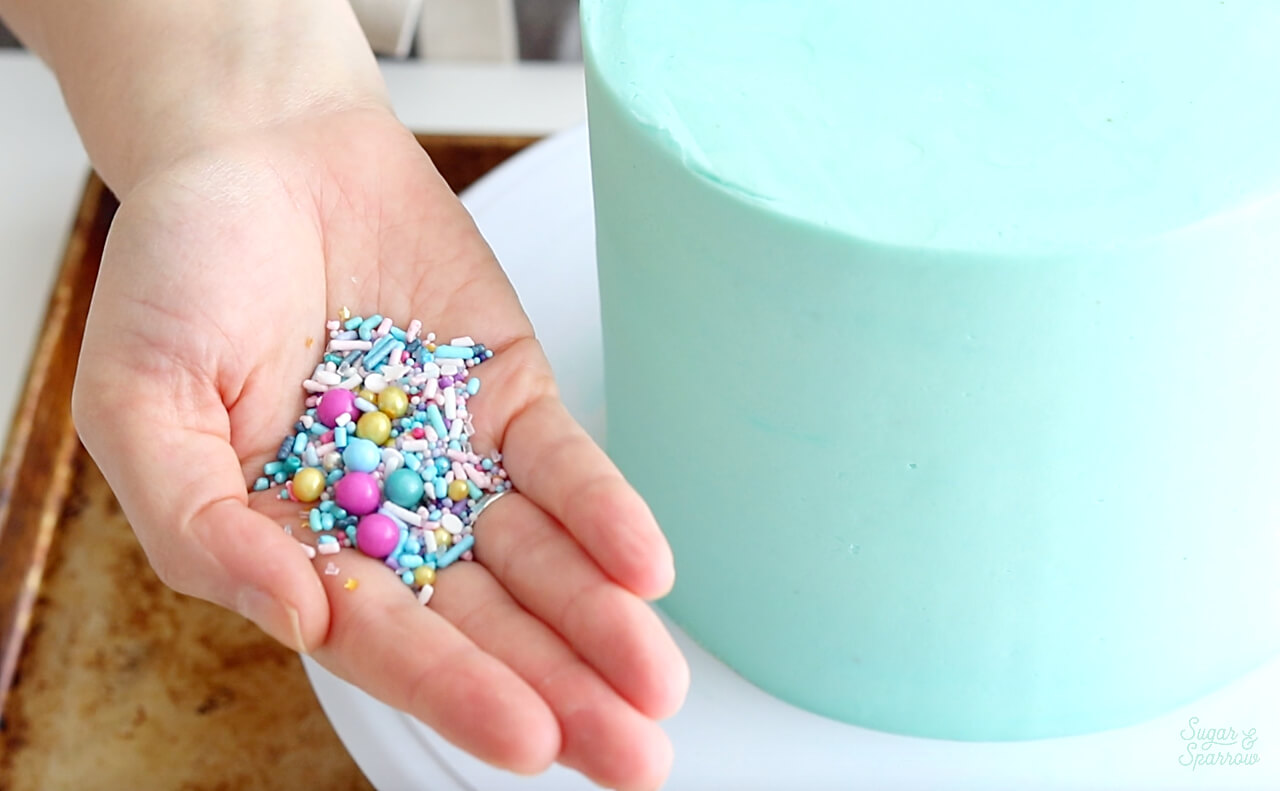

Continue this process around the entire base of the cake until you’re happy with the way it looks. I prefer an imperfect boundary line when it comes to this technique so I like to add a lot of highs and lows instead of trying to create a perfectly straight line here.

Feel free to add in larger sprinkles and fill in gaps as you see them. Once you feel satisfied with the sprinkle placement around the base, it’s helpful to clean up the stray sprinkles on the turntable so you can ensure that you’ve covered all the spaces you want to before moving on.

The easiest way to do this is with a pastry brush, and since you’ve got your sheet pan underneath the turntable, all of those extras will get swept away without covering your kitchen floor.
Step 3: Add the Individual Sprinkles
Once I’ve got the base of the cake covered with a more concentrated sprinkle placement, it’s time to add individual sprinkles in what I like to call a “floating” pattern. I don’t really know what else to call it, but the only way to get the look is to add each sprinkle one-by-one. To get started, I press a sprinkle onto the pad of my pointer finger, then quickly (and gently) press that sprinkle to the side of the cake.
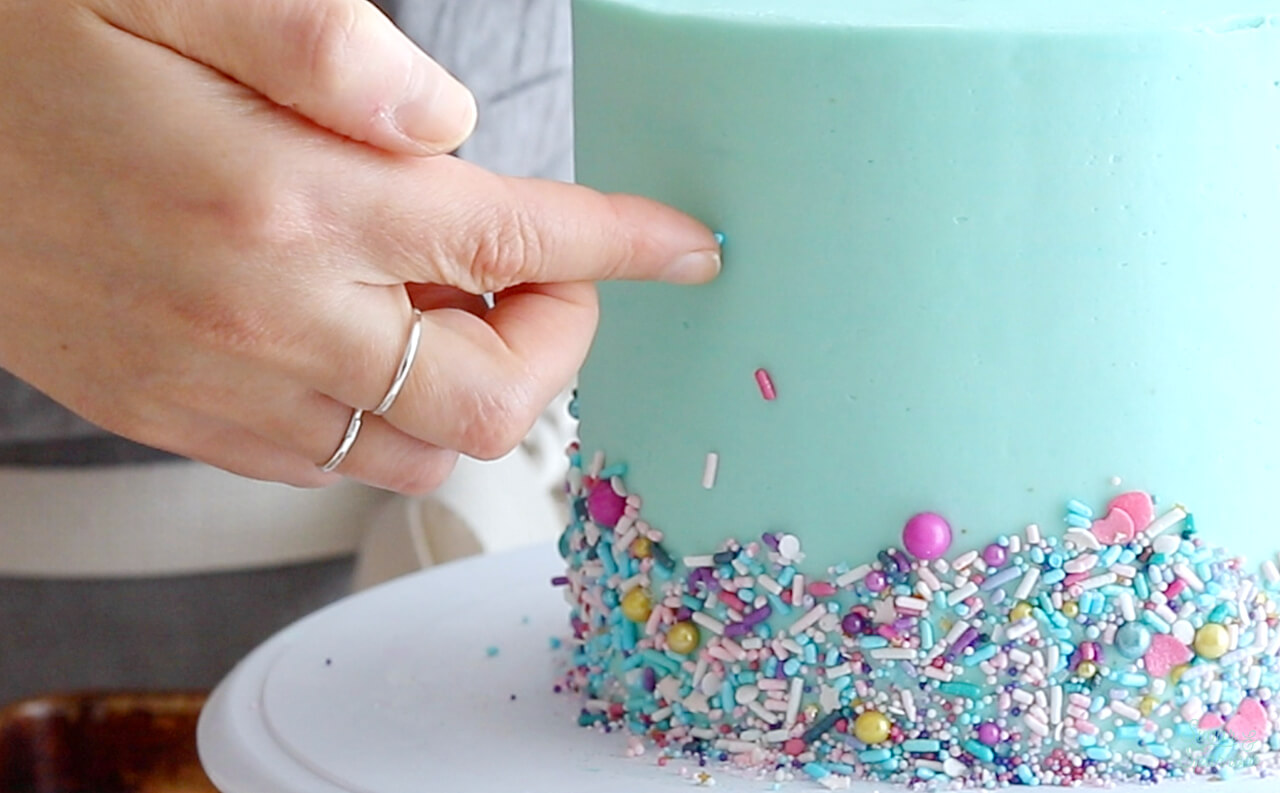
In my opinion, pressing the sprinkles on with the pad of your finger is the best way to prevent indents, since your fingernails won’t get in the way. Adding sprinkles with tweezers, your fingertip, or by pinching the sprinkle between two fingers is totally possible, but you have to be way more careful in regards to the sharp points of the tweezers or your nails indenting the cake finish.

You will drop a lot of sprinkles along the way whichever method you choose, but as a tip for getting the sprinkles to stick to your finger easier, it’s helpful to keep a damp paper towel handy. This way you can press your finger onto the paper towel before placing it onto a sprinkle – that little bit of moisture helps keep it stuck on for longer.
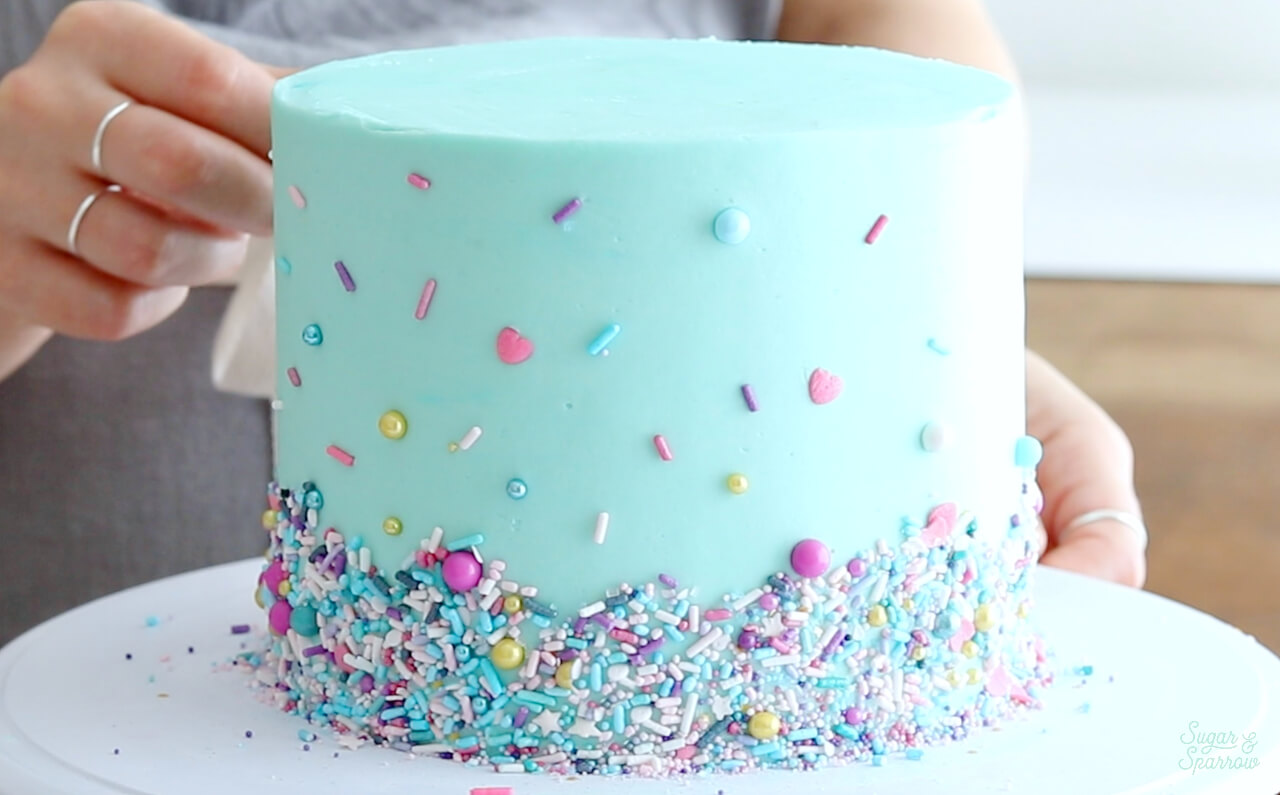
I like to place the individual sprinkles about an inch or so apart, always ensuring that no two colors or shapes are placed right next to one another. This process in total can take upwards of 15 minutes, so throw on some music and settle in for a tedious sprinkle sesh. Taking your time will be worth it in the end!
Step 4: Continue Decorating
For this particular design, I move on to decorating the top of the cake once I’ve got the sides sprinkled just the way I want them. Side note worth mentioning: If I’m adding sprinkles to a cake that will have a ganache drip, I tend to do Steps 1 and 2, add the drip, then complete Steps 3 and 4. Just thought I’d mention that in case anyone is wondering where a drip comes into play.

For this cake, I fitted a piping bag with Wilton Tip 4B and filled it with some buttercream frosting that I tinted with Americolor Fuchsia color gel. Then, I piped a series of swirls around the top edge.

To finish the look, I added more sprinkles onto each of the fuchsia swirls. It’s important to do this immediately after swirling, while the buttercream is still fresh. If the buttercream has set, the sprinkles will just bounce off.

When you’re happy with your beautiful smooth and sprinkled buttercream cake, step back and marvel at your masterpiece! You did it!
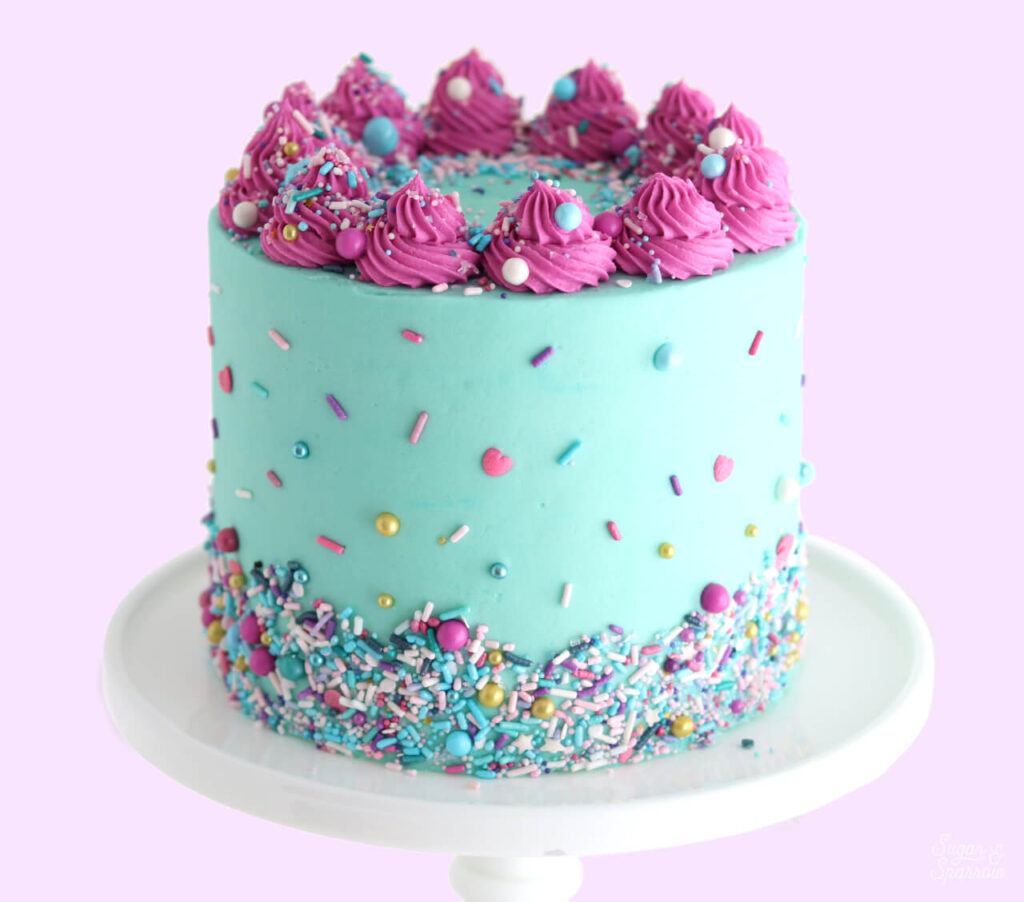
Did you make this cake? I want to see how it turned out! Be sure to let me know in the comments or tag @Sugarandsparrowco on Instagram to show me. And if you want more Cake Basics, head here to see all of the posts and learn the methods of caking I’ve come to love over the years. I’m cheering you on every step of the way!




Hi! I am not a baker but you’re so inspiring and I’ve learned so much from you. I’m planning on making an ice cream cake with whipped cream icing for my daughter’s 3rd birthday! Will the same sprinkle technique work for whipped cream frosting (with mascarpone)?
Thank you for your guidance!!
Hi Petra! I’m cheering you on and so happy you’ve been inspired! An ice cream cake sounds like the perfect birthday cake and yes, this sprinkle technique will totally work with mascarpone whipped cream frosting. Sounds delicious!