• Cake
  • Frosting
  • YouTube
  • My Favorite Tools
  • Nav Social Icons

  • Skip to primary navigation
  • Skip to main content
  • Skip to primary sidebar
  • Skip to footer
  • Recipes
    • Cake
    • Cupcakes
    • Frosting
    • Ice Cream
    • Vegan
  • Cake Basics
  • Tutorials
  • Blog
  • About
  • Mobile Menu Widgets

    Connect

    Search

Sugar & Sparrow logo in script font

Sugar & Sparrow

Lifestyle and Cake from Portland Oregon

  • Cake Basics
  • Recipes
    • Cake
    • Cupcakes
    • Cookies & Bars
    • Filling
    • Frosting
    • Ice Cream
    • No-Bake
    • Small Batch
    • Vegan
  • Tutorials
  • Book
  • Blog
  • About

Halloween Candy Cookie Bars

October 28, 2025 · In: Cookies & Bars, Featured, Halloween, Recipes, Seasonal

Jump to Recipe

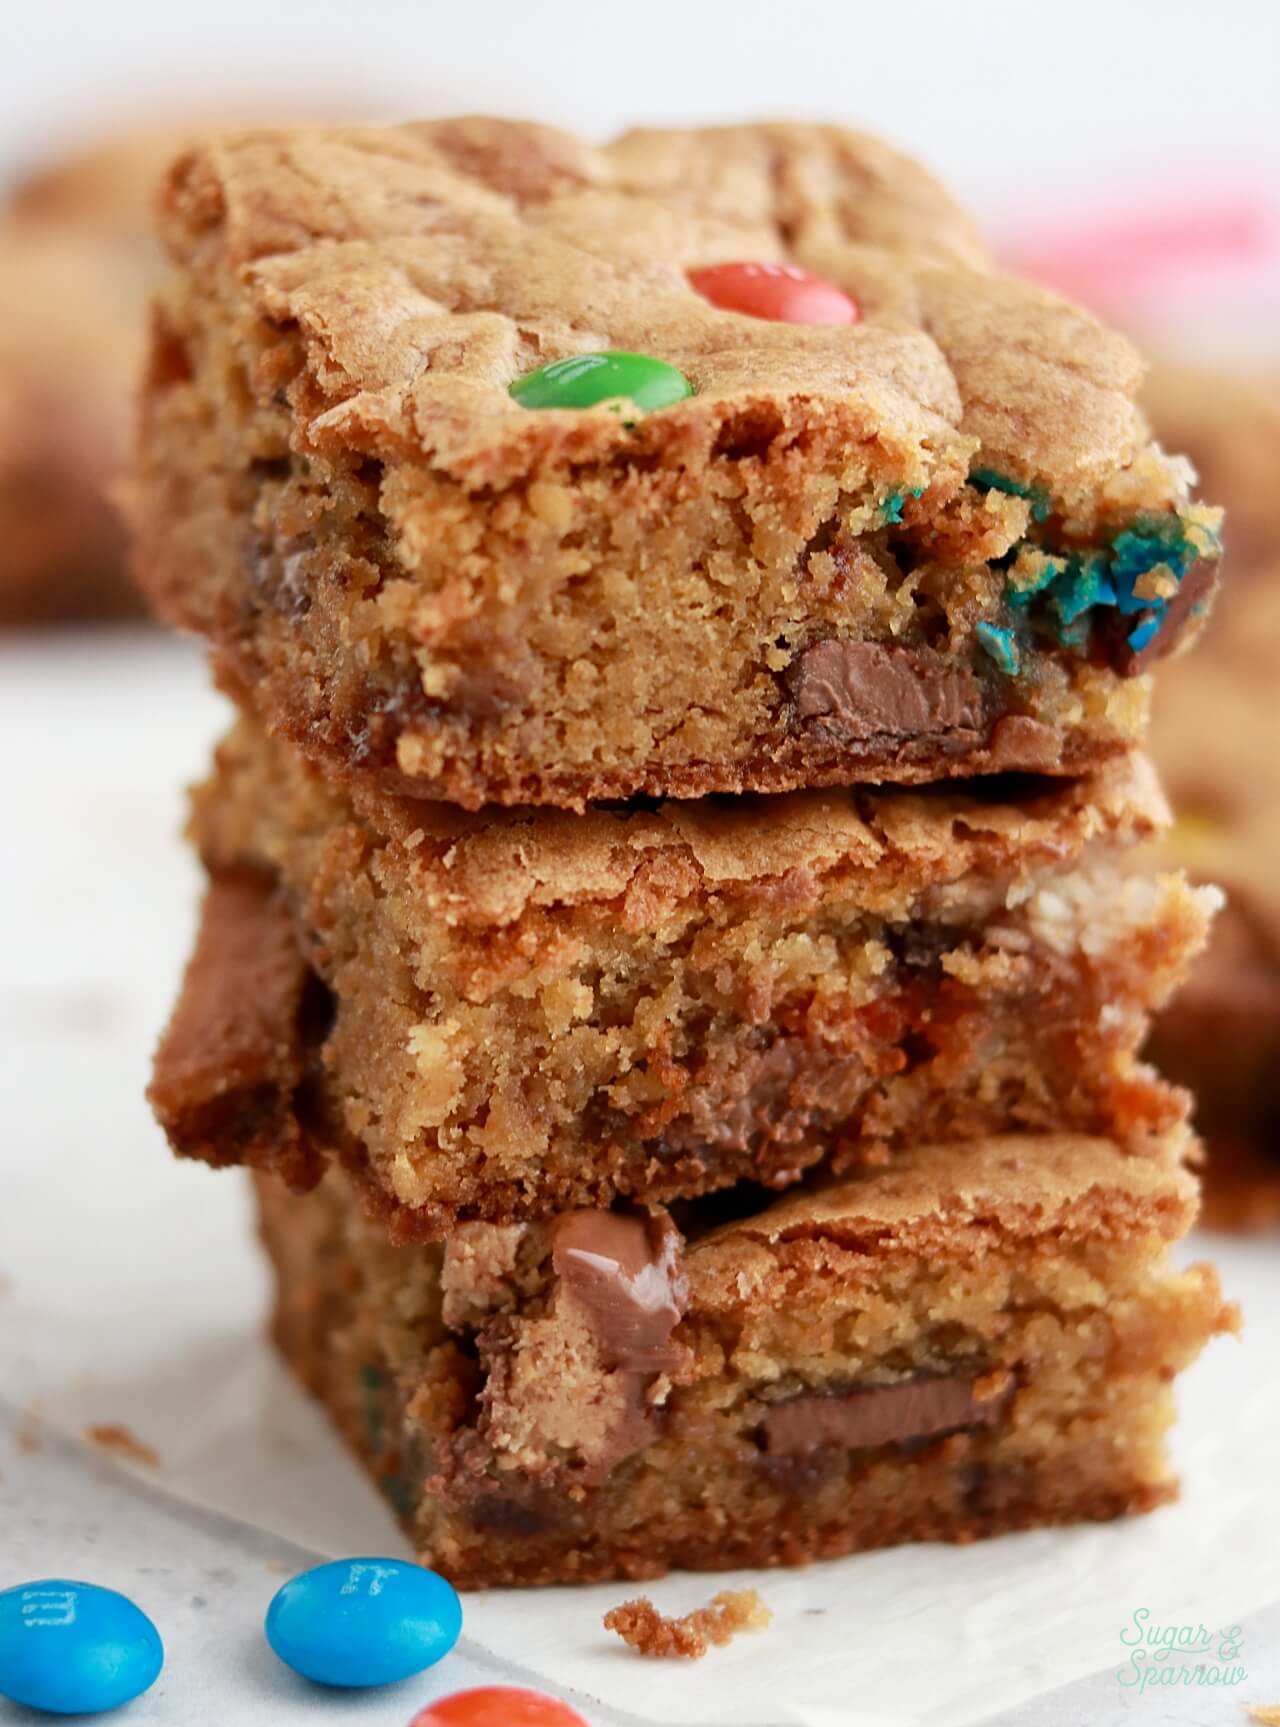
Sometimes your kids come home from trick-or-treating with just way too much candy. In case you’re looking for a creative way to get rid of it, this cookie bar recipe is my most delicious suggestion to use up those fun-size chocolate bars! It’s a thick and chewy cookie bar with chunks of your favorite candy bars folded in, so you get a variety of tasty flavors and textures in every bite. 
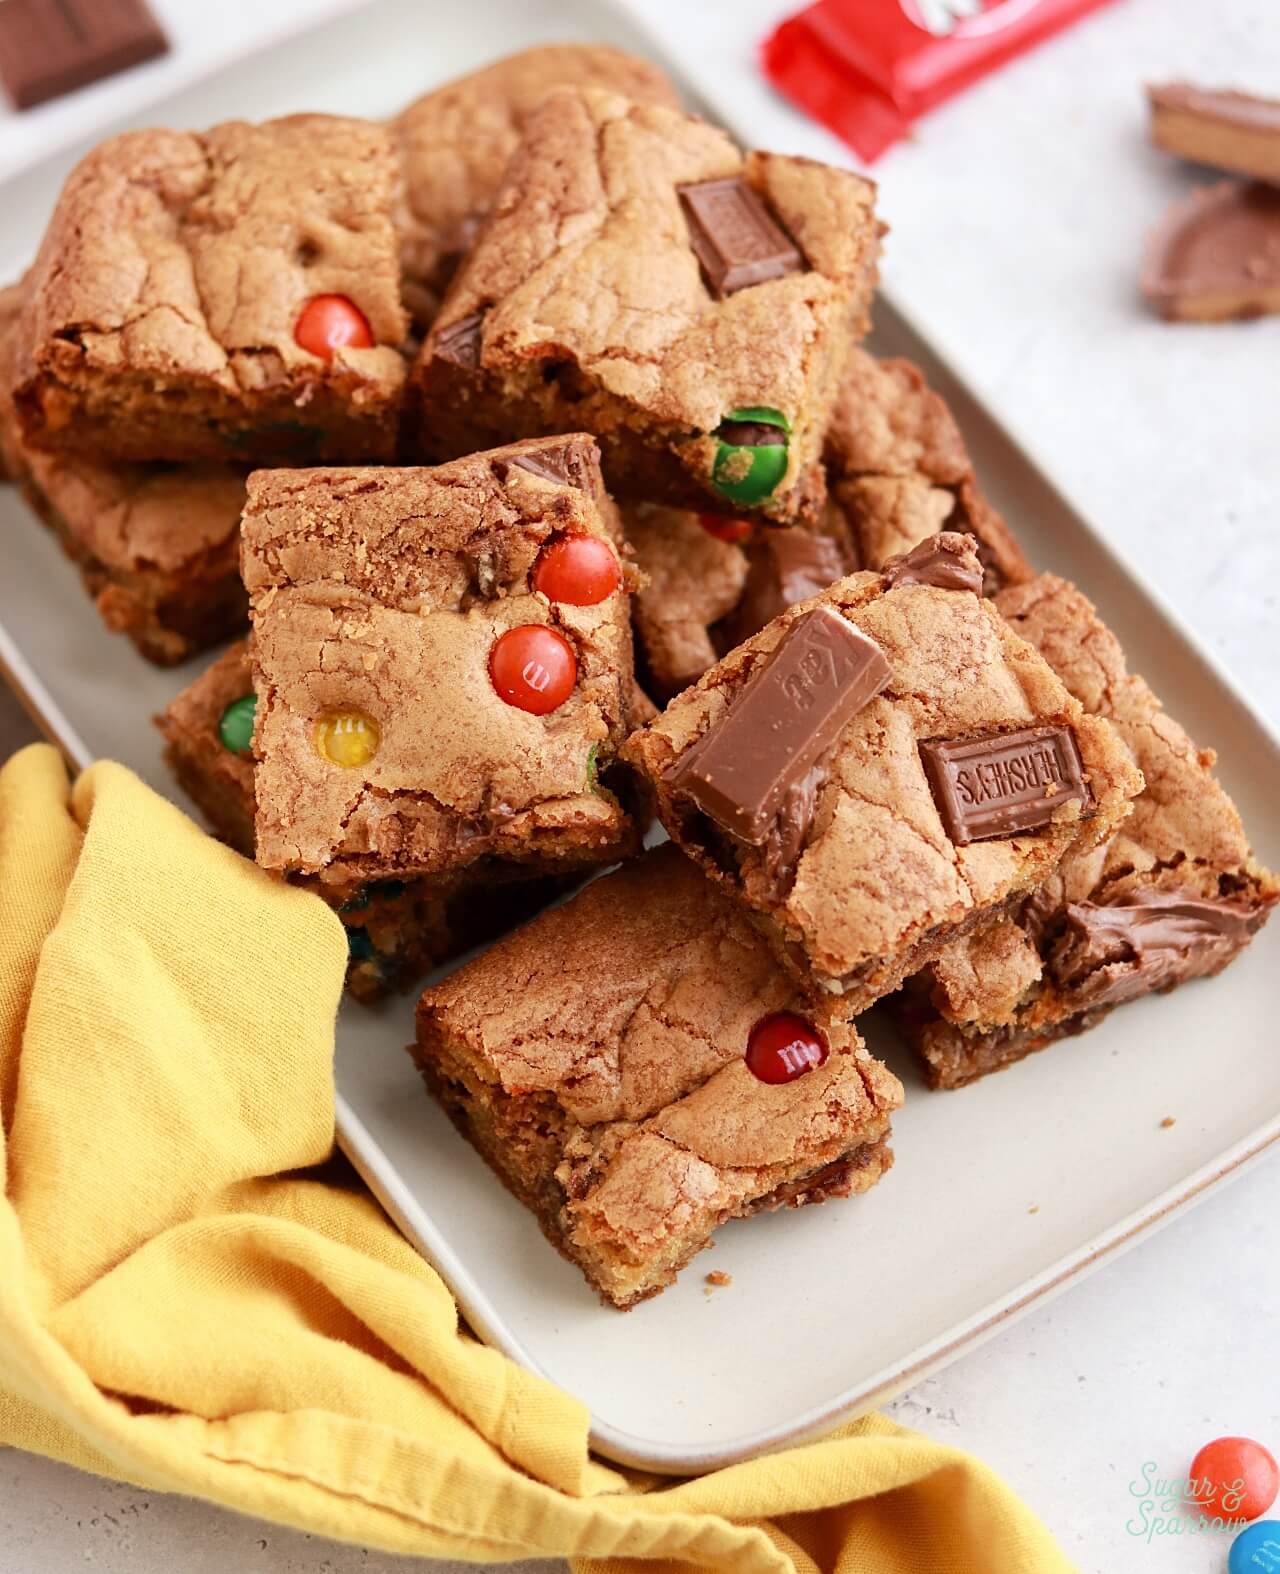
halloween candy cookie bars recipe
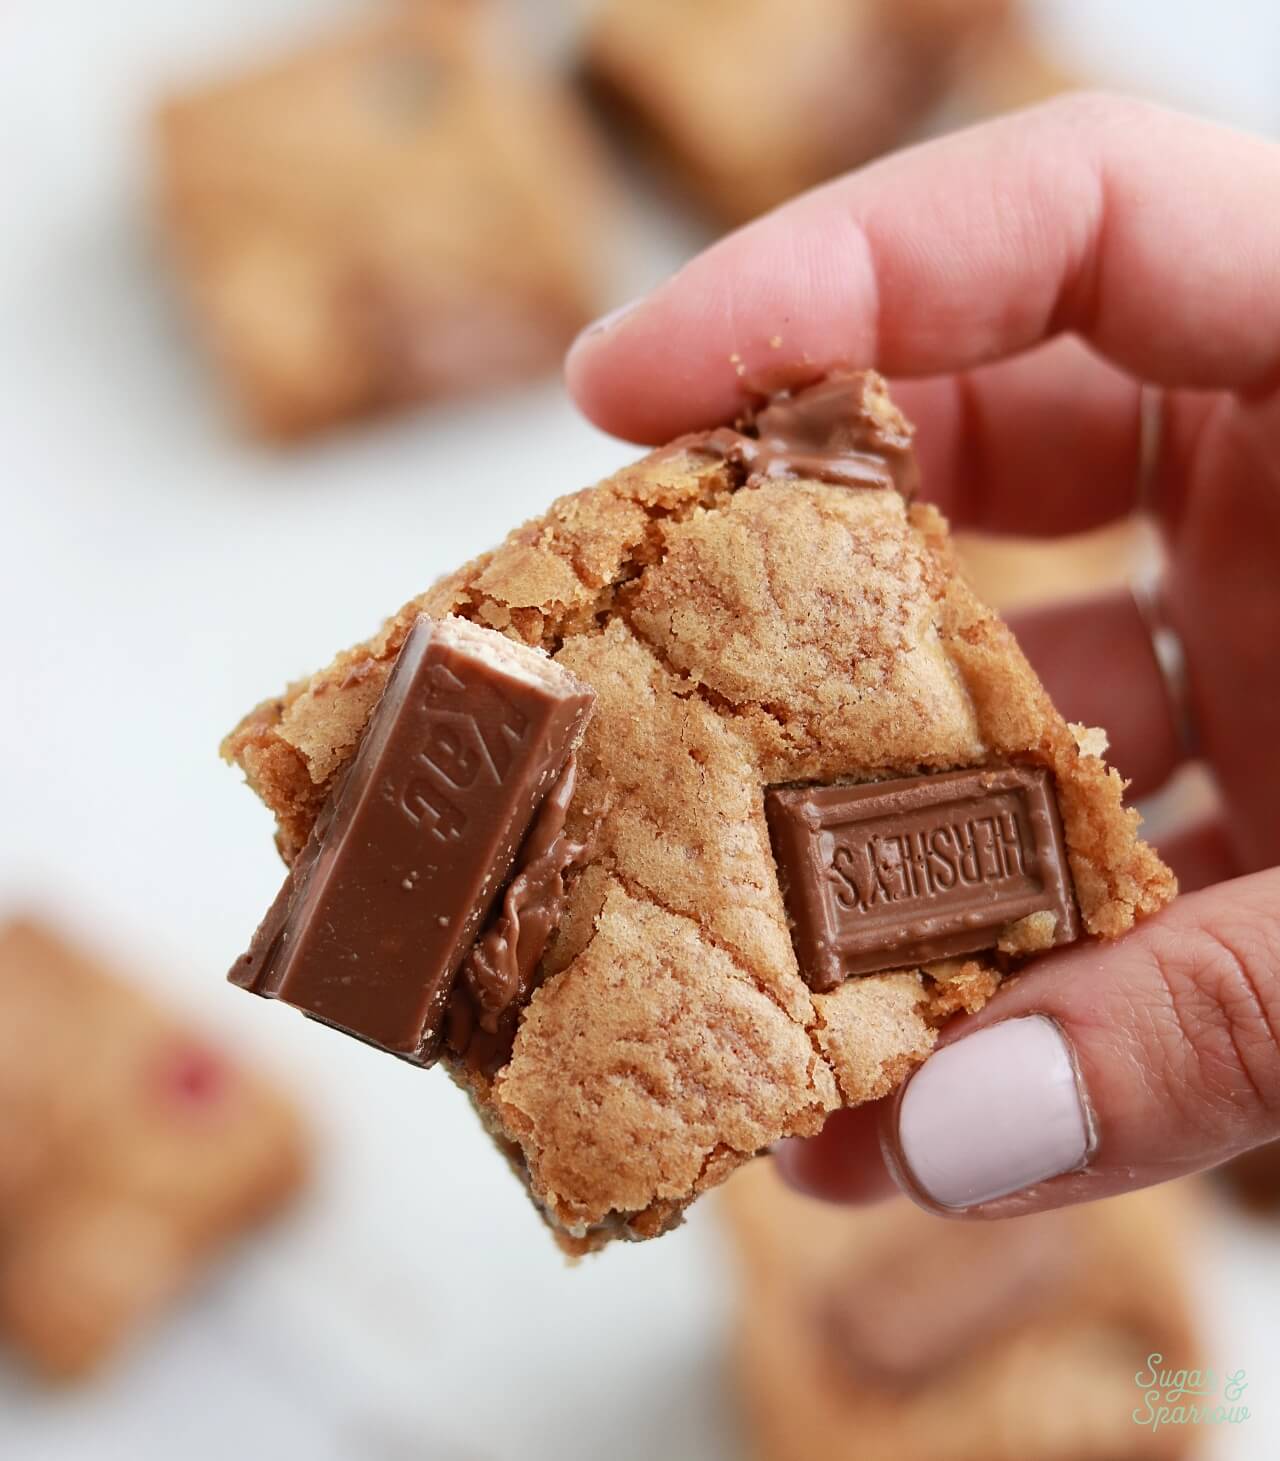
cookie bars with halloween candy folded into the dough

Why You’ll Love These Cookie Bars

  • Simple ingredients. This recipe uses ingredients you probably already have in your pantry, plus your extra Halloween candy.
  • Thick + chewy. These cookie bars are just the right amount of thick and chewy, almost like a blondie. 
  • Crowd pleasing flavors. Because these cookie bars use a variety of fun-size candy bars and small chocolates (like m&m’s), the flavor sounds very intriguing and actually lives up to the hype. No two cookie bar squares are quite alike, which is part of the fun! 
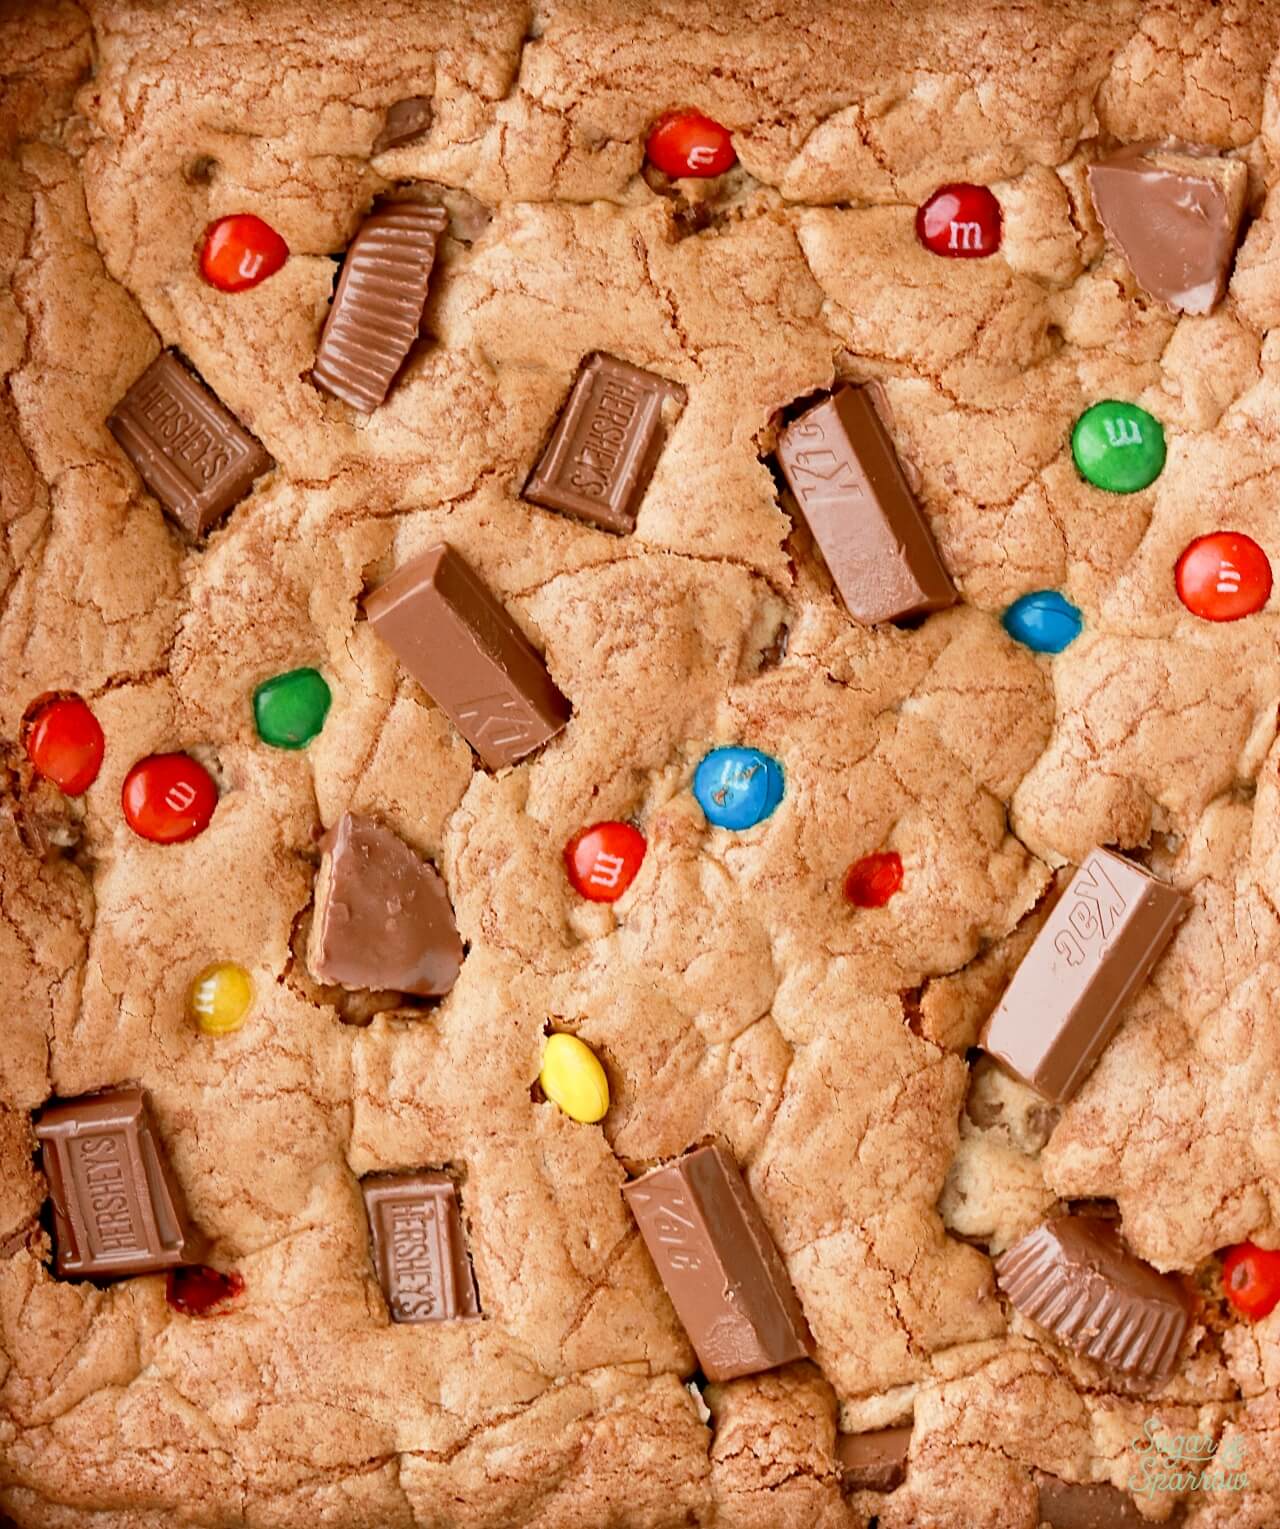
baking fun size candy bars into a cookie bar recipe

What Kind of Halloween Candy to Use

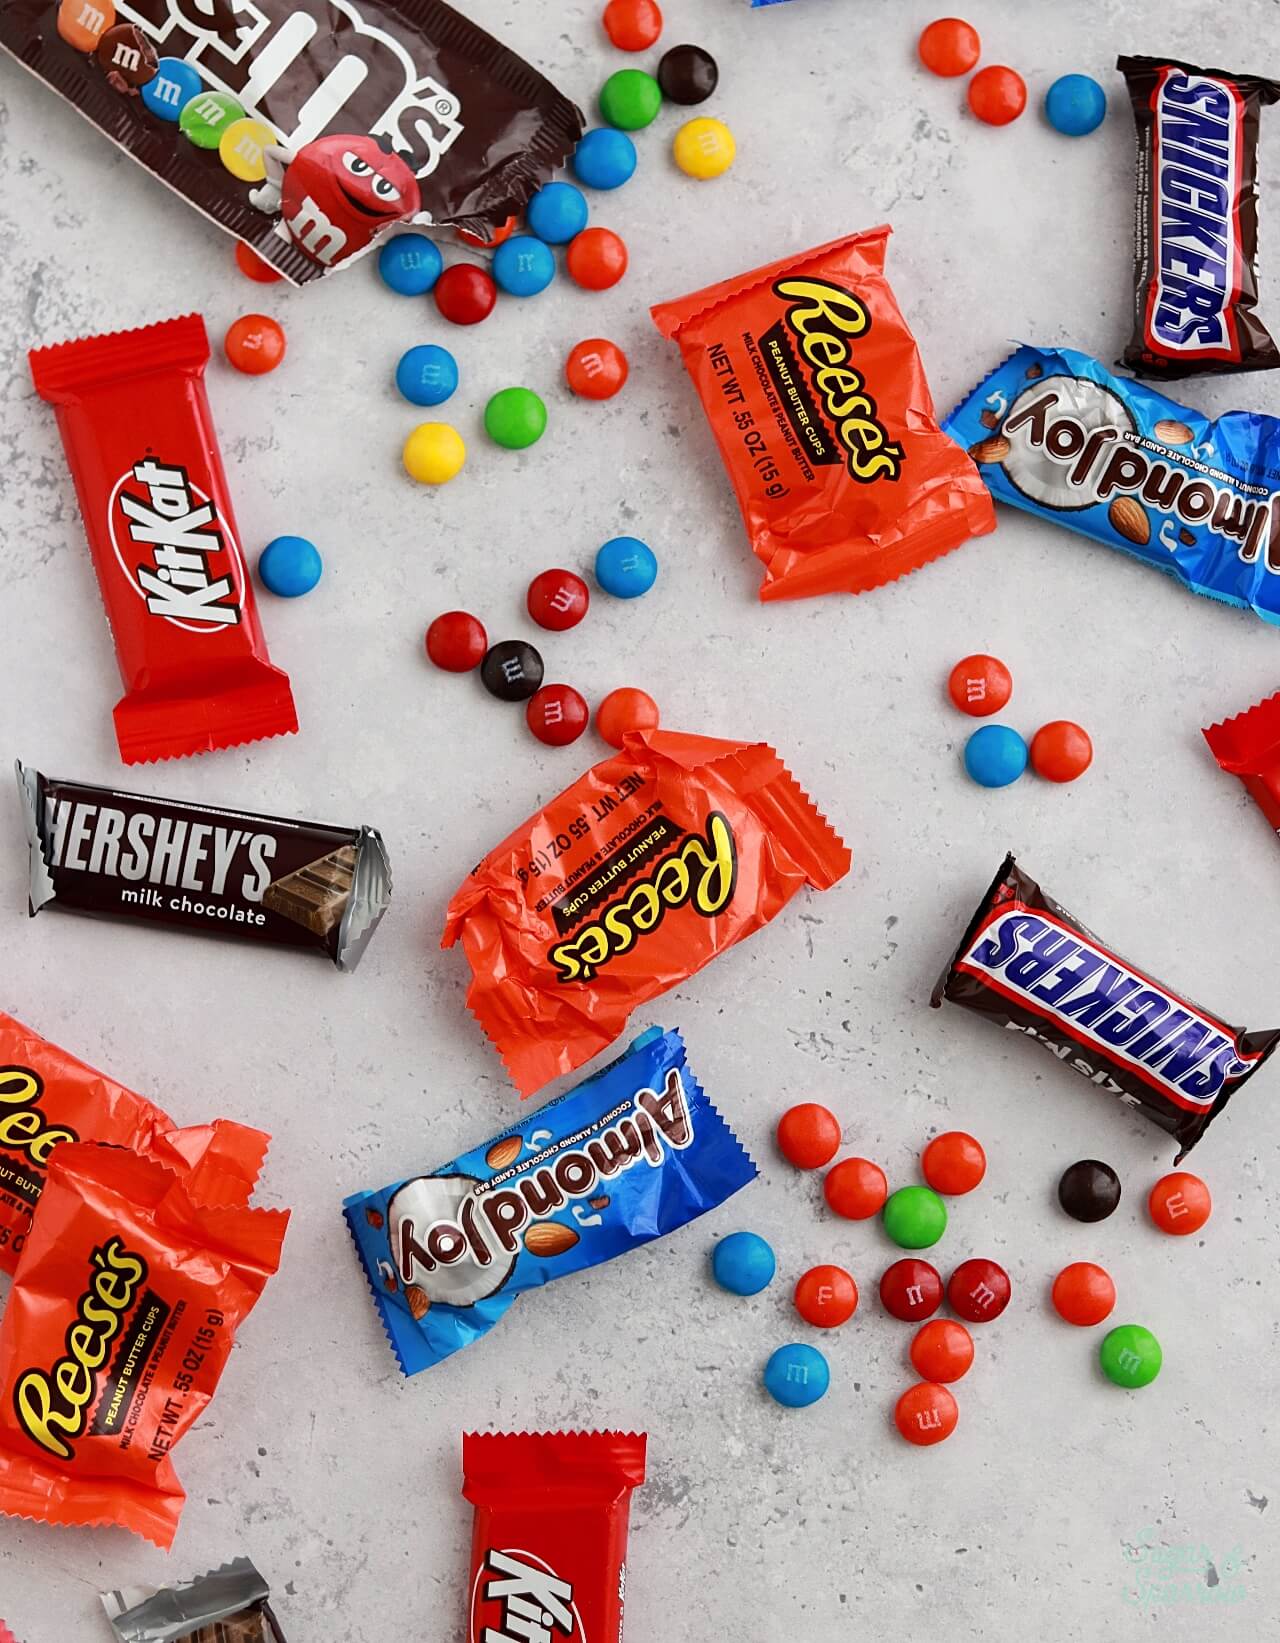
Before you start tossing in any kind of Halloween candy, let me tell you what tastes best. You don’t want to use anything that’s not chocolate (like taffy, gummy stuff, etc). But after baking these a few times here’s what I love the most as add-ins:

  • Peanut Butter Cups
  • Snickers
  • Milky Way
  • Almond Joy
  • M&Ms and/or Reese’s Pieces 
  • Twix
  • Kit Kat Bars
  • Hershey’s Bars
halloween candy bars
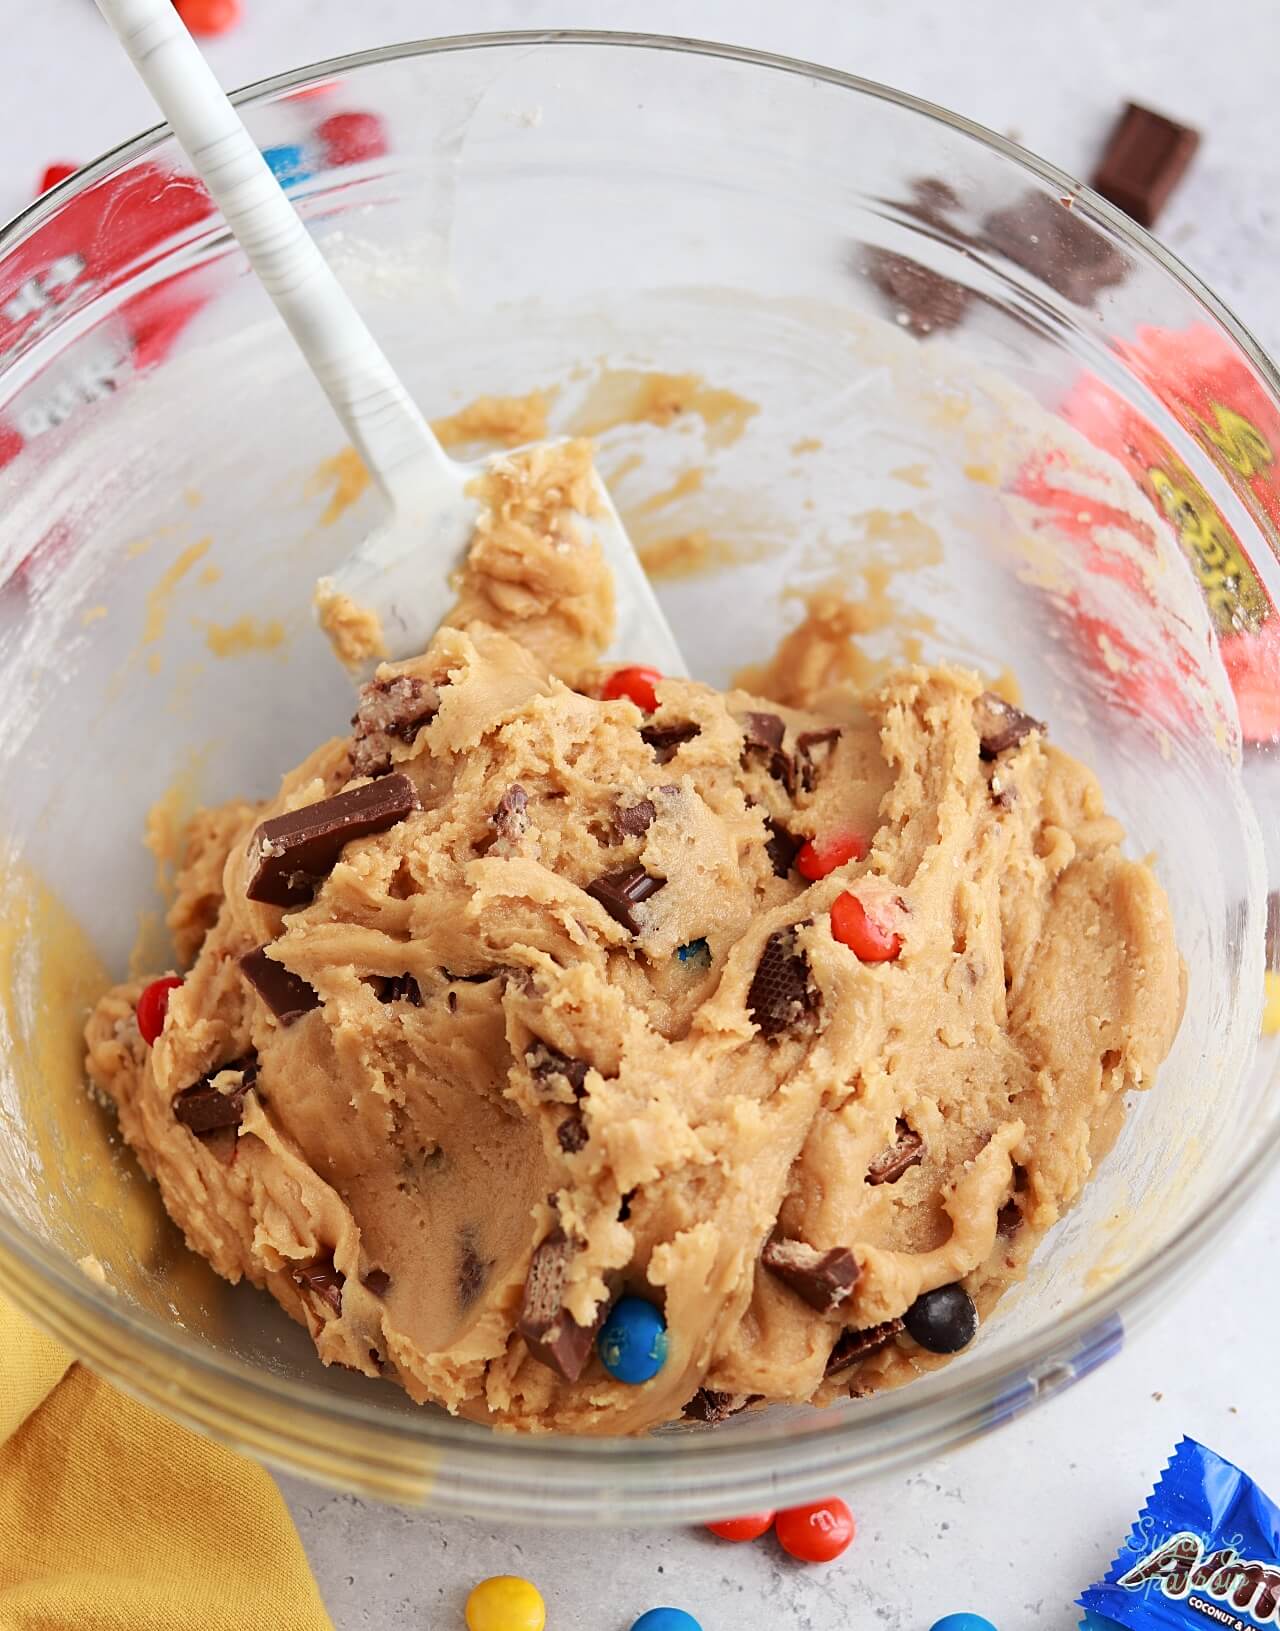
cookie dough with pieces of halloween candy folded in

Feel free to stray from this list as long as what you’re using is chocolate. I’m sure there are other candy bars that would taste amazing in this!

How to Make Halloween Candy Cookie Bars

Step 1. Preheat the oven to 350ºF, then grease and line a 9-inch square pan with parchment paper. Be sure to leave an overhang so it’s easy to lift the cookie bars out when they’re done baking. 

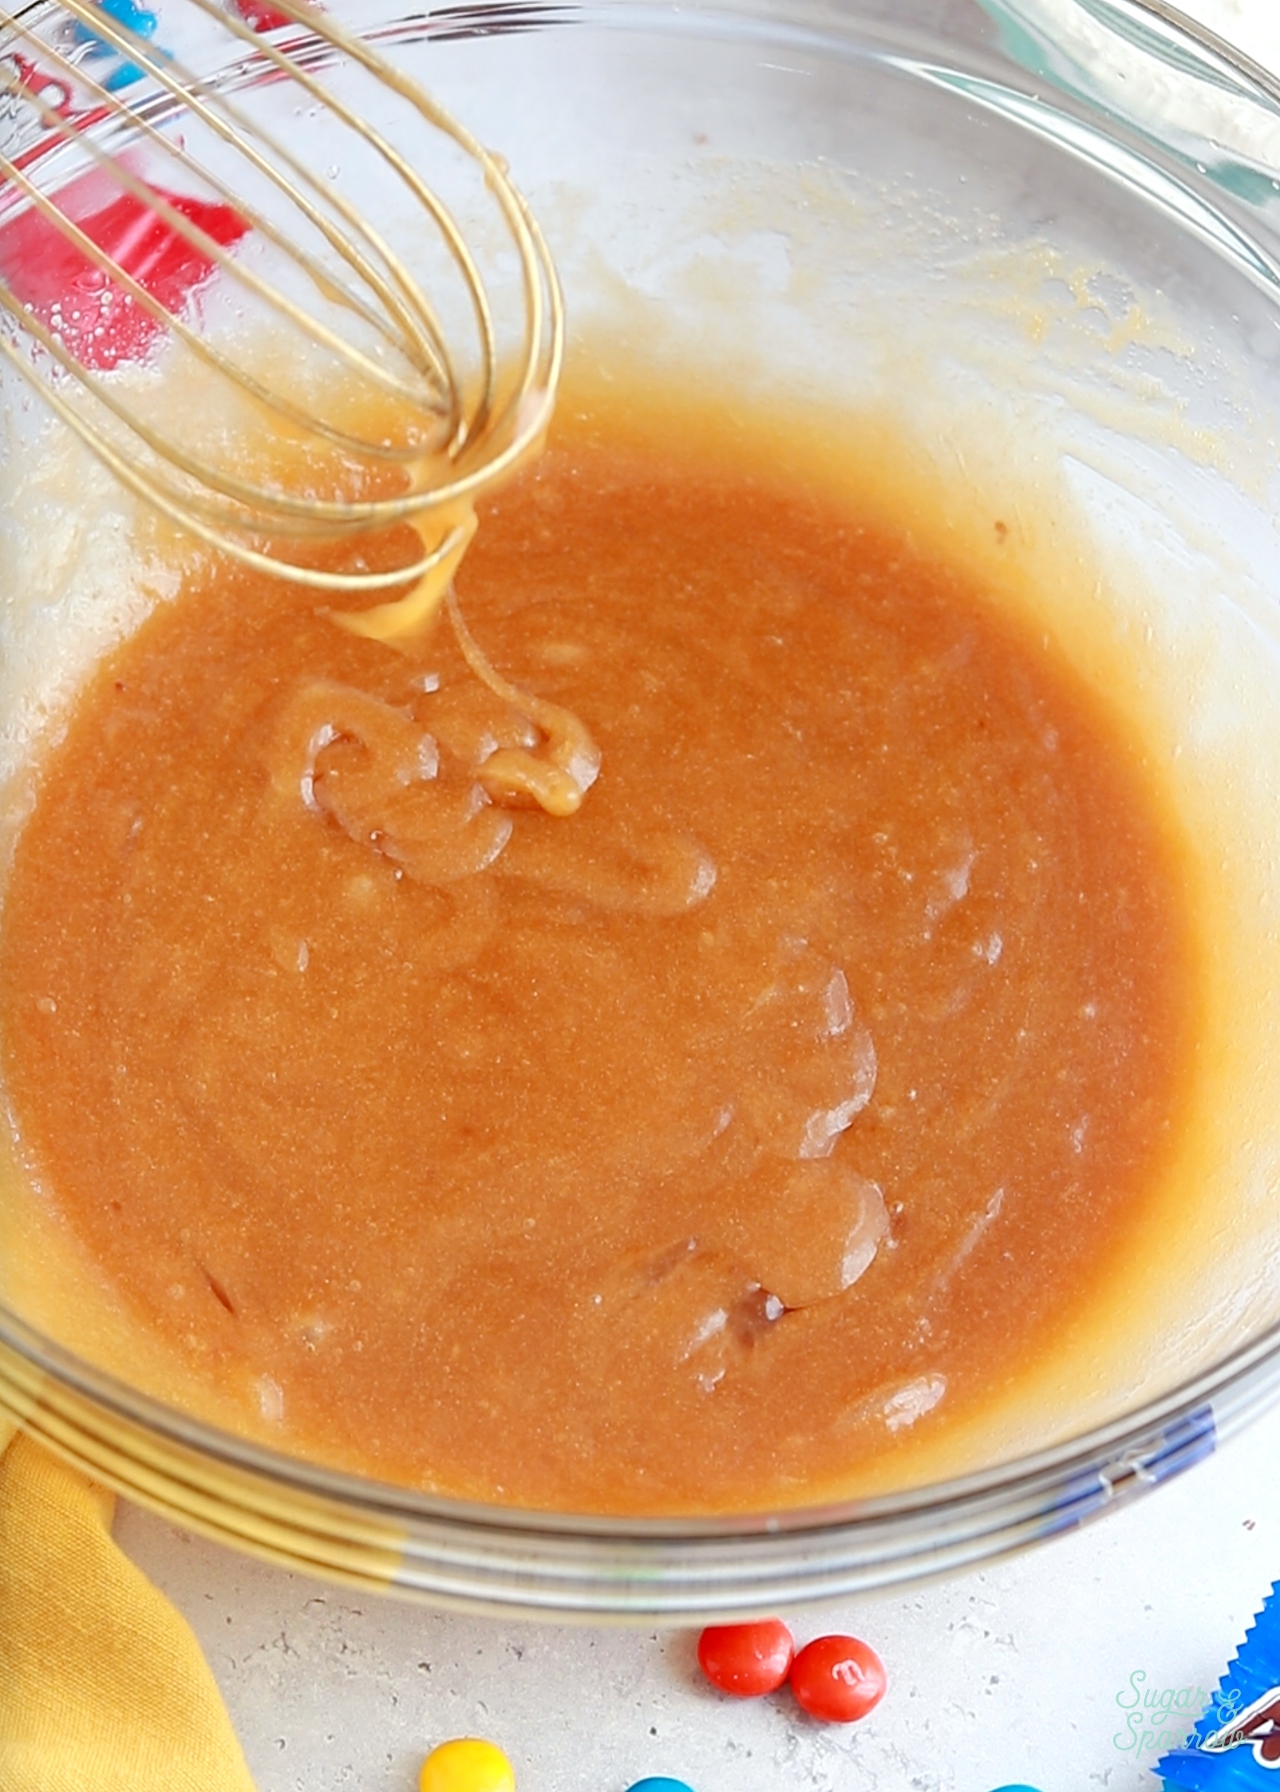
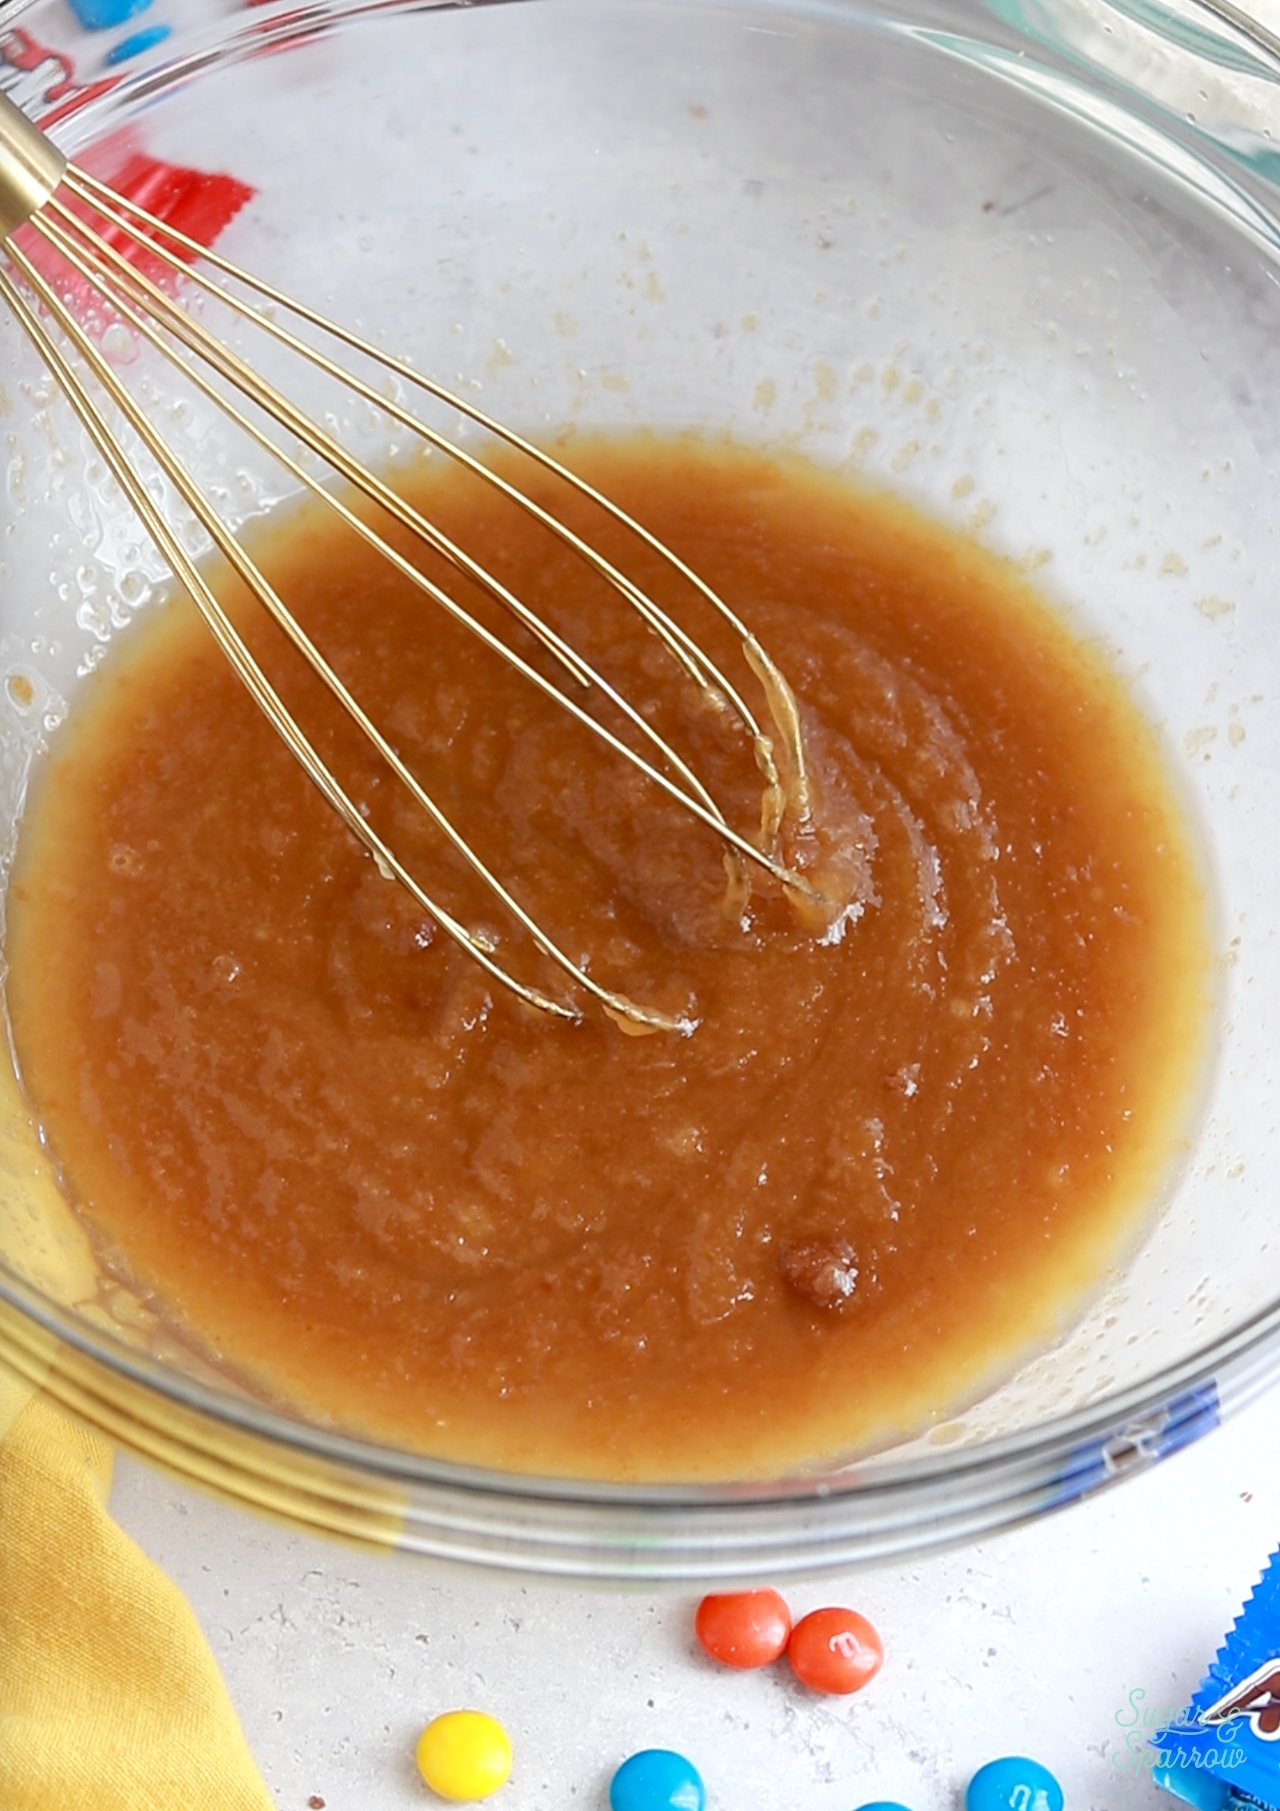
Step 2. Melt the butter, then whisk it together with the brown sugar and granulated sugar. 
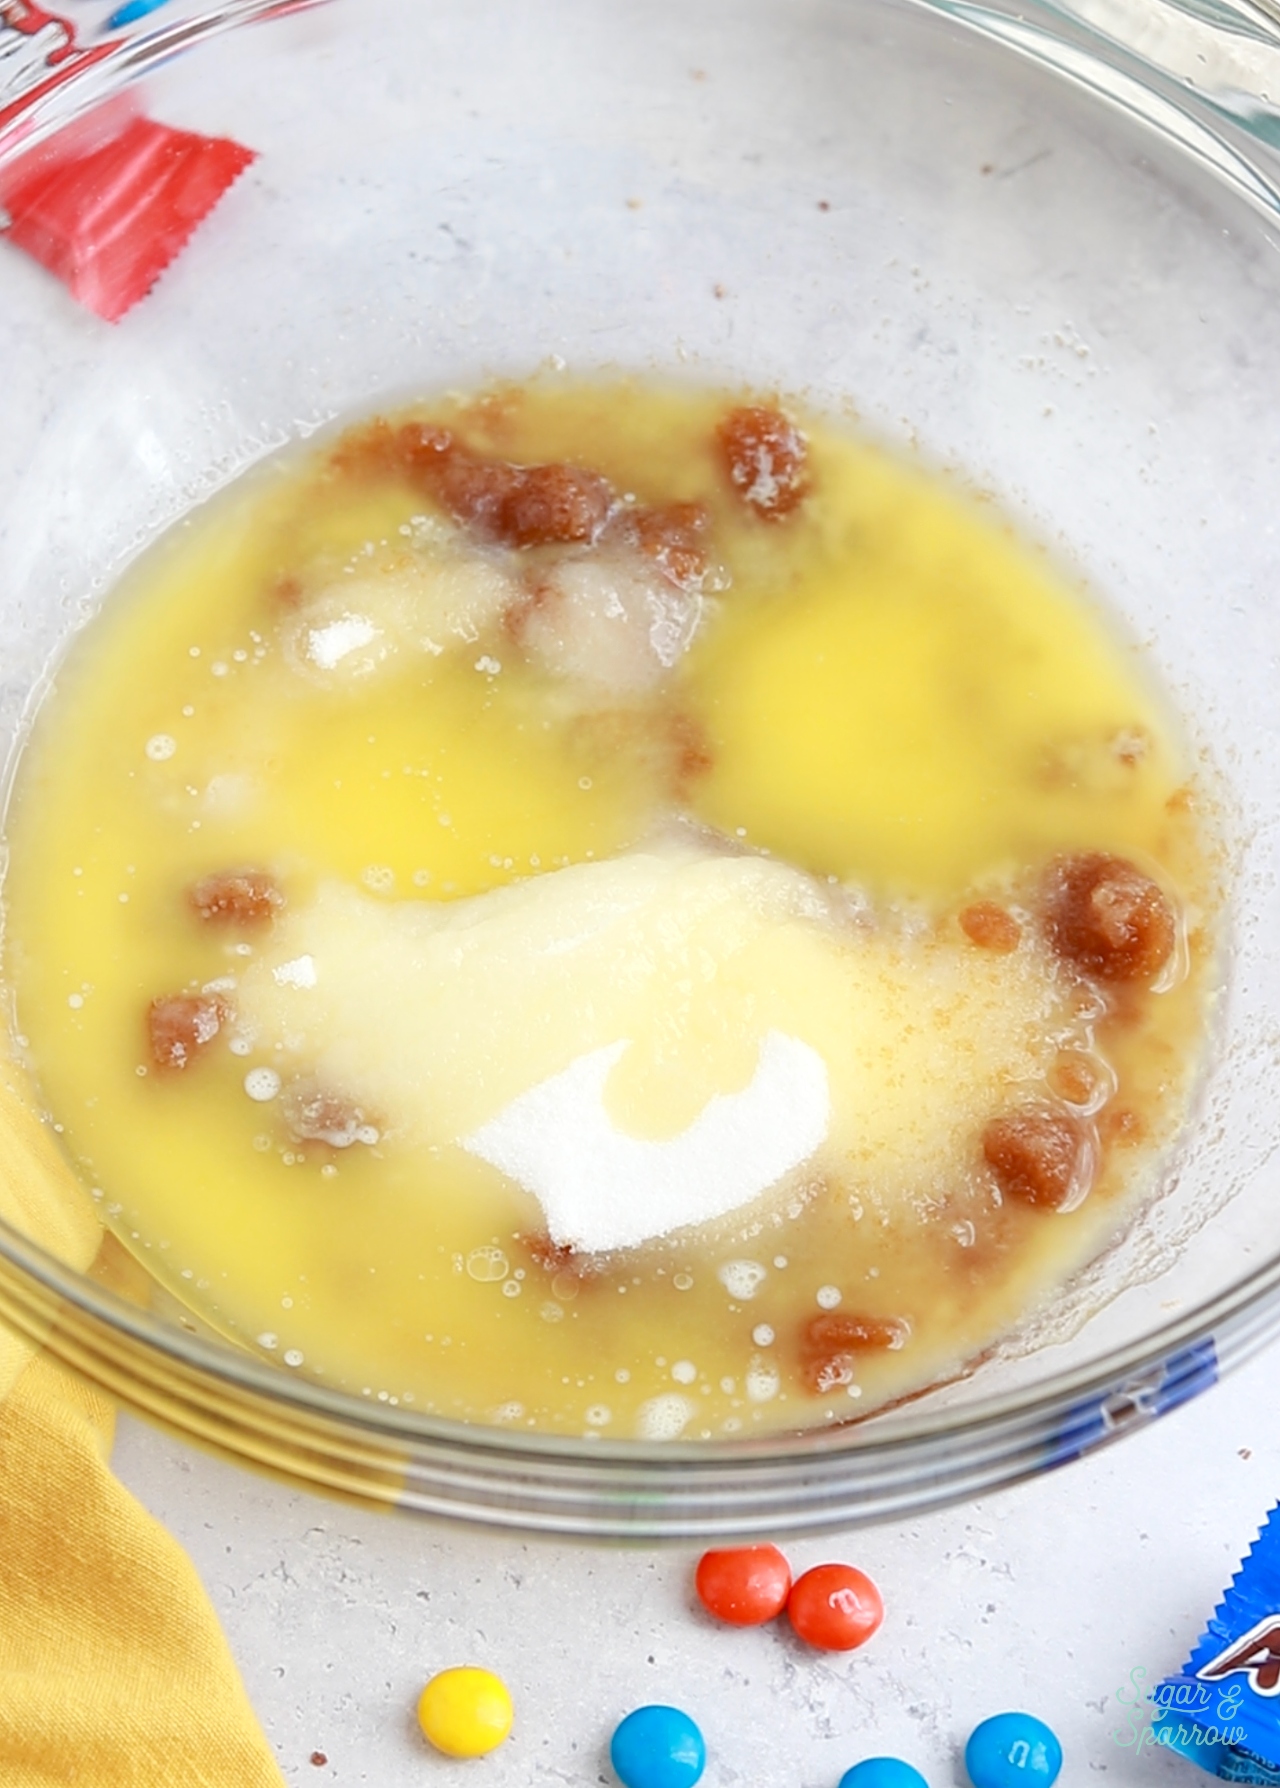
cookie bar recipe with melted butter
mix together the melted butter and sugar

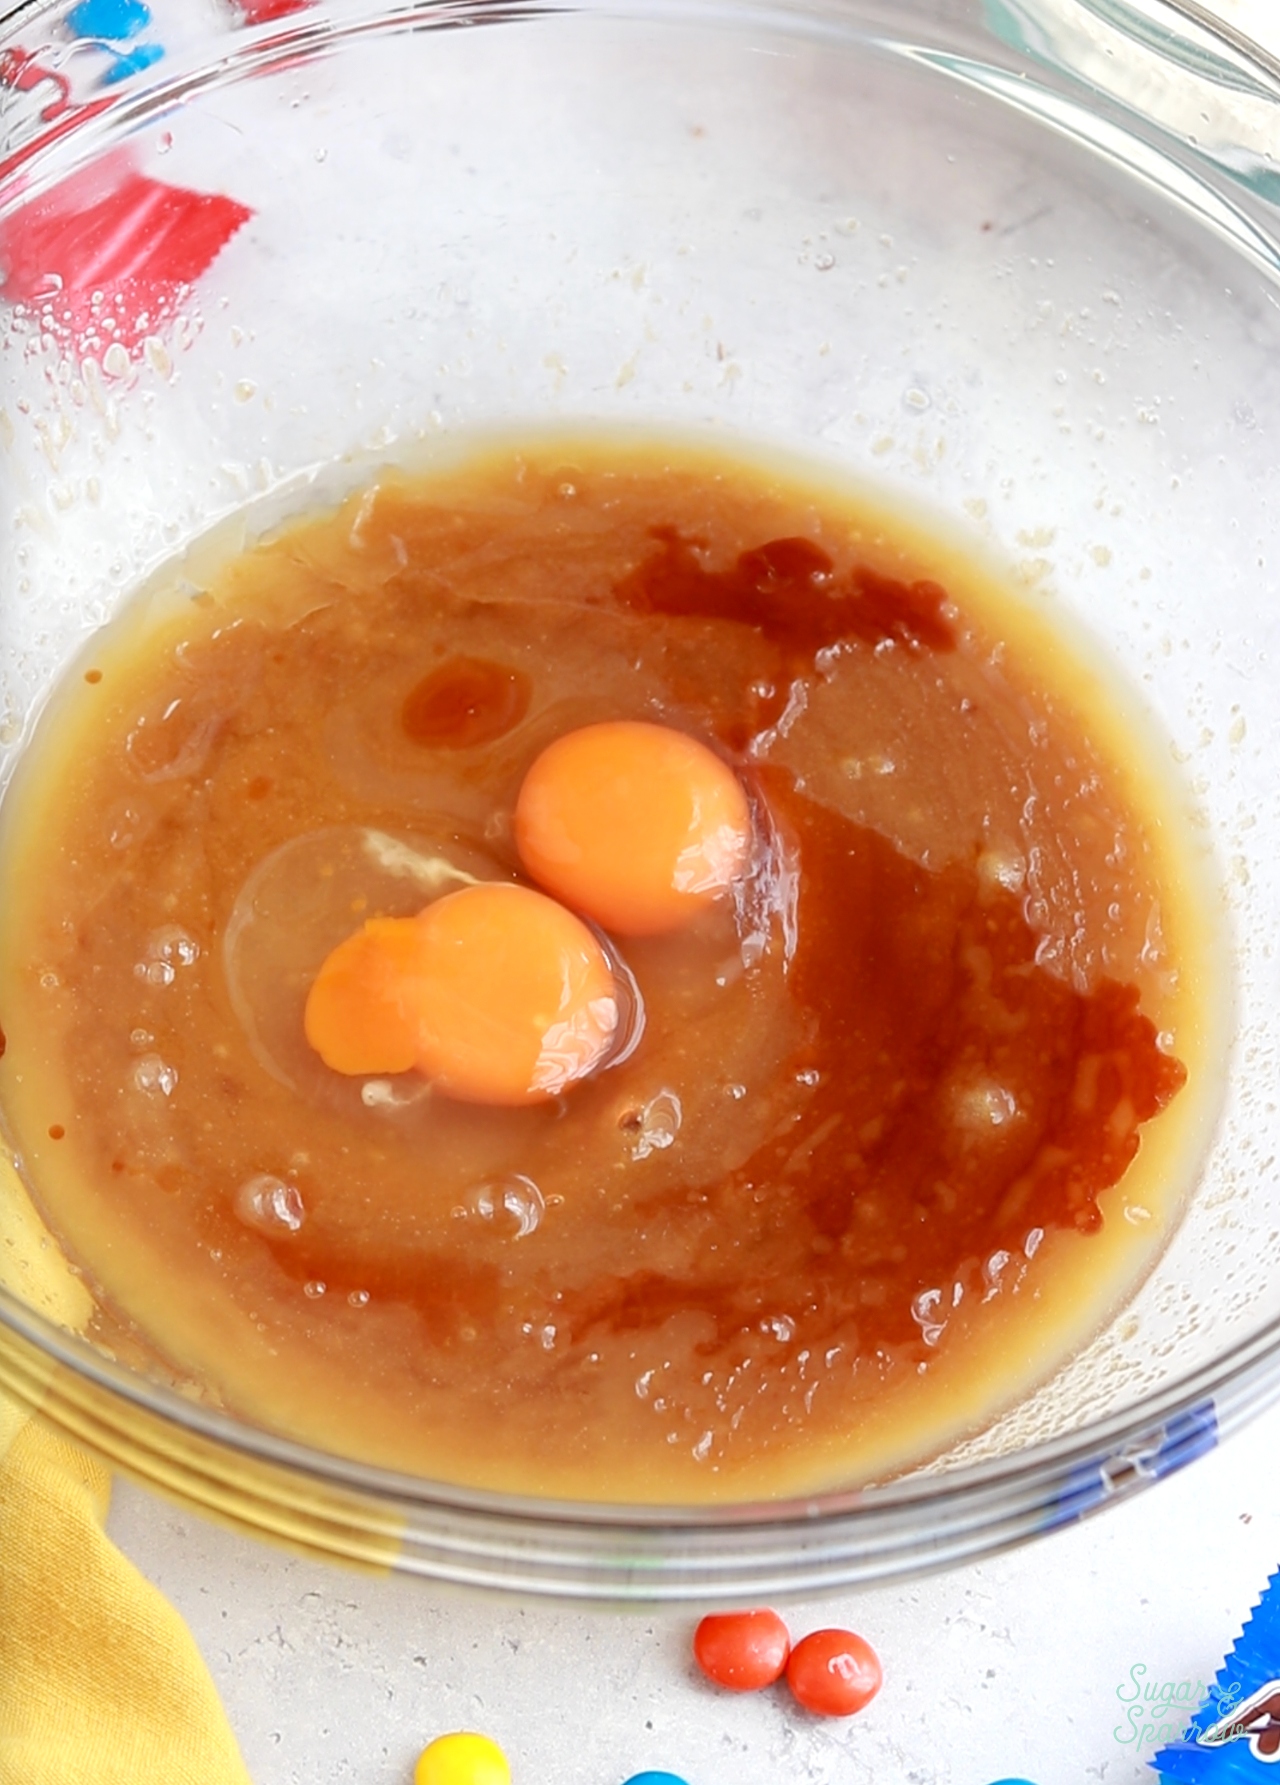
Step 3. Whisk in the eggs and vanilla. 

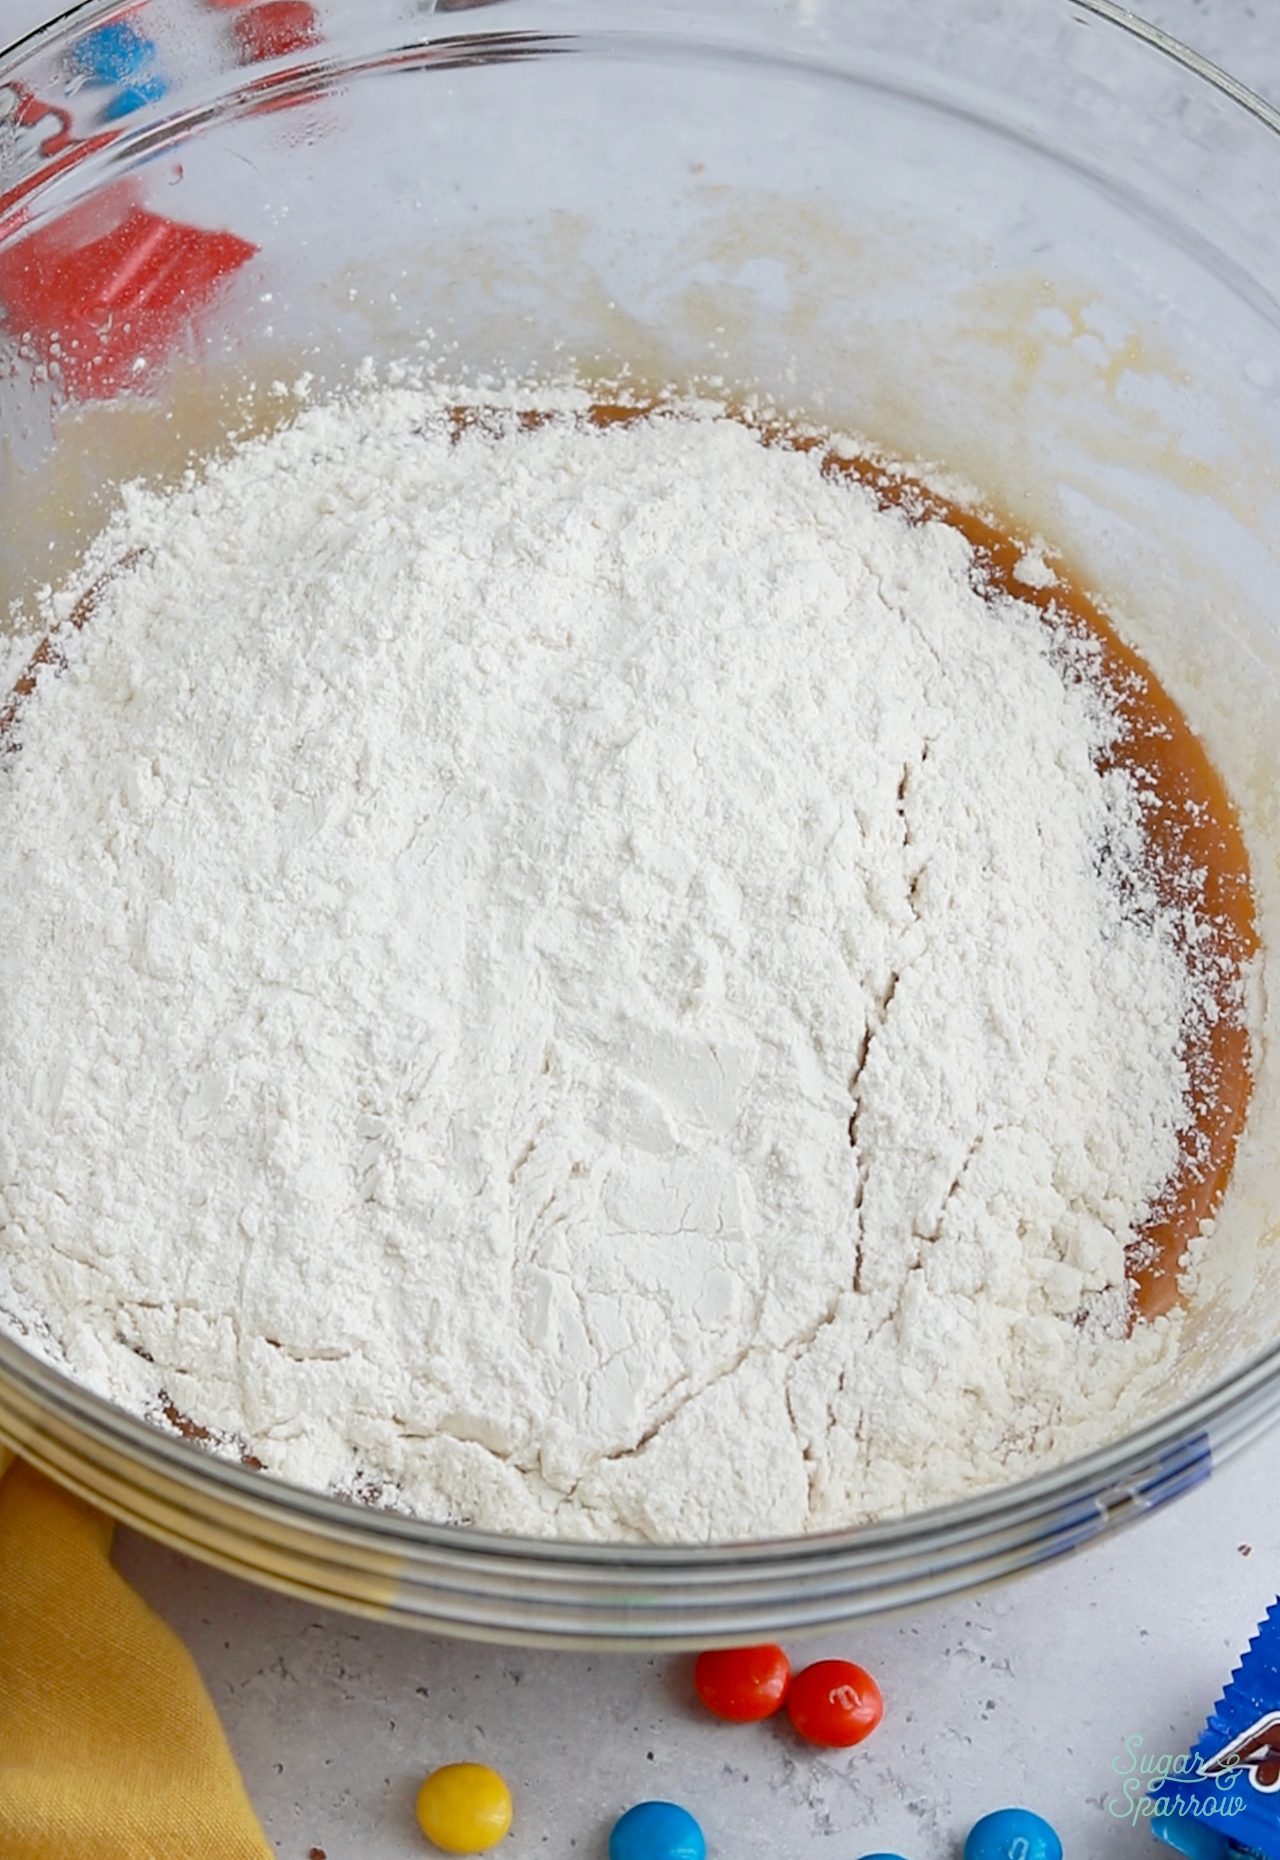
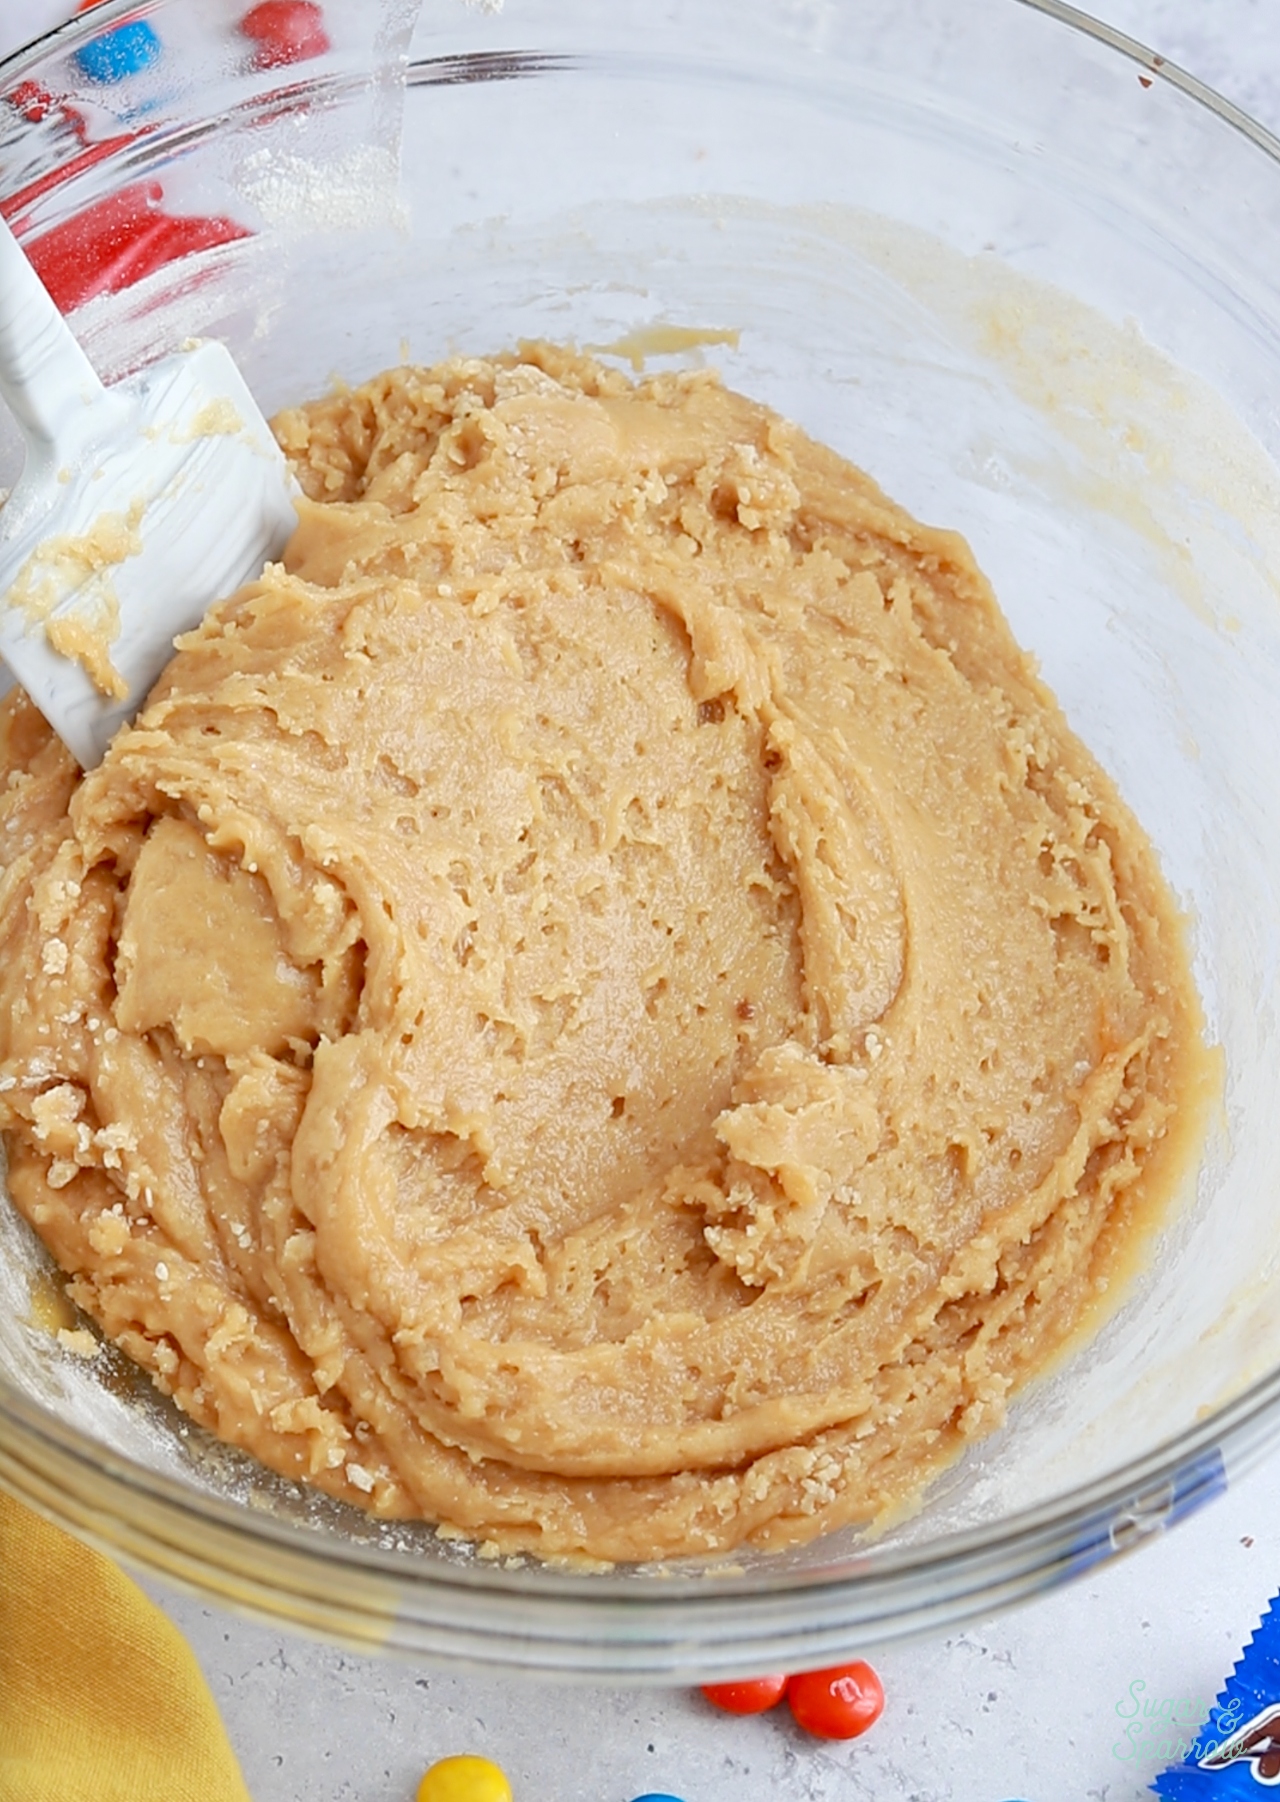
Step 4. Fold in the dry ingredients (flour, baking soda, cornstarch, and salt) until a dough forms. 

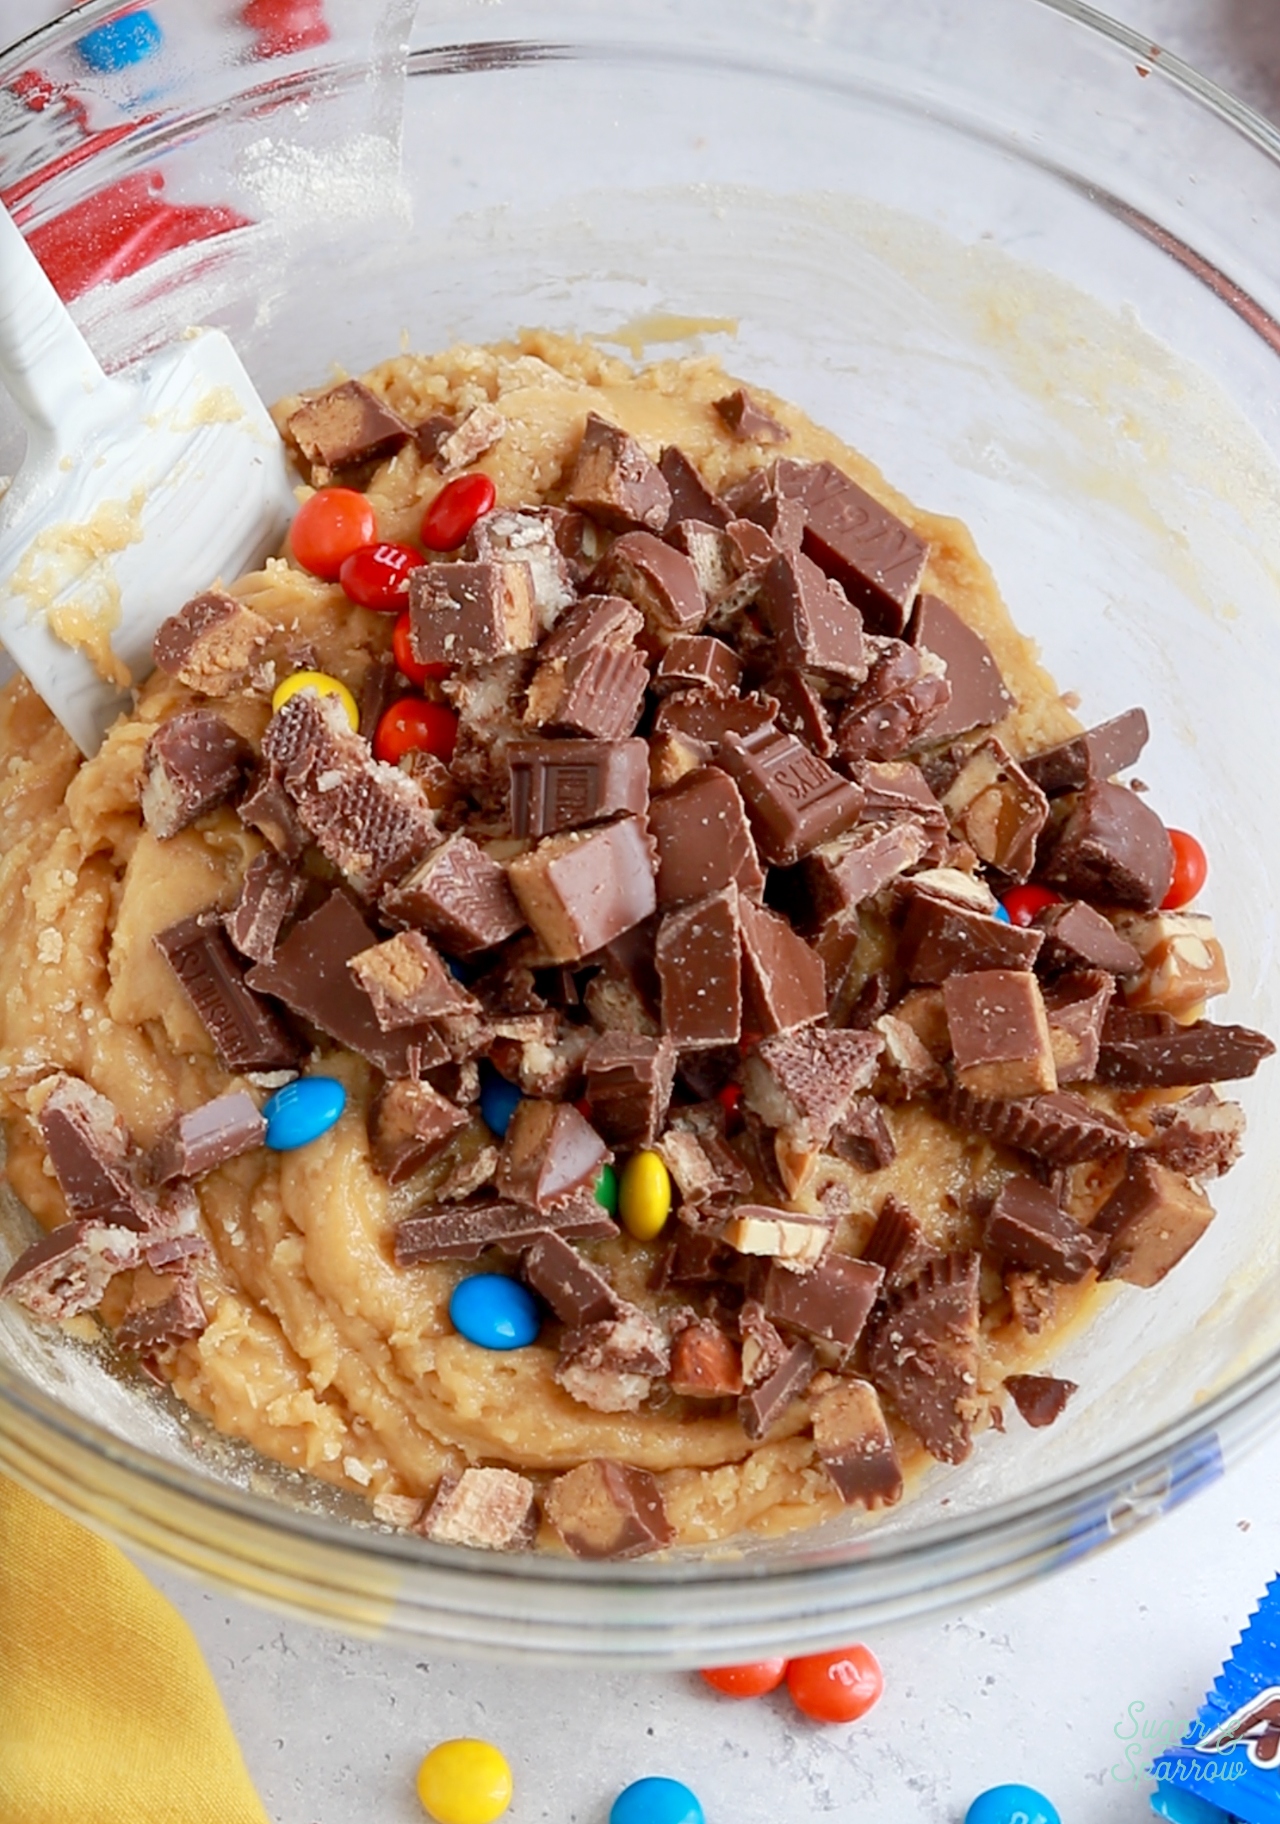
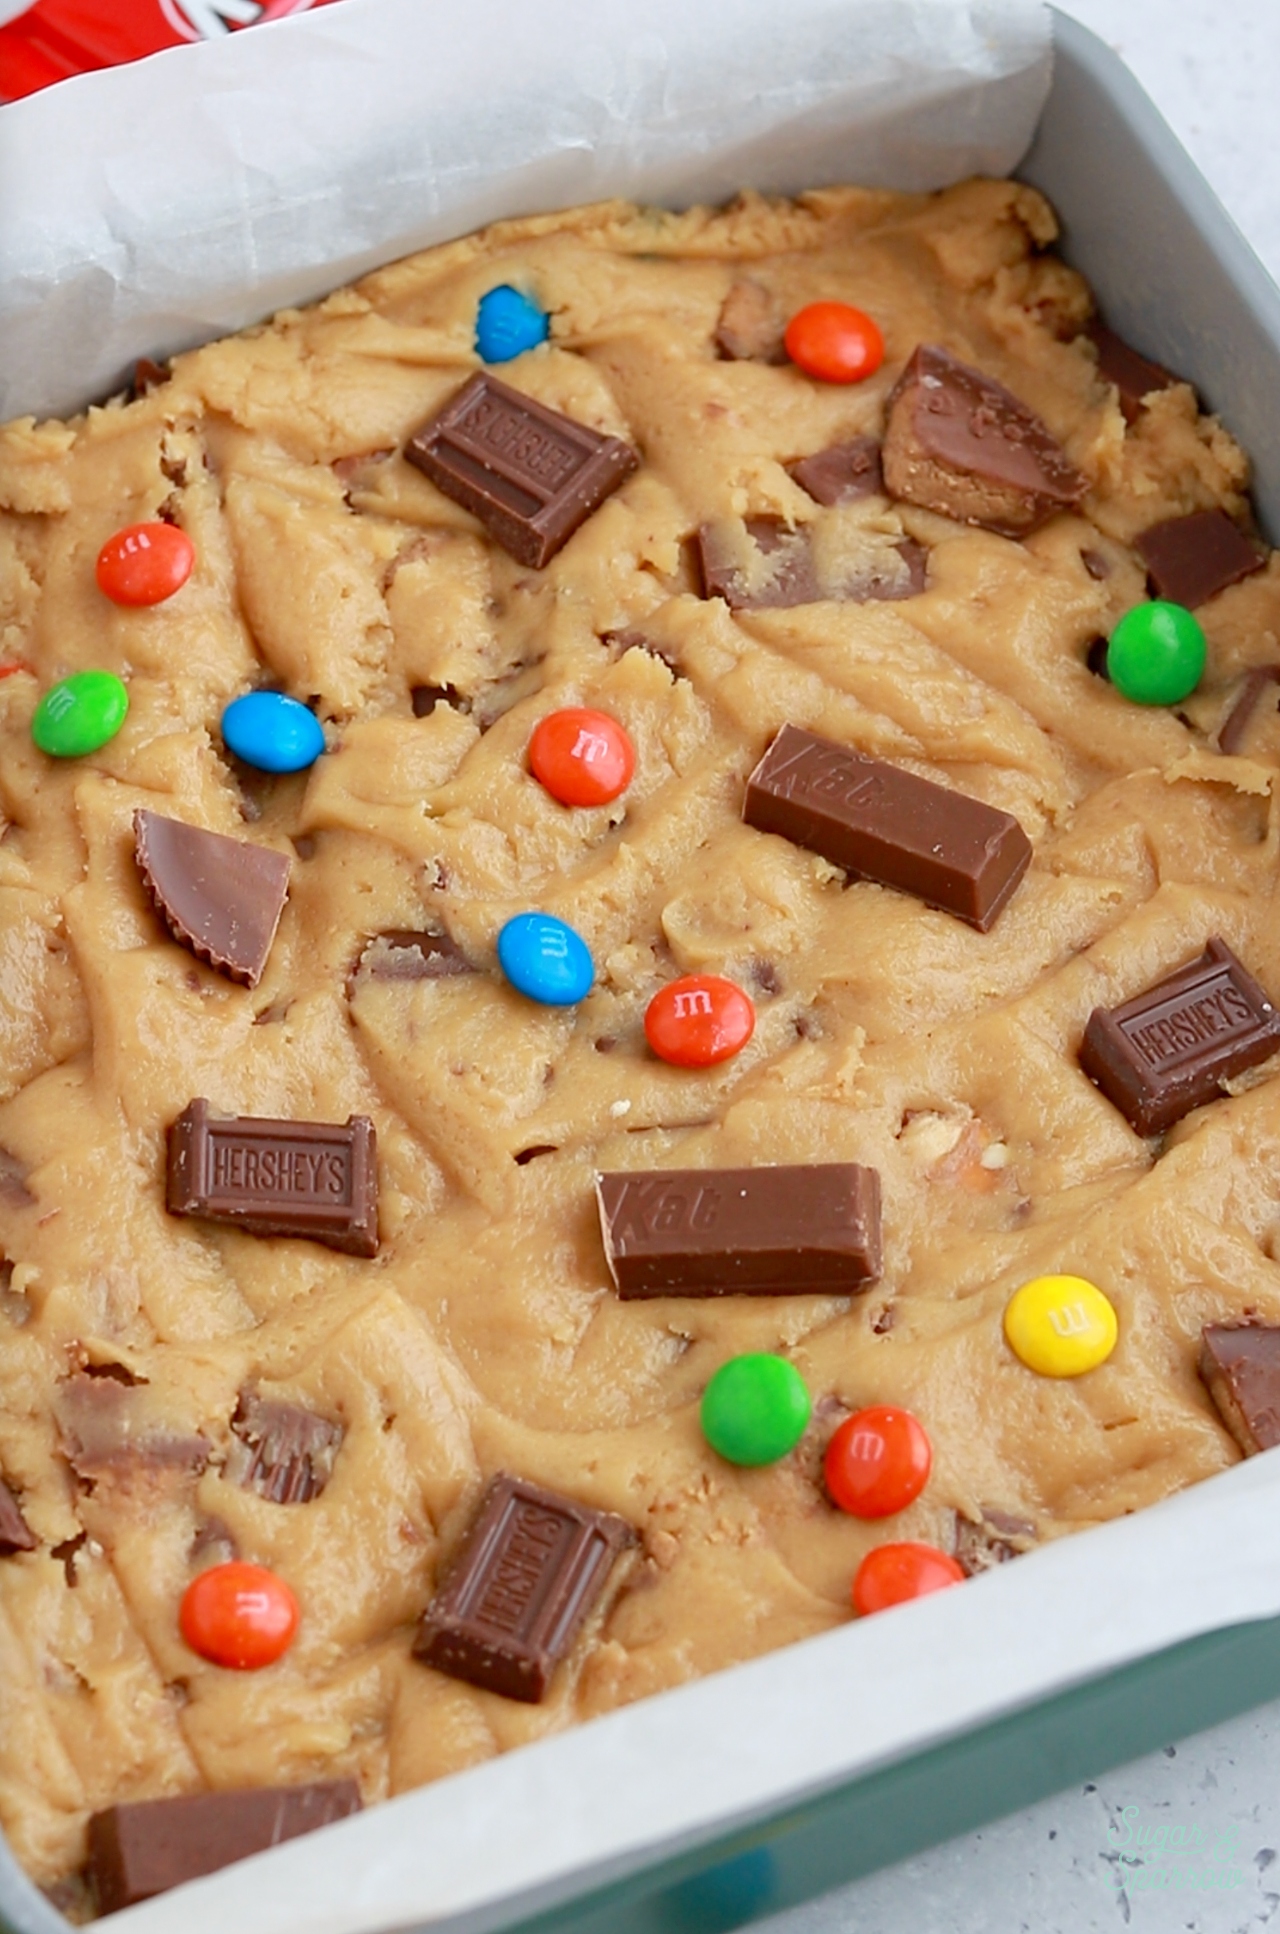
Step 5. Fold in the chopped candy bars and press the dough into the prepared pan.

adding halloween candy to cookie recipe
cookie bars with halloween candy

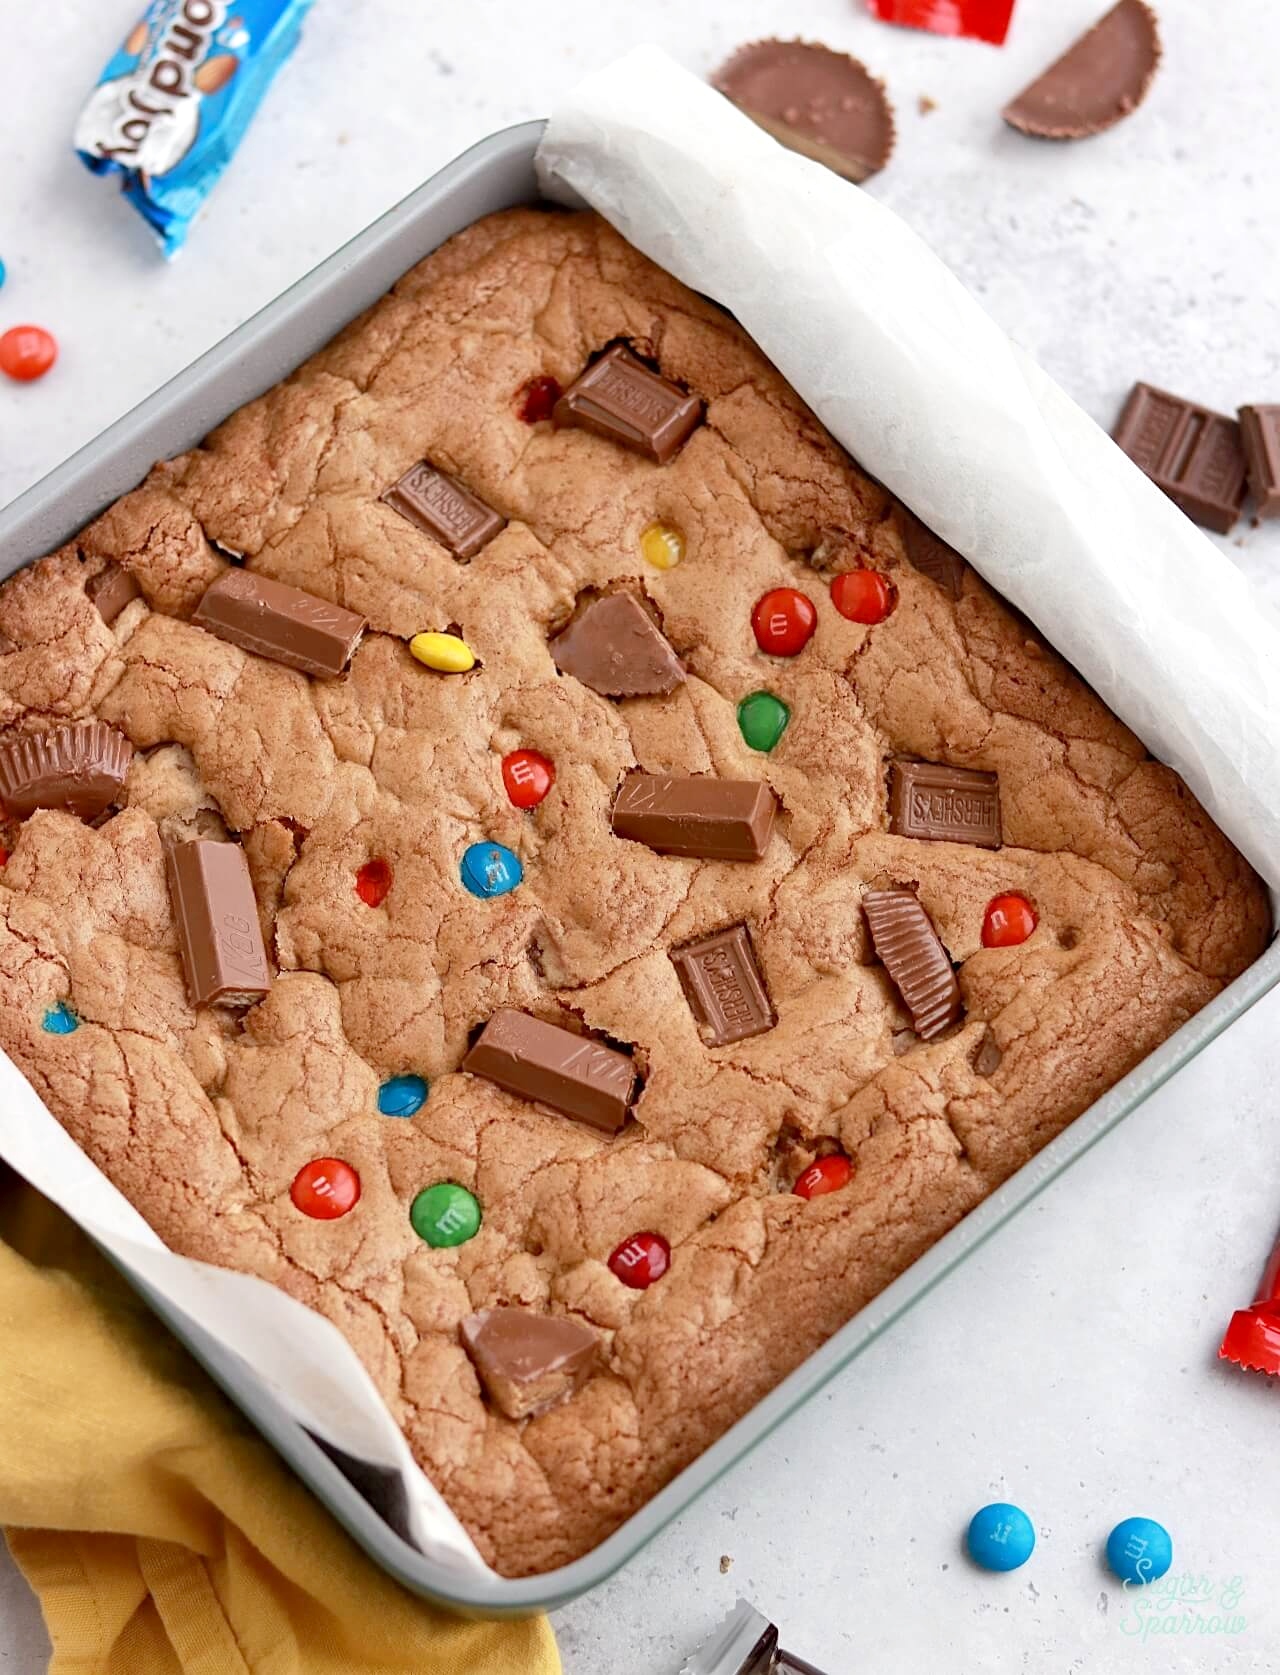
Step 6. Bake for 25-30 minutes, until the edges are set.

cookie bars baked in a 9x9 inch pan

Halloween Candy Bars FAQs

  • Can I bake this in an 8×8 pan? Yes, but the bake time will be slightly longer since the bars will be thicker, about 28-35 minutes. 
  • Can I bake this in a 9×13 pan? Yes, but you’ll want to double the recipe first.
  • Do I have to add the cornstarch? Using cornstarch in this recipe softens the cookie bars and makes them a little more tender, which I love. If you don’t have cornstarch (aka corn flour) on hand, you can substitute it with 1/2 tsp baking powder in a pinch.
  • How do I know when they’re done? The bars will look slightly golden and the edges should look and feel set. You want to lean on the side of underbaking vs. overbaking these bars. 
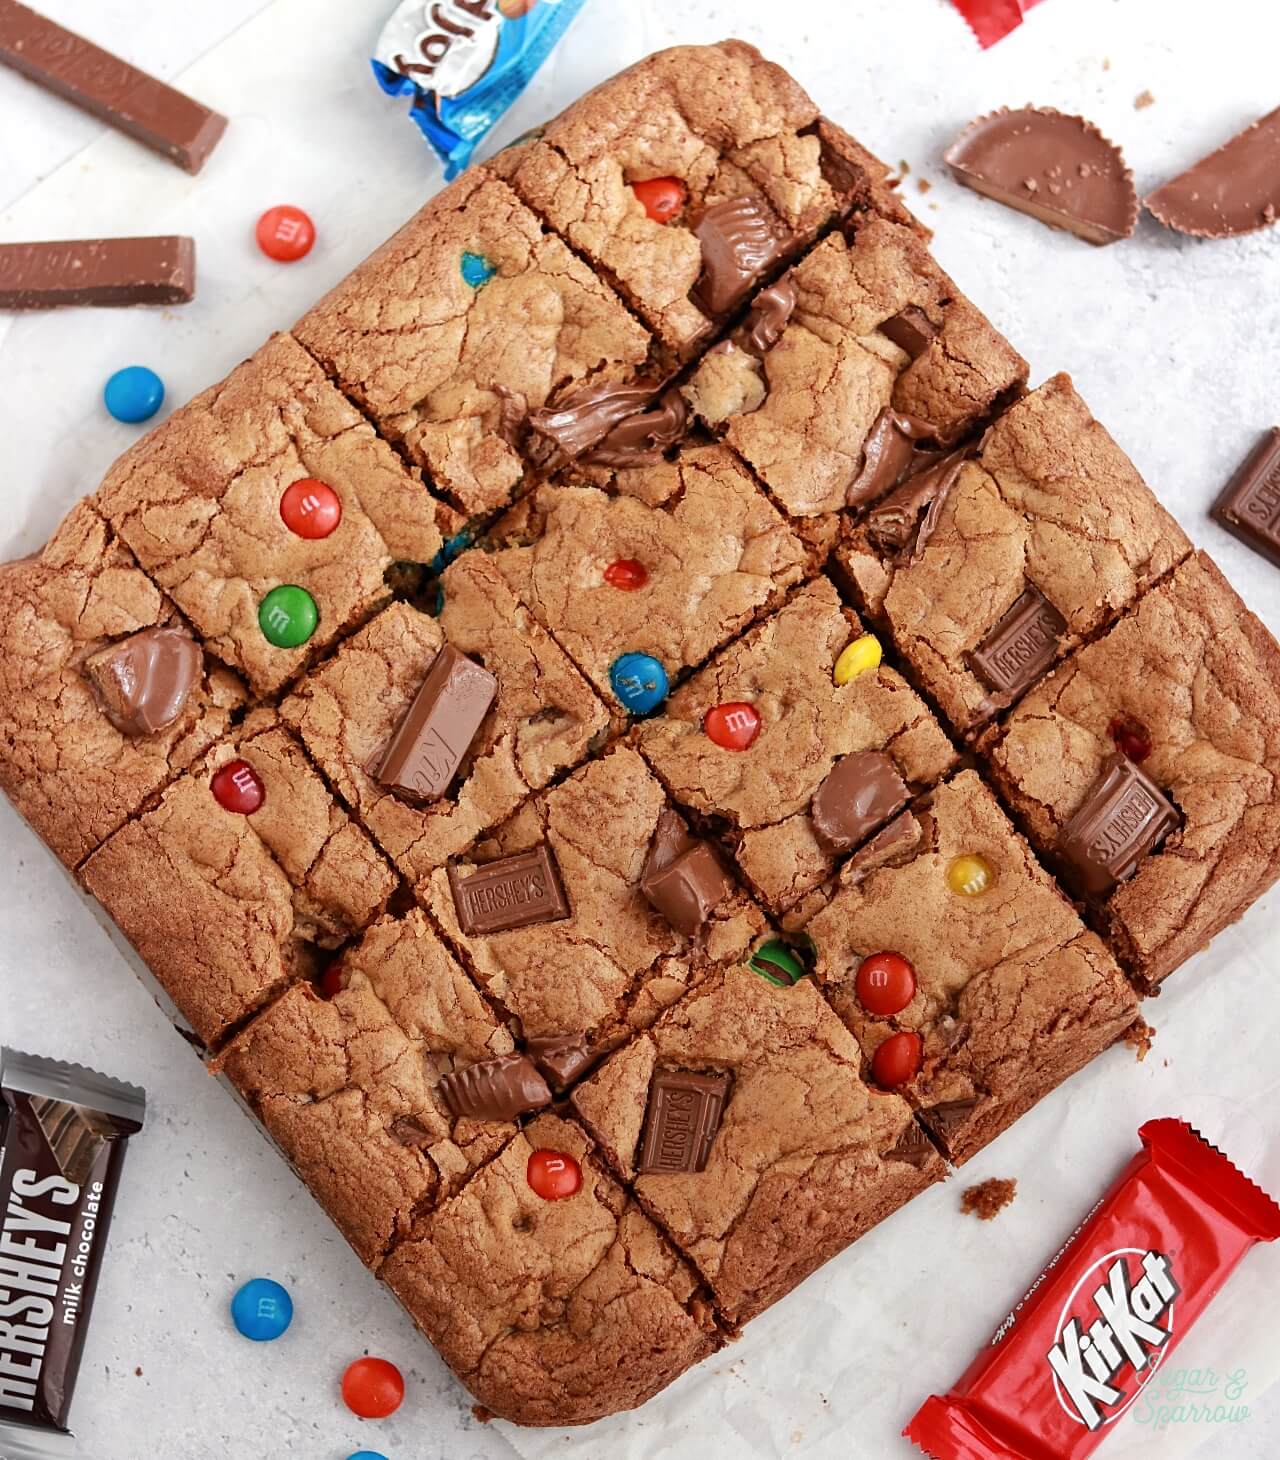
halloween candy cookie bars sliced
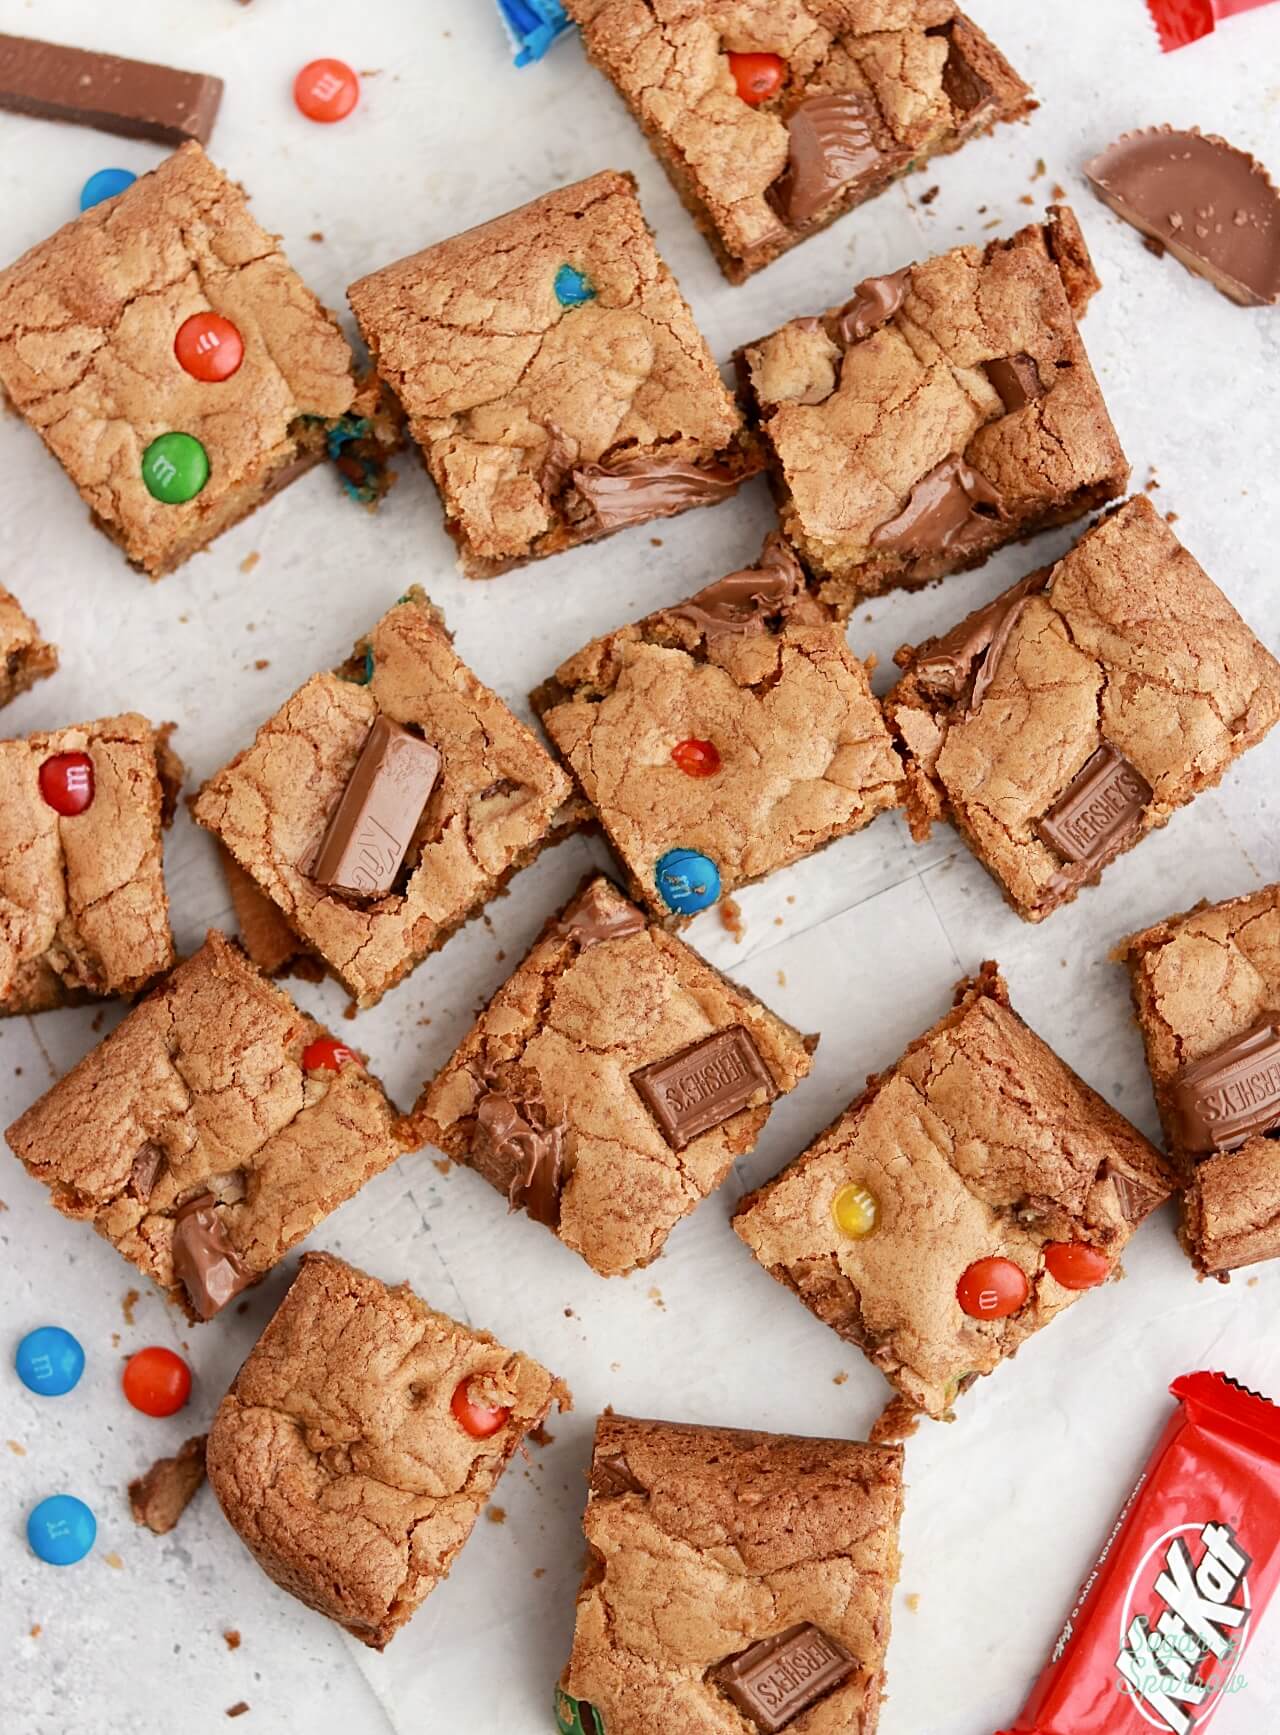
halloween candy cookie bar squares

Other Cookie Recipes You’ll Love

If you’re looking for similar recipes, I have a few suggestions from my blog that you’ll love:

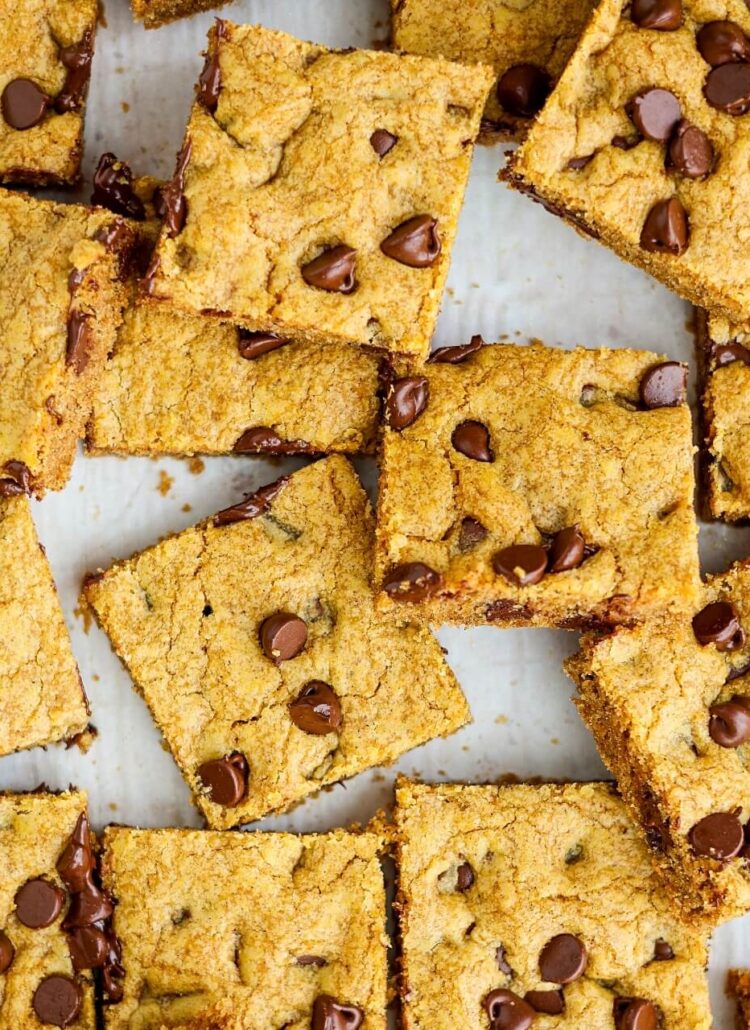
  • Sheet Pan Chocolate Chip Cookie Cake
  • Chewy Pumpkin Chocolate Chip Cookie Bars
  • Sheet Pan Frosted Sugar Cookie Bars
  • Brown Butter Chocolate Chip Skillet Cookie
loaded cookie bars recipe

I hope you love these Halloween candy cookie bars as much as I do! They’re such a fun way to use up extra candy bars and a real crowd pleaser any time of year. Let me know if you make them in the comments below and feel free to tag @sugarandsparrowco on Instagram if you post any pics. I love to see what you create with my recipes!

cookie bar recipe with halloween candy bars

Halloween Candy Cookie Bars

Thick and chewy cookie bars with Halloween candy bars folded in! The most delicious way to use up extra Halloween candy like Kit Kats, Snickers, M&Ms, Reese's Peanut Butter Cups, and any fun-size candy bar.
Print Recipe Pin Recipe
Prep Time:20 minutes mins
Cook Time:25 minutes mins
Cooling Time:20 minutes mins
Total Time:1 hour hr 5 minutes mins
Course: Dessert
Cuisine: American
Servings: 16 bars

Equipment

  • 9-inch square pan

Ingredients

  • 2 1/4 Cups (298g) all purpose flour
  • 1 tsp baking soda
  • 1 tsp cornstarch*
  • 1/2 tsp salt
  • 3/4 Cup (170g) unsalted butter, melted and cooled slightly
  • 3/4 Cup (150g) packed brown sugar light or dark
  • 1/2 Cup (100g) granulated sugar
  • 2 large eggs, room temperature
  • 2 tsp pure vanilla extract
  • 1 1/4 Cups (150g) fun-size candy bars, chopped into bits

Instructions

  • Preheat the oven to 350ºF (177ºC). Prepare a 9-inch square baking pan by spraying the sides with baking spray and lining with parchment paper. Be sure to leave enough of an overhang that you can easily lift the cookie bars out once baked.
  • Melt the butter: In a microwave safe bowl, heat the butter in 20-30 second intervals, stirring after each one, until the butter is melted. Set aside.
  • In a medium bowl, whisk together the flour, baking soda, cornstarch, and salt. Set aside.
  • In a large bowl, add the brown sugar and granulated sugar. Pour the melted butter on top and whisk together until uniform. Add the eggs and vanilla, then continue whisking until uniform.
  • Add the dry ingredients to the wet ingredients and fold with a rubber spatula until a dough forms. Reserve about 1/8 Cup of the Halloween candy, then fold the rest into the dough.
  • Press the dough into the prepared pan and top with the reserved Halloween candy. Bake for 25-30 minutes, until the edges are set and the top is golden. The cookie bars might seem soft in the middle but don't be tempted to over-bake! Let them cool in the pan for at least 20 minutes before lifting them out and cutting into squares.

Notes

*cornstarch makes this recipe extra soft. If you can’t find it locally, you can substitute it for 1/2 tsp baking powder.
To Make Ahead:
  • The cookie dough can be made ahead and stored in the refrigerator for up to 3 days, or in the freezer for up to 2 months before baking. 
  • The baked cookie bars can be made ahead and stored in an airtight container at room temperature (or wrapped with plastic wrap over the top of the pan). They will remain fresh for up to three days this way. Alternatively, you can freeze the cookie bars for up to one month. I recommend wrapping them first in plastic wrap, then in foil. 
By: Whitney · In: Cookies & Bars, Featured, Halloween, Recipes, Seasonal · Tagged: cookie bars, halloween candy, halloween cookies

you’ll also love

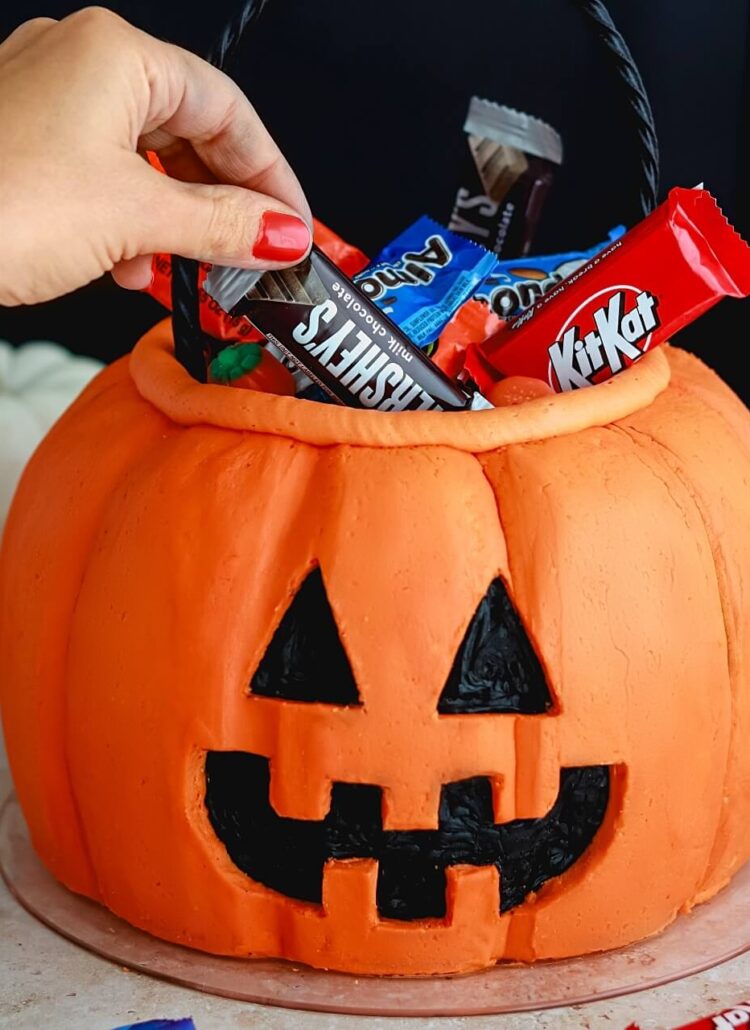
halloween jack o lantern candy bucket cake tutorialJack O Lantern Candy Bucket Cake Tutorial
pumpkin chocolate chip cookie barsChewy Pumpkin Chocolate Chip Cookie Bars
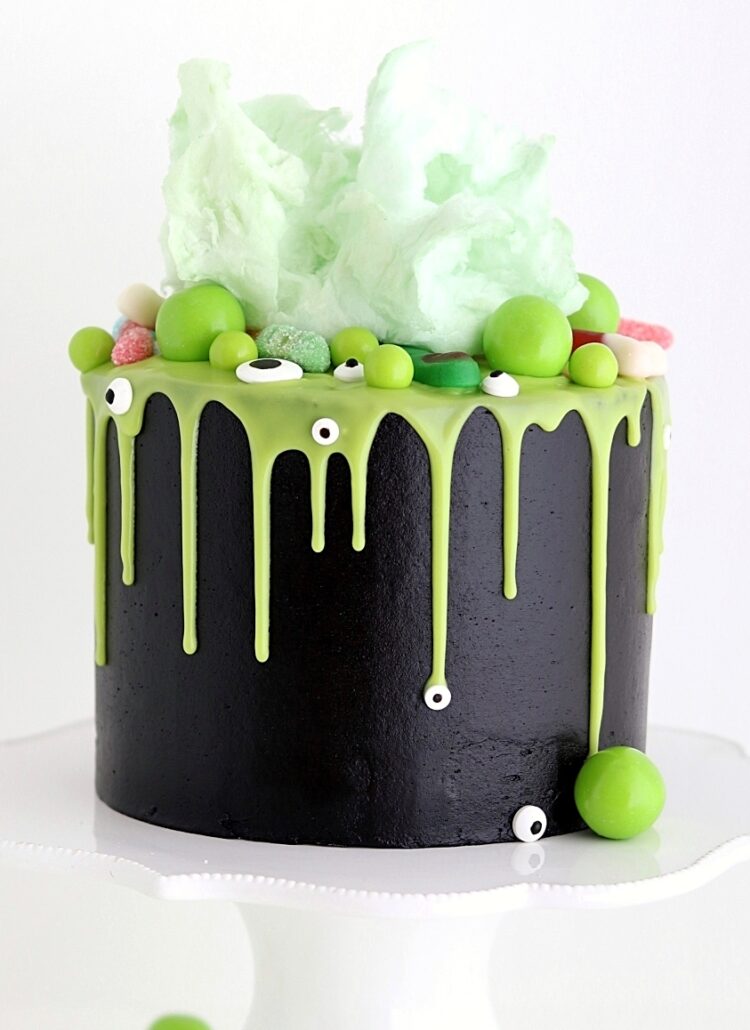
halloween witch cauldron cake by sugar and sparrowHalloween Witch Cauldron Cake

Join the List

Stay up to date & receive the latest posts in your inbox.

Reader Interactions

Leave a Reply Cancel reply

Your email address will not be published. Required fields are marked *

Recipe Rating


Next Post >

DIY Cake Costume Tutorial (with Video!)

Primary Sidebar

Welcome to Sugar & Sparrow

Welcome to Sugar & Sparrow

Helping you whip up pretty desserts with confidence and creativity. And hopefully sharing a few laughs with you along the way!

Learn More

Connect

let’s bake!

Get my very best recipes, baking tips, and decorating tutorials sent to your inbox

Featured Posts

conversation heart cakes by sugar and sparrow

Mini Conversation Heart Cakes Tutorial

pumpkin pie layer cake recipe

A Pumpkin Pie Layer Cake Recipe That’s Easy & Eye-Catching

almond joy cake recipe by sugar and sparrow

Almond Joy Cake Recipe

Search

Archives

Follow Along

@sugarandsparrowco

LEMON RASPBERRY CAKE 🍋♥️ this cake has the dreamie LEMON RASPBERRY CAKE 🍋♥️ this cake has the dreamiest layers: soft and zesty lemon cake with raspberries baked into every bite, thick homemade raspberry filling, and lemon raspberry buttercream with the prettiest natural color 😍 
 
✨recipe linked in my bio or at https://sugarandsparrow.com/lemon-raspberry-layer-cake/
 
#lemonraspberry #lemoncake #raspberrycake #pinkcake #layercake
SALTED CARAMEL BUTTERCREAM ✨I could eat this salty SALTED CARAMEL BUTTERCREAM ✨I could eat this salty-sweet caramel frosting by the spoonful but it’s absolutely delicious on cakes, cupcakes, macarons, and more 🙌🏽 I use my homemade EASY salted caramel recipe here but you can use any salted caramel sauce that you love.⁣

✨Full recipe (including homemade salted caramel) + cake pairing suggestions are on my blog at https://sugarandsparrow.com/salted-caramel-buttercream-recipe/ 
⁣
SALTED CARAMEL BUTTERCREAM⁣
Yield: 2.5 Cups ⁣
⁣
INGREDIENTS⁣
1 Cup (226g) unsalted butter, room temperature⁣
3 1/2 Cups (420g) powdered sugar⁣
2 tsp vanilla extract⁣
1/2 Cup (120ml) salted caramel sauce, room temperature⁣
Pinch of salt⁣
⁣
INSTRUCTIONS:⁣
1. In a stand mixer fitted with the paddle attachment, whip the butter on high until it’s creamy and light in color, 5-6 minutes. ⁣
2. Turn the mixer to low and add the powdered sugar a few cups at a time, scraping down the bowl and paddle after each interval.⁣
3. With the mixer still on low, mix in the vanilla extract, salted caramel, and a pinch of salt. Continue mixing on low speed until fully combined. ⁣
⁣
#saltedcaramel #caramel #cakedecorating #frosting #buttercream
NO-CHURN BERRY CRISP ICE CREAM✨you don’t need any NO-CHURN BERRY CRISP ICE CREAM✨you don’t need any fancy equipment to whip up this delicious ice cream that tastes JUST like berry crisp a la mode! I layered my favorite 3-ingredient no-churn vanilla ice cream base with ribbons of homemade berry filling + buttery oat streusel in every bite. Even if you’ve never made ice cream from scratch before, I promise you can master this recipe!! 
 
🍦Full recipe linked in my bio or find it at https://sugarandsparrow.com/no-churn-berry-crisp-ice-cream/

#nochurnicecream #icecream #icecreamlover #berries #summerdessert
STRAWBERRY SHEET CAKE 🍓based on my favorite strawb STRAWBERRY SHEET CAKE 🍓based on my favorite strawberry layer cake recipe, this sheet cake version is so fun to decorate + such a crowd pleaser! I love using a combination of fresh and freeze-dried strawberries to create the most powerful authentic flavor ✨
 
🍓Full recipe (with strawberry buttercream) at https://sugarandsparrow.com/strawberry-sheet-cake-recipe/
⁣ 
STRAWBERRY SHEET CAKE⁣ 
Serves 24
⁣ 
INGREDIENTS⁣ 
1 Cup (12oz) fresh strawberries, pureed ⁣ 
3/4 Cup (180ml) whole milk, room temp⁣ 
2 1/2 Cups (265g) sifted cake flour⁣ 
2 tsp baking powder⁣ 
1/4 tsp baking soda⁣ 
1/2 tsp salt⁣ 
3/4 Cup (170g) unsalted butter, room temp⁣ 
1 2/3 Cups (350g) granulated sugar⁣ 
3 large eggs, room temp⁣ 
1/3 Cup (75g) sour cream, room temp⁣ 
2 tsp pure vanilla extract⁣ 
1-2 drops pink food coloring (optional)⁣ 
⁣ 
INSTRUCTIONS⁣ 
1. Simmer the strawberry puree in a saucepan over medium-low heat for 30-35 minutes, stirring occasionally. At this point the puree should have reduced from 1 Cup to 1/2 Cup (if you have more, keep cooking!). Refrigerate until room temp, then whisk together with the whole milk and set aside.⁣ 
2. Preheat the oven to 350ºF. Grease and line a 13×9 inch baking pan. 
3. In a medium bowl, whisk together the sifted cake flour, baking powder, baking soda, and salt. Set aside. ⁣ 
4. In the bowl of a stand mixer with the paddle attachment, whip the butter on high until creamy, 2 min. Add the sugar and beat with the butter until light and fluffy, 2 min. Turn the mixer to low and add the eggs one at a time. Add the vanilla and sour cream, then turn the mixer to high and beat for 1 minute.⁣ 
5. With the mixer on low, add all of the dry ingredients at once until just combined, then add the strawberry milk mixture and pink food coloring (if using) until just combined. Give the batter a few stirs by hand to make sure everything is incorporated without over-mixing. ⁣ 
6. Pour batter into the prepared cake pan and bake for 35-40 minutes. ⁣ Cool completely to room temperature before topping with strawberry buttercream (full recipe at the li
COOKIES & CREAM ICE CREAM CAKE 🤎 If you’re an Oreo COOKIES & CREAM ICE CREAM CAKE 🤎 If you’re an Oreo lover, this is your sign to make an ice cream cake this summer: no-churn cookies & cream ice cream set on an Oreo cookie crust, topped with hot fudge and whipped cream frosting. The perfect amount of Oreos in EVERY BITE! 

Full recipe link in my bio + at https://sugarandsparrow.com/cookies-and-cream-ice-cream-cake/ 

OREO CRUST
22 Oreo cookies
5 Tbsp melted butter

ICE CREAM LAYER
2 Cups (480ml) heavy whipping cream, cold
2 tsp pure vanilla extract
14 Oz sweetened condensed milk
15 Oreo cookies, roughly chopped

TOPPINGS
12.8 Oz jar of hot fudge
Whipped cream frosting (see full recipe link)
4 Oreo cookies, chopped

INSTRUCTIONS
1. Mix together the Oreo crust ingredients and pack tightly into the bottom of a 9-inch springform pan. Freeze while you make the ice cream.
2. In a chilled bowl, whip the heavy cream and vanilla to stiff peaks. Fold in the sweetened condensed milk until uniform, then fold in the chopped Oreos. Pile the ice cream on top of the Oreo crust, smooth it down, cover and freeze overnight.
3. When the ice cream layer is set, top with the hot fudge, whipped cream frosting, and more chopped Oreos. Store in the freezer until ready to serve! 

#oreocake #icecreamcake #nochurnicecream #birthdaycake #cookiesandcream

Footer

On the Blog

  • Cake Basics
  • Recipes
  • Tutorials

Info

  • About
  • Privacy Policy & Disclosure

stay in the know

Copyright © 2026 · Theme by Sugar & Sparrow