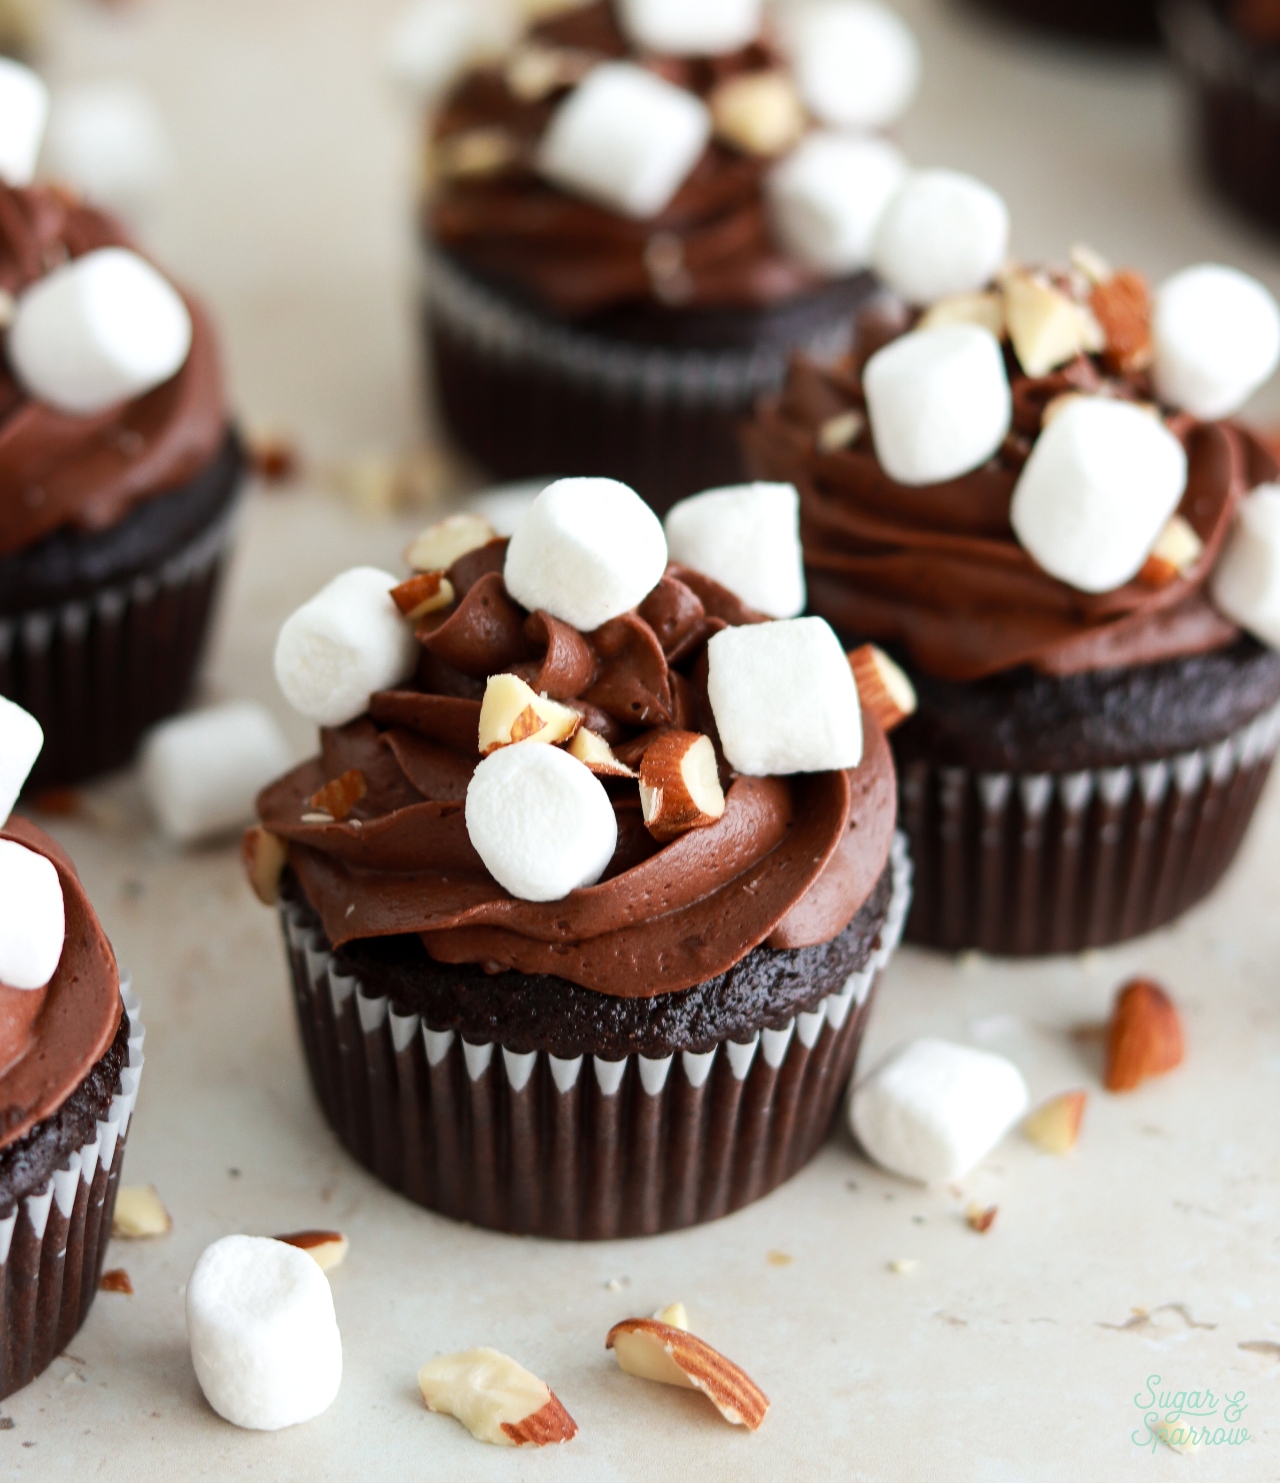
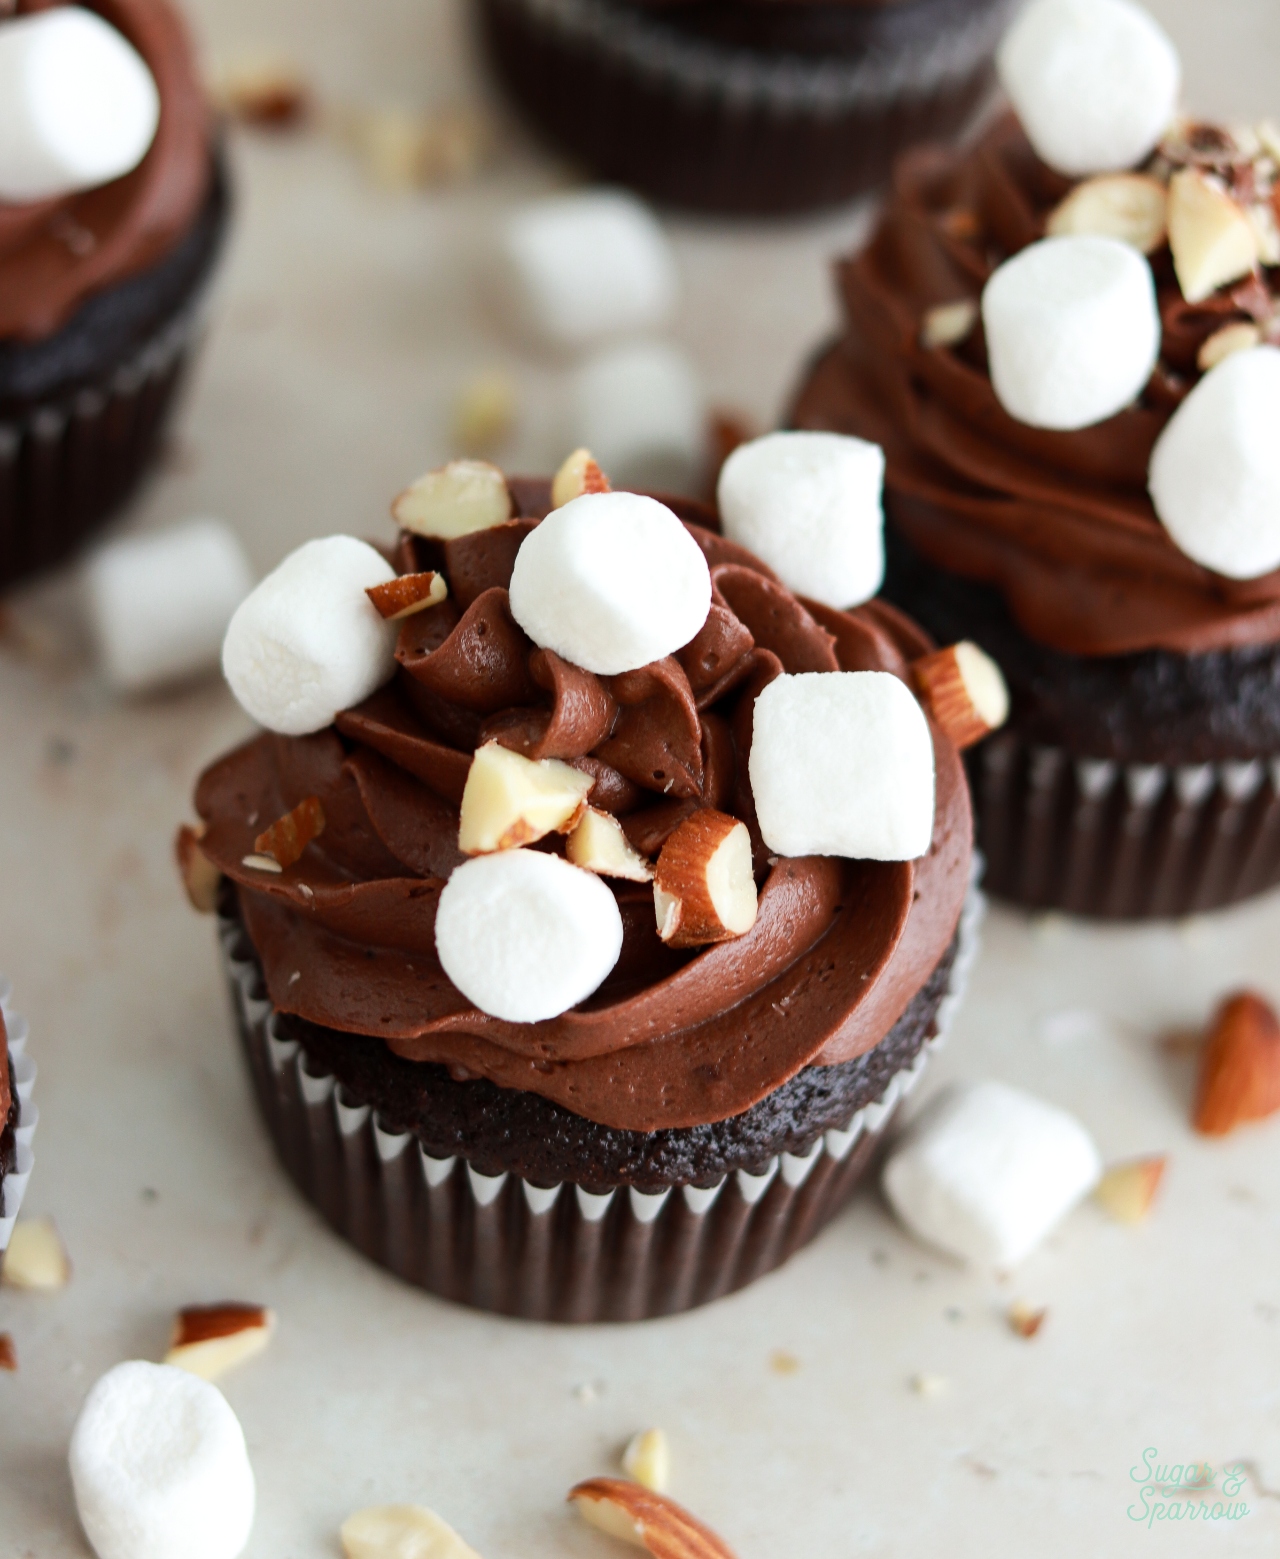
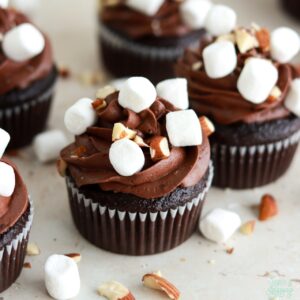
Inspired by the classic ice cream flavor! These rocky road cupcakes are moist and decadent chocolate cupcakes filled with homemade marshmallow creme, then topped with fudgy chocolate buttercream, mini marshmallows, and chopped almonds. I love that the marshmallow creme filling comes together in minutes and is SO MUCH BETTER than the store bought stuff. It’s perfectly creamy yet fluffy and the best surprise when you bite into these cupcakes.
Rocky Road Cupcake Components
Here are the four different components that make these rocky road cupcakes so delicious:
- Chocolate cupcakes. I use my favorite one-bowl chocolate cupcake recipe as the base for these rocky road cupcakes. They’re perfectly moist, deeply chocolatey, and easy to make with simple ingredients.
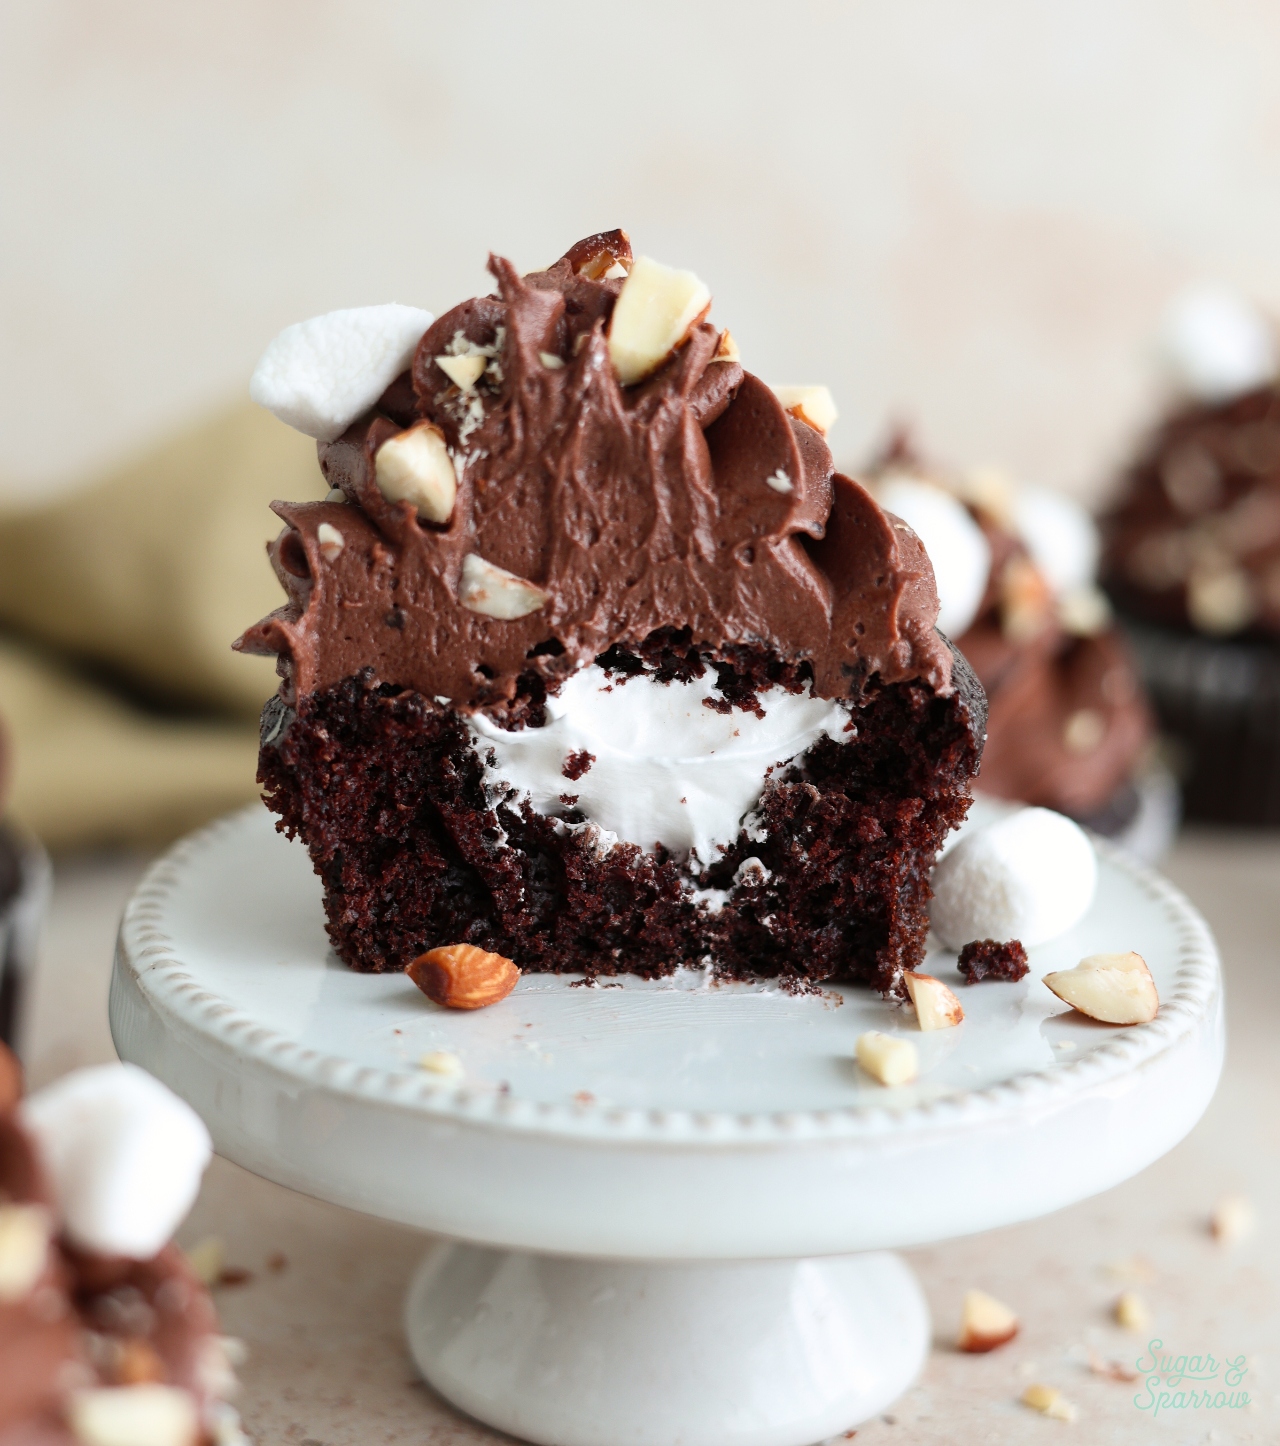
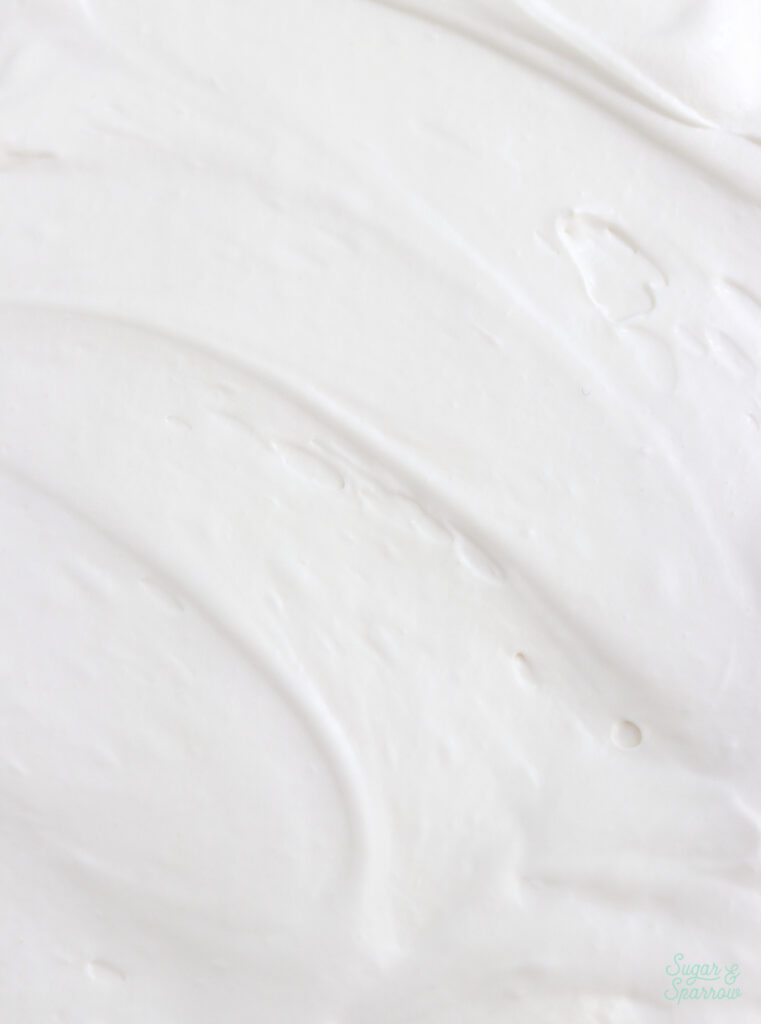
- Homemade marshmallow creme filling. After carving out a space in the center of each cupcake, they’re filled with fluffy marshmallow creme filling. This 4-ingredient recipe comes together in minutes and not only holds its shape better than store bought marshmallow creme, it tastes so much better as well! It’s not too sweet and delightfully marshmallowy.
- Fudgy chocolate buttercream. The cupcakes are topped with my go-to chocolate buttercream recipe, which is silky and fudgy and the kind of frosting I could eat all on its own!
- Toppings. To replicate the mix-ins in rocky road ice cream, I topped these cupcakes with mini marshmallows and chopped almonds.
The BEST Chocolate Cupcakes
These moist and fudgy chocolate cupcakes come together so easily with simple ingredients you probably already have in your pantry. The deeply chocolatey flavor comes from cocoa powder (either regular unsweetened or Dutch-processed) that is bloomed with hot coffee at the end of the recipe. The coffee really amplifies the chocolate flavor here and you can’t taste the coffee in the final baked cupcakes at all, but if you prefer not to use coffee, you can substitute it with an equal amount of hot water.
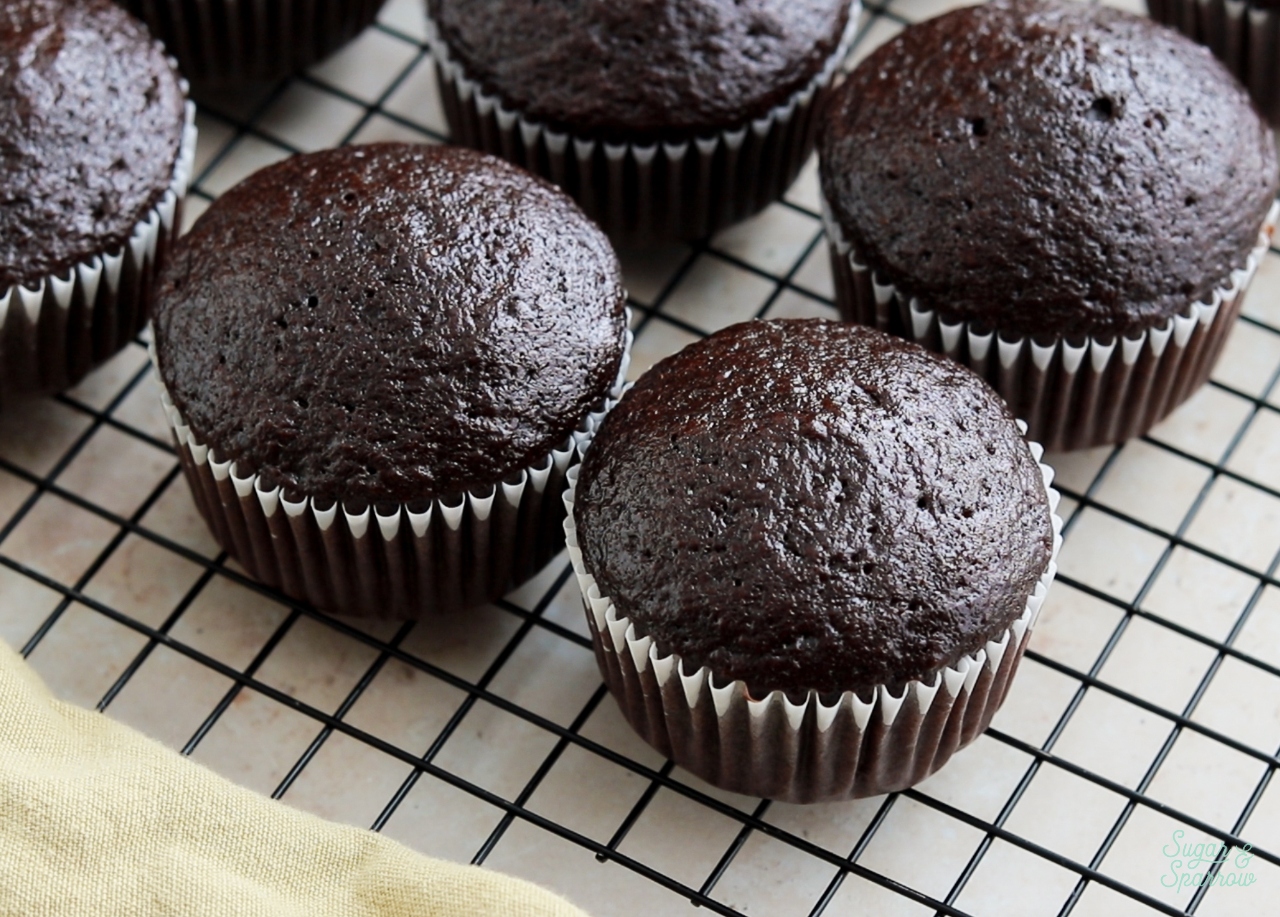
Since the recipe for these chocolate cupcakes is oil-based and not butter-based, the cupcakes bake up extra moist and stay that way for days. I always opt for plain vegetable oil here but you can use any neutral oil you’re used to baking with (refined avocado, refined coconut, canola, etc). To up the moisture level even more, buttermilk is added at the end of the recipe. I often use a buttermilk substitute here since I rarely have real buttermilk on hand. Instructions for the homemade buttermilk are in the notes section of the recipe – it’s basically just vinegar or lemon juice added to whole milk. Super simple!
Easy Homemade Marshmallow Creme Filling
This 4-ingredient marshmallow creme ended up being the ideal filling for these cupcakes! It comes together in minutes, has the perfect marshmallow-y flavor and texture, and holds its shape perfectly when you bite into these cupcakes. The ingredients used to make it are one large egg white, granulated sugar, cream of tartar, and pure vanilla extract. You’ll heat the first three ingredients over a double boiler or bain-marie (a glass or metal bowl placed over a pot of simmering water). Then, pour the mixture into the bowl of a stand mixer with the whisk attachment, add the vanilla, and whip until it becomes glossy with stiff peaks.
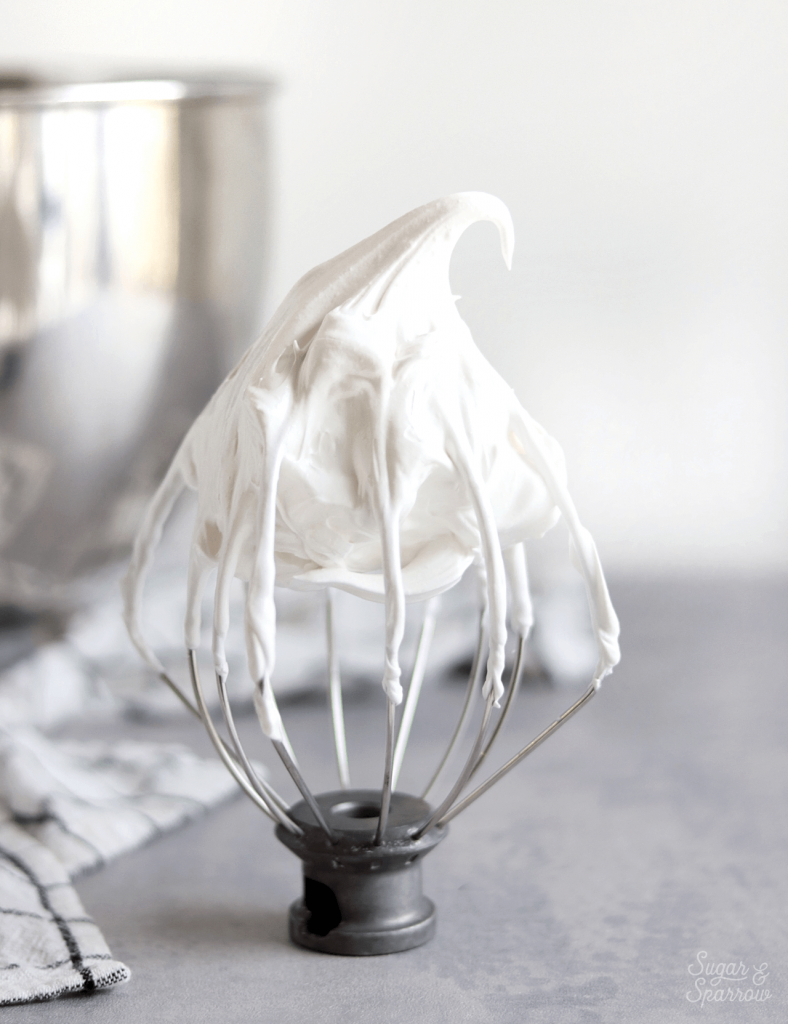
The cream of tartar in the recipe plays an essential role in this homemade marshmallow creme! Although there isn’t a lot of it in the recipe, don’t be tempted to skip it. The cream of tartar is responsible for stabilizing the egg white (allowing it to trap air), adding volume to the meringue, and preventing graininess by helping break down the sugar. Trust me on this one, even that small amount works wonders here.
Marshmallow Creme Filling FAQs
- Can I use store-bought marshmallow creme for the filling? I originally tried using store-bought marshmallow creme as the filling and it just kind of oozed out of the cupcakes when I bit into them. If you’re in a pinch, it should be fine, but homemade marshmallow filling tastes best and helps the cupcake hold its shape much better.
- Is there a substitute for cream of tartar in the marshmallow creme recipe? Sometimes lemon juice can be used as a substitute in marshmallow recipes, but I don’t recommend it here. For best results, use cream of tartar. You should be able to easily find it alongside the spices in the baking section of your local grocery store.
- Can I use carton egg whites? For best results, use a fresh egg white for this recipe.
Fudgy Chocolate Buttercream + Rocky Road Toppings
After baking and filling the chocolate cupcakes, I topped them with a swirl of my favorite chocolate buttercream recipe. It’s super fudgy, comes together with simple ingredients, and is the perfect consistency for piping onto cupcakes. The rich chocolate flavor comes from cocoa powder, and you can use any kind you prefer – regular unsweetened cocoa powder or Dutch-processed cocoa powder. I have been loving Dutch-processed cocoa for this frosting because it provides a smooth, yet deeply chocolatey flavor and nice dark color.
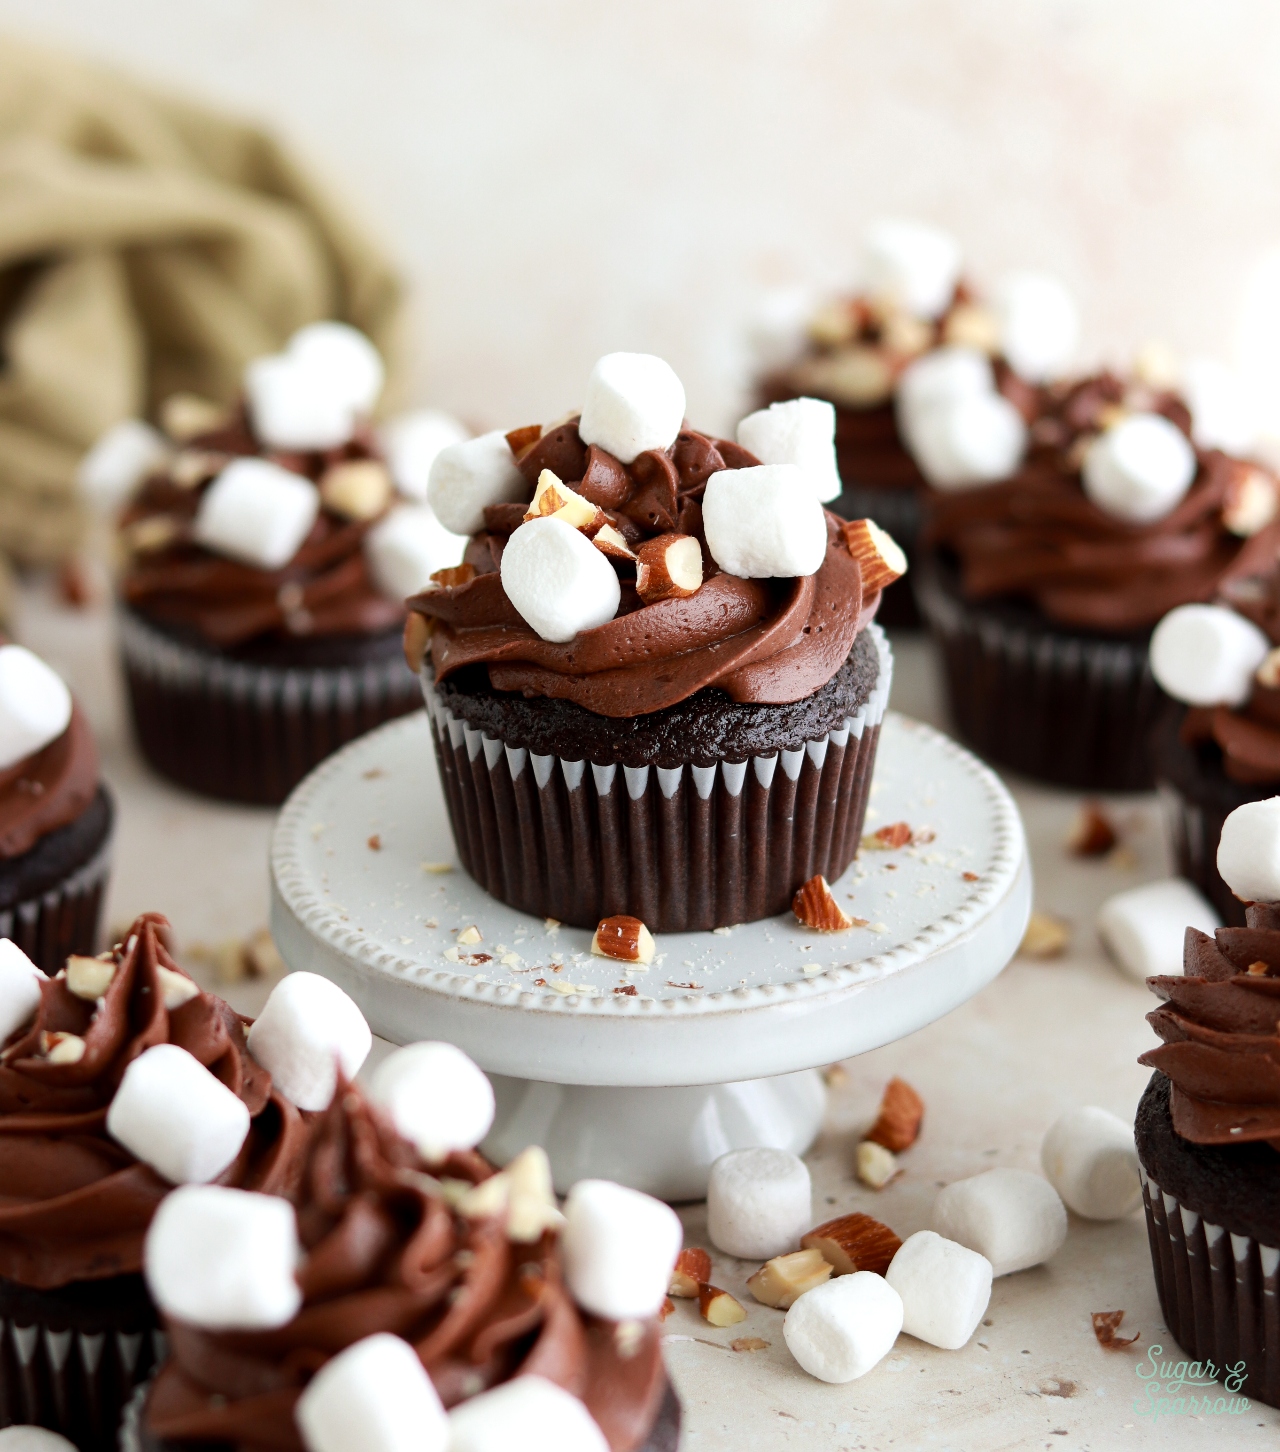
Since rocky road ice cream is chocolate ice cream packed with crunchy nuts (typically almonds or walnuts) and chewy mini marshmallows, I had to include them in the topping for these cupcakes! I went with chopped almonds and mini marshmallows, sprinkling a generous amount immediately after piping the chocolate frosting, while it was still tacky. The overall texture of these rocky road cupcakes is just perfect!
How to Assemble Rocky Road Cupcakes
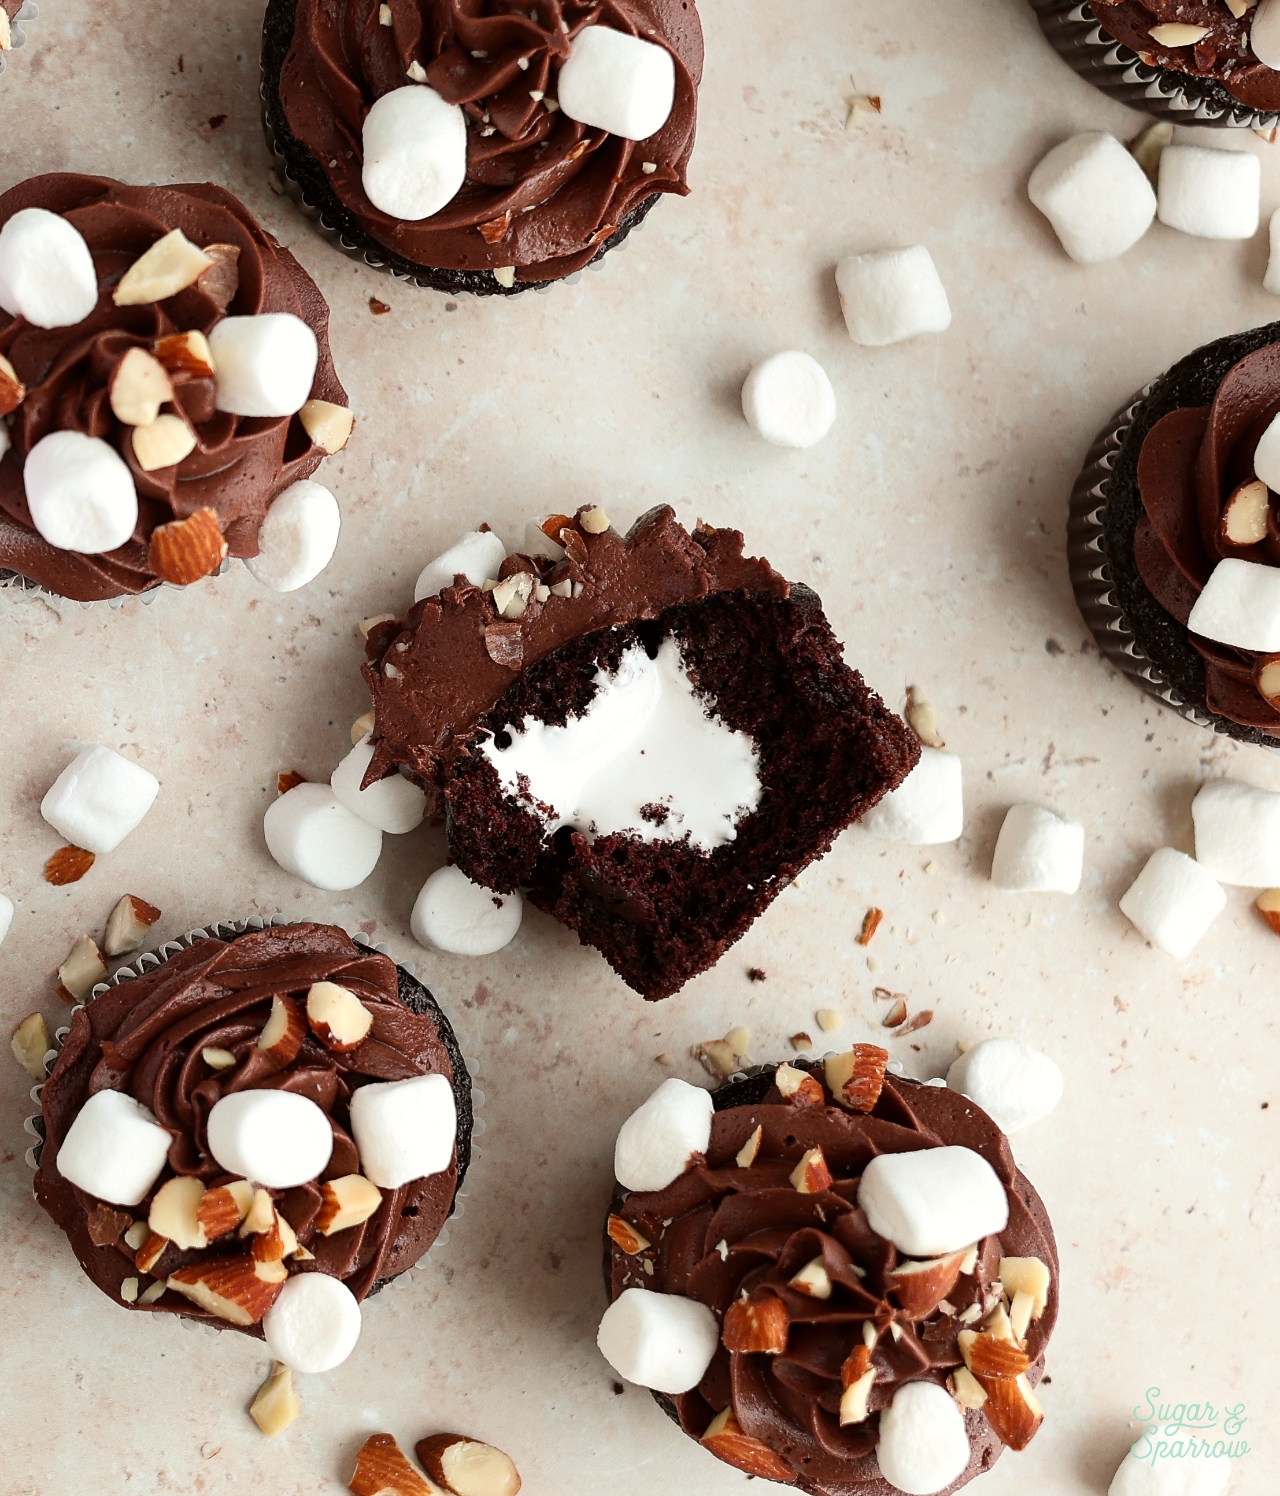
Step 1: Fill the cupcakes. Once the chocolate cupcakes are baked and cooled completely, use a large cupcake tip or sharp paring knife to carve out a cavity in the center of each cupcake. I like to slice off the top and reserve it for covering the top of the filling, but it’s optional.
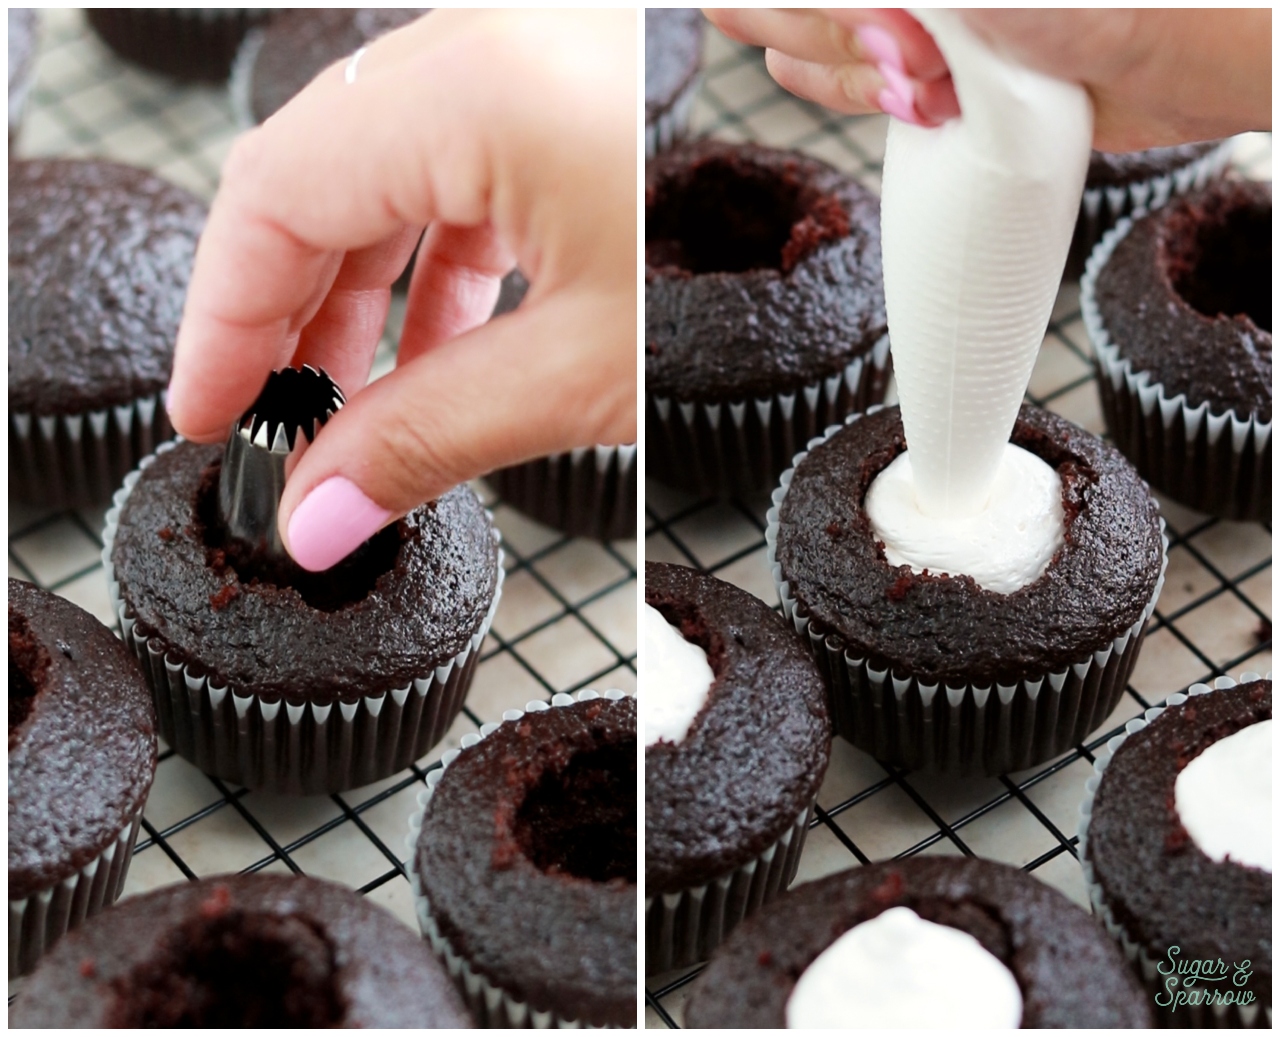
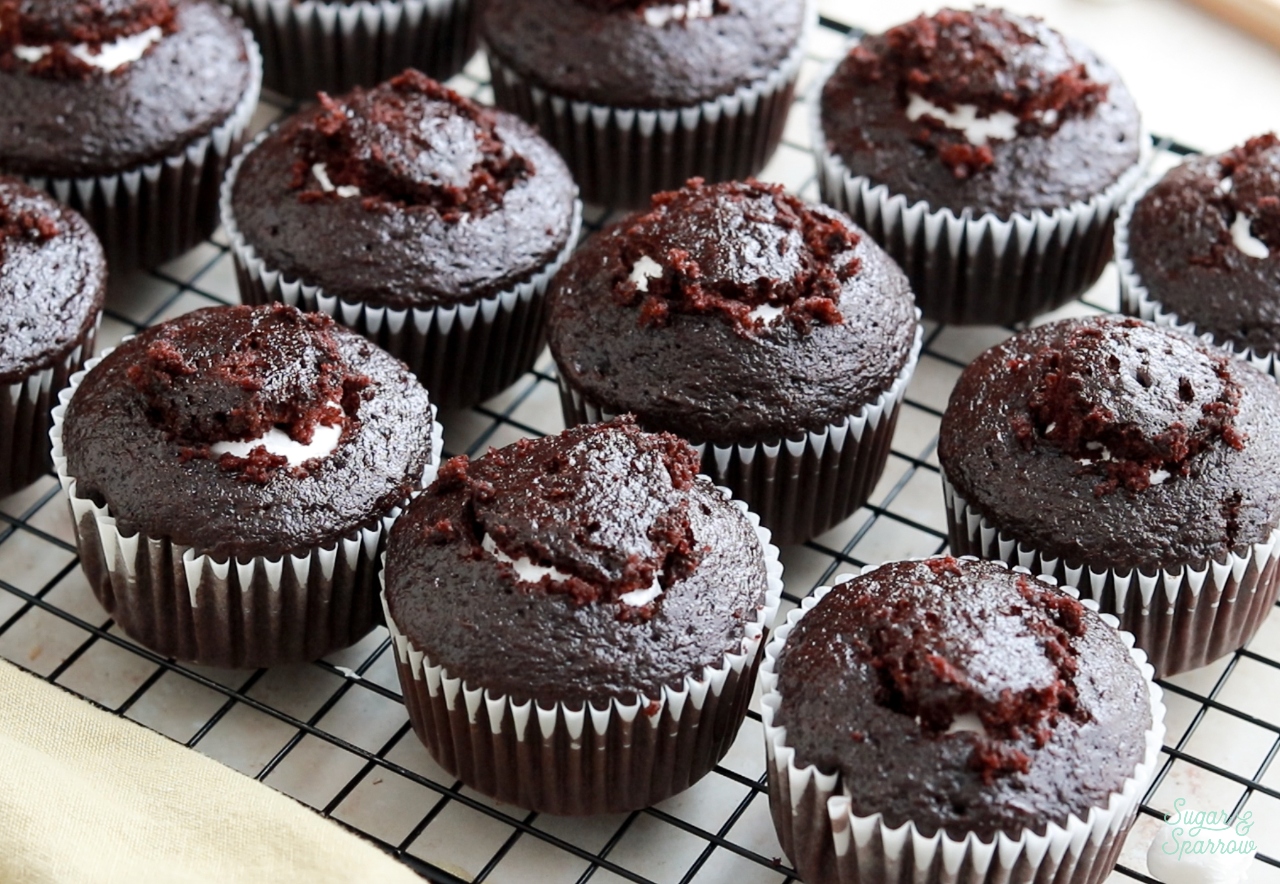
Once the cavities are carved, fill them to the top with marshmallow creme filling. It’s best to use a piping bag for this since the marshmallow creme is so sticky. Place the reserved slice of cupcake back on top.
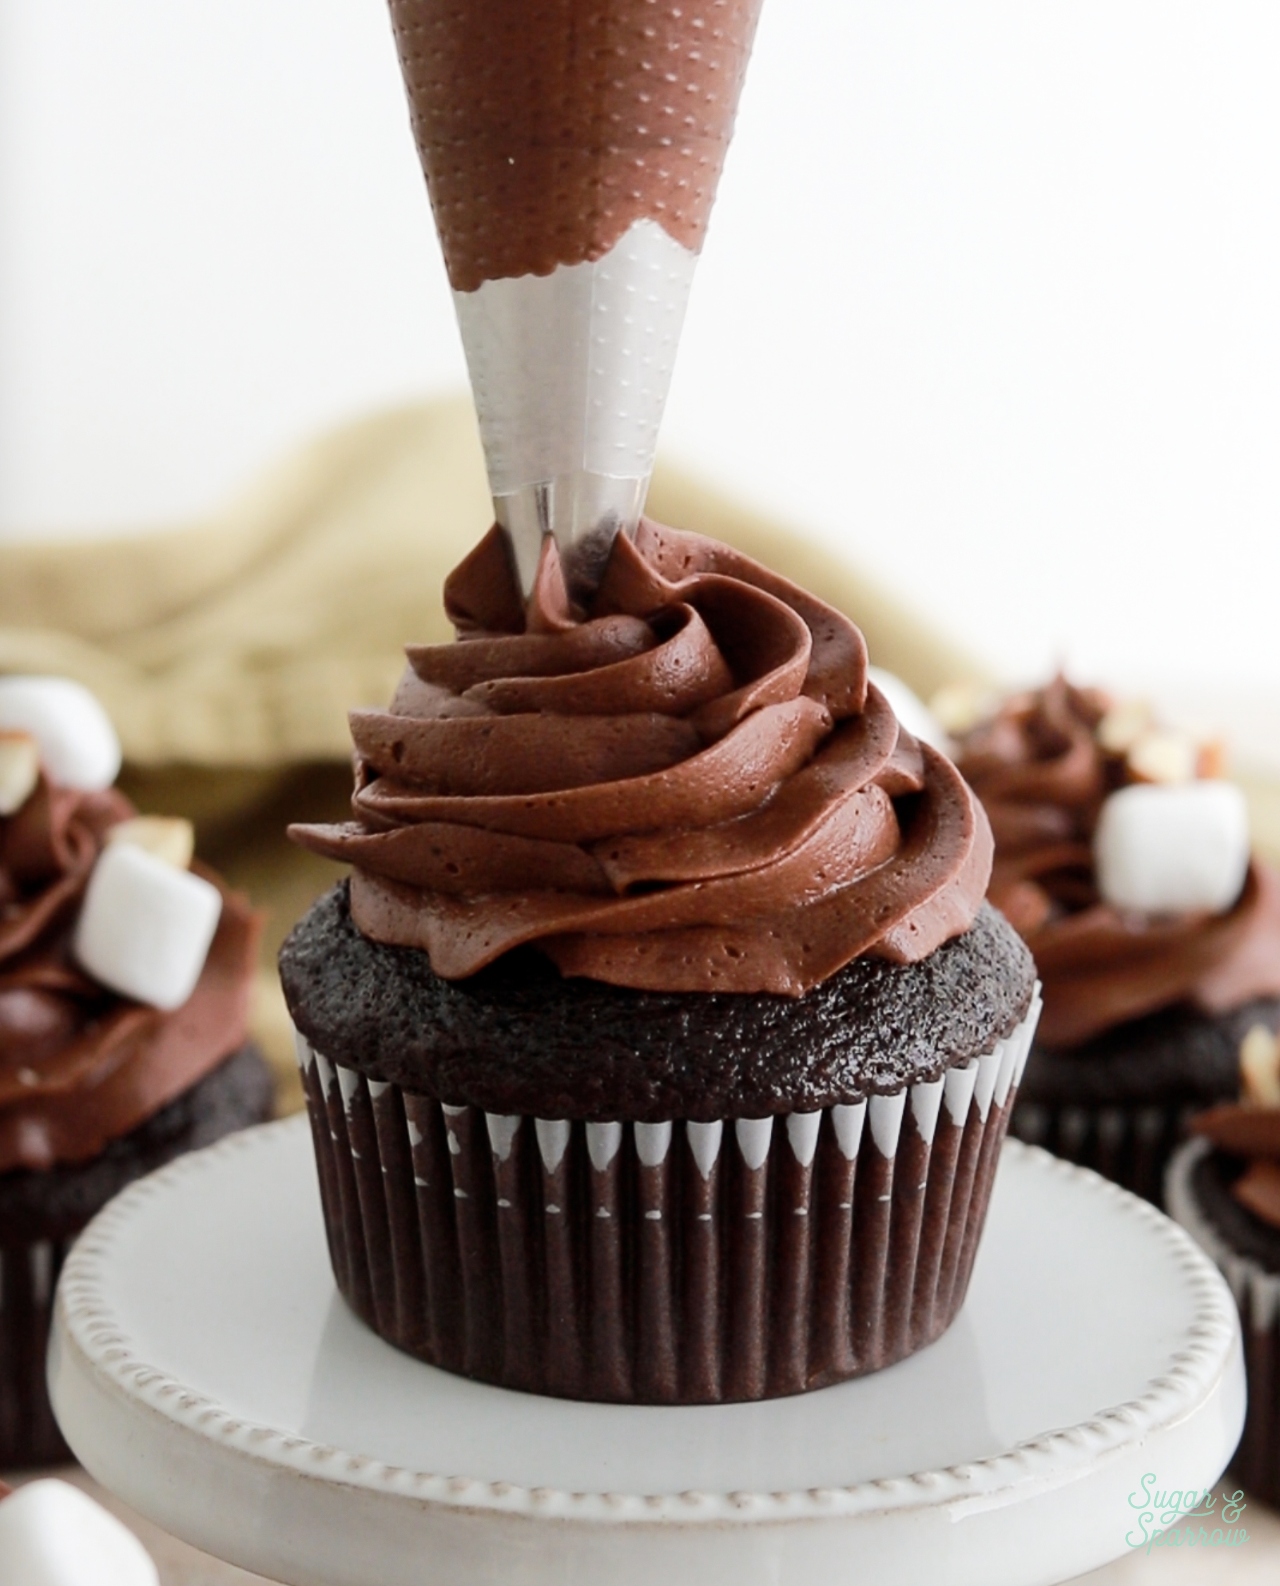
Step 2: Pipe on the chocolate frosting. To create the look pictured, fit a piping bag with Wilton Tip 1M and fill it with the chocolate buttercream. Then, pipe a swirl onto each cupcake.
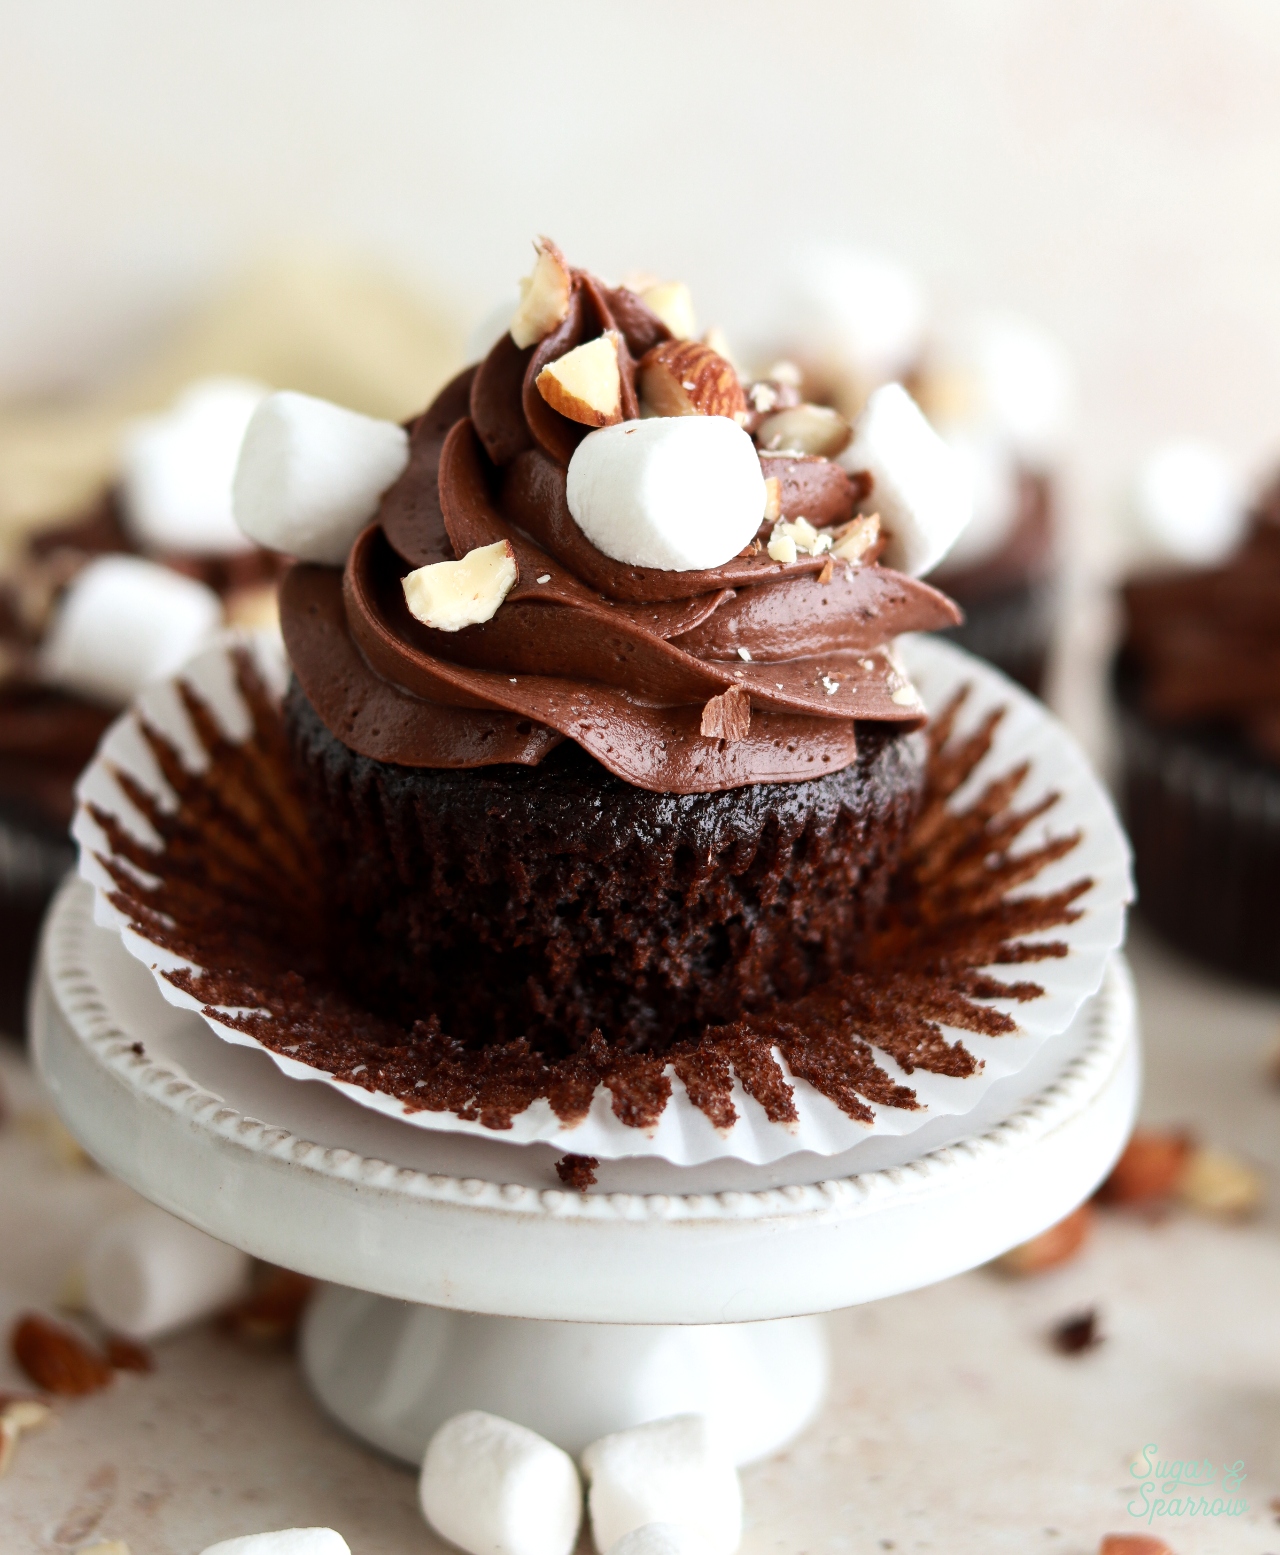
Step 3: Add the toppings. While the chocolate frosting is still tacky, sprinkle on mini marshmallows and chopped almonds (or walnuts, if you prefer).

These rocky road cupcakes look so tempting and they’re every bit as delicious as they look! Biting into them, you get the crunch of the almonds, the chew of the mini marshmallows, and the softness of the moist chocolate cupcakes filled with that homemade marshmallow creme all at once. They’re really decadent and so chocolatey, but the marshmallow balances it out beautifully with its creamy-yet-fluffy texture and vanilla flavor. If you love rocky road ice cream or chocolate desserts, you’re going to enjoy these cupcakes!

More Cupcake Recipes You’ll Love
If you love these rocky road cupcakes, here are some more cupcake ideas to add to your baking list:
- One-Bowl Chocolate Cupcakes
- Toasted S’mores Cupcakes
- Oreo Cupcakes
- Yellow Cupcakes with Chocolate Frosting
I hope you love these rocky road cupcakes as much as I do! If you make them, let me know in the comments below (don’t forget to rate the recipe!) and feel free to tag @sugarandsparrowco on Instagram if you post a photo. I love to see what you create with my recipes and tutorials!
Rocky Road Cupcakes
Ingredients
Chocolate Cupcakes
- 1 Cup (132g) all-purpose flour
- 3/4 Cup (150g) granulated sugar
- 1/3 Cup (30g) natural unsweetened cocoa powder regular or Dutch-processed
- 1 tsp baking soda
- 1/2 tsp baking powder
- 1/4 tsp salt
- 1/4 Cup (60ml) vegetable oil
- 1 large egg, room temperature
- 1/2 tsp pure vanilla extract
- 1/2 Cup (120ml) buttermilk, room temperature*
- 1/2 Cup hot coffee or hot water
Chocolate Buttercream
- 1 Cup (226g) unsalted butter, room temperature
- 3 Cups (360g) powdered sugar
- 1/2 Cup (45g) natural unsweetened cocoa powder regular or Dutch-processed
- 3 Tbsp (45ml) whole milk, room temperature
- 2 tsp pure vanilla extract
- pinch of salt, or to taste
Marshmallow Creme Filling
- 1 large egg white, room temperature
- 1/4 Cup (50g) granulated sugar
- 1/8 tsp cream of tartar
- 1/4 tsp pure vanilla extract
Toppings
- 1/2 Cup mini marshmallows
- 1/4 Cup chopped almonds
Instructions
Make the Chocolate Cupcakes
- Preheat the oven to 350ºF (177ºC) and line a cupcake pan with 12-15 liners.
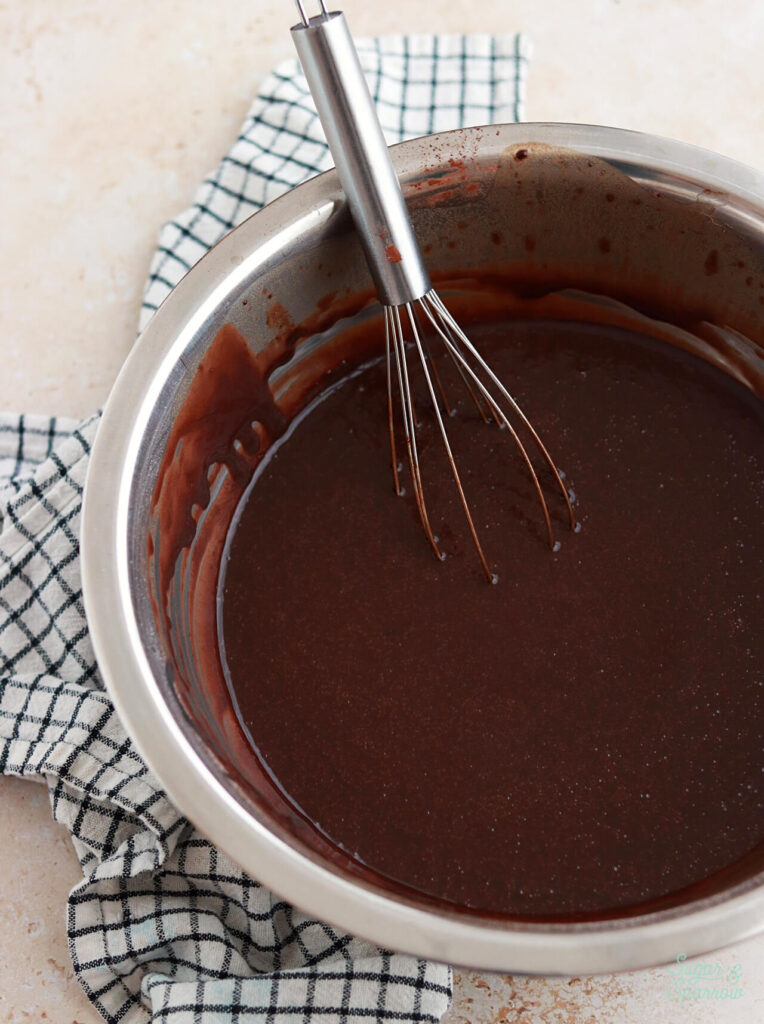
- Whisk all of the dry ingredients together in a large bowl to fully combine them. Add the vegetable oil, eggs, vanilla, and buttermilk and mix on low with either a hand mixer, the paddle attachment on your stand mixer, or by hand until combined. Add the hot coffee (or hot water) in a slow stream. Continue mixing on low until fully combined and smooth, 1-2 minutes. The batter will be very thin.
- Pour the batter into the prepared cupcake liners (no more than ⅔ full) and bake for 15-18 minutes, until a wooden toothpick inserted comes out clean. Cool completely before frosting.
Make the Chocolate Buttercream
- In a stand mixer fitted with a paddle attachment, whip the butter on high speed until creamy and light in color, about five minutes. Scrape down the bowl and paddle and turn the mixer to low, then add the powdered sugar, cocoa powder, milk, vanilla extract, and salt. Continue mixing on low speed until fully combined and uniform, 2-3 minutes, scraping down the bowl and paddle as needed.
Make the Marshmallow Creme Filling
- For the best marshmallowy texture, make the marshmallow creme filling when you're ready to fill the cupcakes. Fill a medium saucepan with an inch or two of water and bring it to a simmer over medium heat. Whisk together the egg white, granulated sugar, and cream of tartar in a heatproof bowl, then place it on top of the simmering saucepan. Make sure that the bottom of the bowl does not touch the water. Alternatively, you can use a double boiler for this part.
- Whisk the egg white mixture continuously until the sugar and cream of tartar are dissolved, about 3-4 minutes. It will thin out and be very frothy on top.
- Remove the mixture from the heat and add it to a stand mixer fitted with the whisk attachment (you can use a hand mixer for this part as well). Add the vanilla, then beat on high speed for about 3-5 minutes. You’ll know it’s ready when it looks glossy with stiff peaks. To test it, dip your whisk attachment into the meringue and make sure the peak holds.
Assembly
- Once the chocolate cupcakes have cooled completely, use a sharp paring knife or large piping tip to carve out a cavity in the center of each cupcake. Slice off the top of the piece you carved out and save it to top the cavity after filling. Place the marshmallow creme filling into a piping bag and snip off an opening, then fill each cavity before topping with the reserved slice of cupcake.
- To create the look pictured, place the chocolate buttercream into a piping bag fitted with Wilton Tip 1M and pipe a swirl onto each cupcake, then top with mini marshmallows and chopped almonds.
Notes
- The chocolate cupcakes can be made ahead and stored at room temperature, covered with plastic wrap, for up to two days. Alternatively, they can be stored in an airtight container in the freezer for up to two months.
- The chocolate buttercream recipe can be made ahead and stored in an airtight container in the refrigerator for up to two weeks. When you’re ready to use it, bring it back to room temperature and re-mix with your stand mixer on low speed to bring it back to frosting consistency.
- The marshmallow creme filling should be made right before filling the cupcakes for best texture. You can store it in an airtight container in the refrigerator for up to 1 day but it may slightly deflate.
- The assembled cupcakes can be made ahead and stored at room temperature for up to 4 days.

Leave a Reply