• Cake
  • Frosting
  • YouTube
  • My Favorite Tools
  • Nav Social Icons

  • Skip to primary navigation
  • Skip to main content
  • Skip to primary sidebar
  • Skip to footer
  • Recipes
    • Cake
    • Cupcakes
    • Frosting
    • Ice Cream
    • Vegan
  • Cake Basics
  • Tutorials
  • Blog
  • About
  • Mobile Menu Widgets

    Connect

    Search

Sugar & Sparrow logo in script font

Sugar & Sparrow

Lifestyle and Cake from Portland Oregon

  • Cake Basics
  • Recipes
    • Cake
    • Cupcakes
    • Cookies & Bars
    • Filling
    • Frosting
    • Ice Cream
    • No-Bake
    • Small Batch
    • Vegan
  • Tutorials
  • Book
  • Blog
  • About

How to Make Buttercream Poinsettias

December 20, 2022 · In: Featured, Holiday, Seasonal, Tutorials

There’s no flower more holiday than the poinsettia. I’ve fallen in love with these pretty red flowers this season, and I could not help but dream about a buttercream version for topping my Christmas inspired cakes and cupcakes. It turns out that when it comes to buttercream flowers, the poinsettia is one of the easier designs to pipe. And just look at how beautiful they look on these bakes:
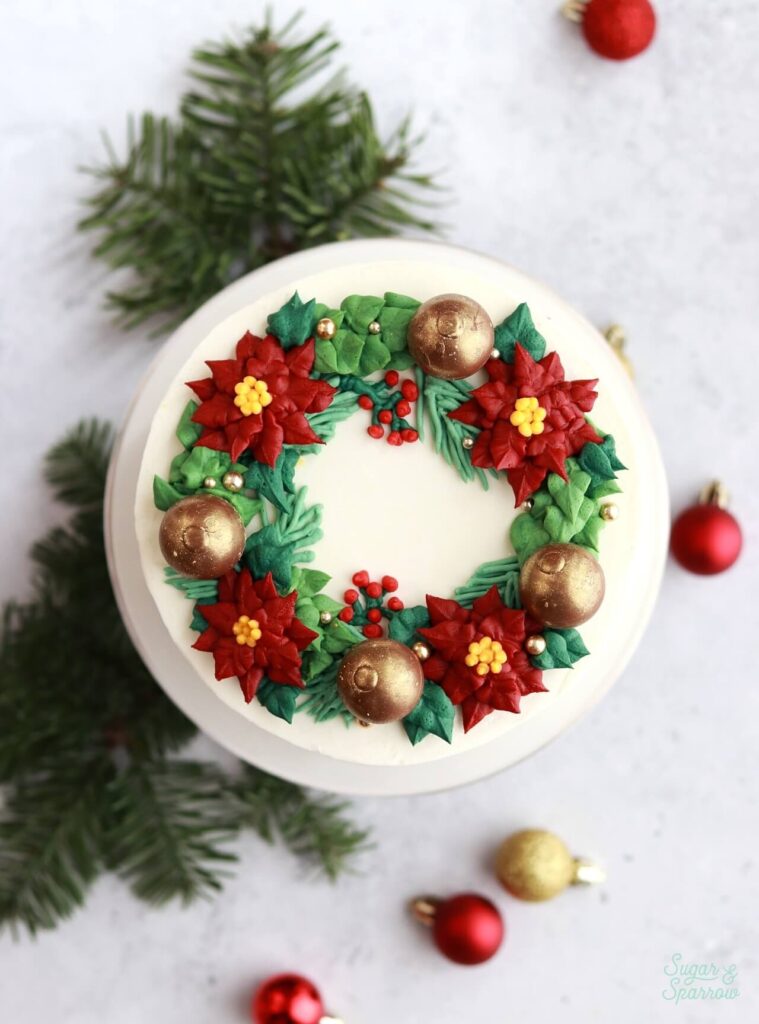
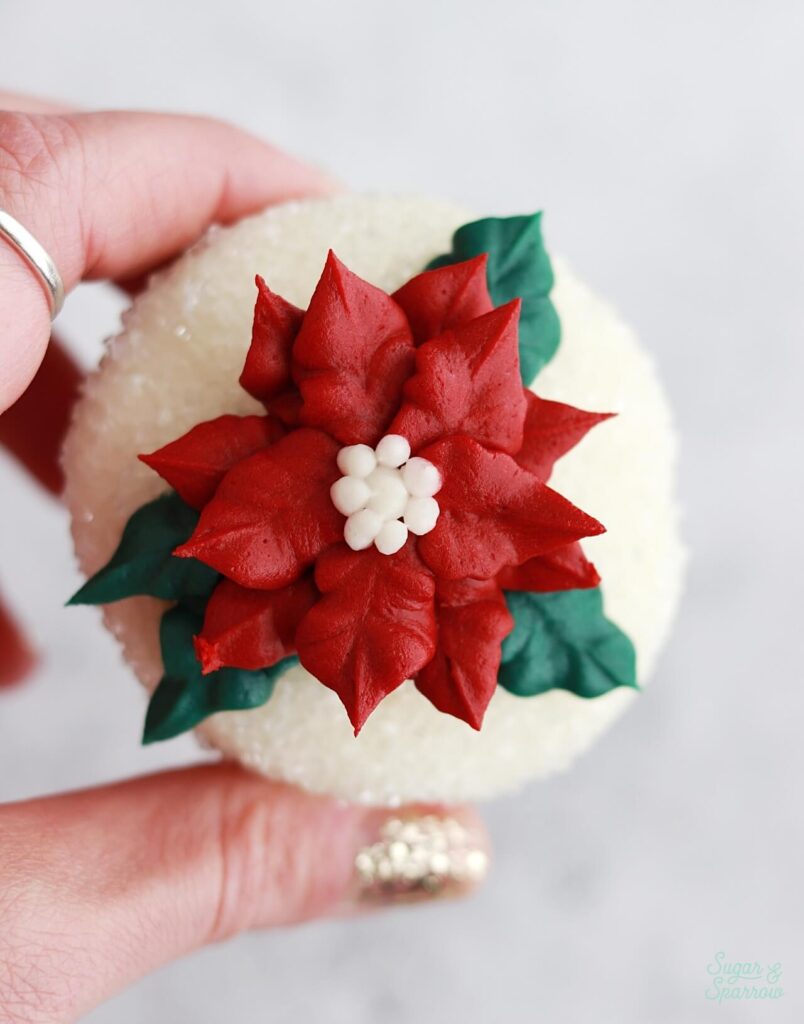
buttercream poinsettia wreath cake
buttercream poinsettia cupcakes

The magic of keeping these poinsettias looking perfect is refrigeration. After you’re done piping, stick them in the refrigerator for at least 10 minutes to let the buttercream firm up. They’ll keep their shape and be so easy to handle when placing on your bakes. You can even make them up to five days in advance and keep them in the refrigerator until you’re ready to place them! 

The Best Buttercream for Piping Flowers

There’s one really important key to success with buttercream poinsettias (and any buttercream flower): a stiff consistency buttercream. I use a stiffened version of my American buttercream recipe for flowers, but you can use any buttercream that is thick enough to hold its shape when piped – Swiss meringue or Italian meringue being the best alternatives. The buttercream consistency is extra important because if it’s too thin your petals will droop and lose their detail. 
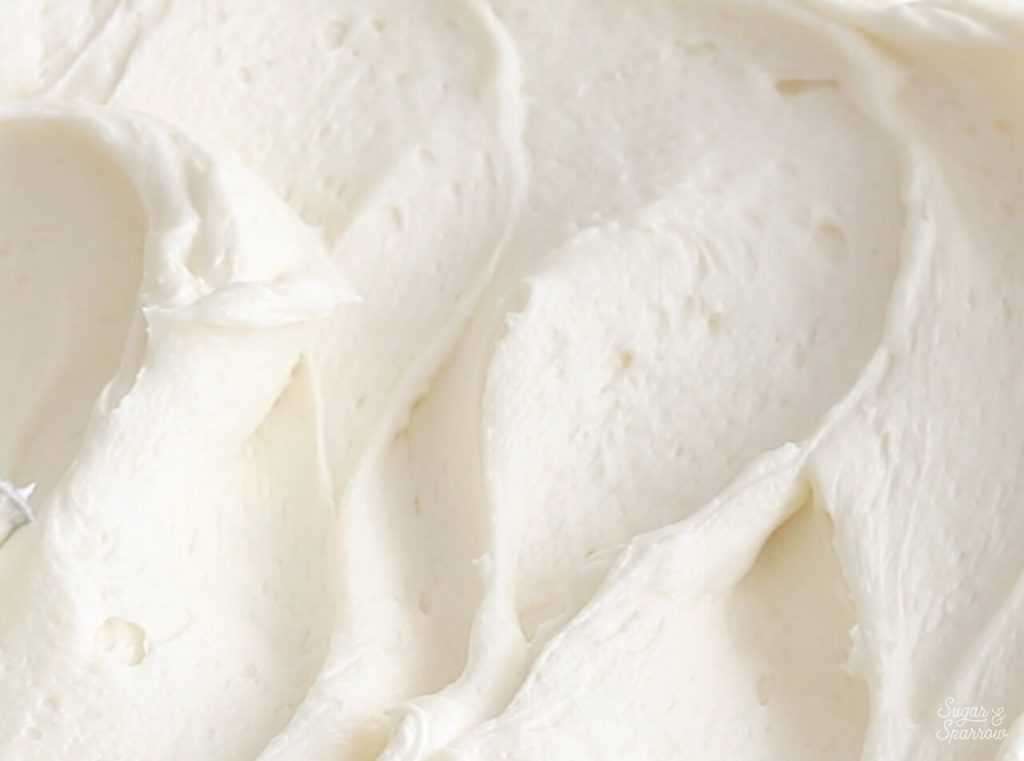
american vanilla buttercream recipe

You can check the consistency of your buttercream by dipping your spatula into it and observing the peak. If it’s a soft or droopy peak, it’s too thin for piping flowers. You’ll need to thicken it by adding extra powdered sugar (complete instructions are below). If it sticks straight up and holds its shape when you move the spatula around, it should be stiff enough to pipe the flowers with. 

how to pipe buttercream poinsettias

Keep in mind that when you add food coloring to your buttercream, it might thin out since color gels are essentially a liquid. Be sure to do the spatula dip test before and after coloring your buttercream. You can always add extra powdered sugar after adding the color gel to thicken it back up. 

Here’s a quick video that explains everything you need to know about piping perfect poinsettias – from coloring the buttercream to piping the flowers, storing them, and placing them. I’ve written out all the details below as well!

If you’re into cake decorating videos like this one, be sure to check out my YouTube Channel! You’ll find tons of videos to inspire you there, and make sure you never miss a new one by clicking the Subscribe button.

You Will Need

  • 1 batch of American buttercream
  • 3+ Tablespoons of powdered sugar
  • Deep red food color gel (I used AmeriColor Super Red + Sangria)
  • Yellow food color gel (I used AmeriColor Egg Yellow)
  • Bowls and spoons for color mixing
  • Wilton Tip 352
  • Wilton Tip 2
  • Piping bags
  • Flower nail
  • 2” Parchment paper squares 

Step 1: Make the Stiffened Buttercream

Make one batch of American Buttercream, then add an extra 3 Tablespoons of powdered sugar to stiffen it up for the best piping consistency. You may need to add more powdered sugar by the tablespoon to get it perfect.
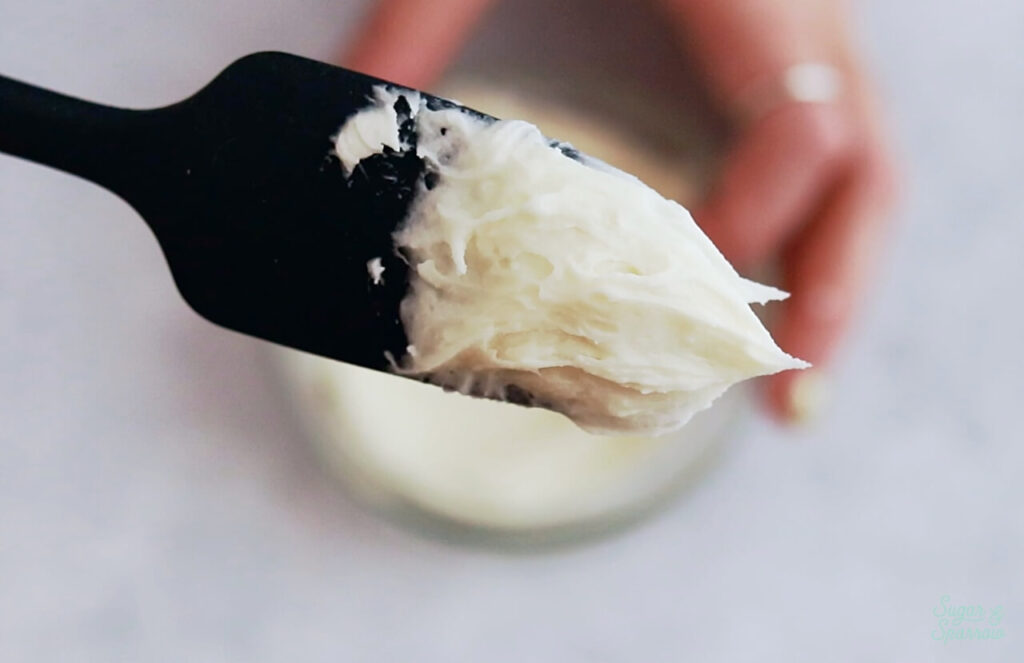
stiff buttercream consistency for piping

To check whether or not the buttercream is the best consistency, dip your spatula into it and observe the peak. If it comes out with a stiff peak that doesn’t easily wobble around when you move the spatula at different angles, it’s perfect. If it looks grainy or rough around the edges, you might have stiffened it too much. Here’s a guide to help you make the perfect consistency and troubleshoot if you’ve gone too far. 

Step 2: Mix in the Buttercream Colors

Divide the buttercream into two bowls: ⅓ of the buttercream into a small bowl and the rest of the buttercream in a medium bowl. If you want to reserve some of the buttercream for piping leaves, you can divide the batch evenly between three bowls. This batch of buttercream will make a lot of poinsettias, so if you only need a few, you can tint just a little bit of the buttercream and store the rest for another project. 

In the bowl with the most frosting, add deep red food color gel until you achieve the shade you want. This will be what you use to pipe the petals of the poinsettias. I ended up adding about 7 drops of AmeriColor Super Red and 1 drop of AmeriColor Sangria to achieve this red color. Note that the color will deepen over time, especially after refrigerating, so if it’s close to that deep red color when you mix it up it may darken to the perfect color. Here’s a guide on color mixing to explain how that all works. 
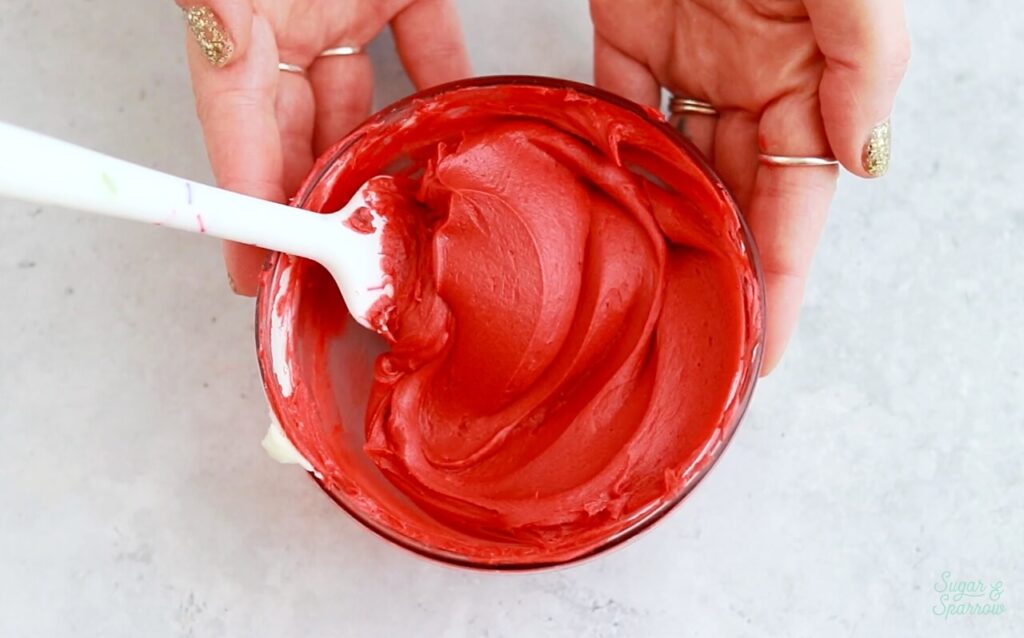
how to make dark red buttercream

In the bowl with the least amount of frosting, add yellow food color gel. This will be what you use to pipe the center of the poinsettias. I used 3 drops of AmeriColor Egg Yellow for this deep yellow shade. 
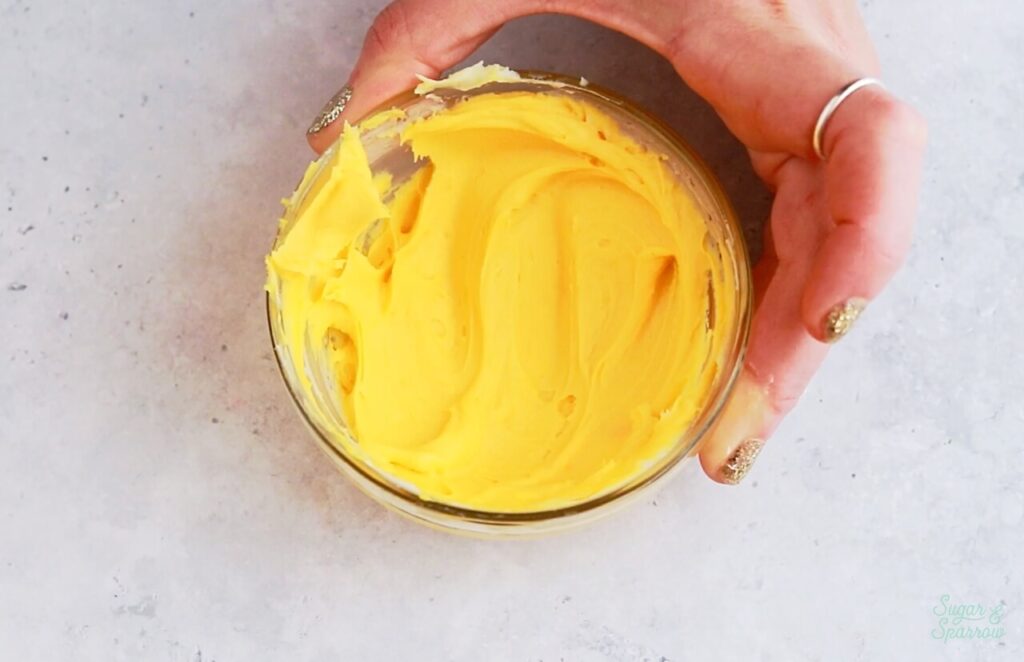
americolor egg yellow buttercream

If you’re wanting a good green color for leaves, I love AmeriColor Forest Green. It’s what I used on the poinsettia cupcakes pictured above. I don’t technically show you how to pipe leaves in this tutorial, but you’ll basically use the same piping technique as the poinsettia petals with the same piping tip (Wilton 352). 

Step 3: Pipe the Poinsettias

Cut some parchment paper into 2 inch squares. Fit one piping bag with Wilton Tip 352 and fill it with the deep red buttercream. Fit another piping bag with Wilton Tip 2 and fill it with the yellow buttercream. Place a dot of buttercream (either color) onto the flower nail and place a parchment paper square on top. 

Starting with the deep red buttercream, hold the bag at a 45 degree angle to the flower nail with the pointed ends facing up and down. Beginning in the center of the parchment paper, pipe the first petal by putting pressure on the bag as you wiggle it slightly while moving it away from the center of the parchment. Release the pressure on the bag to end the petal. The wiggling motion helps add a slightly wrinkled texture to the petals, which makes them look more realistic. 
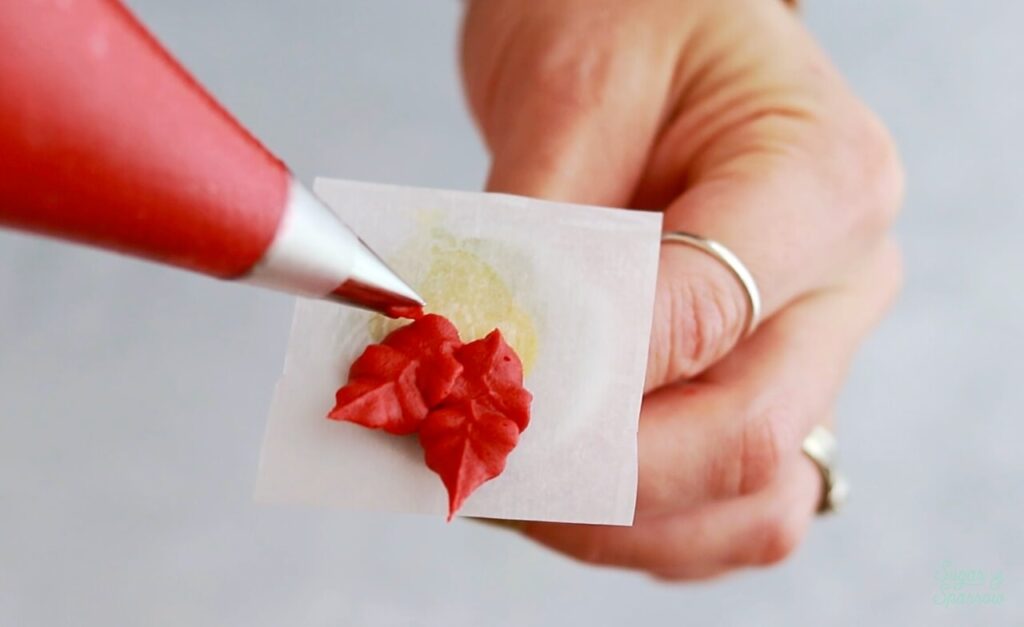
how to pipe buttercream poinsettias

Continue piping the petals in a circular formation until you reach that first petal. This will end up being your bottom row of petals. 
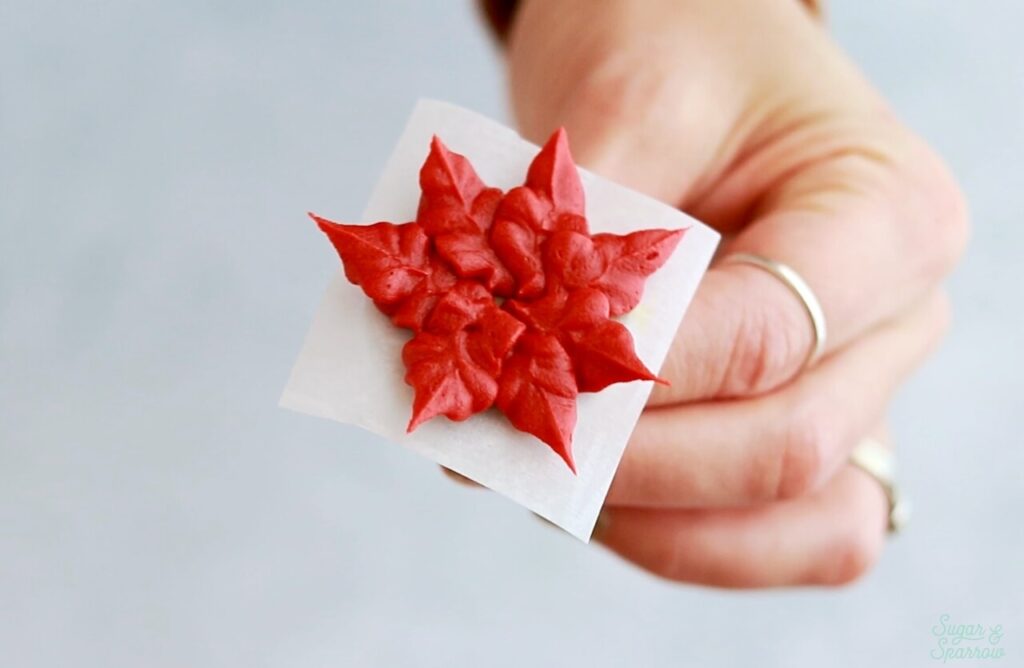
how to make buttercream poinsettias

Starting in the center of your bottom row of petals, pipe a smaller ring of poinsettia petals on top of the first using the same technique. 

how to make buttercream poinsettias for cakes

To finish the poinsettia, pipe a dot in the very center of the petals using the yellow buttercream, then pipe a ring of dots around that first dot. 
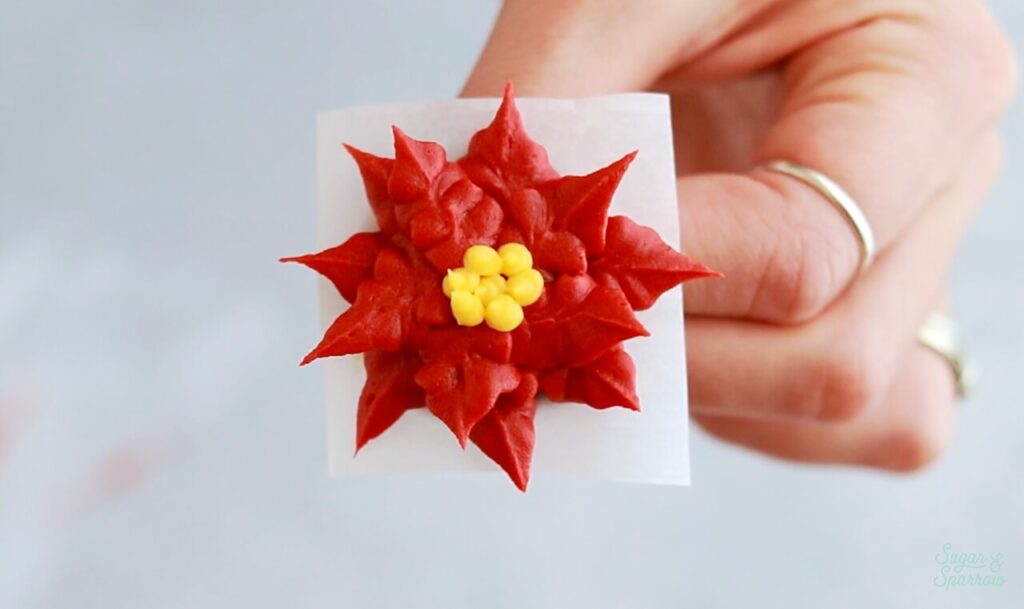
buttercream poinsettia tutorial

Carefully remove the parchment paper from the flower nail (with the poinsettia on top) and place it onto a cookie sheet or drying rack while you continue piping any additional poinsettias. 

Step 4: Refrigerate the Poinsettias

After you’ve piped all of your poinsettias and have them laid out on a cookie sheet or drying rack, refrigerate them for at least 10 minutes. At this point they will be firm enough to peel away from the parchment paper backing and place on your bakes. 

buttercream poinsettia tutorial

If you’d rather make the poinsettias ahead of time, you can place them in an airtight container and continue refrigerating them for up to five days before placing them on your bakes. Any longer than this and you risk the deep red coloring bleeding into the yellow centers. 

If you want to pipe some leaves before placing the poinsettias, you can use the same piping technique as the poinsettia petals you made with Tip 352 and some dark green buttercream. Pipe the leaves first, then place the poinsettia on top to stick it down. 

buttercream poinsettia tutorial

I can’t wait to see how you decorate with these pretty buttercream poinsettias! Be sure to tag @sugarandsparrowco on Instagram if you post a pic! I love to see what you create. 

By: Whitney · In: Featured, Holiday, Seasonal, Tutorials

you’ll also love

pumpkin pie layer cake recipeA Pumpkin Pie Layer Cake Recipe That’s Easy & Eye-Catching
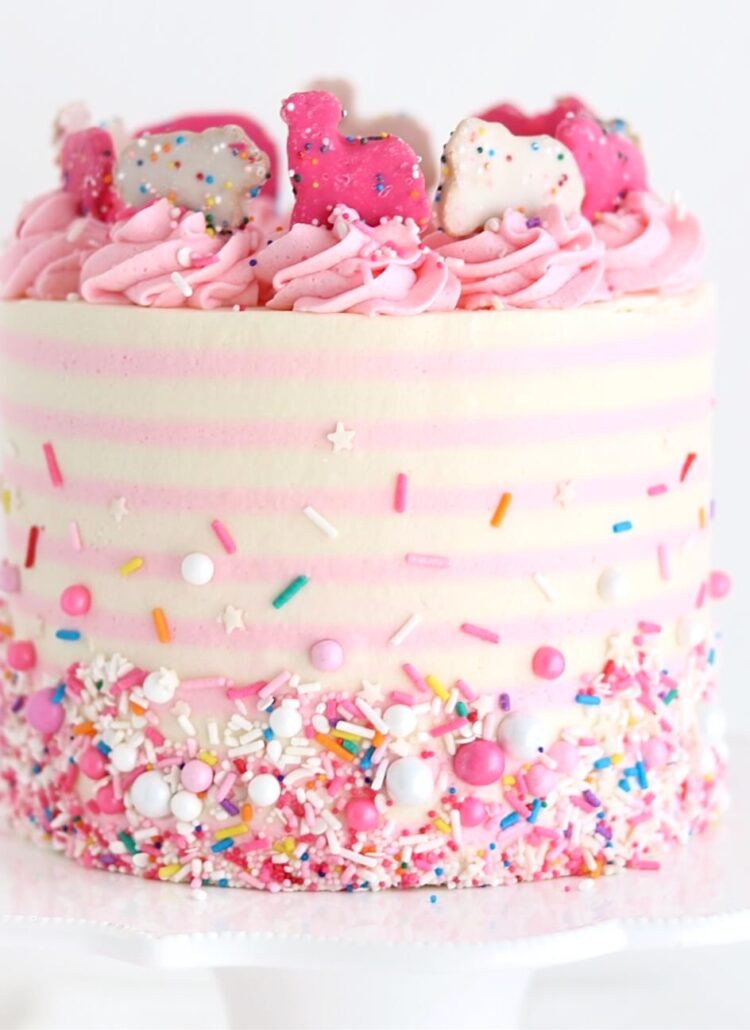
circus animals party cakeStriped Buttercream Circus Animals Party Cake
How Many Servings Per Cake Size (Chart Included!)

Join the List

Stay up to date & receive the latest posts in your inbox.

Reader Interactions

Leave a Reply Cancel reply

Your email address will not be published. Required fields are marked *

Recipe Rating


Next Post >

Spiced Chai Bundt Cake

Primary Sidebar

Welcome to Sugar & Sparrow

Welcome to Sugar & Sparrow

Helping you whip up pretty desserts with confidence and creativity. And hopefully sharing a few laughs with you along the way!

Learn More

Connect

let’s bake!

Get my very best recipes, baking tips, and decorating tutorials sent to your inbox

Featured Posts

Finally. The Perfect Vanilla Cake Recipe.

pumpkin chocolate chip cookie bars

Chewy Pumpkin Chocolate Chip Cookie Bars

strawberry crunch ice cream cake recipe

Strawberry Shortcake Ice Cream Cake

Search

Archives

Follow Along

@sugarandsparrowco

PUMPKIN CUPCAKES 🧡 topped with spiced cream cheese PUMPKIN CUPCAKES 🧡 topped with spiced cream cheese frosting to give every bite the most heavenly pumpkin spice flavor! The perfect cupcakes to kick off your fall baking 🍂

Comment RECIPE and I’ll send it right to you!

You can also find the link in my bio (or google ‘Sugar and Sparrow Pumpkin Cupcakes’) 

#pumpkinspice #pumpkincake #pumpkinseason #falldesserts #creamcheesefrosting
OATMEAL CREME PIE CAKE 🙌🏼 I’m always thinking abou OATMEAL CREME PIE CAKE 🙌🏼 I’m always thinking about this cake during back-to-school season because Oatmeal Creme Pies take me right back to my elementary school days! It’s layers of tender brown sugar oatmeal cake with the gooiest homemade marshmallow filling and tastes just like the real deal in cake form – perfect party cake for an Oatmeal Creme Pie lover! 

Full recipe linked in my bio + at https://sugarandsparrow.com/oatmeal-creme-pie-cake/ 
 
#oatmealcremepie #vintagecake #layercake #partycake #cakedecorating
NO-BAKE BISCOFF CHEESECAKE ✨this is the perfect EA NO-BAKE BISCOFF CHEESECAKE ✨this is the perfect EASY no-bake dessert for Fall and I cannot get over the incredible spiced caramel flavor!! I added Biscoff cookie butter to my favorite no-bake cheesecake base, piled it onto a Biscoff cookie crust, then topped it with a melted cookie butter drip + tons of crunchy cookie crumbs.  
 
🤎Full recipe linked in my bio + at https://sugarandsparrow.com/no-bake-biscoff-cheesecake/ 
 
BISCOFF CRUST: 
1 8.8oz package Biscoff cookies (250g) 
1/3 Cup (75g) unsalted butter, melted 
 
FILLING: 
16 Oz (452g) full-fat brick-style cream cheese, room temp 
1/4 Cup (50g) powdered sugar 
3/4 Cup (210g) creamy Biscoff cookie butter 
1 tsp ground cinnamon 
1 tsp pure vanilla extract 
1 Cup (240ml) heavy whipping cream, cold 
 
INSTRUCTIONS: 
1. Combine the Biscoff crust ingredients until the mixture resembles wet sand, then press firmly into the bottom of a 9-inch springform pan.  
2. In a large bowl, whip the cream cheese until smooth, then add the powdered sugar, cookie butter, cinnamon, and vanilla and mix until smooth.  
3. In a separate medium bowl, whip the heavy whipping cream to stiff peaks, then fold into the cream cheese mixture until no streaks remain. 
4. Add the filling on top of the Biscoff crust, cover, and refrigerate for at least 8 hours. 
5. Once set, top with melted cookie butter and crushed Biscoff cookies. 
 
#biscoff #biscoffcheesecake #nobakecheesecake #biscoffcake #nobake 
A mini pumpkin spice latte cake to celebrate my SI A mini pumpkin spice latte cake to celebrate my SIL 🥳 two 6-inch layers of spiced pumpkin cake with the most delicious coffee buttercream + a little vintage piping for good measure ☕️ making a birthday cake for my family and friends will always be my favorite love language!!

👩🏽‍🍳 Recipes: perfect pumpkin layer cake + coffee buttercream (both found at sugarandsparrow.com) or you can find a dedicated PSL cake recipe in my book! 
✨ Piping Tips: @wiltoncakes tip 3 for the writing + tip 4B for the borders
☕️ Garnish: chocolate covered espresso beans

#pumpkincake #birthdaycake #pumpkinspicelatte #minicake #cakedecorating
BROWN BUTTER CREAM CHEESE FROSTING 🤎🧈 brown butter BROWN BUTTER CREAM CHEESE FROSTING 🤎🧈 brown butter is the KEY to making cream cheese frosting even better! You get the tang of cream cheese but with rich, nutty caramelized notes of brown butter and it’s HEAVENLY on any Fall cake 🙌🏼 I paired with my carrot cake recipe here but it’s also incredible with spice cake, pumpkin cake, chocolate cake, and more! 

Full recipe + all my favorite cake pairing suggestions in my bio and here: https://sugarandsparrow.com/brown-butter-cream-cheese-frosting/

BROWN BUTTER CREAM CHEESE FROSTING 
YIELD: 3.5 Cups  
 
INGREDIENTS 
1/2 Cup (113g) unsalted butter 
8 Oz (226g) full-fat brick-style cream cheese, room temperature NOT the spread 
4 Cups (480g) powdered sugar 
1 tsp pure vanilla extract 
pinch of salt, or to taste 
 
INSTRUCTIONS 
1. Brown the butter: Add the butter into a large frying pan and cook over medium heat until the butter melts, stirring occasionally. Continue cooking for 3-5 minutes while stirring constantly. First it will foam, then bubble as little white particles of milk solids separate, then the white specks will caramelize and turn medium-brown and smell deliciously nutty. Remove from heat, transfer to a glass container, and cool until it re-solidifies and is the consistency of softened butter (about 45 minutes in fridge).  
2. Add the cooled brown butter into the bowl of your stand mixer fitted with a paddle attachment and add the cream cheese. Mix on medium-high until fluffy and light in color, 5 min, scraping down the bowl and paddle as needed. 
3. Turn the mixer to low speed and add the powdered sugar a few cups at a time, scraping down the bowl and paddle after mixing in each addition. Add the vanilla and salt and continue mixing on low speed until smooth and uniform. 
 
#brownbutter #creamcheesefrosting #creamcheese #buttercream #cakedecorating

Footer

On the Blog

  • Cake Basics
  • Recipes
  • Tutorials

Info

  • About
  • Privacy Policy & Disclosure

stay in the know

Copyright © 2026 · Theme by Sugar & Sparrow