• Cake
  • Frosting
  • YouTube
  • My Favorite Tools
  • Nav Social Icons

  • Skip to primary navigation
  • Skip to main content
  • Skip to primary sidebar
  • Skip to footer
  • Recipes
    • Cake
    • Cupcakes
    • Frosting
    • Ice Cream
    • Vegan
  • Cake Basics
  • Tutorials
  • Blog
  • About
  • Mobile Menu Widgets

    Connect

    Search

Sugar & Sparrow logo in script font

Sugar & Sparrow

Lifestyle and Cake from Portland Oregon

  • Cake Basics
  • Recipes
    • Cake
    • Cupcakes
    • Cookies & Bars
    • Filling
    • Frosting
    • Ice Cream
    • No-Bake
    • Small Batch
    • Vegan
  • Tutorials
  • Book
  • Blog
  • About

Essential Cake Decorating Tools for Beginners

April 11, 2023 · In: Cake Basics, Featured, Tools

I can clearly remember the day I set out to my local craft store in search of my very first cake decorating tools. I had absolutely no prior cake decorating experience (unless you counted slathering canned frosting onto a casserole dish cake) but I was flying high on inspiration from Ace of Cakes, a cake decorating tv show I was obsessed with. Fifteen years later, I still use the same tools I picked up during that initial craft store run and wanted to put together a list of all the essentials you could need to start your own collection. 

essential cake decorating tools

Cake Pan Set

While it’s perfectly okay to bake your cakes one layer at a time, it’s much more efficient to have a set of cake pans so you can bake all your layers at once. I always like to make triple layer cakes, so I recommend having at least three of your favorite pan sizes. My go-to size is a 6-inch round pan, but a set of 8-inch round pans are great to have on hand too. And opt for anodized aluminum instead of dark metal – it bakes more evenly! 
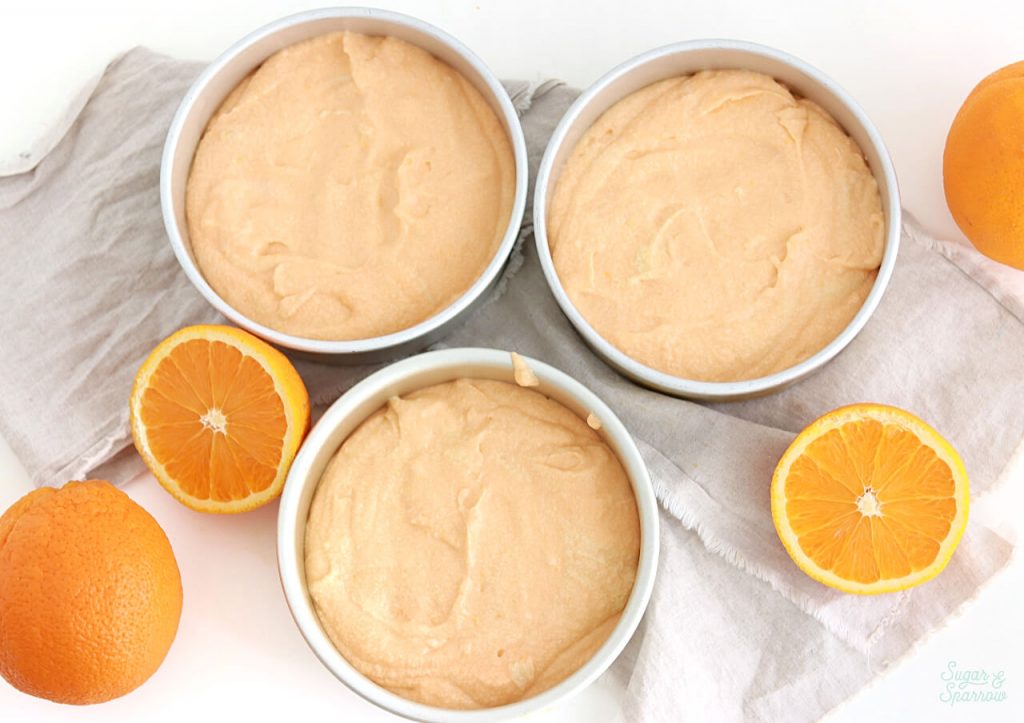
6-inch pan set
8-inch pan set 
orange creamsicle cake

Cake Turntable

It’s impossible to get a smooth buttercream finish without a cake turntable. It’s also just all-around easier to fill, stack, and decorate cakes with a turntable even if you’re going for a rustic look. The one thing I recommend is finding a non-slip pad to use with your cake turntable. This will ensure your cake won’t budge while you’re decorating! 
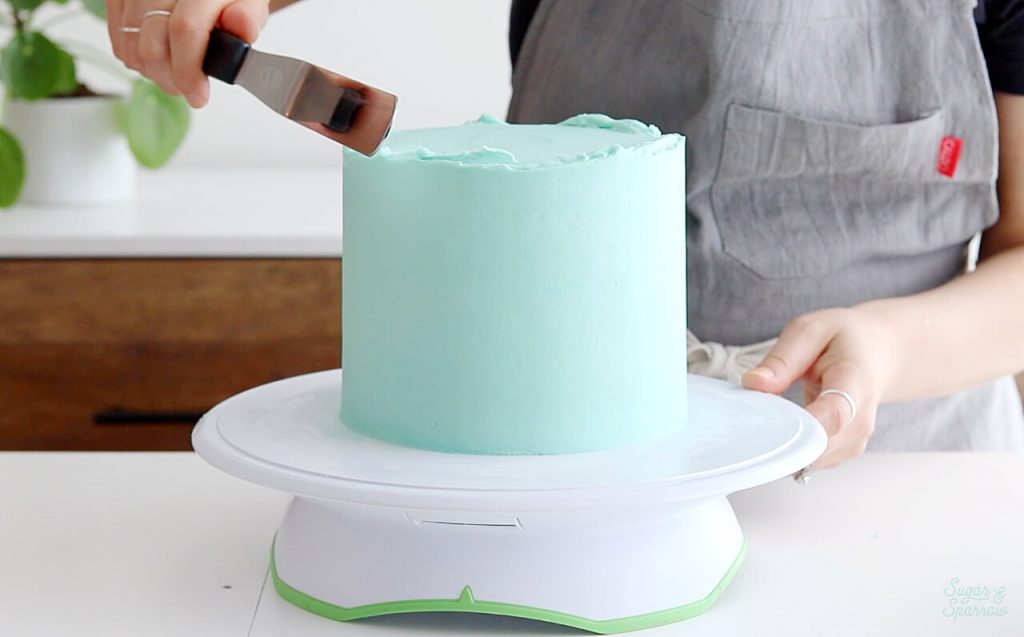
KOOTEK turntable
Ateco turntable

Icing Smoother

It’s super important to find an icing smoother that you feel totally compatible with. I’ve tried a lot of them over the years, but my all time favorite ended up being this bench scraper by Norpro. I use it 100% of the time! I love that it’s perfectly level, easy to grip, and can be gently heated for a super smooth buttercream finish. 

Norpro Bench Scraper

Icing Spatulas

Icing spatulas are extremely versatile. I use them to apply buttercream to my cakes before smoothing them, create sharp edges, add texture to my cakes, and more. It’s best to have a few sizes on hand for different tasks. 

3-piece cake spatula set
how to crumb coat a cake

Cardboard Cake Rounds

Every cake I make is built on top of a cardboard cake round. This makes it much easier to transfer the cake off the turntable and onto a stand or into a box. 

6-inch cardboard cake rounds
8-inch cardboard cake rounds
how to fill and stack cake layers

Piping Bags

Sure, you can use a ziploc bag for piping buttercream (I have in a pinch!), but it’s so much more efficient to have piping bags on hand. I like to buy the 16-inch size because it holds enough to pipe a lot of buttercream but can also be trimmed down into smaller bags. 

16 inch piping bags 
disposable piping bags

Piping Tips

If you have zero piping tips in your collection and just want to start with a few, I recommend the two below. They’re both extremely versatile – 1M is great for rosettes and swirl borders, 4B is great for star shapes and swirls borders. 
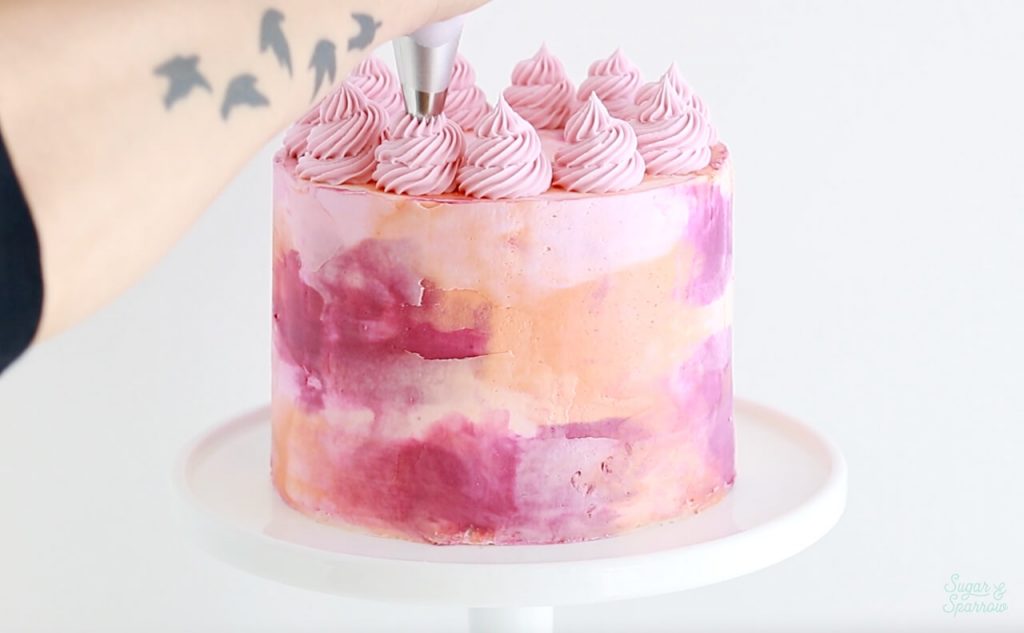
Wilton Tip 1M
Wilton Tip 4B
watercolor cake tutorial by sugar and sparrow

Cake Leveler

Every picture perfect cake starts with perfectly level layers. Since they don’t always bake up flat, it’s handy to have a cake leveler for cutting off domed or misshapen tops. This will make all of your layers the exact same height as well. 
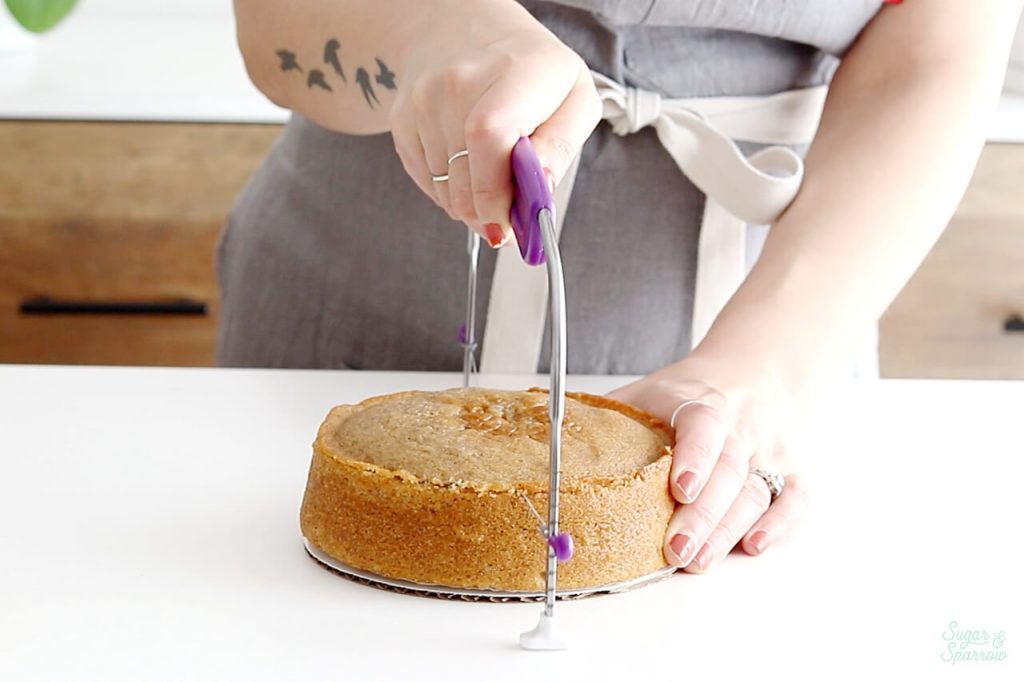
Wilton Cake Leveler
how to cut off domed top of cake

Food Color Gels

It’s so much fun to incorporate color into your cake decorating! My favorite brand of coloring to use is AmeriColor for a few reasons: they don’t add any weird flavor to your buttercream, they’re super concentrated so it doesn’t take a whole lot of food coloring to achieve the color you want, and they come in every single color you could possibly imagine. While they do have Nifty Fifty and Heavenly Seventy kits that include pretty much every color you could want in your collection, they also make a starter kit (below) that has all the basics. 

AmeriColor Student Kit
how to color buttercream frosting

Pretty Sprinkle Mixes

Quality sprinkles are always a good idea to have on-hand. They’re the perfect finishing touch for nearly any cake design. You can find good sprinkles at most craft stores and some grocery stores, but my favorite two brands are Fancy Sprinkles and Sprinkle Pop.
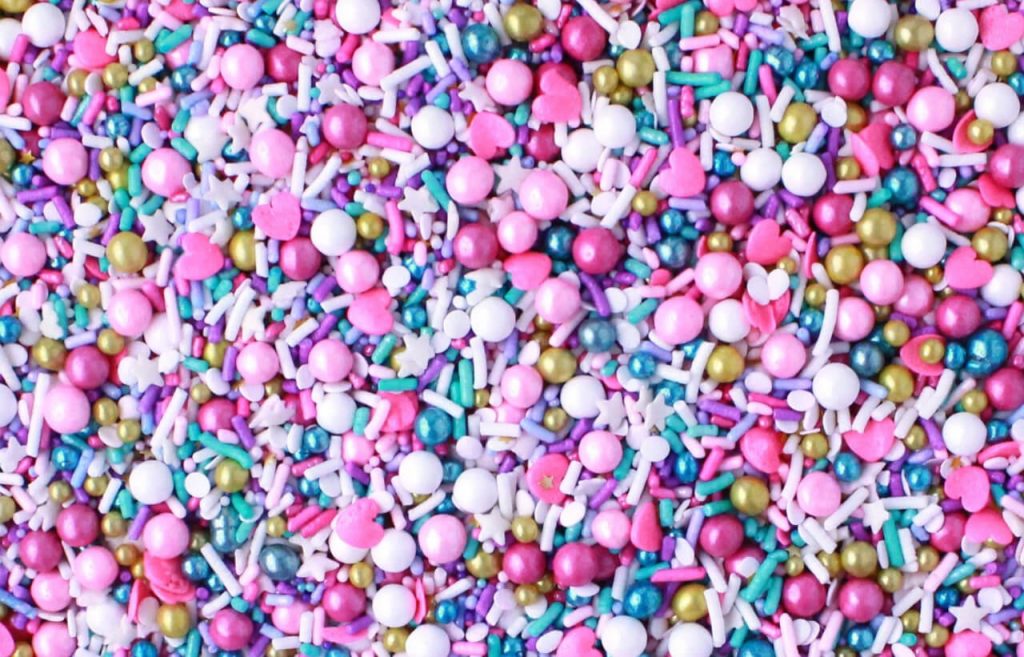
FANCY SPRINKLES
SPRINKLE POP
sprinkle pop hey sugar

Anyone Can Cake: Your Complete Guide to Making & Decorating Perfect Layer Cakes

My book is written with beginners and those wanting to up their cake decorating skills in mind! It’s essentially everything I know about making and decorating layer cakes. The first half covers how to bake the perfect cake layers, create a structurally sound layer cake, and decorate it in all sorts of ways. It includes full guides and troubleshooting tips on ganache drips, coloring buttercream, and adding finishing touches like sprinkles and piping. 

The second half is all recipes you could want to practice everything you learn in the first half of the book. It’s truly an all encompassing handbook that will set you up for success and help grow your skills! 
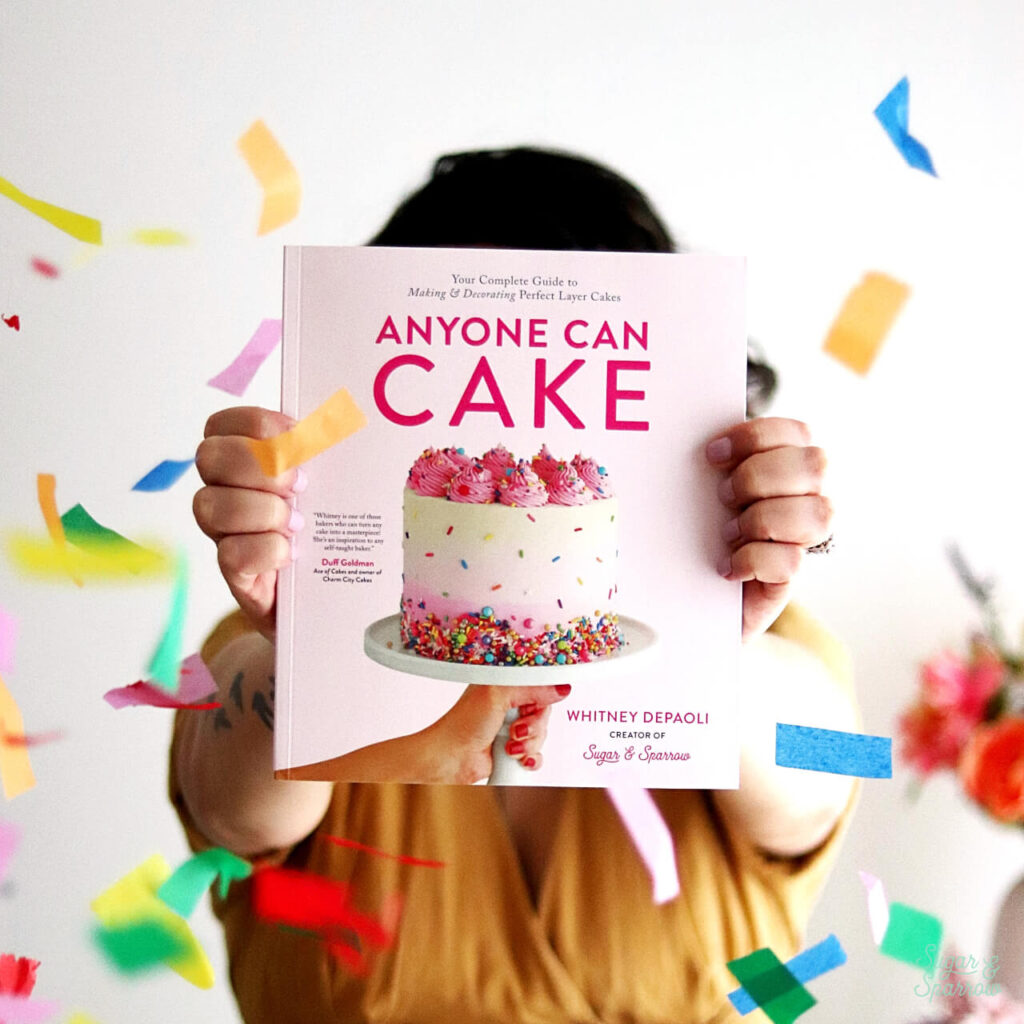
Get the book here (US)
Get the book here (worldwide)
Best cake decorating and baking books

I put together a little Amazon shop with all of these essential tools in one place. Click the link below to shop them all at once!

essential cake decorating tools

I’m cheering you on in your cake making and am here to support you however I can. Once you get your collection of tools going, be sure to check out my Cake Basics series to learn all the fundamentals! That series paired with my book will be a game changer. Happy caking!

By: Whitney · In: Cake Basics, Featured, Tools · Tagged: beginner, beginners, cake basics, cake decorating, cake decorating tools, icing smoother, piping bags, piping tips, turntable

you’ll also love

the best vanilla cupcakes recipeThe Perfect Vanilla Cupcake Recipe
pumpkin layer cake recipe by sugar and sparrowPerfect Pumpkin Layer Cake Recipe
oreo cookies and cream cakeOreo Layer Cake Recipe

Join the List

Stay up to date & receive the latest posts in your inbox.

Reader Interactions

Comments

  1. Linda Adams says

    December 3, 2024 at 6:54 pm

    I would like to buy a small cake stand for 6 inch cakes because I like the mini size and don’t need anything bigger for 2-4 people. I can’t seem to find one. Can you recommend a small stand to match my small cakes. Thanks.

    Reply
    • Whitney says

      December 8, 2024 at 5:11 pm

      Hi Linda! I like to display 6-inch cakes on 8-inch or 9-inch cake stands. There are a lot of options on Amazon here: https://amzn.to/3D48hzn and I have a few of my favorites in my Holiday gift list as well: https://amzn.to/3ZHRXwN

      Reply
  2. Laura says

    August 27, 2024 at 8:49 am

    Hi Whitney, I admire so much your beautiful cakes and your posts, and you are truly an inspiration in the cake world. I always use your recipes when I make a cake and they are so easy to follow and make.
    I have a question: for the icing smoother, I understand you use the Norpro 6″. Is this the only one that you’re using for any cake size ?
    What if we have a 9″ with 3 layers, would you use same one?
    I feel it’s too small, however I’d like to buy it.

    Reply
    • Whitney says

      September 10, 2024 at 8:46 am

      Hi Laura! So happy you’ve been loving my recipes! I use the Norpro for every cake I make, but that said, my cakes are typically only 5.5 inches tall or less. If you need a taller cake smoother, I’d recommend something simple like this one: https://amzn.to/4dWjnUn.

      Reply
  3. Abeer says

    June 17, 2024 at 7:36 pm

    Hi, please Help! What would be the best caramel recipe that can be added on top of whipping cream of a milk cake that does not discolor and loose it’s rich brown color. Every time I place my caramel on top of the cream layer after a day or two it turns out to be light in color and not so stabled. What would I do to cream to prevent moisture and what caramel recipe can be best to place as topping yet smooth and doesn’t change in color?

    Thank you so much!

    Reply
    • Whitney says

      June 21, 2024 at 2:44 pm

      Hi there! I have two caramel recipes that work great as filling 1) Thick caramel filling https://sugarandsparrow.com/thick-caramel-filling/ and 2) Easy Salted Caramel https://sugarandsparrow.com/salted-caramel-recipe/ I’ve never had any issues with either of these changing color or consistency. With soft fillings like caramel though, you’ll want to add some stability for the filling. Look at the “soft fillings” section of this blog post to see what I mean: https://sugarandsparrow.com/fill-and-stack-cake-layers/ it could be that your whipped cream frosting isn’t stable enough to uphold the weight of the caramel.

      Reply
  4. Heather says

    January 21, 2024 at 3:18 pm

    Hi Whitney,
    I have been baking cakes for years, however I am always looking to learn from those much better than myself. I purchased your book in December and have found it to be a great refresher to cake decorating and updated cake recipes.
    I have a question regarding cake storage once the cake is completely decorated. What product do you use to store your cakes? I have several cake plates and domes, but have never needed one that is as tall as the three tier cakes before now. I find once the cake has been cut and will need to be stored to keep fresh difficult, any suggestions?
    Thank you,
    Heather

    Reply
    • Whitney says

      February 4, 2024 at 9:59 pm

      Hi Heather! So happy to hear you’re loving my book! I usually store decorated cakes in the refrigerator and once they’re cut, I place plastic wrap over the cut portion before storing it in the refrigerator. Here’s a blog post I wrote all about cake storage: https://sugarandsparrow.com/making-cakes-ahead/ hope that helps!

      Reply
  5. Heather says

    September 24, 2023 at 7:27 am

    Your cakes are amazing! I’m truly a beginner, and I was wondering your thoughts on couplers for the icing bags and tips. I seem to notice that you just slide the decorating tips directly into the pastry bags. What are your thoughts on using couplers, and what to you find to be the easiest technique for this super-basic step in prepping the icing bags? Thank you!!!

    Reply
    • Whitney says

      September 30, 2023 at 7:44 am

      Hi Heather! Thanks for your kind words about my cakes and I’m cheering you on in your cake making! So couplers are great when you’re using the same buttercream color and just swapping out the piping tips, and only if the piping tips are the same diameter in the circular end. I’ve definitely used them before in that case! But when I’m using a larger piping tip and a smaller one with the same color of buttercream I tend to split the buttercream between two different bags and just slide the tips right in. Hope that makes sense!

      Reply
  6. Valerie says

    August 21, 2023 at 6:06 am

    Love you content! For the icing smoother by Norpro, is it the 6″ size or larger? I checked out the 6″ but in your videos yours looks larger, but maybe not!

    Thanks

    Reply
    • Whitney says

      August 28, 2023 at 10:27 pm

      Hi Valerie! It’s the 6 inch smoother 🙂

      Reply

Leave a Reply Cancel reply

Your email address will not be published. Required fields are marked *

Recipe Rating


Next Post >

Daisy Cake Tutorial

Primary Sidebar

Welcome to Sugar & Sparrow

Welcome to Sugar & Sparrow

Helping you whip up pretty desserts with confidence and creativity. And hopefully sharing a few laughs with you along the way!

Learn More

Connect

let’s bake!

Get my very best recipes, baking tips, and decorating tutorials sent to your inbox

Featured Posts

sugar and sparrow 3 year blog anniversary

Sugar & Sparrow is 3!

cream cheese buttercream recipe thats pipeable

Cream Cheese Buttercream Recipe

4th of july desserts no bake

Dreamy No-Bake Oreo Cheesecake

Search

Archives

Follow Along

@sugarandsparrowco

STRAWBERRY SHEET CAKE 🍓based on my favorite strawb STRAWBERRY SHEET CAKE 🍓based on my favorite strawberry layer cake recipe, this sheet cake version is so fun to decorate + such a crowd pleaser! I love using a combination of fresh and freeze-dried strawberries to create the most powerful authentic flavor ✨
 
🍓Full recipe (with strawberry buttercream) at https://sugarandsparrow.com/strawberry-sheet-cake-recipe/
⁣ 
STRAWBERRY SHEET CAKE⁣ 
Serves 24
⁣ 
INGREDIENTS⁣ 
1 Cup (12oz) fresh strawberries, pureed ⁣ 
3/4 Cup (180ml) whole milk, room temp⁣ 
2 1/2 Cups (265g) sifted cake flour⁣ 
2 tsp baking powder⁣ 
1/4 tsp baking soda⁣ 
1/2 tsp salt⁣ 
3/4 Cup (170g) unsalted butter, room temp⁣ 
1 2/3 Cups (350g) granulated sugar⁣ 
3 large eggs, room temp⁣ 
1/3 Cup (75g) sour cream, room temp⁣ 
2 tsp pure vanilla extract⁣ 
1-2 drops pink food coloring (optional)⁣ 
⁣ 
INSTRUCTIONS⁣ 
1. Simmer the strawberry puree in a saucepan over medium-low heat for 30-35 minutes, stirring occasionally. At this point the puree should have reduced from 1 Cup to 1/2 Cup (if you have more, keep cooking!). Refrigerate until room temp, then whisk together with the whole milk and set aside.⁣ 
2. Preheat the oven to 350ºF. Grease and line a 13×9 inch baking pan. 
3. In a medium bowl, whisk together the sifted cake flour, baking powder, baking soda, and salt. Set aside. ⁣ 
4. In the bowl of a stand mixer with the paddle attachment, whip the butter on high until creamy, 2 min. Add the sugar and beat with the butter until light and fluffy, 2 min. Turn the mixer to low and add the eggs one at a time. Add the vanilla and sour cream, then turn the mixer to high and beat for 1 minute.⁣ 
5. With the mixer on low, add all of the dry ingredients at once until just combined, then add the strawberry milk mixture and pink food coloring (if using) until just combined. Give the batter a few stirs by hand to make sure everything is incorporated without over-mixing. ⁣ 
6. Pour batter into the prepared cake pan and bake for 35-40 minutes. ⁣ Cool completely to room temperature before topping with strawberry buttercream (full recipe at the li
COOKIES & CREAM ICE CREAM CAKE 🤎 If you’re an Oreo COOKIES & CREAM ICE CREAM CAKE 🤎 If you’re an Oreo lover, this is your sign to make an ice cream cake this summer: no-churn cookies & cream ice cream set on an Oreo cookie crust, topped with hot fudge and whipped cream frosting. The perfect amount of Oreos in EVERY BITE! 

Full recipe link in my bio + at https://sugarandsparrow.com/cookies-and-cream-ice-cream-cake/ 

OREO CRUST
22 Oreo cookies
5 Tbsp melted butter

ICE CREAM LAYER
2 Cups (480ml) heavy whipping cream, cold
2 tsp pure vanilla extract
14 Oz sweetened condensed milk
15 Oreo cookies, roughly chopped

TOPPINGS
12.8 Oz jar of hot fudge
Whipped cream frosting (see full recipe link)
4 Oreo cookies, chopped

INSTRUCTIONS
1. Mix together the Oreo crust ingredients and pack tightly into the bottom of a 9-inch springform pan. Freeze while you make the ice cream.
2. In a chilled bowl, whip the heavy cream and vanilla to stiff peaks. Fold in the sweetened condensed milk until uniform, then fold in the chopped Oreos. Pile the ice cream on top of the Oreo crust, smooth it down, cover and freeze overnight.
3. When the ice cream layer is set, top with the hot fudge, whipped cream frosting, and more chopped Oreos. Store in the freezer until ready to serve! 

#oreocake #icecreamcake #nochurnicecream #birthdaycake #cookiesandcream
EASY OREO ICEBOX CAKE (recipe below) 🤎 You only ne EASY OREO ICEBOX CAKE (recipe below) 🤎 You only need 4 ingredients for this recipe and it sets into the perfect summer dessert in the refrigerator overnight! It’s 7 alternating layers of Oreos and homemade whipped cream + every bite tastes like a perfect milk-dunked Oreo in the very best way ✨
 
Full recipe at https://sugarandsparrow.com/oreo-icebox-cake/ 
 
INGREDIENTS: 
2 Cups (480ml) cold heavy whipping cream 
1/4 Cup (30g) powdered sugar 
1 tsp pure vanilla extract 
36 Oreo cookies 
 
INSTRUCTIONS: 
1. Add the heavy whipping cream, powdered sugar, and vanilla extract into a chilled mixing bowl. Using the whisk attachment on your stand mixer or a hand mixer, beat the ingredients until stiff peaks form. 
2. Line a loaf pan with plastic wrap, then add a thin layer of the whipped cream onto the bottom of the pan. Add a layer of Oreo cookies on top (cut some of the Oreos to fit as needed). 
3. Add 1/3 of the remaining whipped cream on top of the Oreo layer, followed by a second layer of Oreos. Repeat until you have seven total layers, ending with whipped cream. 
4. Cover the cake and refrigerate overnight, then enjoy!  
 
#oreocake #vintagecake #nobakecake #oreo #nobake
FRESH STRAWBERRY BUTTERCREAM (recipe below) 🍓if yo FRESH STRAWBERRY BUTTERCREAM (recipe below) 🍓if you’ve ever wondered how to make strawberry buttercream with fresh (or frozen) strawberries, this is the best way! I still think freeze-dried strawberries are the GOAT when it comes to flavoring frosting but this is a very close second 🙌🏼 

Search “strawberry buttercream” at http://sugarandsparrow.com to find this recipe + the freeze-dried version ⁣
⁣⁣⁣
FRESH STRAWBERRY BUTTERCREAM⁣⁣⁣
YIELD: 2.5 Cups⁣⁣⁣
⁣⁣⁣
INGREDIENTS:⁣⁣⁣
5 Oz (1 Cup) fresh strawberries, chopped ⁣⁣
1 Cup (226g) unsalted butter, room temp⁣⁣⁣
3 1/2 Cups (420g) powdered sugar⁣⁣⁣
pinch of salt⁣⁣⁣
⁣⁣⁣
INSTRUCTIONS:⁣⁣⁣
1. Purée the strawberries in a food processor, then place in a small saucepan set over medium heat. Bring to a boil, then reduce the heat to low and simmer for 10-15 minutes, until it becomes jam-like and has reduced by half. You’ll end up with about ¼ Cup of reduced purèe after this step. Let it cool completely to room temperature before moving on.⁣⁣⁣
2. With a hand mixer or paddle attachment on your stand mixer, beat the butter on medium-high until it’s creamy, about 5 minutes. Add the powdered sugar about a cup at a time and mix on low speed until fully incorporated. ⁣⁣⁣
3. Add the (room temperature!) reduced strawberry purèe and a pinch of salt. Continue mixing on low speed until fully incorporated and smooth.⁣⁣⁣
⁣⁣⁣
#strawberries #strawberrybuttercream #strawberrycake #buttercream #frosting
COOKIES & CREAM CAKE 🤎 every Oreo lover’s DREAM ca COOKIES & CREAM CAKE 🤎 every Oreo lover’s DREAM cake: layers of soft and moist vanilla cake with chopped Oreo cookies baked inside + Oreo buttercream frosting. Sooo delicious and somehow just the right amount of Oreos 😍
 
Full recipe (with the Oreo buttercream) at https://sugarandsparrow.com/oreo-cookies-and-cream-cake/
 
INGREDIENTS: 
10 Oreo cookies, chopped (107g) 
2 Cups (210g) sifted cake flour 
1 1/2 tsp baking powder 
1/2 tsp baking soda 
1/2 tsp salt 
1/2 Cup (113g) unsalted butter, room temp 
1 Cup + 2 Tbsp (225g) granulated sugar 
2 Tbsp (30ml) vegetable oil 
2 large eggs, room temp 
2 tsp pure vanilla extract 
1/3 Cup (80g) sour cream, room temp 
3/4 Cup (180ml) whole milk, room temp 
 
INSTRUCTIONS: 
1. Preheat the oven to 350ºF (177ºC), then grease and line three 6-inch or two 8-inch cake pans.  
2. Roughly chop the Oreos into pieces that are about 1/4 inch and set aside. 
3. In a medium bowl, add the sifted cake flour, baking powder, baking soda, and salt and whisk to combine. Set aside.  
4. In the bowl of your stand mixer fitted with the paddle attachment (or with a hand mixer and large bowl), cream the butter on high for two minutes. Add the sugar and vegetable oil and continue to mix on high for another two minutes, scraping down the bowl and paddle as needed. Add the eggs one at a time, then add the vanilla and sour cream and mix for one minute on high speed. 
5. Turn the mixer off and add the dry ingredients all at once. Mix on low speed until just combined, then add the milk and mix until just incorporated. Fold in the chopped Oreo cookies. 
6. Pour the batter into the prepared cake pans and bake for 30-35 minutes, until a toothpick inserted comes out clean. Once cooled, fill and frost with Oreo buttercream (full recipe at the link above).  
 
#cookiesandcream #oreocake #oreo #vanillacake #cakedecorating

Footer

On the Blog

  • Cake Basics
  • Recipes
  • Tutorials

Info

  • About
  • Privacy Policy & Disclosure

stay in the know

Copyright © 2026 · Theme by Sugar & Sparrow
