If you bought my book Anyone Can Cake during the pre-sale, you most likely got the Bonus Recipes eBook that came with it. That little eBook contains four exclusive recipes, one of which is this banana cake, and I decided it’s just too delicious not to share with the whole world. The only difference between the eBook version and this version is that I pair this one with my favorite brown butter frosting and my goodness it is even better. The delicious notes of nutty caramel + the actual salted caramel in this recipe are just made for this beautiful banana cake.
This post may contain affiliate links. For more information, see our disclosure policy.
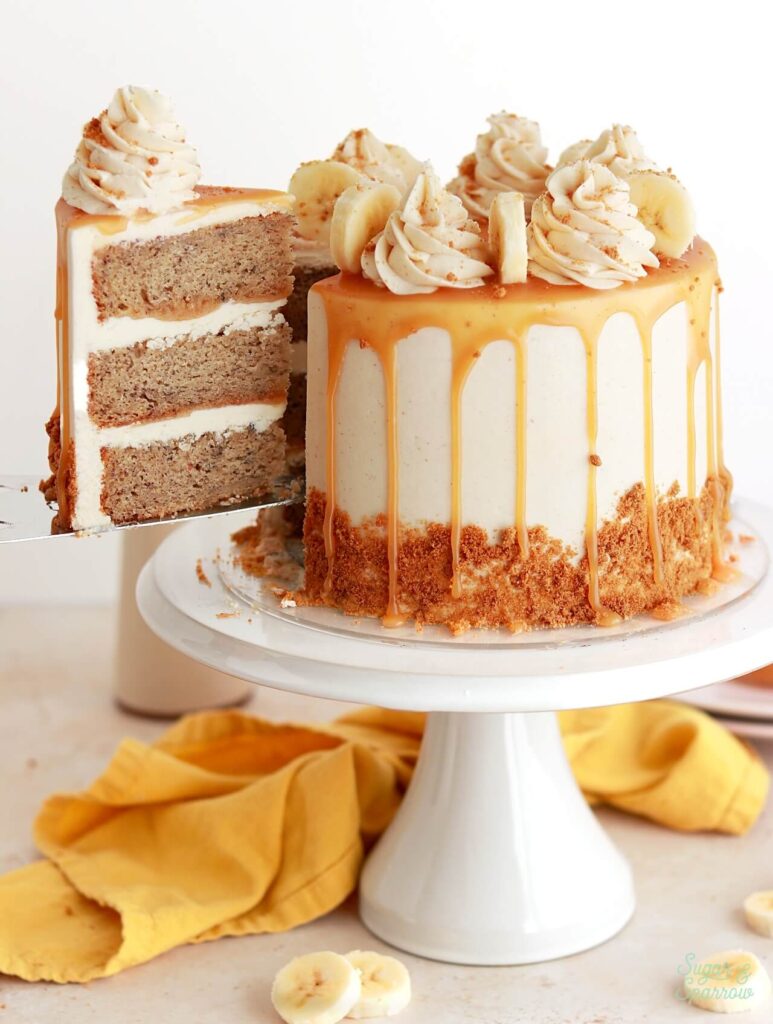
The Best Banana Cake
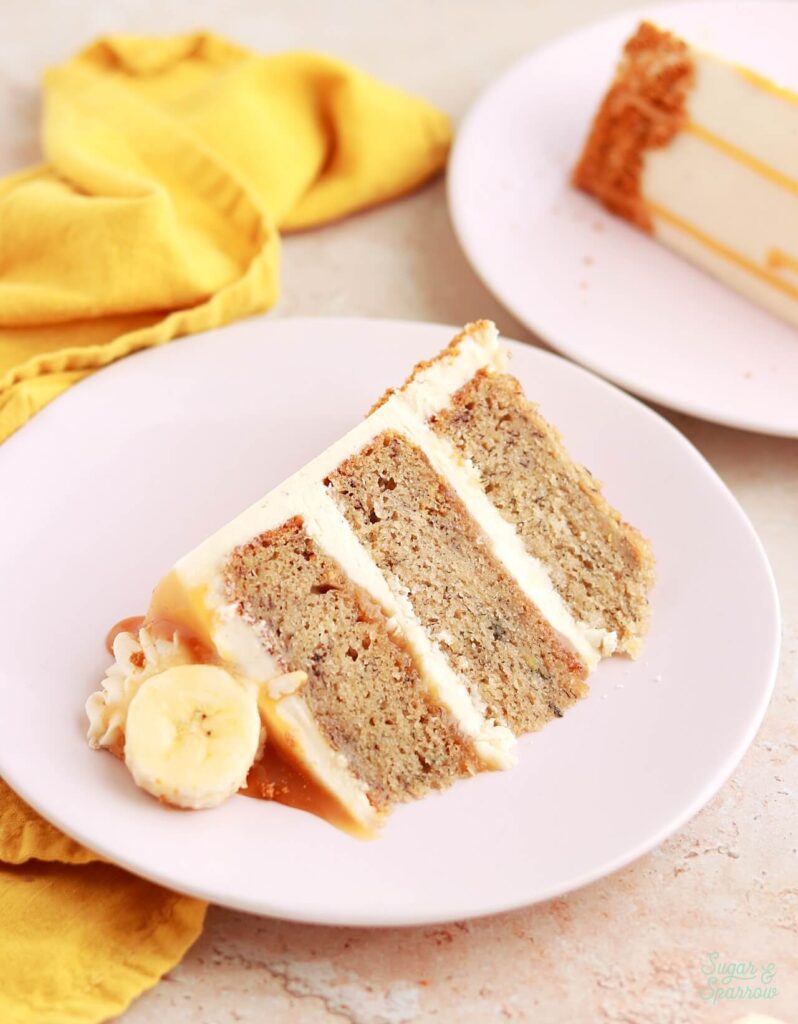
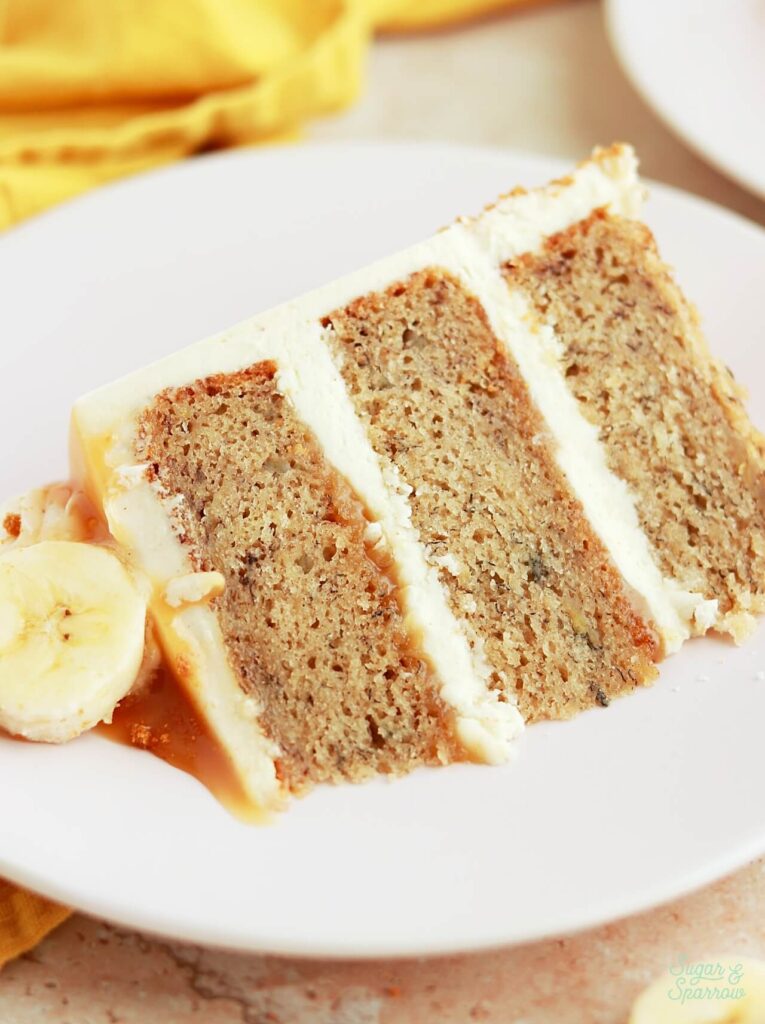
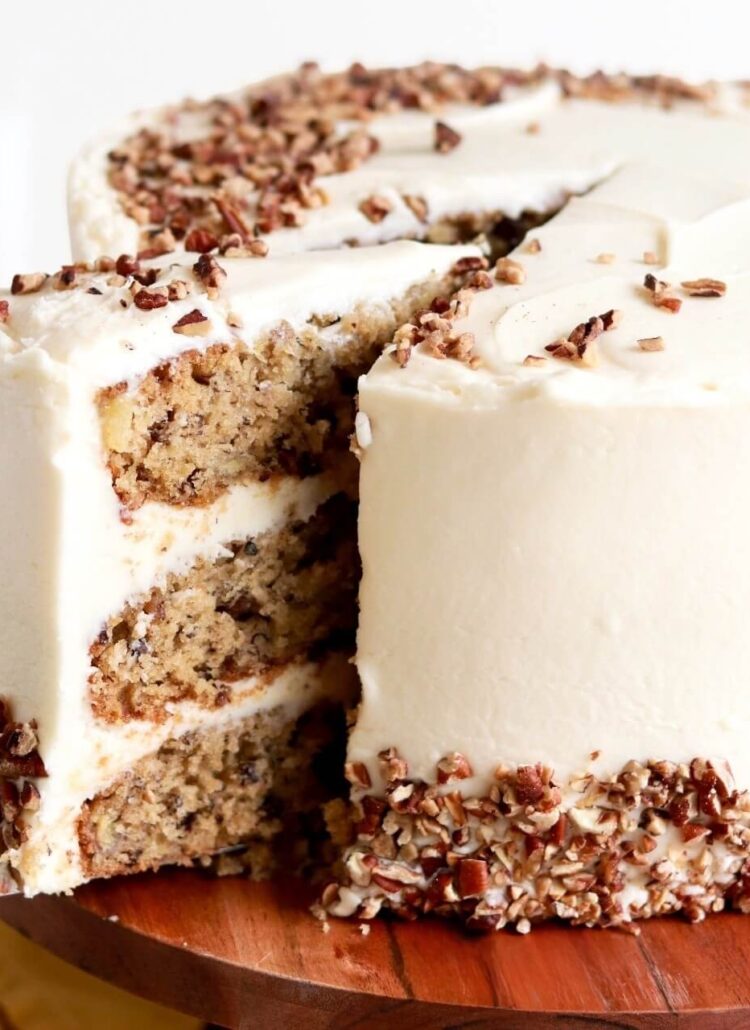
When I was recipe testing this banana cake, my goals were to come up with a banana layer cake recipe that was light (not too dense) with a perfectly moist crumb that sticks together nicely, and it had to be rich with fresh banana flavor. This banana cake is all of those things and more. The addition of cinnamon really enhances the banana flavor which is so bright and refreshing, totally reminiscent of the banana bread my mom used to make growing up, but in cake form.
This banana cake has a few key ingredients that make it perfect:
- Super ripe bananas – you’ll need 3 large bananas (or 4 medium) and the spottier the peel, the sweeter and softer the bananas inside. Riper bananas make for better banana flavor in the baked cake layers. Make sure yours have at least a few brown spots on the peel, and if you need a quick way to ripen bananas, I have some tips further down in this blog post.
- Cinnamon – just a teaspoon of cinnamon makes such a difference in this cake. It adds the perfect amount of spice and enhances the banana flavor.
- Brown sugar – the addition of brown sugar makes this cake more moist and gives it some notes of caramel.
- Buttermilk – the true moist-maker in this banana cake recipe. Buttermilk is essentially fermented milk that is thicker and fattier than whole milk, with more acidic properties that give baked goods a lot more moisture. If you can’t find buttermilk at your local grocery store, fear not! I have an easy DIY version in the notes of this recipe below. You can make it with whole milk and a little vinegar or lemon juice.
My Favorite Brown Butter Frosting
As soon as I tasted this banana cake with brown butter frosting, I knew I made the right choice. This brown butter frosting adds delicious nutty caramel notes to this banana cake and it is exquisite.
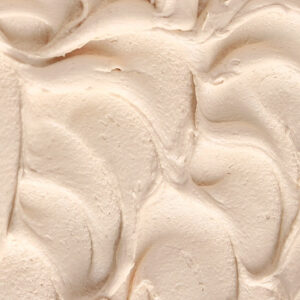
To make this frosting, you’ll basically brown half of the butter in a skillet, pour it into a tupperware container, and let it re-solidify. Once it’s back to room temperature, you’ll whip it up with some (non-browned) unsalted butter and resume a simple buttercream recipe. Aside from the beautiful flavor, my favorite part of this frosting is the little brown butter flecks you can see suspended throughout. It’s a little more time consuming than your average buttercream given the waiting time for the brown butter to solidify, but worth it all.
Easy 4-Ingredient Salted Caramel
The banana cake and brown butter frosting flavor combination could be enough on its own, but if you want to make this the ideal layer cake, go the extra mile and make this easy salted caramel. It’s perfectly sweet and salty, enhances all the flavors, and is probably the easiest caramel recipe you’ll ever make. If you’ve been unsuccessful or intimidated by caramel recipes in the past, this one will rock your world and make you feel like a total pro.
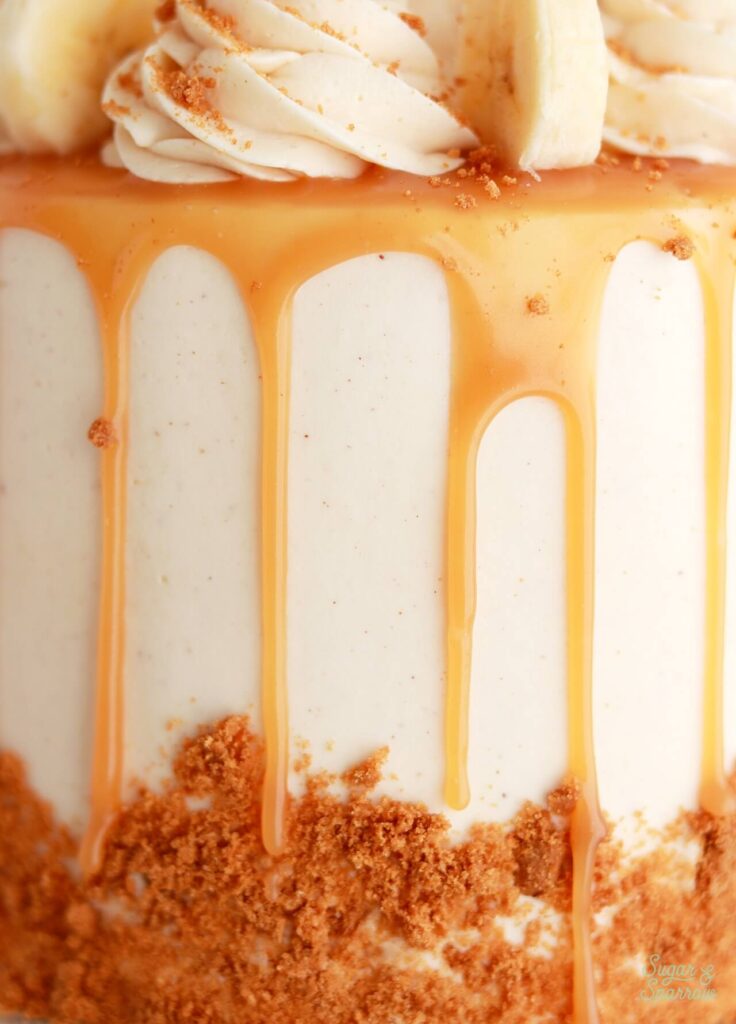
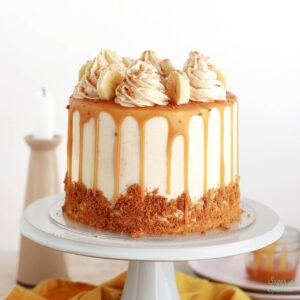
I drizzled this salted caramel between the cake layers and used it as a drip on top of the cake. It’s just the right consistency for both of those tasks.
How to Ripen Bananas Quickly
If you really want to make this cake but the bananas on your counter don’t have brown spots quite yet, here are a couple ways you can ripen those bananas quicker:
The paper bag method. If you have one to two days before you need your bananas to ripen, grab a paper bag and toss those bananas inside with an ethylene-producing fruit such as an apple, pear, or avocado. Inside the bag, the other fruit will release ethylene gas that triggers a ripening response in the bananas.
The oven method. If you simply cannot wait a few days to make this banana cake, grab a cookie sheet and place the bananas on. Then, bake them in a 350ºF oven for 10-20 minutes, until the peel turns black. This will soften the bananas and make them easier to bake with, but it won’t sweeten them like an organically ripened banana. So just keep that in mind.
Phew. That’s a lot of info! I hope I answered every single question you might have, but if you have more feel free to leave a comment below. I hope you love this salted caramel banana cake with brown butter frosting as much as I do. It’s been a mega-hit at our house and beyond. Enjoy!
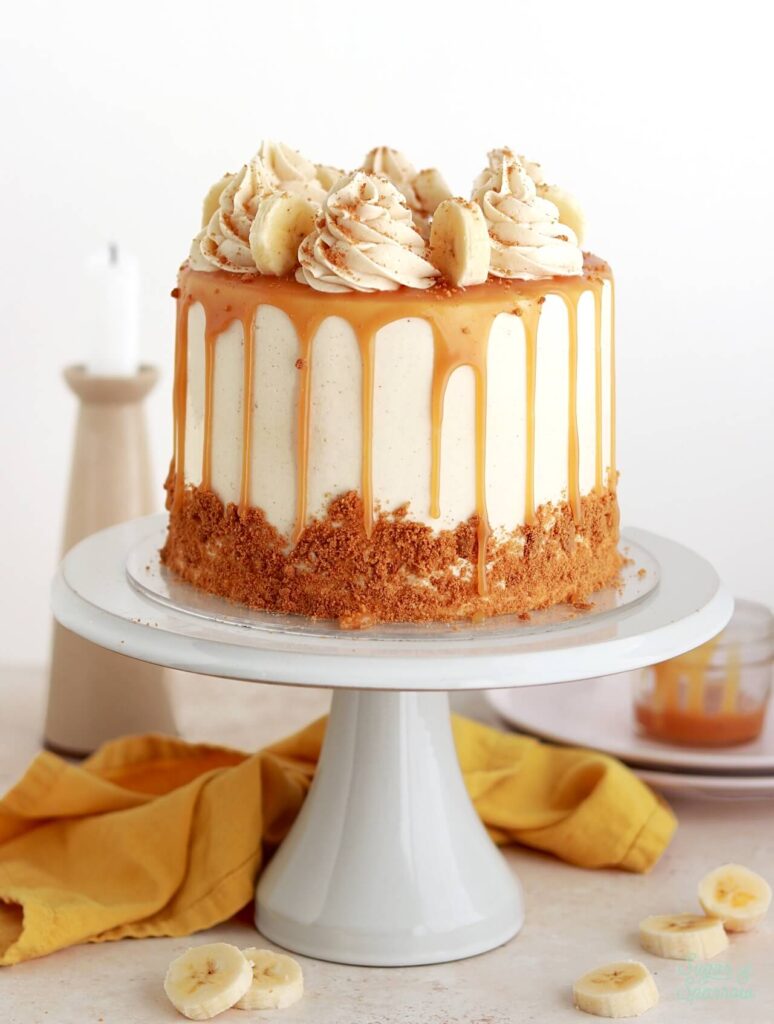
Banana Cake with Brown Butter Frosting and Salted Caramel
Ingredients
Banana Cake
- 3 large ripe bananas (1 1/4 Cups or 310g), mashed
- 2 1/2 Cups (330g) all purpose flour
- 1 tsp baking powder
- 1 tsp baking soda
- 1 tsp ground cinnamon
- 1/2 tsp salt
- 3/4 Cup (170g) unsalted butter, room temperature
- 3/4 Cup (150g) granulated sugar
- 1/2 Cup (100g) packed brown sugar light or dark
- 2 large eggs, room temperature
- 1 1/2 tsp pure vanilla extract
- 1 1/4 Cups (300ml) full-fat buttermilk*, room temperature DIY recipe in notes
Brown Butter Frosting
- 2 Cups (452g) unsalted butter, divided
- 6 Cups (720g) powdered sugar
- 2 tsp pure vanilla extract
- 6 Tbsp whole milk, room temperature
- 1/4 tsp salt, or to taste
Salted Caramel
- 1 Cup (200g) granulated sugar
- 6 Tbsp (85g) unsalted butter, room temperature
- 1/2 Cup (120ml) heavy whipping cream, room temperature
- 1 1/4 tsp salt
Garnishes
- 6 slices fresh or freeze-dried banana
- 4 Biscoff cookies, ground into crumbs
Instructions
Make the Banana Cake
- Preheat the oven to 350°F (177°C). Prepare three 6-inch or two 8-inch round cake pans by spraying the sides with baking spray and fitting a parchment paper circle to the bottom of each pan.
- In a medium bowl, whisk together the flour, baking powder, baking soda, cinnamon, and salt. Set aside.
- Mash the bananas. You can either mash them with a fork on your cutting board or place them into the bowl of your stand mixer fitted with the paddle attachment and turn it on low speed. The mixer will mash the bananas for you and there’s no need to clean the bowl or paddle before moving on! Once mashed, set the bananas aside.
- In the bowl of your stand mixer fitted with a paddle attachment, beat the butter, granulated sugar, and brown sugar together on high speed until fluffy, about 2 minutes. Scrape down the bowl and paddle. Add the eggs and vanilla and beat on medium-high speed until combined, then beat in the mashed bananas. The batter will look very curdled at this point but don’t worry – it will all come together in the next step.
- With the mixer on low speed, add the dry ingredients in three additions alternating with the buttermilk and mixing each addition just until incorporated. Do not overmix. The batter will be slightly thick.
- Divide the batter evenly between the prepared cake pans and bake for 30-35 minutes. The cakes are done when a toothpick inserted in the center comes out clean. Let the cakes cool in the pan for five minutes before turning them out onto a wire rack for an additional few hours of cooling.
Make the Brown Butter Frosting
- Set 2 sticks of the unsalted butter aside so that it comes to room temperature by the time you're ready for it. Use the remaining two sticks with the instructions for browning the butter below.
- Brown the Butter: Add 1 Cup (2 sticks) of the unsalted butter into a large frying pan and cook over medium heat until the butter melts, stirring occasionally. Continue cooking for another 1-2 minutes while stirring constantly. The melted butter will start to foam on top, then will turn light brown in color and smell deliciously nutty. Remove from heat at this point and transfer to a glass container. Allow it to re-solidify for about 2 hours at room temperature or place it into the refrigerator for about 30 minutes. It should be completely room temperature and thick (about the consistency of a thick caramel) before continuing on with the buttercream recipe.
- Once the brown butter is room temperature, cream the other 1 Cup (2 sticks) of unsalted butter in the bowl of a stand mixer fitted with the paddle attachment. Mix on medium-high until creamy and light in color, about 5 minutes, scraping down the bowl and paddle as needed.
- Add the cooled brown butter and vanilla and mix on medium speed until uniform. Turn the mixer to low speed and add the powdered sugar a few cups at a time, scraping down the bowl and paddle after mixing in each addition. Add the milk and salt and continue mixing on low speed until smooth.
Make the Salted Caramel
- Have everything pre-measured and ready to go (you’ll be constantly stirring). Place the sugar in a medium saucepan over medium-high heat and stir constantly with a wooden spoon, until it melts into an amber-colored liquid and no sugar clumps remain, 5-6 minutes.
- Reduce the heat to medium. Carefully add the butter (it will bubble up when you do) and use a whisk to combine it with the sugar mixture until the butter is fully melted and incorporated, 2-3 minutes.
- Add the heavy whipping cream in a steady stream while whisking. As soon as the cream is incorporated, let the caramel boil for a full minute before removing it from the heat and stirring in the salt.
- Let the caramel cool to room temperature* before using it in a buttercream recipe or as a cake topping. If you’re using it to drizzle over ice cream or warm baked goods, you only need to cool it slightly (20 minutes or so). It will thicken as it cools.
Assembly
- Once the banana cake layers have cooled completely, level and torte each layer to your desired height. Place the first layer on a turntable and pipe a circle of brown butter frosting (aka a buttercream dam) around the edge. Add a thin layer of salted caramel into the center of the buttercream dam. Fill in the rest of the space with more brown butter frosting and add the next layer on top. Here's a detailed tutorial on this filling method.
- Place the next cake layer on top and repeat the process of piping the buttercream circle and filling in the center with salted caramel and brown butter frosting. Place the final layer on top, upside down so that the bottom of the cake layer is the top of the cake. Crumb coat the cake with brown butter frosting and place it in the refrigerator for at least 20 minutes to let everything set up.
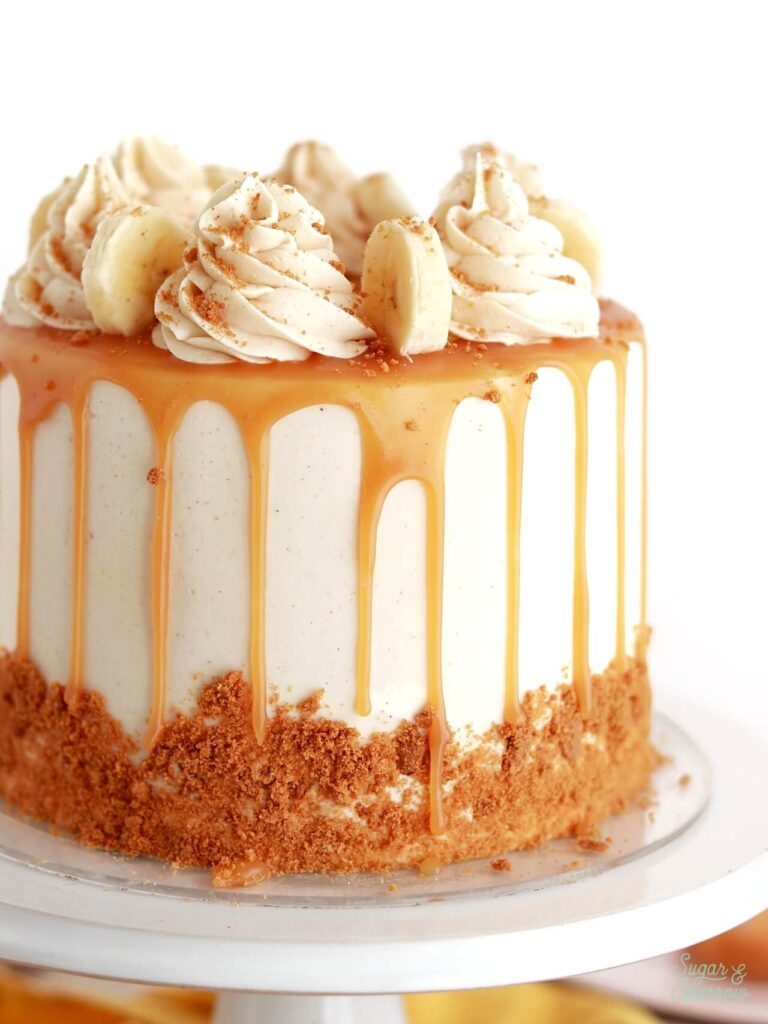
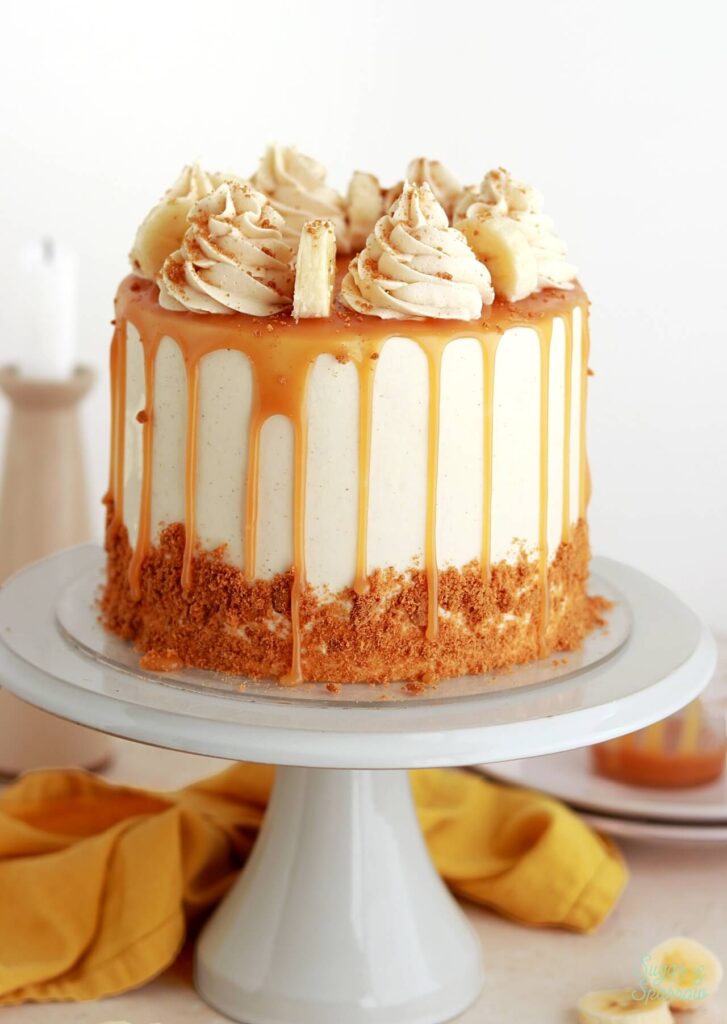
- To create the cake design pictured, frost a smooth layer of brown butter frosting around the cake and press Biscoff cookie crumbs onto the bottom third of the cake. Place it back into the refrigerator for at least 30 minutes to create a cold foundation for the salted caramel drip.
- Meanwhile, microwave the Salted Caramel in 5-10 second increments until it's slightly warmer than room temperature and good drip consistency (this post shows examples of perfect drip consistency with Chocolate Ganache and those same rules apply to Salted Caramel drip consistency). When the cake is nice and chilled and the Salted Caramel is perfect drip consistency, drip the cake. Place it back into the refrigerator for 10 minutes to let the caramel set.
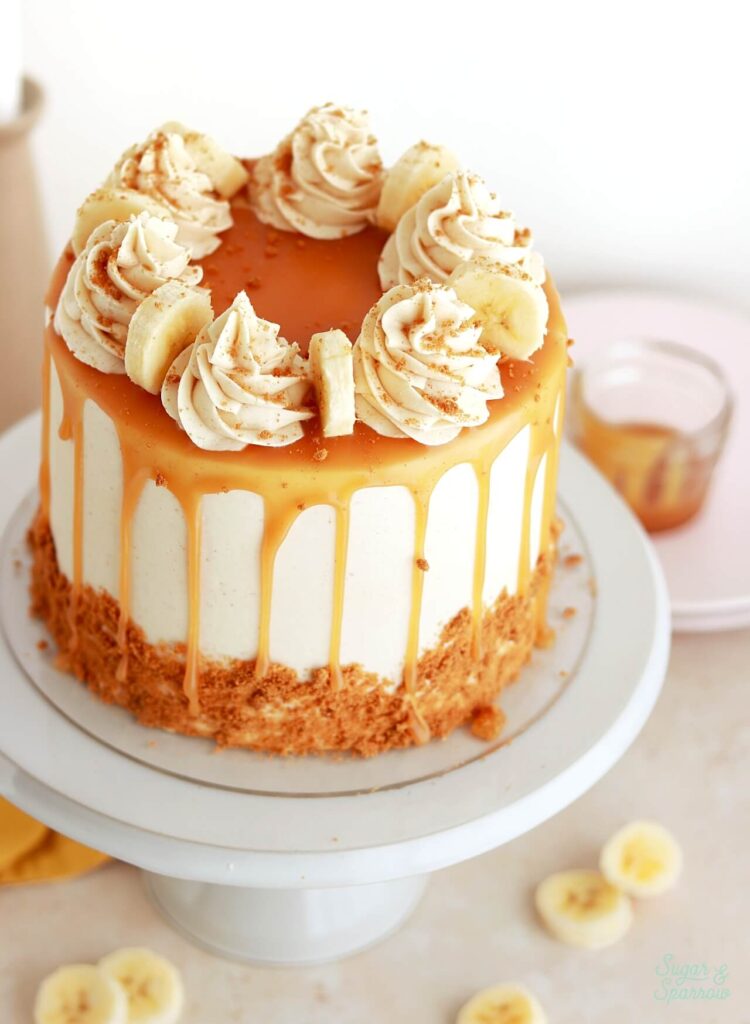
- Fit a piping bag with Wilton Tip 1M and fill it with the remaining brown butter frosting, then pipe swirls on top of the cake spaced about 1/4 inch apart. Add a banana slice in between each swirl, then top with more Biscoff cookie crumbs.
Notes
- The banana cake layers can be made ahead and stored at room temperature, covered tightly in plastic wrap, for up to two days. Alternatively, you can cover with plastic wrap and store in the freezer for up to two months before thawing to room temperature.
- The brown butter for the frosting can be made ahead and stored in the refrigerator for up to two weeks. When you’re ready to use it, gently reheat in the microwave in 5-10 second intervals until creamy and room temperature.
- The finished brown butter frosting can be made ahead and stored in an airtight container in the refrigerator for up to two weeks. When you’re ready to use it, bring it back to room temperature and re-whip with your stand mixer on low for one minute to bring it back to frosting consistency.
- The salted caramel can be made ahead and stored in an airtight container in the refrigerator for up to two weeks. When you’re ready to use it, reheat it in the microwave in 10-15 second intervals until it reaches room temperature.
Did you make this recipe? Let me know what you think in the comments below, or by tagging me on Instagram! I love to see your creations and hear your feedback.

Hi Whitney!! This recipe sounds delicious, I was wondering if you had any suggestions for a diary-free alternative to the butter milk? Thank you!
Hi Natalie! You can measure out 1 1/4 Cups of any dairy-free milk you prefer (soy is my favorite) and add about 1 Tbsp of white vinegar or lemon juice to it and stir. That will curdle in about 15 minutes (then bring to room temp if its not already) and then it’s ready to use as a homemade buttermilk.
Sorry but could I use frozen ripe bananas to replace the bananas in your recipe? If I do, is there anything for me to take note of? Thank you!
Yes, frozen bananas will work fine. Just thaw them before mashing them up. They take about 2 hours to thaw at room temperature or you can place them in the refrigerator to thaw overnight. Hope that helps!
Hi, could I half this recipe for three 4 inch pans? Looking to bake a small cake for my son’s 2nd birthday! Would you recommend a chocolate ganache to replace the salted caramel? I’m worried I’ll burn the caramel before it sets!
Hi Natalie! 1/3 of this recipe makes the perfect amount for three 4-inch cake pans. If dividing all the ingredients by 3 gets complicated, you could half the recipe and have some left over for a few cupcakes. And chocolate ganache would be amazing with this cake! Hope that helps!
I’m looking to make this as a 3 layer 9″ cake. Can you recommend the modifications to the recipe for the cake portion?
Hi Lora! You’ll want to make 1.5x the recipe to have enough batter for three 9-inch layers. After multiplying each ingredient by 1.5, the cake measurements will be:
4-5 large ripe bananas (a little over 1 ¾ Cups or 465g), mashed
3 3/4 Cups (495g) all purpose flour
1 1/2 tsp baking powder
1 1/2 tsp baking soda
1 1/2 tsp ground cinnamon
3/4 tsp salt
1 Cup + 2 Tbsp (255g) unsalted butter, room temperature
1 Cup + 2 Tbsp (225g) granulated sugar
3/4 Cup (150g) packed brown sugar light or dark
3 large eggs, room temperature
2 1/4 tsp pure vanilla extract
1 ¾ Cups + 2 Tbsp (450ml) buttermilk, room temperature
Hope that helps!
Hi, when trying to convert the recipe from 15 slices to 30 i noticed that the gram conversion of each measurement stayed the same aka the amount needed for 15 slices. Will i have to double the gram conversion independently for a 30 slice recipe ?
Hi Vanessa! Yes, unfortunately the gram measurements don’t scale so you’ll have to manually double those. Sorry for the inconvenience!
hi! thank you for the recipe the frosting turned out great! i have the cake baking now, i’m up to almost 45 mins and its still not cooked through. anyone else having this issue? i’m wondering what it could be?
Hi Dawn! I definitely have never had the banana cake take that long to bake, are you sure your oven is at the right temperature? The only thing I can think of is the oven is not hot enough. Sometimes ovens can display a temperature and be a different temperature internally. My suggestion would be to turn up the heat 25ºF and check again in 3-5 minute increments.
Can this be made with cake flour also?
Hi Tiphanie! I haven’t tried this one with cake flour because I assumed the heaviness of the banana required more structure, which is why I chose all purpose flour. But after some research it looks like people have made banana cake with cake flour, so if you want to experiment you could try it with an equal amount of cake flour. Let me know if you do!
Hi , I was curious if I could make this the day ahead and leave it in the fridge overnight . Would it alter the texture of the caramel in the fridge or anything else in the cake ? I’m making this for my bfs 21st birthday party !!
Hi Morgan! You can definitely make this ahead and store it in the refrigerator overnight. I do that all the time! Just be sure to bring it back to room temp by taking it out of the refrigerator for a few hours ahead of serving. Enjoy! And happy birthday to your bf!
Hi, can I use two five inch pans for this recipe as well?
Hi Kyla! This recipe will make a little more than enough for three 5-inch cake pans, so I recommend either halving the recipe to have the perfect amount of batter or bake more than two cake layers. Hope that helps!