
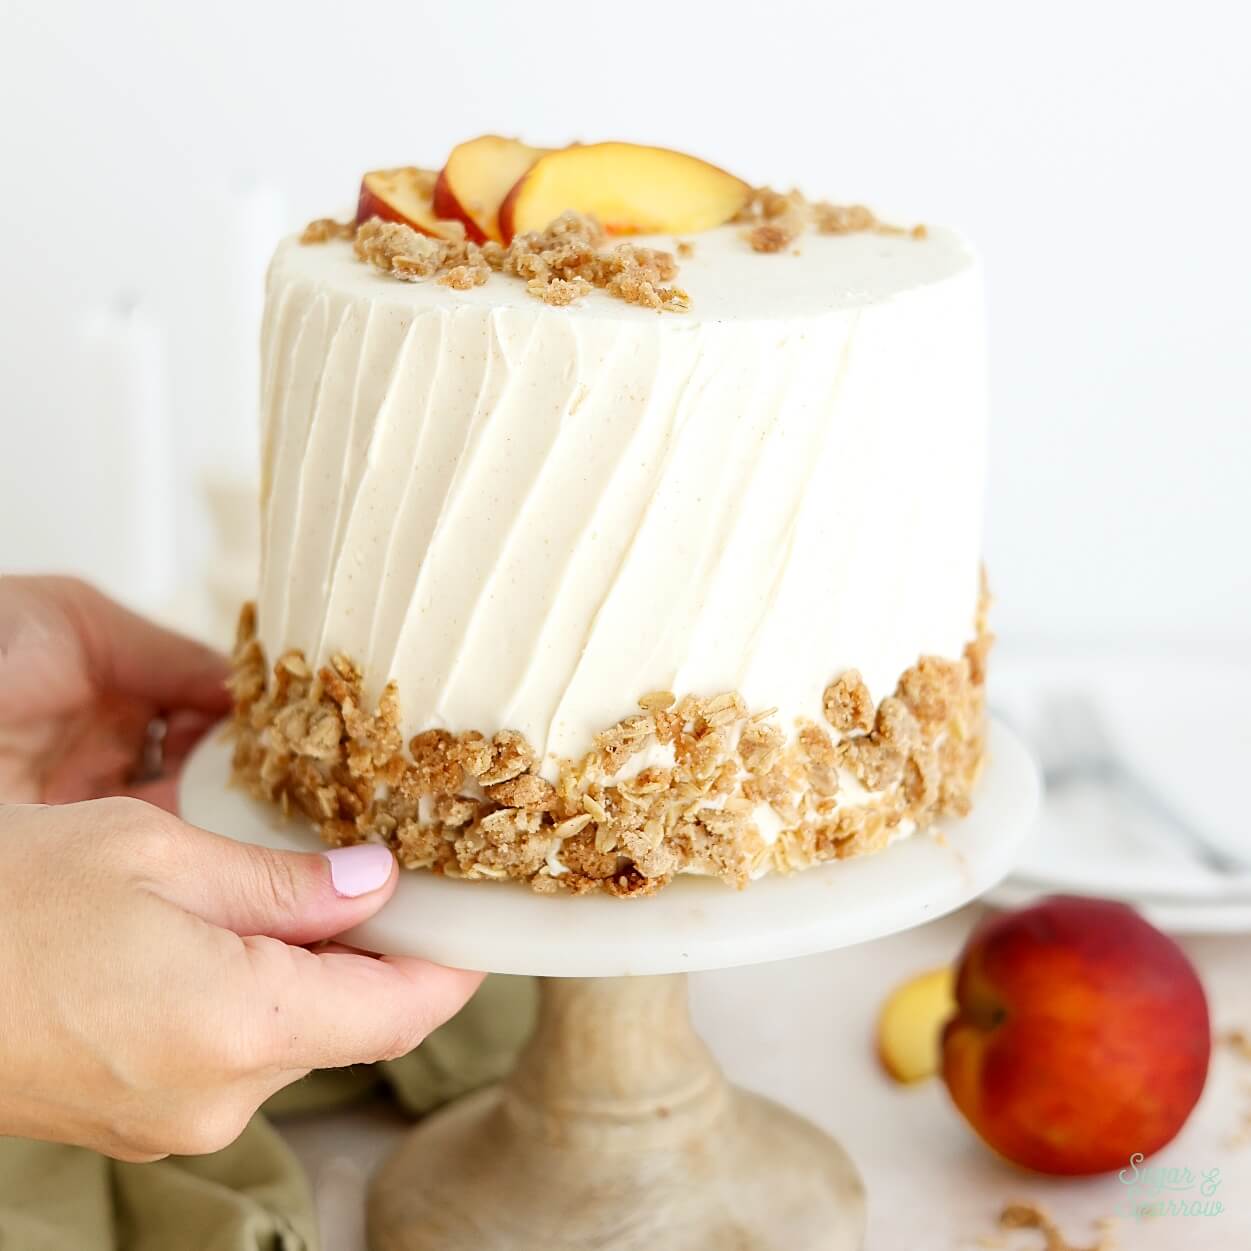
With peaches at their peak, I couldn’t stop dreaming about making a spiced peach filling for a cake and also making a peach crisp. Those two ideas collided in this peach crisp cake recipe and it could not be more delicious! It’s layers of soft and moist cinnamon-vanilla cake, perfectly thick peach filling topped with buttery oat streusel, all wrapped up in brown butter frosting that lends the perfect nutty caramel notes. Whether you’re celebrating peach season or want to take on a fun cake project for your next gathering, this peach crisp cake will truly steal the show. It’s next level!
One reader, Margot, says: “This cake is AMAZING!!!!! A friend requested it for his birthday – I was grateful that using frozen peaches was an option – and it was well worth the time it took to create it!!” ★★★★★
What Makes this Peach Crisp Cake Special
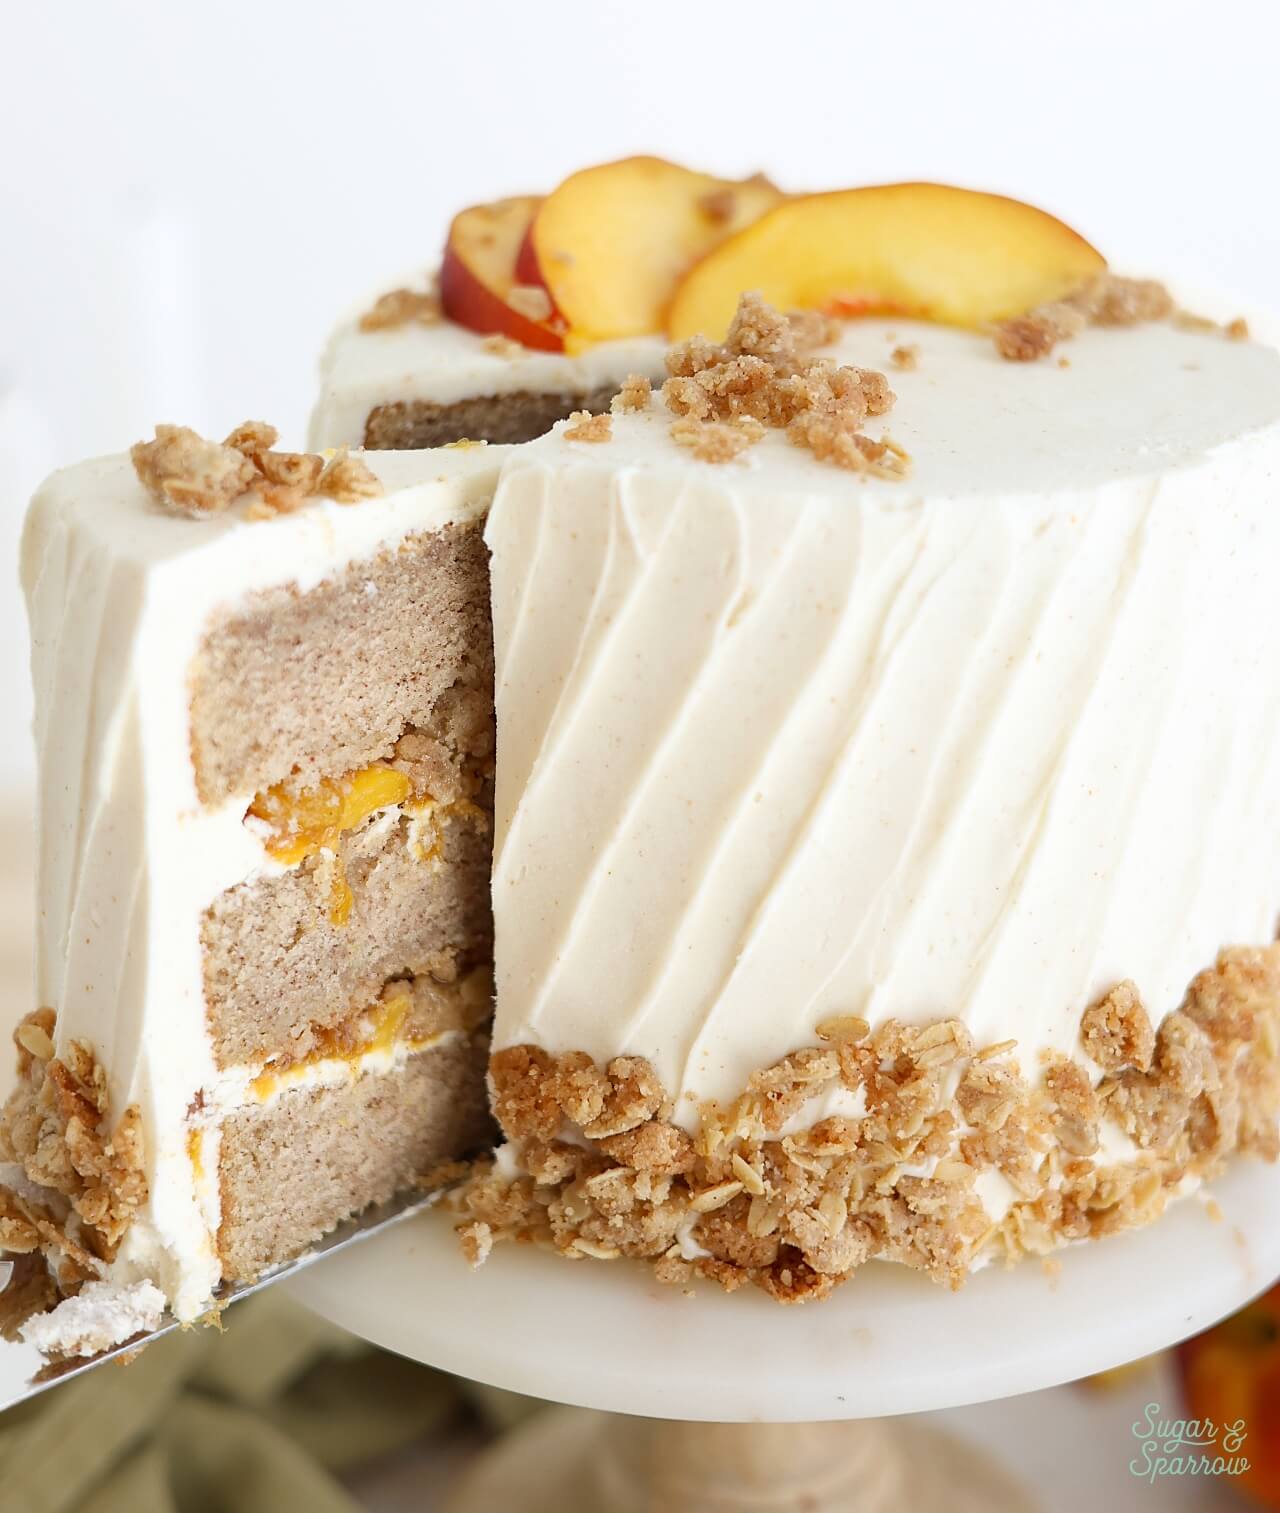
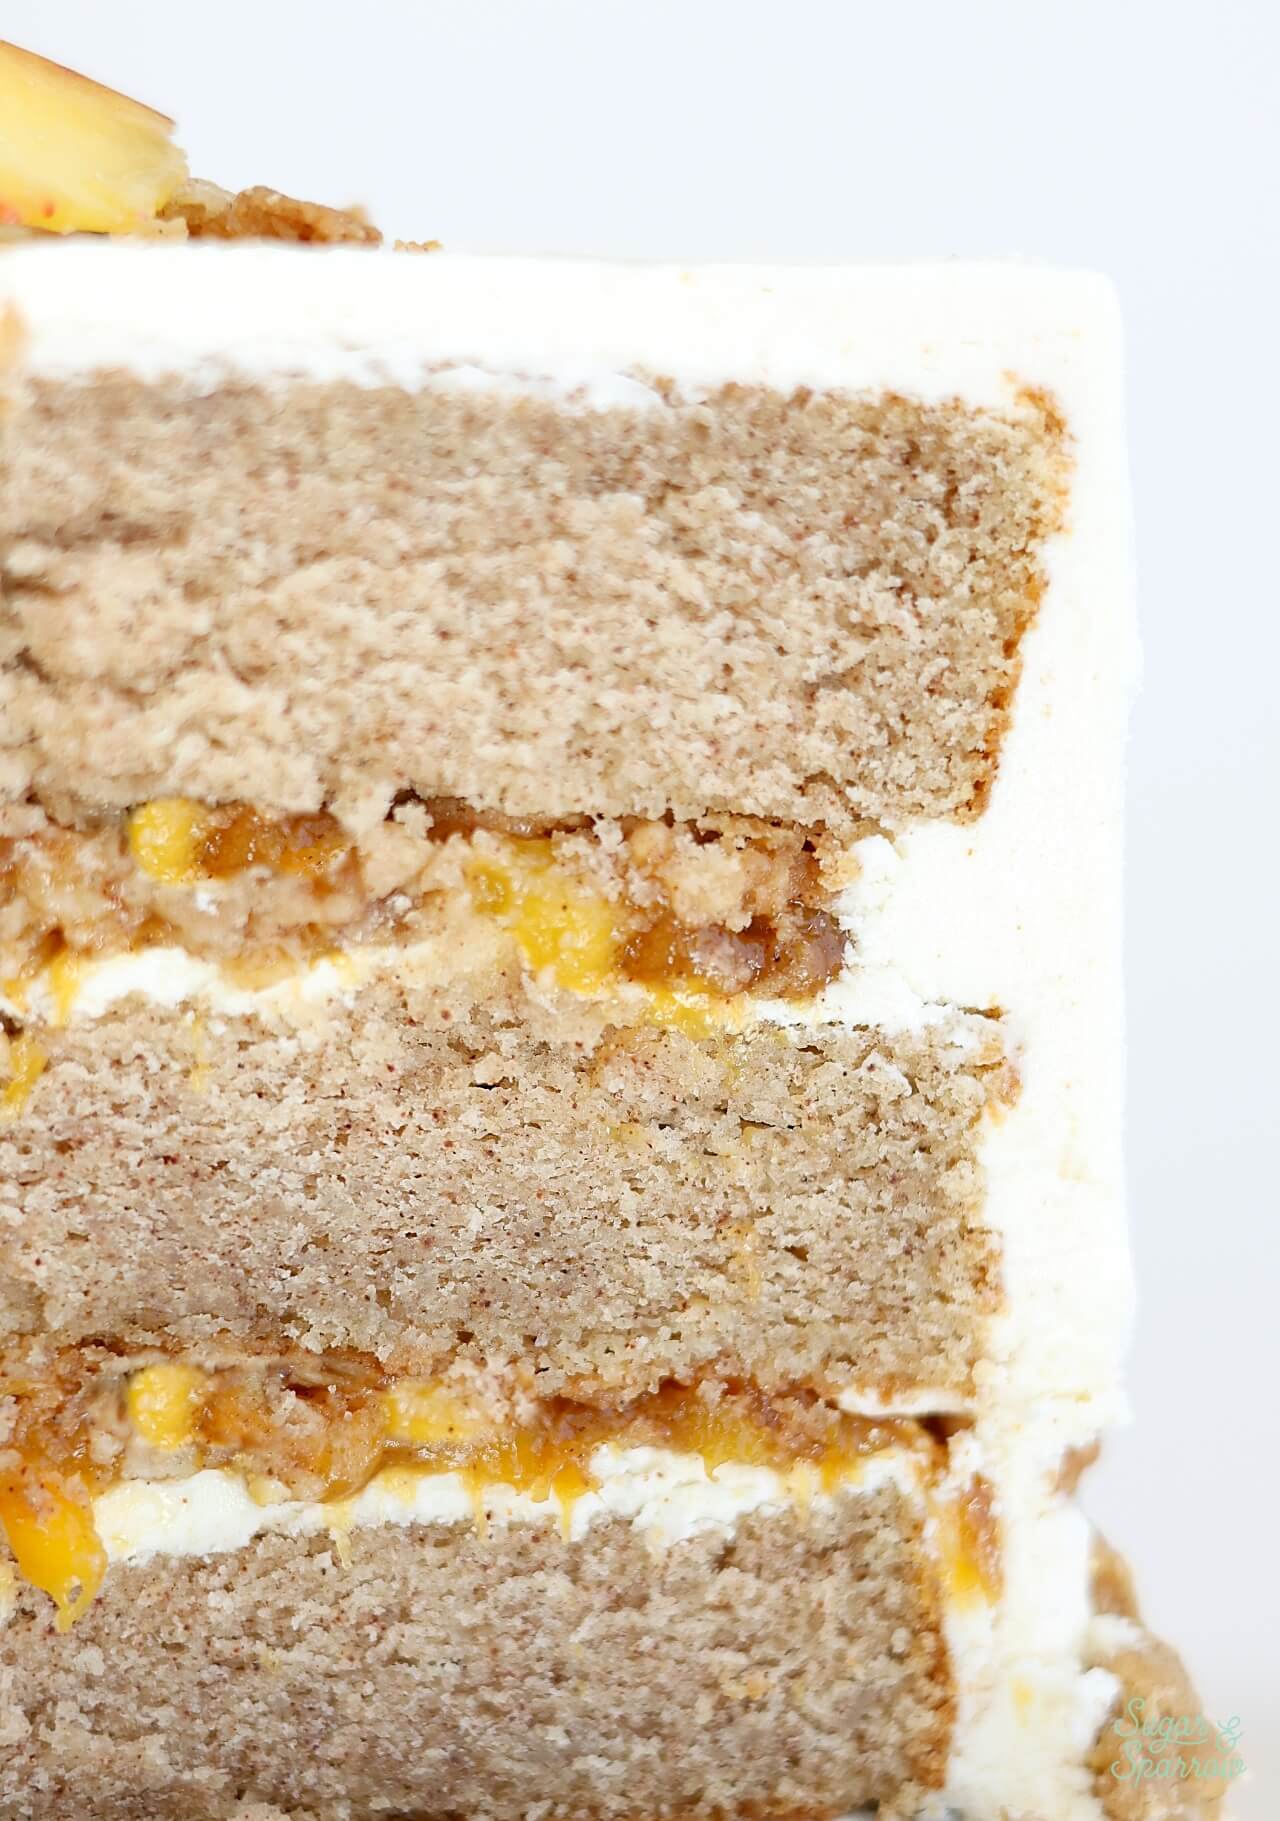
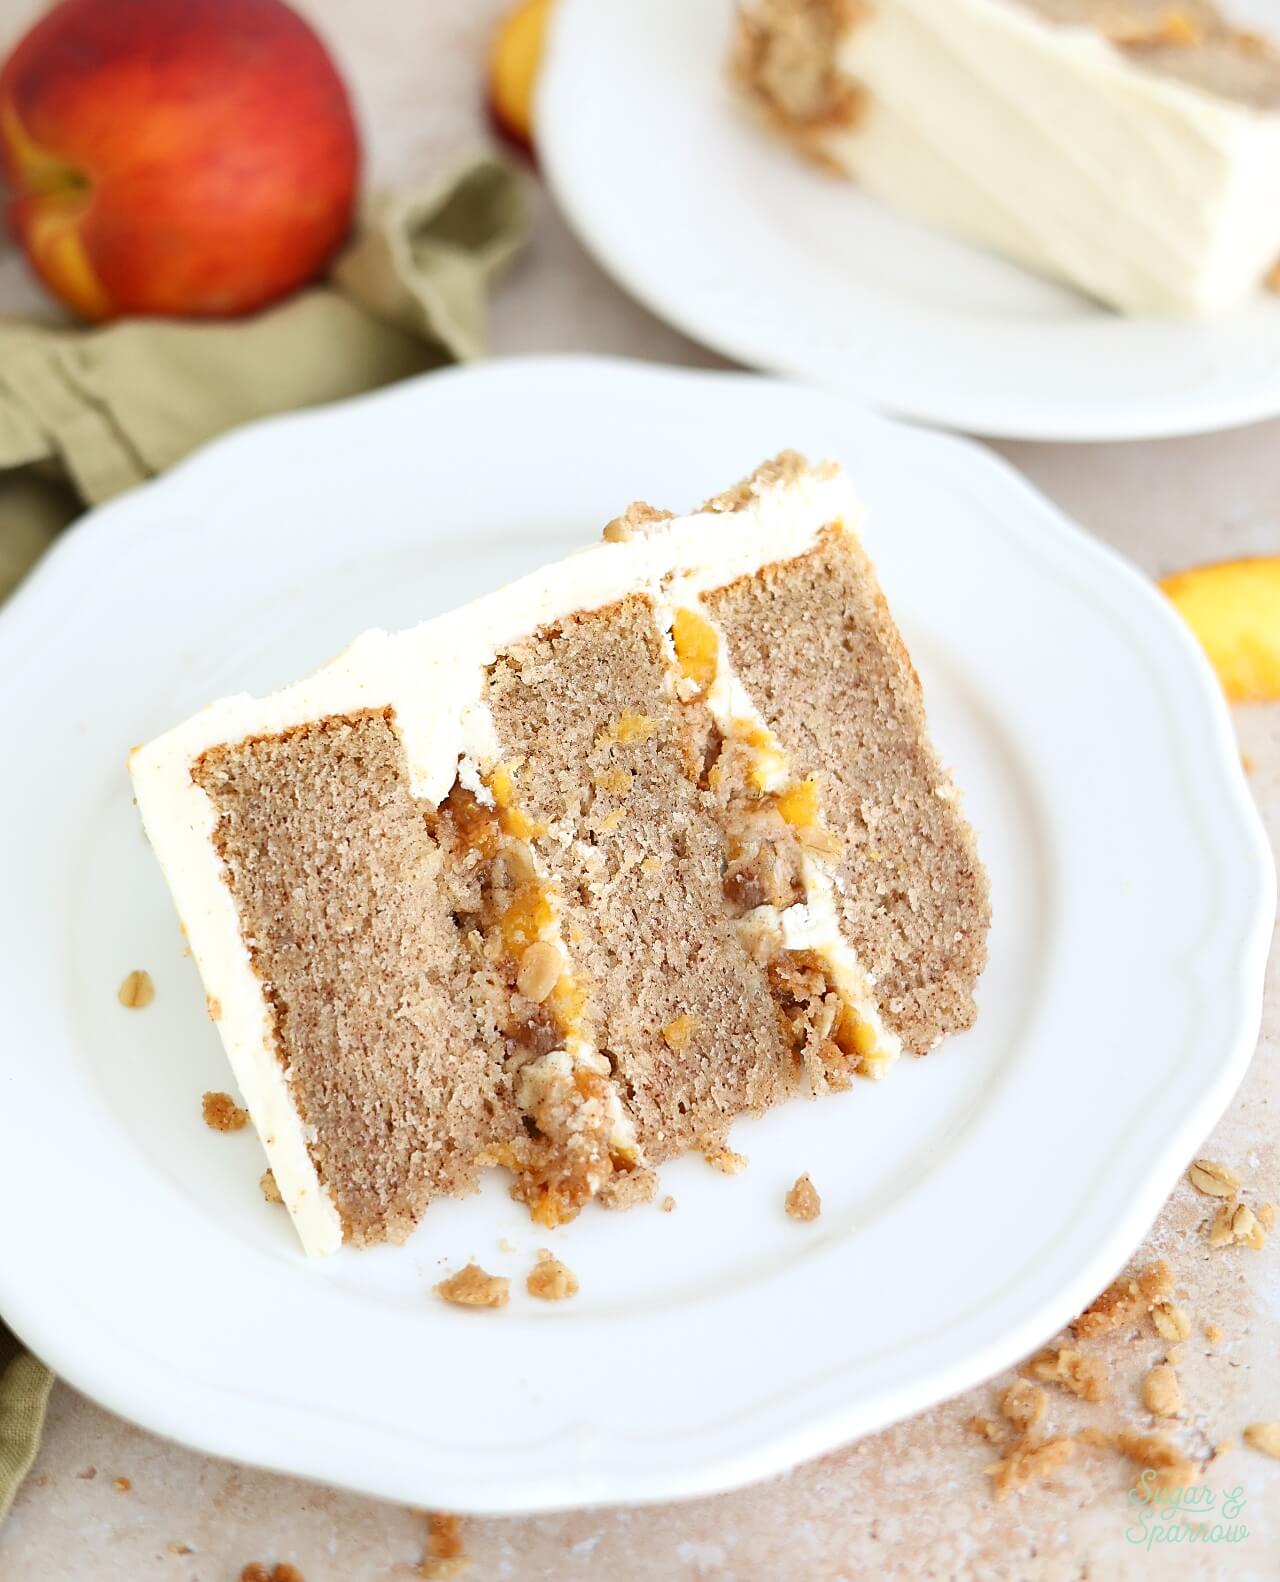
The flavors and textures going on in this cake are unreal! It truly tastes like peach crisp in cake form and it’s one of those recipes that gives you a sense of accomplishment when you’re done. Although each individual element is simple, there are a handful to make which makes this recipe feel like a project (it is) BUT I promise it’s all worth the effort in the end. Just imagine these layers:
- Soft & Moist Cinnamon-Vanilla Cake. Adding cinnamon to the cake batter helps tie together the fillings and frostings in this cake. It’s one of my favorite extra soft and moist vanilla cake recipes, speckled with a Tablespoon of cinnamon to make the overall flavor of this cake so complex and delicious!
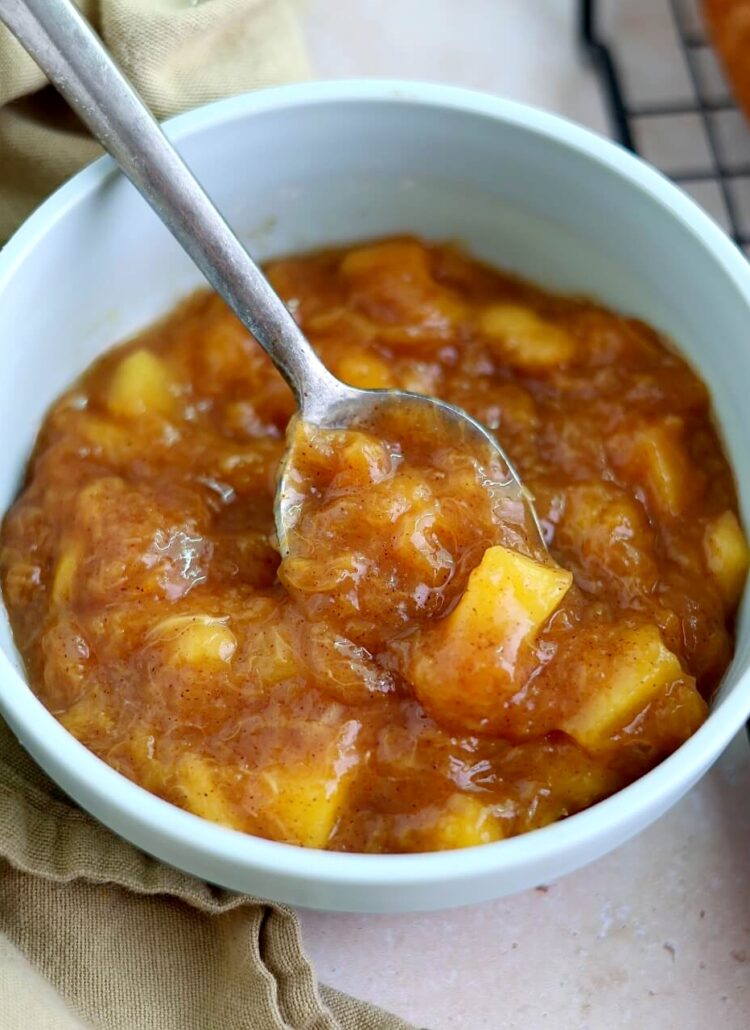
- Perfectly Thick Homemade Peach Filling. The peach filling can be made with fresh, frozen, or canned peaches. I used fresh peaches because they’re currently in season and it was so satisfying to peel and dice them myself. In creating the filling recipe I learned that it’s not enough to just add cornstarch to create the perfect thick filling, you have to mash some of those peaches into a puree to thicken it beautifully and release incredible peach flavor! There’s some cinnamon in there too because I can’t get enough.
- Buttery Oat Streusel. If you’ve made my blackberry crisp cake recipe before, you’ve made this delicious buttery oat streusel. It’s the perfect baked crisp topping that isn’t too crispy or too soft. It’s just right sprinkled on top of the peach filling and remains the perfect texture for days.
- Brown Butter Frosting. The nutty caramel notes of the brown butter frosting brings every flavor of this cake together like a symphony.
How to Make Perfect Peach Filling
It took me a few tries to nail down this peach filling recipe, but I’m so glad I kept testing. The winning recipe is perfectly thick and beautifully spiced, absolutely ideal as a cake filling! Here’s how to make it:
Peel and Dice the Peaches. I used fresh peaches which I peeled and diced. I found this process to be cleaner when I used a paring knife to halve the peach, removed the pit, then peeled the peach half before dicing. If you peel the peach before removing the pit, things can get slimy.
Cook Half of the Peaches and Mash. Add half of the diced peaches, cinnamon, and brown sugar into a medium saucepan and cook them over medium heat. The juices will leak from the peaches and morph into a sauce with the cinnamon and sugar. Cook until the liquid starts to boil, then reduce the heat to a simmer and cook for 8 minutes, stirring frequently. At this point the peaches will be soft enough to mash up.
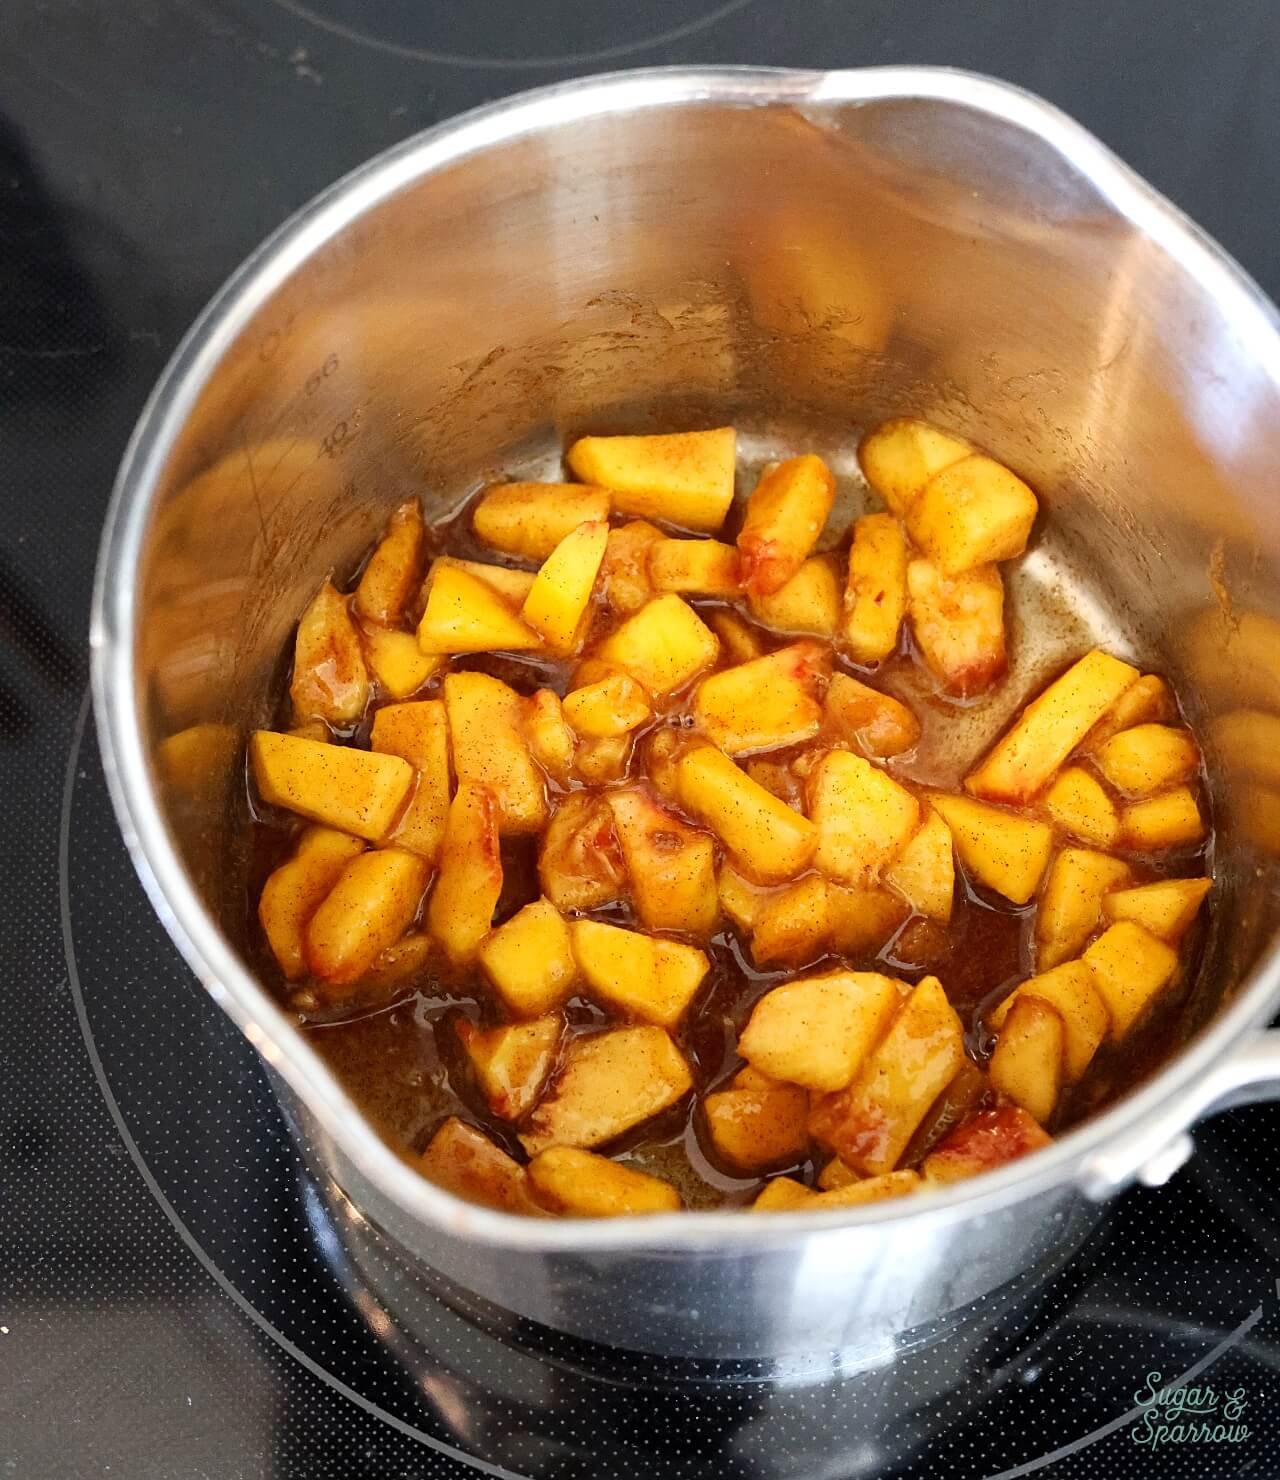

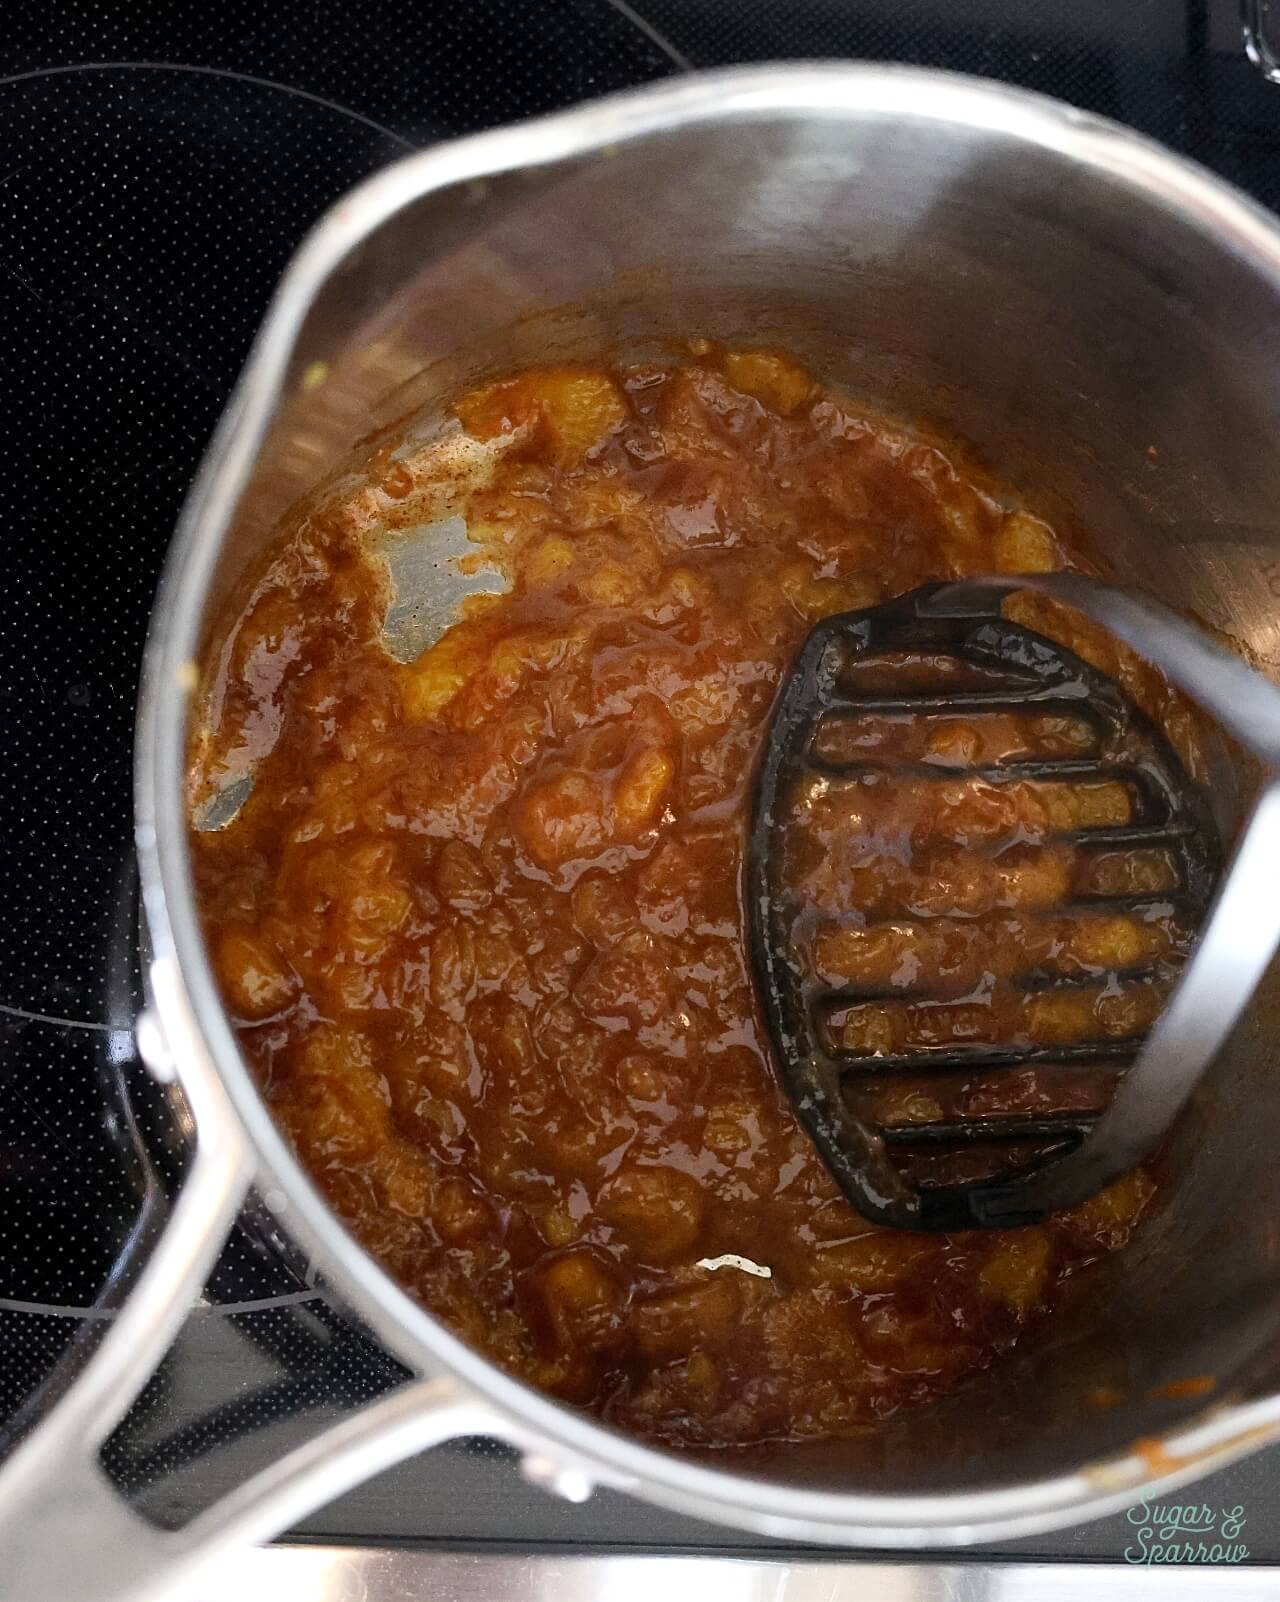
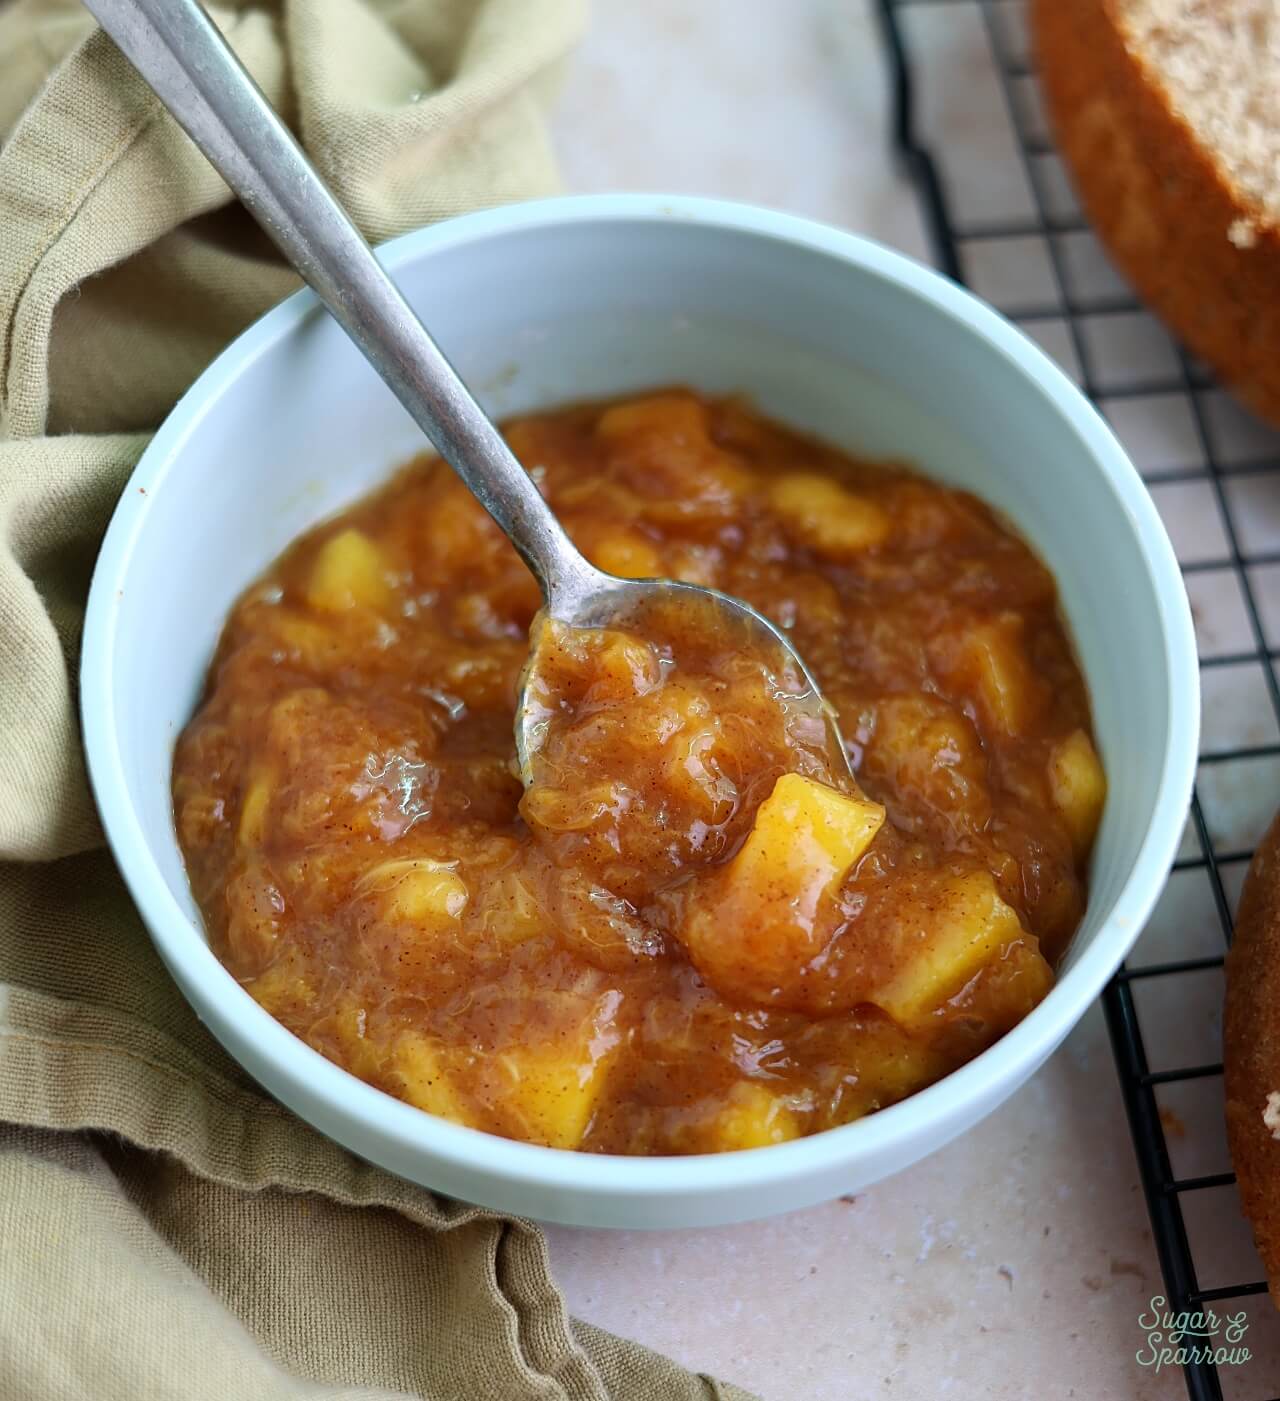
Add the Remaining Peaches. Add the remaining diced peaches and cornstarch slurry, then continue cooking until the diced peaches are soft and the filling has thickened.


Cool the Peach Filling. Transfer the peach filling to a heat proof container and cool in the refrigerator. It will thicken a little more as it cools.
Making Peach Crisp Cake Elements Ahead of Time
I will say that this peach crisp cake is a marathon. You’ll be baking a simple cinnamon-vanilla cake but also browning butter for the frosting, peeling and dicing peaches to make homemade peach filling, baking oat streusel for sprinkling in between layers, and waiting for all of those elements to cool before you can move ahead. My advice is to plan this cake out and make some elements ahead of time so it doesn’t feel like a marathon. Whether you want to start one week ahead or the day before, the process of making this cake will be much more enjoyable – almost as enjoyable as eating this cake depending on how much you love baking!
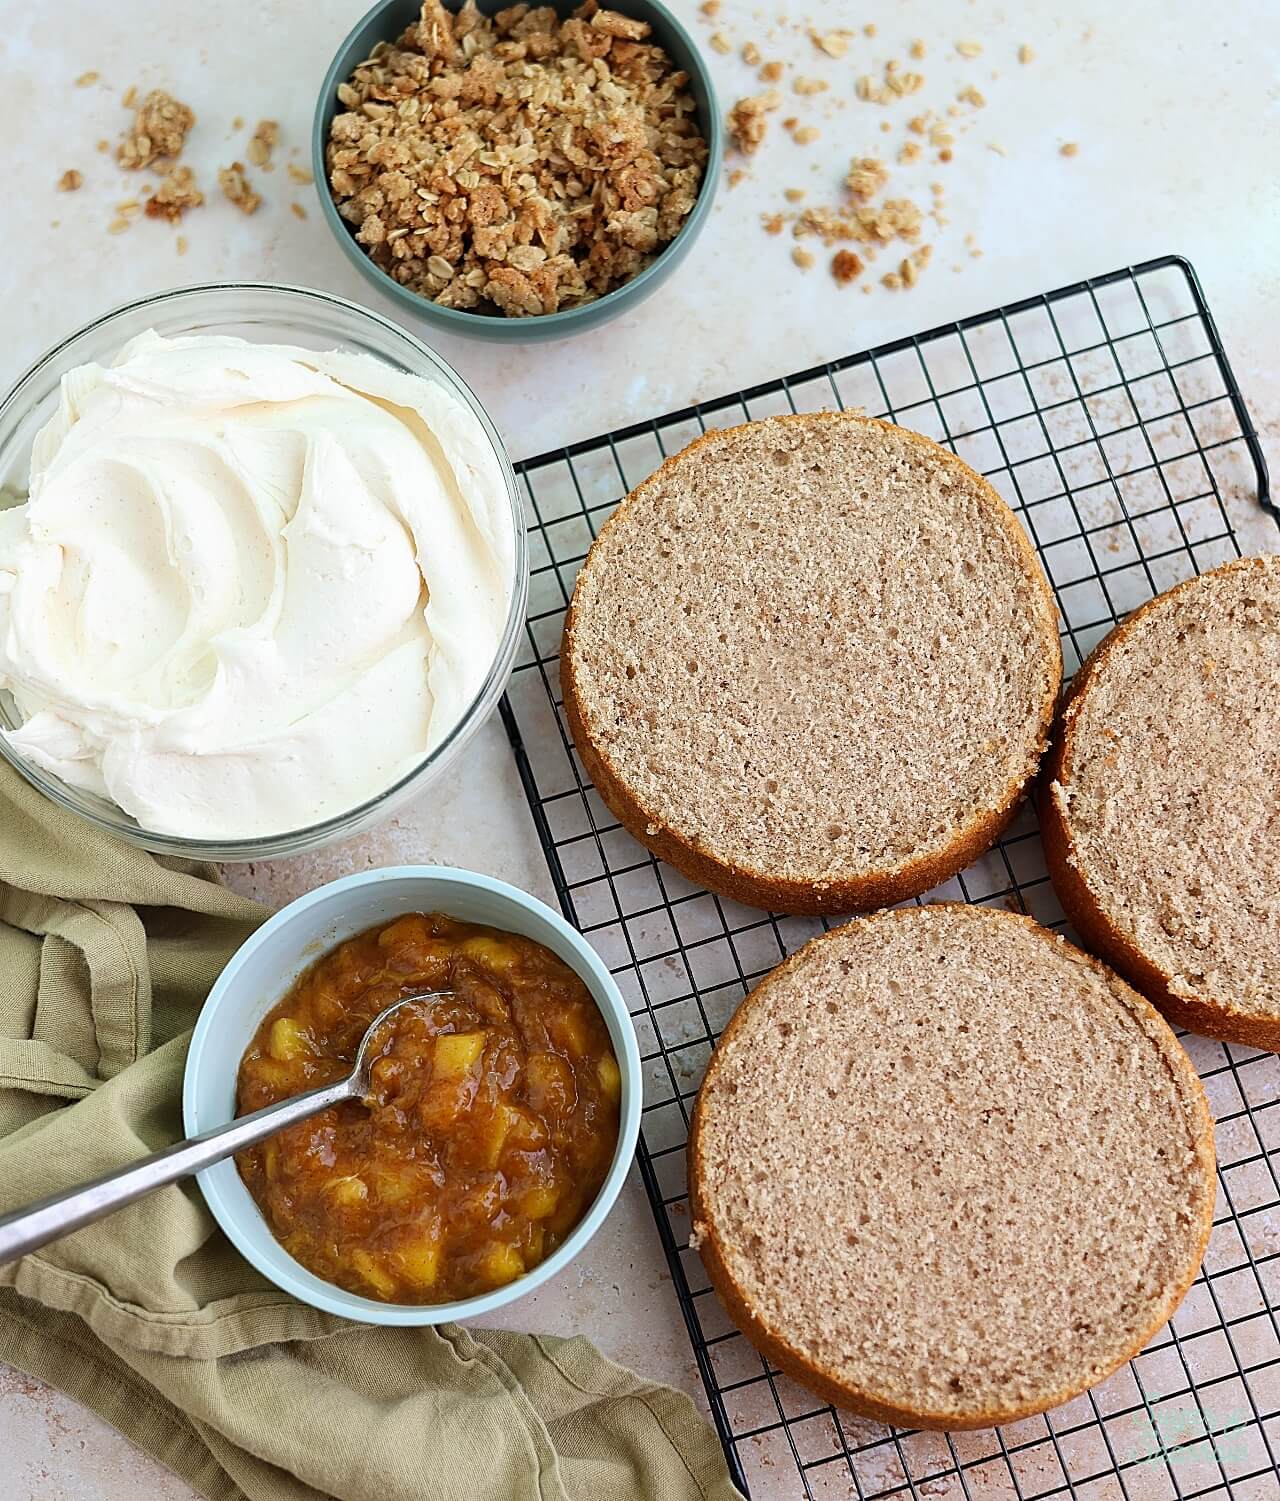
Here’s how far in advance you can make each of the elements to save you some stress:
- Peach Filling. Up to one week ahead of time. Store it in an airtight container in the refrigerator and use it straight from the refrigerator to fill the cake.
- Oat Streusel. Up to two weeks ahead of time. Store it in an airtight container in the refrigerator since it contains butter.
- Brown Butter. Brown the butter up to one week before, store it in an airtight container in the refrigerator. When you’re ready to make the frosting, bring it to room temperature along with the other butter in the recipe.
- Cinnamon-Vanilla Cake. I like to make the cake just one day ahead of assembly. This keeps the cake the most fresh. If you need more time, you can make it up to two days ahead and store it in plastic wrap at room temperature, or make it a week ahead and store it well-wrapped in the freezer before thawing and assembling.
Assembling & Decorating Peach Crisp Cake
When you’ve got all of your peach crisp cake elements ready to go, it’s time to assemble and decorate! Here’s how the process goes:
Level the Cake Layers. After baking and cooling the cinnamon-vanilla cakes, I like to use a cake leveler to level off the tops. This helps keep all the cake layers the same height and provides an even surface for the filling.
Fill & Stack. Place the first cake layer on your turntable and fill a piping bag with some of the brown butter frosting. Snip off about ½ inch opening on the piping bag and pipe a buttercream dam around the edge of the cake layer. This helps prevent the filling from squishing out between the layers. Add a thin layer of brown butter frosting into the center of the dam, followed by enough peach filling so that it reaches about ⅔ of the way to the top. Then, sprinkle on a layer of oat streusel.
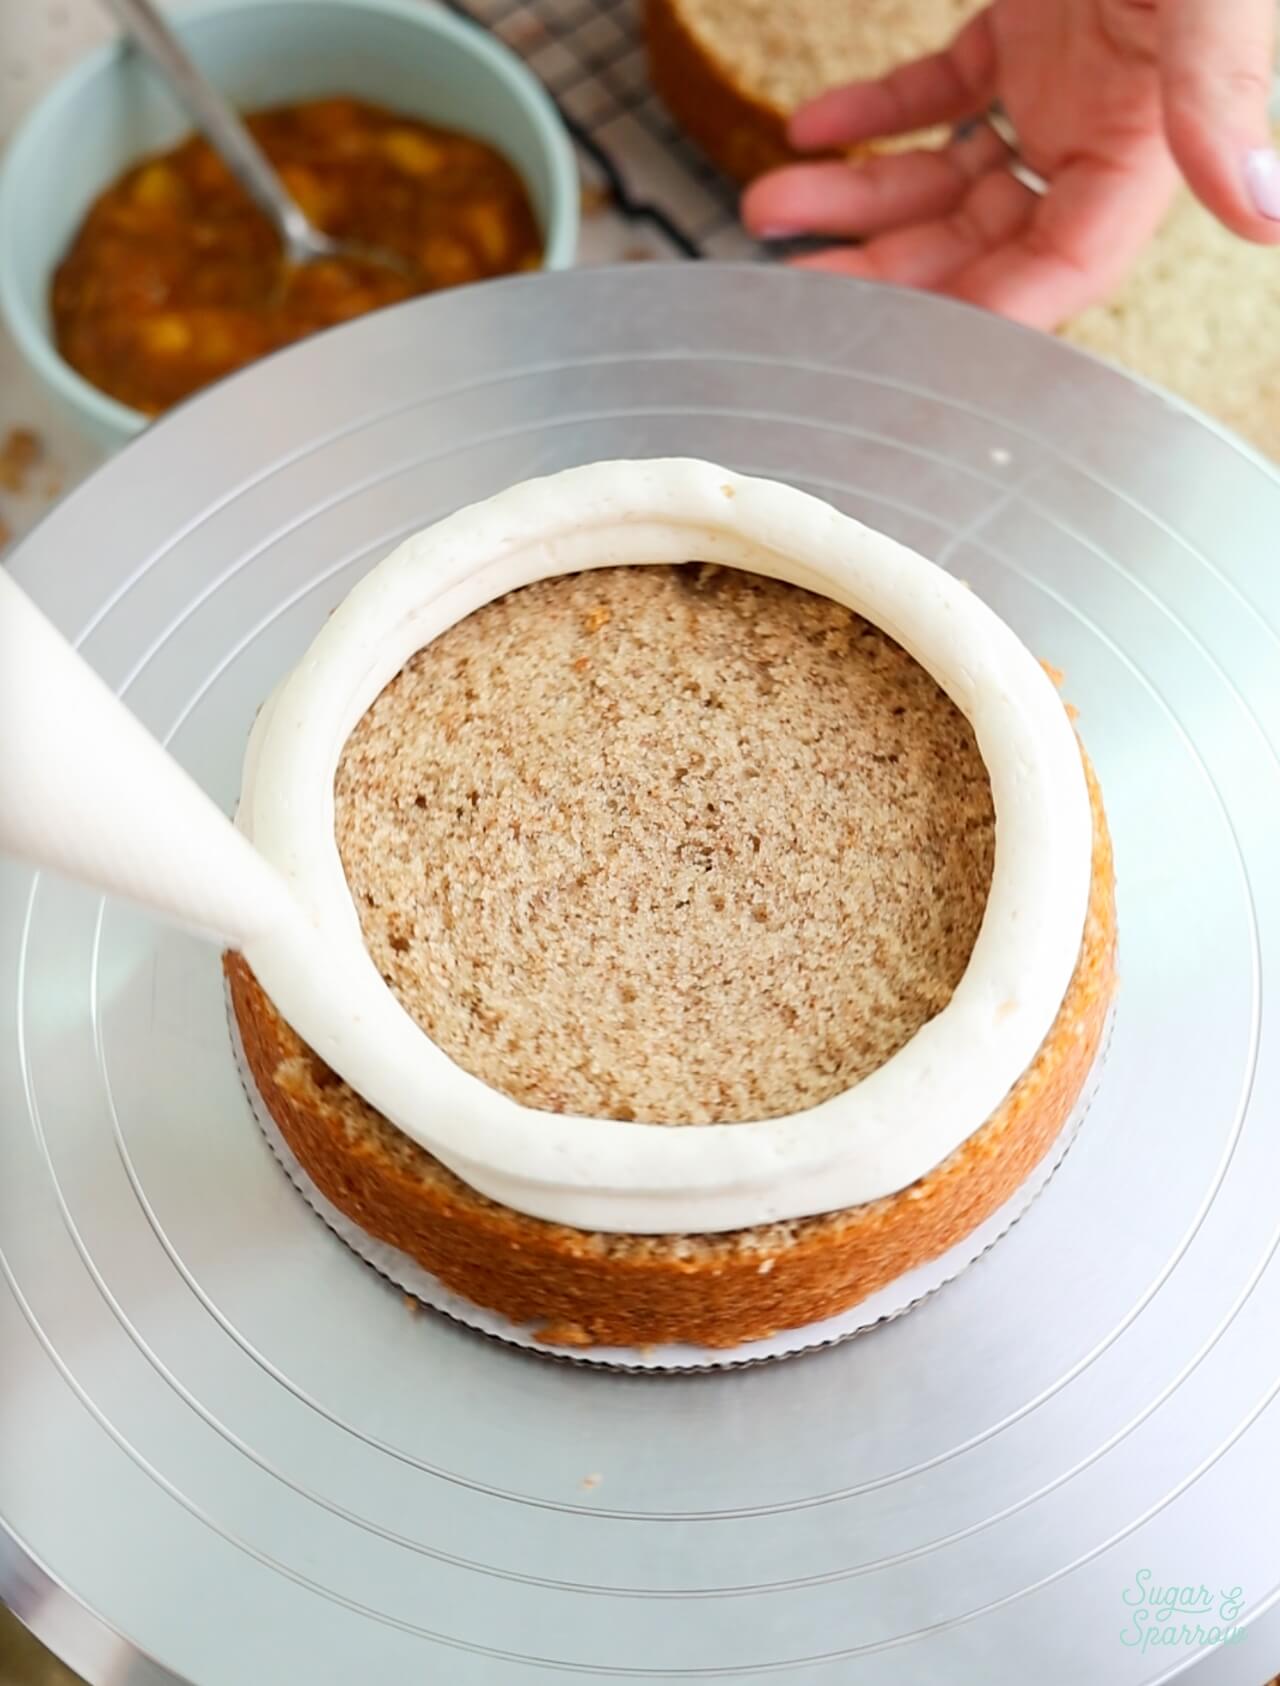
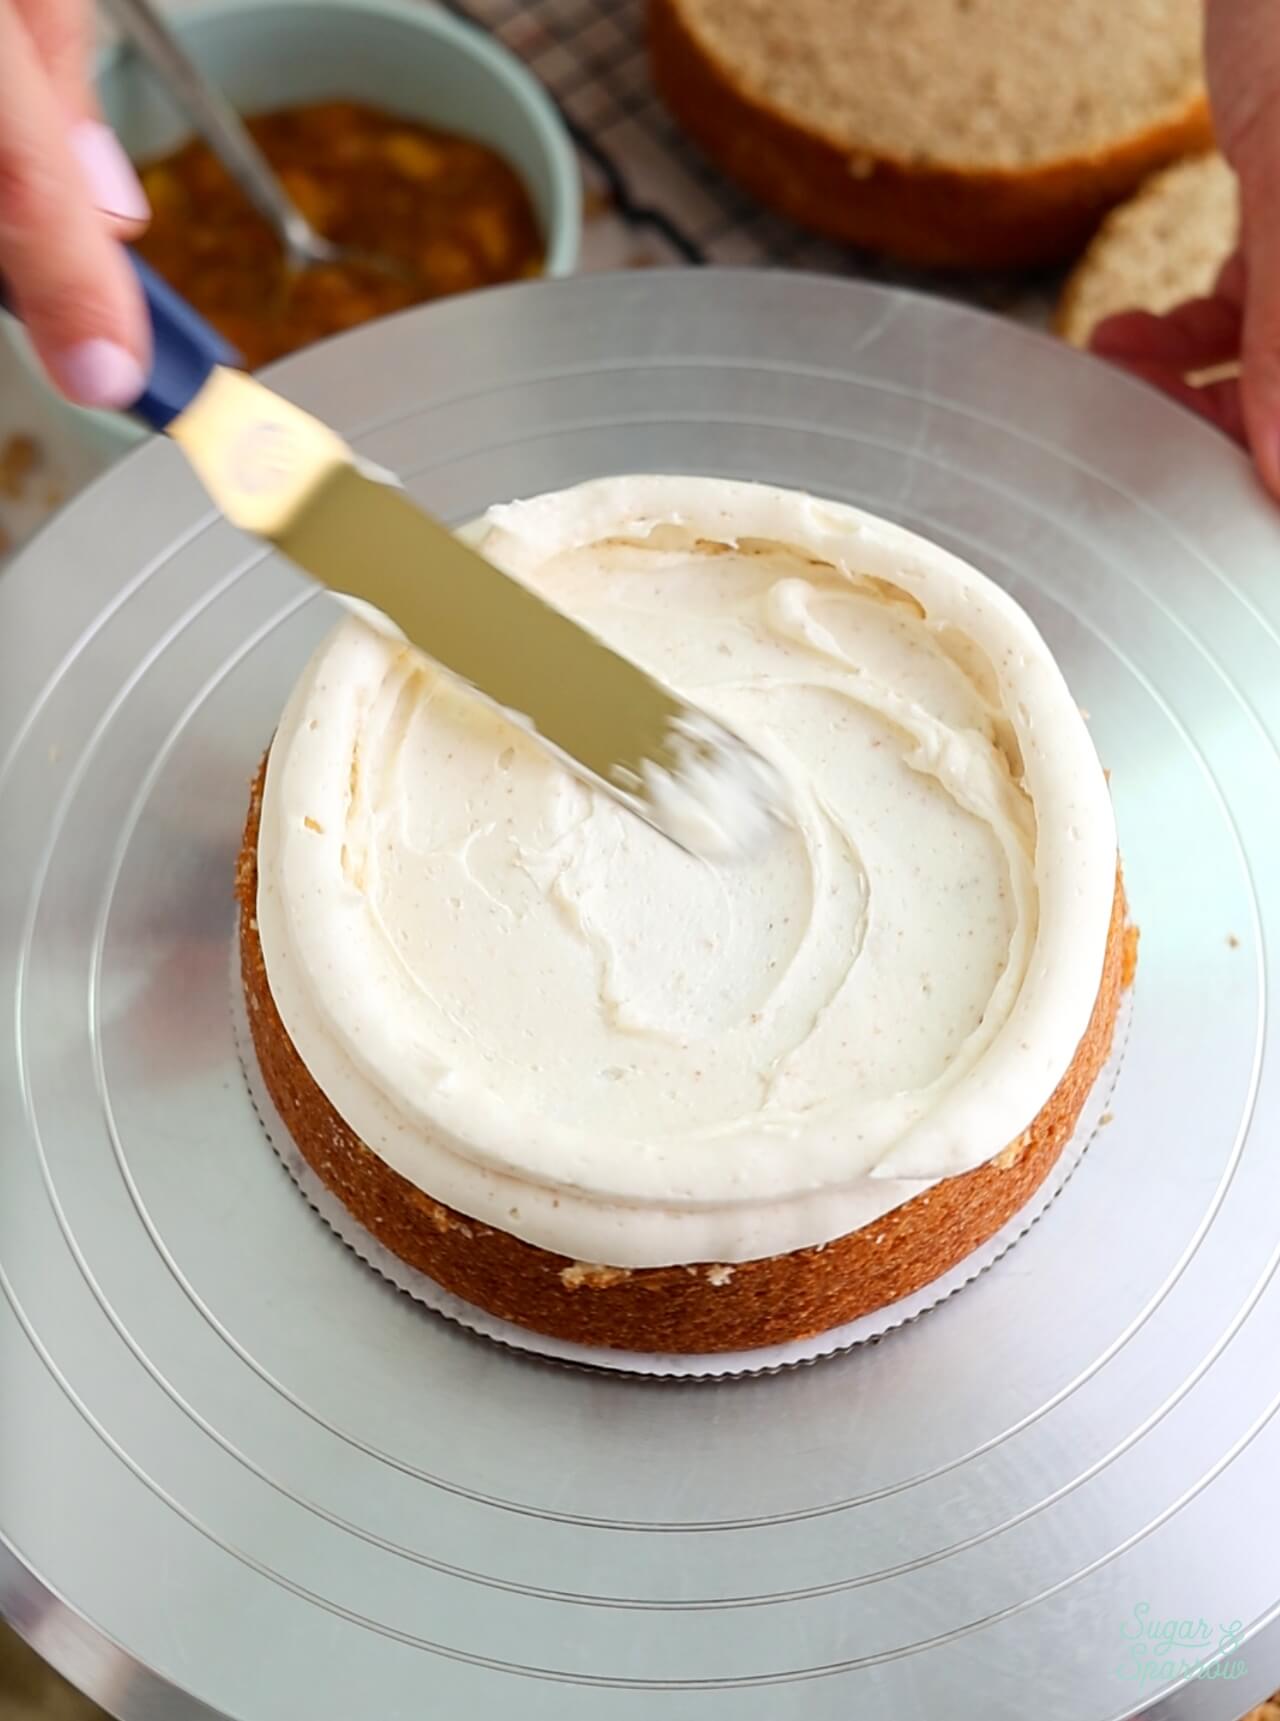
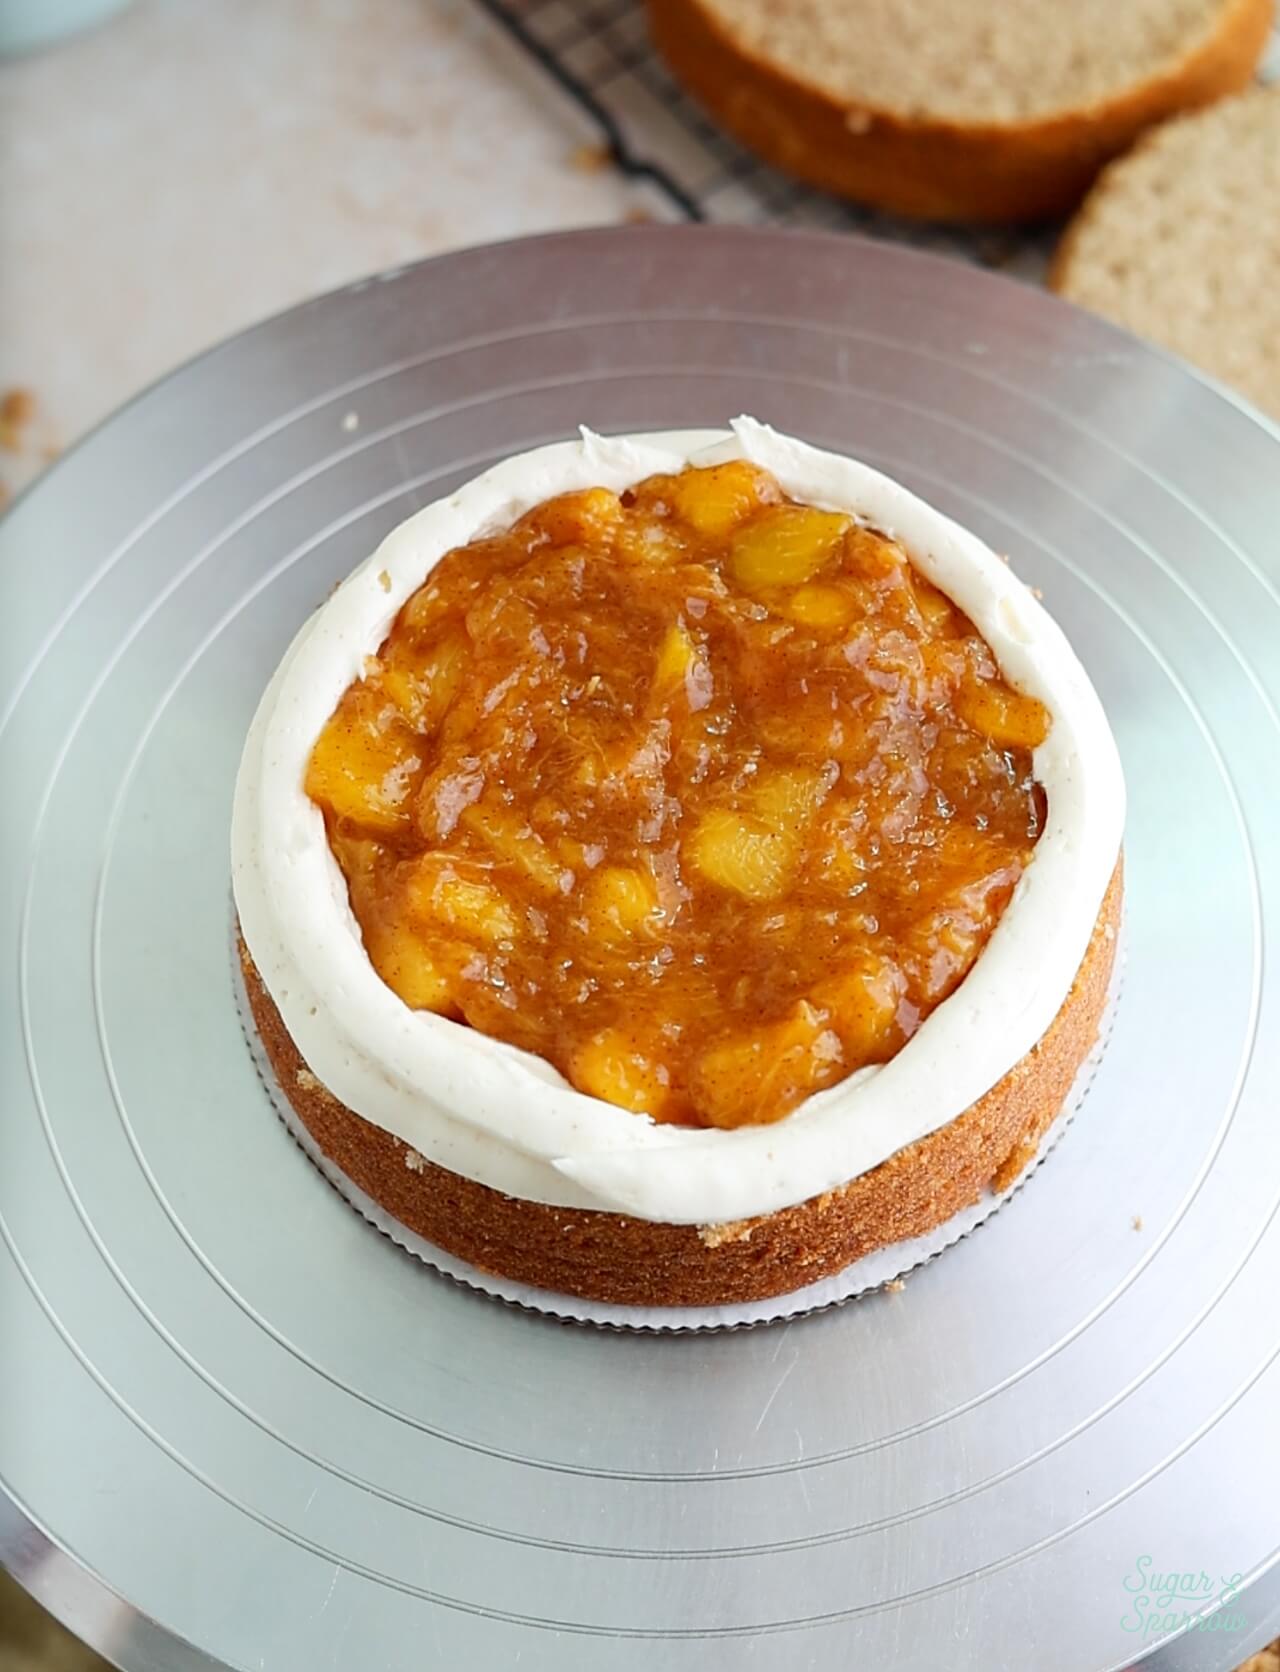
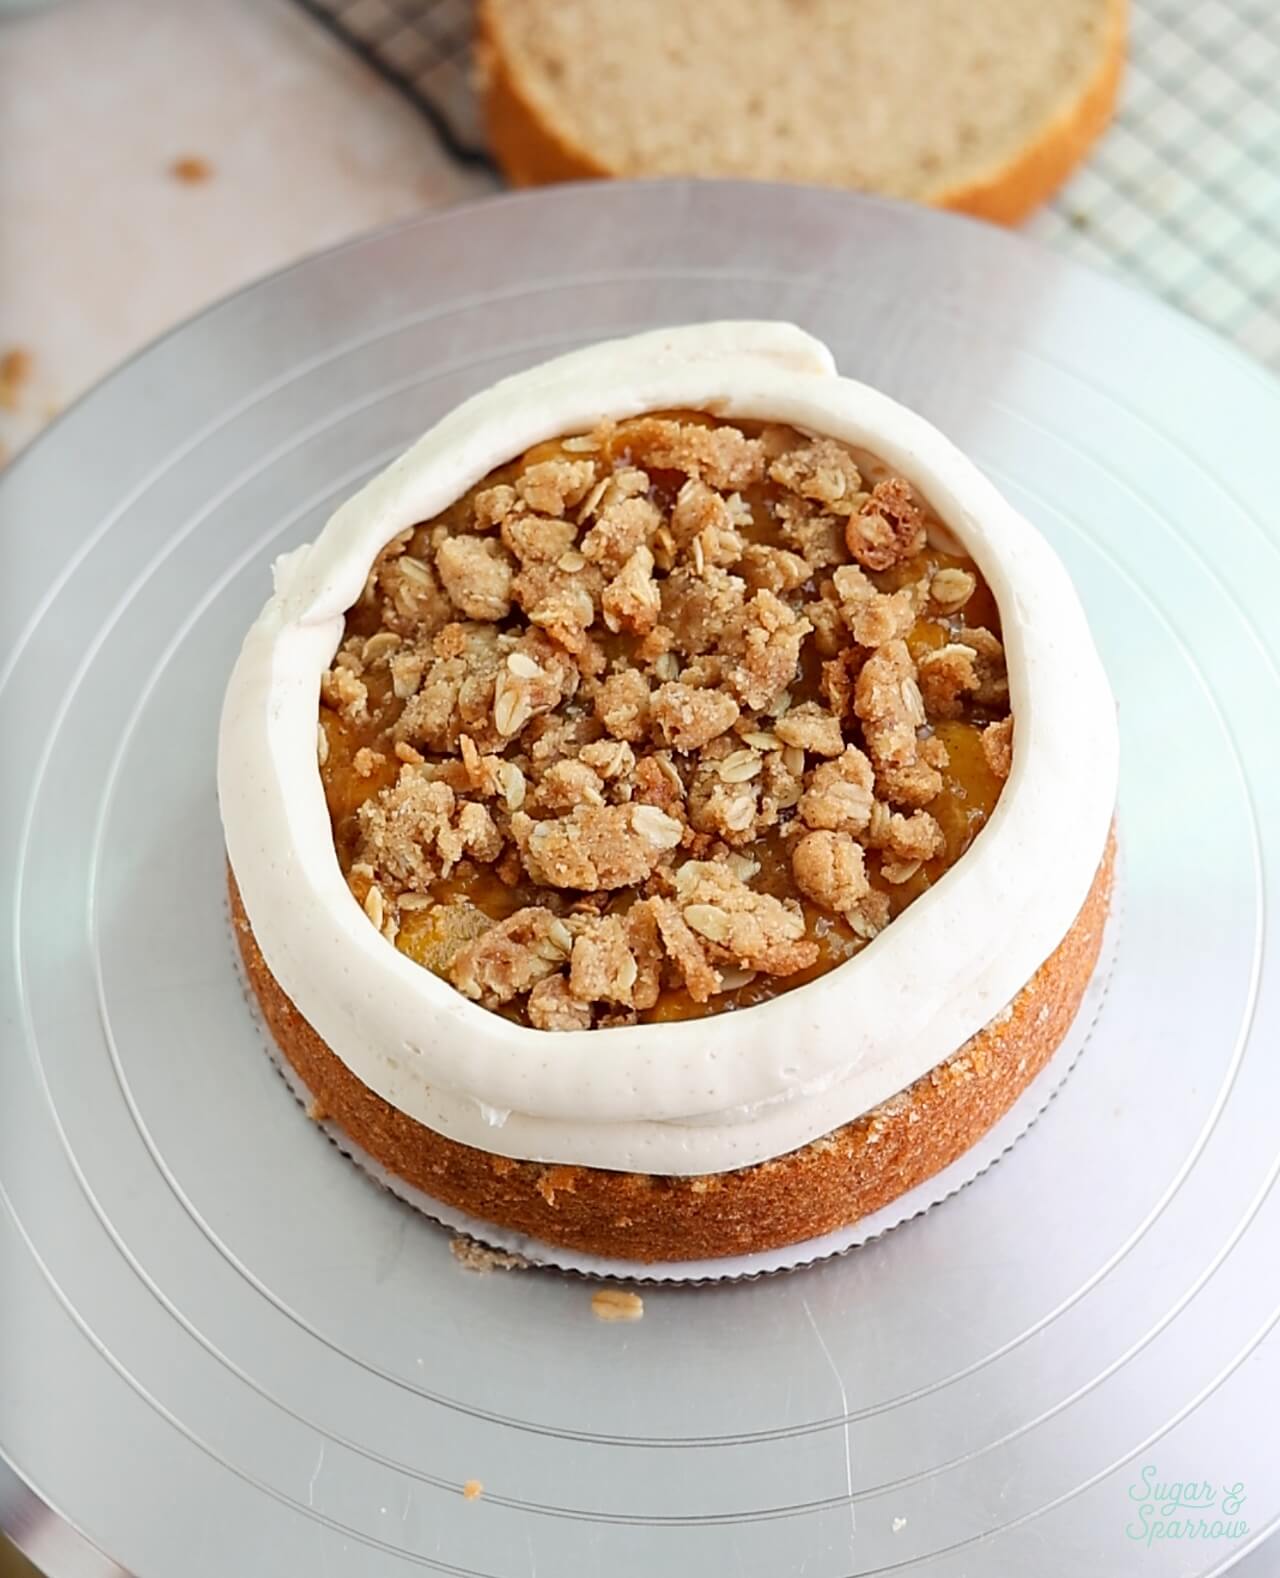
Place the next cinnamon-vanilla cake layer on top and repeat the filling and stacking process before placing the final cake layer on top, upside down so that the bottom of the cake layer becomes the top of the cake.
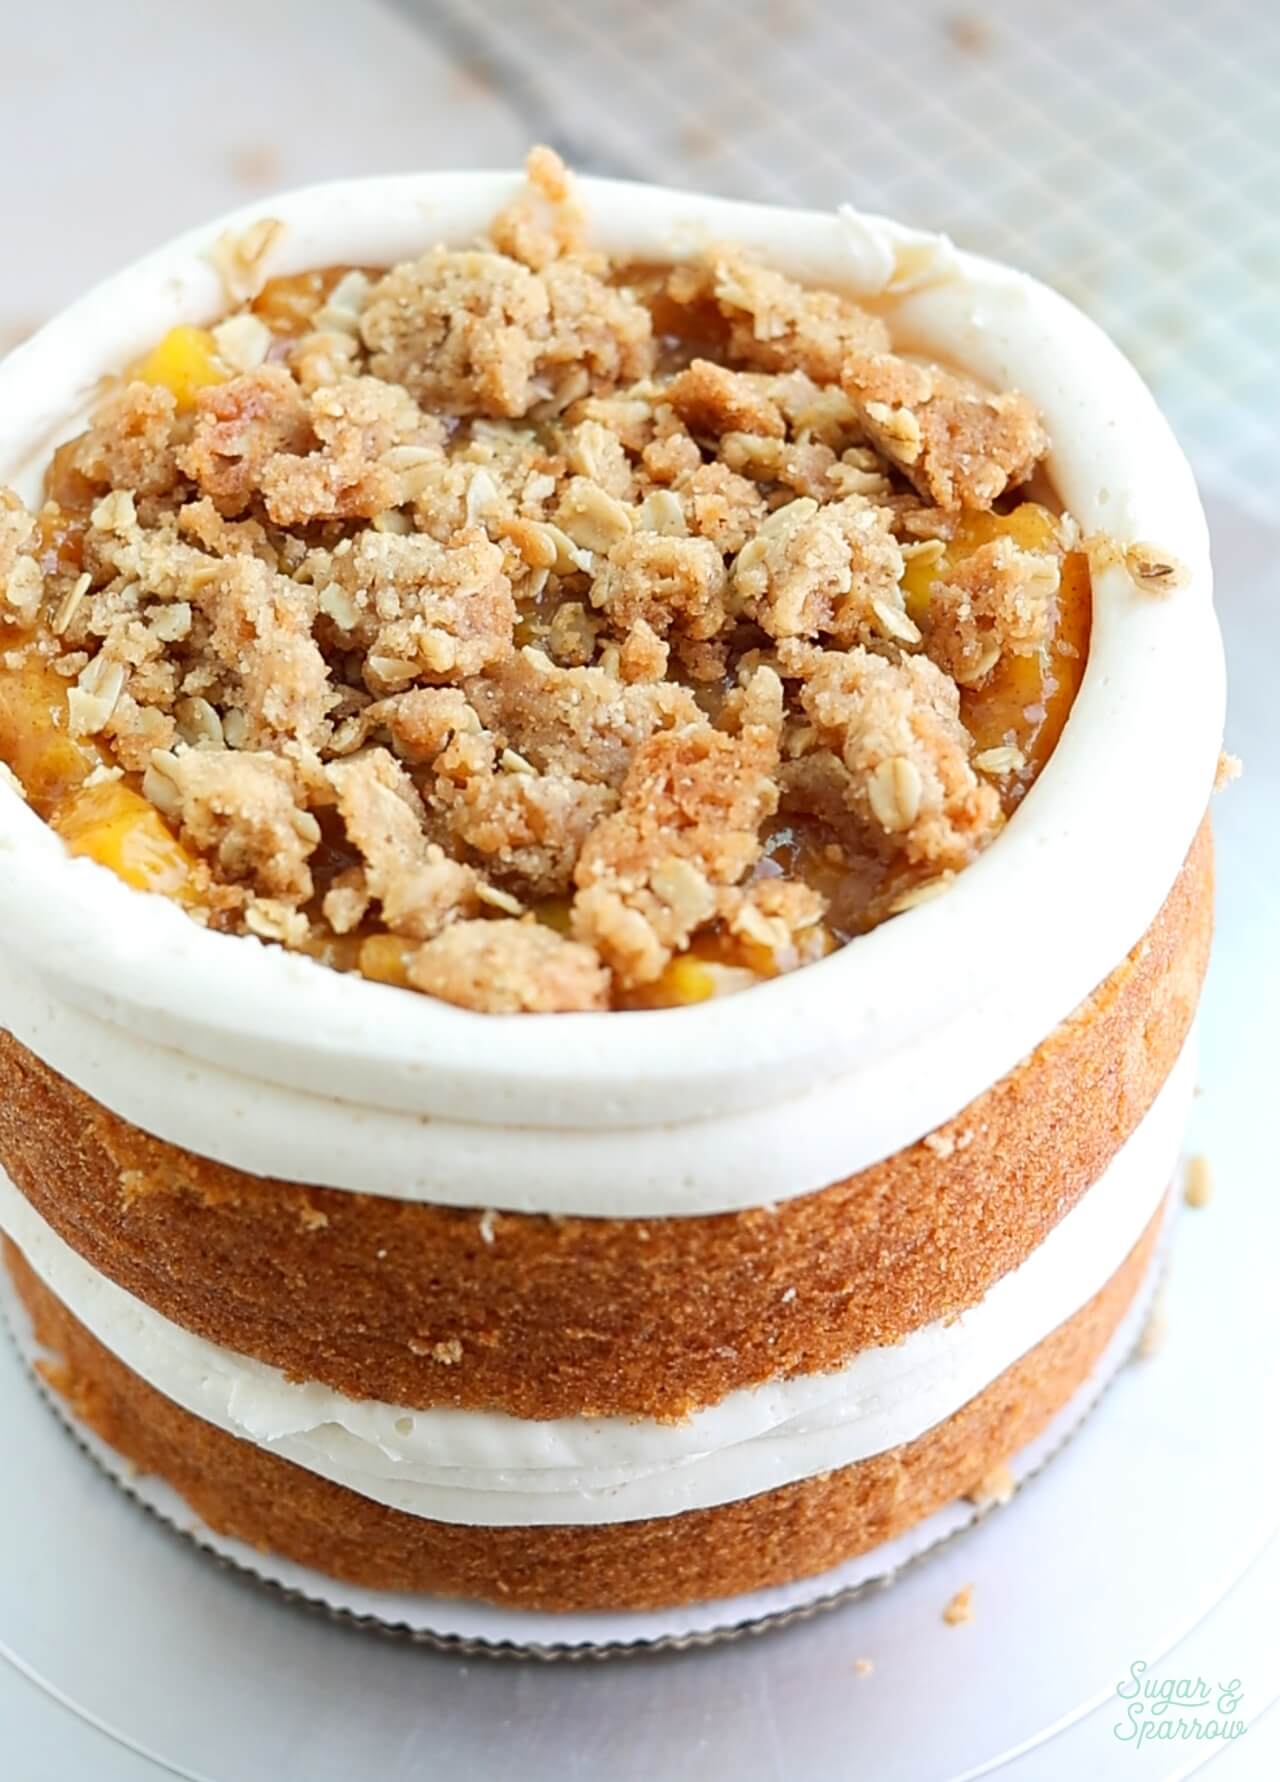
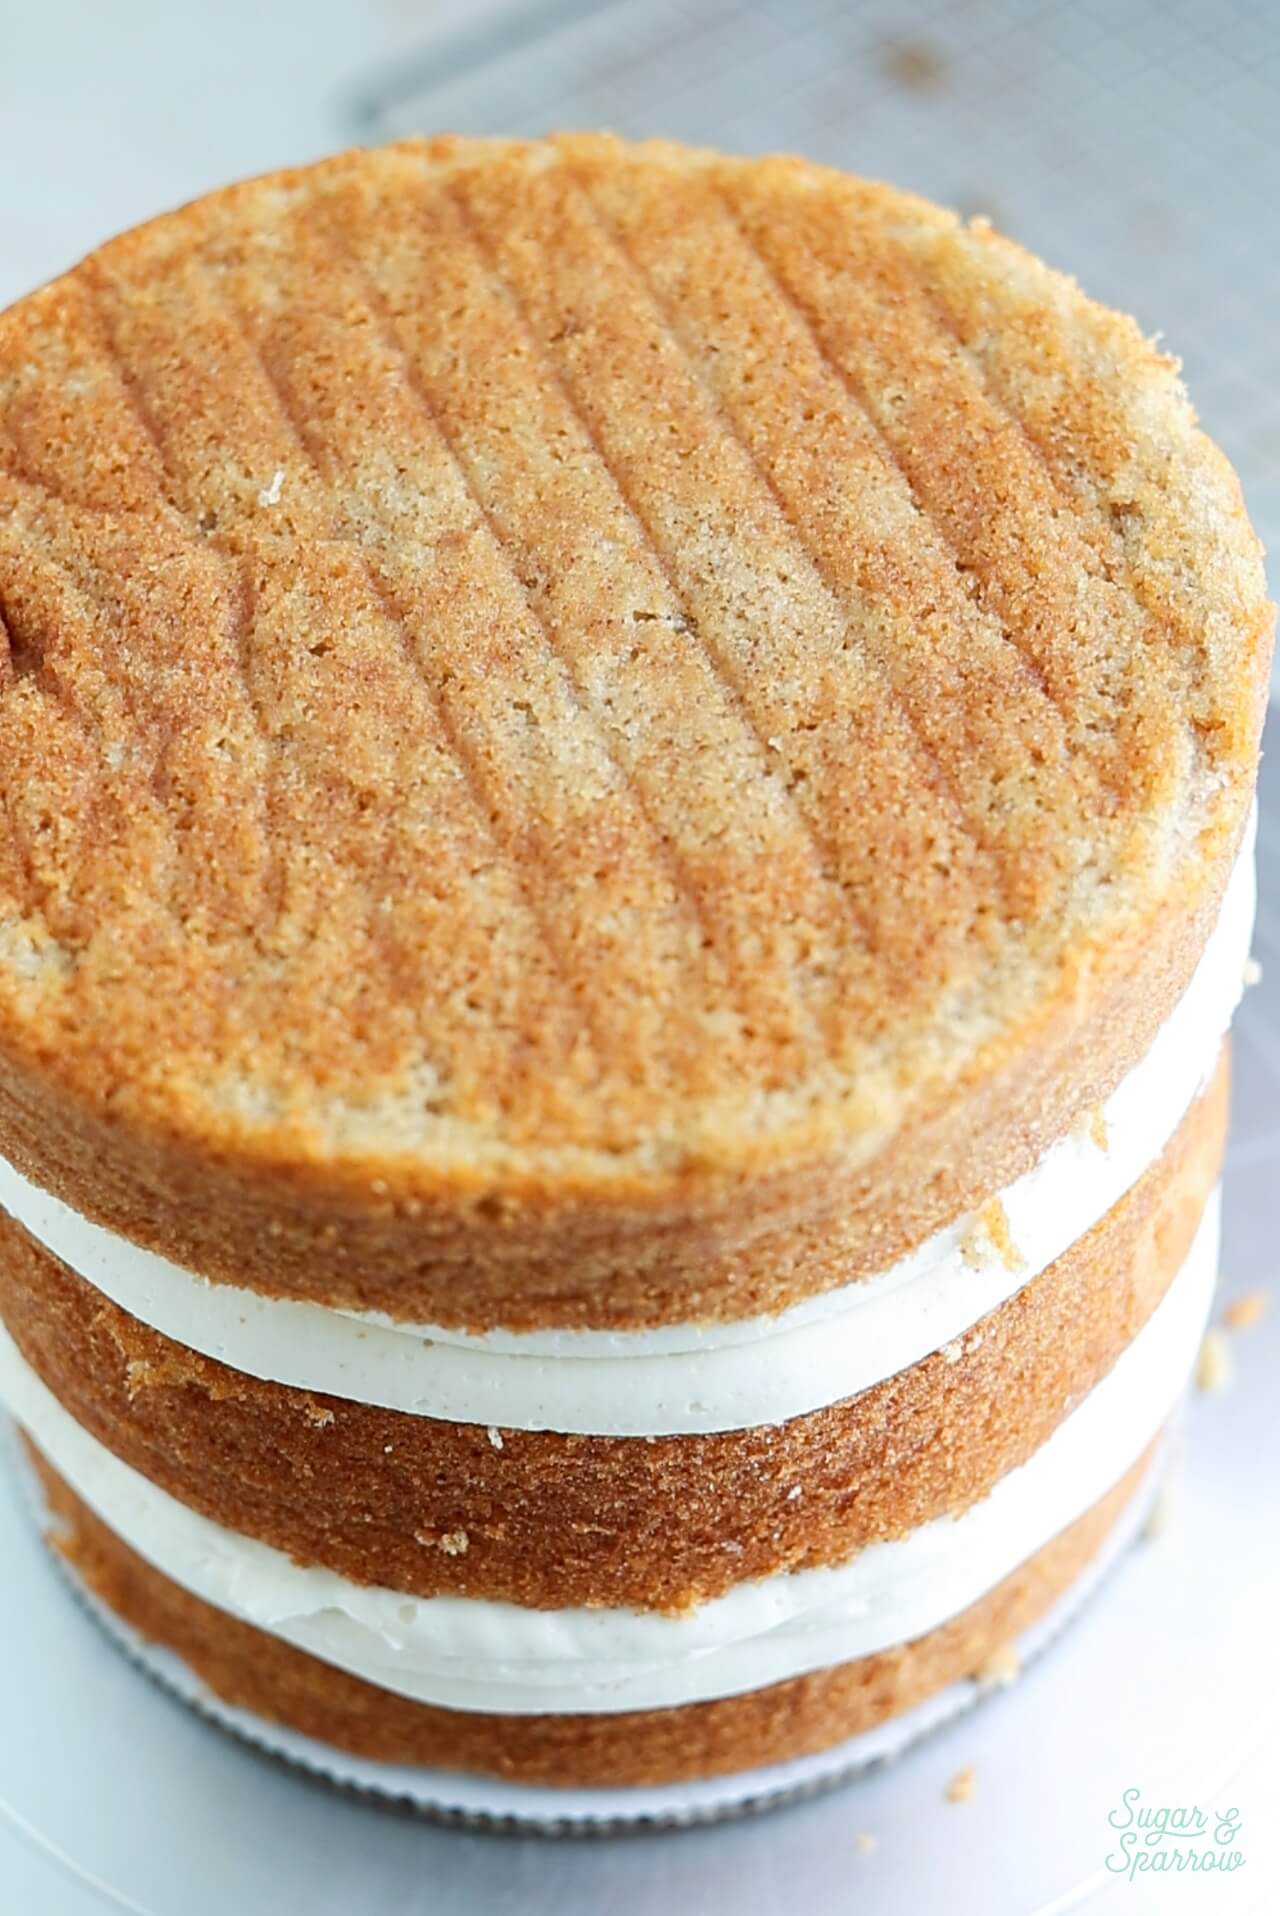
Crumb Coat the Cake. Add a thin layer of brown butter frosting all over the cake and smooth it down (aka a crumb coat), then refrigerate the cake until the frosting is firm to the touch. This helps create a stable foundation for decorating the cake, ensuring the layers aren’t shifting around while you’re trying to frost it.
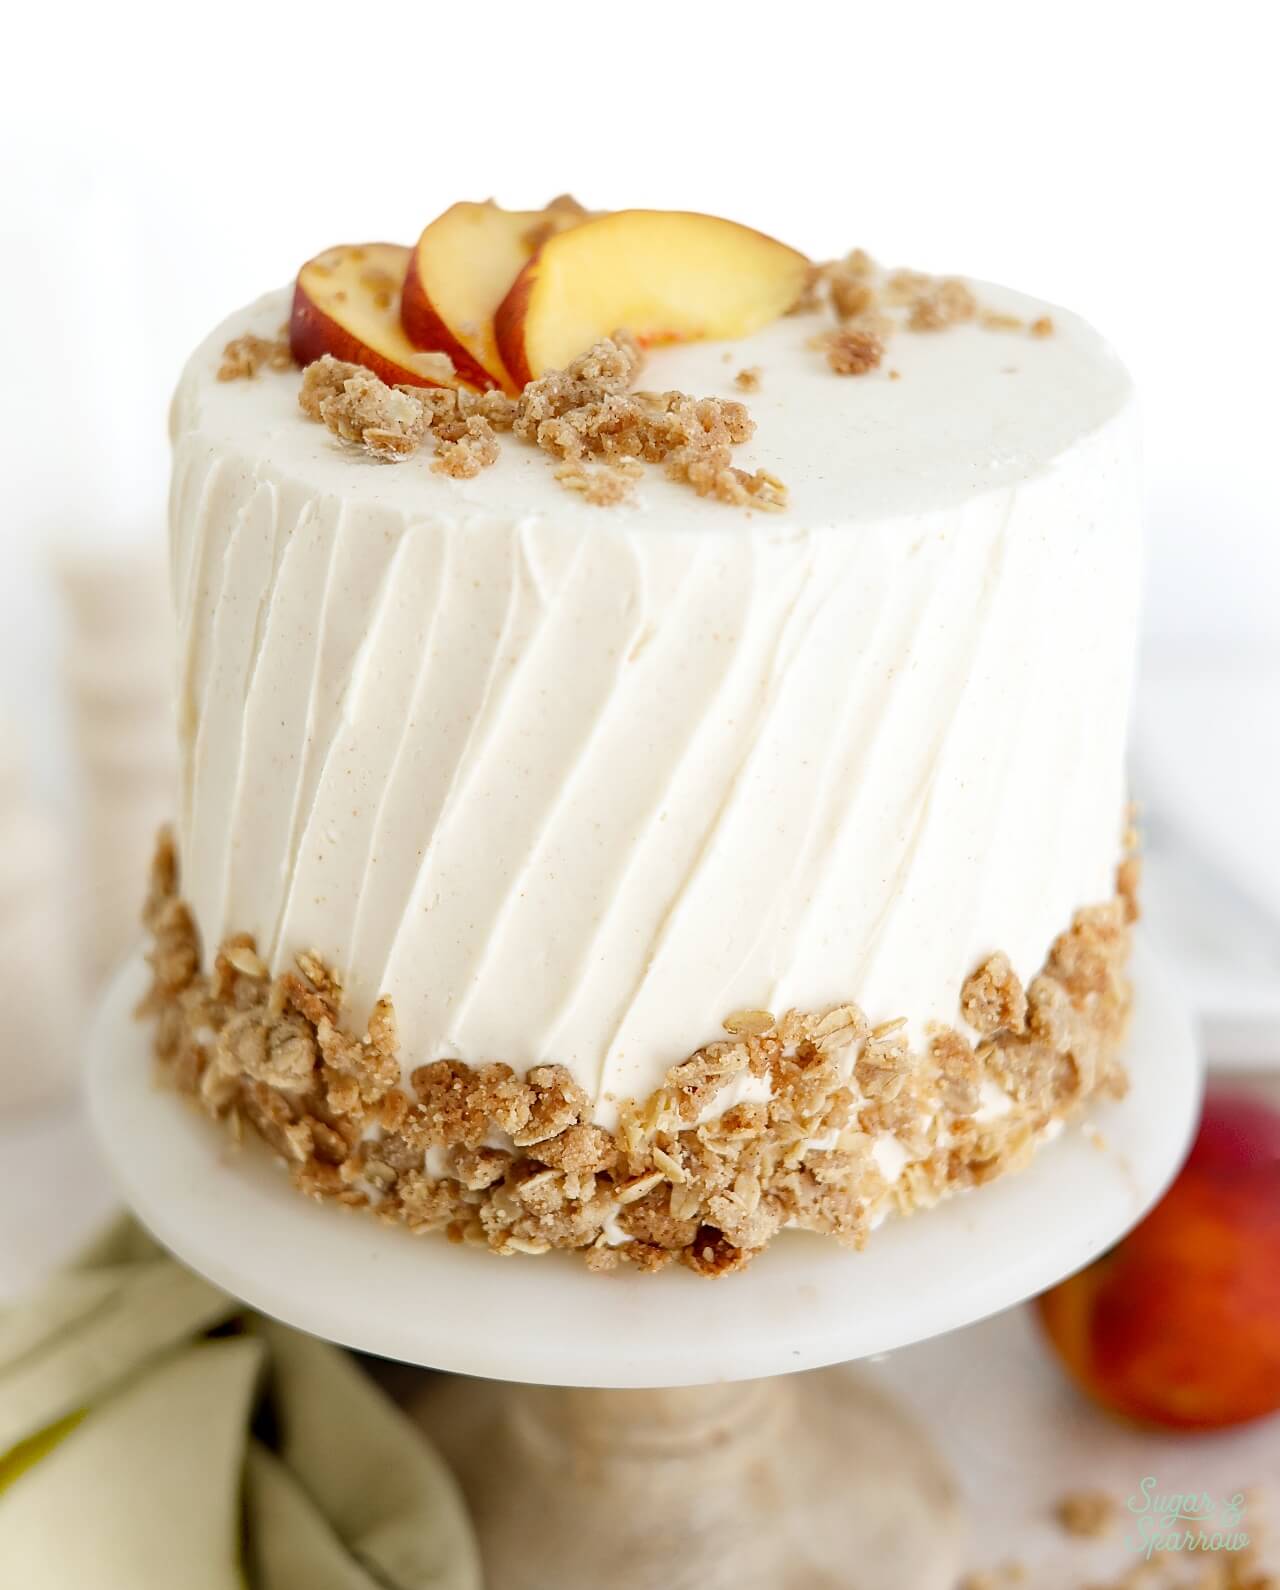
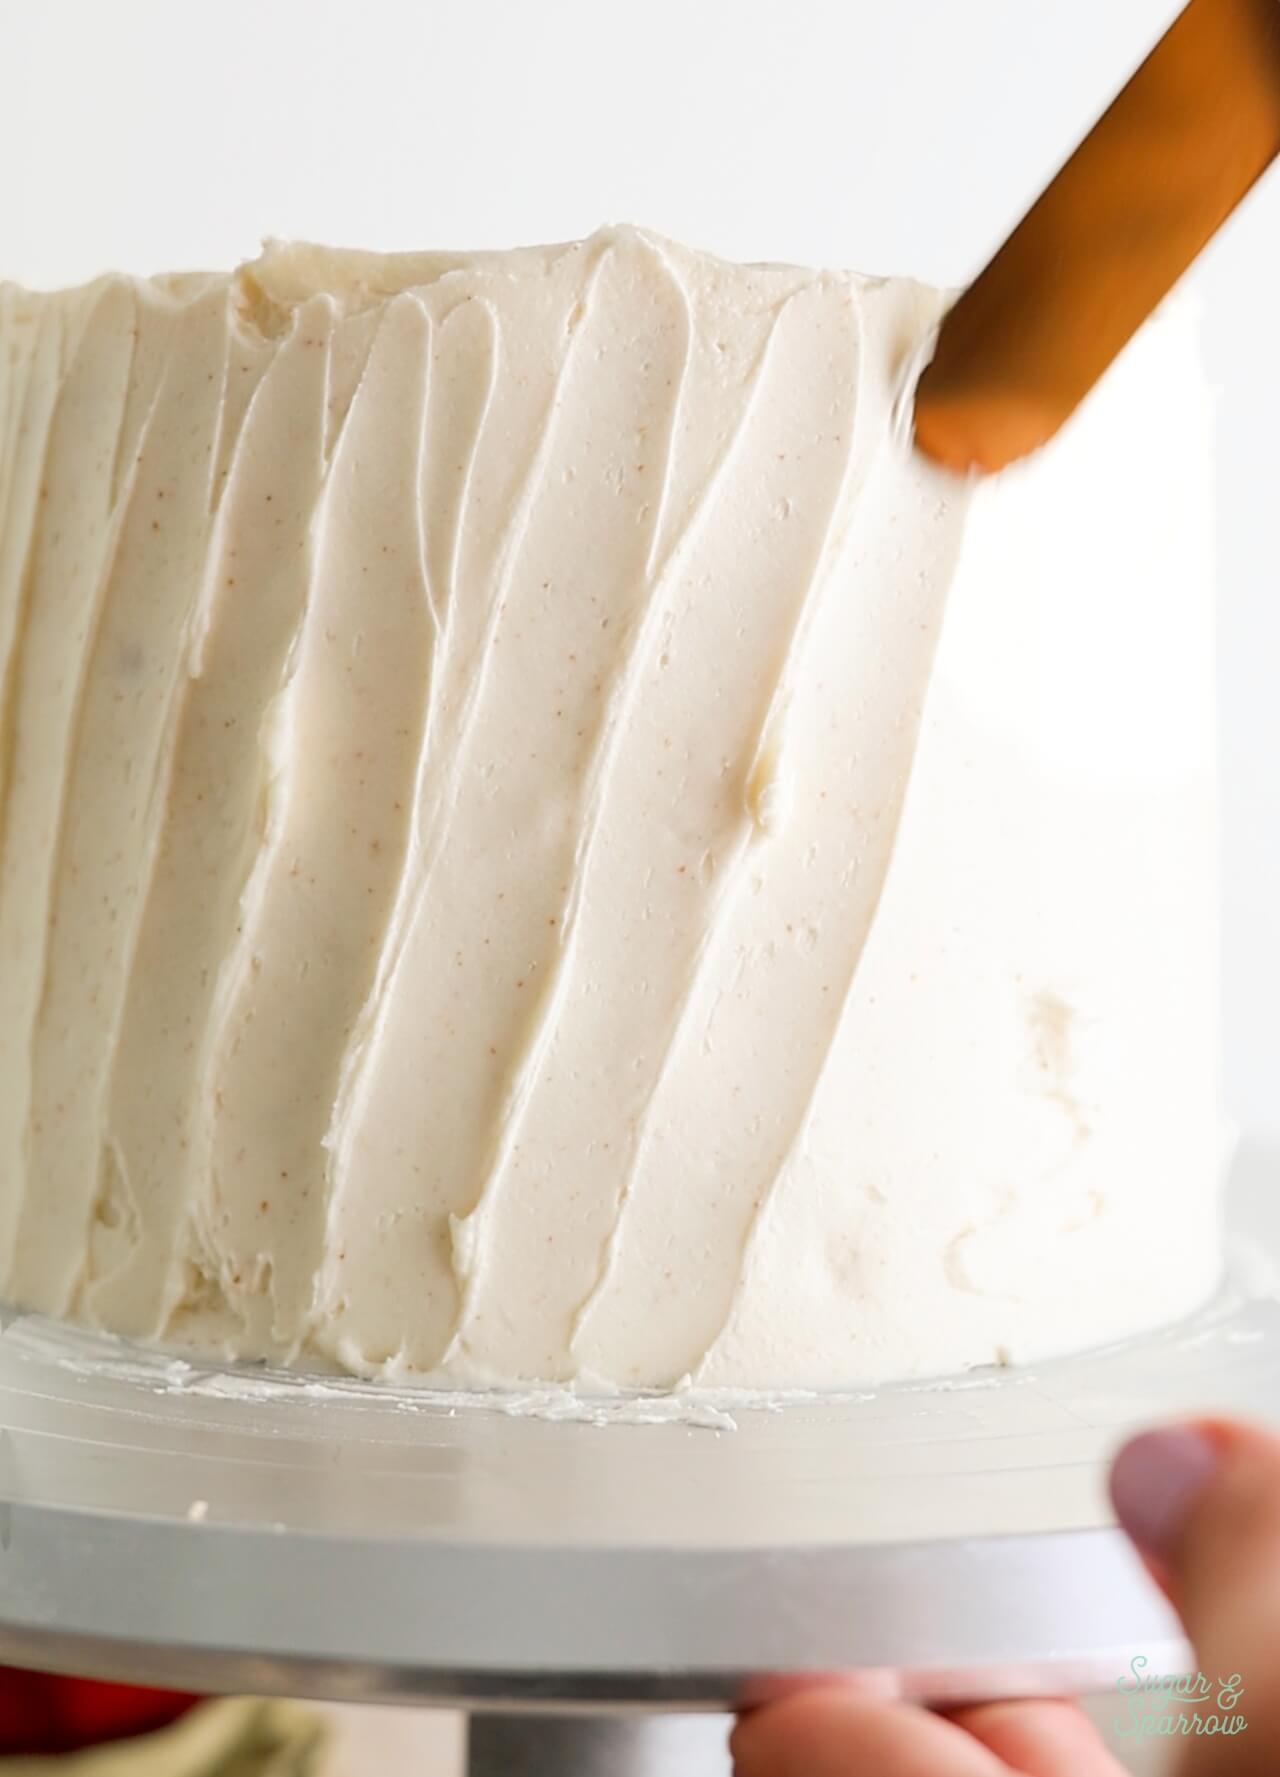
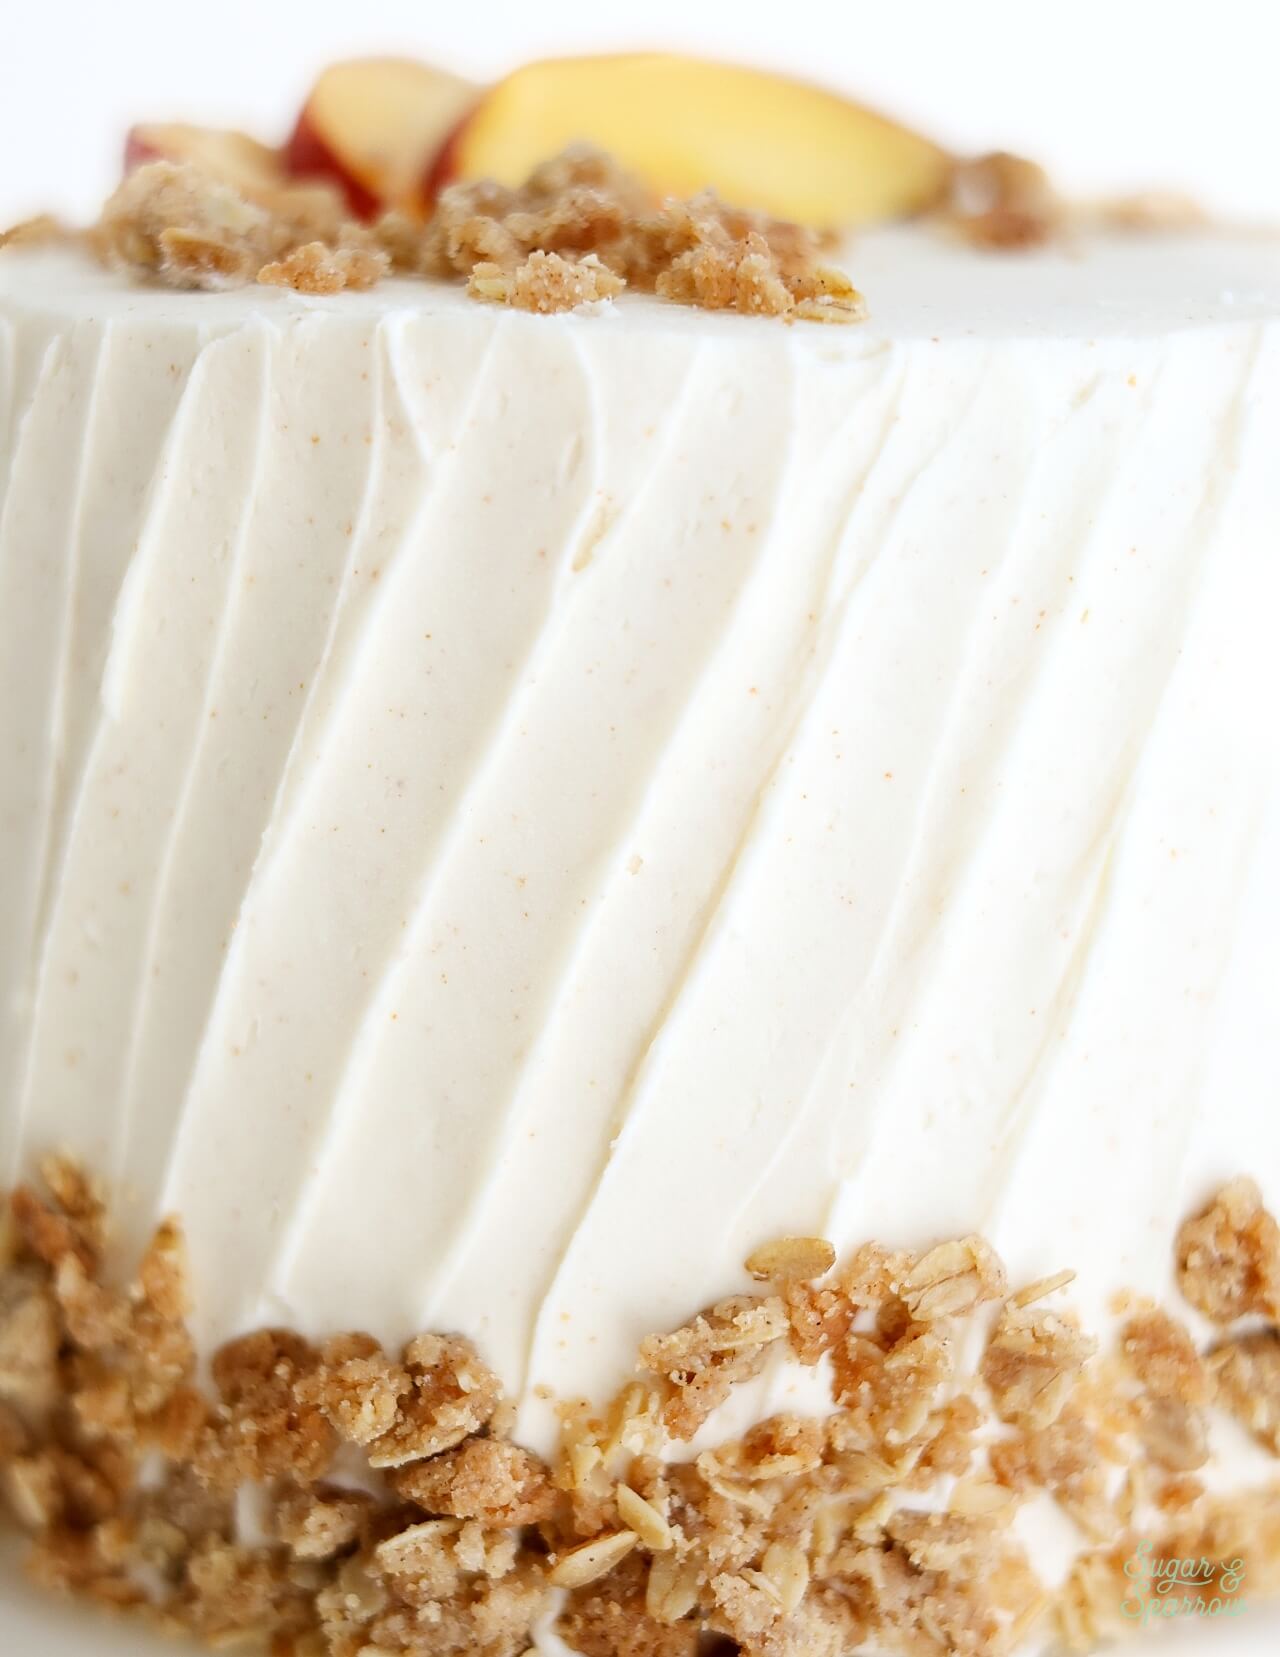
Frost the Cake. Use the rest of the brown butter frosting to decorate the cake. After adding the frosting to the sides I used a small icing spatula to create diagonal stripes in the buttercream finish.
Add the Finishing Touches. To finish the look, I added some oat streusel to the bottom ⅓ of the cake as decoration, then added fresh peach slices to the top of the cake and sprinkled more streusel.
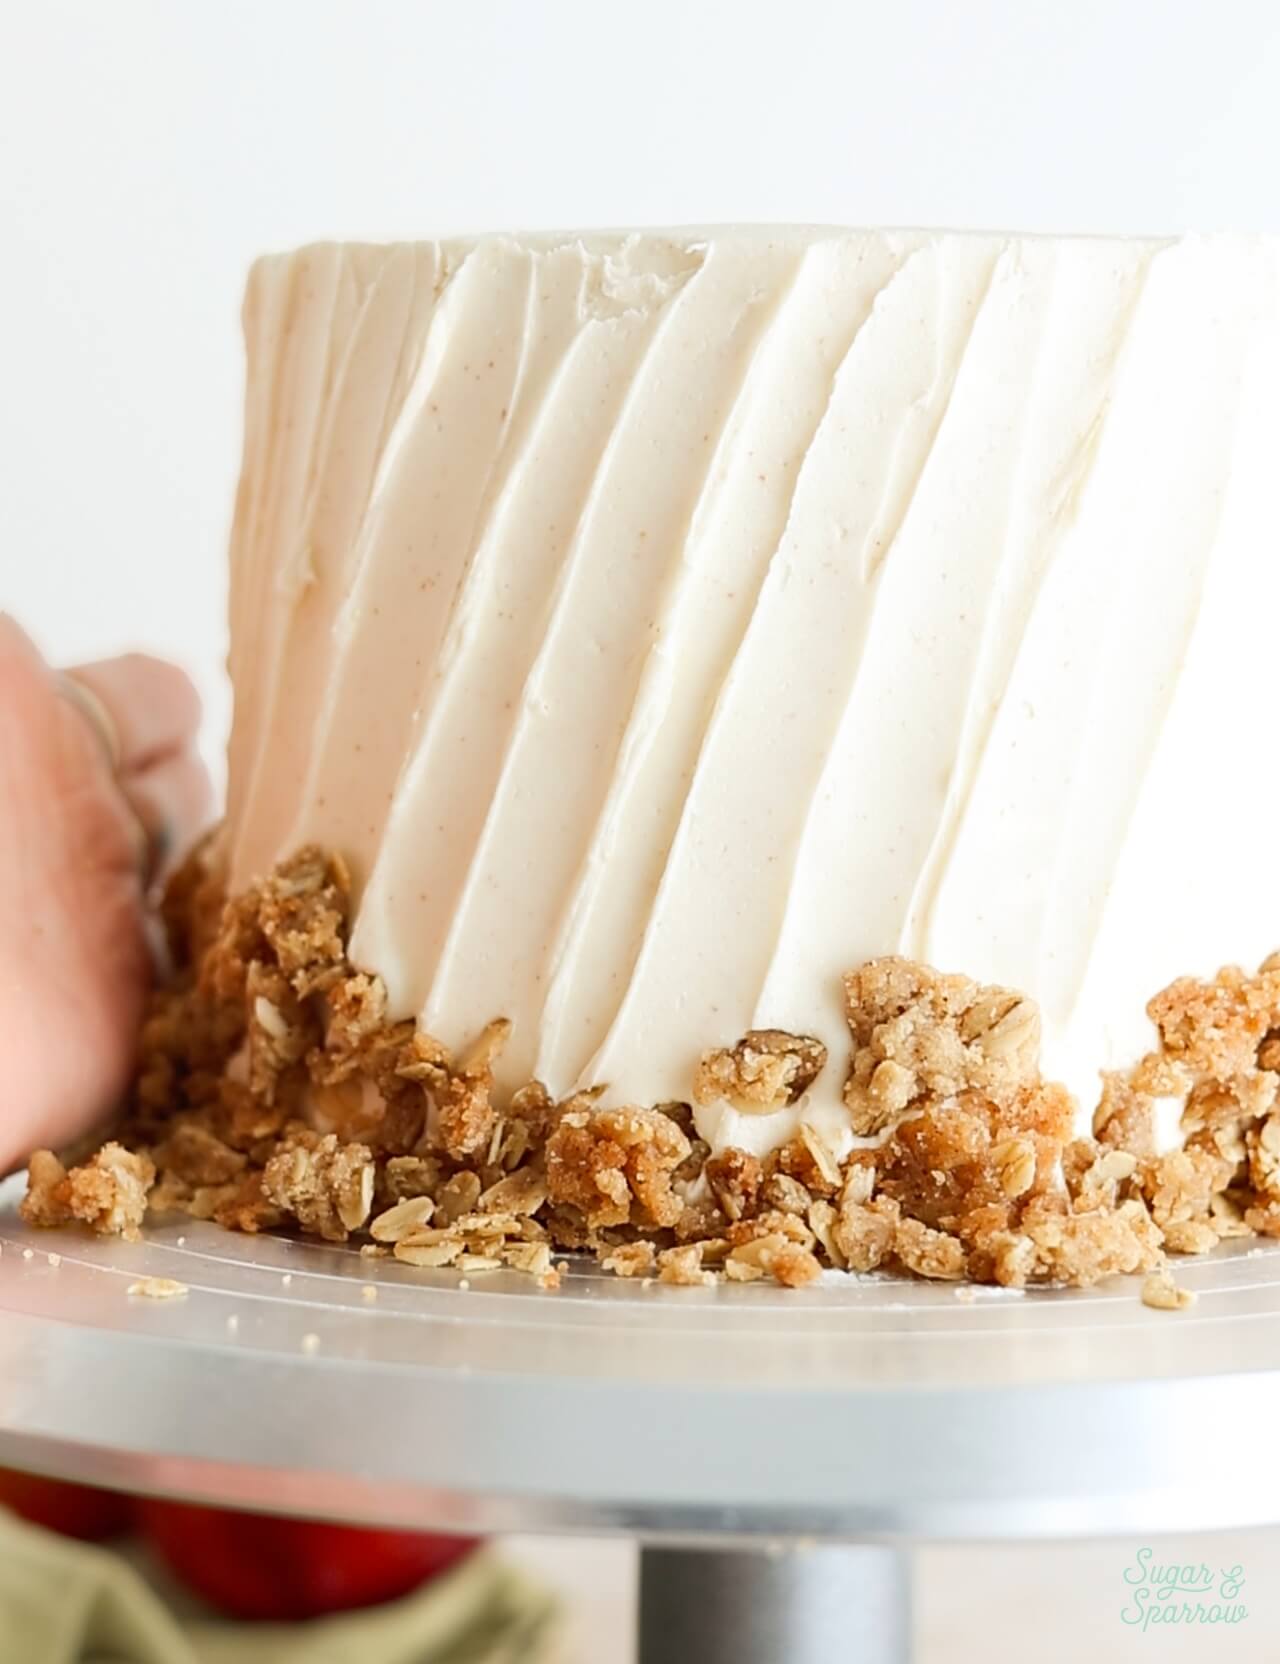


I love the way this peach crisp cake turned out! It’s rustic and simple, inviting, and looks as delicious as it tastes.
More Summer Dessert Recipes You’ll Love:
If you love baking with seasonal produce and flavors, here are some of my favorite cakes and desserts that are perfect for a summer harvest:
- Blackberry Crisp Layer Cake
- Black Forest Cake
- Mixed Berry Crisp
- Fruit Pizza with Summer Berries
- Berry Chantilly Cake
- No-Churn Strawberry Shortcake Ice Cream
- Strawberry Layer Cake
- Lemon Blueberry Layer Cake
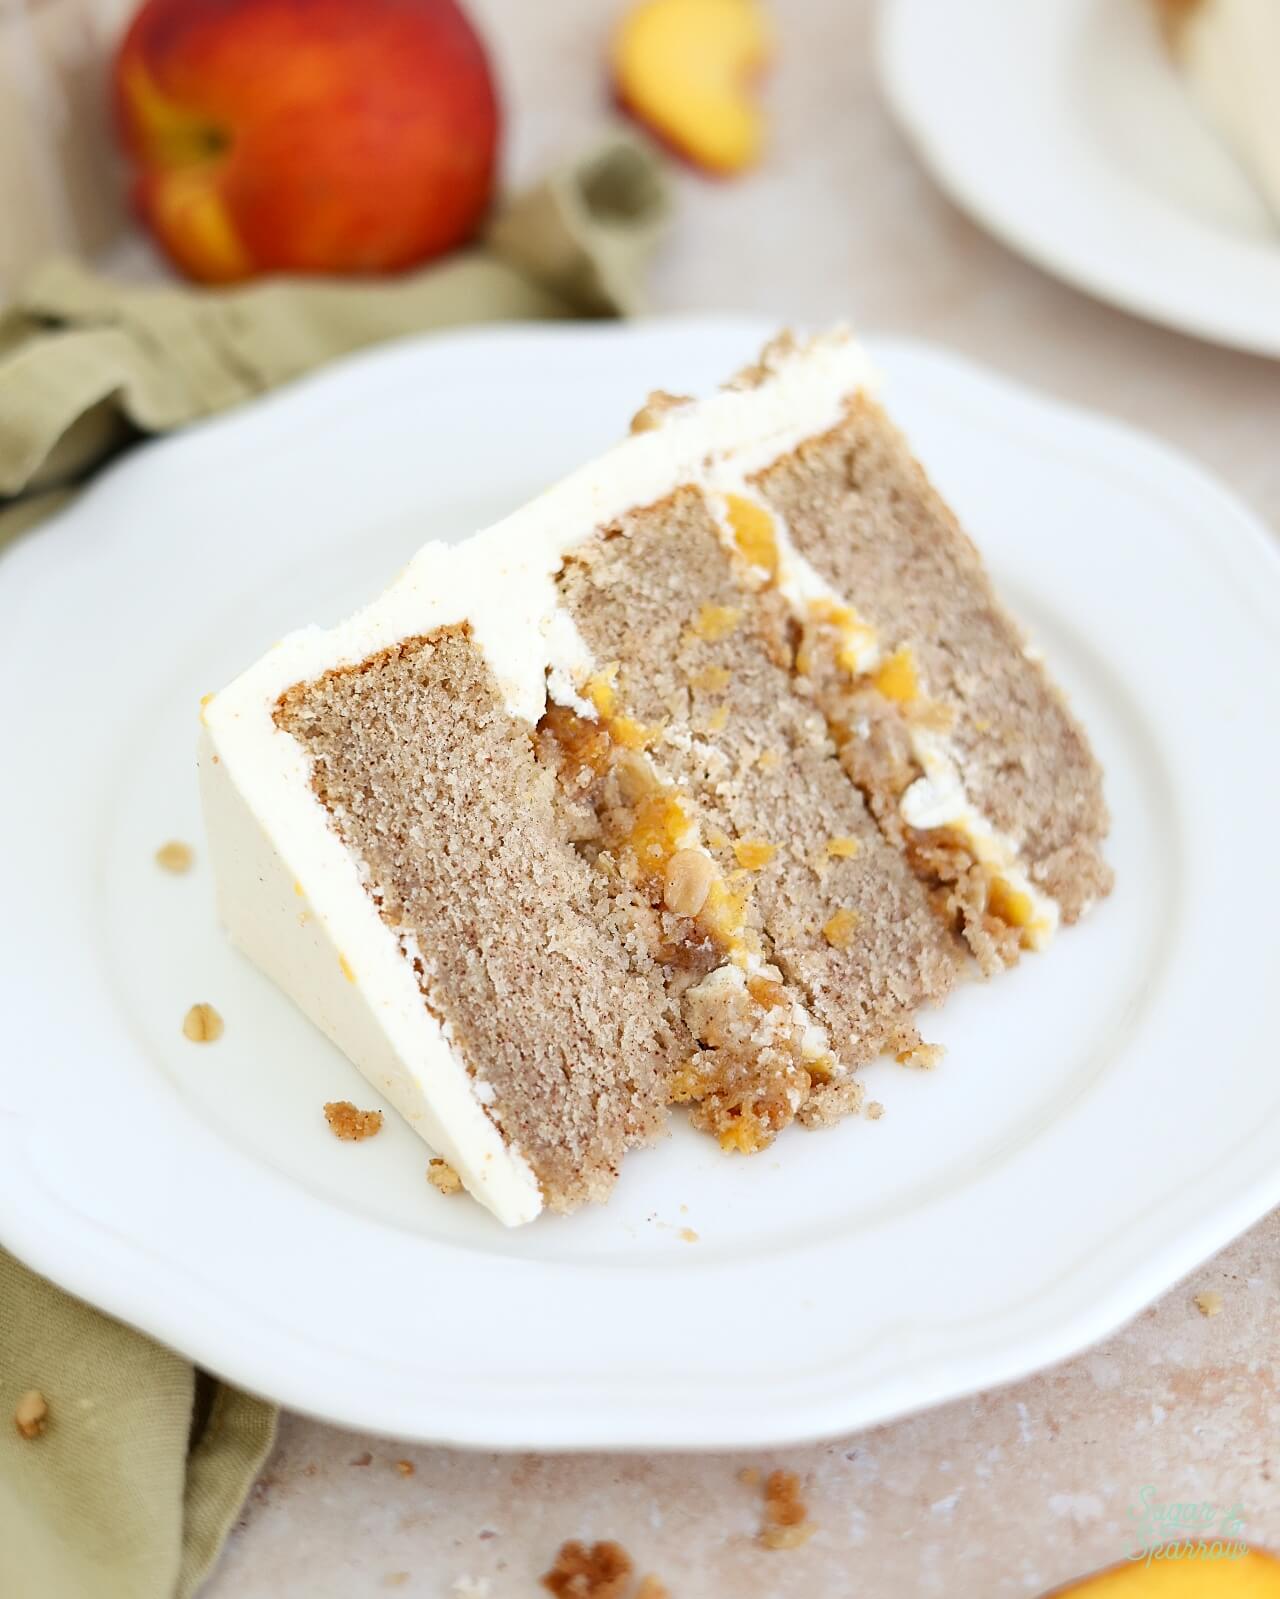
I hope you love this peach crisp cake as much as I do! Let me know what you think in the comments below and feel free to tag @sugarandsparrowco on Instagram to show me. I love to see what you make with my recipes!
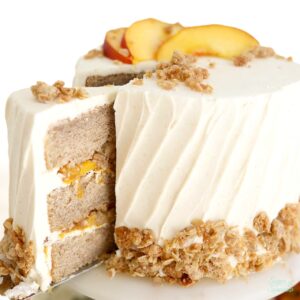
Peach Crisp Cake
Ingredients
Cinnamon-Vanilla Cake
- 2 Cups (210g) sifted cake flour* DIY recipe in notes
- 1 1/2 tsp baking powder
- 1/2 tsp baking soda
- 2 tsp ground cinnamon
- 1/2 tsp salt
- 1/2 Cup (113g) unsalted butter, room temperature
- 2 Tbsp vegetable oil any unflavored cooking oil
- 1 1/3 Cups (267g) granulated sugar
- 2 large eggs, room temperature
- 1/3 Cup (80g) sour cream, room temperature
- 2 tsp pure vanilla extract
- 3/4 Cup (180ml) whole milk, room temperature
Peach Filling
- 2 Cups (314g) fresh peaches, diced (about 2 medium peaches)* see notes for frozen or canned peaches
- 2 Tbsp light brown sugar
- 1/2 tsp cinnamon
- 1 1/2 tsp water
- 1 1/2 tsp cornstarch
Brown Butter Frosting
- 1 1/2 Cups (339g) unsalted butter, divided
- 4 1/2 Cups (540g) powdered sugar
- 1 1/2 tsp pure vanilla extract
- 2 Tbsp whole milk, room temperature
- 1/4 tsp salt, or to taste
Baked Oat Streusel
- 1/2 Cup (40g) old-fashioned oats
- 1/2 Cup (60g) all purpose flour
- 1 1/2 Tbsp granulated sugar
- 1/4 Cup (50g) packed light brown sugar
- 1/2 tsp ground cinnamon
- 1/4 tsp ground nutmeg
- 1/8 tsp salt
- 1/4 Cup (57g) unsalted butter, softened
Instructions
Make the Cinnamon-Vanilla Cake
- Preheat the oven to 350°F (177ºC). Prepare three 6-inch or two 8-inch cake pans by spraying the sides with baking spray and fitting a parchment paper circle to the bottom of the pan.
- In a medium bowl, add the sifted cake flour, baking powder, baking soda, cinnamon, and salt. Whisk to combine and set aside.
- In the bowl of your stand mixer with the paddle attachment (or with a handheld mixer and large bowl), beat the butter on high speed for two minutes until it's light and creamy. Add the sugar and vegetable oil, then mix on medium-high speed for another two minutes. Scrape down the bowl and paddle as needed. Turn the mixer to low speed and add the eggs one at a time. Add the vanilla and sour cream, turn the mixer to high speed, and beat for one full minute. It may look curdled at this point, but don’t worry – it will become smooth cake batter at the end.
- Add the dry ingredients all at once and turn the mixer to low speed. Mix until just combined, then slowly pour in the milk. Continue to mix on low speed until just combined, about 30 seconds. Scrape down the sides and bottom of the bowl and give it a few stirs with a whisk to make sure there are no lumps. The batter will be slightly thick.
- Pour the batter evenly between the prepared cake pans, then bake for 28-32 minutes. They're done when they spring back to the touch and a toothpick inserted into the middle comes out clean. Let the cakes cool in the pan for five minutes before turning them out onto a wire rack for an additional few hours of cooling.
Make the Peach Filling
- Peel and dice the peaches, then set half of the peaches (1 Cup, 157g) aside. Add the other half of the diced peaches into a medium saucepan along with the brown sugar and cinnamon. Stir to combine and set the pan over medium heat. The peaches will start to leak their juices as they cook, so stir frequently as you bring the mixture to a boil. At this point, reduce the heat to low and simmer for 8 minutes while continuing to stir frequently.
- Remove the peaches from the heat and use a potato masher to mash them into a puree. Mix together the cornstarch and water and add it in, along with the remaining peaches. Cook until the newly added peaches are soft and the filling is thick, about 5 minutes.
- Transfer the peach filling to a heat proof container and let it cool in the refrigerator until cold and thickened. If you're cooling it for longer than an hour, cover the filling.
Make the Baked Crisp Topping
- Preheat the oven to 350ºF (177ºC) and line a cookie sheet with parchment paper. Add all of the ingredients except for the butter into the bowl of a stand mixer fitted with the paddle attachment. Mix together on low speed to combine, then add in the softened butter. Continue mixing on low speed until the mixture begins forming pea-sized clusters.
- Spread the mixture evenly onto the parchment-lined cookie sheet, then bake for 5 minutes. Stir the topping around a bit with a silicone spatula, then bake for another 5 minutes until it begins to turn golden brown. Let the crumble topping cool completely to room temperature, then store in an airtight container until you’re ready to assemble the cake.
Make the Brown Butter Frosting
- Set 1 Cup (226g, 2 sticks) of the unsalted butter aside so that it comes to room temperature by the time you're ready for it. Use the remaining 1/2 Cup (113g, 1 stick) of butter with the instructions for browning below.
- Brown the Butter: Add 1/2 Cup (1 stick) of the unsalted butter into a large frying pan and cook over medium heat until the butter melts, stirring occasionally. Continue cooking for another 1-2 minutes while stirring constantly. The melted butter will start to foam on top, then will turn light brown in color and smell deliciously nutty. Remove from heat at this point and transfer to a glass container. Allow it to re-solidify for about 2 hours at room temperature or place it into the refrigerator for about 30 minutes. It should be completely room temperature and thick (about the consistency of a thick caramel) before continuing on with the buttercream recipe.
- Once the brown butter is room temperature, cream the rest of unsalted butter in the bowl of a stand mixer fitted with the paddle attachment. Mix on medium-high until creamy and light in color, about 5 minutes, scraping down the bowl and paddle as needed.
- Add the cooled brown butter and vanilla and mix on medium speed until uniform. Turn the mixer to low speed and add the powdered sugar a few cups at a time, scraping down the bowl and paddle after mixing in each addition. Add the milk and salt and continue mixing on low speed until smooth.
Assembly
- Once the cinnamon-vanilla cakes are completely cooled, level them to your desired height. Add a swipe of brown butter frosting onto a cardboard cake circle and place the first cake layer on top. Place about 1 Cup of the brown butter frosting into a piping bag and snip off 1/2 inch opening, then pipe a dam around the edge of the cake layer. Add a thin layer of brown butter frosting into the center of the dam and smooth it down, then top peach filling until the dam is about 2/3 full. Top with a layer of baked oat streusel, then place the next cake layer on top.
- Repeat the filling and stacking process with the final cake layer. Crumb coat the cake with brown butter frosting, then place it in the refrigerator for at least 30 minutes to let the frosting set firm.
- Use the remaining brown butter frosting to decorate the cake. To create the look pictured, use a small icing spatula to create diagonal swipes in the cake finish, then press more of the baked oat streusel around the bottom 1/3 of the cake. Top with sliced peaches and more oat streusel.
Notes
- The cinnamon-vanilla cake layers can be baked ahead and stored at room temperature, wrapped in plastic wrap, for up to two days. Alternatively you can store the cakes in the freezer for up to two months.
- The peach filling can be made ahead and stored in an airtight container in the refrigerator for up to one week.
- The baked oat streusel can be stored in an airtight container in the refrigerator for up to two weeks.
- The brown butter can be made ahead and stored in an airtight container for up to two weeks. When you’re ready to use it, bring it back to room temperature. It should be slightly creamy before using in this recipe.
- The frosting can be made ahead and stored in an airtight container in the refrigerator for up to two weeks. When you’re ready to use it, bring it back to room temperature and re-mix in your stand mixer to bring it back to smooth buttercream consistency.
- See this blog post for more tips on making and decorating cakes ahead.


This was a delicious cake. The brown butter frosting was probably one of the best frosting I have ever had.
Yay, Elizabeth! I’m so happy you loved this one!
I made this cake…but it tasted crazily sweet..I used the amount of sugar mentioned but its a lot…i could not eat..such a pitty..sorry but the European mind cannot take that amount of sugar..is there a possibility to reduce sugar in all steps?
Hi Maria! Sorry you found this cake to be too sweet. My best recommendations would be to make a swiss meringue buttercream instead of the American buttercream here (something like this: https://bakingwithbutter.com/brown-butter-swiss-meringue-buttercream/). I don’t recommend reducing the sugar in the cake because that tends to change the texture of the cake, but you can reduce the amount of sugar in the peach filling to 1 Tbsp brown sugar instead of 2. Hope that helps!
Thank you! What if I put 190gr granulated sugar in the cake? And no sugar at all in the peach filling ?
Hi Maria! Lowering the sugar amount in the cake will yield cake layers that are not as fluffy. Sugar softens the texture of the cake in addition to sweetening. So it would really be an experiment if you want to lower the sugar in the cake. The sugar is also responsible for thickening the filling, so I would still add a little bit (like 1 Tbsp or a couple teaspoons). Hope that helps.
This cake is AMAZING!!!!! A friend requested it for his birthday – I was grateful using frozen peaches was an option – and it was well worth the time it took to create it!! To save myself some time, I baked the layers (my apartment smelled heavenly) a week before and froze them (and decorating a cake that is still a little cold is so much easier) and couldn’t resist nibbling on the crumble when it came out of the oven.
There are definitely many steps, but not a lot of different ingredients since they are repeated throughout the recipe. Take your time, read the recipe and do some of the steps ahead of time to be rewarded with this cake!!!!
Yay, Margot! I’m so happy this was such a hit!!
How long does the cake last in the fridge??
Hi Zoe! It can last up 4-5 days in the refrigerator. Just remember to bring it to room temperature before serving for the best texture.
I just made this and my husband took a bite and went into food euphoria! I love when I make something and I can see it on his face how wonderful it is! Hes a chef so his opinion i dont take lightly! This was the first time trying one of your recipes and I cant wait to try the others!!!! Thank you for sharing your talents!
That’s amazing, Carrie! I’m so happy to hear this was such a hit! Thanks so much for letting me know 🙂
Would the flavor and texture combination still be ok if I did not include the oat streusel ?
Yes absolutely! It won’t be a peach crisp cake, but a brown butter peach cake will still be DELICIOUS!