
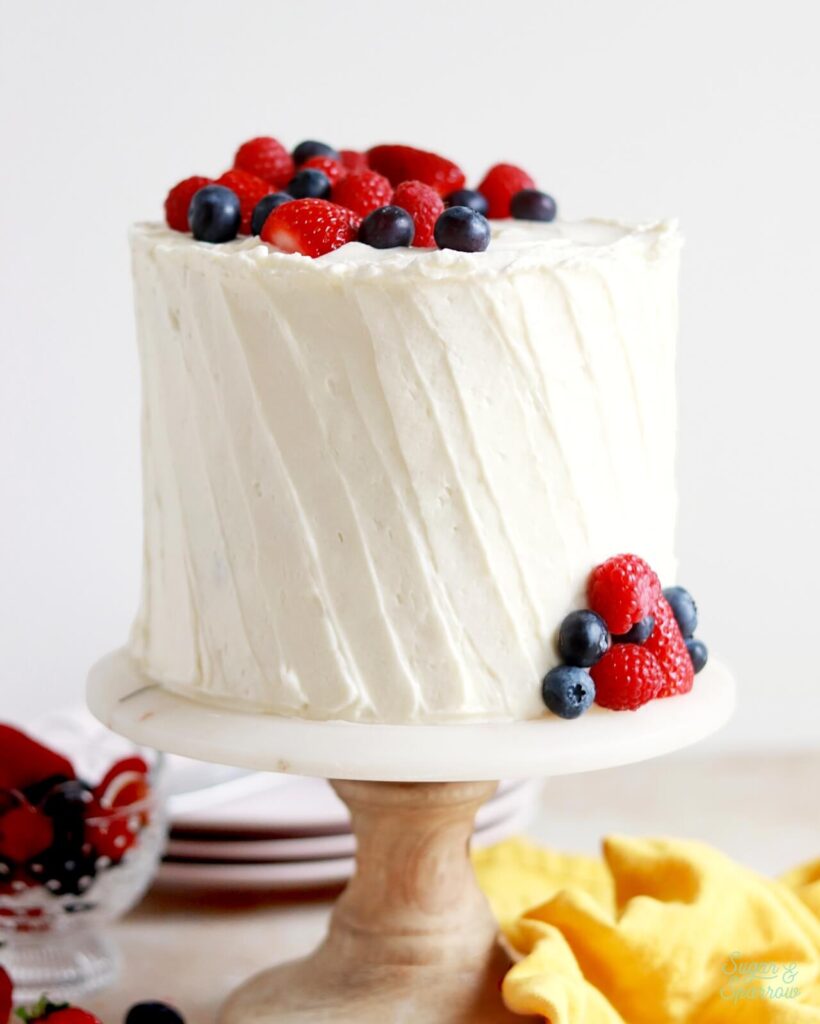
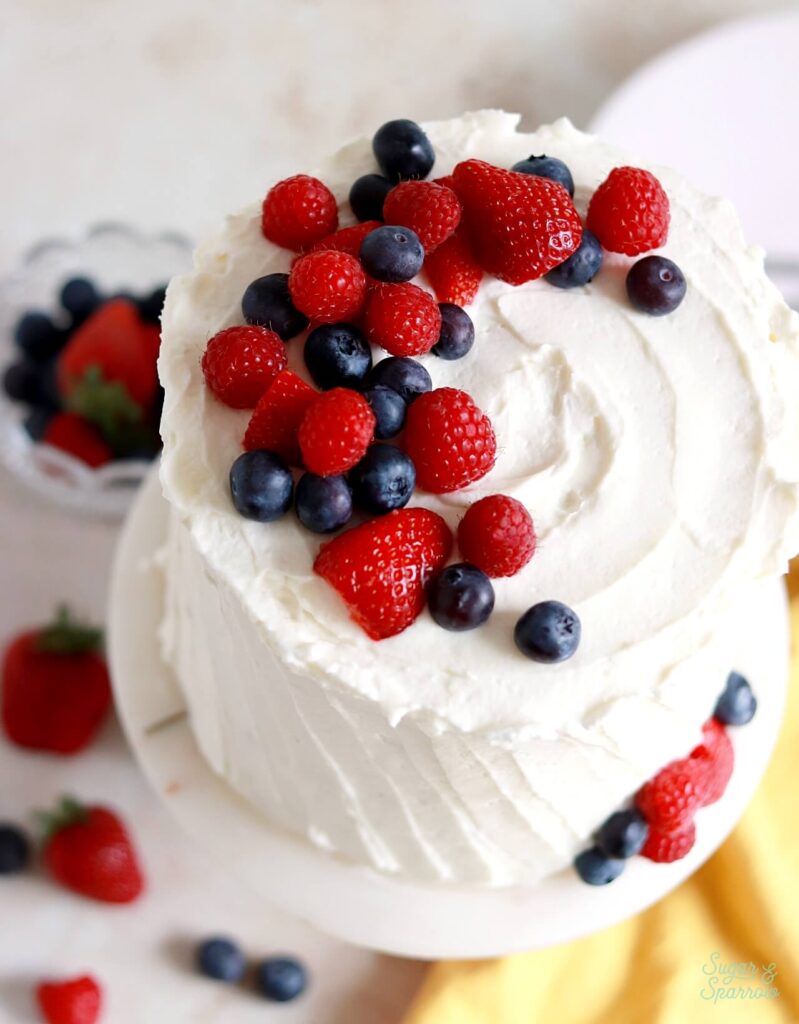
Fully inspired by the iconic Whole Foods cake and every bit as delicious! My version of Berry Chantilly cake has layers of soft, fluffy bakery-style white cake, strawberry jam, Chantilly cream frosting with rich notes of mascarpone, and lots of fresh berries throughout. I included a hit of almond extract in the frosting to keep it classic but you can absolutely substitute it with more vanilla extract if you prefer. Either way, it’s the perfect light and refreshing berries and cream cake for Spring or Summer that everyone will love!
One Reader, Carol, says: “I made this for a work gathering, it was very good and they loved it! I even had a request to make it again the next week. Some people did side by side comparison with the Whole Foods cake and they preferred this recipe that I made vs the store bought one!” ★★★★★
What is Chantilly Cake?
The name Chantilly is a French term meaning “sweetened whipped cream” and in the Southern United States, Chantilly cake pairs that beautiful sweetened whipped cream frosting with light and fluffy vanilla cake. It’s traditionally layered with fresh berries – strawberries, blueberries, raspberries, and sometimes blackberries. It was made famous by a baker working at a Whole Foods and has been a staple at the grocery store chain ever since (which is where I fell in love with it).
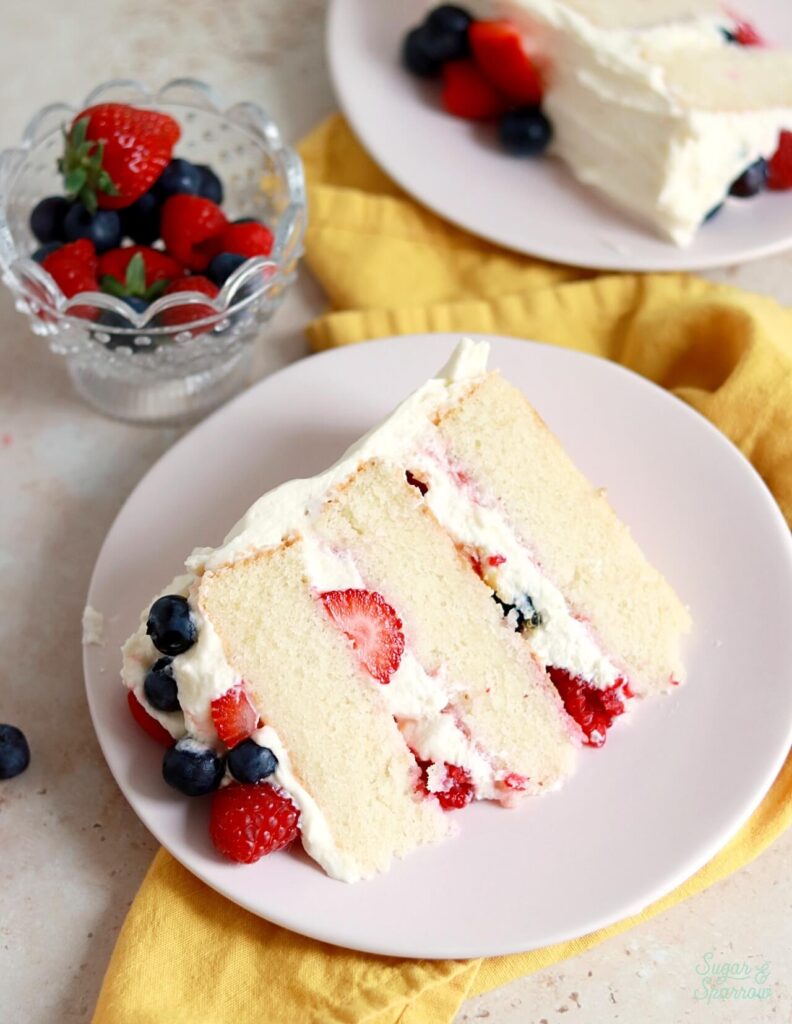
If you don’t like your frosting to be overly sweet, this Chantilly cream frosting is for you. It’s a subtly sweet whipped cream frosting made rich in flavor with mascarpone cheese, cream cheese, and almond extract. The cream cheese and mascarpone are the stabilizers here, making this frosting so easy to work with. You can frost a smooth finish, add some texture (like what’s pictured here), and even pipe with it!
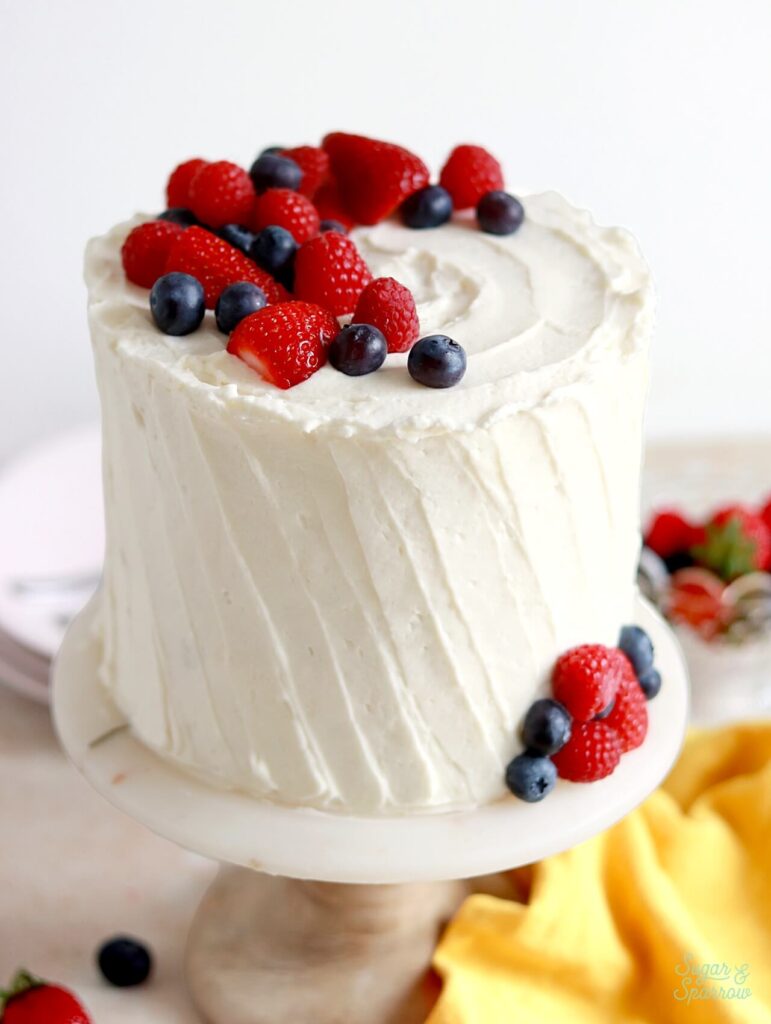
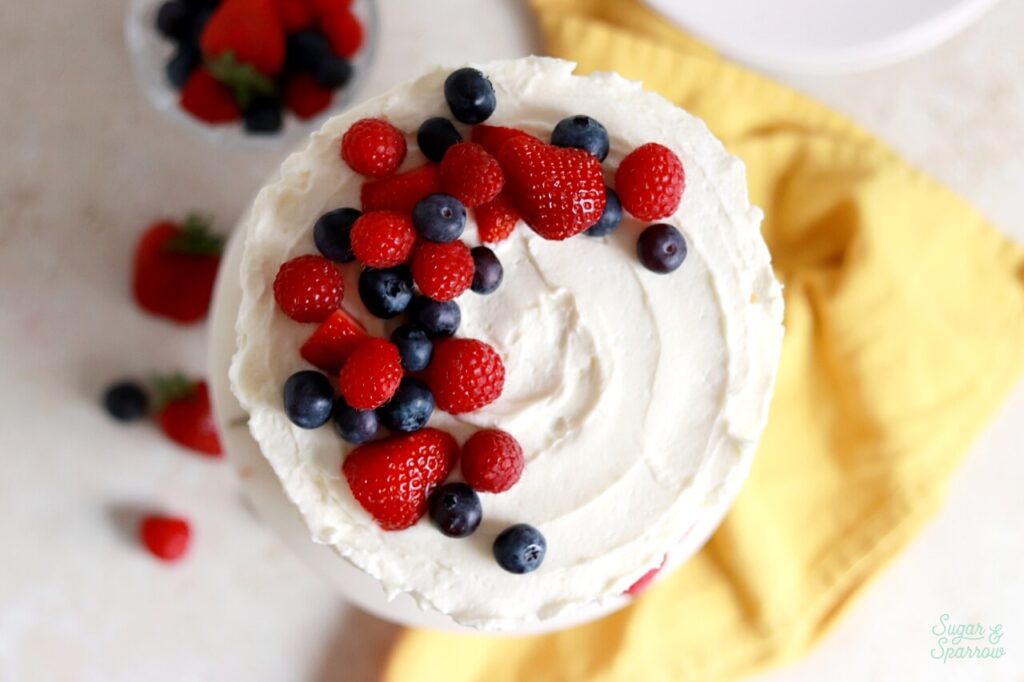
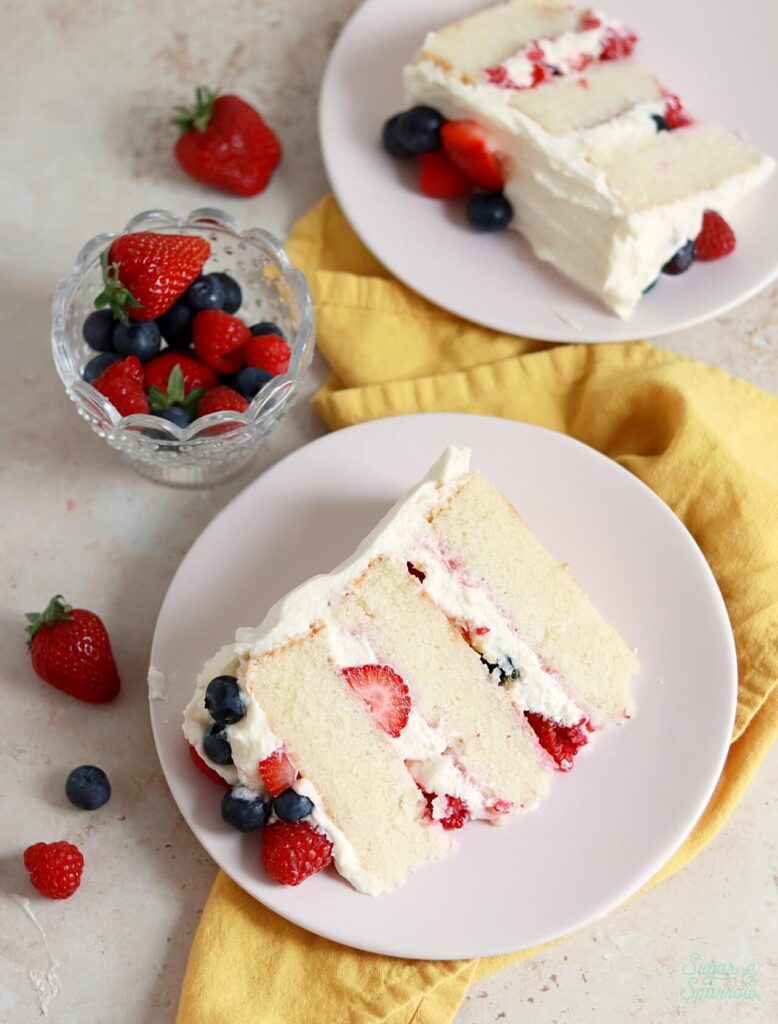
Let’s talk about this white cake recipe. It’s so light and fluffy, which makes it just the right match for this berry-studded Chantilly cream frosting. Even though these cake layers bake up fairly flat, it’s important to level the cake layers before assembling this cake. Not only will the finished cake be much more level and perfect overall, removing the caramelization from the top of the cake will help it soak up all the flavor and moisture of the jam, frosting, and berries.
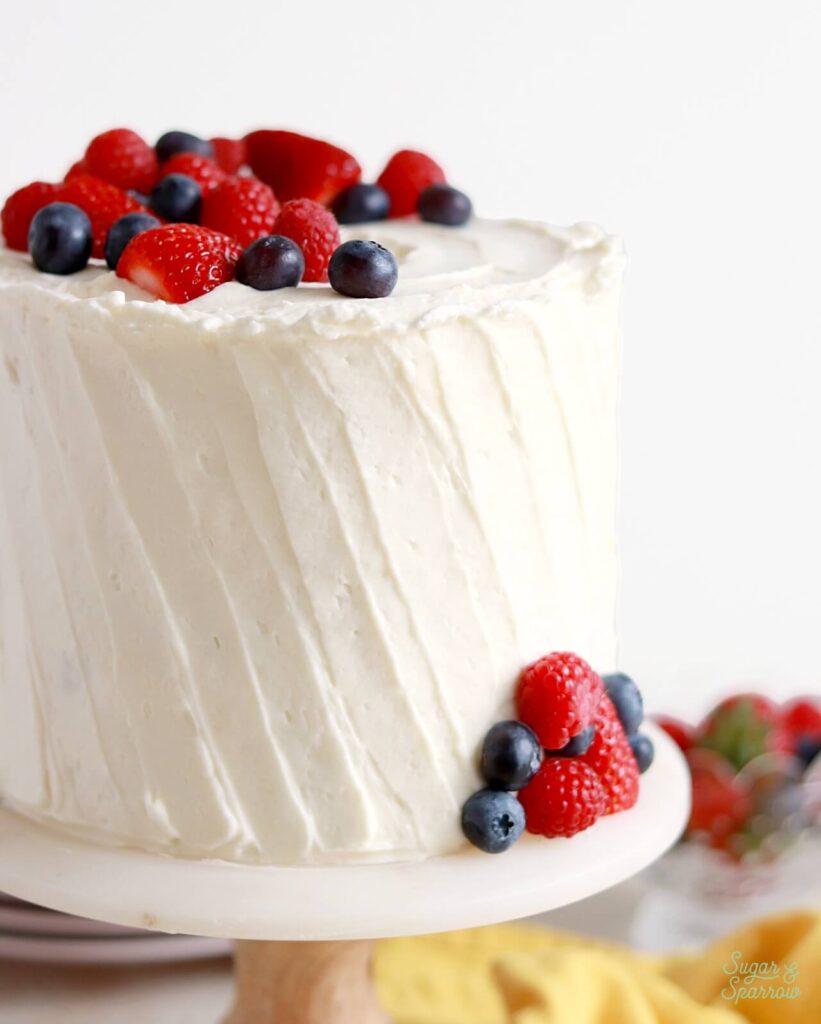
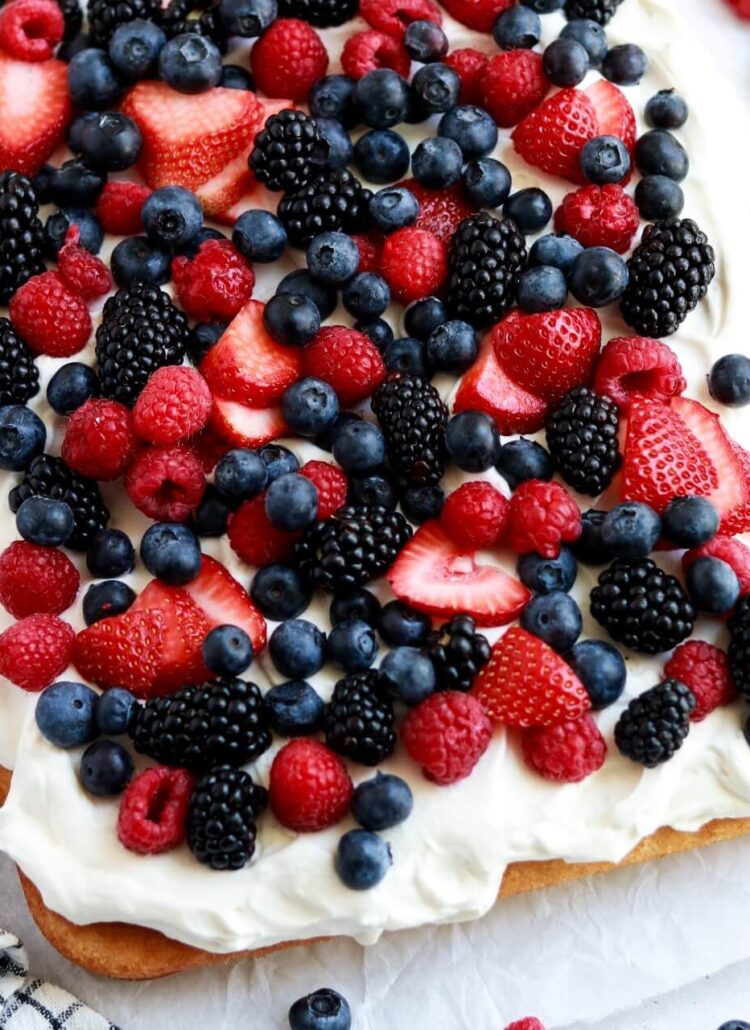
To decorate, I kept things simple with some rustic texture and fresh berries. I basically swiped a small icing spatula through the frosting diagonally to create the texture on the sides. The Chantilly cream frosting is so easy to work with, so feel free to go with a smooth finish, semi-naked finish, pipe some details, or just follow your heart! Top it with fresh berries for a pop of color and you’re good to go.
How to Store Chantilly Cake
One thing that is definitely worth noting is that this Chantilly cake has to be refrigerated. I recommend taking it out of the refrigerator an hour or two before serving just to bring it to room temperature (I think it tastes better that way) but you can absolutely serve it cold.
Also worth noting: you can assemble this Chantilly cake up to one day ahead of time, any longer than that and the berries may start weeping inside the cake. Check out the make ahead tips in the notes section of the recipe below to help plan your cake baking/decorating timeline out.
Berry Chantilly Cake
Ingredients
Bakery-Style White Cake
- 2 1/2 Cups (265g) sifted cake flour* DIY recipe in notes
- 2 tsp baking powder
- 1/2 tsp baking soda
- 1/2 tsp salt
- 1 1/2 Cups (300g) granulated sugar
- 1/2 Cup (113g) unsalted butter, room temperature
- 4 large egg whites, room temperature
- 1/2 Cup (120ml) vegetable oil
- 1 Tbsp pure vanilla extract
- 1 1/4 Cups (300ml) full-fat buttermilk**, room temperature DIY recipe in notes
Berry Filling
- 1/4 Cup (60ml) berry jam of your choice
- 1 Tbsp water
- 4 Oz (105g) fresh strawberries, quartered
- 2 Oz (55g) fresh blueberries
- 2 Oz (55g) fresh raspberries
- juice and zest of 1/2 small lemon
Chantilly Cream Frosting
- 8 Oz (240g) mascarpone cheese, room temperature
- 4 Oz (113g) full-fat brick-style cream cheese, room temperature must be brick-style, not the spread
- 1 1/2 Cups (180g) powdered sugar
- 1 Cup (240ml) heavy whipping cream, cold
- 1/2 tsp pure vanilla extract
- 1/2 tsp almond extract
Garnish
- 1/4 Cup fresh berries
Instructions
Make the White Cake
- Preheat the oven to 350°F (177°C) and prepare three 6-inch or two 8-inch cake pans by spraying the sides with baking spray and fitting a parchment paper circle to the bottom of each pan.
- In a medium bowl, add the flour, baking powder, baking soda and salt. Whisk together and set aside.
- In the bowl of a stand mixer fitted with the paddle attachment, beat the butter at high speed until creamy, about 2 minutes. Add the sugar and cream it together with the butter at medium-high speed until light and fluffy, about 2 minutes, scraping the bowl and paddle at the halfway point. Turn the mixer to low and add the egg whites one at a time, mixing until they are just combined and scraping down the bowl and paddle as needed. Add the vegetable oil and vanilla, increase the mixer speed to high and beat for 1 minute.
- Turn the mixer off and add the flour mixture all at once. Mix the ingredients on low speed until just combined, then slowly pour in the buttermilk. Continue mixing at low speed for about 30 seconds, until the batter is uniform and combined. The batter will be slightly thin.
- Divide the batter evenly between the prepared cake pans and bake for 28 to 32 minutes. They’re done when they spring back to the touch and a toothpick inserted into the centers comes out clean or with just a few moist crumbs on it. Let the cakes cool in their pans for 5 minutes, then remove them from the pans and allow them to cool completely on a wire rack.
Make the Berry Filling
- Mix together the berry jam and water. Set aside.
- Add the strawberries, blueberries, and raspberries into a medium bowl. Toss together with the lemon juice and zest. Set aside.
Make the Chantilly Cream Frosting
- In a large bowl or the bowl of a stand mixer using the paddle attachment, combine the mascarpone and cream cheese. Beat on medium speed until smooth and creamy, about 30 seconds. Add the powdered sugar a few spoonfuls at a time, beating on low speed until combined. Once fully incorporated, scrape down the bowl and increase speed to medium, and beat until fluffy, about 30 seconds.
- In another large mixing bowl add the cream, vanilla, and almond extract. Beat on medium speed until stiff peaks form, 2 min. Fold the whipped cream into the mascarpone mixture.
Assembly
- Once the white cake layers are completely cooled, level them to your desired height. Add a swipe of Chantilly cream frosting onto a cardboard cake circle and place the first cake layer on top. Spread half of the jam mixture onto the cake layer, then add a layer of Chantilly cream frosting. Press half of the lemon coated berries on top. Place the next white cake layer on top and continue filling and stacking the cake with jam, Chantilly cream frosting, and berries. Crumb coat the cake with chantilly cream frosting, then place it in the refrigerator for at least 30 minutes to let everything settle. The chantilly cream frosting will not firm up much in the refrigerator, but it will be easier to frost over after a trip to the refrigerator.
- To create the design pictured, frost the cake with Chantilly cream frosting and use a small spatula to make diagonal swipes in the frosting on the sides of the cake. Garnish with a crescent formation of fresh berries.
Notes
- The white cake layers can be made ahead and stored at room temperature, covered tightly in plastic wrap, for up to two days. Alternatively, you can cover with plastic wrap and store in the freezer for up to two months before thawing to room temperature.
- The berry Chantilly frosting can not be made ahead because it will lose too much air when stored in an airtight container and therefore won’t be workable. You’ll want to whip up the frosting right before you’re ready to assemble.
- This cake can be assembled up to 1 day in advance and stored in the refrigerator. Any leftovers should be refrigerated, covered, for up to 4 days.
- I don’t recommend freezing an assembled berry Chantilly cake, but you can bake the white cake layers in advance and freeze them for up to 2 months.
I hope you end up loving this berry Chantilly cake as much as I did! I ate way too many slices during the photoshoot and still had zero regrets. Let me know what you think in the comments below and feel free to tag @sugarandsparrowco on Instagram to show me! I love to see what you create with my recipes.

Could you use this recipe with these amounts and instead of using 2 8″ pans and then cutting them into 4 layers (I don’t trust myself with this step). Could you use the same amount of batter split between 3 8″ pans instead of 3 6″ pans? Would this be possible and would it impact baking time?
Hi Amanda! If you split the batter between three 8-inch pans, the layers won’t be very tall. Maybe about 1 inch tall each and the baking time will be less (I’d start checking at 20 min and go from there). If you want cake layers that are as tall as the ones pictured, making 1.5x the recipe will give you the perfect amount for three 8-inch pans. Hope that helps!
Can i use a handheld mixer instead? I dont have the kitchenaid style standing mixer with bowl
Hi Lily! You can definitely use a hand mixer for the cake and frosting recipes. Enjoy!
Made this for my sister’s bridal shower and it was a hit! Used plain strawberries instead of the berry filling because that’s what my sister prefers.
I was wondering if this recipe would work well for cupcakes or even a single layer cake (9 x 13)? Sometimes the stacking and frosting is a little time consuming.
Hello I leave in Zurich and here I can’t find the brick style cream cheese. Any other option? Thank You
Hi Joana! You could sub it for more mascarpone or use a recipe like this one as an alternative: https://chelsweets.com/mascarpone-cream/
Hi, I plan on making this cake tomorrow and just had a question regarding how long it can be out room temperature before serving? Thank you so much!
Hi Mary! This cake can be at room temperature for up to 2 hours. Enjoy!
Hello, looking forward to making this cake this weekend! Quick question, I saw almond extract in the ingredient list but I don’t see it in process. Do you add it in the batter with the vanilla extract or do you add it to the frosting?
Hi Alyssa! Thanks so much for catching that. You add to the heavy whipping cream along with the vanilla when you’re making the chantilly cream frosting. I added it to the instructions (step 2 of the frosting) so there’s no more confusion!
Hi,
DELICIOUS.. light and spongy. I experimented with this recipe because I’m making it for my daughter’s 50th birthday in March. There will be 42 people coming so I’m doing 2 x 8′ and 2 x 10. I made this in 2 x 8″ pans, but I don’t think the layers are not tall enough to split to make a 4-layer cake. I’m afraid the Chantilly cream and fruit will weight them down.
What do you think?
Thank you for sharing your delicious recipes…
Warm Regards,
Kathee
So happy you love this recipe, Kathee! I totally think you could split the cakes and have 4 1″ tall layers. The frosting and berries are super lightweight so it might actually help to have shorter layers and just use less frosting/berries per layer. If you’d rather have taller layers though, I’d recommend making 1.5x the recipe to make 3 8″ layers. Hope that helps!
Thank you, Whitney, for taking the time to answer me. I will definitely do 3 layers.
Hi Whitney! I’m intending to make this cake for my birthday, but one of my attending friends is allergic to all nuts. Would the best substitute be a full teaspoon of vanilla extract instead of half almond and half vanilla?
Hi Natalie! So excited for you to make this and happy birthday! Yes, sub vanilla extract for the almond extract in this recipe and you should be good to go. Enjoy!
It looks like this lovely cake can also be made vegan by substituting the eggs for aquafaba and the butter, cream cheese, and unsalted butter for vegan. Has anyone tried it?
Hi Cara! I’ve never tried making this particular recipe vegan, so it would be an experiment. I do have a vegan vanilla cake recipe that would work for the cake portion of the recipe: https://sugarandsparrow.com/vegan-vanilla-cake-recipe/
Hi! Can this recipe be used to Chantilly cupcakes? How long would I need to bake it?
Hi Sandy! Yes, you can make this recipe as cupcakes! Fill the tins no more than 2/3 full and bake at 350 for 15-18min.
Hello, I am based in UK, we don’t have block style cream cheese, only the spreadable ones. Will spreadable cream cheese work? Thanks.
Hi Tina! The spreadable cream cheese has a lot more water content in it, which is why it doesn’t typically work in frosting recipes (it makes them runny). I know it’s super hard to find block style cream cheese in the UK though. One person did tell me that this brand works well: https://longleyfarm.com/products/full-fat-yorkshire-cream-cheese. If you’d rather skip hunting around for cream cheese though, this mascarpone frosting recipe is also great + easy: https://www.youtube.com/watch?v=5BiEcQRh75Y
This is amazing! Every recipe that I try from your blog becomes my favorite! Thank you soooo much
That makes me so happy to to hear, Al! Glad you love this recipe as much as I do + the others have been hits as well!
Hi! Can this be made into a sheet cake? I want to assemble it in little cake jars. Would you suggest doing 1.5 of the recipe or doubling? Thank you!
Hi Marie! This recipe can be made in a sheet pan. If you’re using a 13 x 19 sheet pan with short sides (like a cookie sheet) you’ll just need one batch of the recipe. Bake at 350 for 10-15 minutes. If the pan is taller, you can make 1.5 or 2x the recipe and the baking time will be longer. Hope that helps!
Hello, Whitney! I made this cake ( but in cupcake form ) this weekend and it was delicious! I didn’t have all of the ingredients for the icing, so I used what I had and ended up with a cream cheese icing with a few drops of almond extract. I topped the cupcakes off with strawberries and blueberries.
Yay, Alicia! I’m so glad this recipe worked well as cupcakes! Sounds delicious 🙂
How many cupcakes did one recipe make? Also, how long did you bake it for?
Hi Devan! This recipe makes about 35-40 cupcakes. Fill the tins no more than 2/3 full and bake at 350F for 15-18 minutes. Enjoy!
Hi Whitney, I love your recipes and I bought all the stuff to start making my own layer cakes. I am so excited! For this one, is it not needed to build a dam for the jam filling?
Yay! I’m cheering you on in your layer cake making! For this cake, you don’t need a dam for the jam. It’ll just be a thin layer of jam you spread on before adding the Chantilly cream frosting.
Hi Whitney
I’m excited to try this cake and your strawberry shortcake layer cake! I made your cherry chip cake as cupcakes with chocolate frosting and cherry almond frosting and they were great. I’ve never tried a 6 inch 3 layer cake before so these will be my first. I’m wondering what is the best way to transport a 3 layer cake. Is there a particular box or plastic Tupperware that you like to use? Thank you and I hope you are enjoying your new son!
Hi Mamie! I’m so excited for you to try all of those recipes and so happy to hear that the cherry chip cupcakes were a hit! Cheering you on in your first 6-inch 3-layer cake too 🙂 I use this method to transport my cakes from the turntable to the box: https://sugarandsparrow.com/how-to-transfer-cakes/ and the boxes I like to use are these: https://amzn.to/42WWJ8h
Thank you Whitney. I’ve noticed in some of your videos that you cut your cakes in triangle pieces. I’ve also seen videos where the cake is cut in four slices, then laid on a cutting board and the slices are cut in half to make smaller pieces. Which is your preferred way to cut these tall cakes?
It depends on how many people the cake is serving! To get the most slices, I’ll cut the cake the way you described (into rectangles, then cut in half). If it’s for a photoshoot or a smaller party where people want larger slices I will cut the cake into triangles. Hope that helps!