
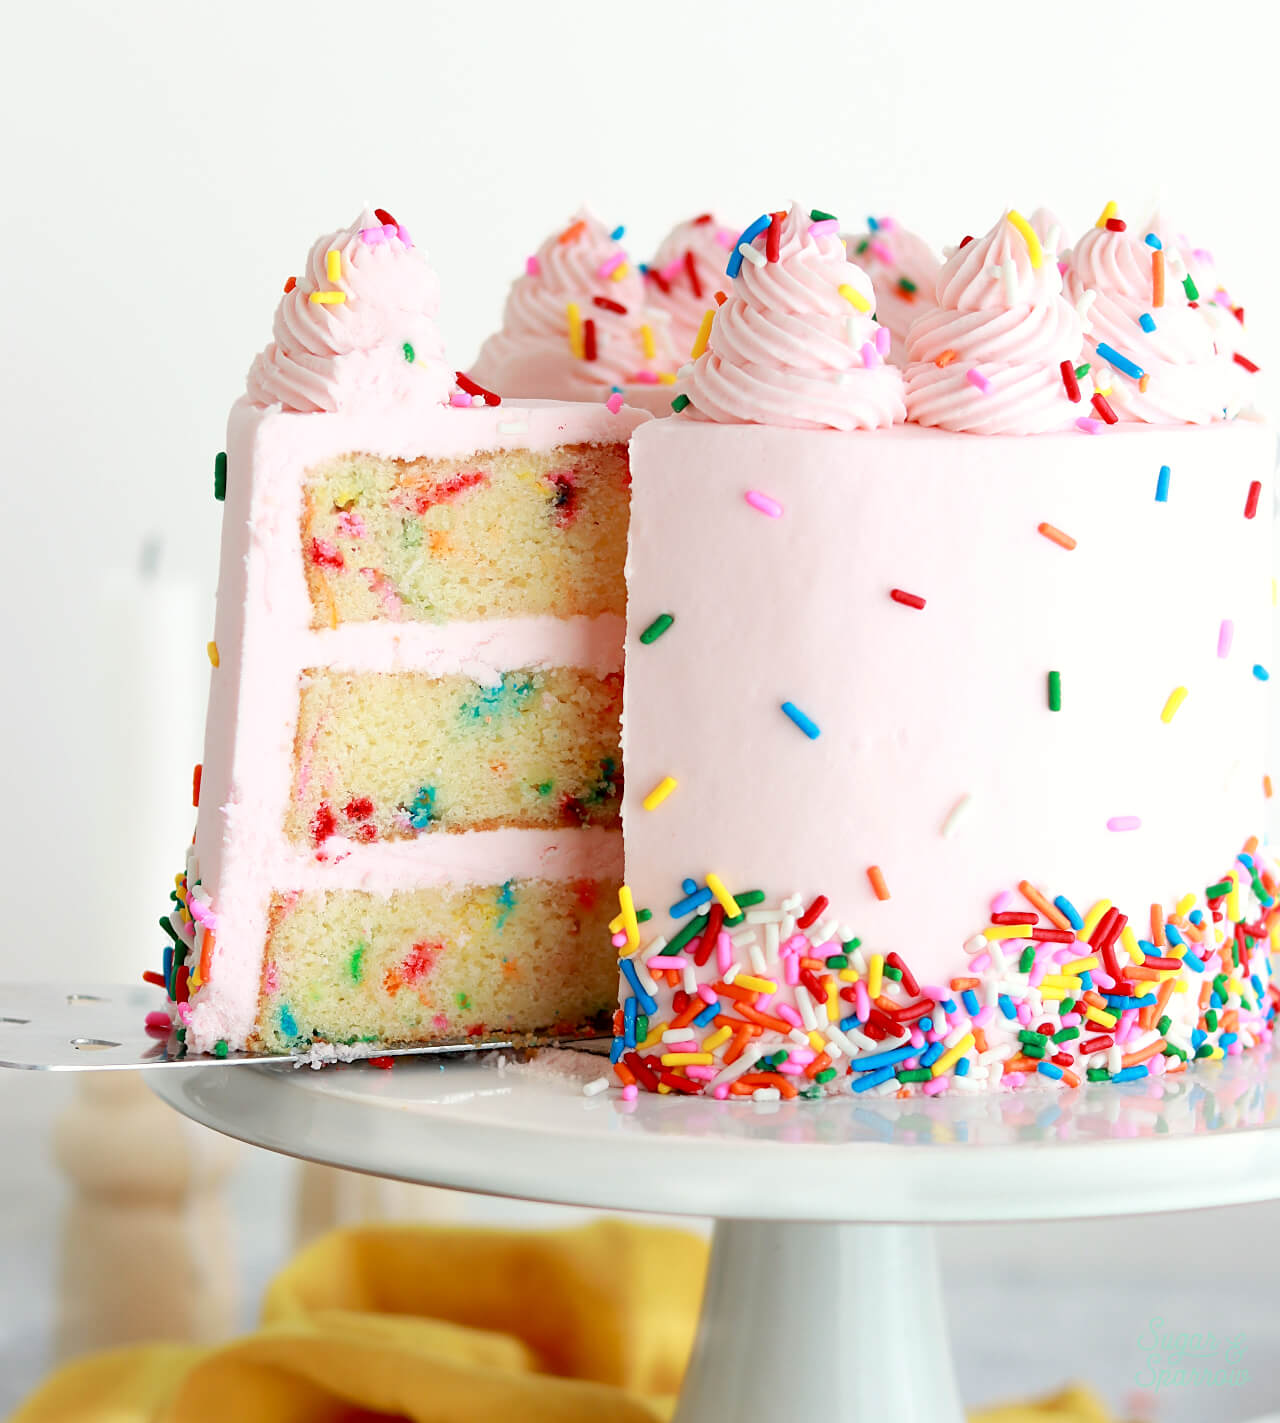
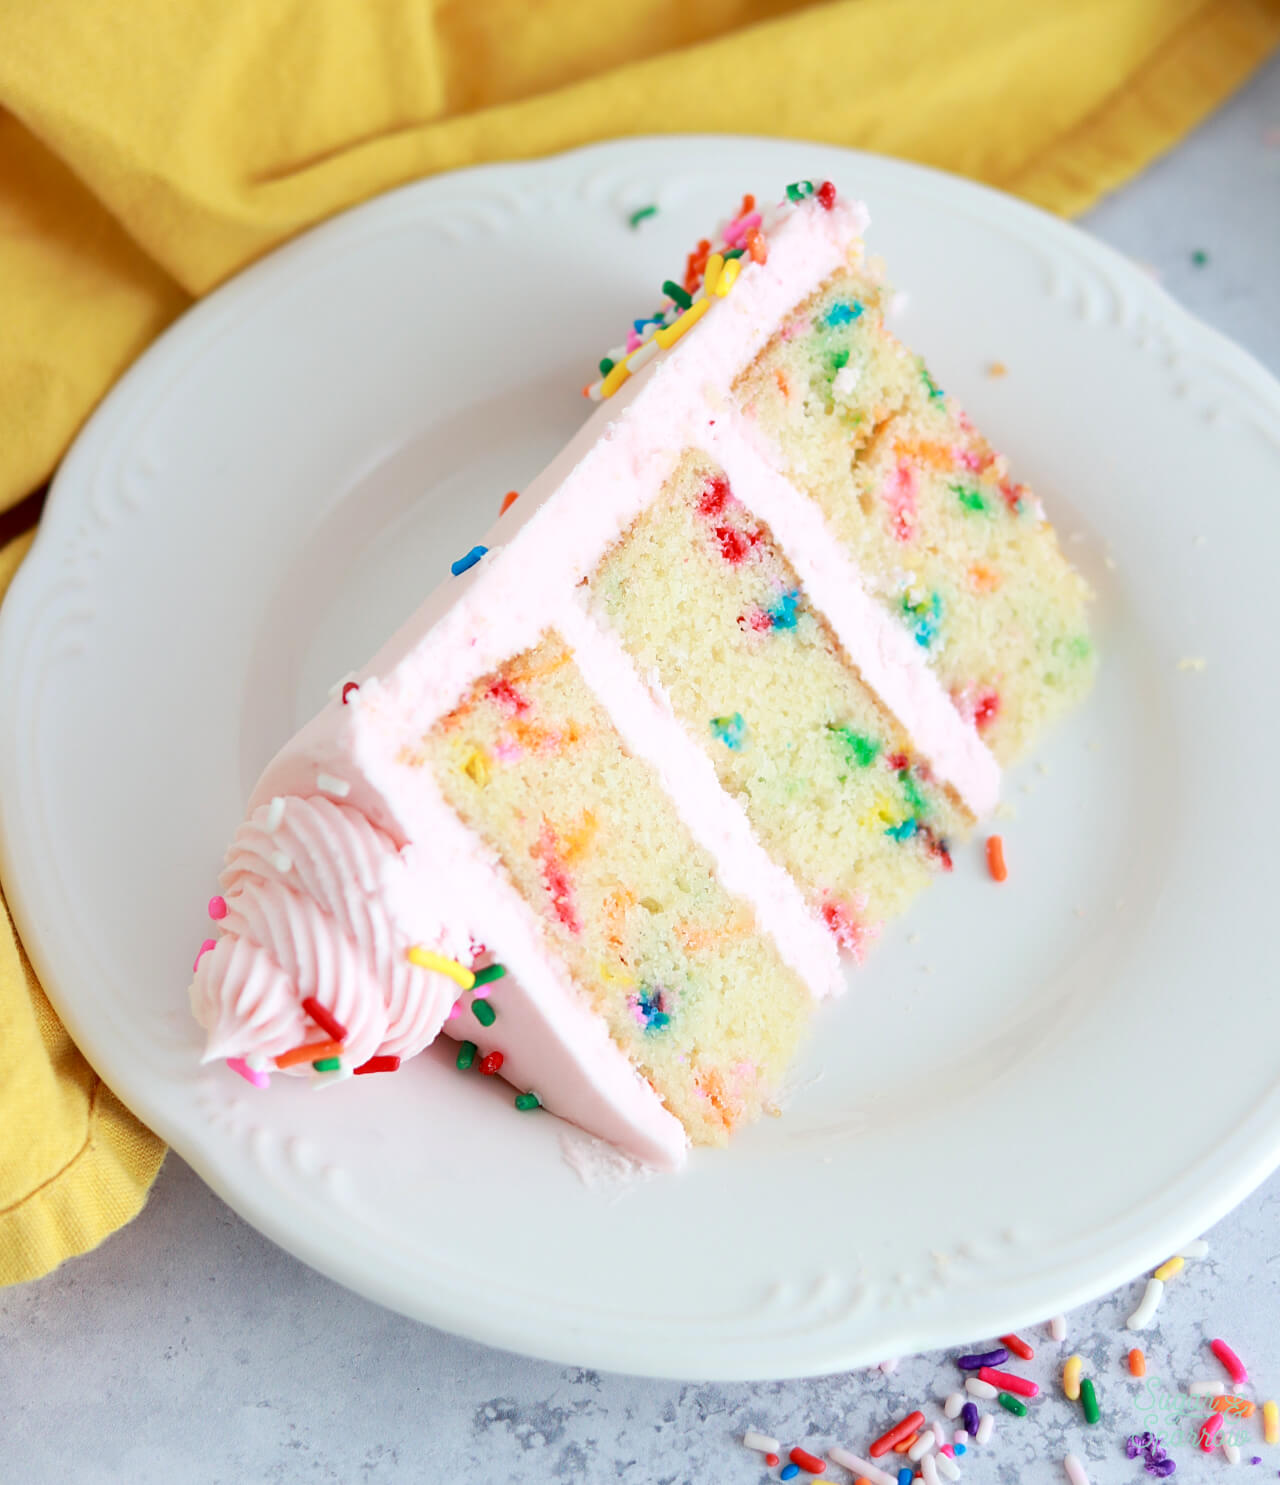
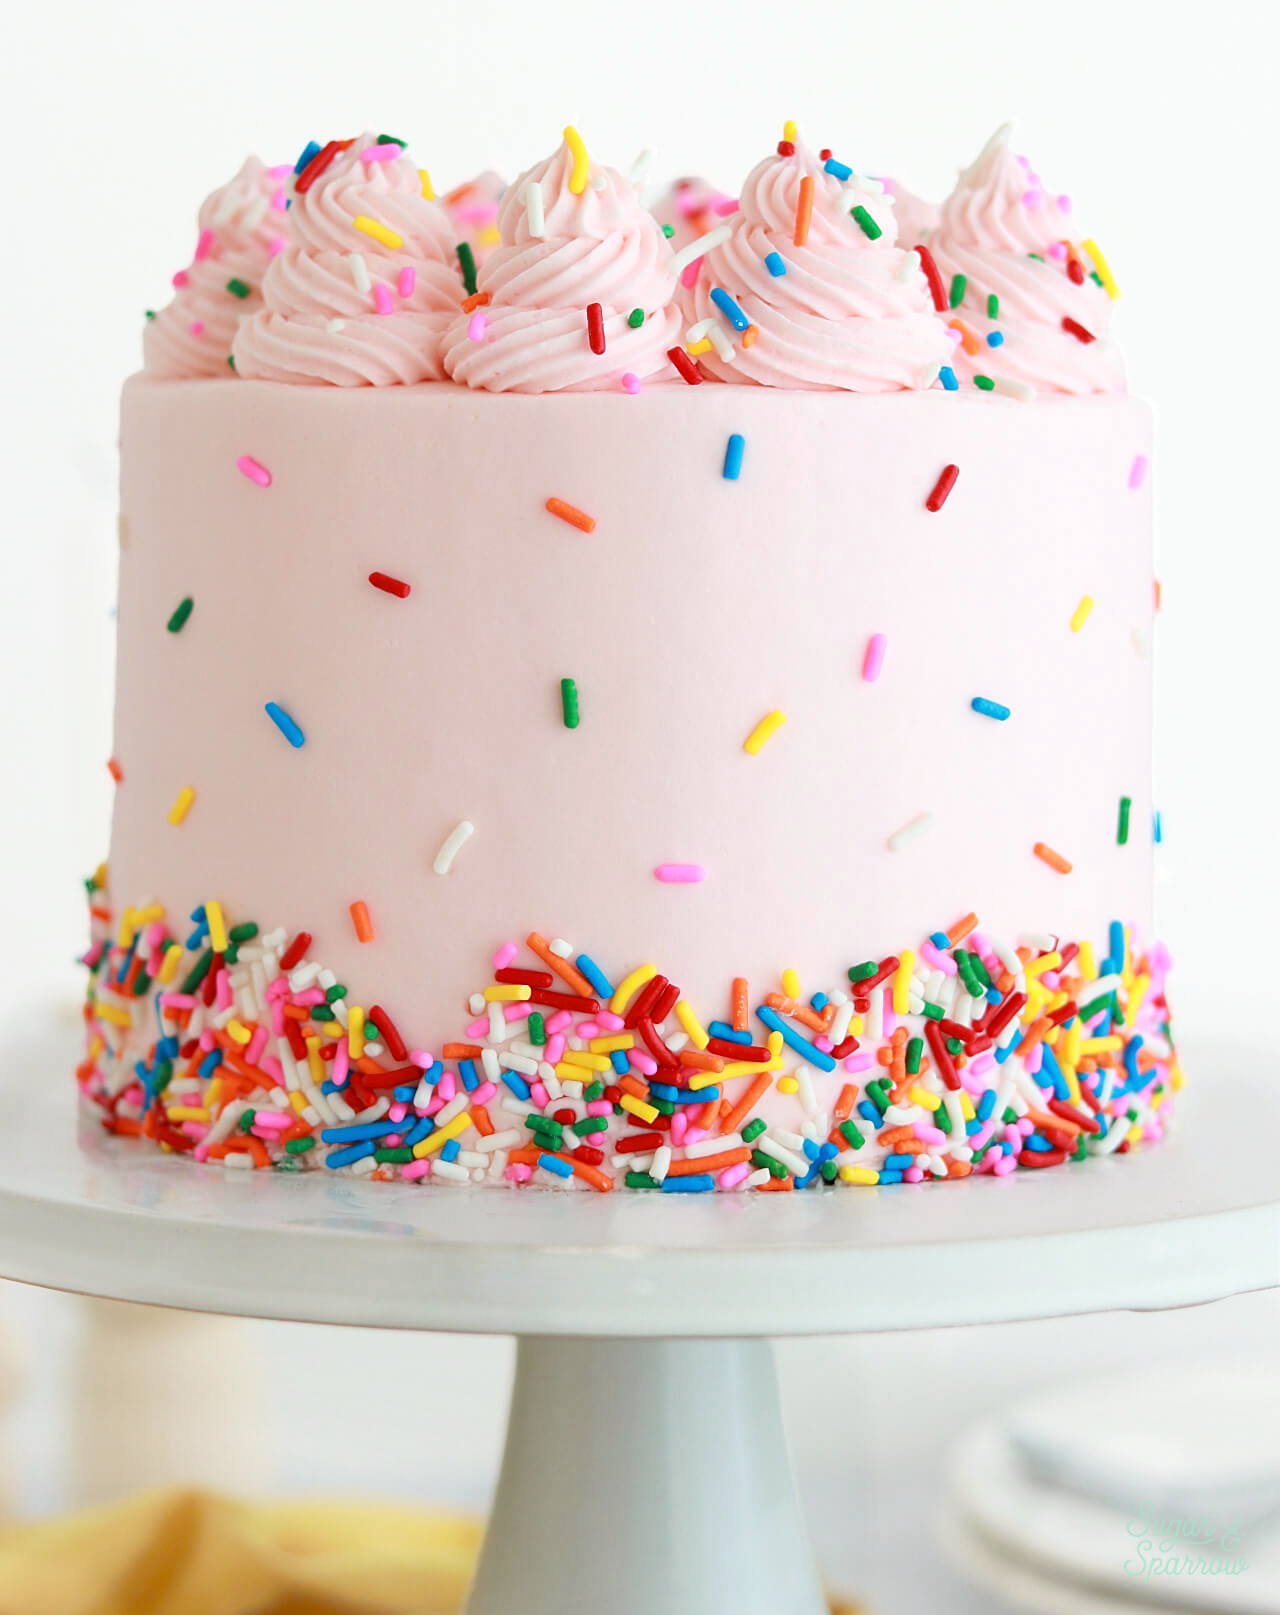
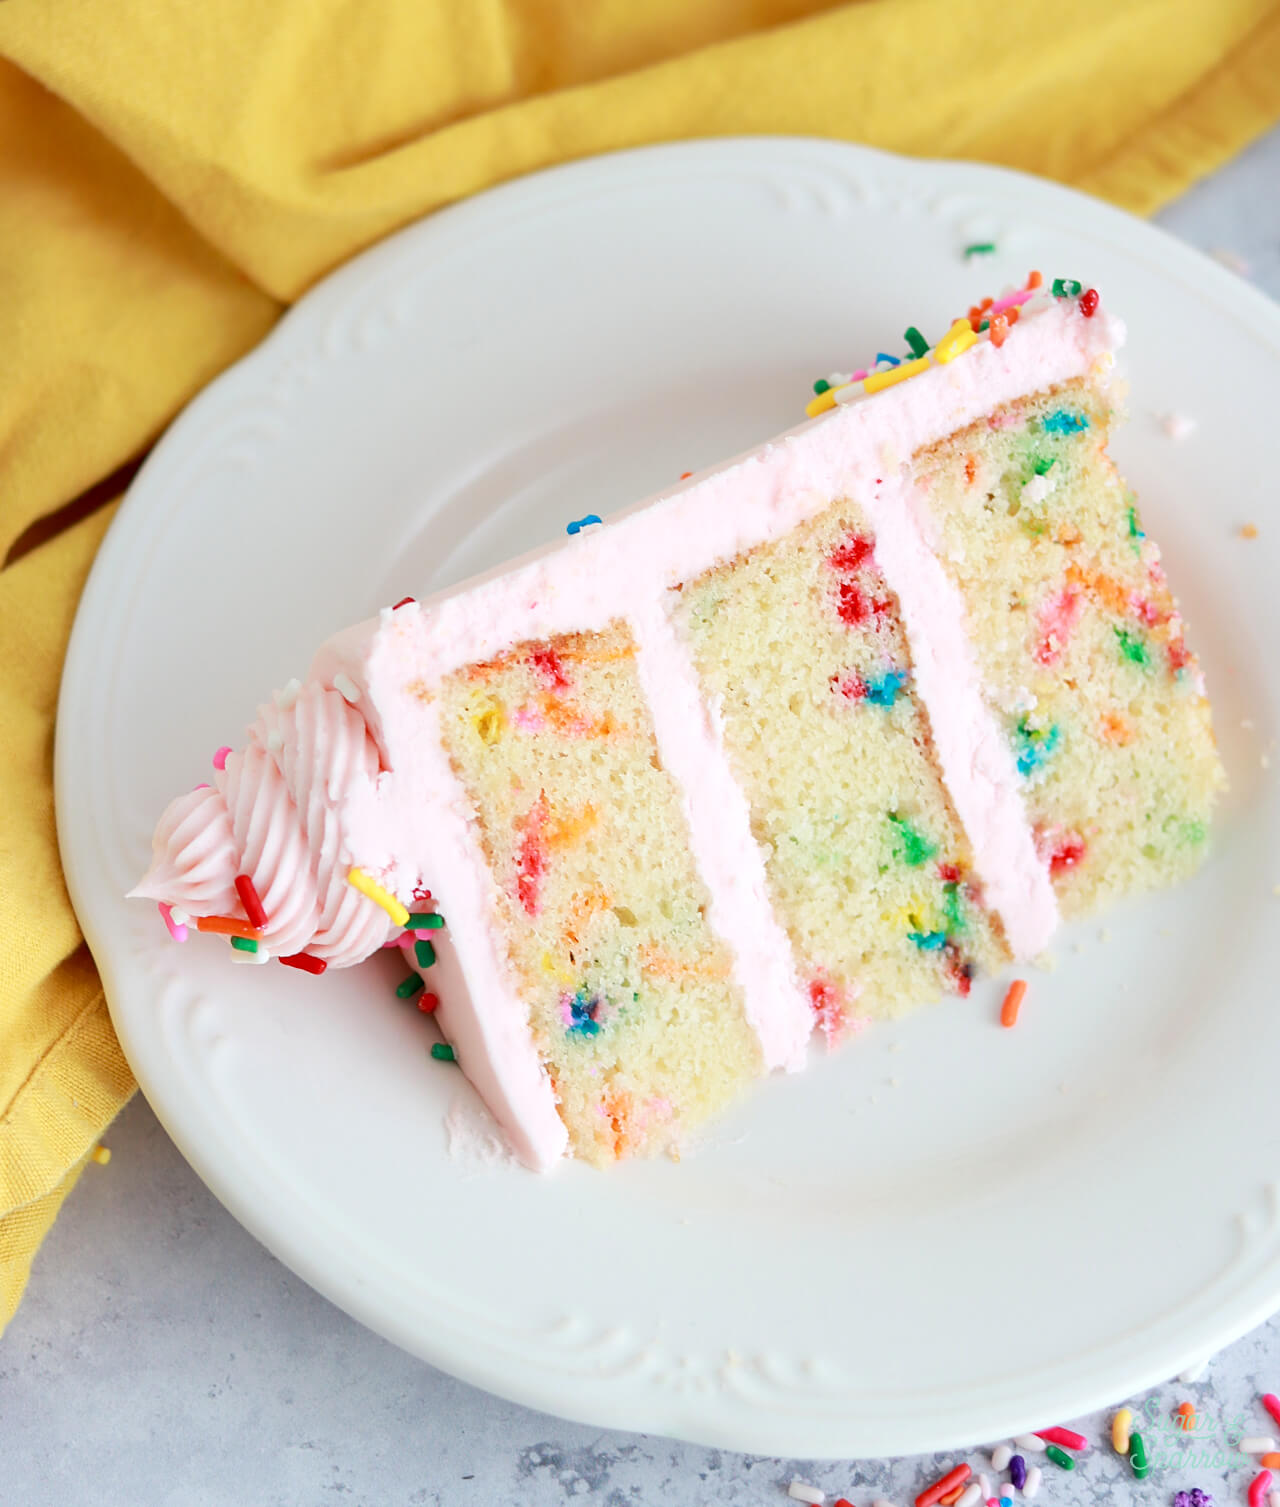
Funfetti is undoubtedly the most celebratory cake flavor of all, and this funfetti layer cake is the ultimate party cake! Originally published in 2018 (then ultra re-tested and updated in 2025), this recipe features layers of soft and moist vanilla cake with the ideal amount of rainbow sprinkles baked inside. Filled and frosted with a double batch of my favorite vanilla buttercream and decorated with plenty of colorful sprinkles, it’s perfect for celebrating anything and always a crowd favorite.
One Reader, Melanie, says: “Wow! This is going to be my new go to recipe for birthday cakes (with or without the sprinkles) and I only wish I’d found it years ago. I made a trial cake on the weekend before I have to make the real deal for my daughters birthday party in a few weeks and my family can’t stop raving about it. Even my husband who grew up on cake (MIL is an incredible cake maker) said it’s the best cake he’s ever had.”
Why You’ll Love This Funfetti Cake
There’s so much to love about this funfetti cake recipe, but here are the first few things that come to mind:
- Extra moist and fluffy. This recipe uses cake flour for a super soft crumb (it’s ultra-fine and has the lowest protein content of all the flours) and if you’ve never heard of it or can’t find it locally I have this homemade version you can use to obtain similar results. The perfect amount of moisture comes from the fat content in this recipe. Mostly the use of butter for richness, plus the addition of sour cream and whole milk.
- Amazing vanilla flavor. I use an entire Tablespoon of vanilla extract in this recipe for a powerful vanilla flavor, but I also love this recipe with a little almond extract. If that’s you too, you can sub one teaspoon of the vanilla for almond extract and get that little hit of almond to make the flavor more complex.
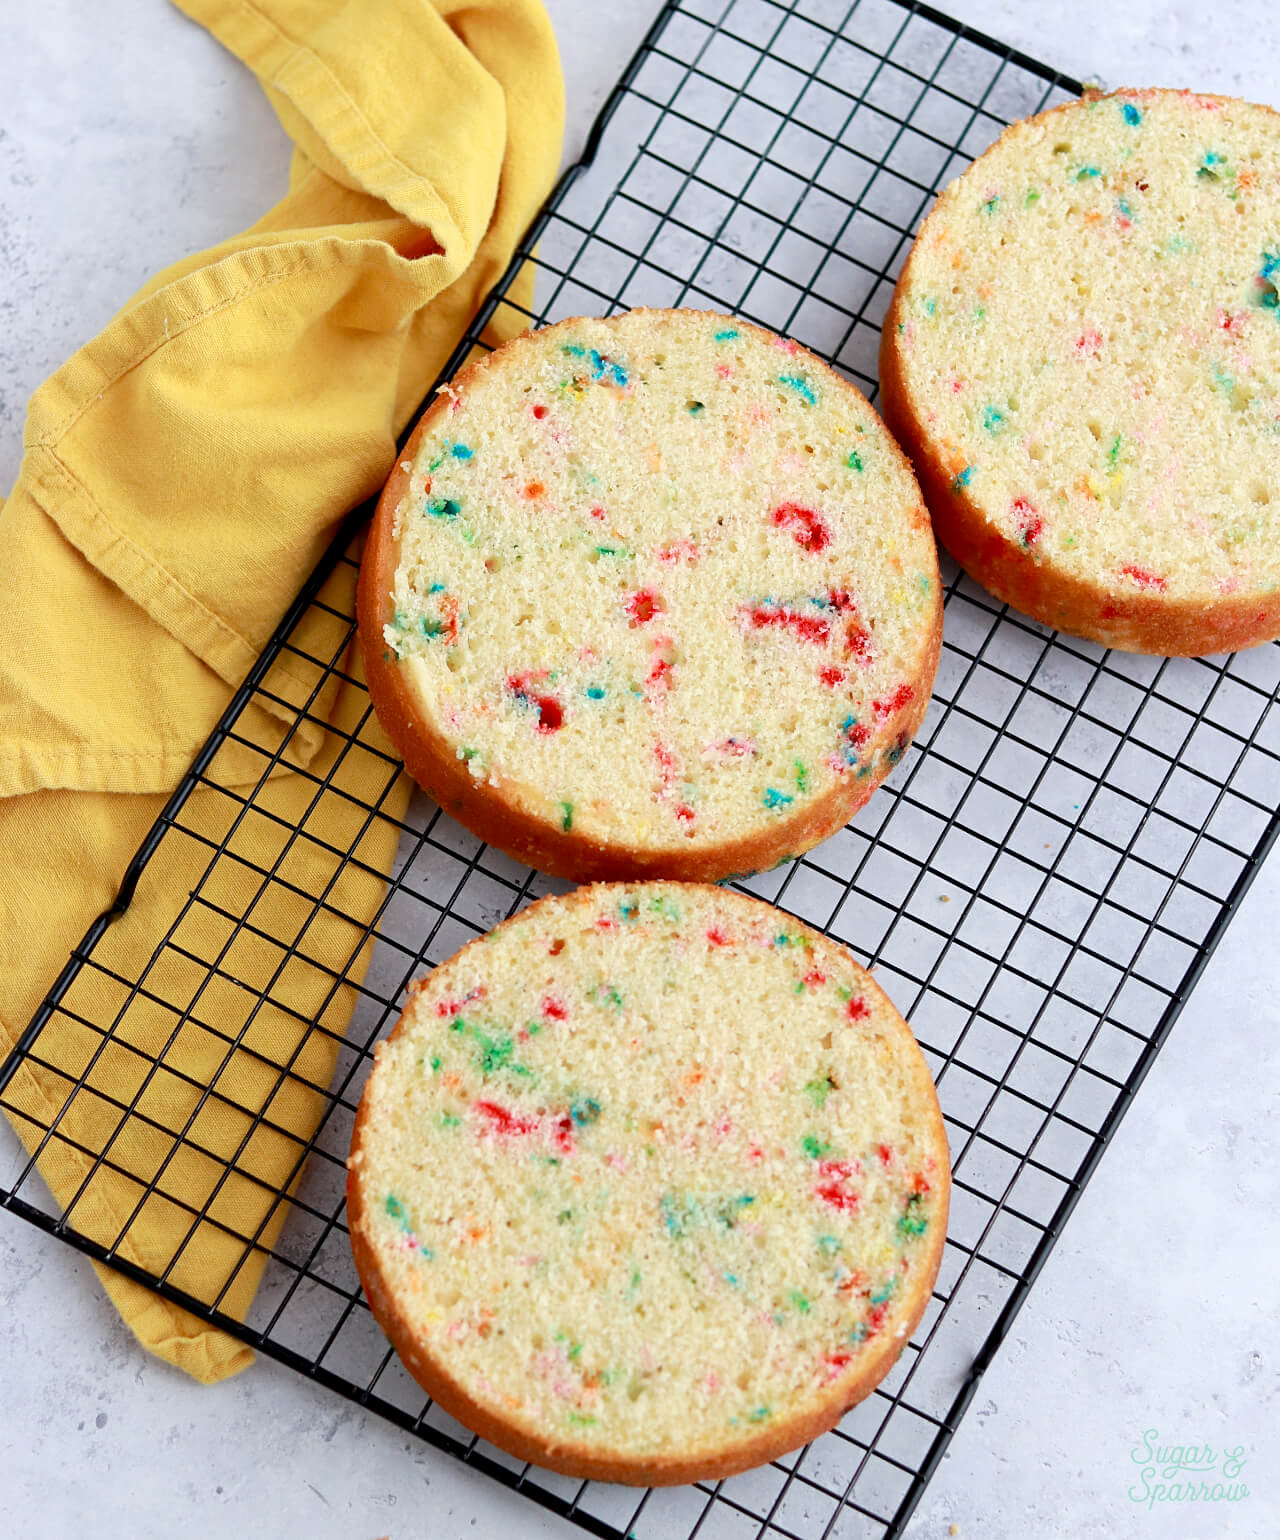
- Perfectly Suspended Rainbow Sprinkles. No sinking sprinkles in this recipe! They stay perfectly suspended all throughout the baking process so you get the prettiest slices.
- Everyone’s Favorite Flavor. Okay maybe not everyone, but almost everyone loves a funfetti cake. It’s nostalgic and childlike, but so fun to eat at any age. I truly think it’s the most celebratory cake flavor of all!
The Best Kind of Sprinkles for Funfetti Cake
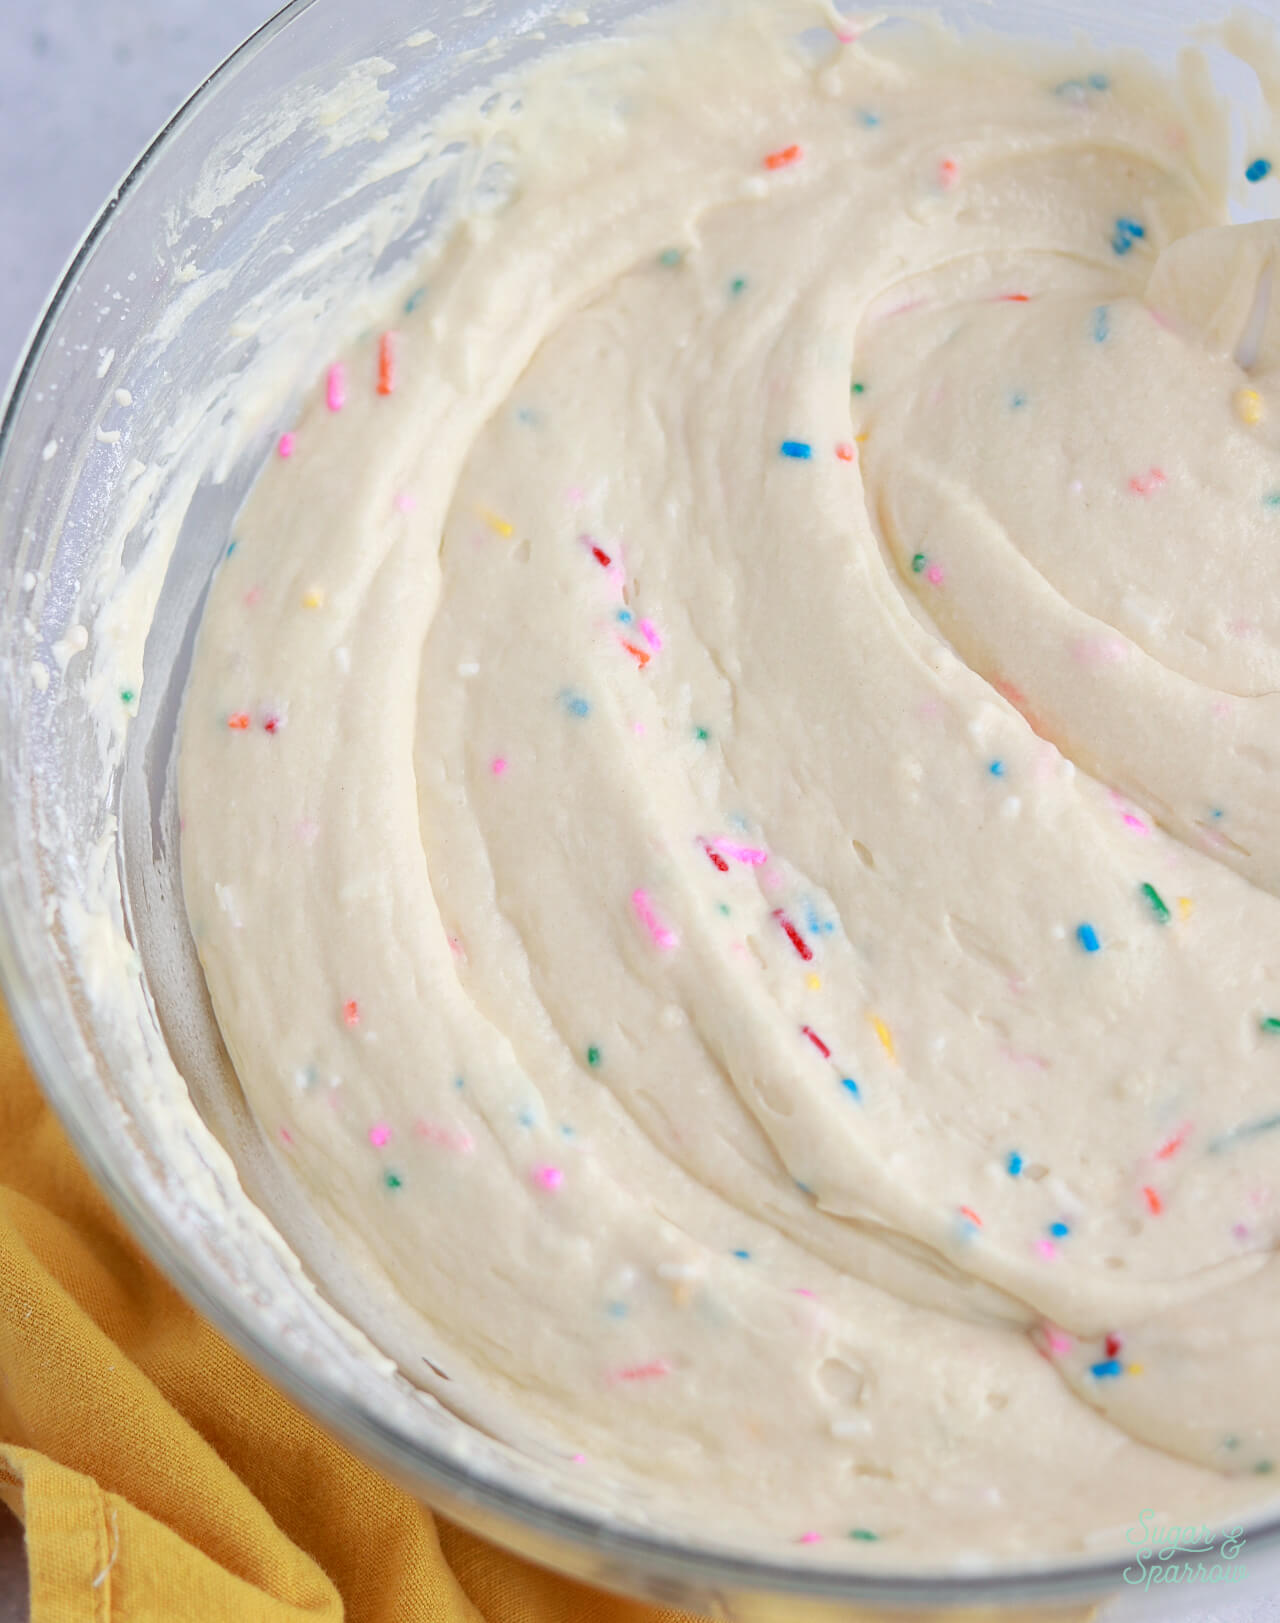
To get the prettiest funfetti cake slices, you have to use the right kind of sprinkles. Otherwise, your sprinkles might bleed color into the batter or disintegrate in the baking process. In my experience, the best kind of sprinkles have been the elongated rainbow sprinkles (aka jimmies) that have carnauba wax and confectioner’s glaze in the ingredients list. Those two coatings help prevent the sprinkles from streaking your batter with color.
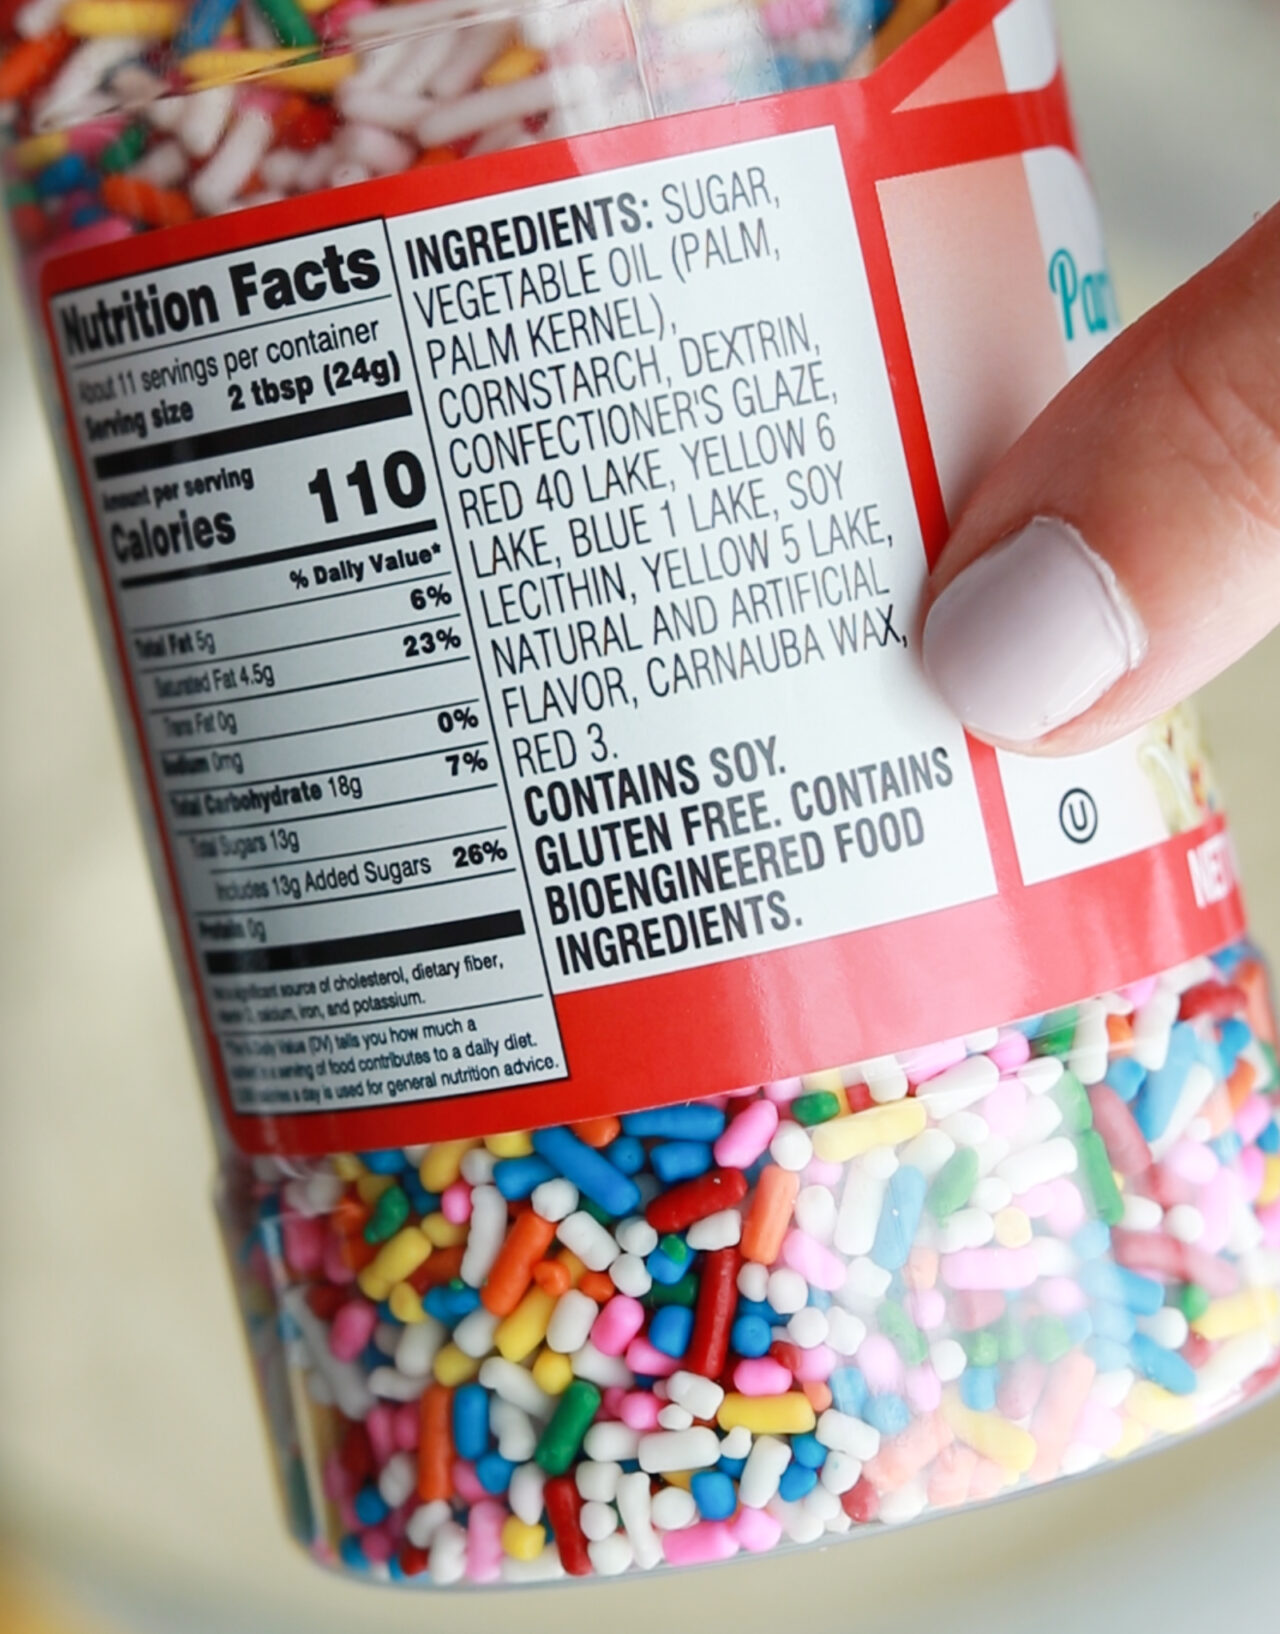
Some of my favorite brands to use are:
- Unpretentious Baker Rainbow Sprinkles
- SprinklePop Ultimate Unicorn Rainbow Jimmies
- Chef’s Select Rainbow Sprinkles
- Betty Crocker “Parlor Perfect” rainbow sprinkles (I find these at my local grocery store)
How to Make a Funfetti Cake
Here’s how to make and decorate this funfetti layer cake from start to finish:
Step 1. Preheat the oven to 350ºF, then grease and line three 6-inch round cake pans or two 8-inch round cake pans.
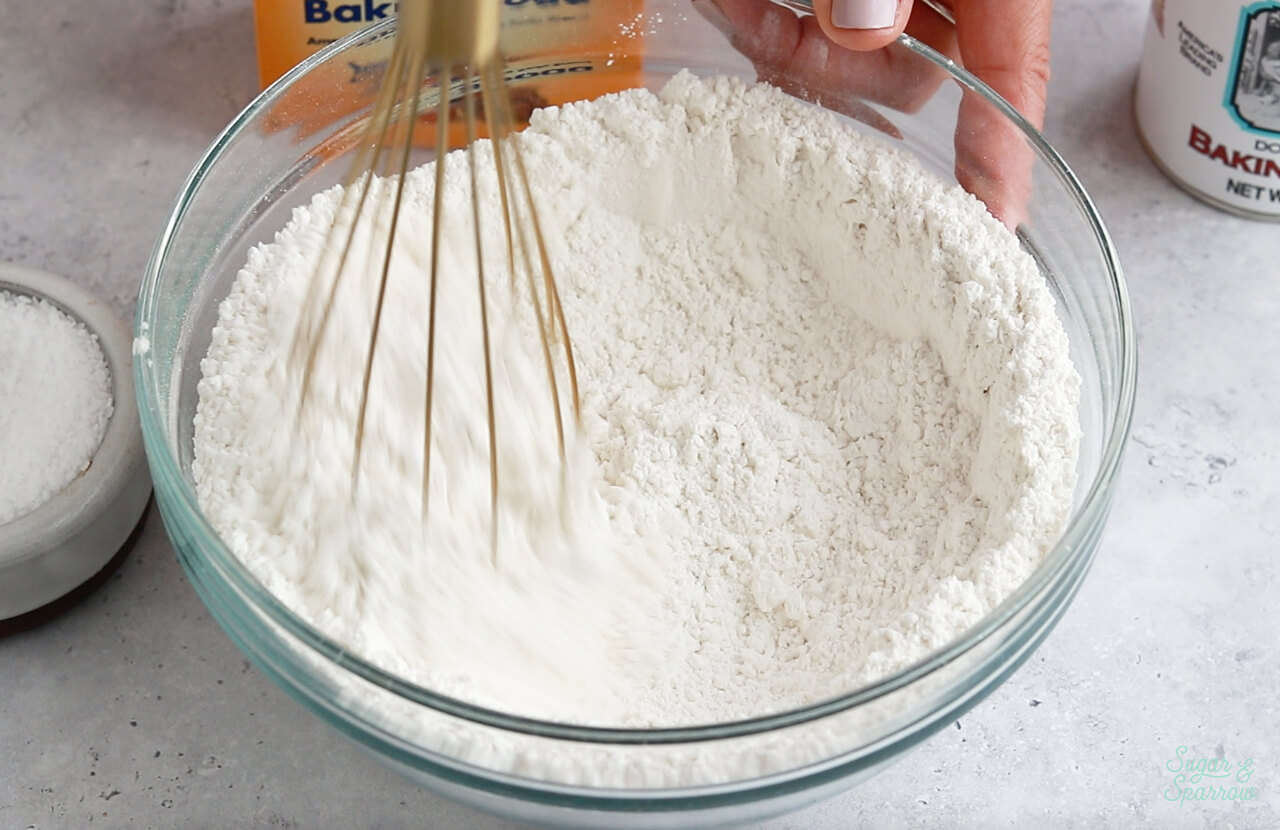
Step 2. Whisk together the flour, baking powder, baking soda, and salt. Set aside.
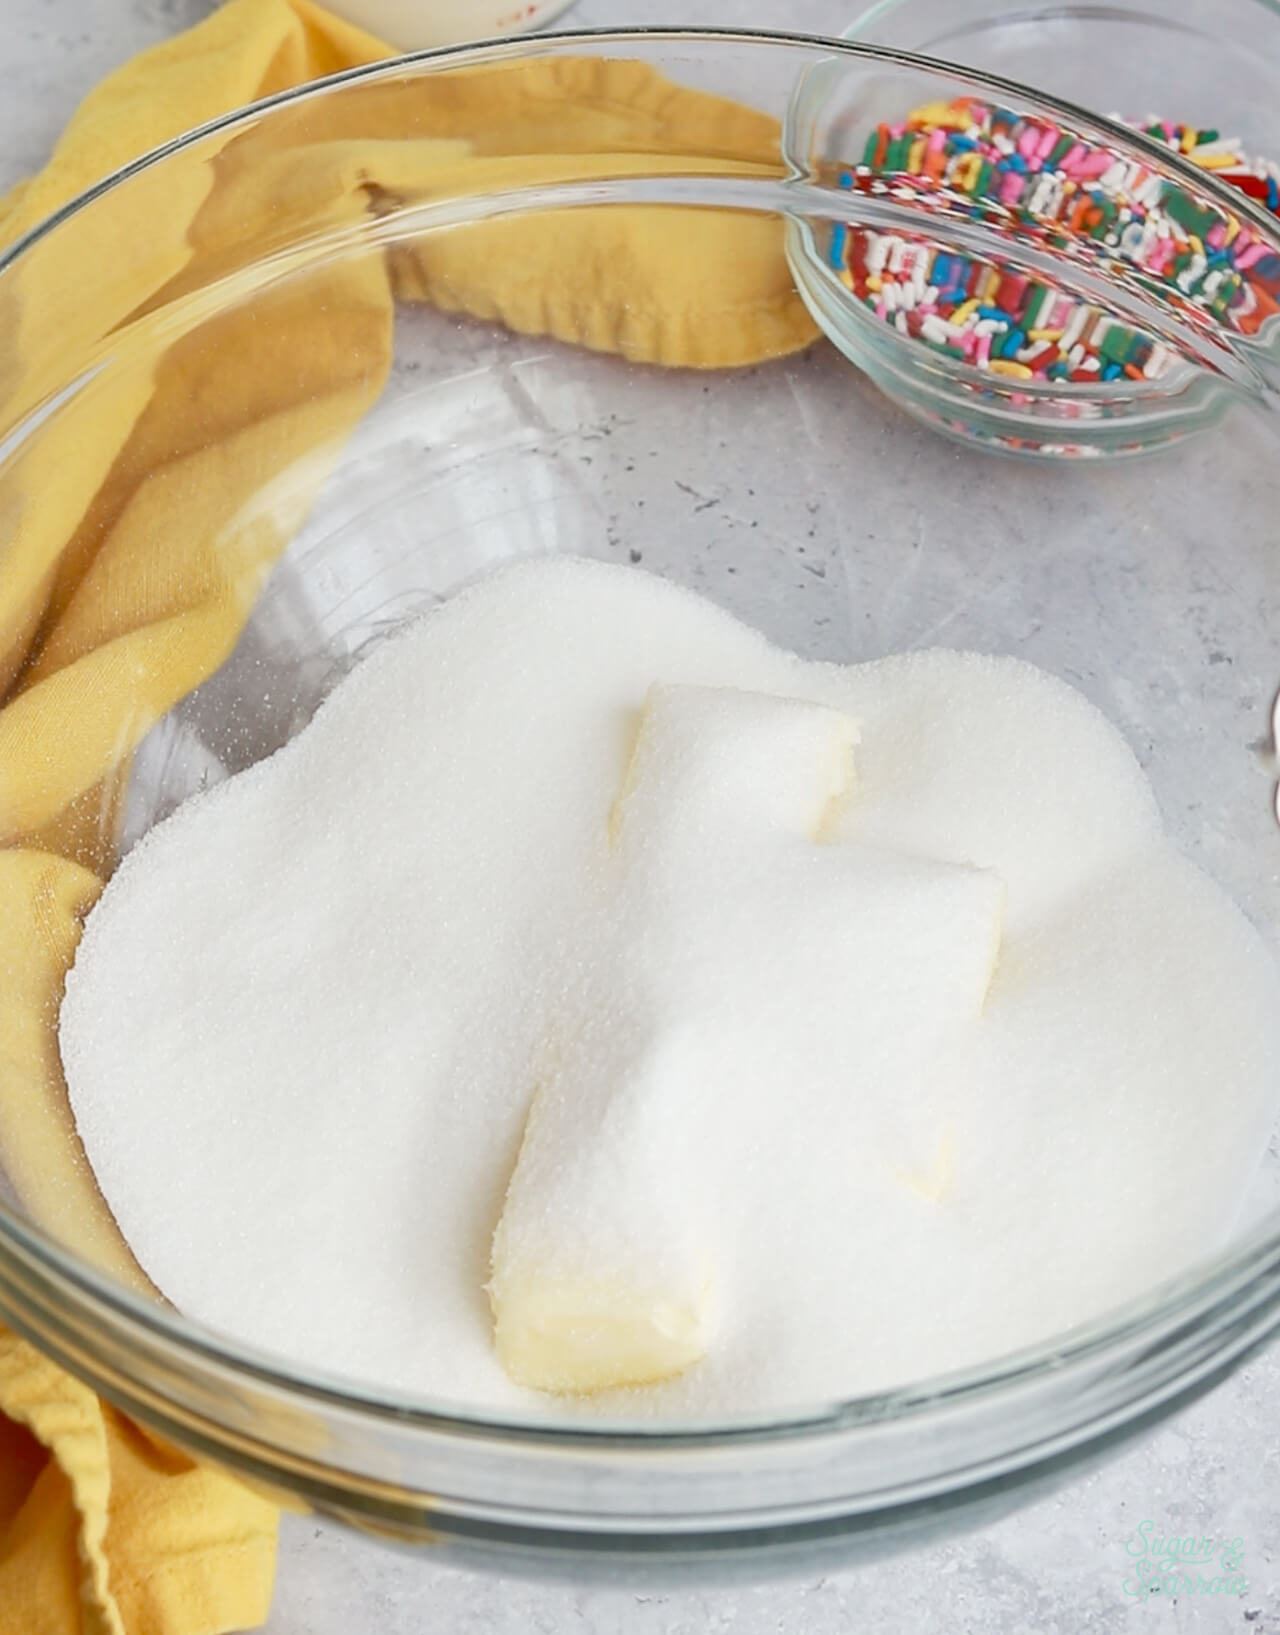
Step 3. Beat the butter and sugar until light and fluffy.
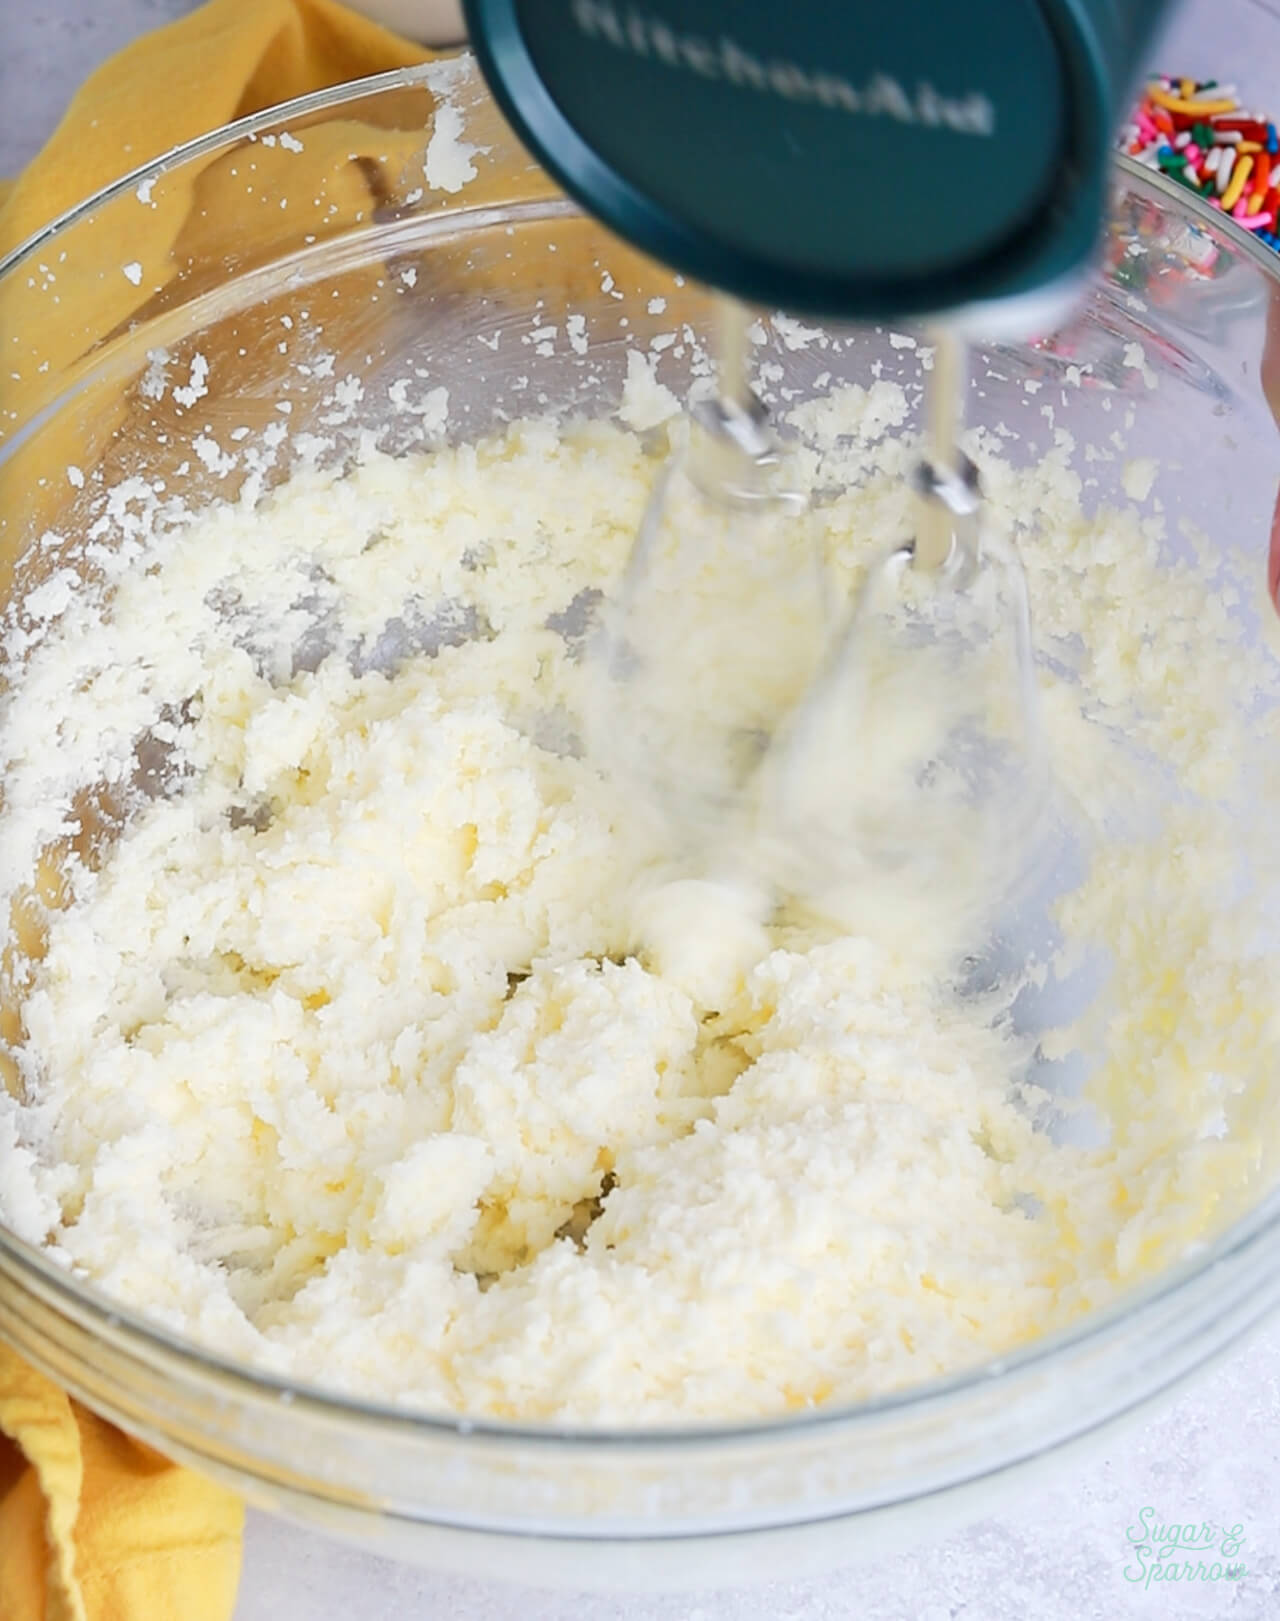
Step 4. Mix in the eggs one at a time, then add the sour cream and vanilla before whipping everything on high speed for one minute.
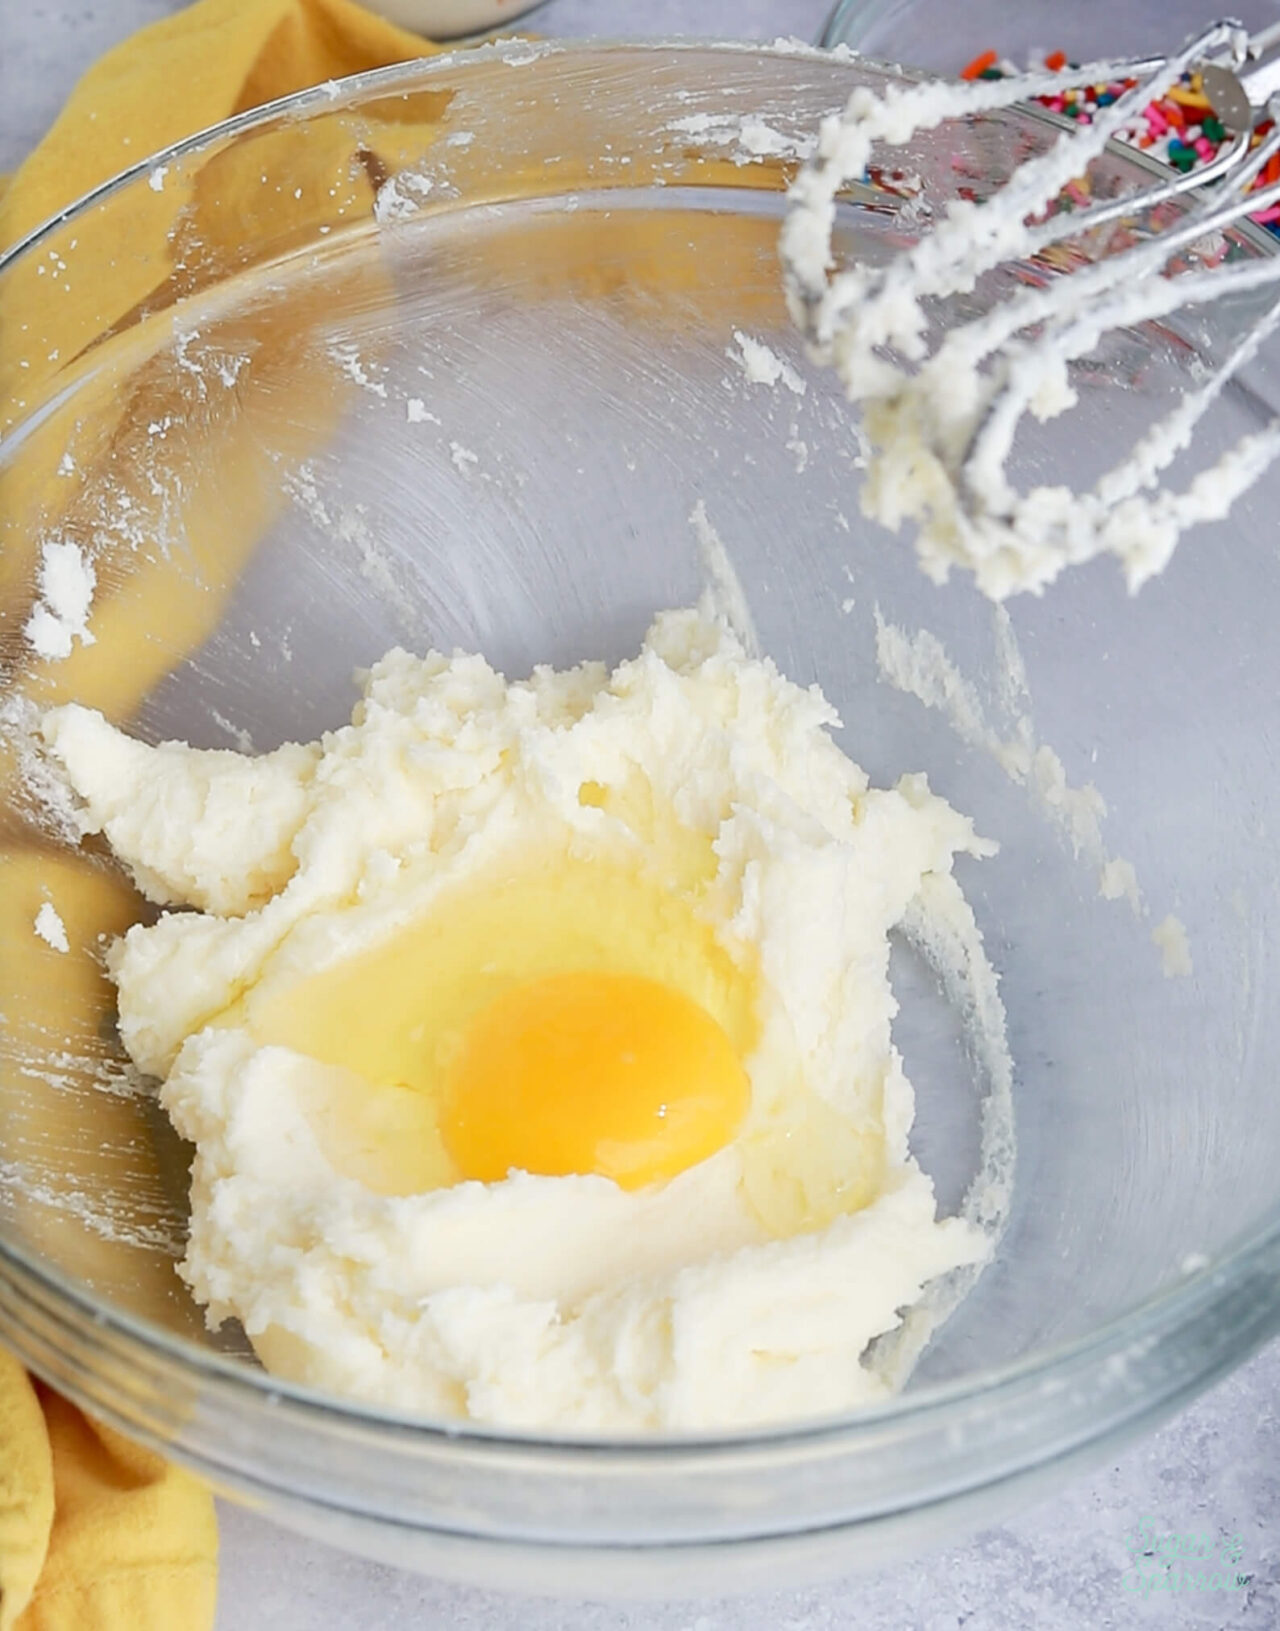
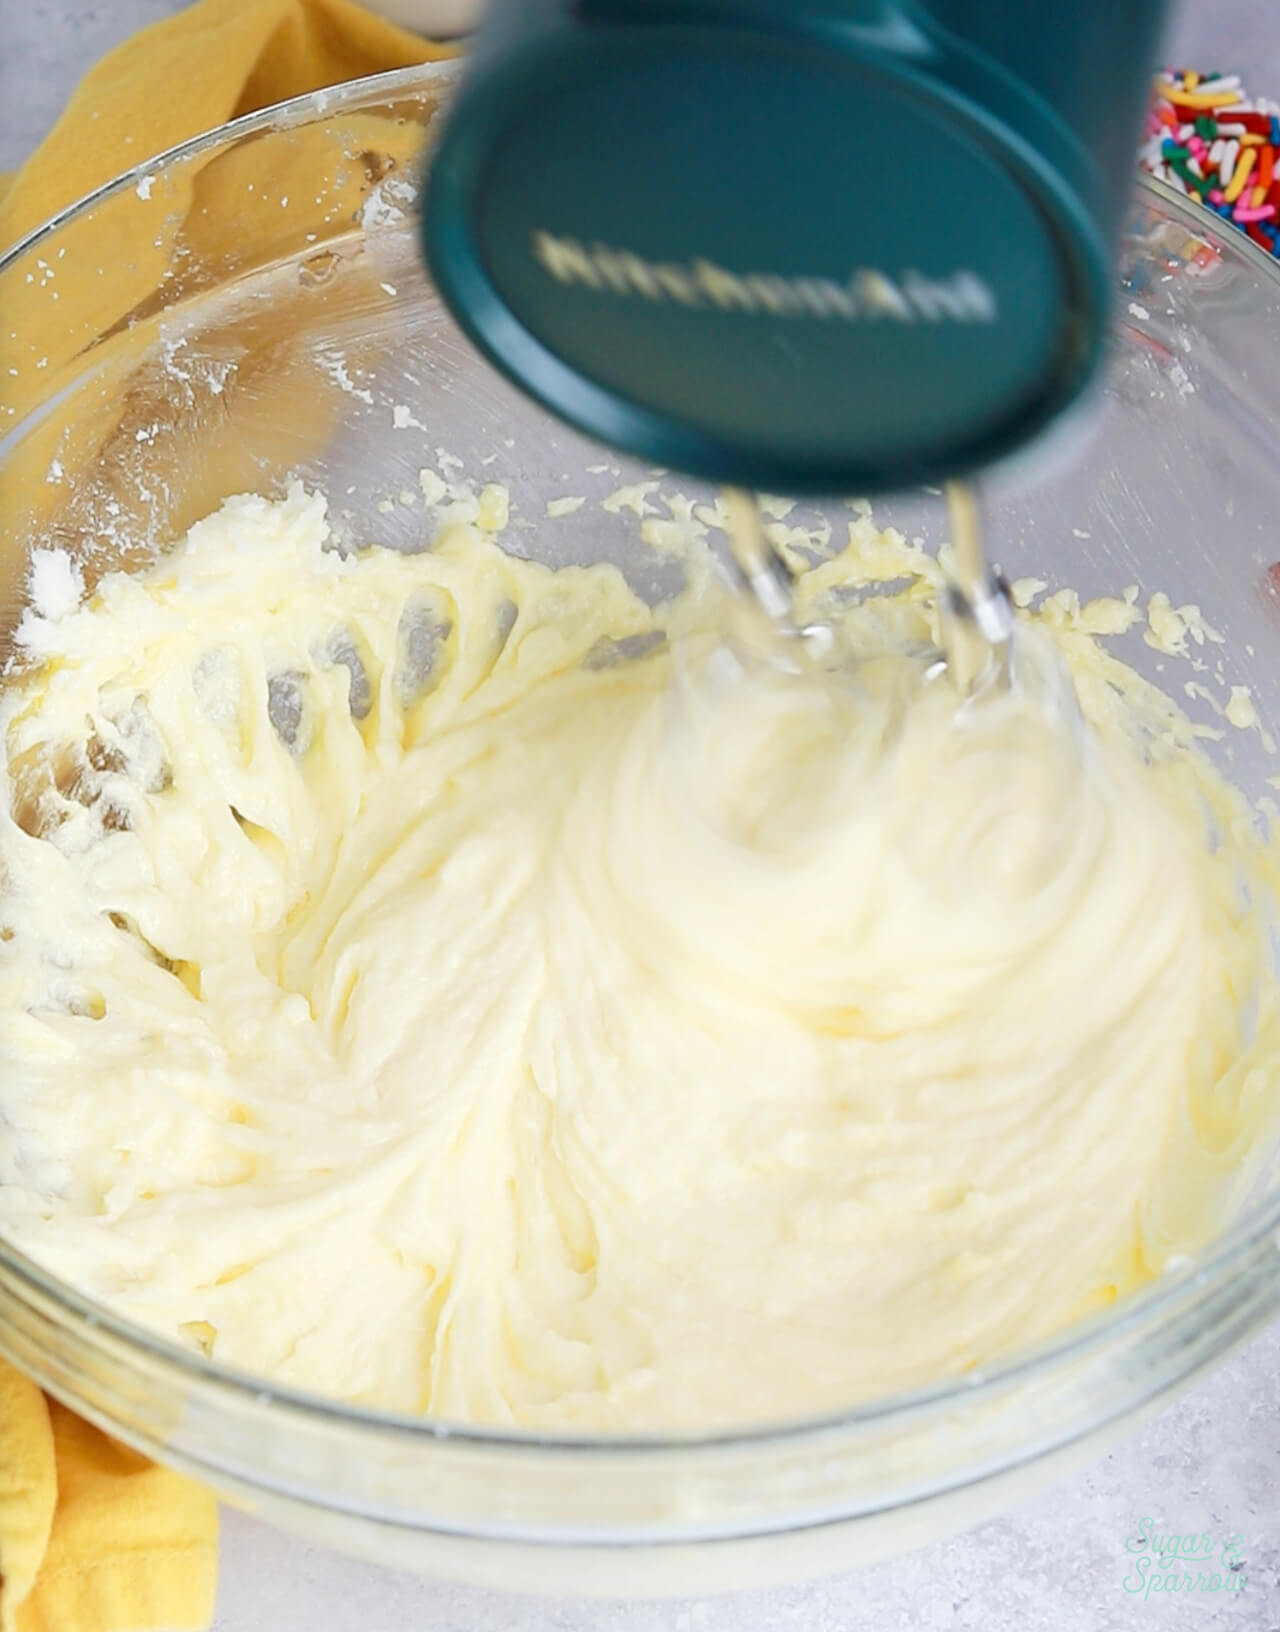
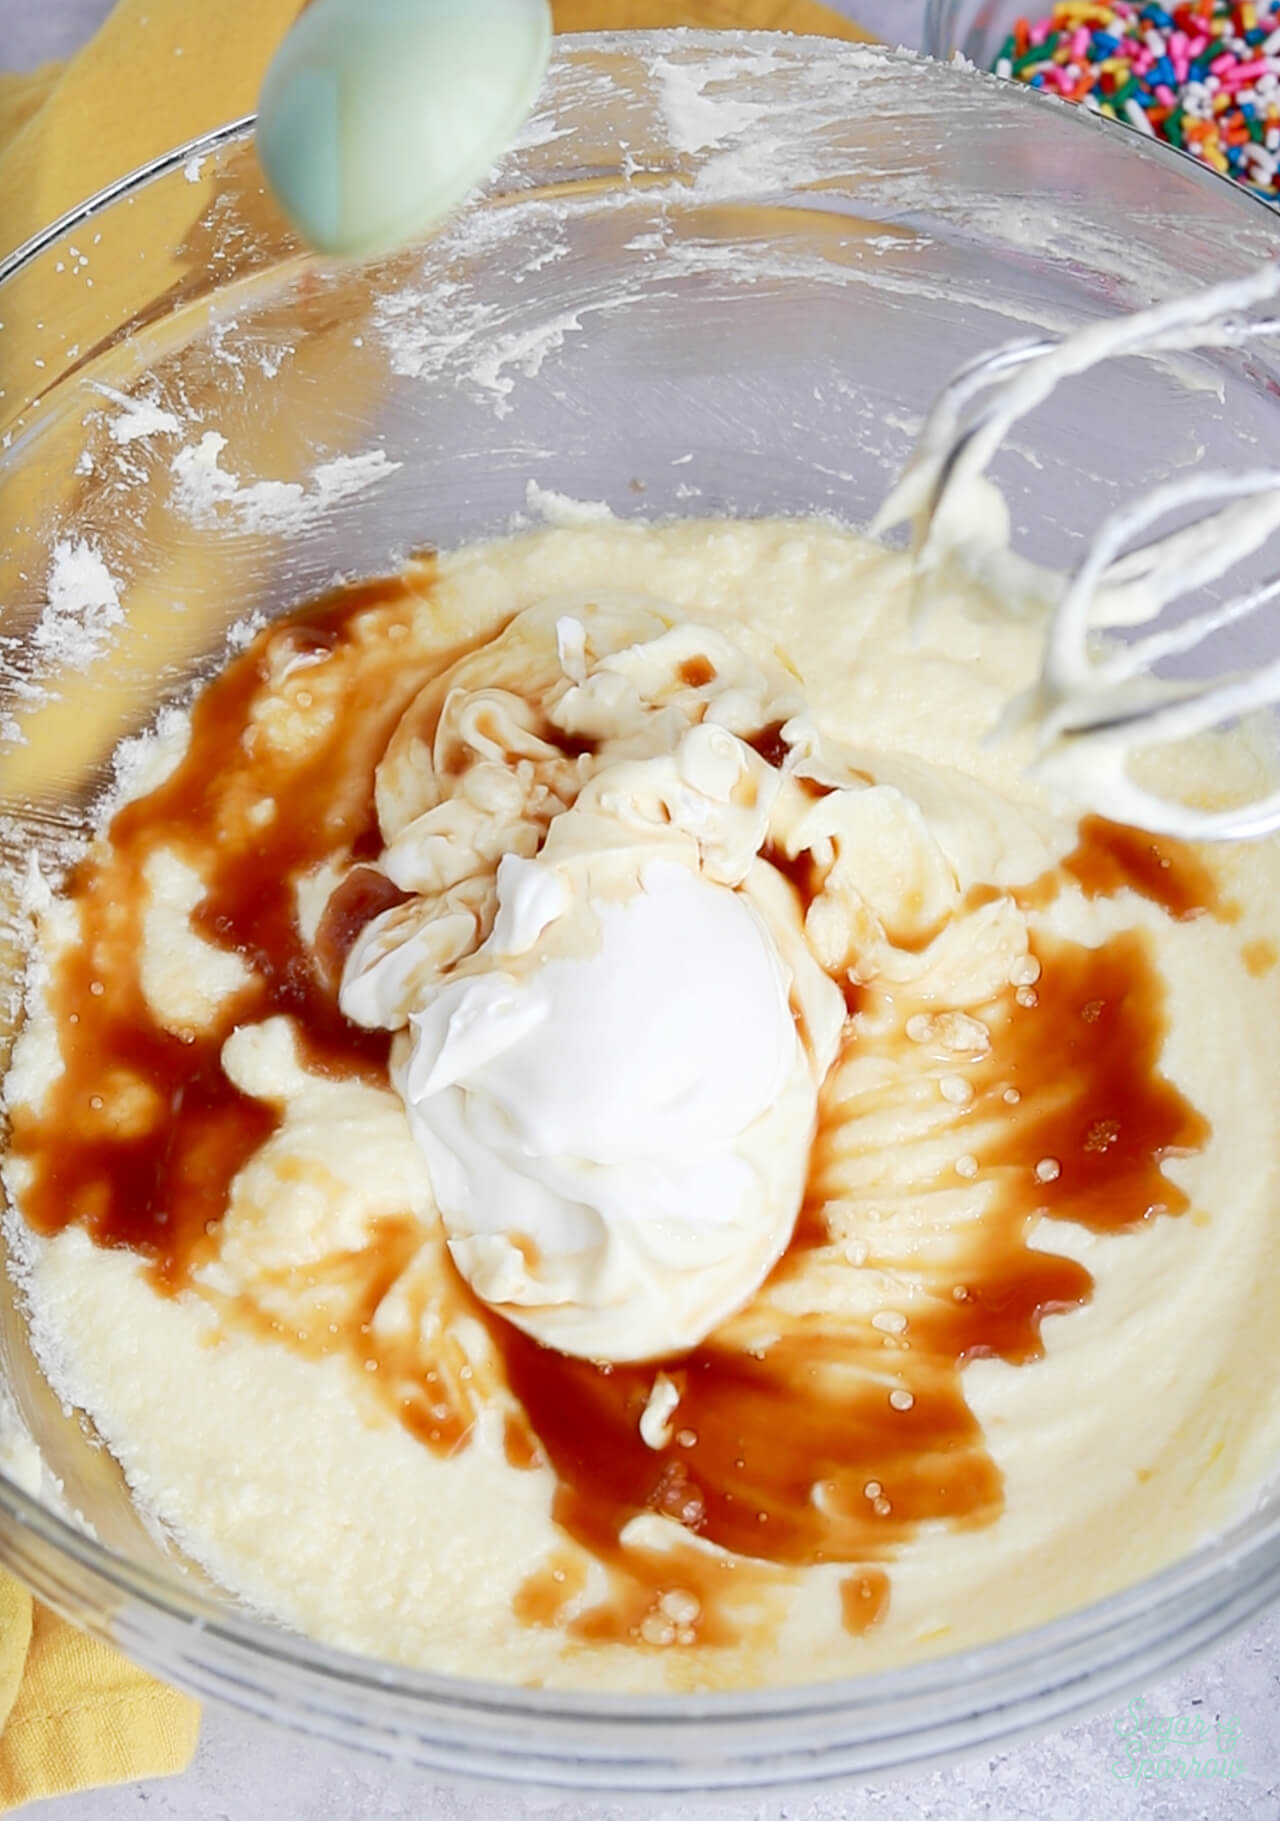
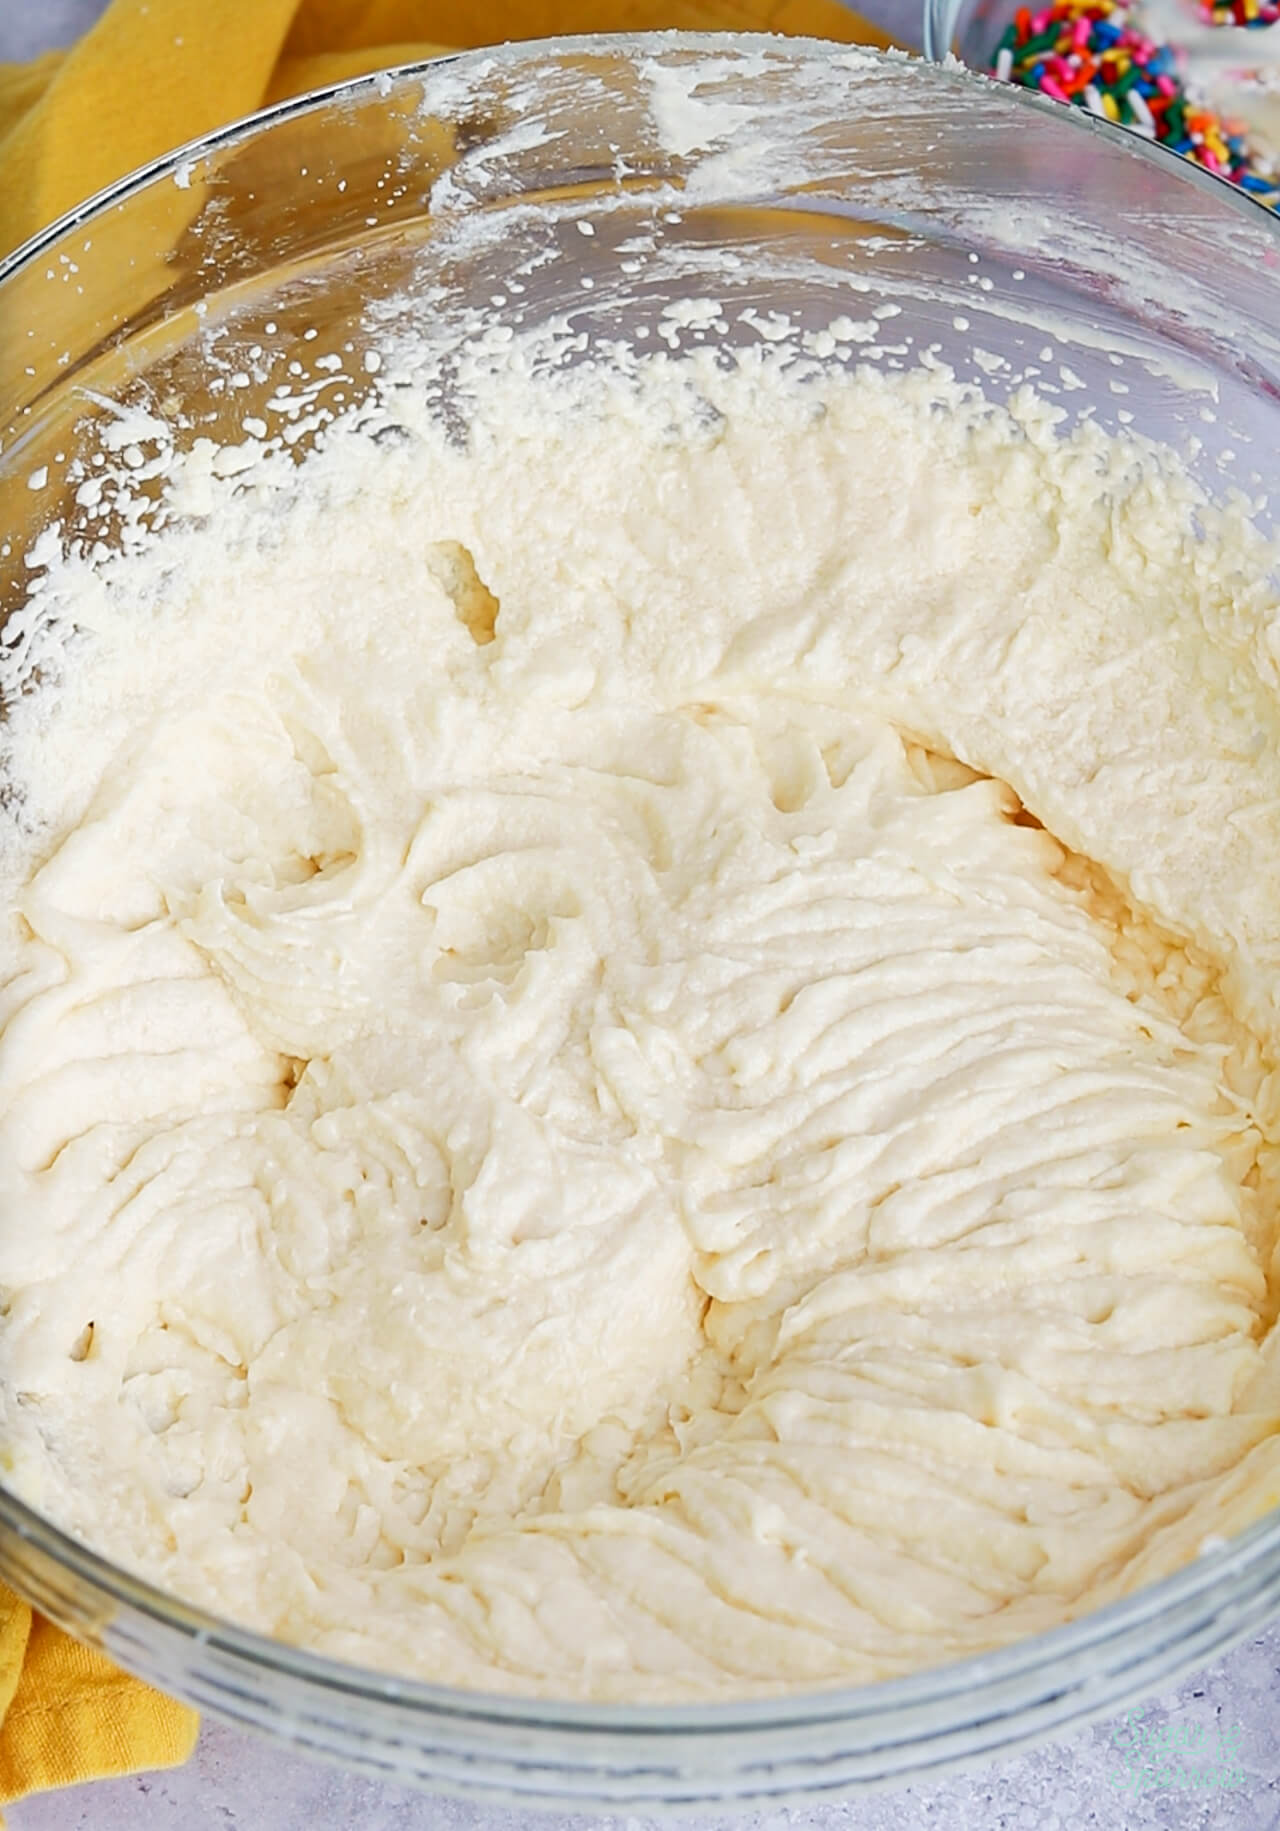
Step 5. Add the dry ingredients all at once, mix on low speed until they begin to incorporate, then add in the whole milk in a steady stream while continuing to mix on low speed. Mix until the ingredients are well incorporated, about 15-30 seconds.
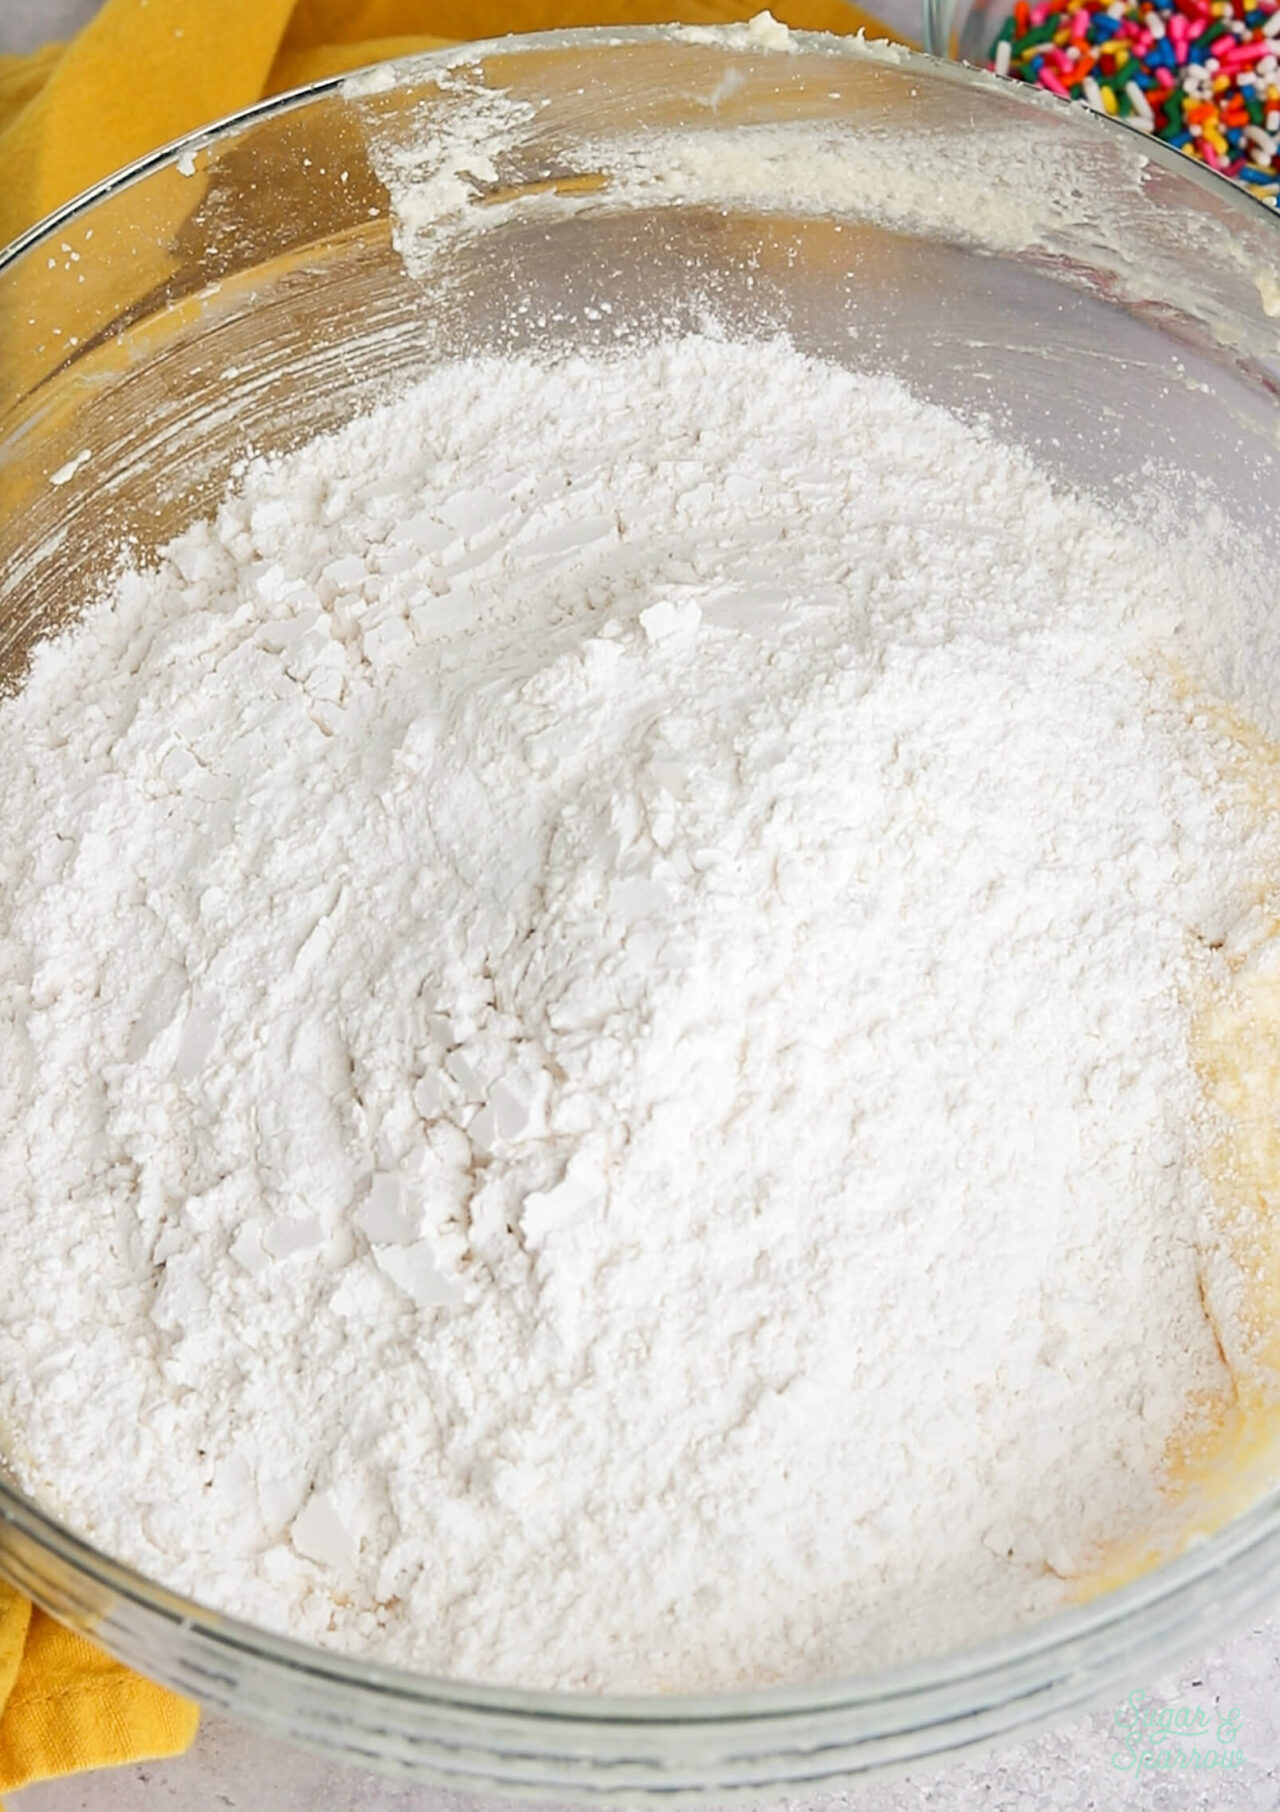
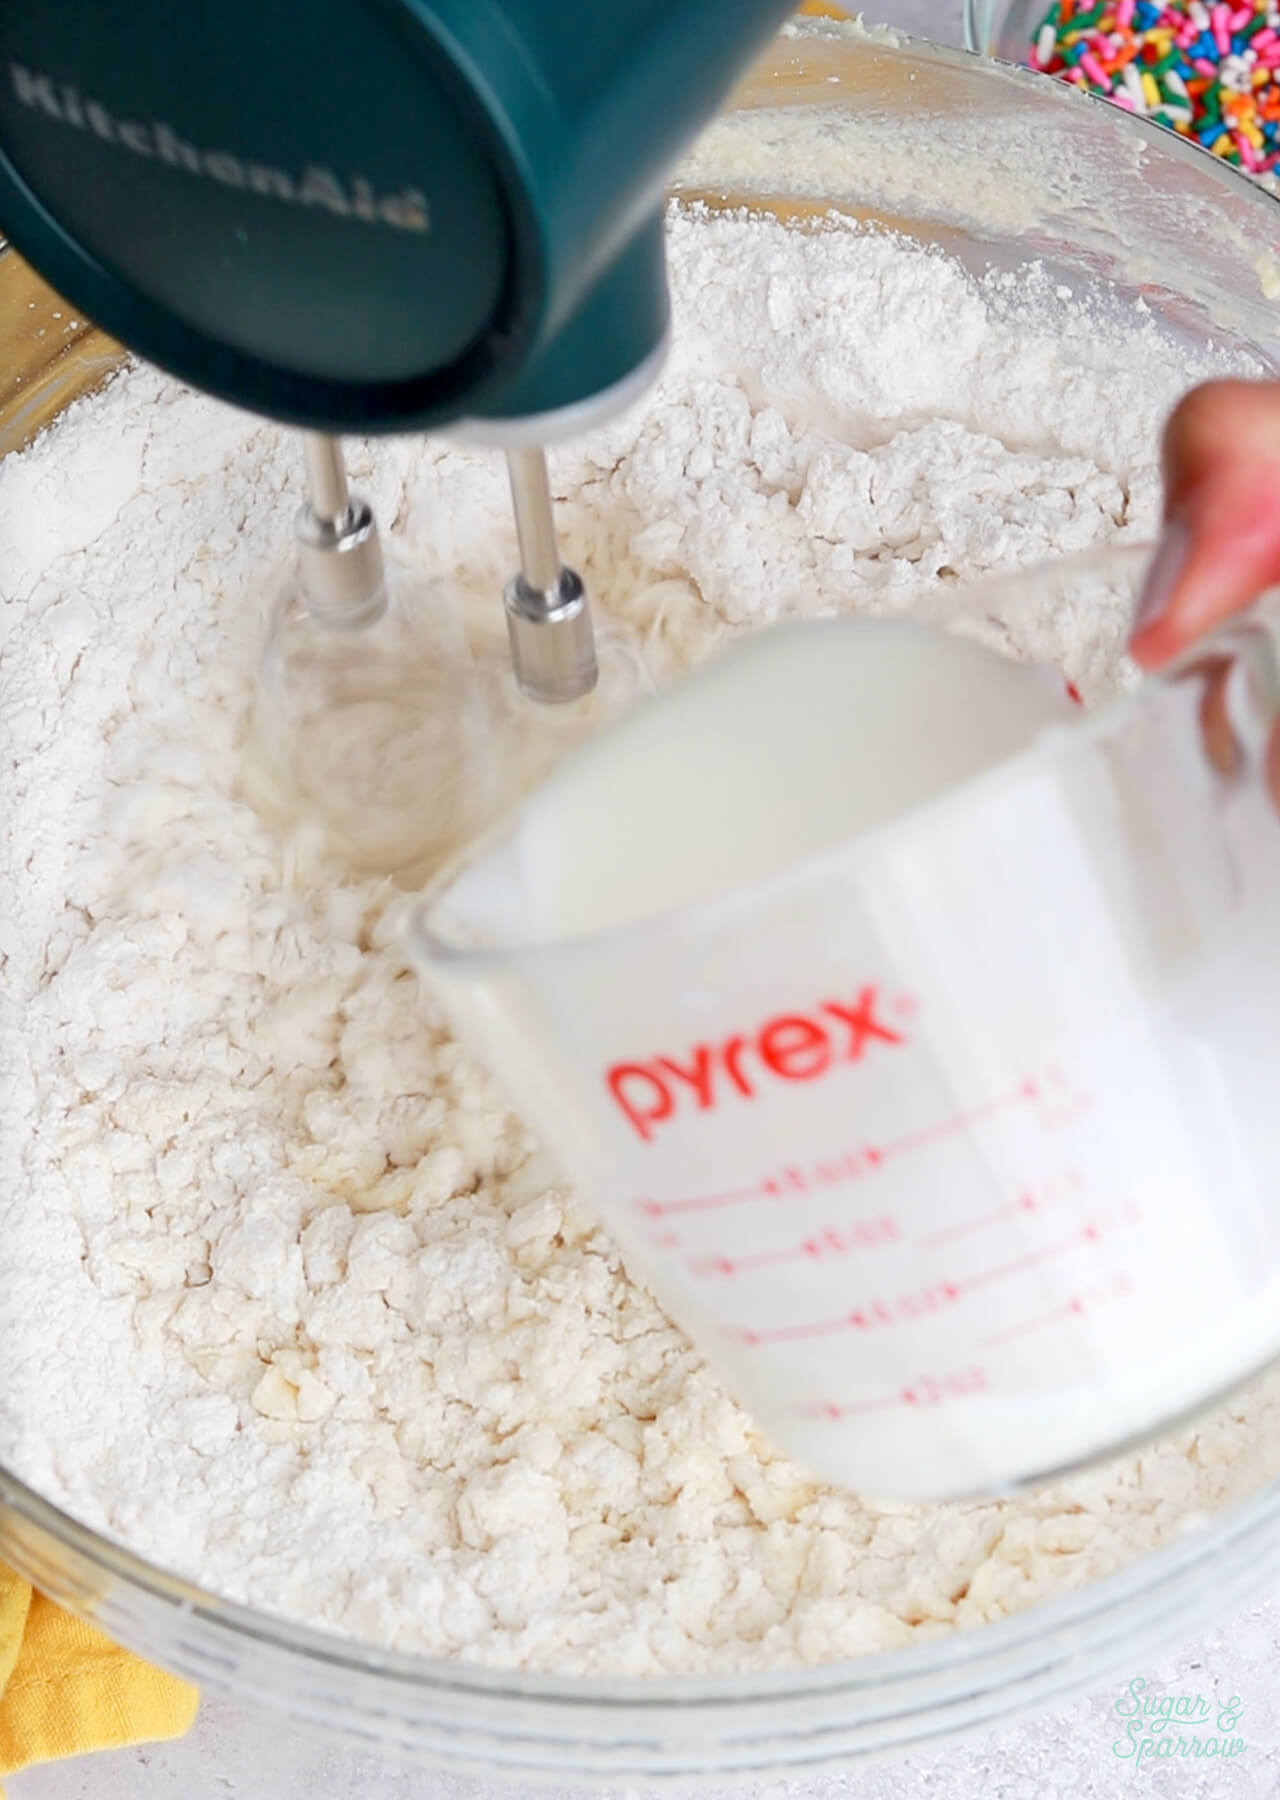
Step 6. Coat the rainbow sprinkles with a little flour (cake flour or all purpose flour), then gently fold them into your cake batter.
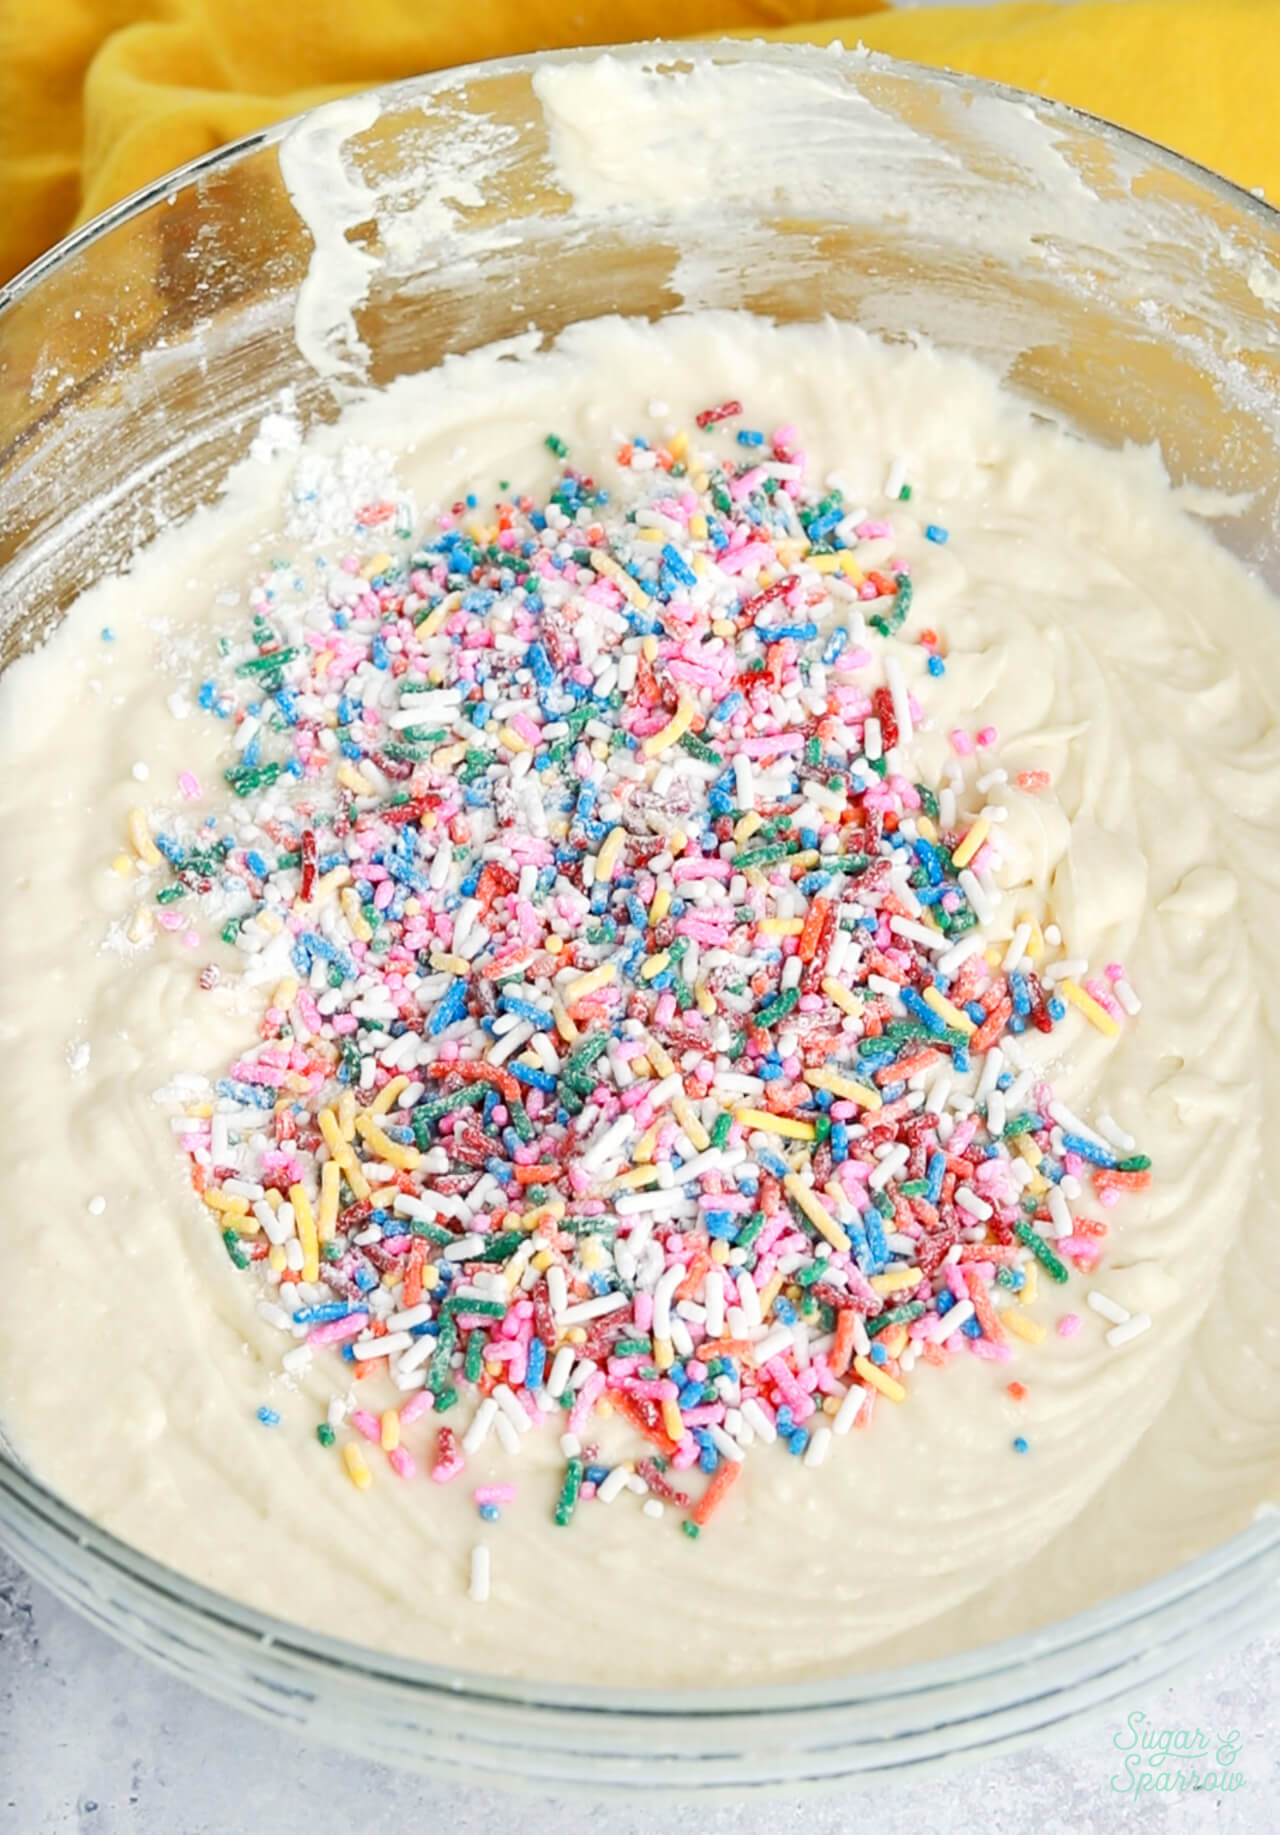
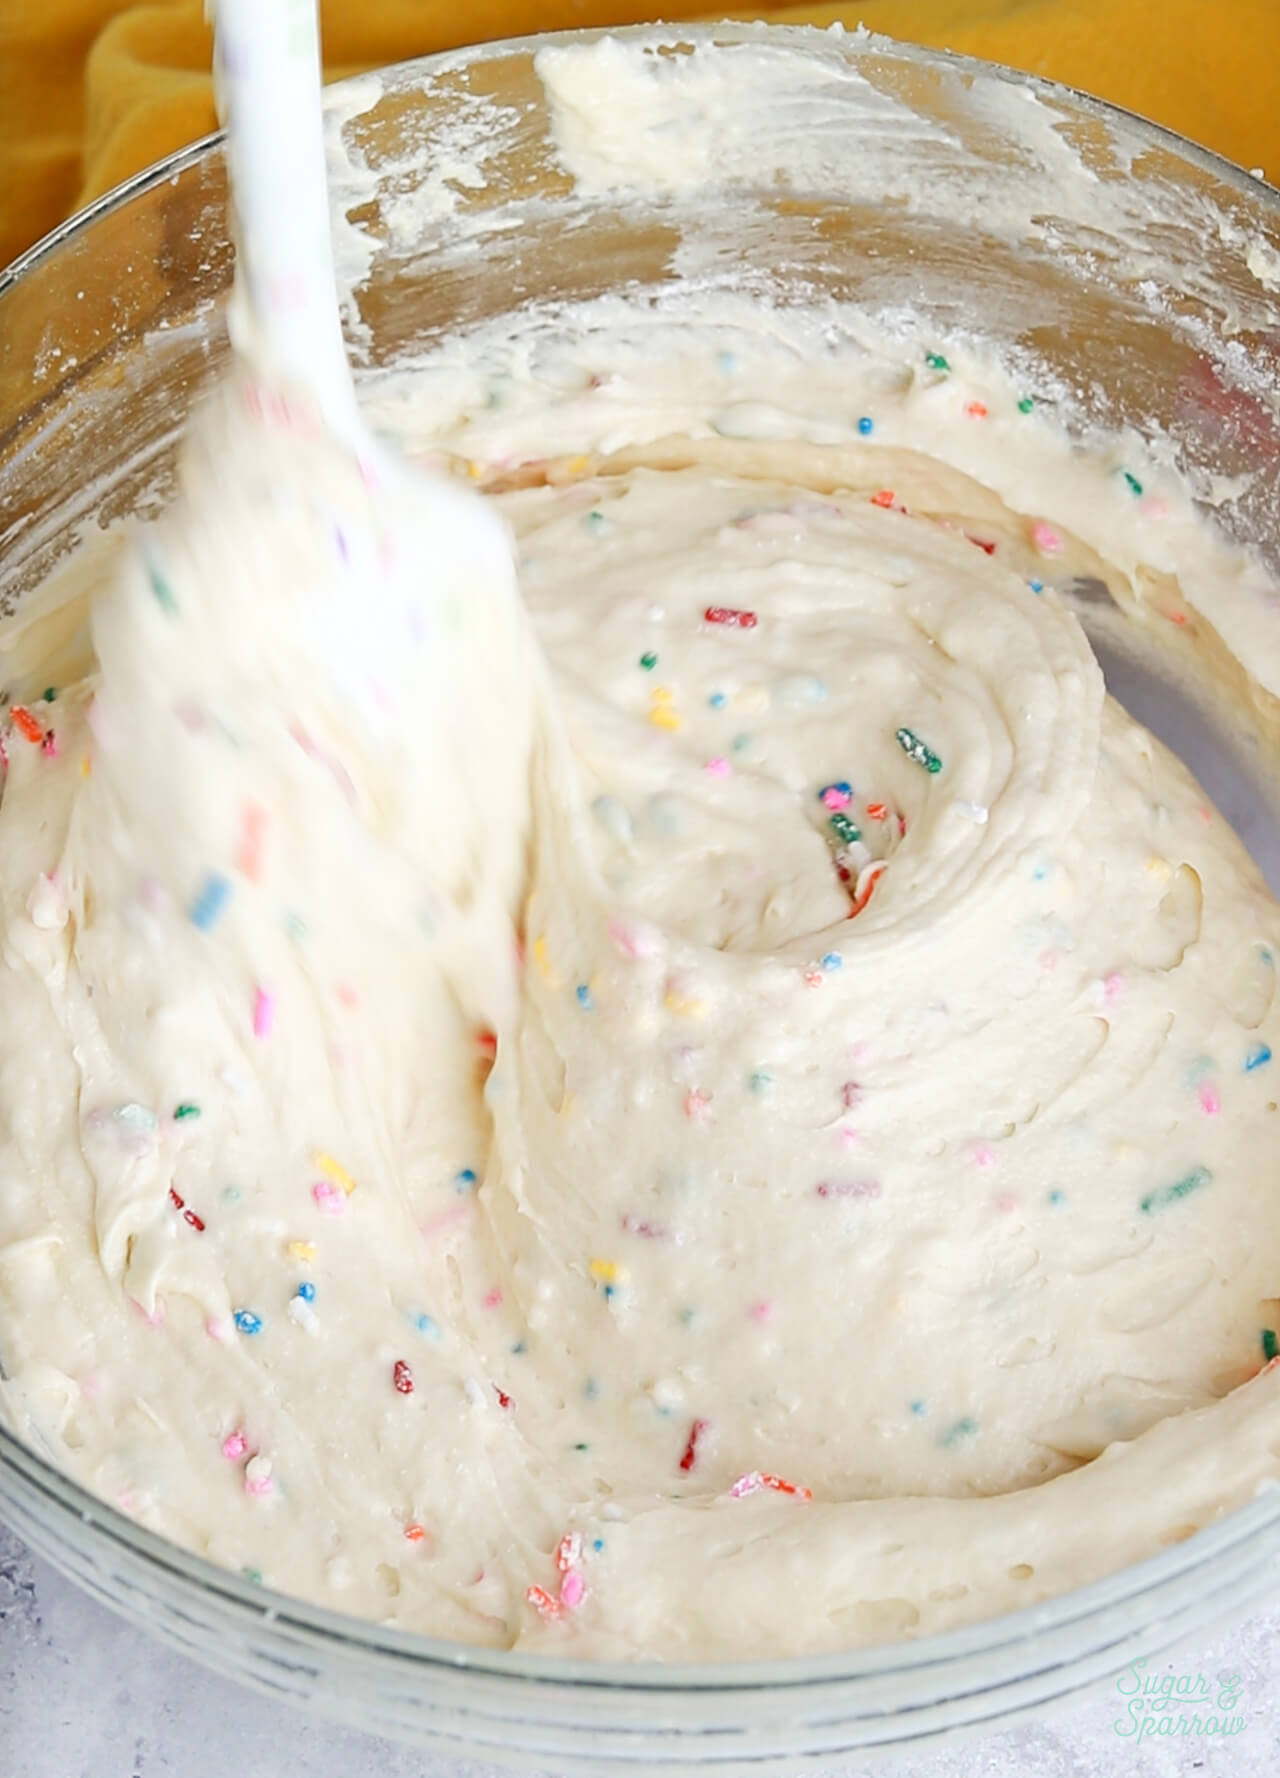
Step 7. Pour the batter into your prepared cake pans and bake for 30-35 minutes.
Step 8. Let the cake cool to room temperature, then make the buttercream frosting. I tinted my favorite vanilla buttercream recipe with a few drops of pink food color gel.
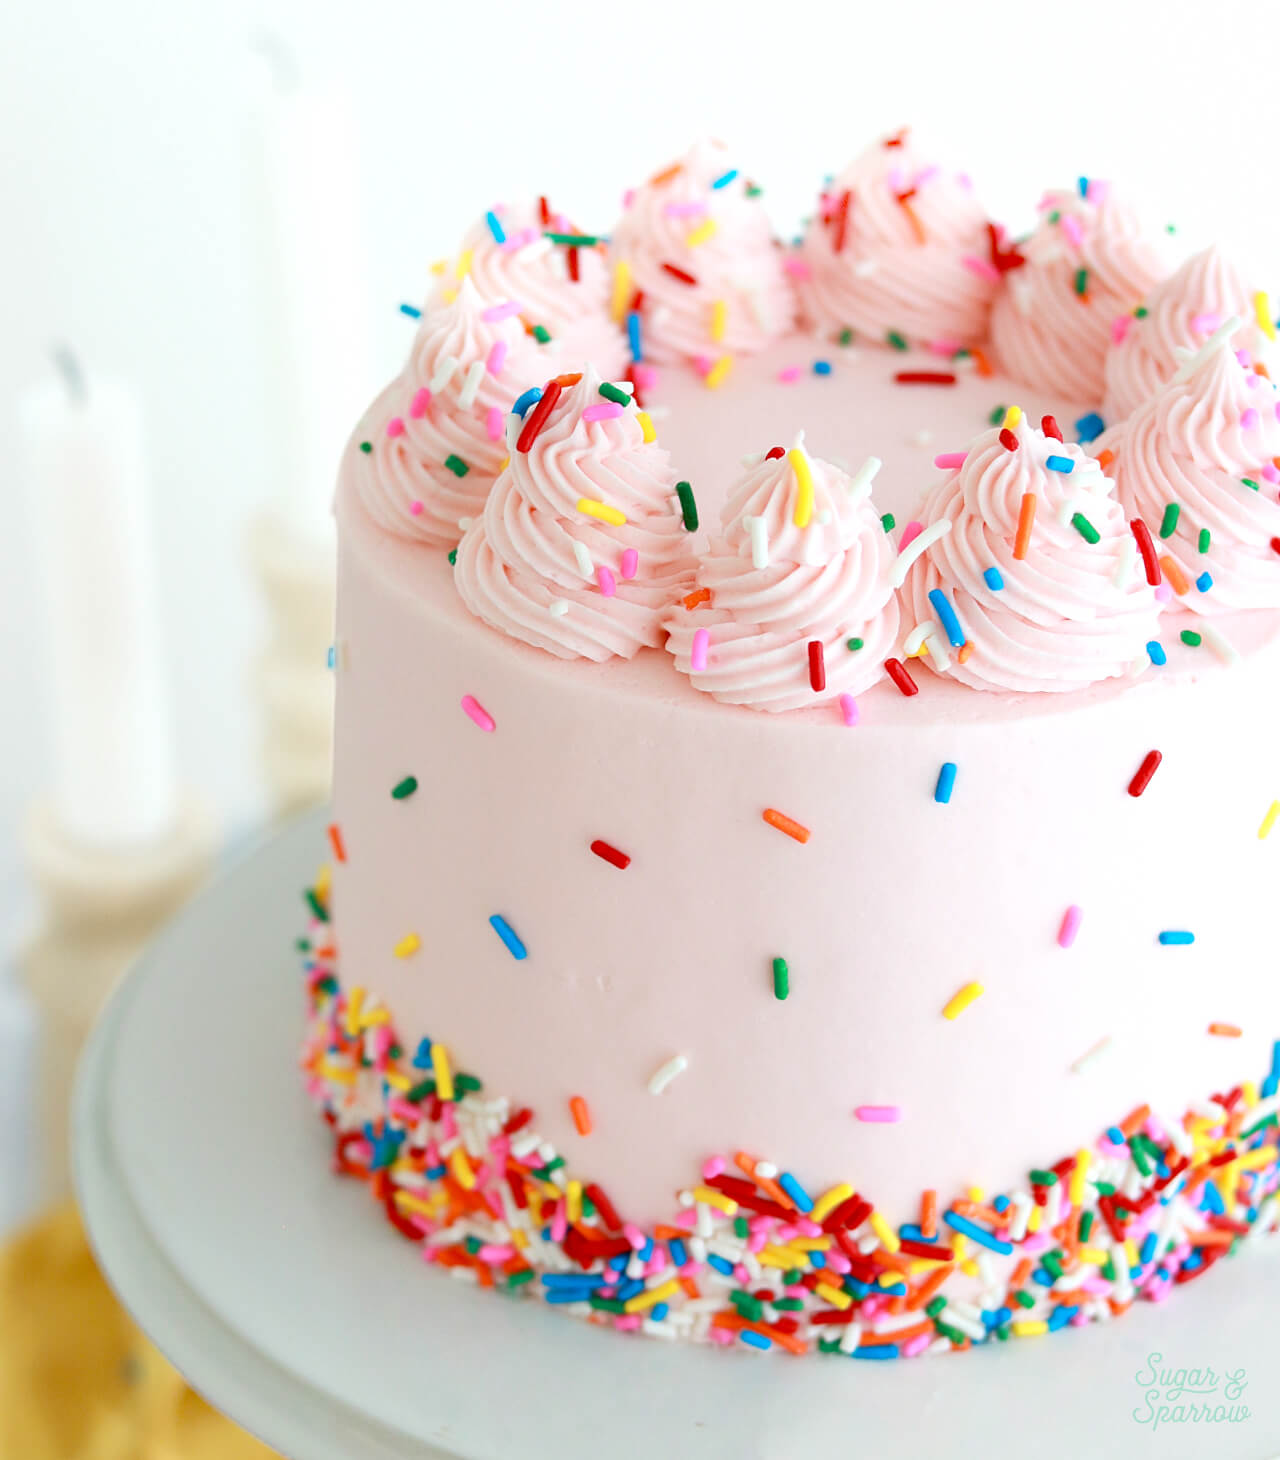
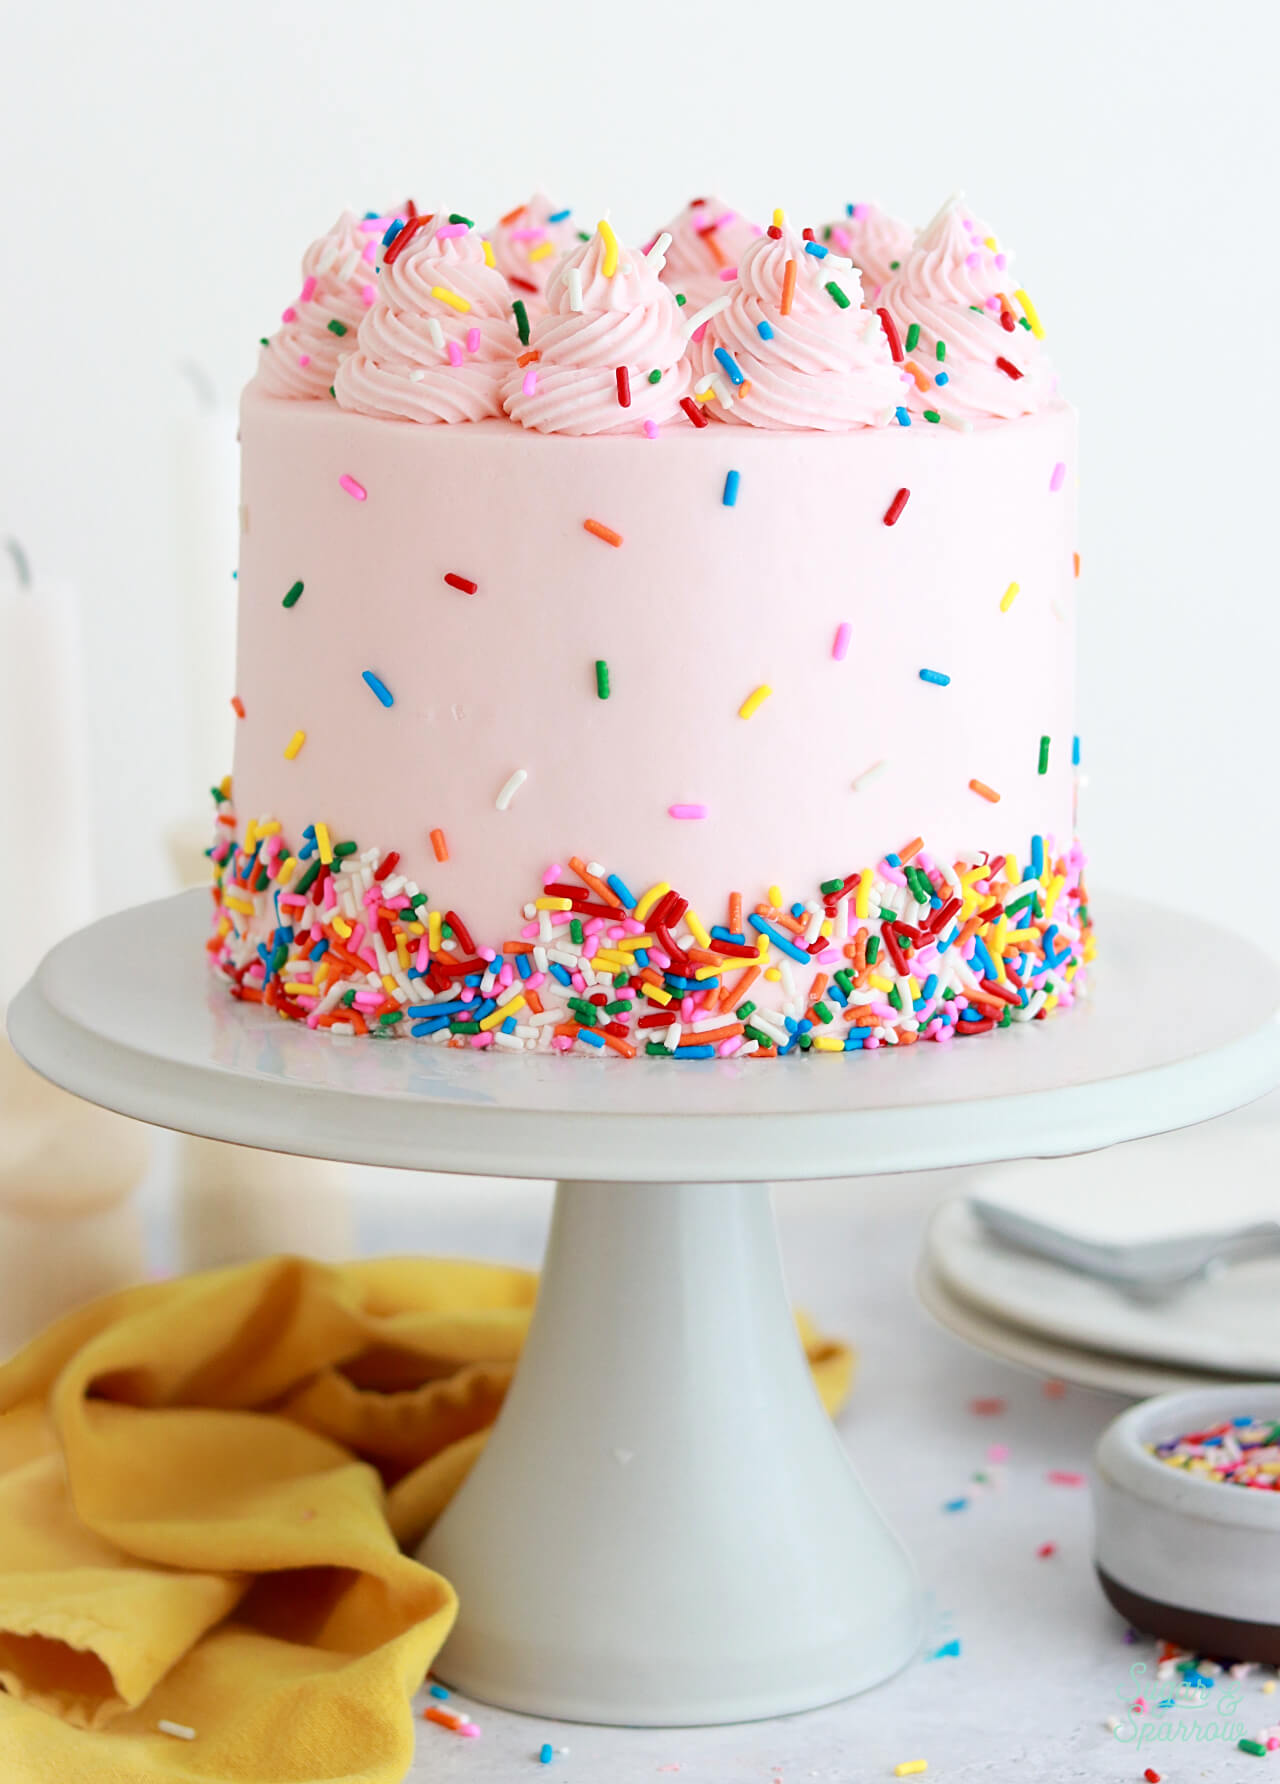
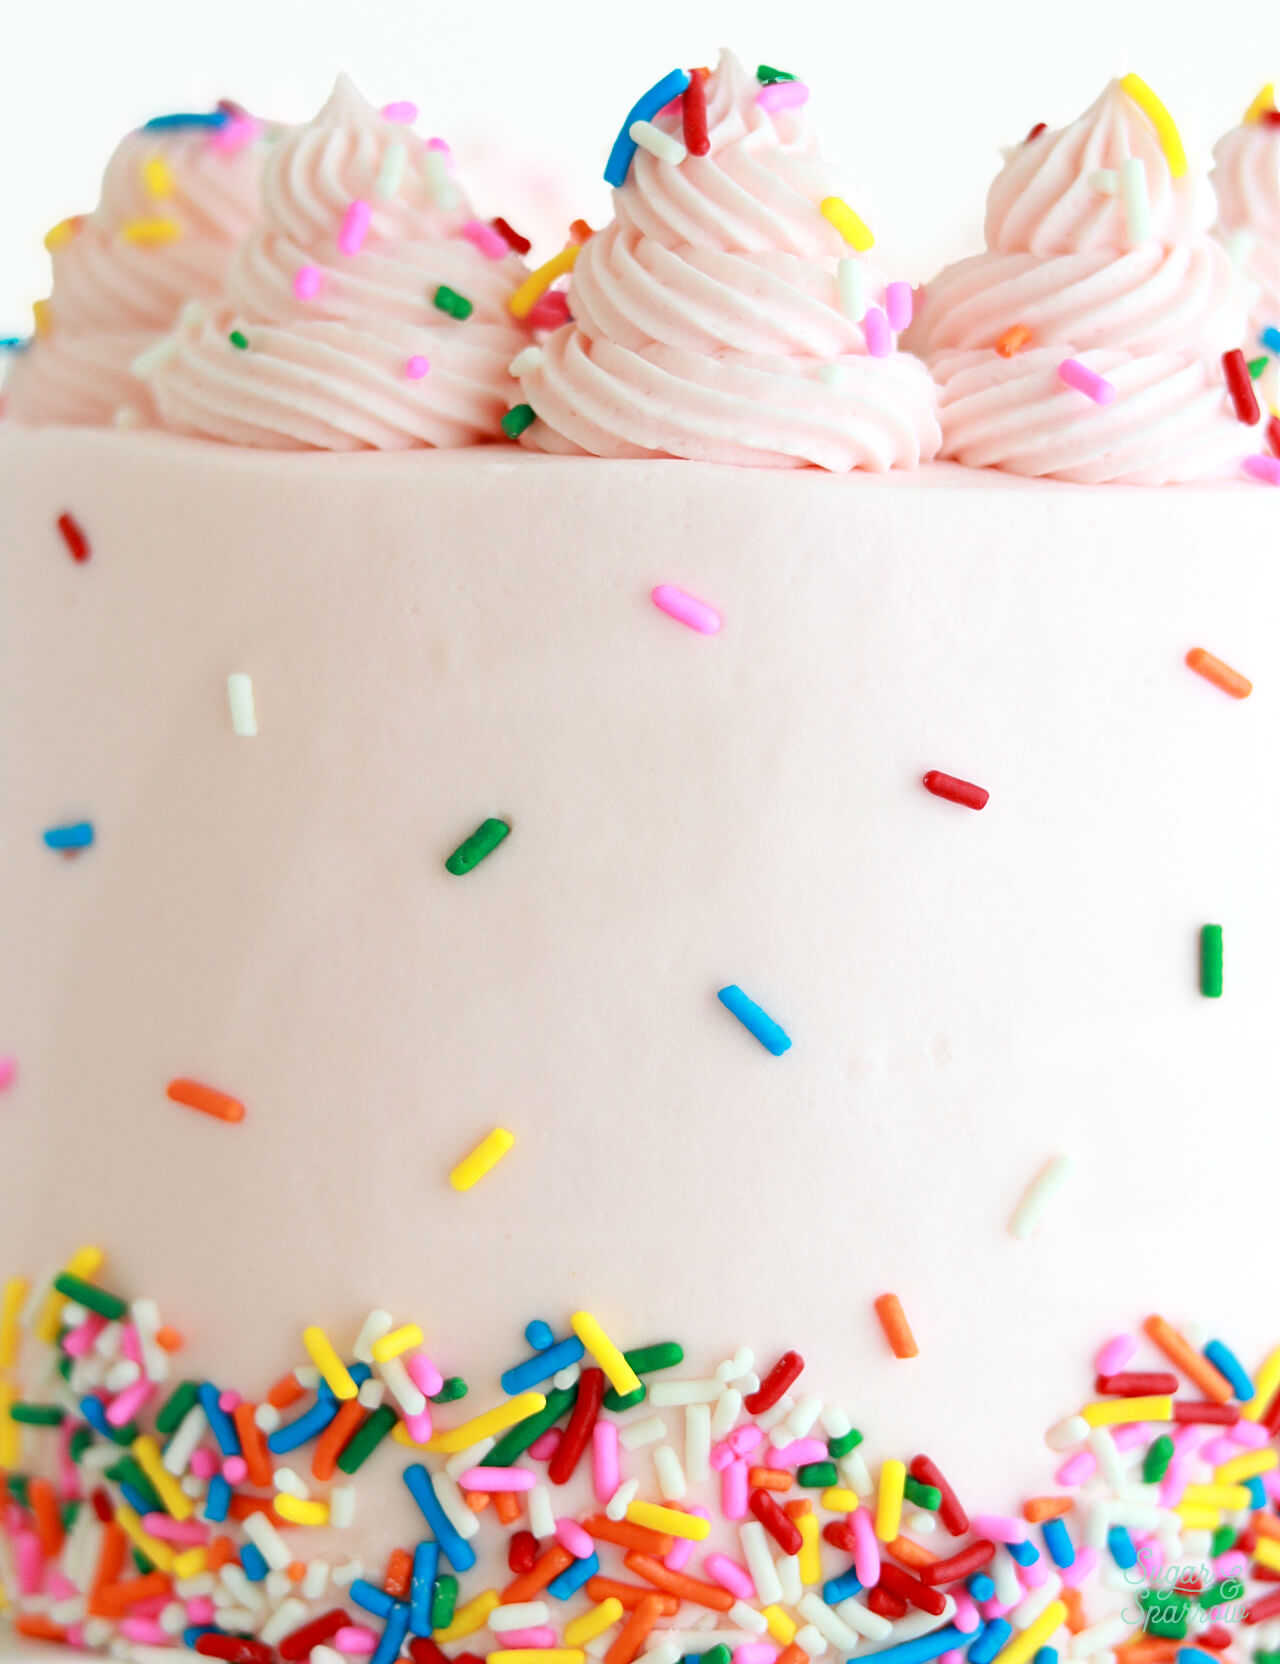
Step 9. Decorate the cake. I kept the design here simple by filling and frosting the cake with the vanilla buttercream, creating a smooth buttercream finish, and hand placing some rainbow sprinkles all around the sides of the cake. To finish the look, I used Wilton Tip 4B to pipe swirls of vanilla buttercream on top of the cake and added more rainbow sprinkles.
More Classic Party Cake Recipes You’ll Love
If you’re looking for more celebratory cake recipes, here are a handful of my go-to’s:
- Funfetti Sheet Cake
- Chocolate Sheet Cake
- Vanilla Sheet Cake
- Yellow Cake with Chocolate Frosting
- One-Bowl Chocolate Cake
Did you make this funfetti layer cake recipe? I want to know how it went! Feel free to rate it and post a comment below, or tag @sugarandsparrowco on Instagram to show me a photo. I love to see what you create with my recipes!
Funfetti Layer Cake
Ingredients
Funfetti Cake
- 2 1/2 Cups (265g) sifted cake flour* DIY recipe in notes
- 2 tsp baking powder
- 1/2 tsp baking soda
- 1 tsp salt
- 3/4 Cup (170g) unsalted butter, room temperature
- 1 3/4 Cups (340g) granulated white sugar
- 3 large eggs, room temperature
- 1/2 Cup (120g) sour cream, room temperature
- 1 Tbsp pure vanilla extract
- 1 Cup (240ml) whole milk, room temperature
- 1/3 Cup (60g) rainbow sprinkles**, coated in 1 tsp flour
Vanilla Buttercream
- 2 batches vanilla buttercream
Instructions
- Preheat the oven to 350°F. Prepare three 6-inch or two 8-inch cake pans by spraying the sides with baking spray (Baker's Joy is my favorite) and lining the bottom with parchment paper. Alternatively, you can grease and lightly flour the pans.
- In a medium bowl, add the sifted cake flour, baking powder, baking soda, and salt. Whisk to combine and set aside.
- In the bowl of your stand mixer fitted with the paddle attachment (or with a large bowl and handheld mixer), cream the butter and sugar until light and fluffy, about 4 minutes, scraping down the bowl and paddle once in between. Turn the mixer to low speed and add the eggs one at a time, mixing for about 10-15 seconds after each addition. Add the vanilla and sour cream, then mix for one minute on high speed. Scrape down the bowl and paddle.
- Turn the mixer off and add the dry ingredients all at once, then mix on low speed. When the ingredients just begin to incorporate, add the milk slowly and mix until just incorporated, about 30 seconds. Scrape down the sides and bottom of the bowl and give it a few stirs by hand to make sure there are no large lumps.
- In a small bowl, coat the rainbow sprinkles with 1 teaspoon of flour (cake flour or all purpose flour). Then, gently fold the flour-coated rainbow sprinkles into the cake batter with a silicone spatula. The batter will be slightly thick.
- Pour batter into prepared cake pans and bake for 30-35 minutes. They're done when they spring back to the touch and a toothpick inserted into the middle comes out clean. Let the cakes cool in the pan for five minutes before turning them out onto a wire rack for an additional few hours of cooling. Make sure they're entirely room temperature before filling and frosting with vanilla buttercream (or frosting of your choice).



Hi Whitney, what are your thoughts on using vanilla extract instead of almond? Afraid some may not like the almond flavor.
Hi Kathy! You can absolutely use all vanilla extract instead of adding almond. I’d add about 1.5 Tablespoons to this recipe. Enjoy!
I made this cake for my daughter’s 5th Birthday and it was so good! I followed all the instruction to the T! even the vanilla buttercream came out really good not runny at all. My first time making it too. Thank you for sharing!
That’s amazing, Judy! I’m so happy to hear that!
Thinking of making this into a 4 layer 7 inch cake. Should I double the batter?
Hi Kelisha! You could make 1.5x the recipe and have enough for four 7 inch layers. Doubling the recipe will give you more than enough! Whatever you decide, just be sure to fill the pans no more than 2/3 full so they don’t overflow in the baking process.
I tried both your vanilla cake and this funfetti cake and both batters split. I had my ingredients room temp and set a timer for the creaming of the butter and sugar. It kept happening when I added the milk at the end and the milk was definitely not cold. Looked to see if I could save the batter and ended up put in some tablespoons of flour but nothing worked. Not sure what went wrong here… I feel like vanilla cakes are my enemy haha
Thank you for the help!
Hi Lexi, I’m sorry to hear that happened. I know that the batter will end up looking curdled after adding the sour cream/vanilla and beating for a minute, but it should come together into a smooth cake batter after adding the flour and milk. Did you make any substitutions? And did you try baking the cakes?
Hi there I noticed in the directions you have to sift the flour before measuring it how exactly do you do that?
Hi Belle! I usually place a bowl on my kitchen scale, then sift the flour into the bowl to measure by weight. You can alternatively sift the flour into a bowl and then spoon and level the sifted flour into dry measuring cups. Hope that helps!
Hello from England
I’m baking this cake for my daughters 5th birthday. I was wondering does it matter if the 8 inch tins are deep or shallow? I have 2 shallow and 1 deep so I’ll see how they turn out
Hi Bethany! My 8-inch tins are 2 inches tall, so that’s the size I wrote this recipe for. If you’re using a deeper tin I would recommend increasing the baking time.
Hi from the UK, Whitney! My stepdaughter has asked me to make a cake for her baby shower and I’d like to use this recipe to make three 8” cakes. In the instructions, you say to prepare three 8” tins but in the comments you mention you usually use it to make three 6” cakes. As I want the layers to be reasonably deep, will the quantities here be enough for 8” cakes? Thank you.
Hi Ruth! This recipe makes enough for three 8-inch layers that end up being about 2 inches deep. That comment about the 6-inch layers might have been an old one, cause this makes enough for 4 6-inch layers but when I initially wrote the recipe it was written for 3 6-inch layers. Hope that makes sense! Enjoy!
Thank you so much for replying so quickly.
Hi again Whitney. I’ve made this cake today ( minus sprinkles) and although it tastes really moist and buttery, the texture is very fragile. It’s not dry and crumbly but is breaking easily. I wondered whether the size of eggs could be to blame? I’ve used Uk large which weigh around 70g each in their shell. Do you have any advice, please? This is a trial run for the baby shower cake! Thank you.
Hi Ruth! Is the texture fragile while the cake is still warm? Or is it too light and fluffy at room temperature? If it’s breaking apart while warm I would recommend cooling to room temp before handling the cake layers. Also, I didn’t realize that UK eggs weigh more than US eggs, and after a quick google search it looks like one US large egg = one UK medium egg. It might be worth another go with medium eggs!
Hello Whitney. Just an update on my previous comment to let you know that using the medium eggs (UK) worked a treat. Following your YouTube series also gave me the confidence to decorate the baby shower cake with an ombré buttercream icing (your recipe again) , add a border of sprinkles and add swirls to the top. Unfortunately, I didn’t get to taste this one but my stepdaughter was over the moon with it and said it was absolutely delicious! Thank you.
Yay, Ruth! All of that makes me so happy! I’m so glad the recipe was a hit, worked well with the UK medium eggs, and you felt confident in your decorating after watching some tutorials 🙂 amazing job! And thank you for following up, it’s so helpful for me to know that egg sizes vary by location!
Hi, I am wondering whether I can make this with 7″ tins. Would I be able to split the mixture to make it a four level cake? Or would I need to make a larger mixture. Roughly how long do you think the cooking. time would be. Thanks in advance.
Hi Shell! You can divide the batter between four 7 inch tins and the layers will be slightly shorter (closer to 1.25 inch tall each instead of 2 inches tall each). I’m not sure about the exact baking time since I’ve never baked the layers in a 7 inch tin before but since they would be shorter, I would check them at 25 minutes for doneness, then add more time from there if needed. If you want taller layers, you can make 1.5x the recipe but note that you will have more than enough batter, so be sure to only fill the tins 2/3 full. Hope that helps!
Wow! This is going to be my new go to recipe for birthday cakes (with or without the sprinkles) and I only wish I’d found it years ago. I made a trial cake on the weekend before I have to make the real deal for my daughters birthday party in a few weeks and my family can’t stop raving about it. Even my husband who grew up on cake (MIL is an incredible cake maker) said it’s the best cake he’s ever had. I put it together with your basic vanilla buttercream – I only wish I could get this as smooth as yours! Thank you so much – cannot wait to recreate it in a few weeks with a Harry Potter theme for the party!
Yay, Melanie! That’s so amazing! I’m happy it was a hit and excited for you to make it again. A Harry Potter themed party sounds like the best ever!
Hi- how many servings would this cake make? With 3 8-inch layers as you described? Having a birthday party with about 20 people and want to make sure I’ll have enough. Thanks!
Hi Sarah! A triple layer 8 inch cake will serve 20-24 depending on how large you cut the slices. Enjoy!
Hi there! Planning to make this for my sons upcoming birthday, it looks divine! If I do 3x 8” layers, how many people will this serve? Thank you!
Hi Suzana! So excited for you to make this cake for your son’s birthday! A cake that size should serve 20-24 people. Enjoy!
Hi there! I love the flavor of this cake, but I’ve made it twice now and it turns out very dense. Any idea what I might be doing wrong? It is the best tasting vanilla cake I’ve ever made so hoping I can get the texture right next time!
Hi Amber! Some common reasons why a cake would turn out more dense: 1) making substitutions like using all purpose flour instead of cake flour 2) ingredients are not room temp (mainly too cold), 3) overmixing the batter at the end or overcreaming the butter/sugar in the beginning. If you are following the recipe to a t, I would just be careful not to overmix at the end. It’s easy to do. Just make sure you stop mixing when everything just starts to come together, then give the mixture just a few stirs with a rubber spatula. Hope that helps!
Hi Whitney! I love your cake-baking video series and I’m gearing up to make two “Smash Cakes” and 12 cupcakes for our 1 year olds using this Funfetti recipe. Thanks for arming me with the confidence to give this a try at home!
I purchased tins for 4″ cake layers (they are about 2″ tall). If I am doing 2 cakes, 4″ diameter, both 3 layers tall, and a batch of 12 cupcakes, do you have any suggestions for sizing this recipe? Would double be enough?
Kind regards!
Yay, Pita! That’s so fun! This recipe should make enough for two triple layer 4 inch cakes + 12 cupcakes as is. You’ll want to bake the 4 inch cakes for about 25 minutes and the cupcakes for about 17 minutes. Enjoy!
Does elevation or humidity change the weight of flour? I measured several times and re-sifted several times too and would get 398g with only 3 cups of flour.
Hi Ashley! I’m not sure about the elevation changing weight. Are you using cake flour or all purpose flour? Cake flour does weight much less than all purpose, so if you’re using the latter the weight will be much more. Hope that helps!
Cake is absolutely divine! Just wondering if anyone in Australia can recommend a brand of jimmys? Mine seem to have bled a little.