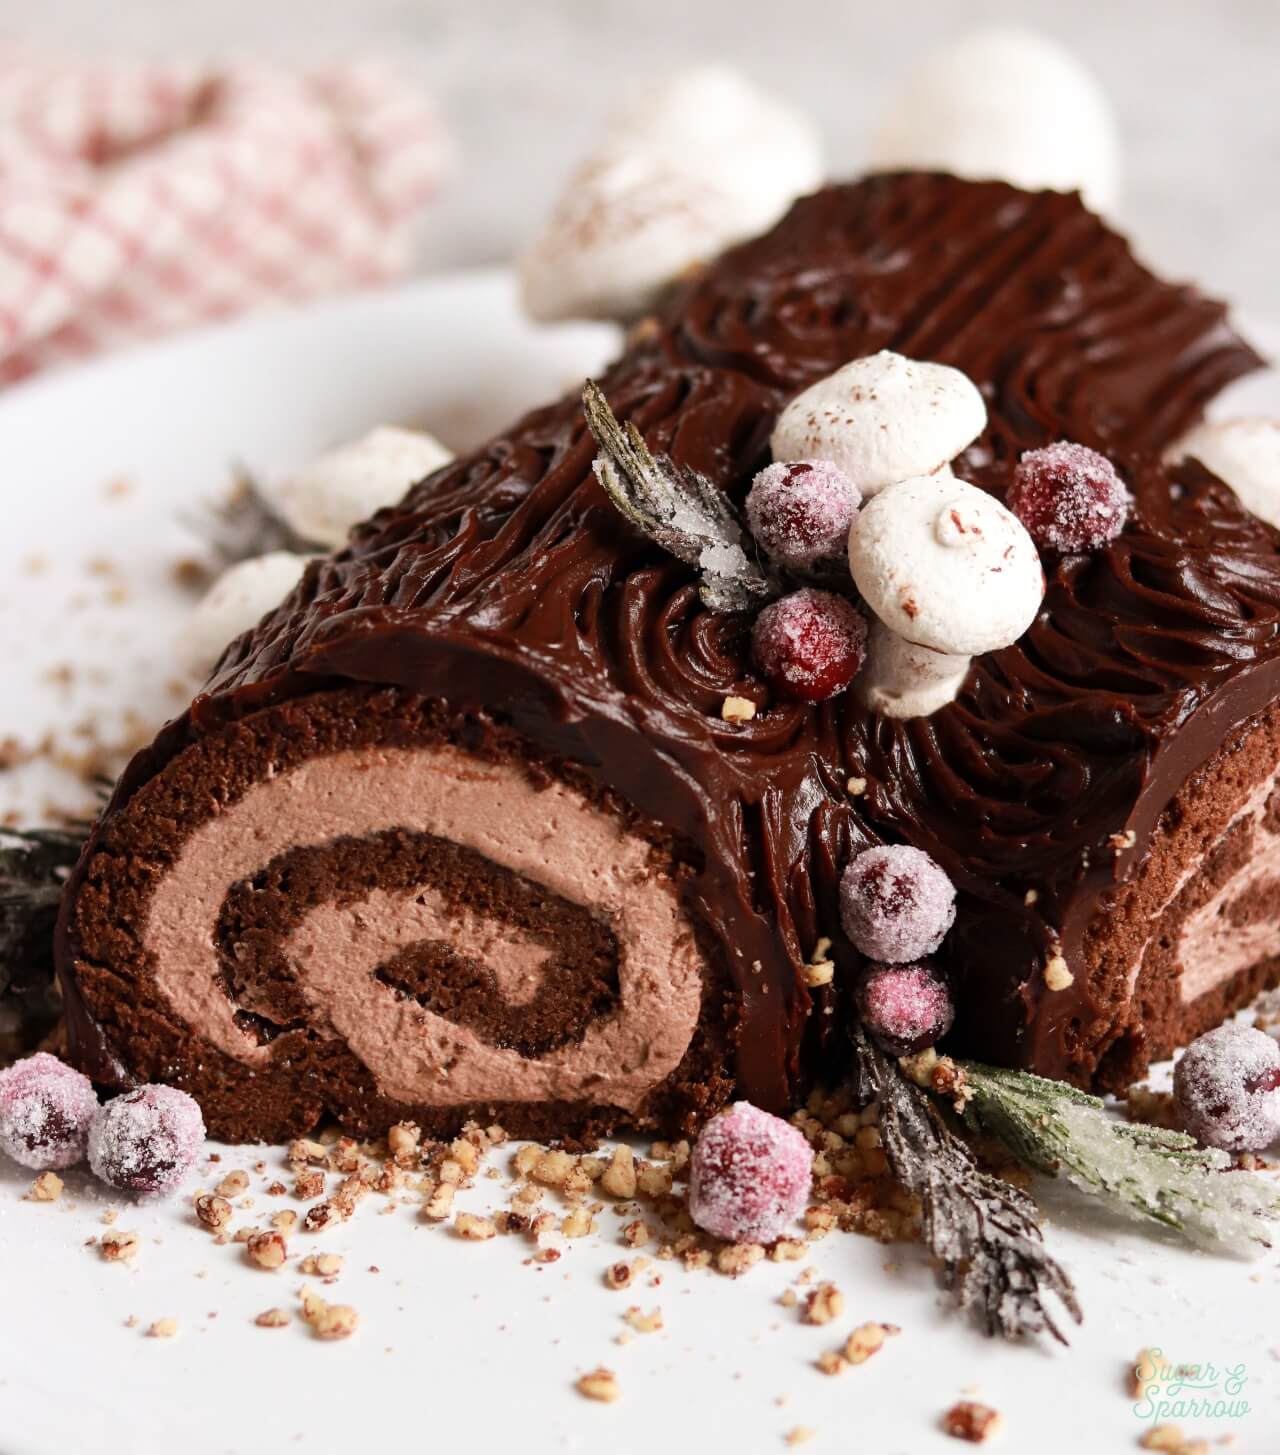
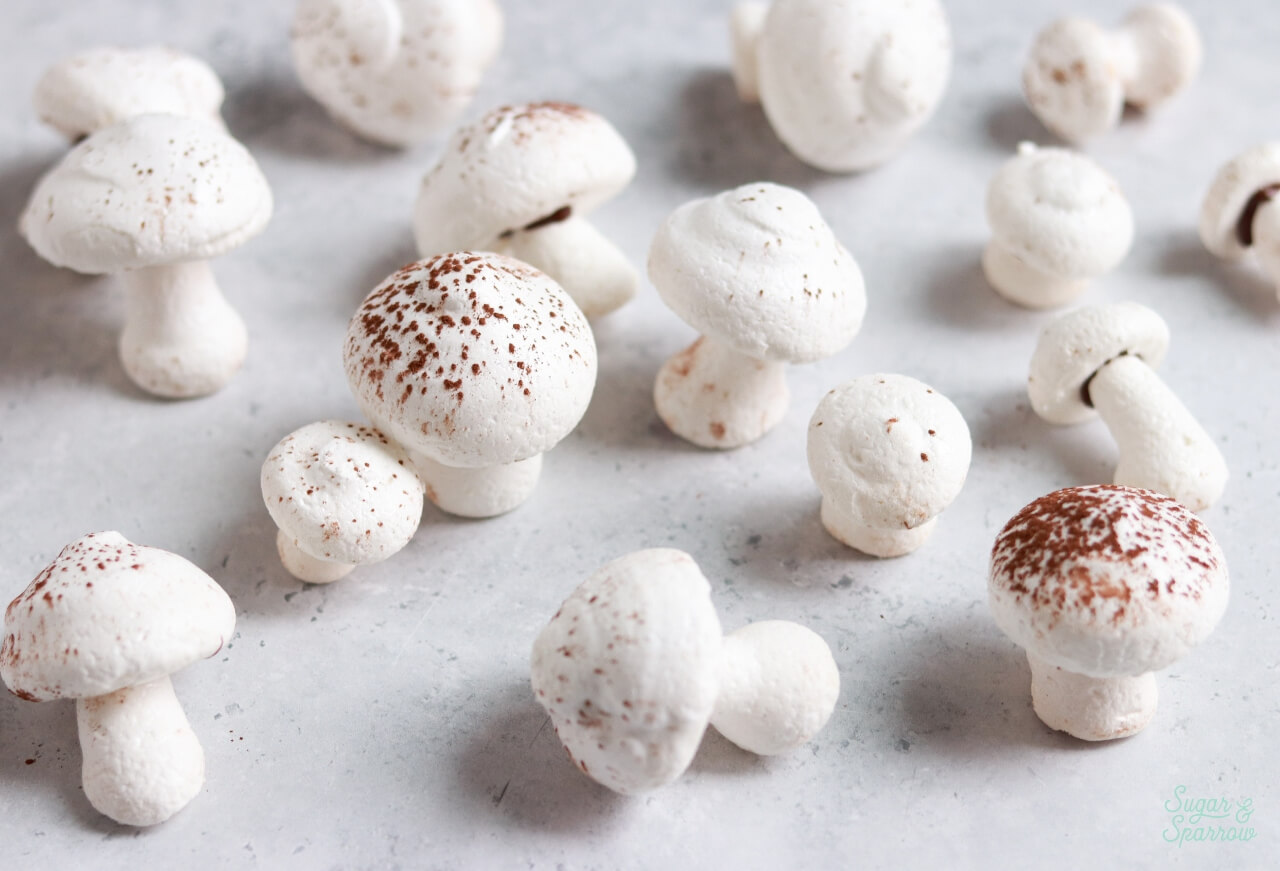
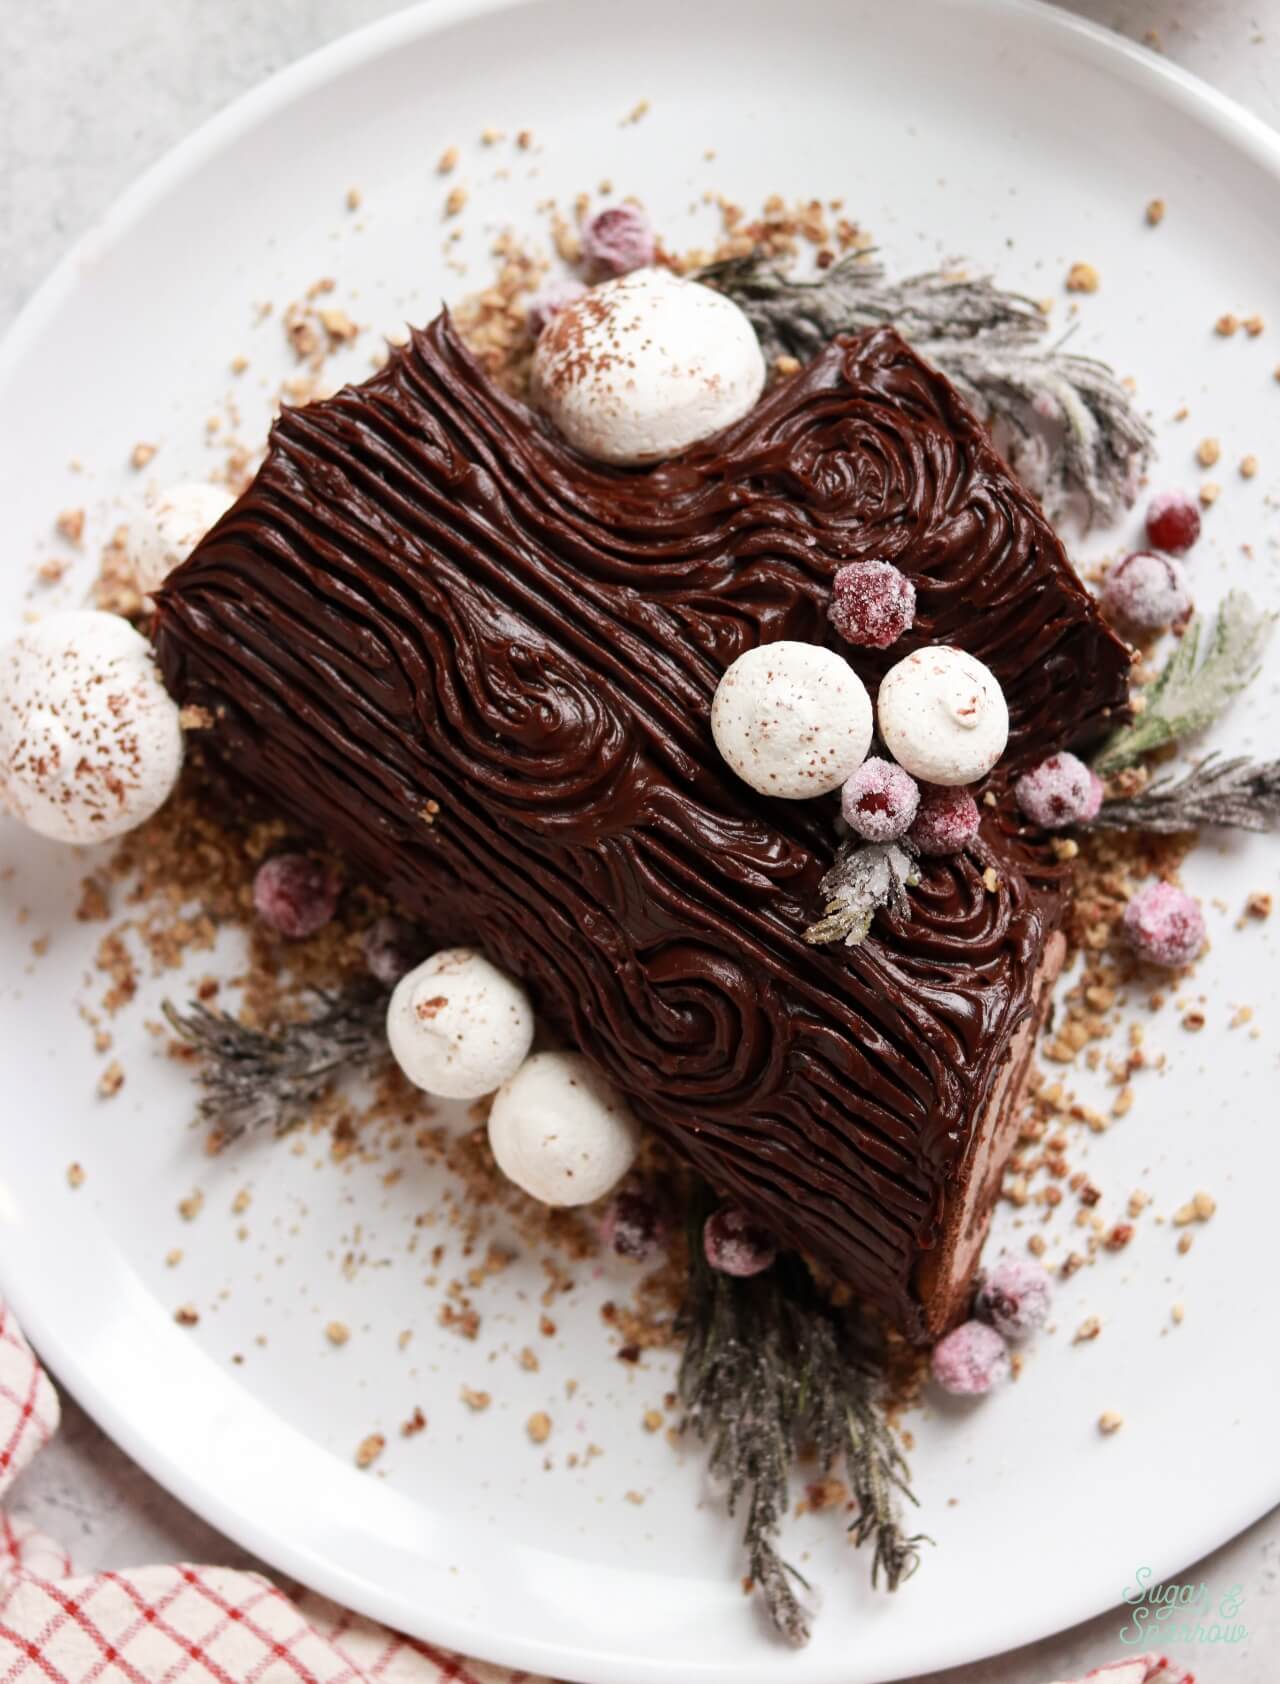
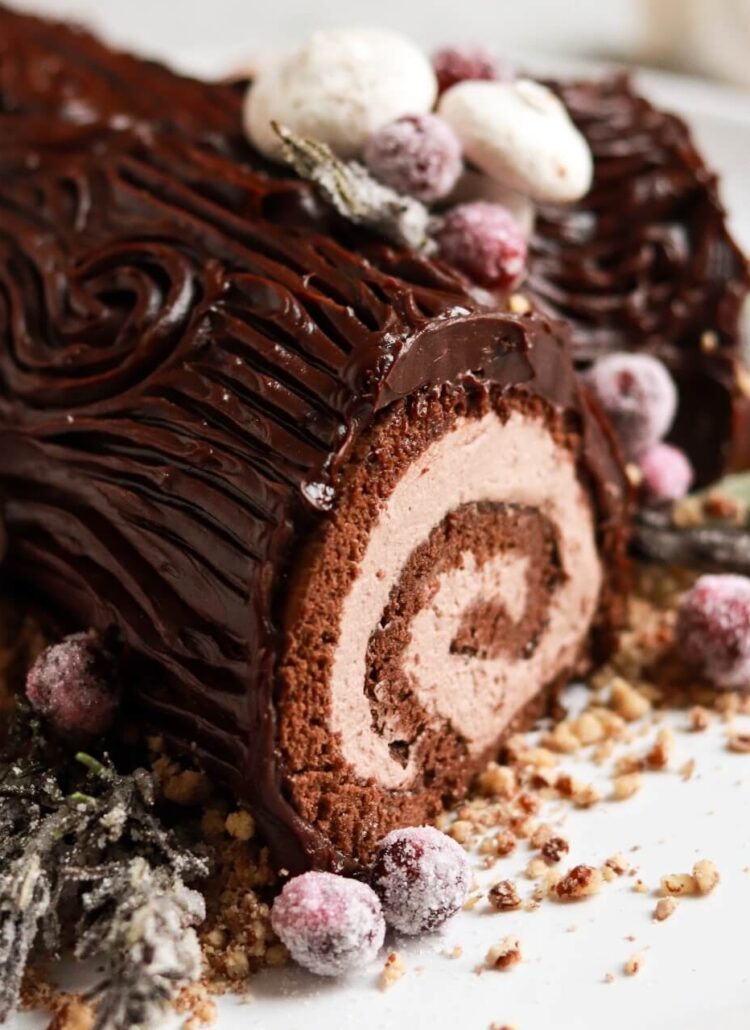
Meringue mushrooms are the cutest, most delightful garnishes for cakes and holiday dessert tables! They are 100% edible with a chewy meringue texture and surprisingly easy to make. I love how realistic they look and even if you’ve never made them before, they’re extremely forgiving. No two mushrooms look exactly the same in real life, so there’s no pressure to make them too uniform with the meringue version and I love that. This recipe and tutorial will show you how to make the meringue, pipe caps and stems, bake the meringue mushrooms, and assemble them. I’ll also share my favorite recipes to garnish with them (pictured here is my Yule Log Cake) and some troubleshooting tips!
Meringue Mushroom Ingredients
- Egg whites. Fresh egg whites are best for this recipe, as we’ll be whipping them up into a stiff meringue.
- Granulated sugar. Not only sweetens the meringue, but gives it volume in the whipping process.
- Cream of tartar. A little cream of tartar is essential for stabilizing the egg whites and ensuring that the meringue isn’t hollow after the baking process.
- Cocoa powder. For dusting the mushroom caps. It’s a completely optional ingredient/step but I love the look of it!
- Melted Chocolate. This is the glue that binds the meringue mushroom caps to their stems. You can use any kind of chocolate for this, but I love semi-sweet chocolate chips because I usually always have them on hand.
How to Make Meringue Mushrooms
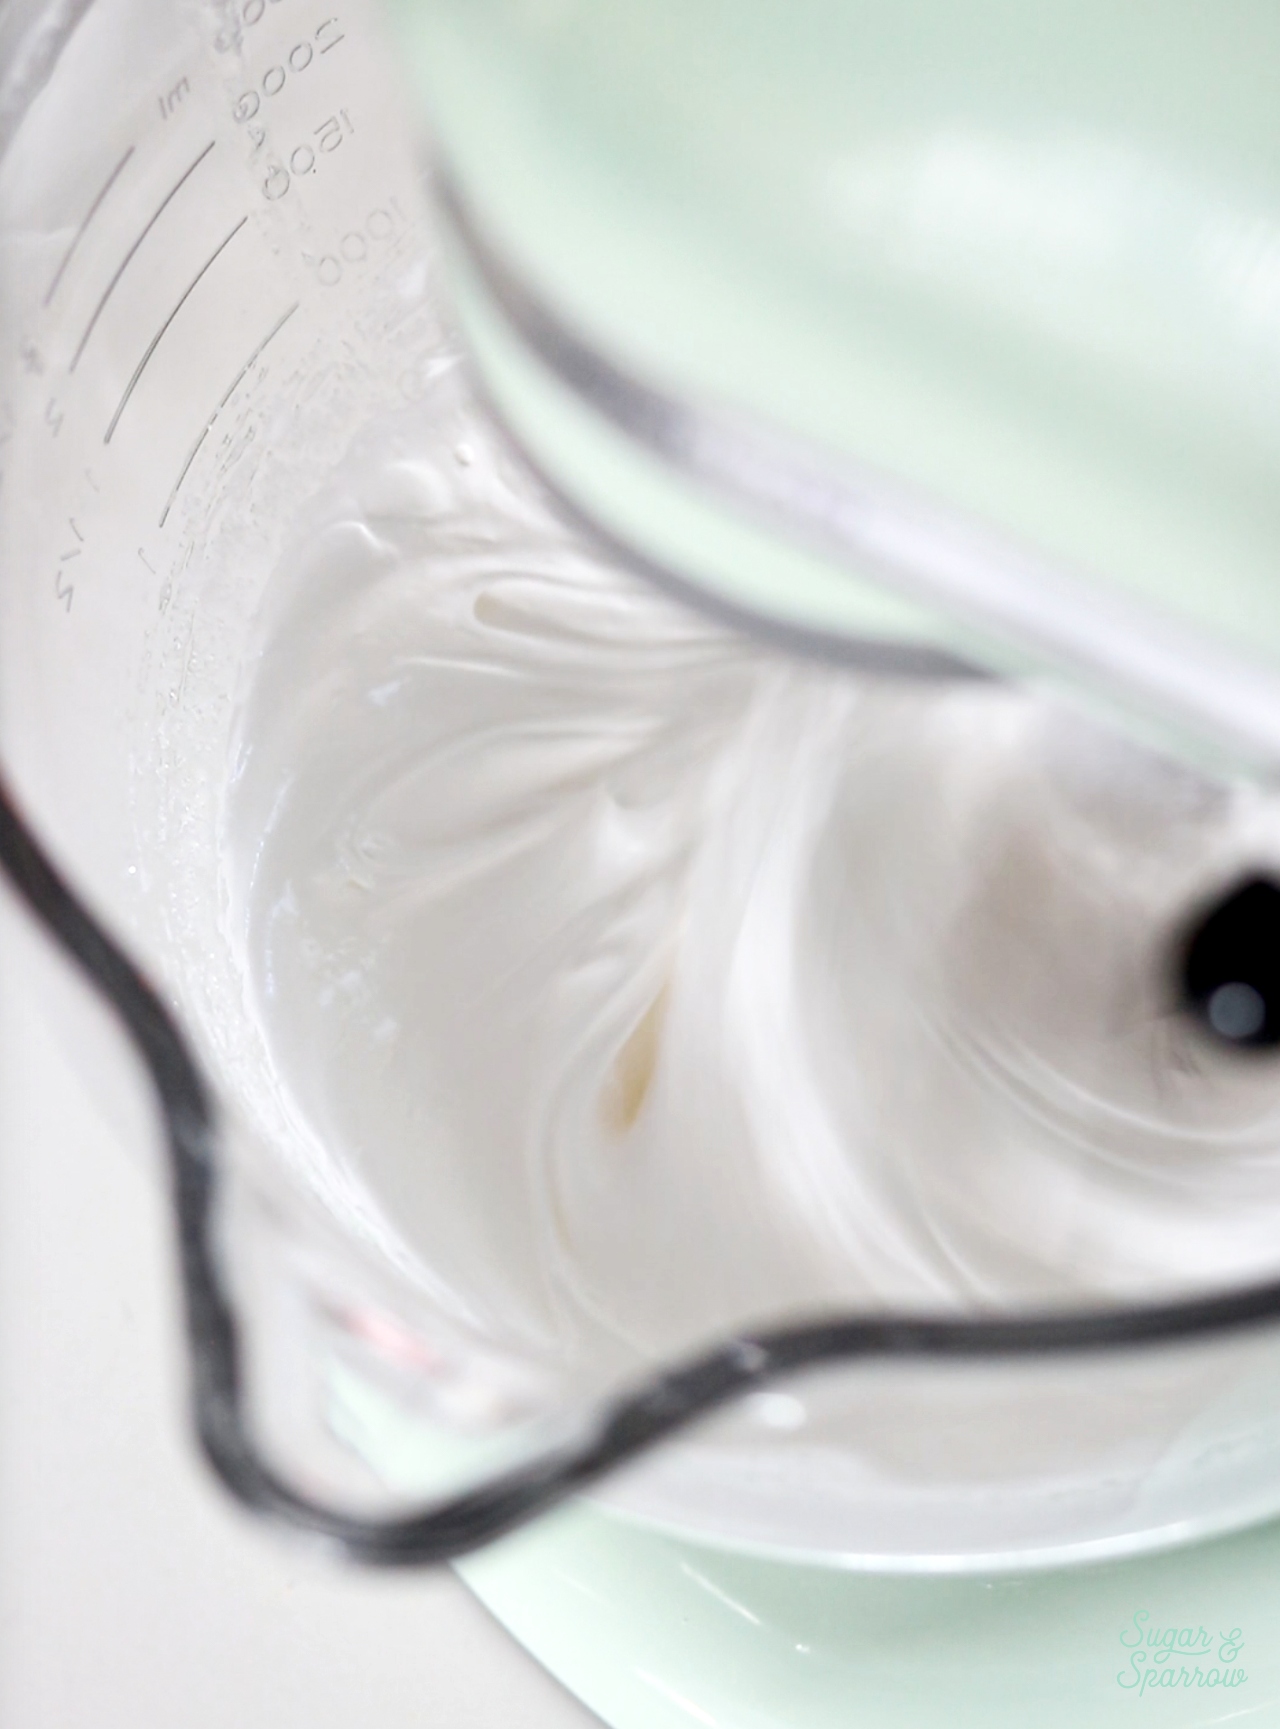
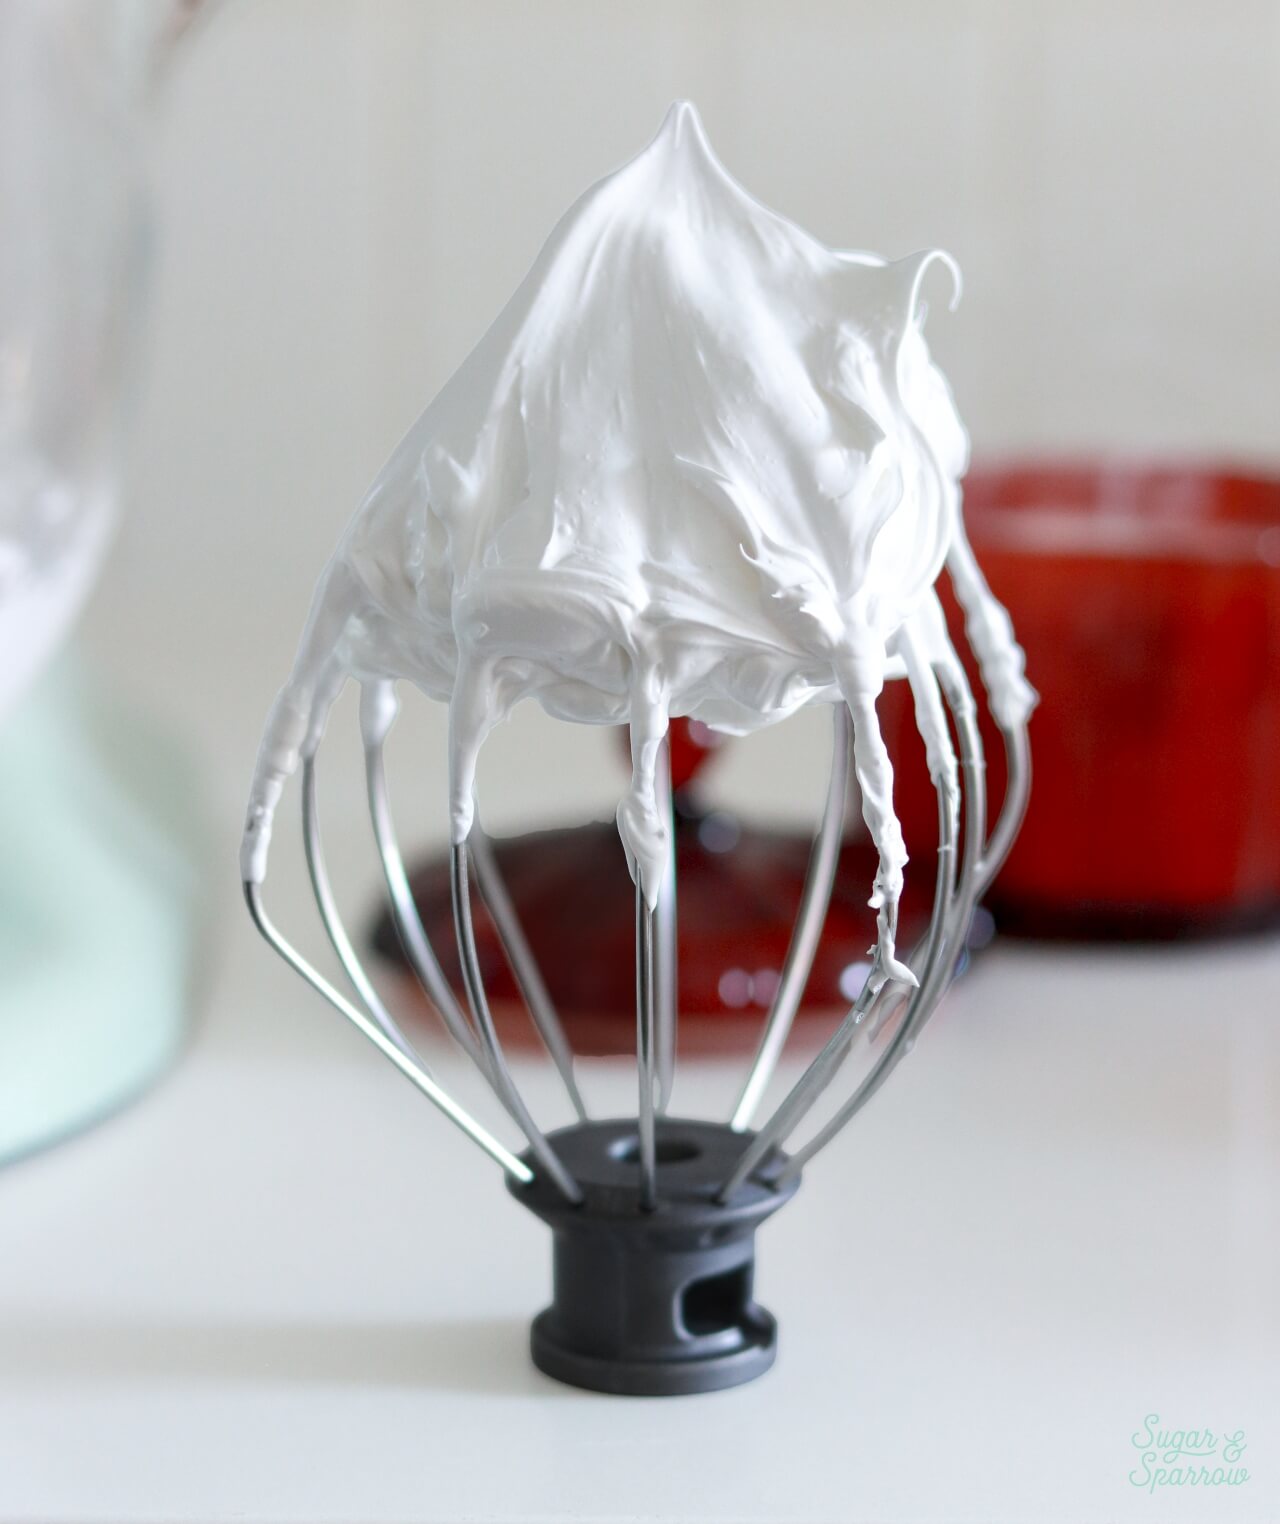
Step 1: Make the Meringue. Make sure your stand mixer and whisk attachment are grease-free (wipe them down with a little vinegar or lemon juice if you’re unsure) and add the egg whites and cream of tartar into the bowl. Beat the mixture on high speed until foamy, then gradually add in the sugar while continuing to whip on high speed until stiff, glossy peaks form.
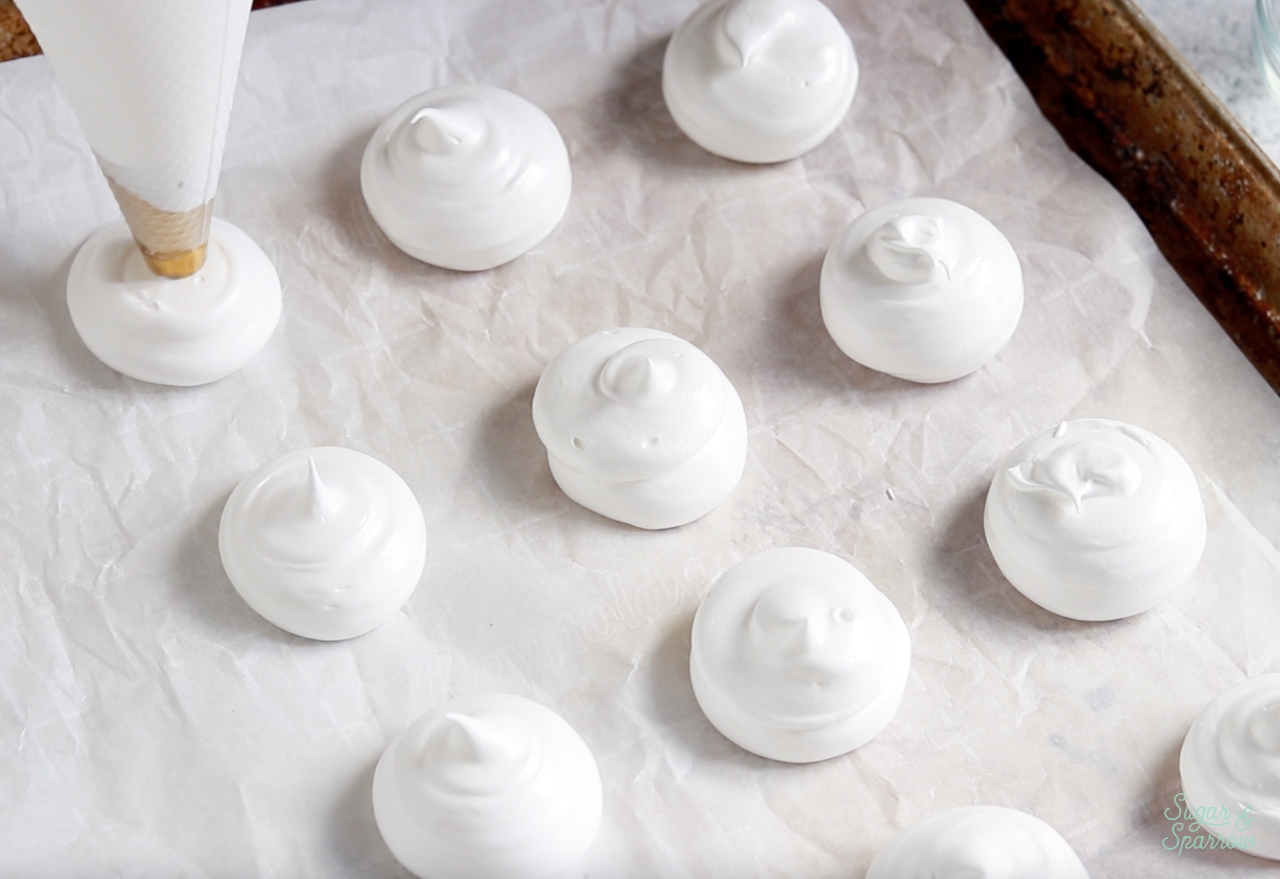
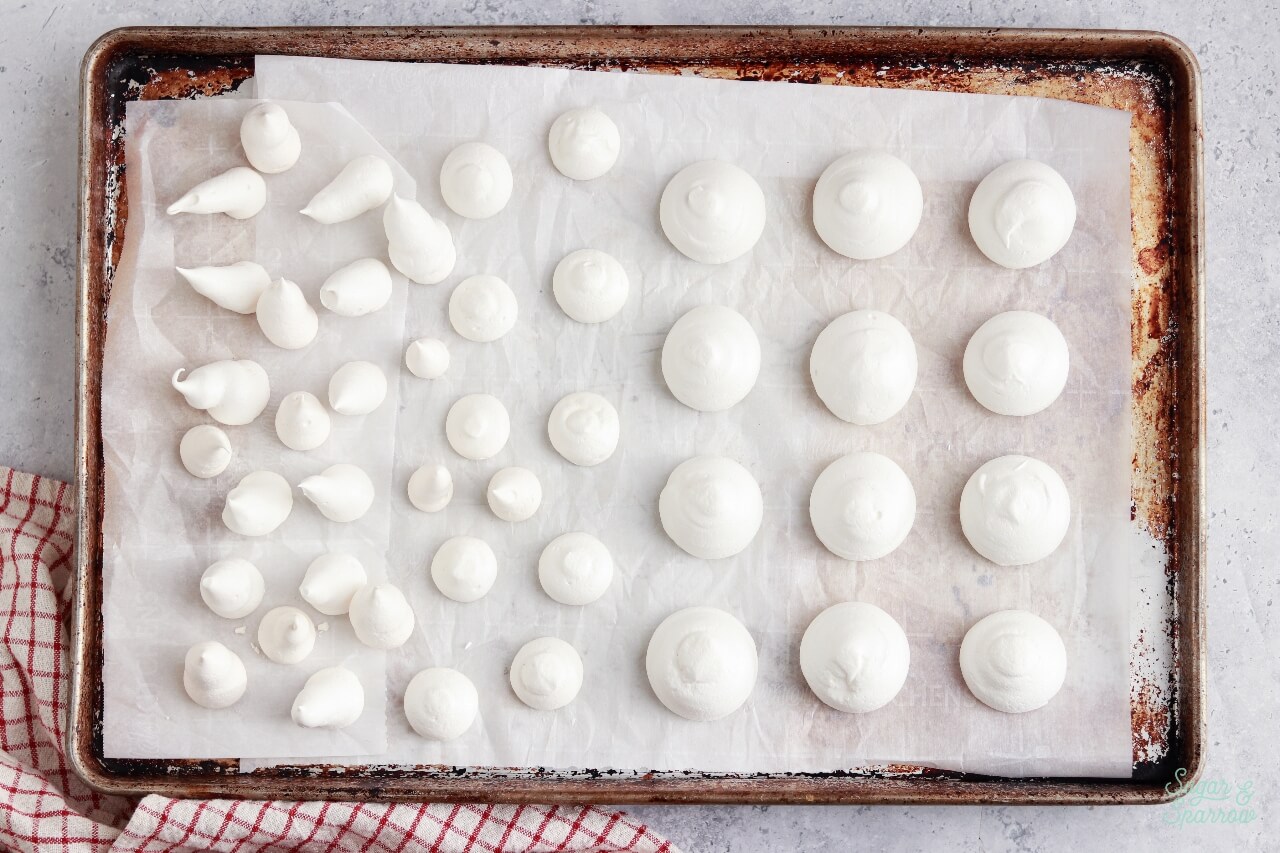
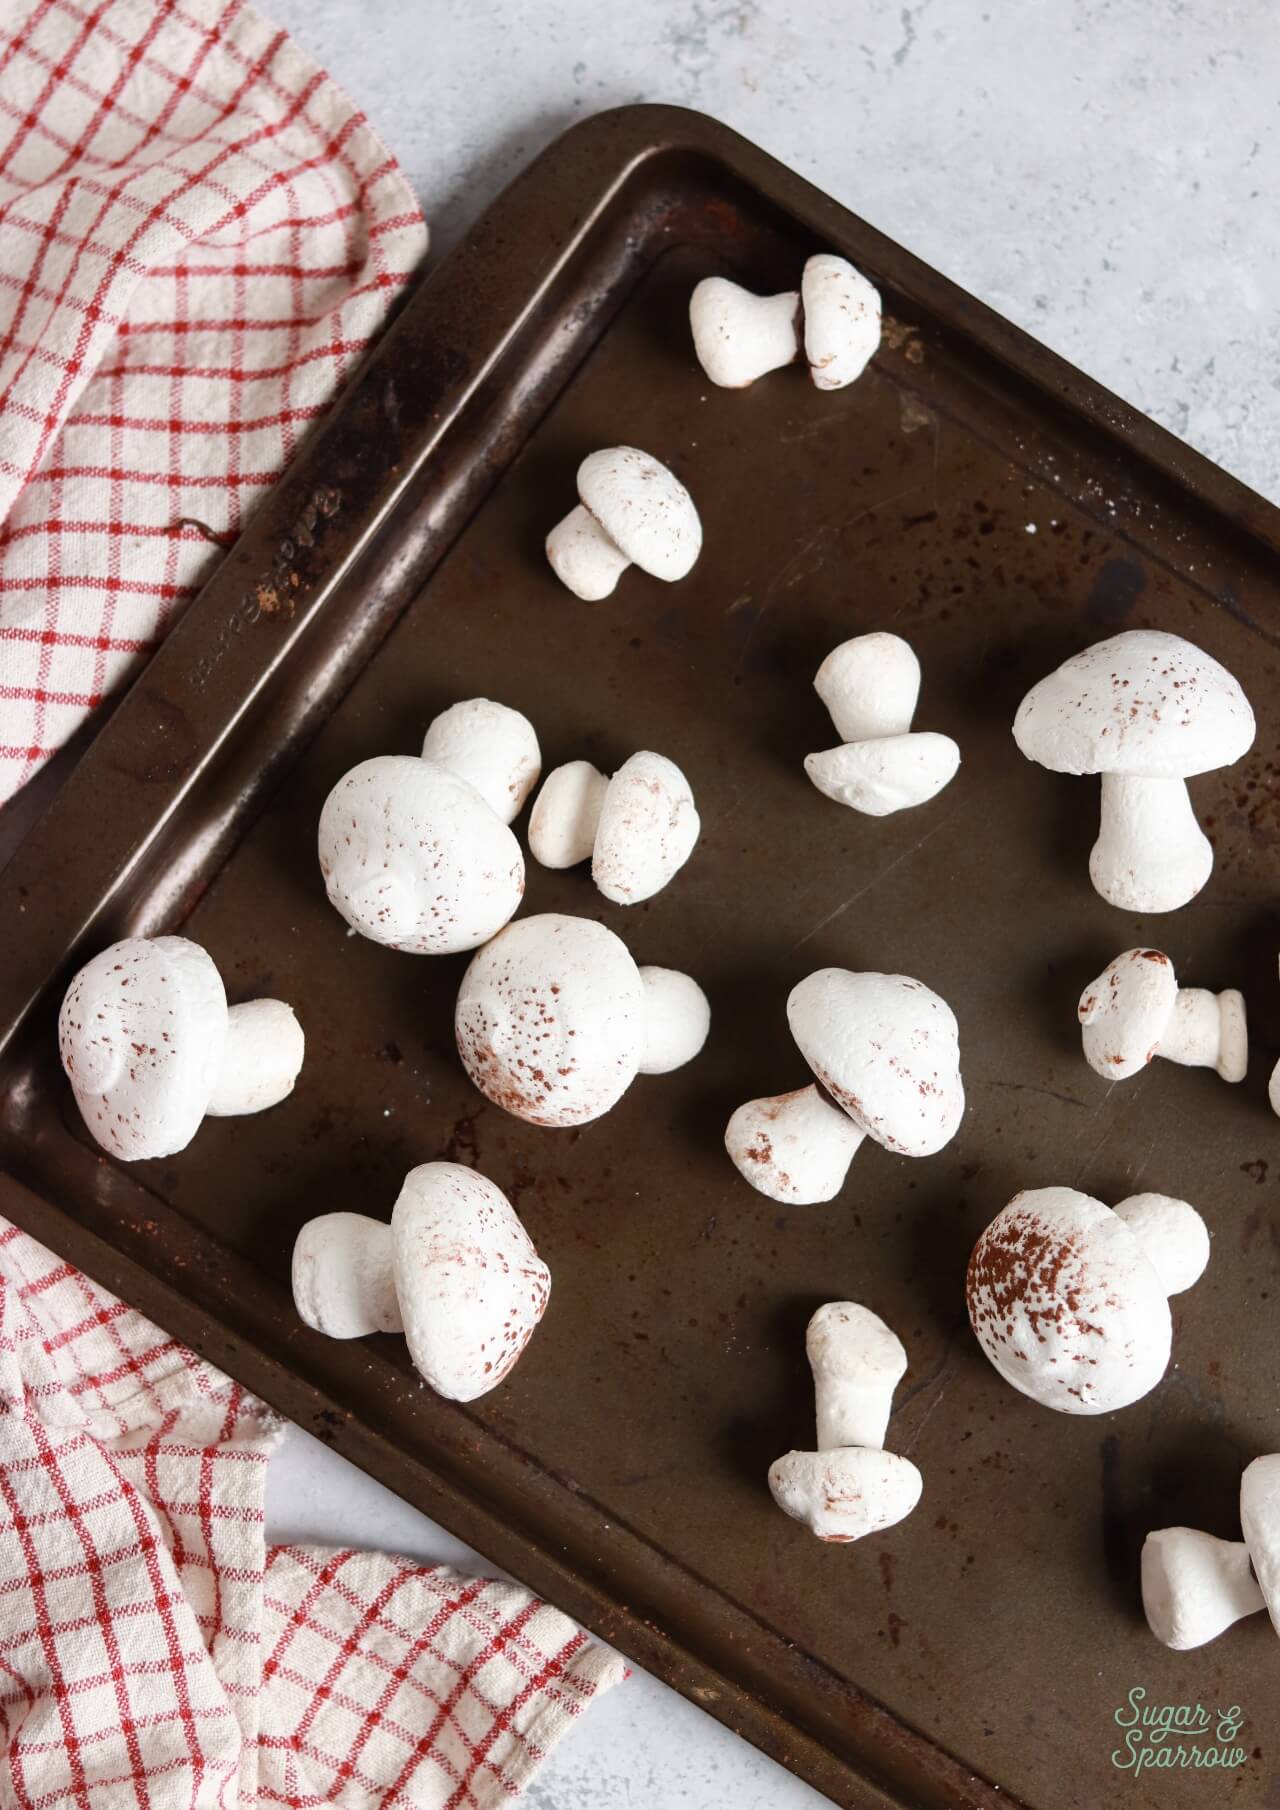
Step 2: Pipe the Mushroom Caps. Add the meringue into a piping bag fitted with a large round piping tip (I use Tip 2A) and pipe the mushroom caps on a parchment lined baking sheet. I hover the piping tip about 1/4 inch away from the surface and squeeze while slightly pulling up to create a shape that resembles a hershey’s kiss, then quickly swirl the tip to the side so you get an even top. I like to dab the tops with a wet fingertip to make them smoother.
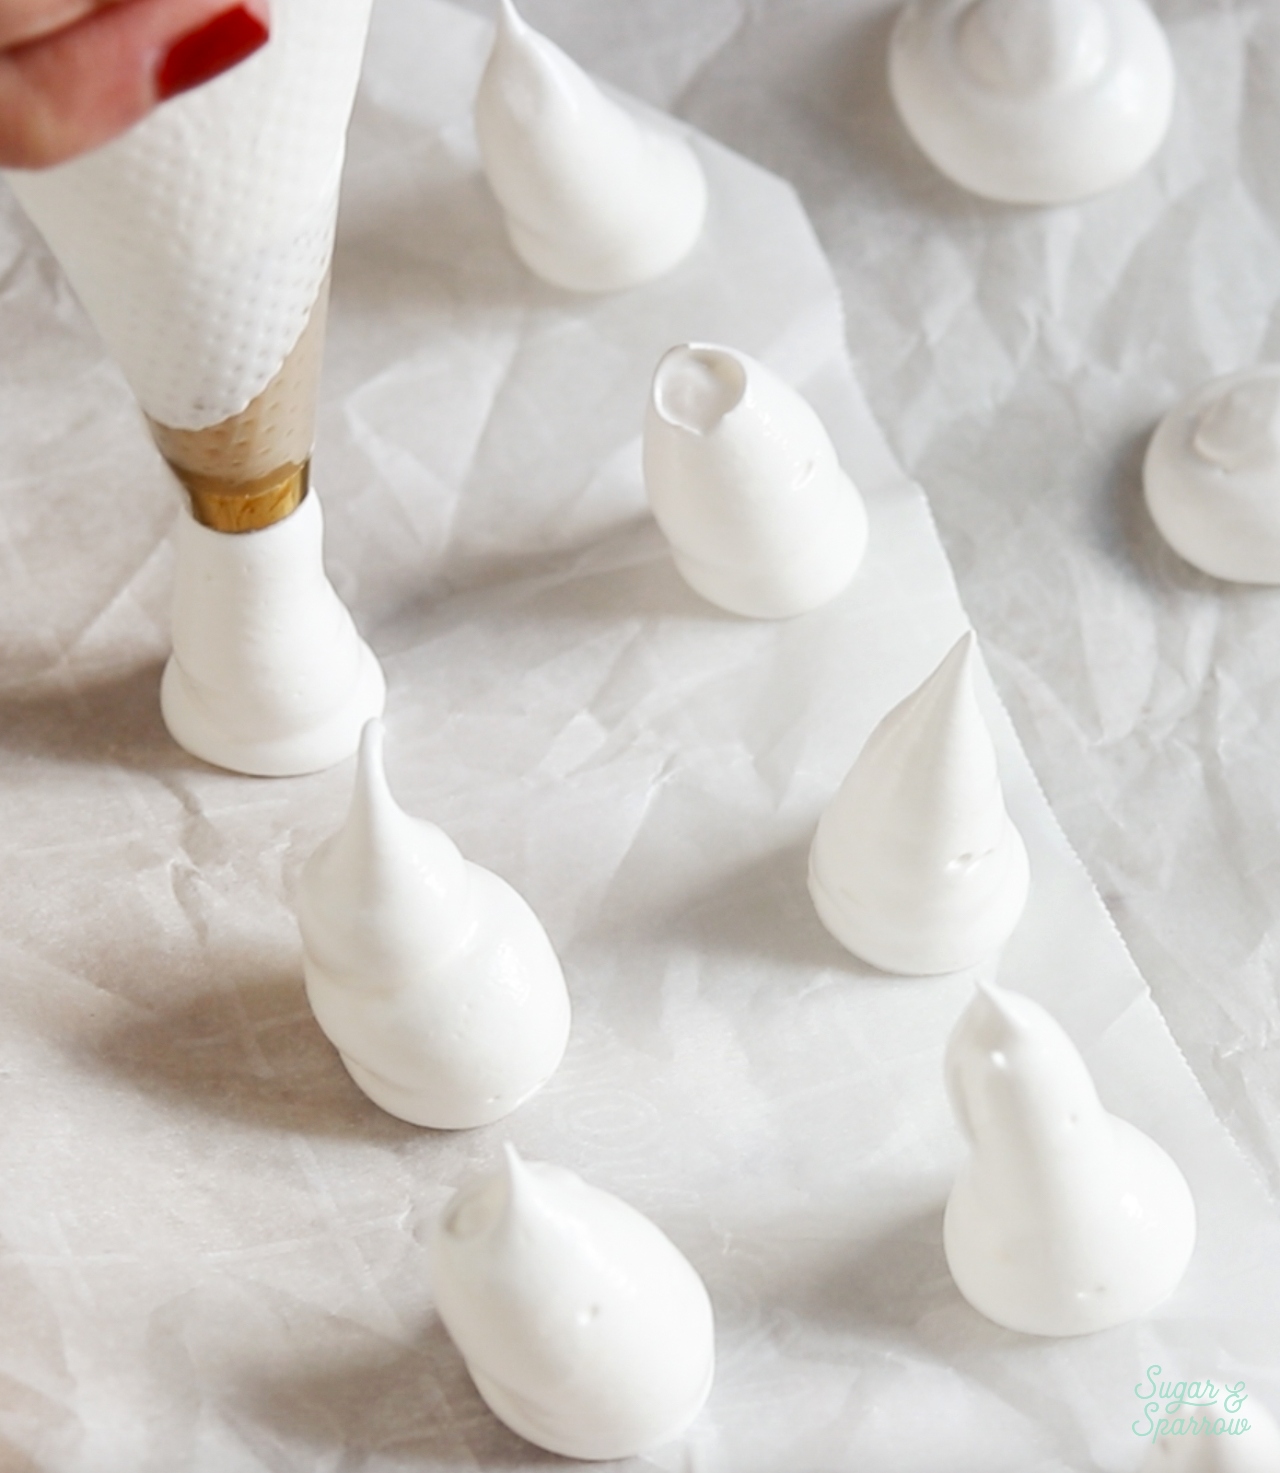
Step 3: Pipe the Mushroom Stems. Pipe the mushroom stems to look like taller hershey’s kisses (1/2 to 3/4″ diameter at the base) and squeeze the bag while you pull up to 1″-1 1/2″ height).
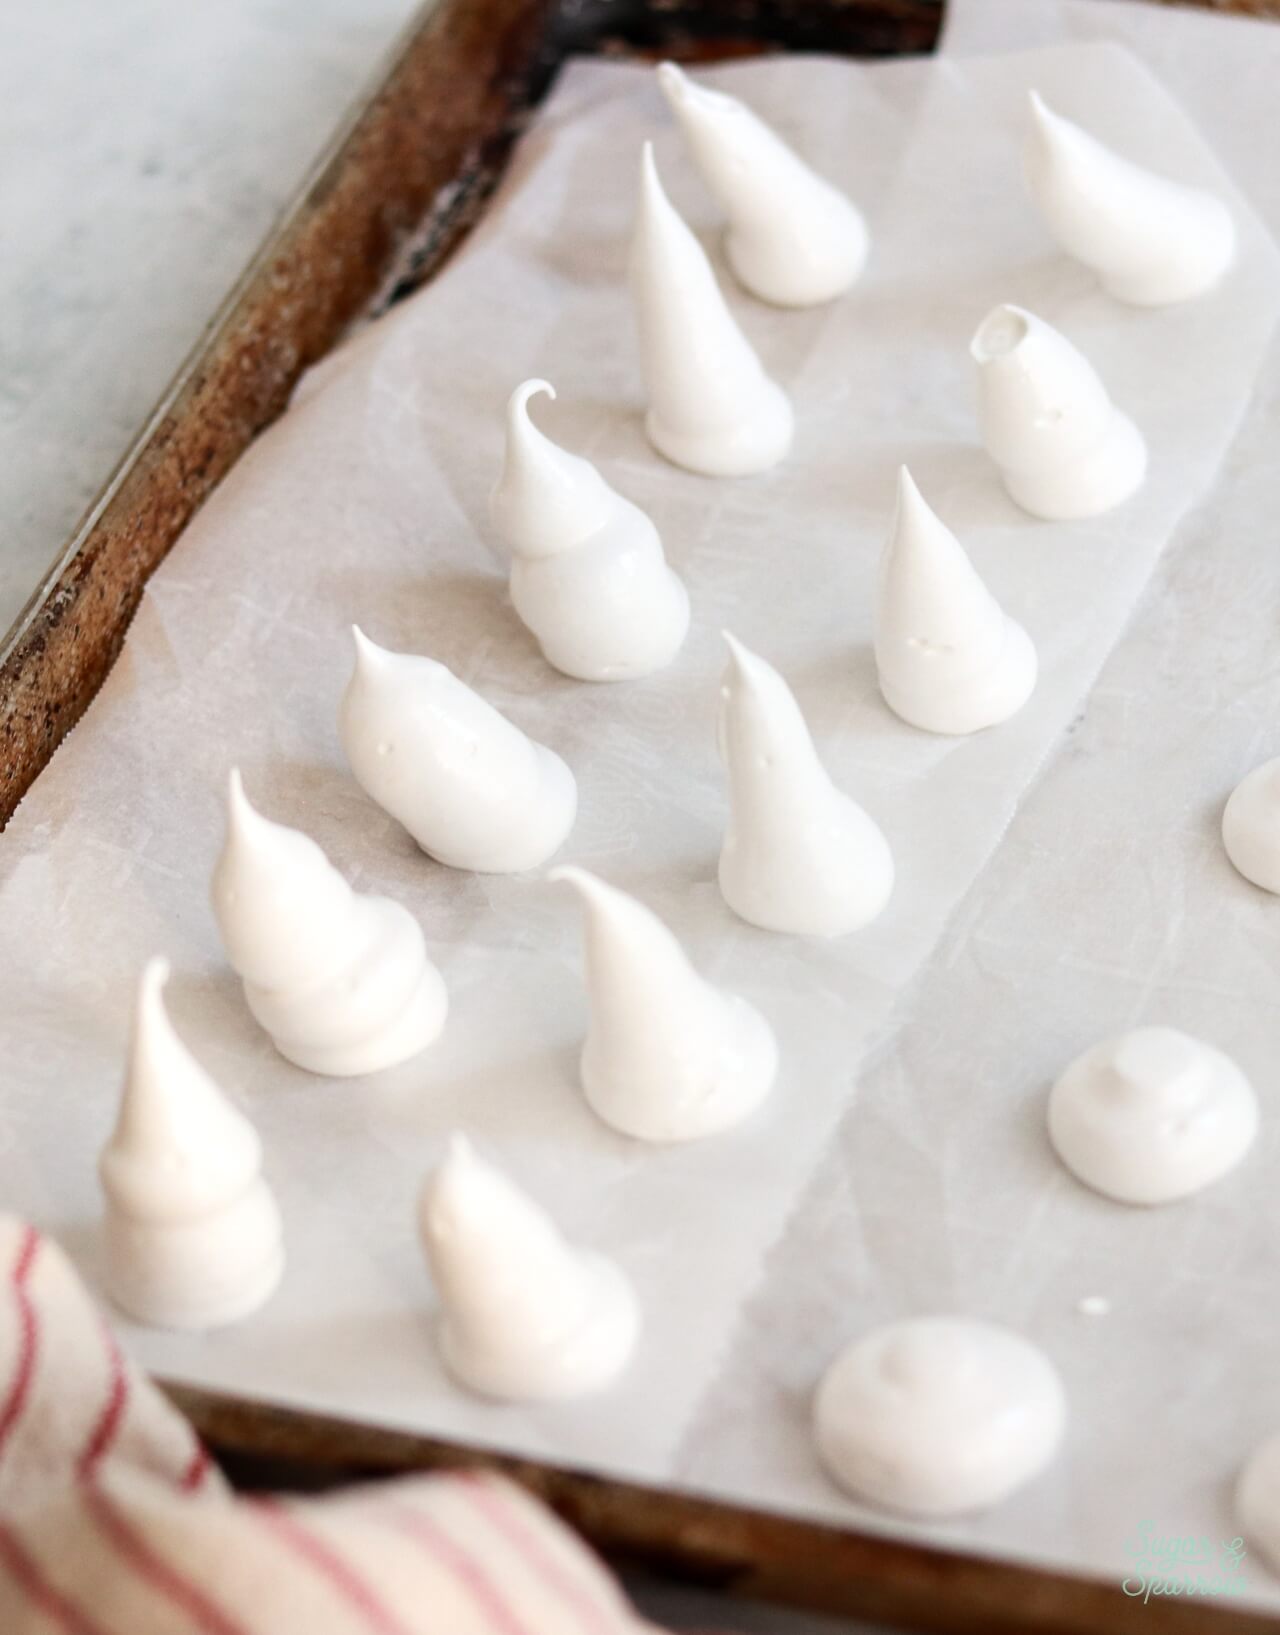
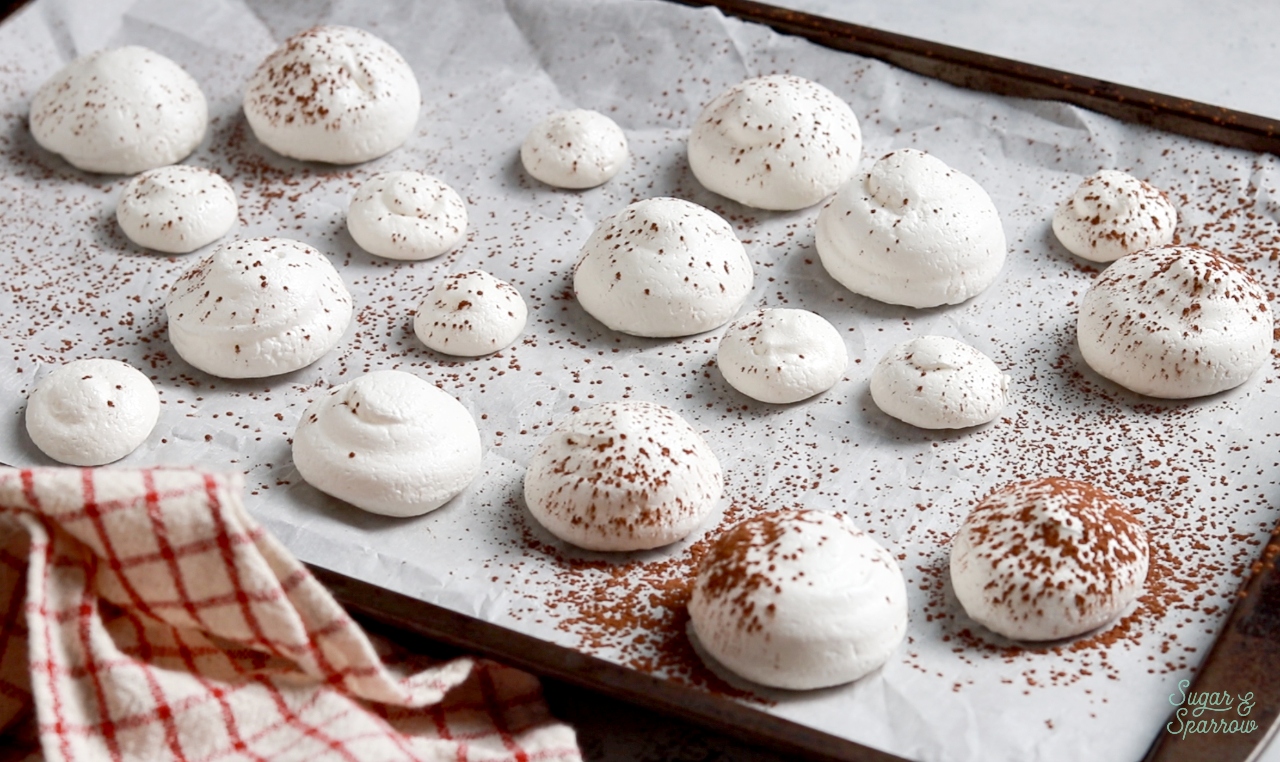
Step 4: Bake and Cool the Meringue Mushrooms. Bake the mushroom caps and stems at 200ºF (90ºC) for 2 hours, then remove them from the oven and allow them to cool completely to room temperature. See the next section if you live in a humid climate.
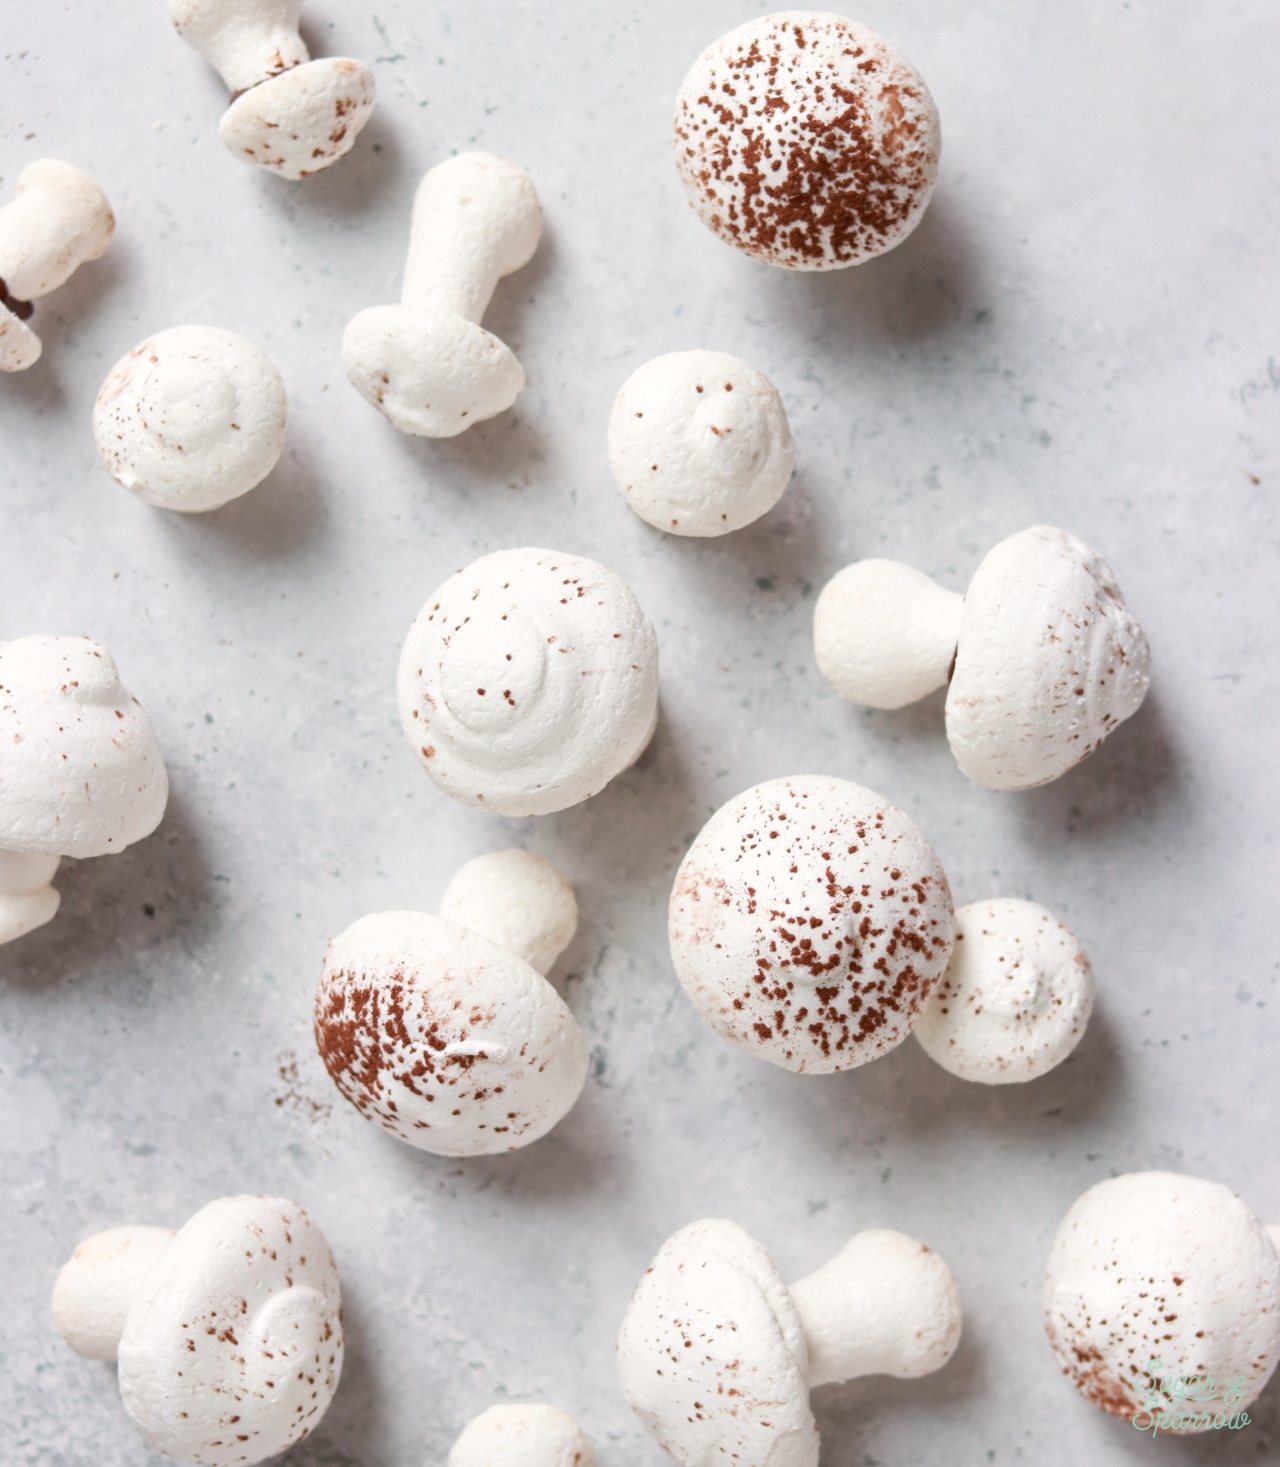
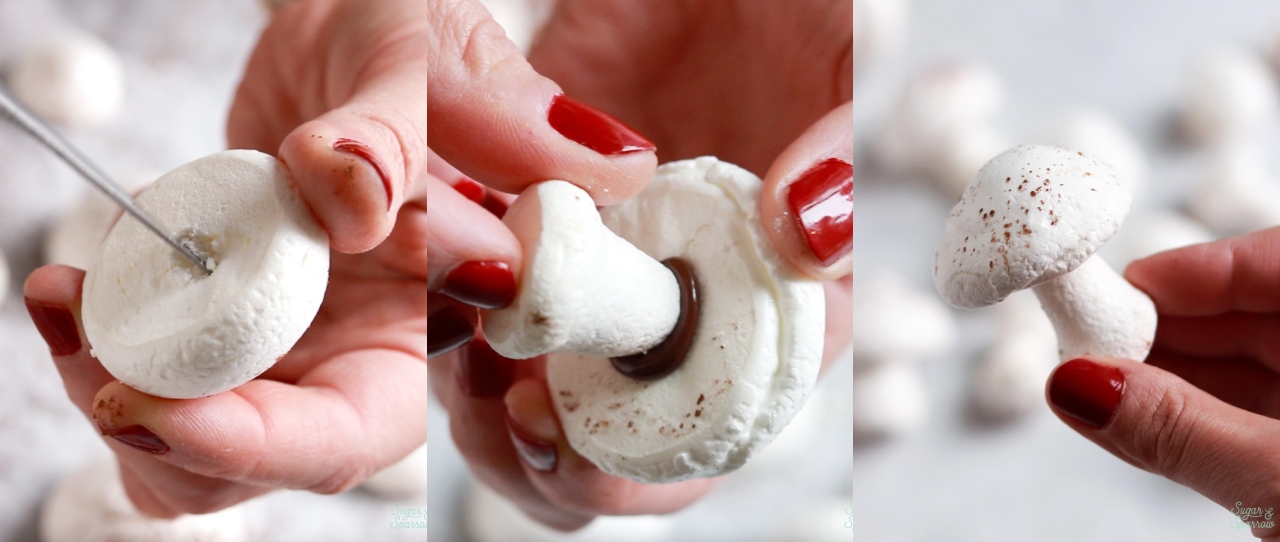
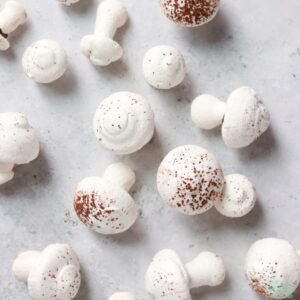
Step 5: Assemble the Mushrooms. Dust the mushroom caps with a little cocoa powder, if using. Then, carve a little hole into the bottom of each mushroom cap and add some melted chocolate “glue” before pressing the top of a stem into place. Hold for a few seconds to adhere, then let the chocolate dry completely while you move on to the next mushroom.
Meringue Mushrooms FAQ
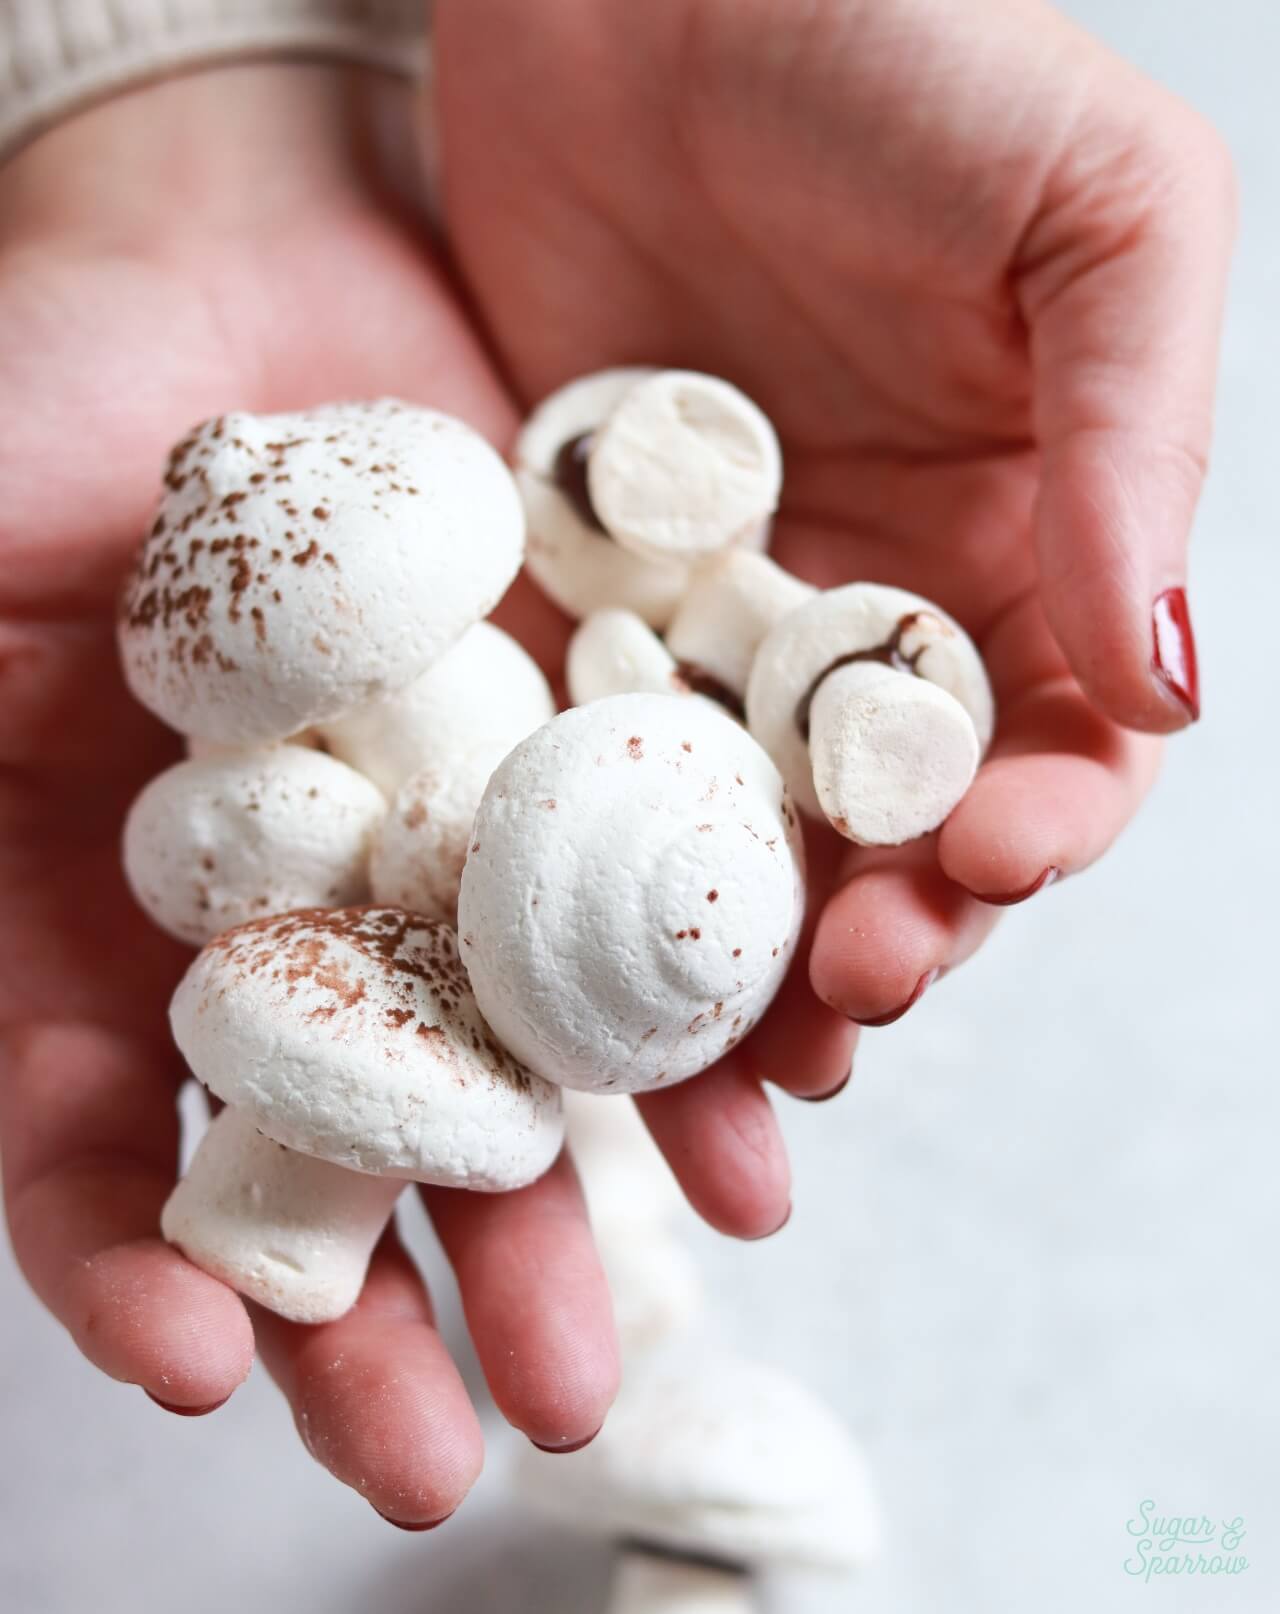
- How many meringue mushrooms does this recipe make? This recipe makes about 15 mushrooms of varying sizes (the largest caps being about 1 ½ inches diameter). You can easily double or triple the recipe if you need more.
- Can carton egg whites be used with this recipe? I don’t recommend using carton egg whites because they don’t always whip into a stiff enough meringue for these mushrooms. Instead, use fresh egg whites that are room temperature for best results.
- Do I have to add the cream of tartar? The cream of tartar is super important for adding stability to the meringue and making it so the mushrooms aren’t hollow inside after baking. It’s an inexpensive ingredient that can be easily found in the baking aisle of your local grocery store, and I don’t recommend skipping it.
- How far in advance can meringue mushrooms be made? As long as you don’t live in a humid climate, you can make meringue mushrooms 1-2 weeks ahead by storing the unassembled mushrooms in an airtight container at room temperature in a dry place. After assembling with chocolate, they can be stored at room temperature for up to 3 days, but I recommend assembling on decorating day for best results.
- What if I live in a humid climate? Humidity tends to soften meringues and make them tacky. My best advice is to try making them on a dry day and if you need to make them ahead, store them in an airtight container at room temperature with parchment paper between layers to prevent sticking. After the baking process, you can also try cooling them in the oven instead of room temperature (so, just turn the oven off after baking) to dry them out completely. You can also refresh the mushrooms by placing them back in a 200ºF oven for a bit to crisp them back up before assembling and serving.
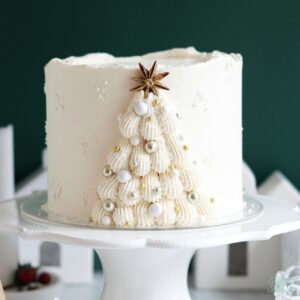
Cakes to Pair with Meringue Mushrooms
These meringue mushrooms would be a great garnish for a dessert table in general and are beautiful all on their own! If you’re looking for cake recipes to decorate with meringue mushrooms, here are some suggestions from my blog:
I can’t wait for you to try making these meringue mushrooms! Let me know what you pair them with in the comments below (don’t forget to rate the recipe!) and feel free to tag @sugarandsparrowco on Instagram to show me if you post a photo. I love to see what you create with my recipes!
Meringue Mushrooms
Equipment
Ingredients
Meringue Mushrooms
- 1 large egg white
- 1/16 tsp cream of tartar less than 1/8 teaspoon
- 1/4 Cup (50g) granulated sugar
- 2 tsp cocoa powder for dusting (optional)
- 1/8 Cup (28g) semi-sweet chocolate chips
Instructions
- Preheat the oven to 200°F (93°C) and line a large baking sheet with parchment paper or a silicone baking mat.
- Make sure the bowl of your stand mixer and whisk attachment (or large bowl and hand mixer attachments) are clean and residue-free. Then, add the large egg white and 1/16 teaspoon of cream of tartar (measure 1/4 teaspoon of the cream of tartar, then divide that in half, then in half again) into the bowl. Beat together on high speed until foamy, about 2 minutes, scraping down the bowl and paddle in between to make sure the ingredients are combined. Turn the mixer to high speed and slowly add the sugar. Beat until stiff glossy peaks form, about 1-2 more minutes.
- Add the meringue into a piping bag fitted with a large round piping tip (I use Tip 2A) or simply snip off about 1/2 inch opening. On the prepared baking sheet, pipe the mushroom caps by hovering your tip 1/4 inch away from the surface and squeezing while slightly pulling up to create a shape that resembles a hershey's kiss, then quickly swirl the tip to the side so you get an even top. I like to dab the tops with a wet fingertip to make them smoother. I piped some smaller mushroom tops (a little less than 1 inch diameter) and some larger (about 1 1/2 inch diameter) for variety. Pipe the mushroom stems to look like taller hershey's kisses (1/2 to 3/4" diameter at the base) and squeeze the bag while you pull up to 1"-1 1/2" height). You'll have enough meringue for about 15 mushroom caps and stems.
- Bake the mushroom meringues for 2 hours (don't open the oven before this point), then remove and allow to cool completely to room temperature. Once cooled, use a paring knife to create a little hole on the underside of the caps and dust the tops with a little cocoa powder. Carefully slice off any pointy ends from the mushroom stems. Then, melt the chocolate in the microwave in 15-20 second intervals, stirring after each one, and place the melted chocolate into a piping bag. Snip off the end and pipe chocolate into the little hole you created on the bottom of a mushroom cap. Carefully press a mushroom stem into it and hold it there for a few seconds to secure it. Continue this assembly process with the rest of the mushroom caps and stems and allow them to dry completely. Store in an airtight container at room temperature until ready to decorate.
Leave a Reply