• Cake
  • Frosting
  • YouTube
  • My Favorite Tools
  • Nav Social Icons

  • Skip to primary navigation
  • Skip to main content
  • Skip to primary sidebar
  • Skip to footer
  • Recipes
    • Cake
    • Cupcakes
    • Frosting
    • Ice Cream
    • Vegan
  • Cake Basics
  • Tutorials
  • Blog
  • About
  • Mobile Menu Widgets

    Connect

    Search

Sugar & Sparrow logo in script font

Sugar & Sparrow

Lifestyle and Cake from Portland Oregon

  • Cake Basics
  • Recipes
    • Cake
    • Cupcakes
    • Cookies & Bars
    • Filling
    • Frosting
    • Ice Cream
    • No-Bake
    • Small Batch
    • Vegan
  • Tutorials
  • Book
  • Blog
  • About

Thick Raspberry Cake Filling

May 27, 2025 · In: Featured, Filling, Recipes

Jump to Recipe

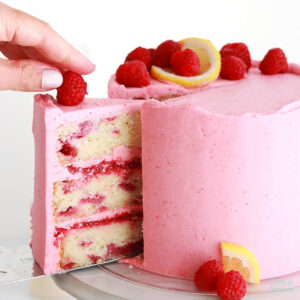
I have been wanting to make a thick, jam-like raspberry cake filling for quite some time, so when I was writing the recipe for this lemon raspberry layer cake I thought it was the perfect opportunity! This raspberry cake filling is so delicious, can be made with fresh or frozen raspberries, and comes together easily in just 15 minutes and thickens as it cools into the perfect consistency for filling cakes and cupcakes.
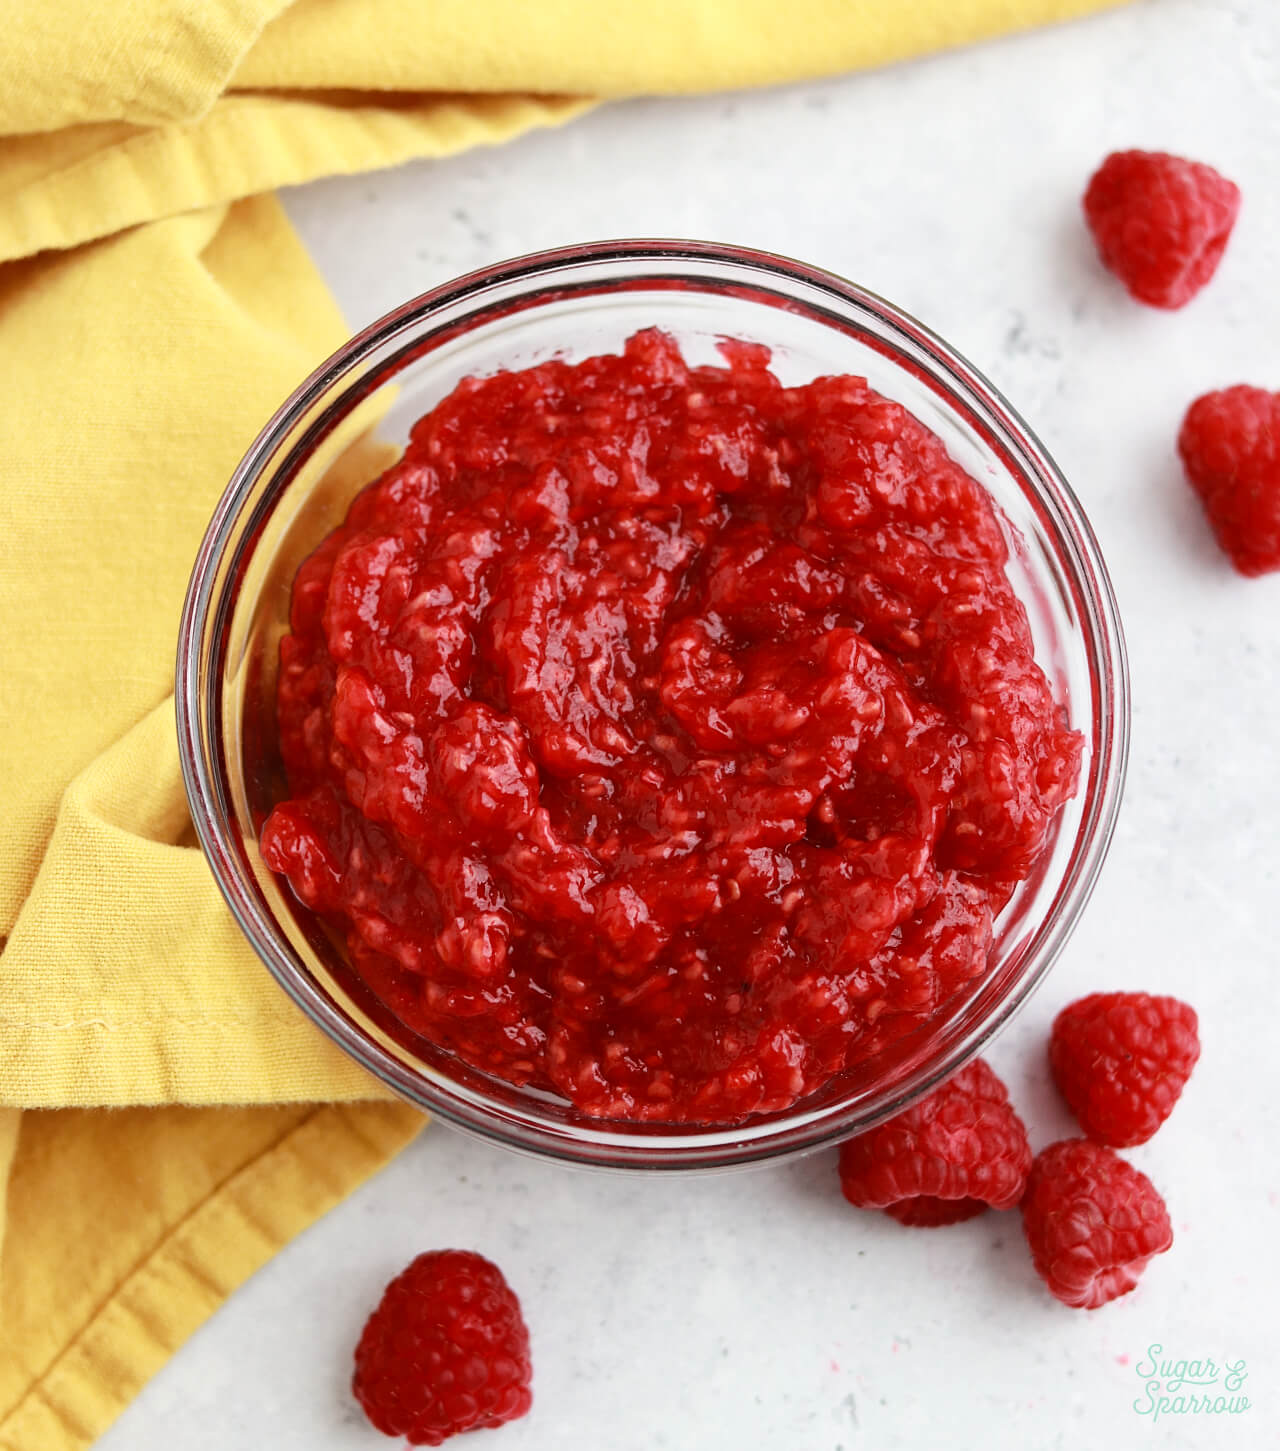
raspberry cake filling recipe
lemon raspberry layer cake with raspberry filling

Raspberry Cake Filling Ingredients & Substitutions 

The raspberry filling only uses five ingredients and comes together so easily: 

  • Fresh or Frozen Raspberries. If you have fresh raspberries on-hand, great. Frozen raspberries are more readily available year-round, and they work perfectly for this recipe. 
  • Cornstarch + Water. Mixing equal amounts of cornstarch and water together creates a thickening agent for this filling. 
  • Granulated Sugar. This sweetens the raspberries just enough so that you still have the perfect amount of tartness. 
  • Lemon Juice. A little lemon juice compliments the raspberry flavor beautifully. 
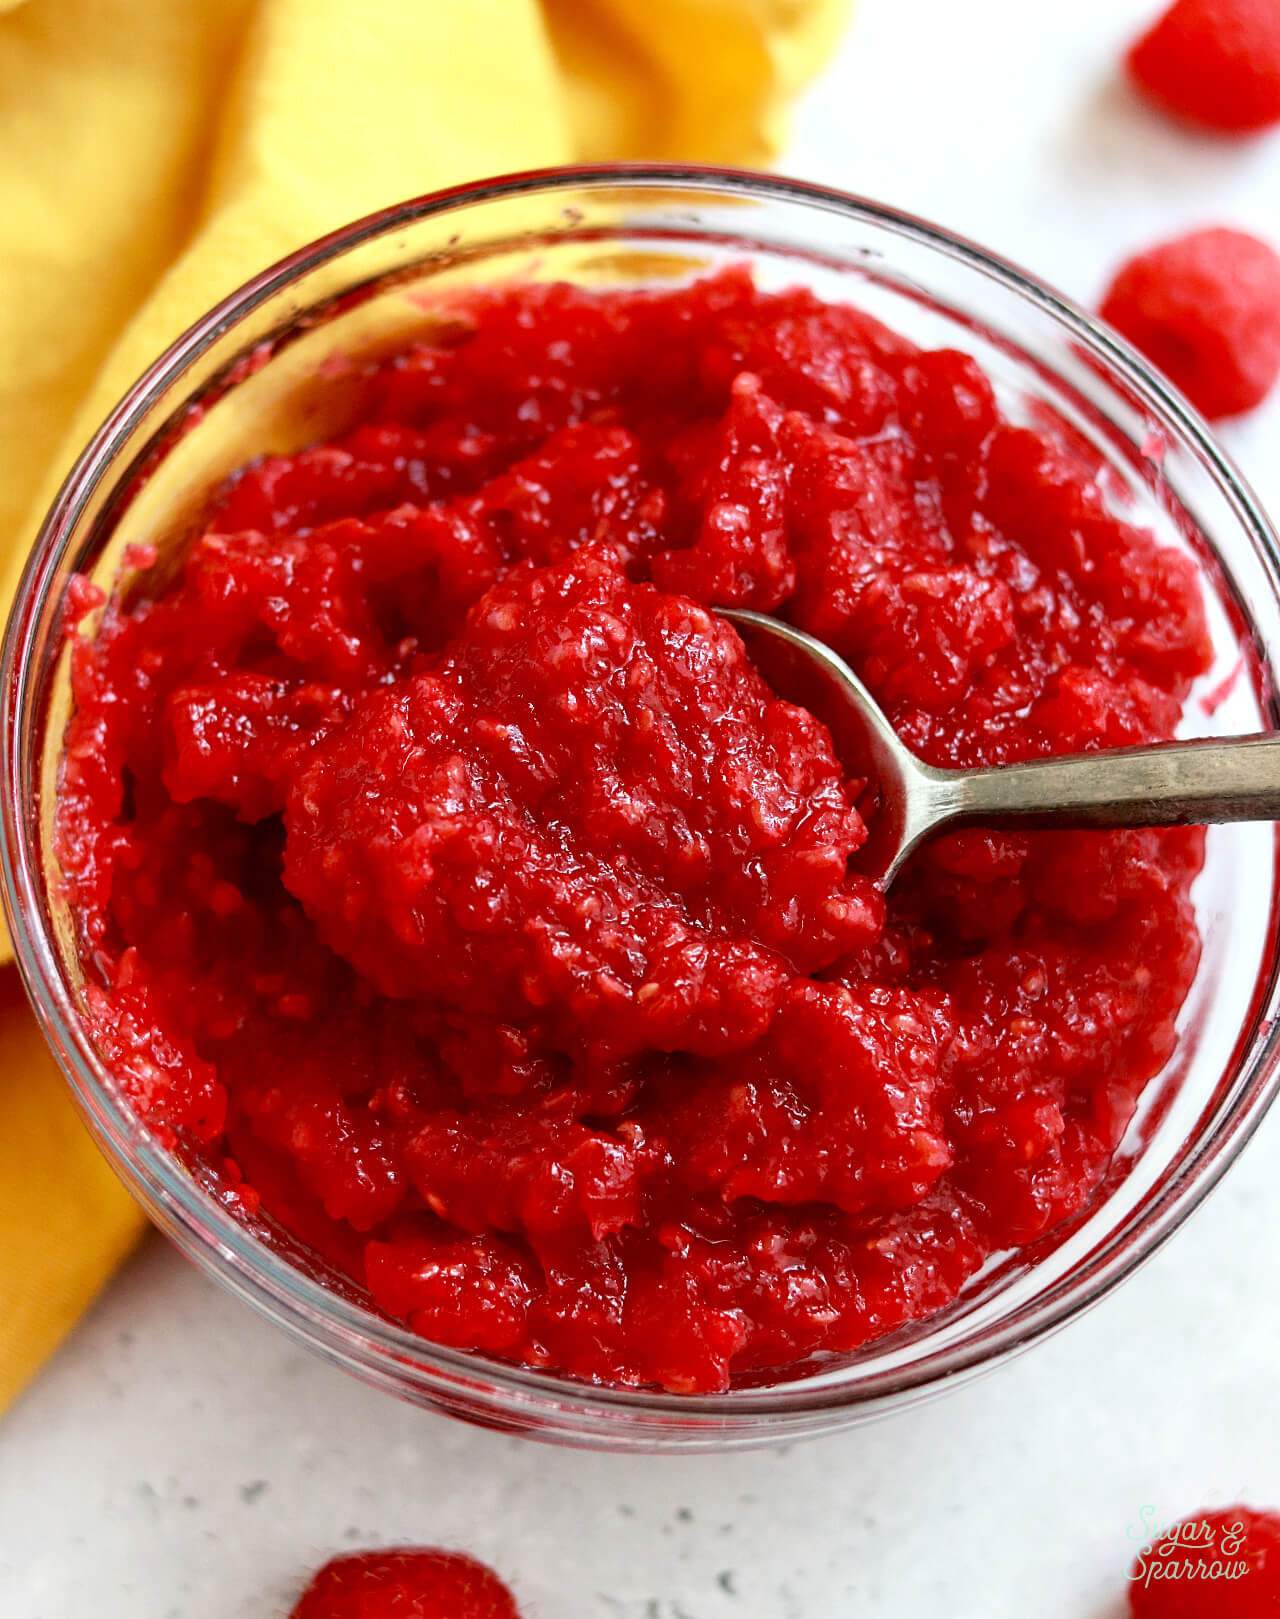
thick raspberry filling for cakes

How to Make Raspberry Cake Filling

This raspberry cake filling comes together so easily in about 15 minutes! You will need an additional four hours for the filling to cool and thicken, but it’s a great element to make ahead of time. 

Step 1: Mix together the cornstarch and water. In a small bowl, mix together the cornstarch and water. 

Step 2: Add everything into a medium saucepan. Add the raspberries, cornstarch mixture, sugar, and lemon juice into a medium saucepan set over medium heat. Stir to combine the ingredients and continue stirring frequently as the raspberries soften, mashing them up as you go. 
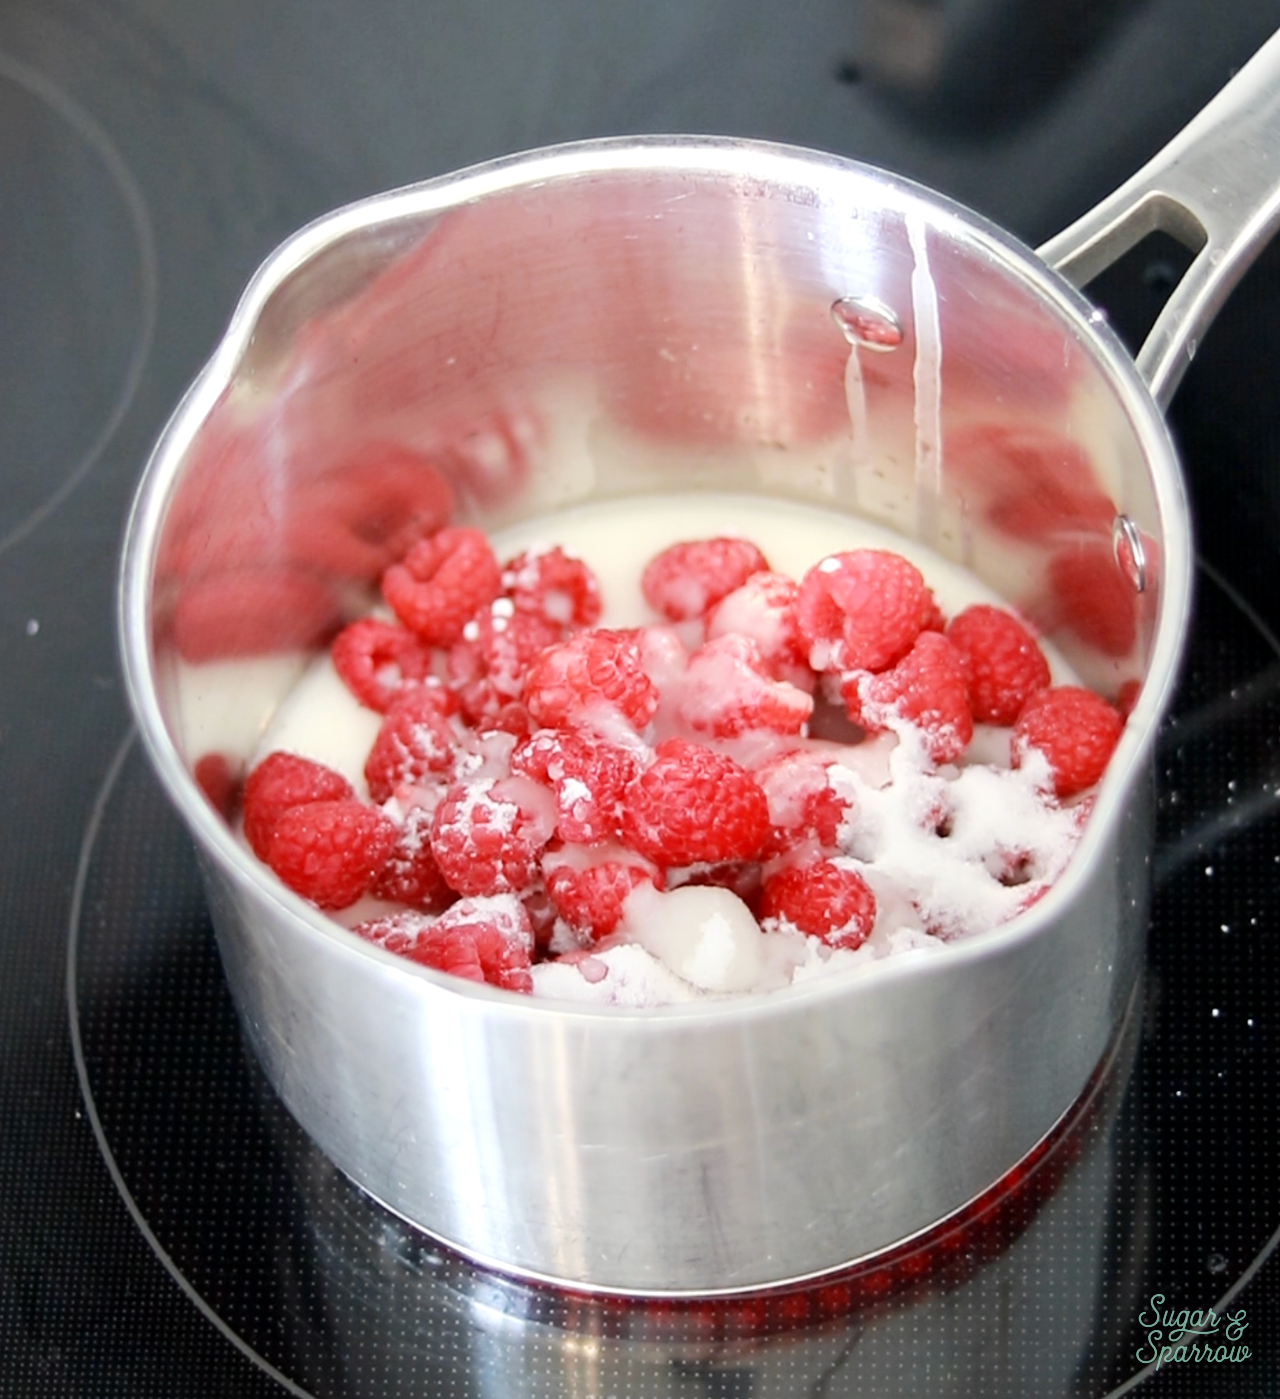
raspberry cake filling ingredients

Step 3: Bring to a boil and stir frequently. Once the raspberry mixture starts to boil, you’ll reduce the heat and continue simmering it for five minutes, stirring occasionally. 

how to make thick raspberry cake filling

Step 4: Cool the raspberry filling to thicken. Remove the raspberry mixture from the heat and add it into a glass or metal bowl. You’ll cool it for 10-15 minutes at room temperature, then cover it and place it in the refrigerator for at least 4 hours. 
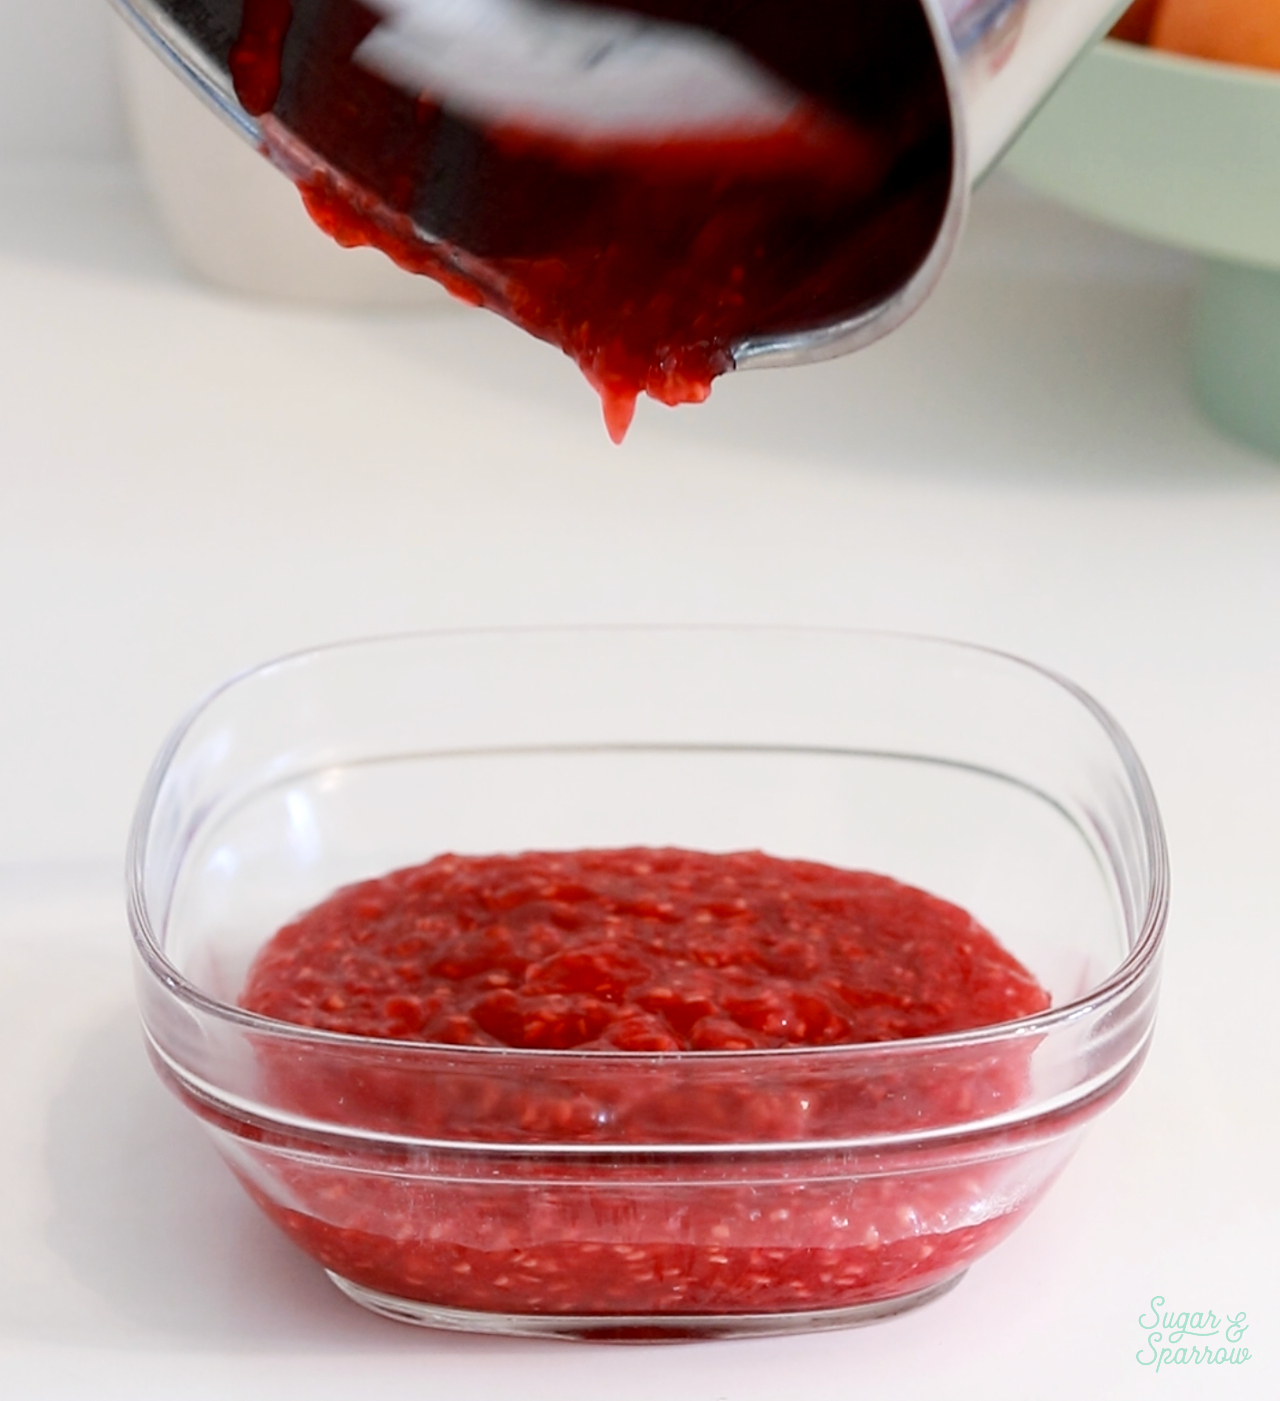
how to store raspberry cake filling

Four hours is the magic amount of time to thicken it perfectly, but you can also leave it in the refrigerator for up to one week. The perfect make-ahead element! 

How to Fill a Cake with Raspberry Cake Filling 

This raspberry cake filling is thick, but not thick enough to support a layer cake on its own. To make it more stable, you’ll need to build a buttercream dam around the edge of each cake layer before filling in the center with the raspberry filling. Buttercream is thick enough to support the weight of cake layers in the filling and stacking process. Whipped ganache also works great as a dam if that’s what you’re using to frost the cake. 

To build the dam, fill a piping bag with buttercream or whipped ganache and snip off about ½ inch opening on the end. Place the first cake layer on your turntable and pipe a ring around the edge about ¼ inch inward from the edge of the layer. Then, fill in the center with raspberry filling and smooth it down until it’s level with the top of the buttercream dam or just slightly below. 
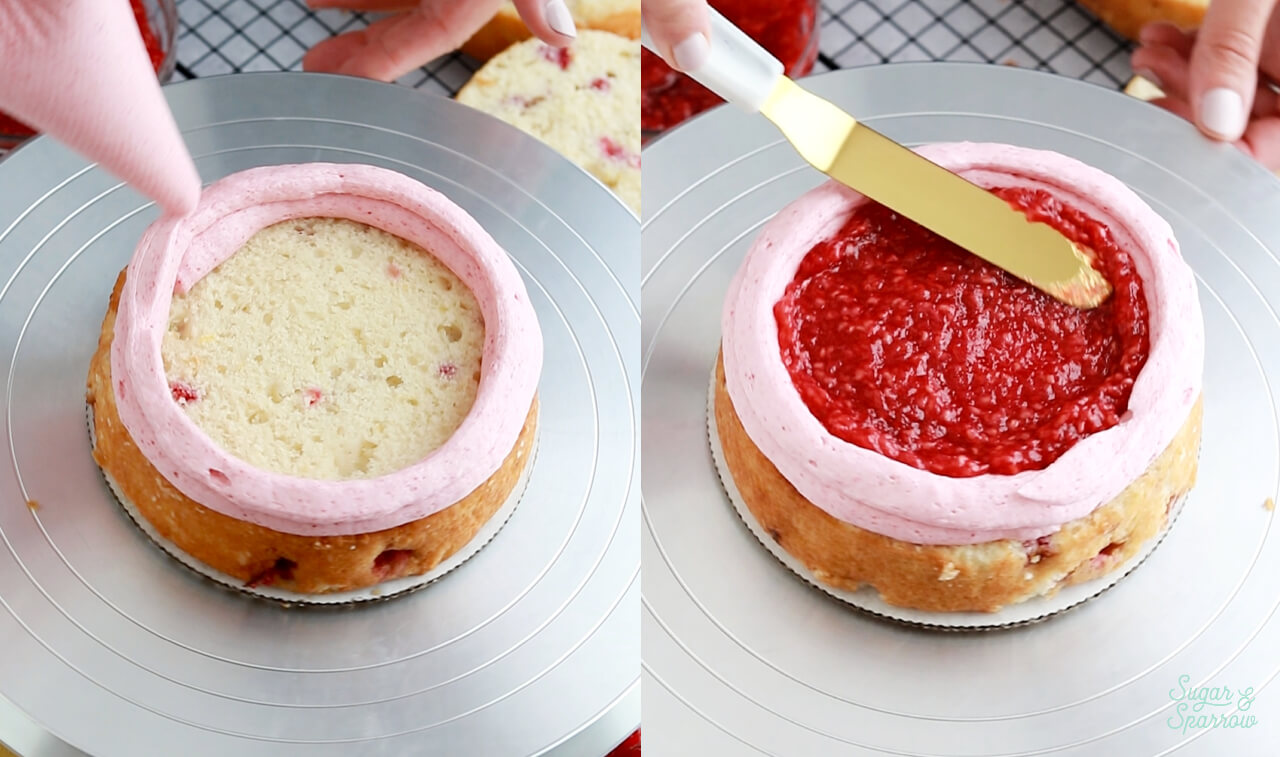
how to pipe a buttercream dam for cake filling

Add the next cake layer on top and repeat the process of filling and stacking until you have one cake layer left. Place that final cake layer upside down on top of the filling so that the bottom of the layer becomes the top of the cake. 
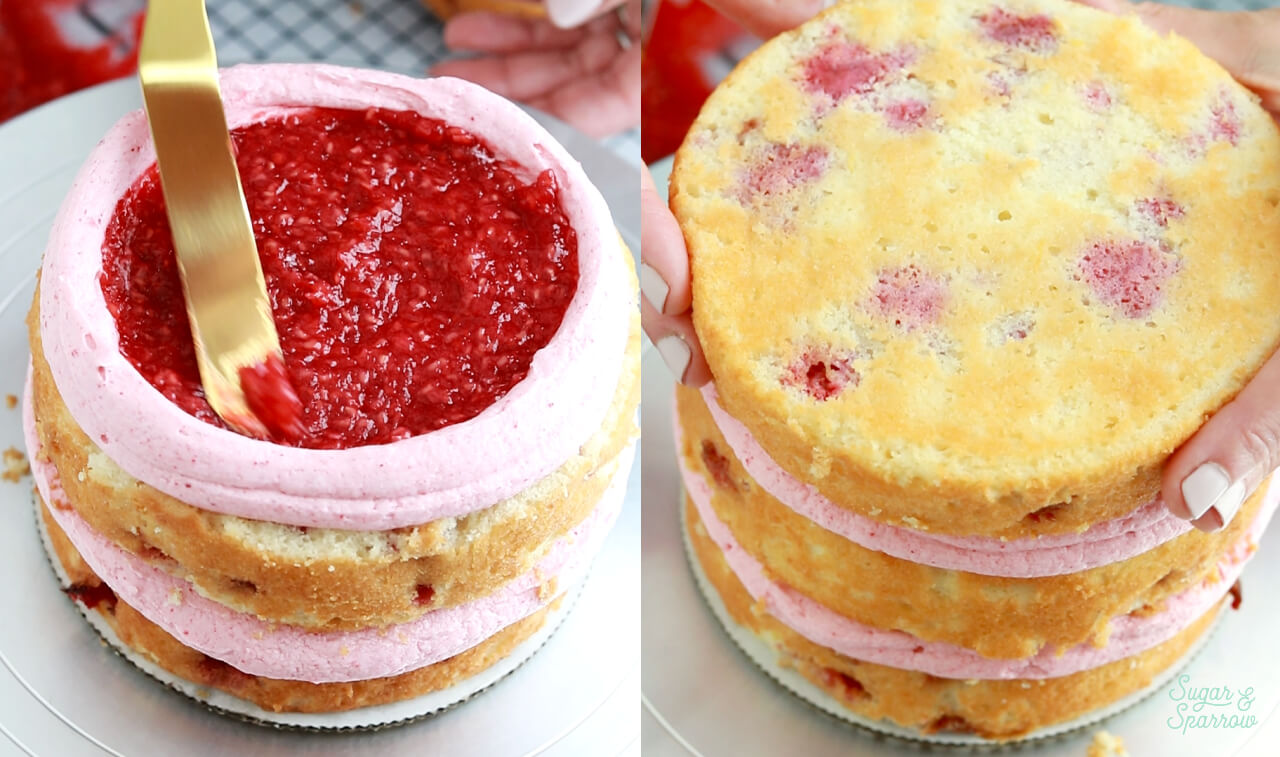
how to fill a cake with raspberry jam

This process of filling and stacking the cake with a buttercream dam makes the cake with a soft filling like this much more stable, helping to prevent the filling from oozing out or bulging. 
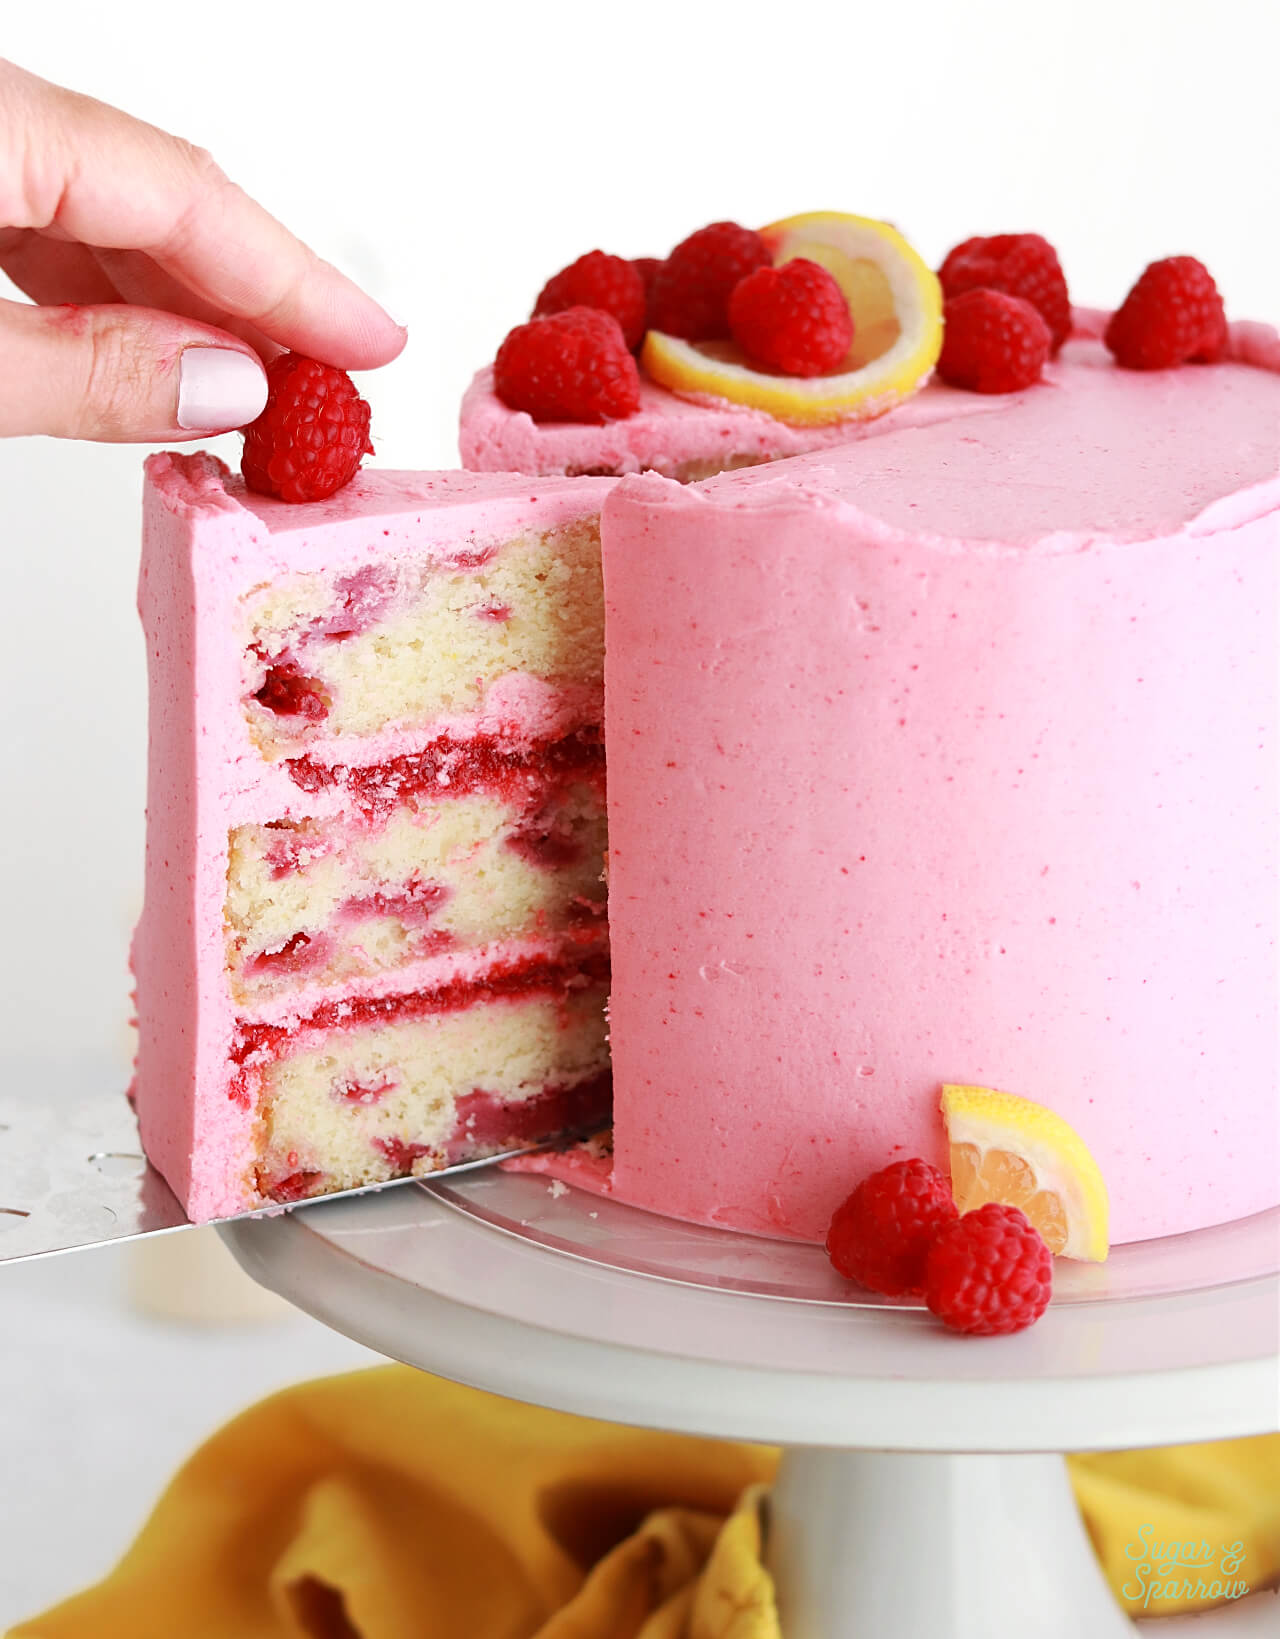
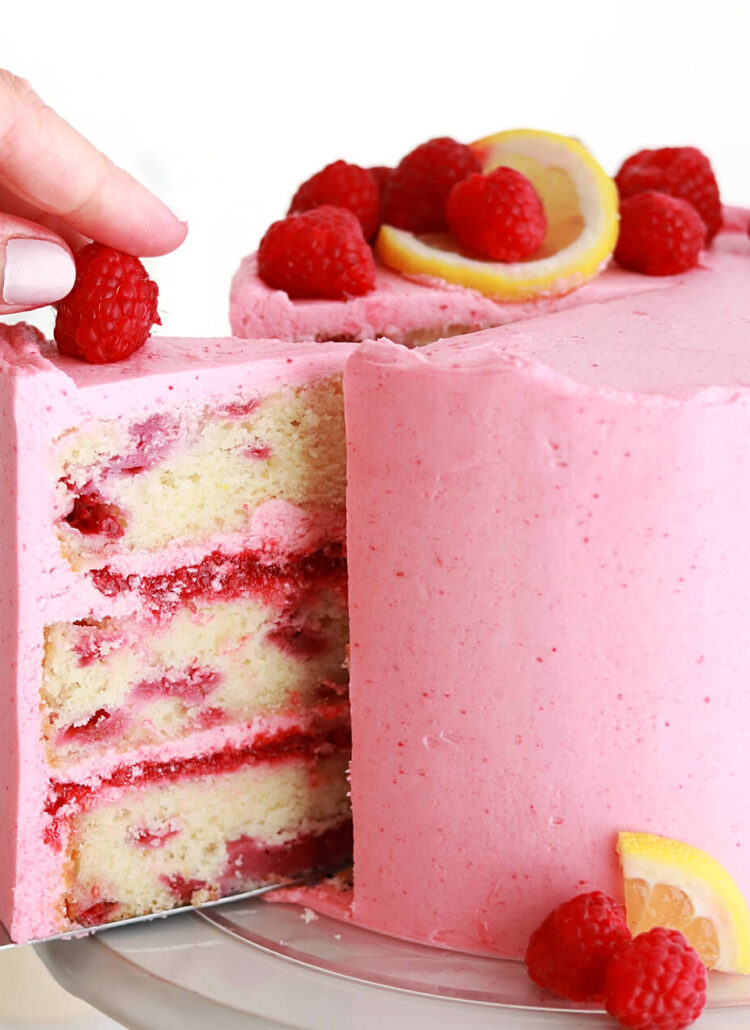
lemon raspberry layer cake recipe

Cake Recipes to Pair With Raspberry Filling

I love using this thick raspberry cake filling in my lemon raspberry layer cake recipe, but it also pairs well with a wide variety of cake flavors! One batch of this filling will be enough to fill any of the recipes below. You’ll want to use it in place of whatever filling is listed in the cake recipe (if there is one). Here are some of my favorite suggestions:

  • Bakery-Style White Cake 
  • One-Bowl Chocolate Cake
  • Lemon Layer Cake
  • Pistachio Cake 
  • Coconut Layer Cake

You can also use this recipe to fill up to 15 cupcakes (here are some cupcake recipes to try)! It doubles well in case you need more.
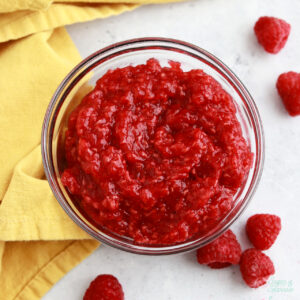
raspberry filling recipe for cakes

Thick Raspberry Cake Filling

An easy homemade raspberry cake filling that is perfectly thick for filling cakes and cupcakes! Made with fresh or frozen raspberries and a handful of simple ingredients.
Print Recipe Pin Recipe
Prep Time:5 minutes mins
Cook Time:10 minutes mins
Cooling Time:4 hours hrs
Total Time:4 hours hrs 15 minutes mins
Course: Dessert
Cuisine: American
Servings: 1 Cup

Ingredients

  • 1 1/2 Tbsp (12g) cornstarch
  • 1 1/2 Tbsp (22ml) water
  • 2 Cups (8oz, 228g) fresh or frozen raspberries
  • 1/3 Cup (67g) granulated sugar
  • 1 Tbsp lemon juice

Instructions

  • In a small bowl, whisk together the cornstarch and water until combined. Add it into a medium saucepan along with the raspberries, granulated sugar, and lemon juice. Set the saucepan over medium heat and stir with a rubber spatula to combine. Cook until the mixture begins to boil, mashing down the raspberries as they soften.
  • Once the mixture starts to boil, set the timer for 5 minutes while you continue stirring occasionally. Then, remove from heat and transfer to a heat proof container. It won’t seem super thick at this point, but don’t worry – it will thicken significantly as it cools. Let the raspberry filling sit at room temperature for about 20 minutes, then cover and refrigerate for at least 4 hours and up to 1 week. The longer you refrigerate, the thicker and more flavorful it will be.
  • When the raspberry filling has cooled and thickened, you're ready to use it as a cake or cupcake filling! If you're using it to fill a cake, be sure to pipe a buttercream dam around the edge of your cake layer before filling in the center with this raspberry filling. This way it won't squish out from between your cake layers. This blog post has more details on the filling process.

Notes

To Make Ahead: This raspberry filling can be made ahead and stored in an airtight container in the refrigerator for up to one week. You can use it as a filling while it’s cold or bring it to room temperature to make it more spreadable. 
Yield: This recipe makes enough filling for a triple layer 6-inch cake, double layer 8-inch cake, double layer 9-inch cake, or 15 cupcakes. 

Did you make this raspberry cake filling? I want to know what you paired it with and what you think! Let me know in the comments below and feel free to tag @sugarandsparrowco on Instagram to show me. I love to see what you create!
By: Whitney · In: Featured, Filling, Recipes · Tagged: berry filling, fruit filling, raspberries, raspberry cake filling

you’ll also love

lemon raspberry layer cake with raspberry filling and lemon raspberry frostingLemon Raspberry Layer Cake
nutella buttercream recipe by sugar and sparrowNutella Buttercream Recipe
london fog cupcake recipe with earl grey teaLondon Fog Cupcakes

Join the List

Stay up to date & receive the latest posts in your inbox.

Reader Interactions

Leave a Reply Cancel reply

Your email address will not be published. Required fields are marked *

Recipe Rating


Next Post >

Lemon Raspberry Layer Cake

Primary Sidebar

Welcome to Sugar & Sparrow

Welcome to Sugar & Sparrow

Helping you whip up pretty desserts with confidence and creativity. And hopefully sharing a few laughs with you along the way!

Learn More

Connect

let’s bake!

Get my very best recipes, baking tips, and decorating tutorials sent to your inbox

Featured Posts

no bake eggnog cheesecake recipe by sugar and sparrow

No-Bake Eggnog Cheesecake with Biscoff Cookie Crust

hostess cupcake layer cake recipe

Hostess Cupcake Layer Cake

Bakery-Style White Cake

Search

Archives

Follow Along

@sugarandsparrowco

CLASSIC BIRTHDAY CAKE 🥳 yellow cake with chocolate CLASSIC BIRTHDAY CAKE 🥳 yellow cake with chocolate frosting makes me so nostalgic for my childhood birthdays + my homemade version captures that moist and fluffy texture of box mix, but it’s 100% HOMEMADE! Pair it with chocolate frosting + lots of rainbow sprinkles and make it to celebrate someone special 💛
  
Full recipe (with chocolate frosting) is linked in my bio or at https://sugarandsparrow.com/yellow-cake-recipe/
  
INGREDIENTS  
2 Cups (210g) sifted cake flour  
1 1/2 tsp baking powder  
1/2 tsp baking soda  
1/2 tsp salt  
1/2 Cup (113g) unsalted butter, room temp  
3 Tbsp (45ml) vegetable oil  
1 1/3 Cups (267g) granulated sugar  
2 large eggs, room temp  
2 large egg yolks, room temp  
1/3 Cup (80g) sour cream, room temp  
2 tsp pure vanilla extract  
3/4 Cup (180ml) whole milk, room temp  
  
INSTRUCTIONS  
1. Preheat the oven to 350°F (177°C). Grease and line three 6-inch or two 8-inch cake pans.  
2. In a medium bowl, add the sifted cake flour, baking powder, baking soda and salt. Whisk together and set aside.  
3. In the bowl of your stand mixer fitted with the paddle attachment (or with a handheld mixer and large bowl), beat the butter on high speed until it’s creamy, 2 min. Add the vegetable oil and sugar, then continue to mix on medium-high until pale and fluffy, 2 min. Add the eggs and egg yolks one at a time, mixing on low speed for 10-15 seconds after each addition. Add the vanilla and sour cream and turn the mixer to high speed for 1 min.   
4. Turn the mixer off and add the dry ingredients all at once. Mix on low speed until the ingredients just start to combine, then add the milk in a steady stream and continue mixing until incorporated, about 30 seconds.   
5. Pour the batter evenly into the prepared cake pans and bake for 28-32 minutes. Let the cakes cool, then fill and frost with chocolate buttercream (full recipe linked in my bio!)
  
#birthdaycake #yellowcake #cakedecorating #chocolatecake #cakelover
S’MORES ICEBOX CAKE 🔥 Every bit as gooey and decad S’MORES ICEBOX CAKE 🔥 Every bit as gooey and decadent as it seems and I am blown away at how EASY this recipe is! It’s layers of graham crackers, chocolate ganache, and homemade marshmallow creme, piled high in a loaf pan and refrigerated overnight. The graham crackers soften into a cake-like texture and transform this dessert into the easiest s’mores cake ever.  
 
Recipe linked in my bio and at https://sugarandsparrow.com/smores-icebox-cake/
 
#smorescake #iceboxcake #nobake #smores #cakedecorating
WHIPPED MASCARPONE FROSTING ✨silky smooth, delicio WHIPPED MASCARPONE FROSTING ✨silky smooth, deliciously light, and the perfect consistency for cake decorating (including filling layer cakes + piping)! Imagine a whipped cream frosting with notes of rich mascarpone cheese and that’s what this frosting tastes like. It’s a DREAM on my orange poppyseed cake and I can’t stop thinking of other Spring/Summer cake flavors I want to try it with! 

Full recipe with cake pairing suggestions at https://sugarandsparrow.com/whipped-mascarpone-frosting/ 

INGREDIENTS:
1 Cup (8oz, 227g) mascarpone cheese, cold
2 tsp pure vanilla extract
1/8 tsp salt
1 Cup (240ml) heavy whipping cream, cold
2 Cups (240g) powdered sugar

INSTRUCTIONS:
1. With the whisk attachment on a stand mixer (or hand mixer with a large bowl), beat the mascarpone, vanilla, and salt together at medium speed until creamy, 1-2 min
2. Turn the mixer to low and add the heavy whipping cream slowly, then turn the mixer to medium speed and beat until soft peaks form, which could take less than 1 min (keep an eye on it!). You should be able to dip a spatula into the mixture and see a peak that slightly droops when held upright. 
3. Add the powdered sugar all at once and mix on low speed until incorporated, then turn the mixer to medium speed and whip for about 30 seconds longer, until the frosting is thick and silky. Use right away or refrigerate for up to 4 days.

#mascarpone #mascarponecream #whippedcreamfrosting #whippedcreamcake #cakedecorating
BERRY CHANTILLY CAKE 🍓🫐fully inspired by the iconi BERRY CHANTILLY CAKE 🍓🫐fully inspired by the iconic Whole Foods Chantilly cake (iykyk 🙌🏼) and every bit as delicious! My homemade version is layers of extra soft and fluffy vanilla cake, berry jam, Chantilly cream frosting with rich notes of mascarpone and a hint of almond, and fresh berries throughout. It’s the idealideal berries and cream cake and ALWAYS a hit!! 
⁣
Full recipe is linked in my bio (or at https://sugarandsparrow.com/berry-chantilly-cake-recipe/)

PS: I also have a sheet cake version of this recipe! Google “sugar and sparrow berry Chantilly sheet cake” to find it! 

#chantillycake #whippedcreamcake #berrycake #cakedecorating #vanillacake
STRAWBERRY SHORTCAKE SHEET CAKE 🍓aka classic straw STRAWBERRY SHORTCAKE SHEET CAKE 🍓aka classic strawberry shortcake toppings on a fluffy vanilla sheet cake and ideal for a crowd! It’s my favorite bakery-style white cake that’s so soft and moist, topped with silky whipped cream cheese frosting and thick homemade strawberry sauce. So easy to throw together with simple ingredients + a total showstopper ✨

Grab the recipe link in my bio or find it at https://sugarandsparrow.com/strawberry-shortcake-sheet-cake/ 

#strawberrycake #strawberryshortcake #sheetcake #whippedcreamfrosting #cakedecorating

Footer

On the Blog

  • Cake Basics
  • Recipes
  • Tutorials

Info

  • About
  • Privacy Policy & Disclosure

stay in the know

Copyright © 2026 · Theme by Sugar & Sparrow